Colony Flow Level 650 Walkthrough Solution & Guides | How to solve Colony Flow 650

Guide By Liam Stone
Updated on August 8, 2026
The article below explains Level 650 in detail, but the video above gets you there faster.
Video doesn't match your screen?
Game updates frequently scramble layouts! Try our AI Screenshot Solver first to find your exact board instantly, or report broken guides to our team.
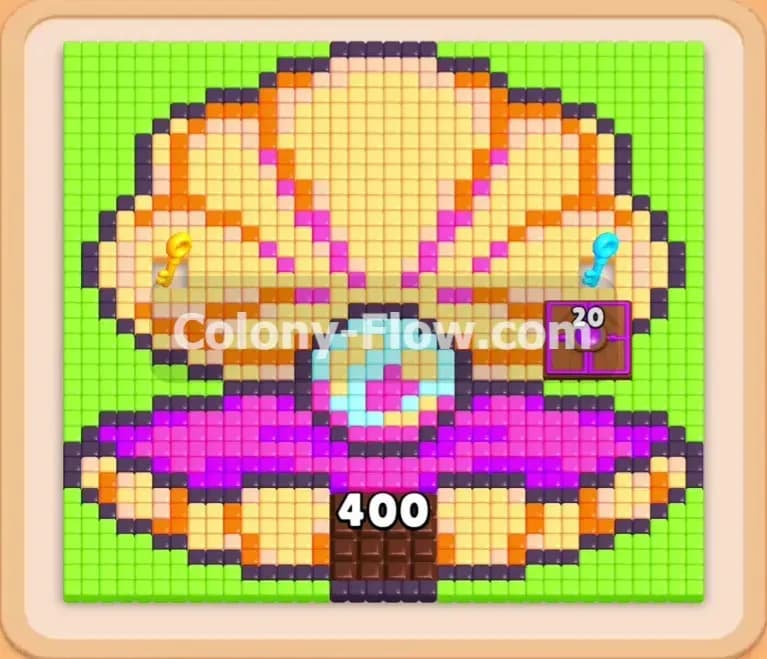
Colony Flow Level 650 drops you into a beautiful underwater scene featuring a giant pixel art clam shell resting on the ocean floor. The wide open shell reveals a shiny colorful pearl hiding safely inside but a massive chocolate barrier sits right at the bottom edge blocking your immediate access. You need to chew through this thick chocolate wall while hunting down scattered keys to unlock your heavily restricted tray slots. Managing your tray space is your absolute main priority to ensure you never run out of open paths for your swarming ants.
Colony Flow Level 650 Overview
What You Are Working With
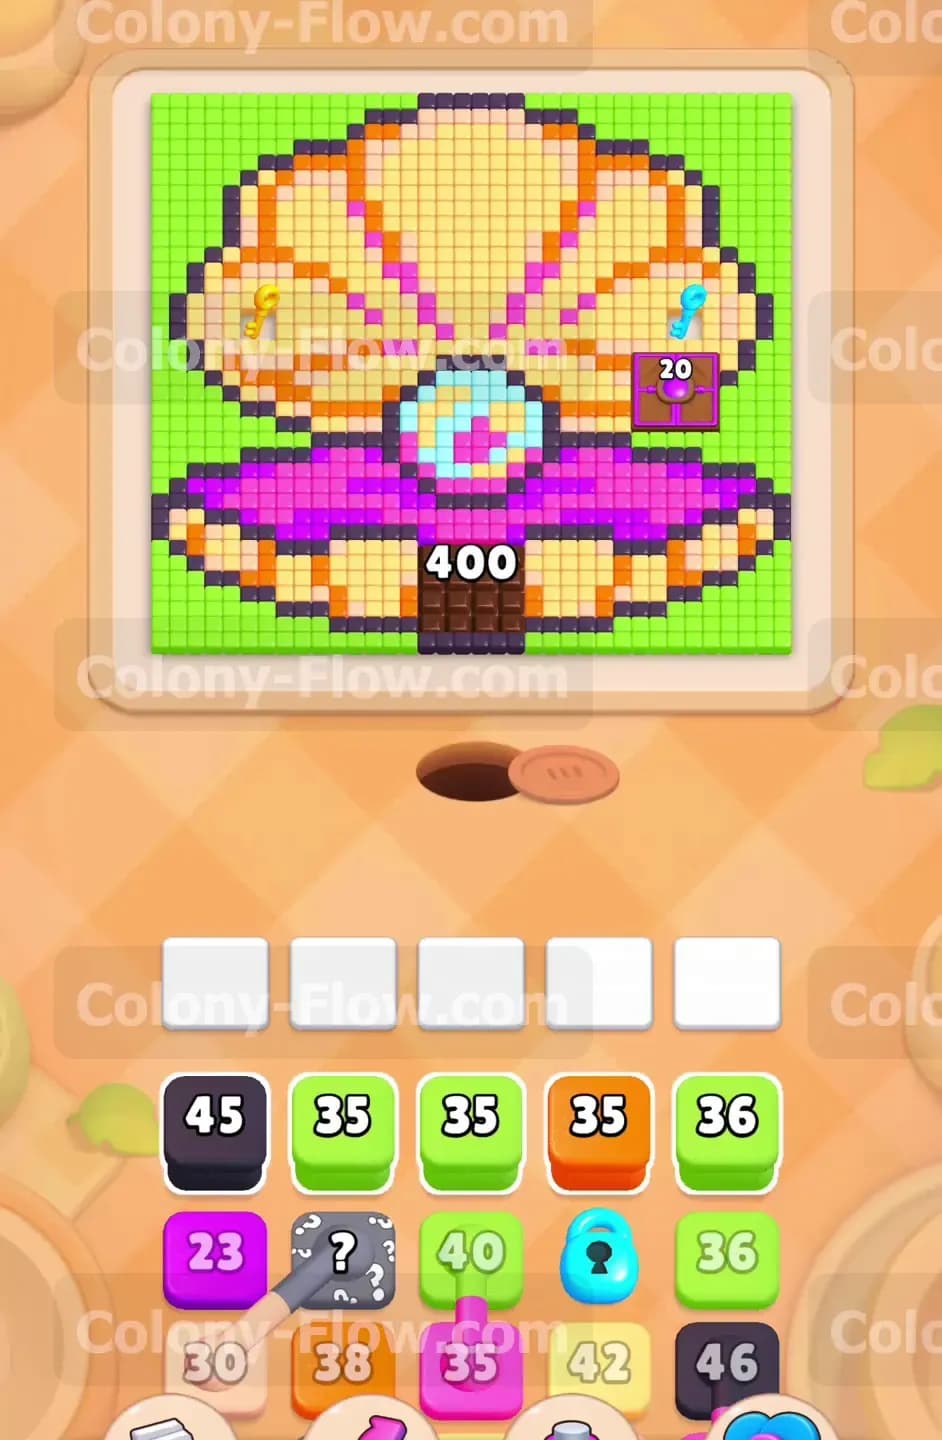
The board features a large and intricate shell design made of hundreds of tiny colored tiles. The top background consists of bright green tiles that look like floating sea plants. The thick outer shell outline is made of dark orange tiles that give the clam its rigid shape. The inner shell body features soft light yellow and tan tiles forming smooth ridges. The bottom base of the shell is built from dark purple tiles. Right in the center sits a shiny pearl made of bright light blue and bright pink tiles.
Special elements are scattered everywhere on this board. A huge chocolate barrier stamped with the heavy number 400 completely covers the bottom brown tiles. You will see a yellow key resting directly on the left side of the inner shell and a blue key sitting on the right side near the pearl. Your tray contains a yellow lock and a blue lock that completely restrict your access to new blocks. You also have gray hidden boxes marked with question marks and several green and yellow connected boxes linked together by bright straight lines.
What It Takes to Clear Level 650 Board
You win the game when you clear every single colored tile from the board and your ants return safely to the nest hole. You instantly lose the game if you fill all five waiting slots in your tray and no ants can reach their matching colors. Your primary goal is to keep at least one active path open at all times to prevent a complete board lock. The massive chocolate block at the bottom requires constant attention because it completely blocks the dark brown tiles underneath. You must route continuous streams of ants to hit the chocolate and wear down its massive counter. You also need to dig your way toward the yellow and blue keys extremely fast. Freeing up the locked boxes in your tray prevents the waiting slots from jamming and keeps your colorful ant swarms moving freely.
Colony Flow Level 650 Step by Step Solution
Step 1: Start chipping away at the thick chocolate barrier
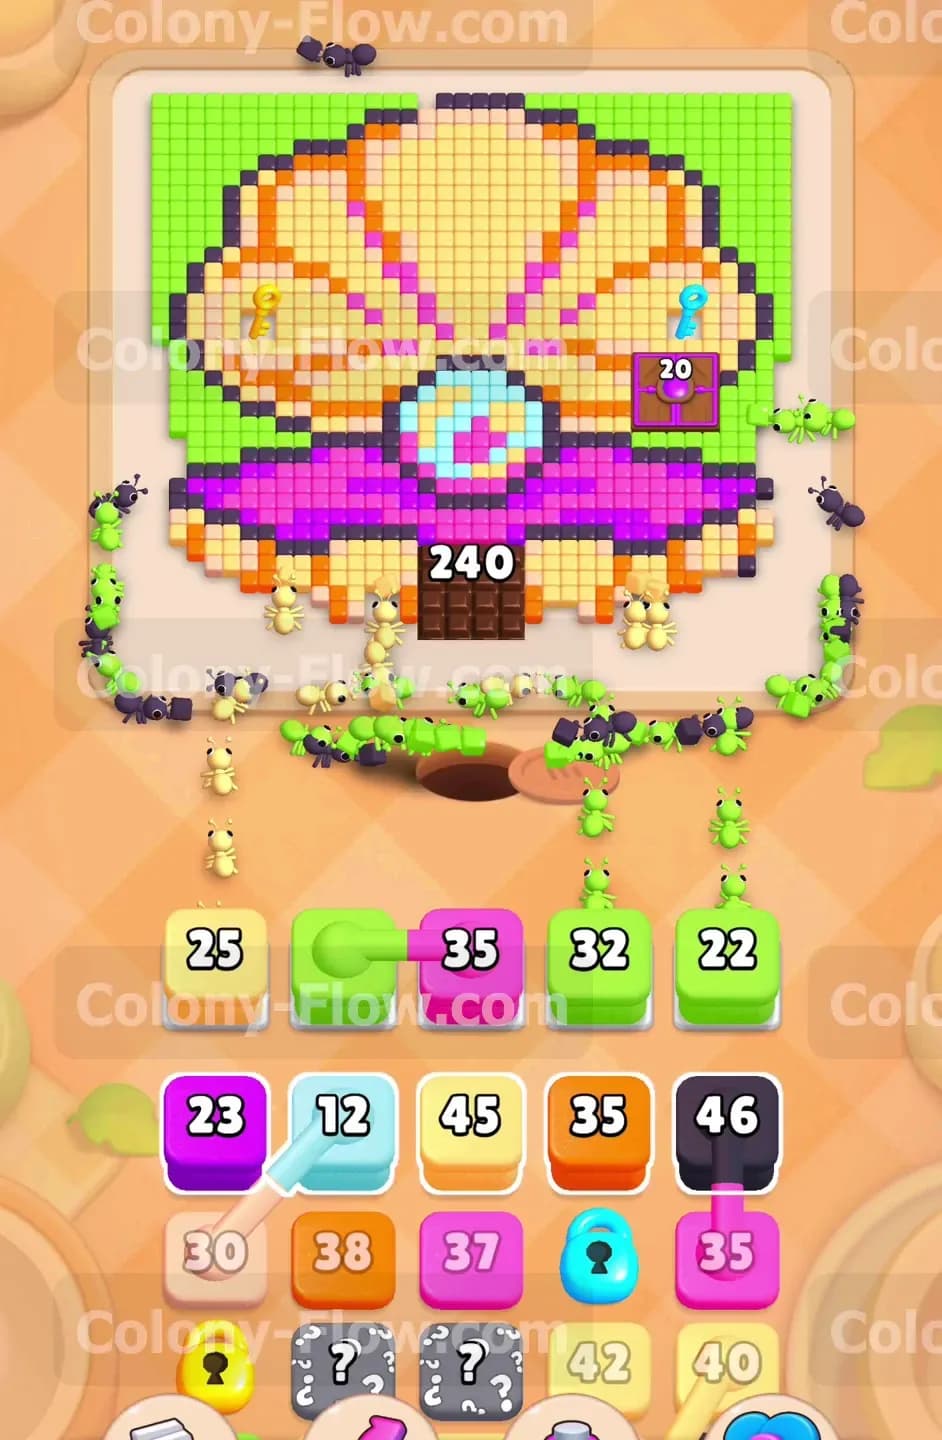
The chocolate block at the very bottom of the board is your biggest obstacle and you must attack it immediately. You pull the initial black and purple blocks from your tray to get your first ants moving out of the nest hole. The black ants rush toward the dark sections while the purple ants start eating the lower base of the clam shell. Every ant that passes near the bottom will take a single tiny bite out of the chocolate barrier. You need to keep pulling green and orange blocks to maintain a steady stream of heavy traffic across the bottom of the board. The chocolate counter starts at 400 so this breaking process takes a lot of time. Keeping the lower paths totally busy ensures the chocolate counter drops steadily while you focus your attention on the upper sections. You never want to leave the chocolate alone because it will quickly stall your progress later in the game.
Step 2: Activate the connected green blocks to clear the background
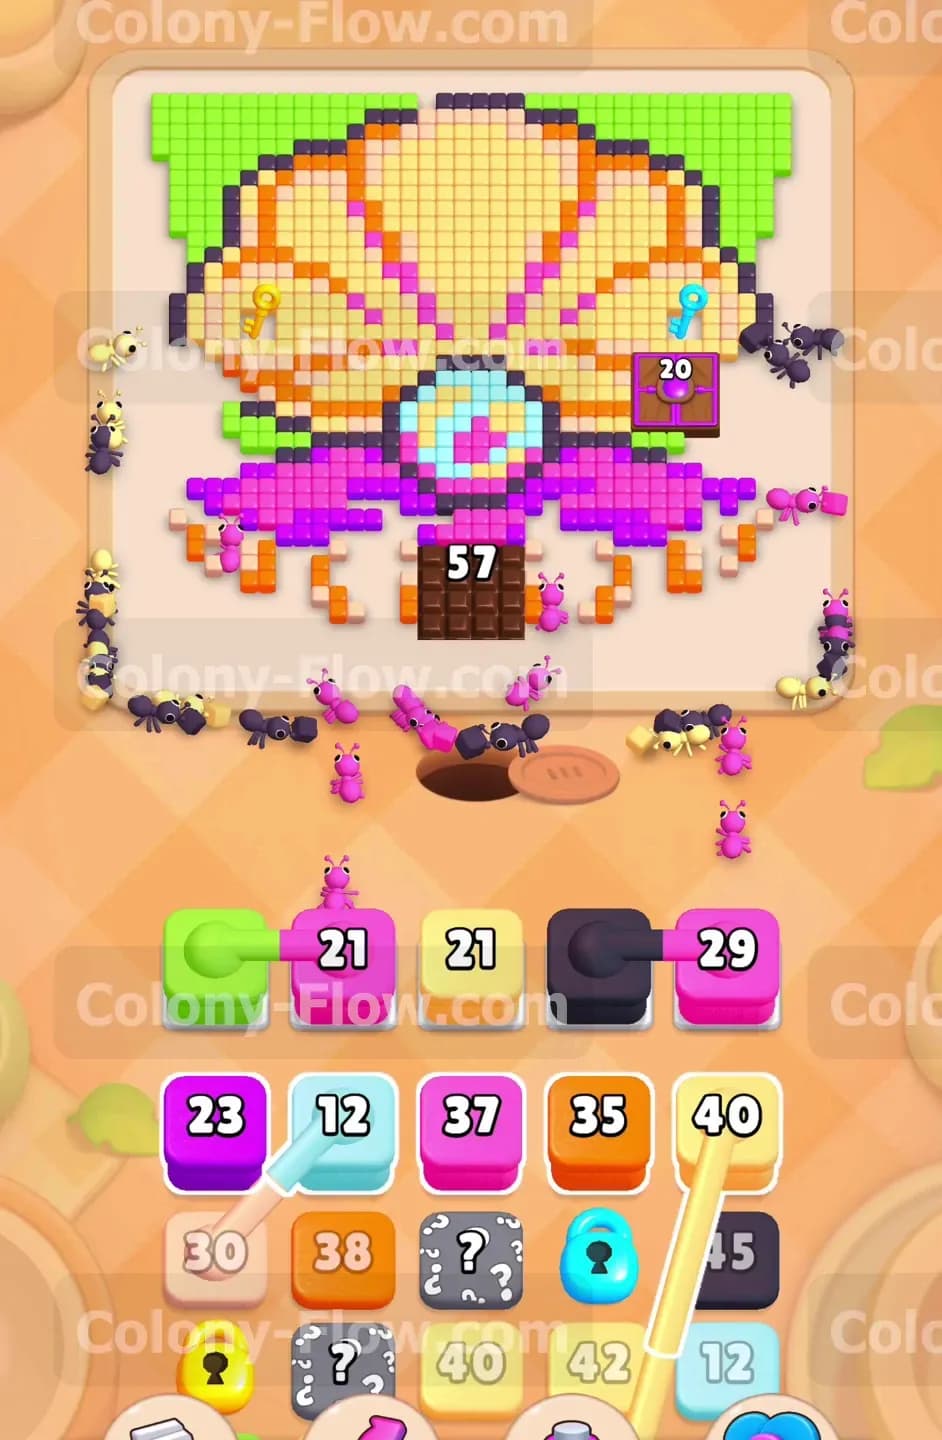
Your tray holds several light green blocks linked together by thick bright lines. You need to pull one of these connected boxes to send a massive wave of green ants onto the board. These connected blocks pull together and launch completely simultaneously. The green ants surge up the far left and right sides of the screen to eat the green background tiles at the very top corners. Clearing these top corners opens up vast amounts of space and gives your future ants a perfectly clear path around the outer edge of the shell. You keep your waiting slots completely empty by letting these large connected groups do the heavy lifting early in the run. Watching a huge swarm of green ants clear the board is very satisfying and highly efficient for your slot management.
Step 3: Hunt down the yellow and blue keys to break the locks
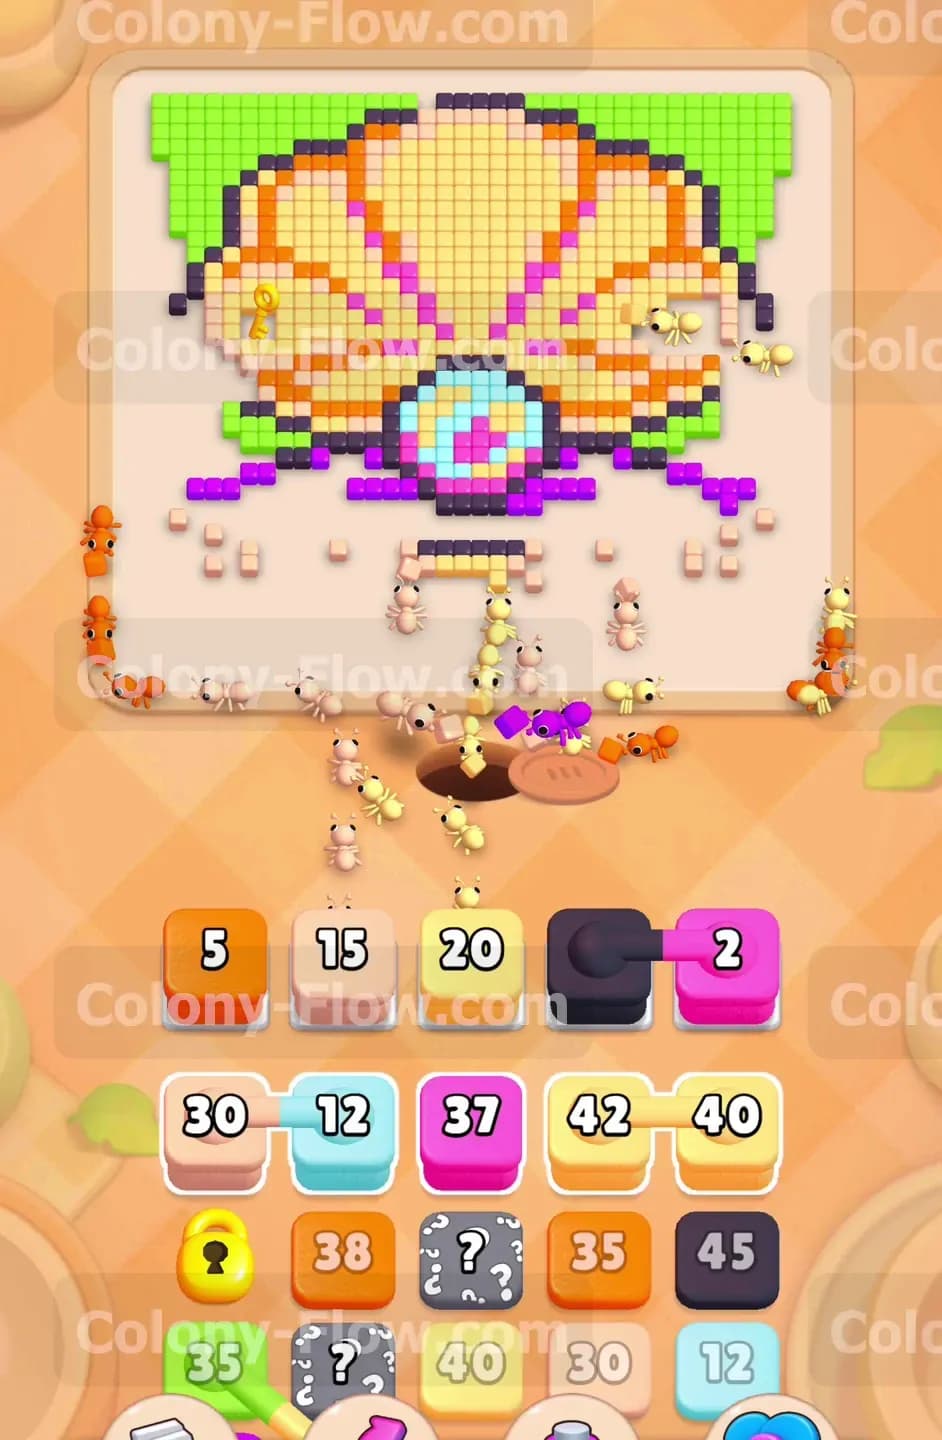
As the purple base and the orange outline begin to shrink you finally gain open access to the inner sections of the clam shell. You pull light orange and tan blocks to clear paths directly toward the shiny keys. A yellow key sits waiting safely on the left side of the shell body. A blue key rests on the right side slightly overlapping the center pearl. You must guide your ants directly to these keys to collect them as fast as possible. Grabbing these keys is absolutely mandatory because your tray is currently badly clogged with a yellow lock and a blue lock. When you collect the keys the locks in your tray break open and immediately reveal fresh numbered blocks. This specific action frees up highly valuable space in your tray and prevents a dangerous jam in your five waiting slots.
Step 4: Reveal the hidden boxes to maintain your steady momentum
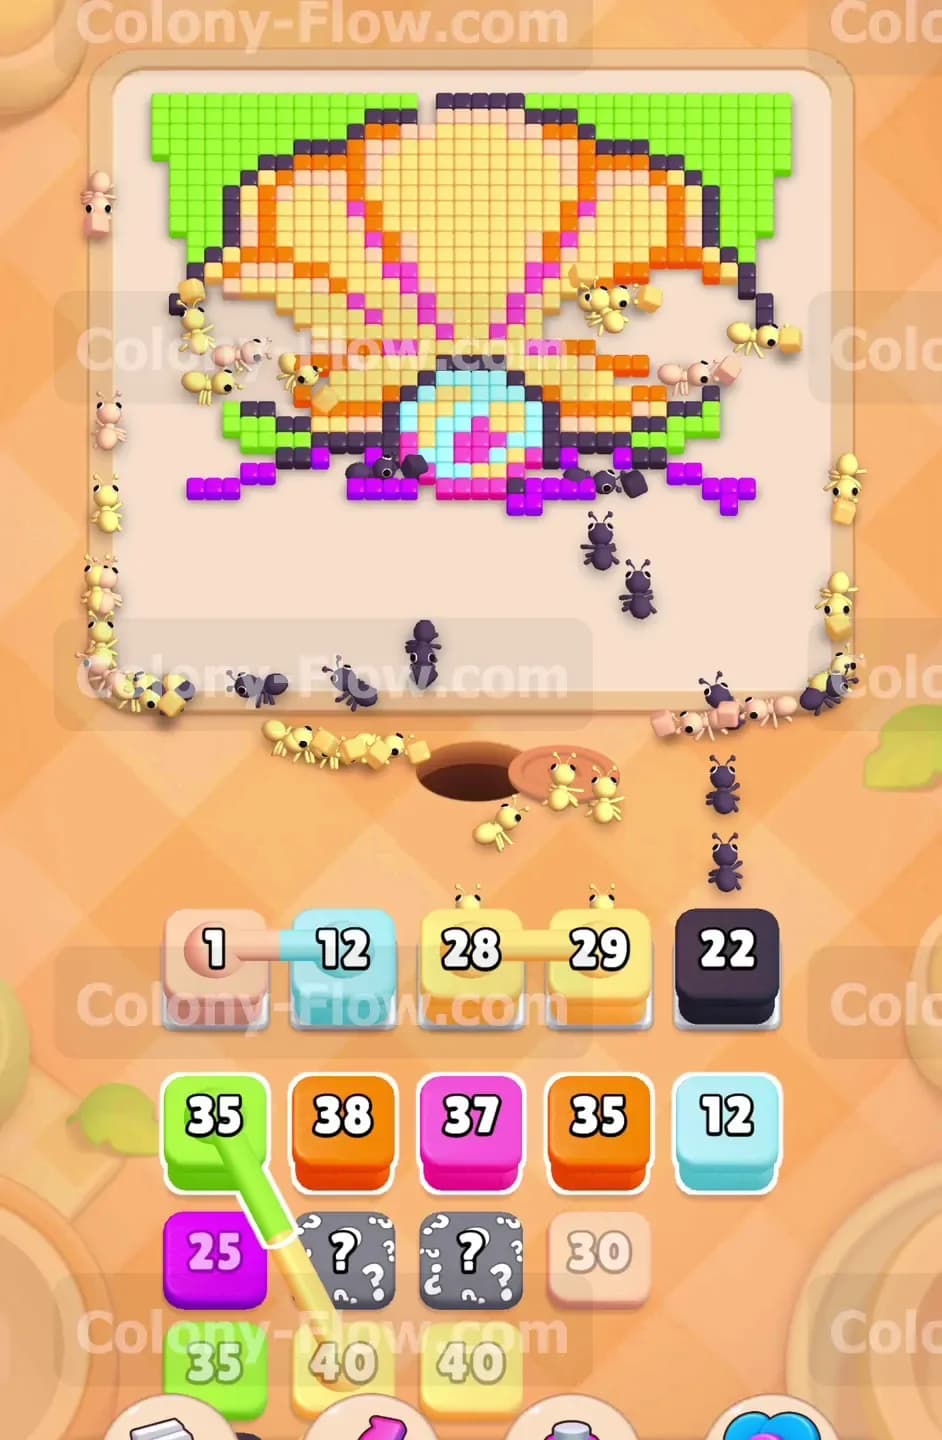
With the heavy locks removed you now have open access to the hidden boxes scattered deep in your tray. These gray boxes display a large question mark and keep their true colors a total secret until moved. You pull them into your waiting slots only when you have a safe buffer of open board space. Once they move into the active area they reveal themselves as orange and tan blocks. You immediately match these newly revealed blocks to the exposed orange shell outline and the tan inner body. Discovering their colors allows you to continue eating into the main structure of the clam shell without slowing down your pace. You always want to reveal hidden boxes early so they do not surprise you at the end of the game and cause an unexpected slot jam.
Step 5: Eat the brown tiles exposed completely under the chocolate
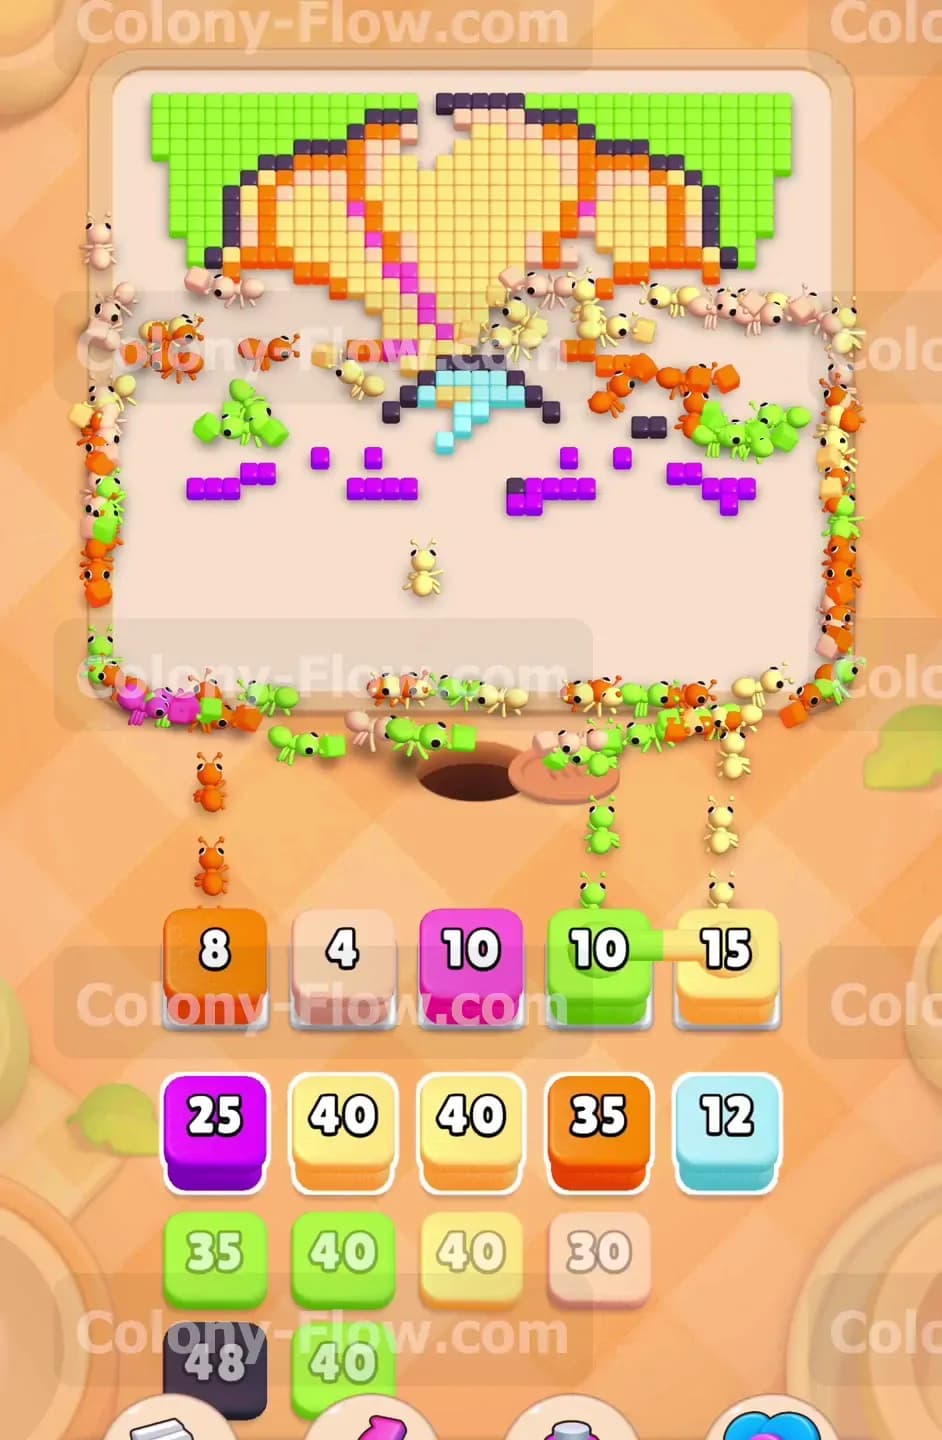
Your continuous flow of walking ants finally breaks the huge chocolate barrier. The chocolate completely dissolves and reveals a small set of dark brown tiles at the very bottom center of the board. You now pull the small tan and brown blocks from your tray to clear these bottom tiles. Clearing the bottom section creates a wide open highway for your ants to travel upward into the deep center of the shell. You never want to leave these bottom tiles sitting there because they can block the flow of ants trying to reach the higher sections of the picture. You clear them quickly to keep the board completely open and keep your ant paths extremely wide.
Step 6: Clear out the delicate colored center pearl
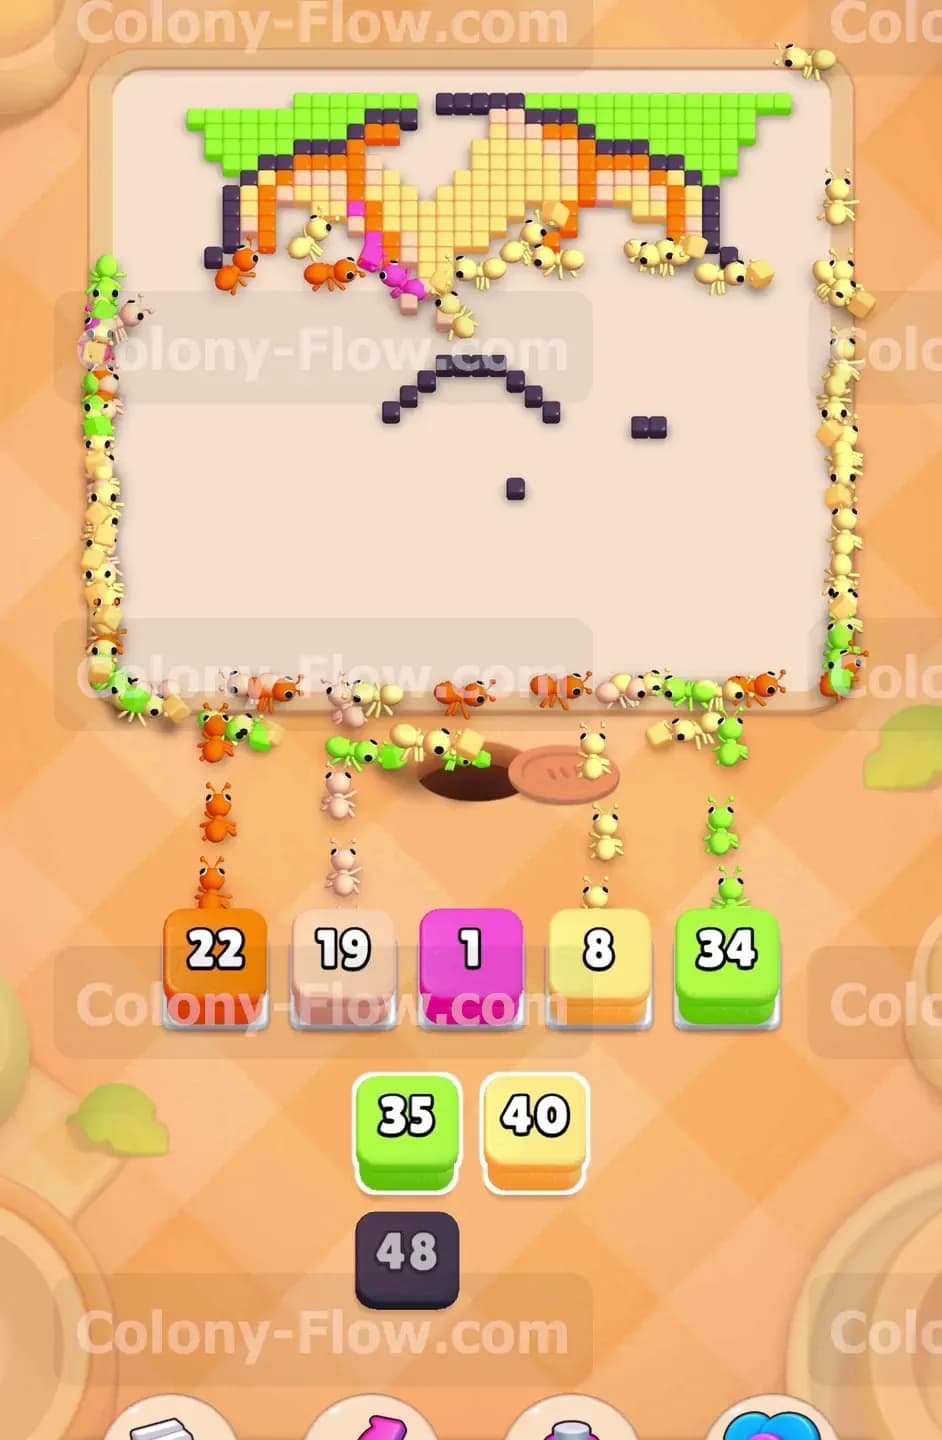
The center of the board features a bright pearl made entirely of light blue and pink tiles. You pull the light blue blocks and the pink blocks from your tray to dismantle this center structure. The ants travel straight up the middle of the empty board and eat away the shiny pearl highlights. Removing the pearl splits the remaining board into two entirely distinct halves. This split makes it much easier to route your ants to the left and right sides without them bumping into random obstacles in the middle. You carefully watch your tray to ensure you do not pull too many pink blocks at once to avoid filling your waiting slots with ants that have nowhere to go.
Step 7: Unleash the connected yellow blocks for the huge inner shell
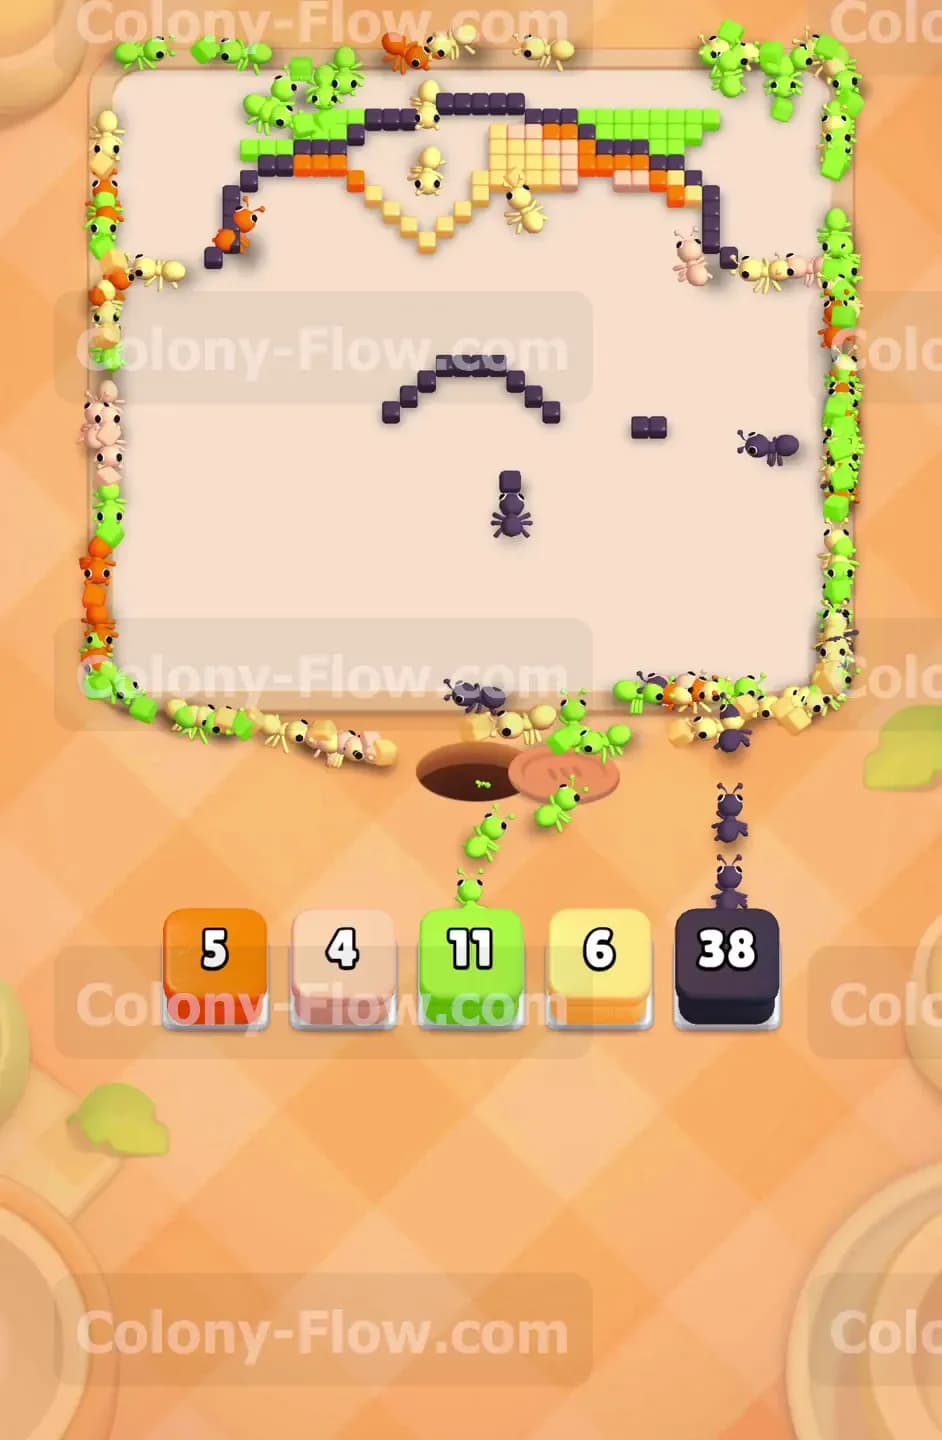
The absolute largest remaining part of the picture is the light yellow and tan inner shell. Your tray provides several connected light yellow boxes to handle this massive section quickly. You pull one of the connected yellow blocks and watch as a huge swarm of ants floods the entire board. The ants spread out across the wide inner shell and consume dozens of tiles in mere seconds. Using the connected boxes here is highly efficient because it removes a massive chunk of the picture in a single simple move. This rapid clearing opens up the final few tiles of the orange outline and leaves the board looking very empty. It also drastically reduces the number of blocks left blocking your tray.
Step 8: Finish off the final outline and background tiles
The picture is now reduced to a few scattered orange outline pieces and a handful of green background tiles at the very top. You pull the final orange blocks to clear the remaining ridges of the clam shell completely. You then pull the last green blocks to finish off the top edges of the board. You also deploy a final black block to clean up any remaining dark accent tiles hiding in the corners. You manage these last few moves slowly and deliberately to ensure total accuracy. You only pull a block when you know the ants have a direct and completely open route to their exact targets. The last ants finish their tiny meals and run off the board to easily complete the level.
Final Thought
Colony Flow Level 650 demands careful tray management and a relentless continuous attack on the bottom chocolate barrier. You win by keeping your paths widely open and prioritizing the shiny keys to unlock your restricted tray slots early in the game. Watch the video above this article if you want to see exactly how these massive ant swarms clear the entire board from start to finish.