Colony Flow Level 1147 Walkthrough Solution & Guides | How to solve Colony Flow 1147

Guide By Liam Stone
Updated on August 12, 2026
You can jump straight to the video above and watch the full Level 1147 solution instead of reading on.
Video doesn't match your screen?
Game updates frequently scramble layouts! Try our AI Screenshot Solver first to find your exact board instantly, or report broken guides to our team.
Colony Flow Level 1147 throws a massive pixel art flower right in the middle of your screen. This puzzle requires careful planning to strip away the thick layers of colorful petals without clogging your available moves. You have to manage a tricky mix of connected blocks and hidden colors while keeping the ant paths flowing smoothly. I play every single level to verify the real answers and this one definitely tests your ability to pace your choices.
Colony Flow Level 1147 Overview
What You Are Working With
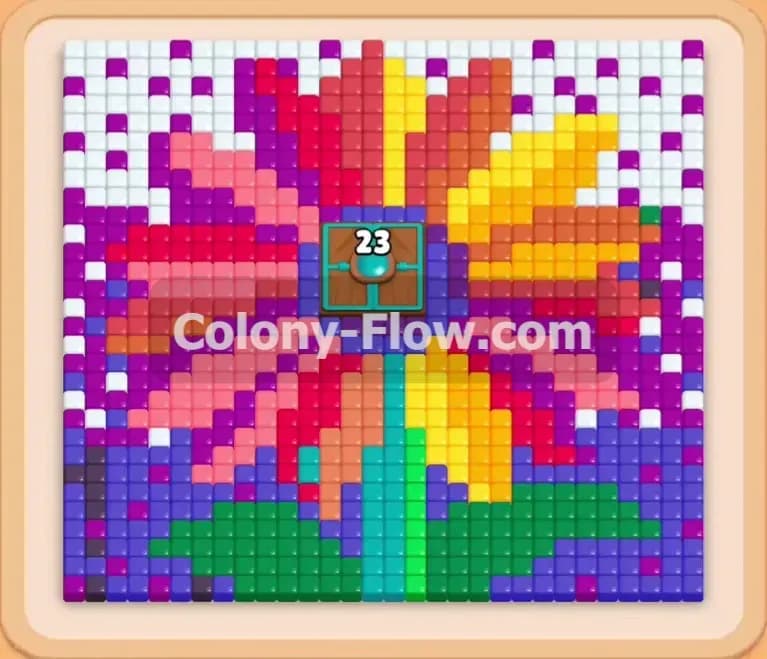
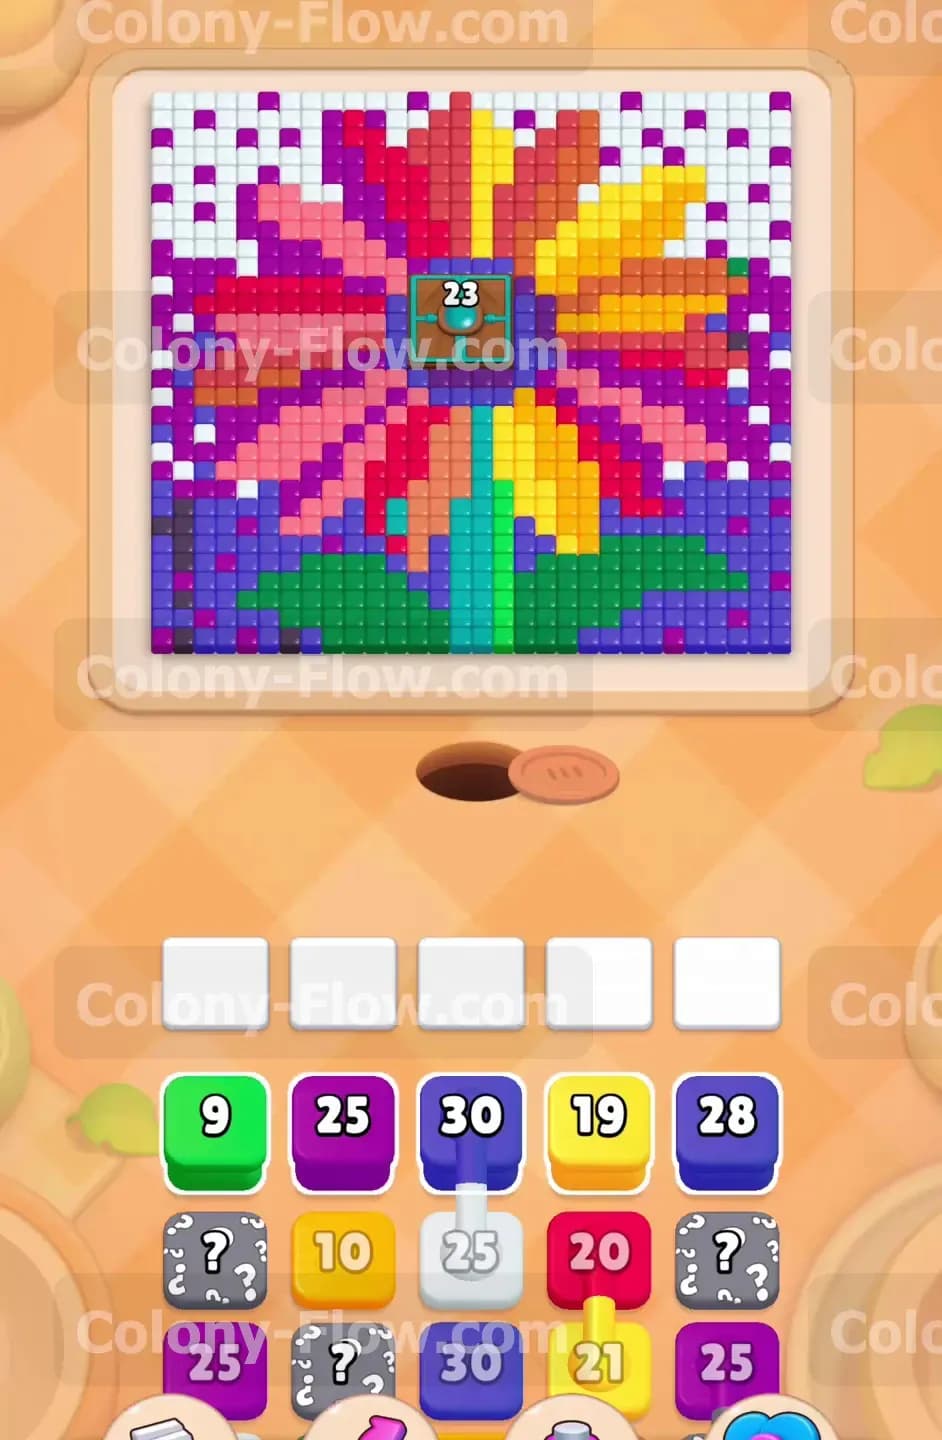
The board features a giant bright flower resting on a background of solid purple corners and scattered white dots. The flower itself has a green stem at the bottom and thick layers of petals. The left side petals feature deep red and bright pink tiles. The right side petals consist of yellow and orange tiles. Right in the very center sits a dense teal block marked with the number 23 surrounded by a tight purple ring. Down in your tray you will find standard numbered blocks along with some special mechanics. You will see connected boxes linked together by white lines. You will also spot hidden boxes marked with question marks that hide their true color until a valid path opens up on the board.
What It Takes to Clear Level 1147 Board
Winning this level means peeling the flower from the outside in while strictly managing your five waiting slots. If you pull too many blocks and fill all five slots while the ants have no open paths to reach their matching colors you will instantly lose the game. You must clear the background and the green stem first to open wide travel lanes. Then you carefully dismantle the red and yellow petals to reveal the hidden boxes in your tray. You clear the board by keeping a steady flow of ants moving at all times until the giant teal core and the final stray petals completely disappear.
Colony Flow Level 1147 Step by Step Solution
Step 1: Clear the outer purple background to open perimeter access
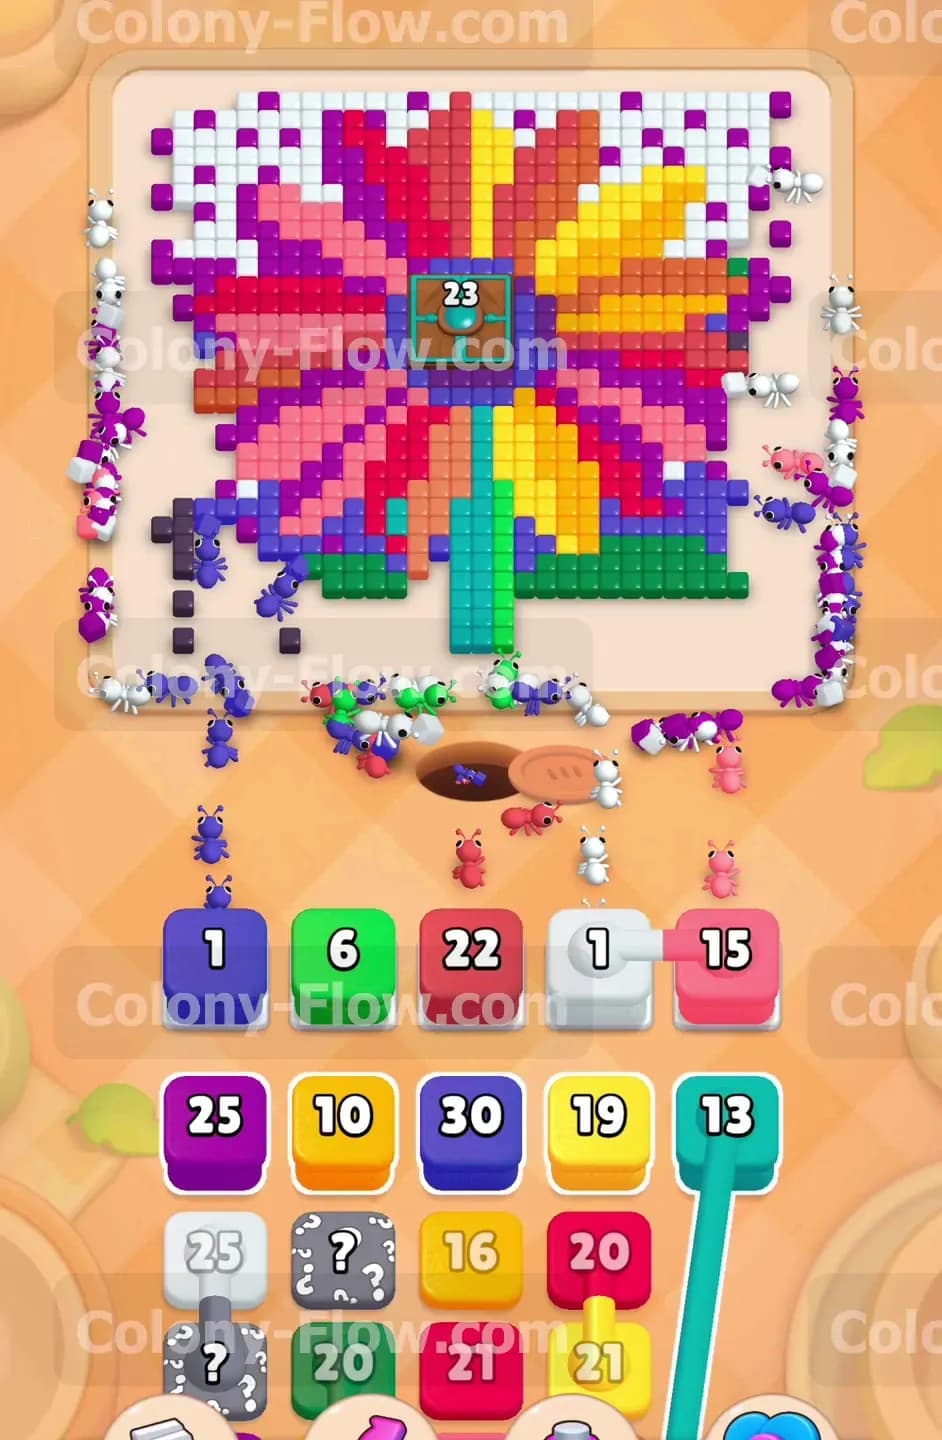
You begin by targeting the large solid purple sections in the lower corners. Pull the purple block with the number 25 from the tray. The ants stream out of the nest and immediately head for the bottom left and bottom right areas. This early move is incredibly helpful because it establishes wide open lanes on both sides of the board. You need these outer lanes to reach the upper sections of the flower later. Watching the purple block count down from 25 to zero takes a few seconds. Wait until the ants clear most of these bottom corners before making your next move. This patience keeps your waiting slots entirely empty and safe.
Step 2: Remove the green stem to open the middle lane
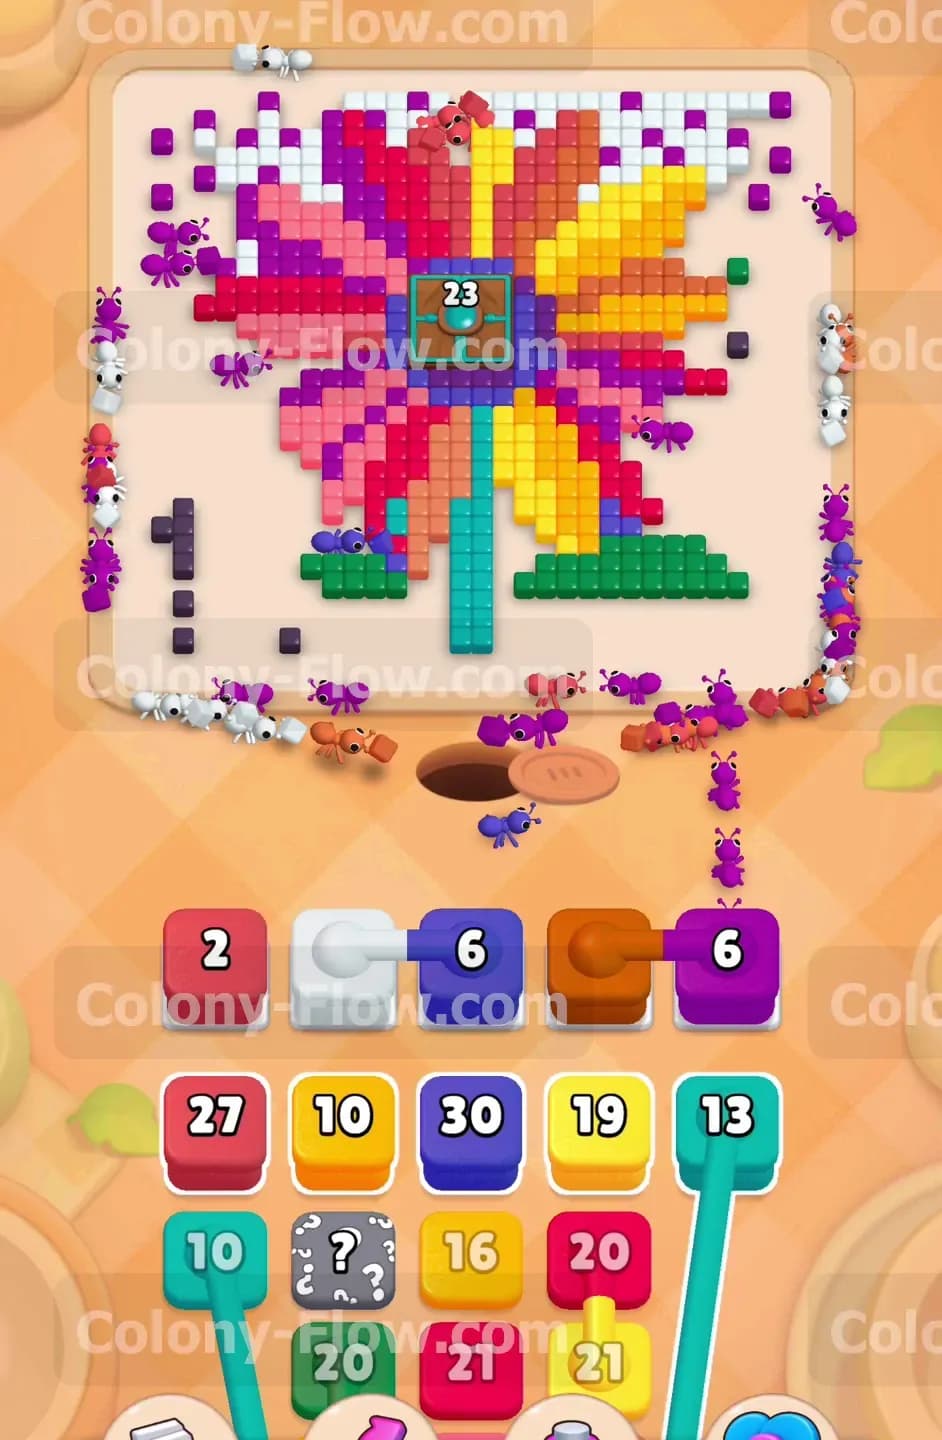
Now you must eliminate the green stem blocking the center path. Tap the green block with the number 9. A fresh group of ants marches straight up from the hole and begins eating the green leaves and the thick stem. Removing the stem opens a direct vertical path to the core of the flower. This vertical route saves travel time for the ants. They no longer have to walk all the way around the outer edges to reach the lower petals. The green block quickly vanishes from your waiting slots. You now have a great physical foundation to start attacking the massive flower itself.
Step 3: Pull the connected blue and white blocks
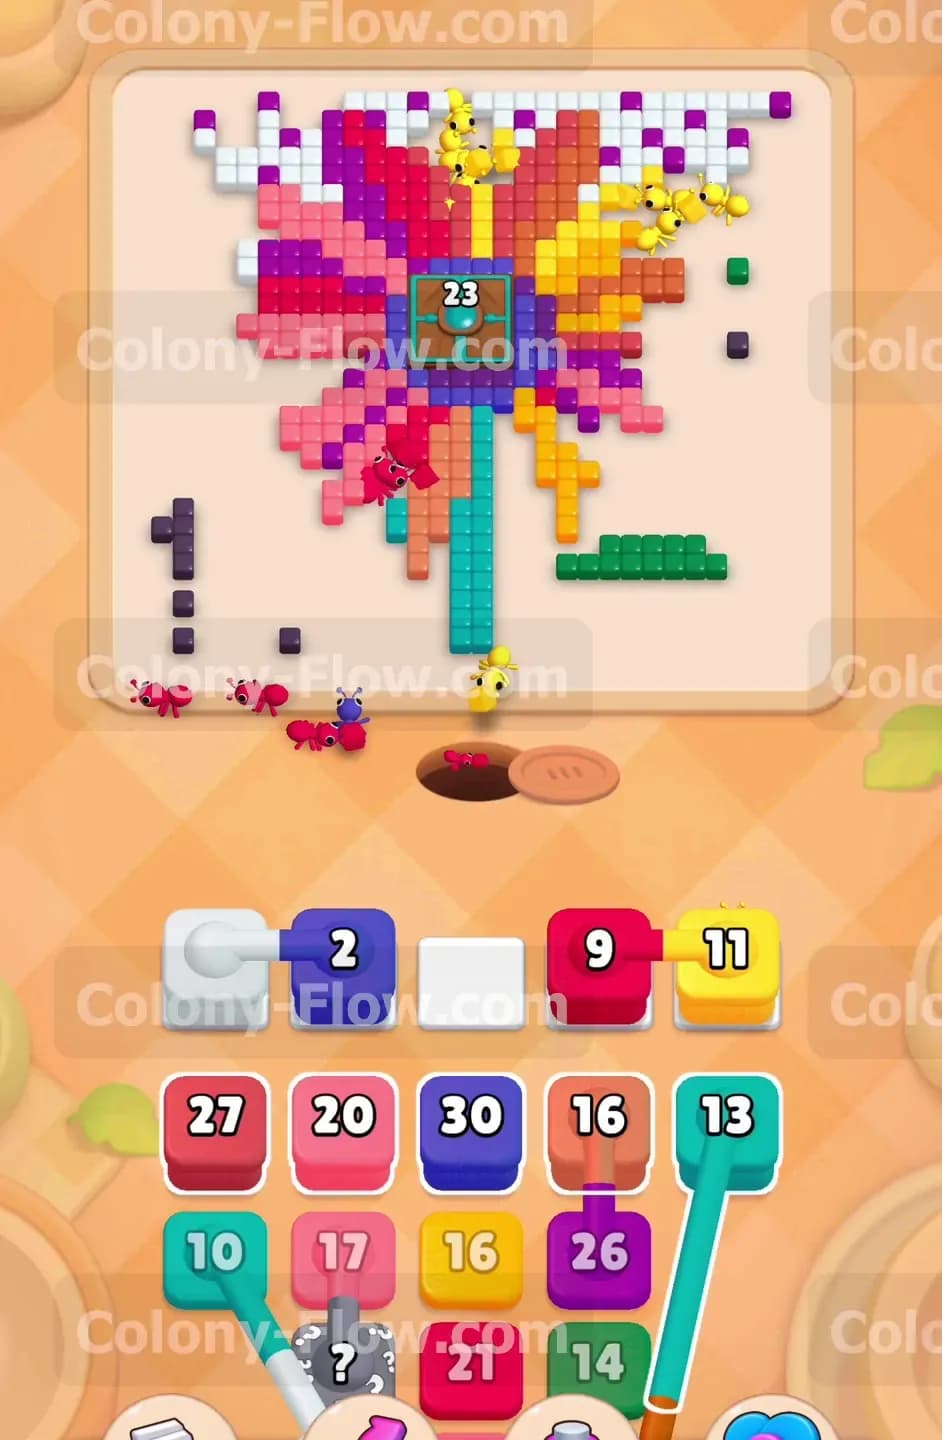
Your tray now presents a connected pair of blocks linking a blue 30 and a white 25. Tapping either one brings both into your waiting slots simultaneously. You must ensure open paths exist for both colors before you pull them. The white background dots float at the very top of the board. The blue tiles sit inside the lower flower petals. The ants will divide into two massive streams. One stream travels up the newly opened side lanes to eat the scattered white dots. The other stream heads straight up the middle to chew on the blue petals. This dual action rapidly reduces the bulk of the board.
Step 4: Unlock and play the first hidden box
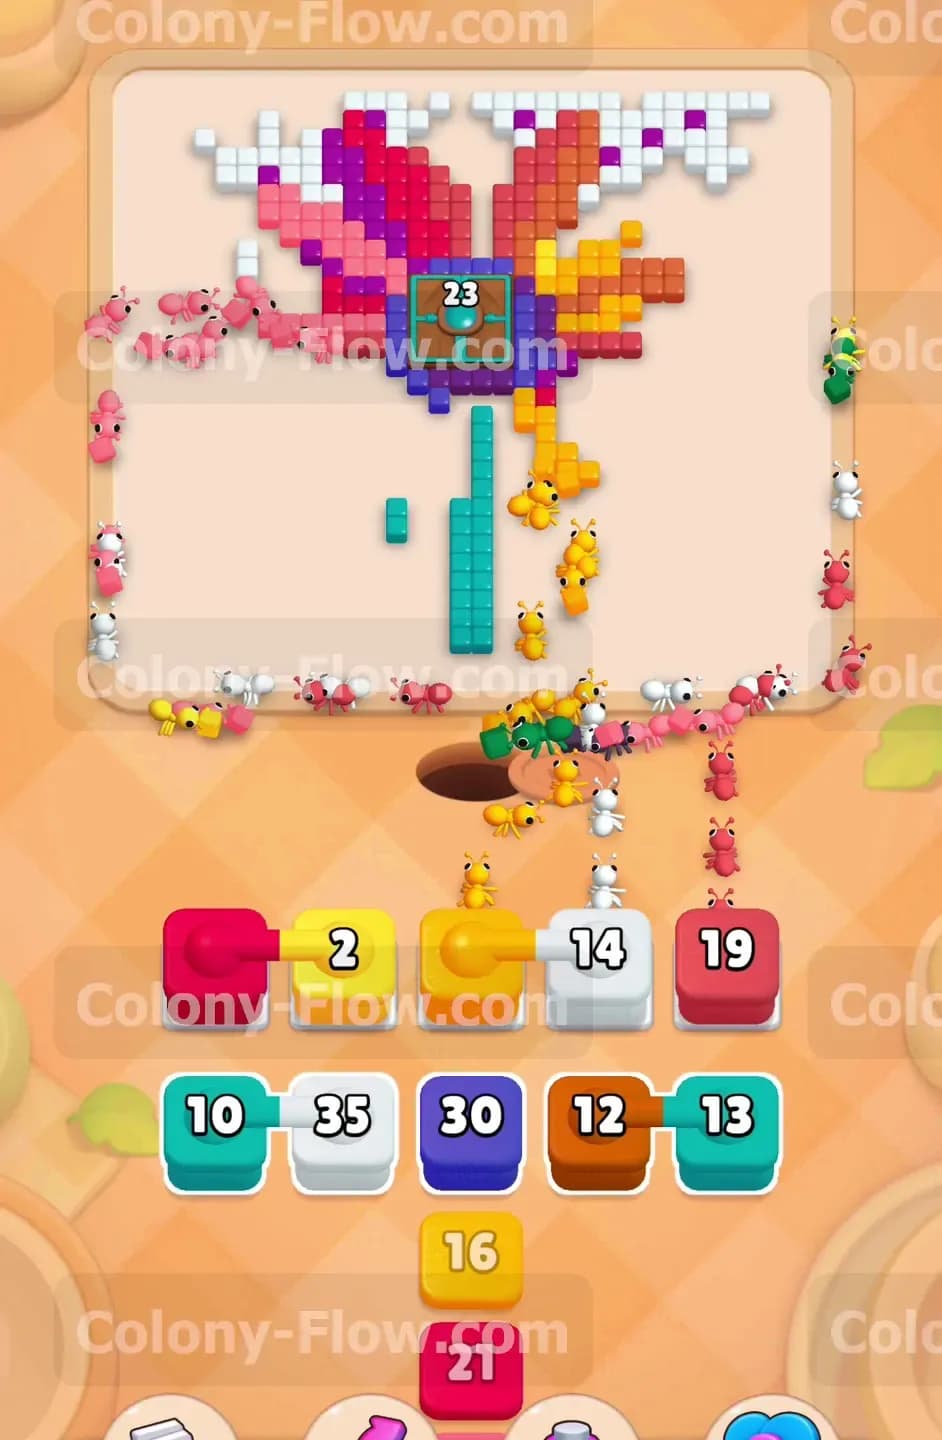
With the outer paths clear you can start unlocking the hidden boxes in your tray. One of the question mark boxes will reveal itself as a red block when a valid path opens up. Tap this red block along with the pink block showing the number 15. The left side of the flower consists entirely of these warm pink and red tones. The ants swarm the left petals and begin tearing away large chunks of the flower structure. Keep a close eye on your five waiting slots. The red and pink blocks hold large numbers so they will occupy the slots for a considerable amount of time.
Step 5: Send yellow and orange ants to the right side petals
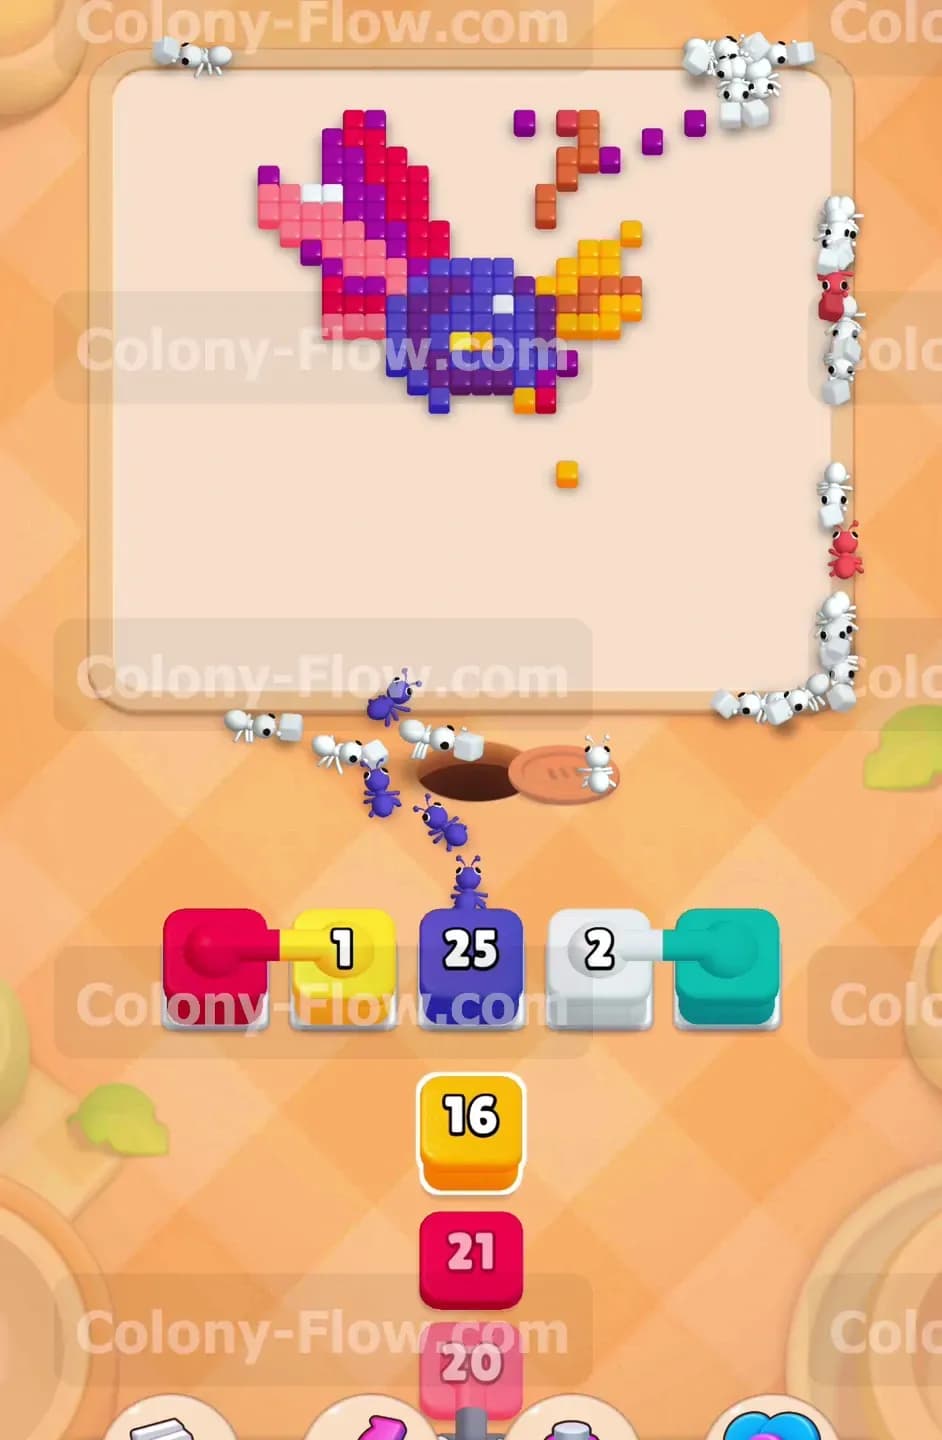
You need to balance the workload by bringing in colors for the right side of the flower. Pull the yellow block with the number 19 and the orange block with the number 16. The ants now flood the right side petals. You have streams of red ants on the left and yellow ants on the right working at the exact same time. This symmetrical attack prevents any single path from getting too crowded. It also ensures you clear the outer petal layers evenly. Your waiting slots might have three or four blocks sitting in them right now. Do not pull any more blocks until one of these finishes counting down.
Step 6: Play the second connected pair and hidden box
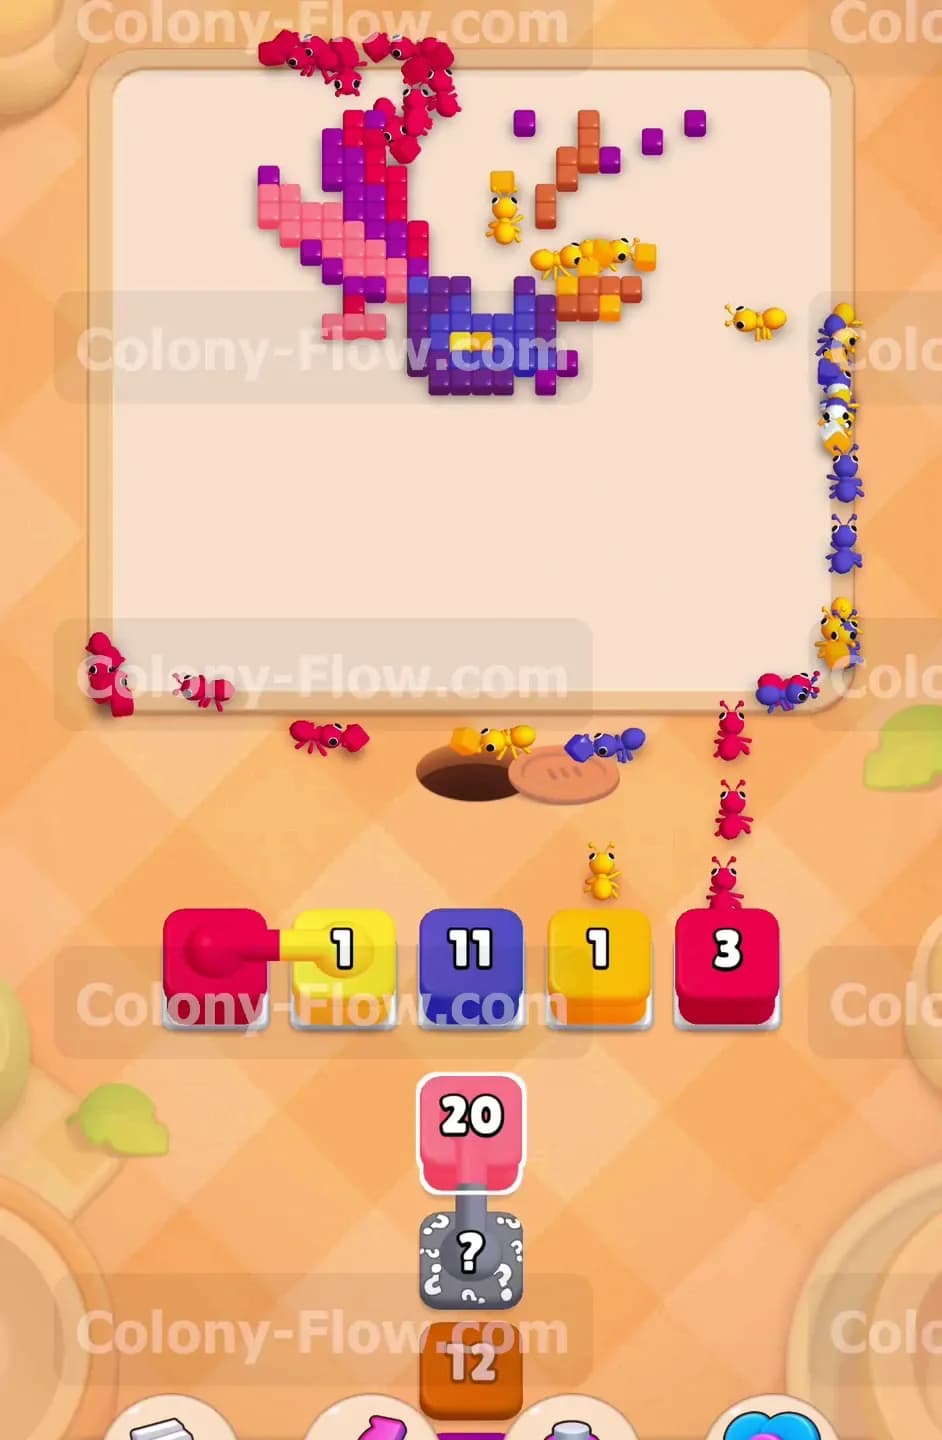
Another connected pair appears in your tray featuring a red block and a hidden box. Wait for your current red block to finish before tapping this new connected pair. Once you pull it the hidden box reveals its true color. The ants rush to clean up the remaining red petal sections on the left side. The flower looks much smaller now. The giant dense petals are completely gone. Only the inner rings and scattered fragments remain on the board. You still have plenty of open paths so the ants move swiftly without creating any traffic jams near the nest hole.
Step 7: Break through the inner purple ring
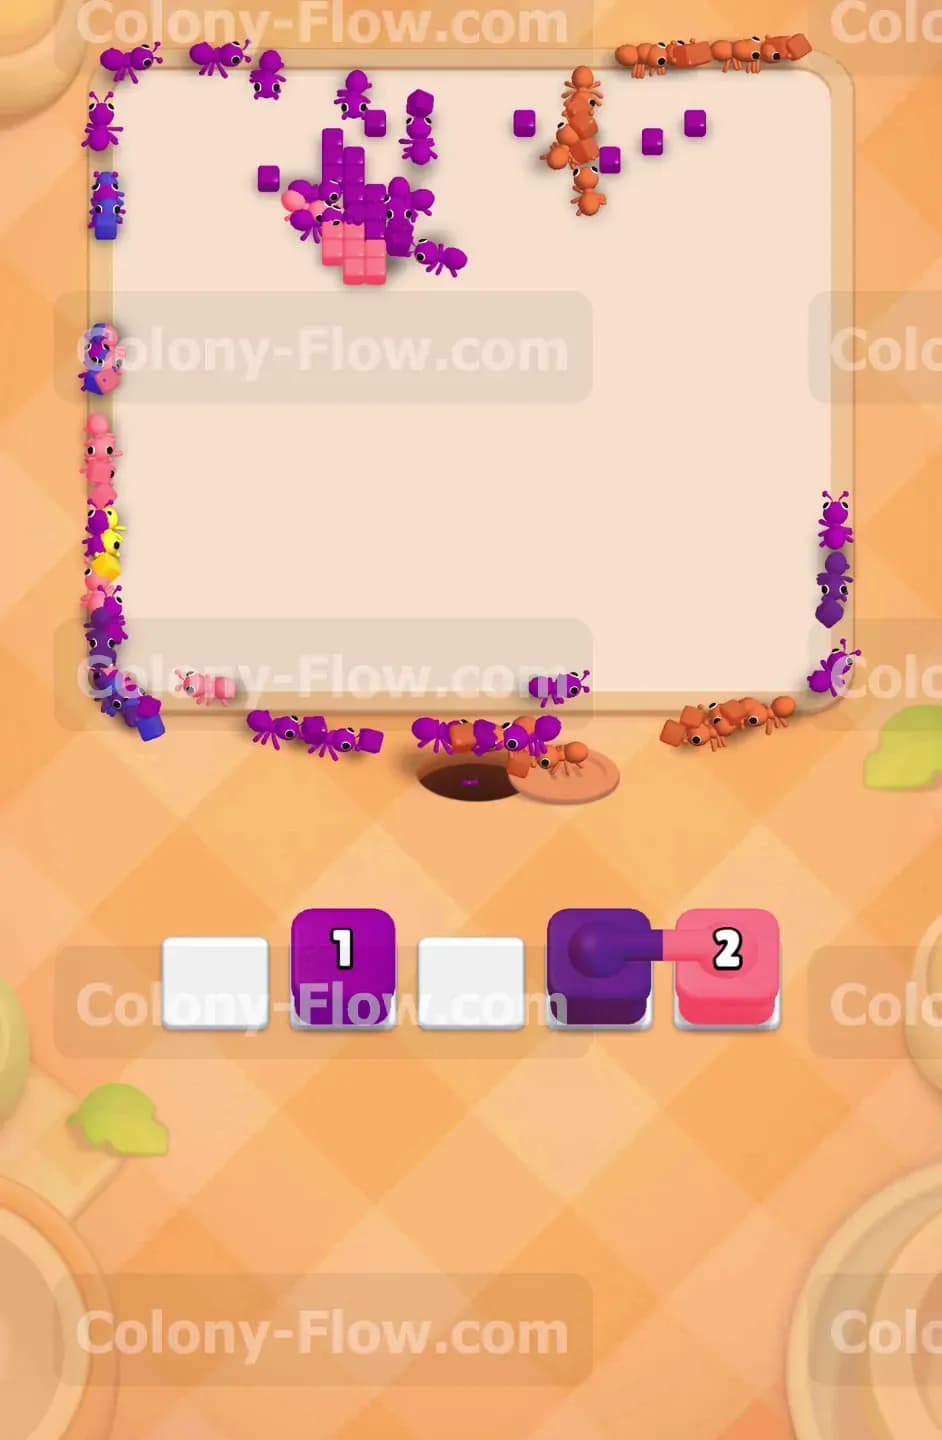
You must breach the inner purple ring to expose the center core. Tap the small purple blocks that appear in your tray. The ants march straight up the middle path where the green stem used to be. They chew through the protective purple border surrounding the center. This is a highly targeted attack. The ants focus entirely on the middle of the board. Clearing this purple ring is mandatory before you can touch the giant teal block inside. Your waiting slots should be nearly empty at this point because the small purple numbers count down very fast.
Step 8: Attack the massive teal center core
The huge center core is finally vulnerable and ready for your ants. Pull the teal block with the number 23 from the tray. This block takes a huge amount of time to clear. The ants swarm the very center of the board and slowly eat away the thick teal square. You can pull a few small remaining yellow or pink blocks into the waiting slots alongside the teal block. The ants will multitask and clean up the stray petal fragments while the main swarm focuses on the center 23 block. Just remember to always keep at least one slot empty just in case.
Step 9: Send the final major wave of ants
A final hidden box sits at the bottom of your tray. Tap it to reveal its color and send the last major wave of ants onto the board. They will hunt down the final pieces of the orange and pink petals scattered near the top edge. The paths are completely wide open now so the ants travel at maximum speed. The teal core is likely finishing its countdown at this exact same moment. The entire center of the board suddenly vanishes leaving only a handful of random tiles floating in the upper corners.
Step 10: Clean up the final stray pixel tiles
Your final task is simply emptying the tray of any tiny remaining numbers. You will see a small blue block and maybe a purple block with the number 1 or 2. Tap them quickly to send out the final cleanup crew. The ants zip across the empty white space to grab the very last pixel tiles. Once the final tile disappears the level ends in a satisfying victory. You managed the five slots perfectly and never allowed the board to dead end.
Final Thought
Level 1147 demands patience and a good eye for spatial routing. By clearing the outside edges first you give your ants the room they need to reach the tricky connected blocks and hidden boxes later. If you find yourself getting stuck on the exact order of the connected trays I highly encourage you to watch the video above this article to see the timing in motion. Keep your slots open and let the ants do the heavy lifting.