Colony Flow Level 4 Walkthrough Solution & Guides | How to solve Colony Flow 4

Guide By Liam Stone
Updated on July 10, 2026
The video above covers the entire Level 4 solution. Watch it if you want to skip the article and jump straight to the answer.
Video doesn't match your screen?
Game updates frequently scramble layouts! Try our AI Screenshot Solver first to find your exact board instantly, or report broken guides to our team.
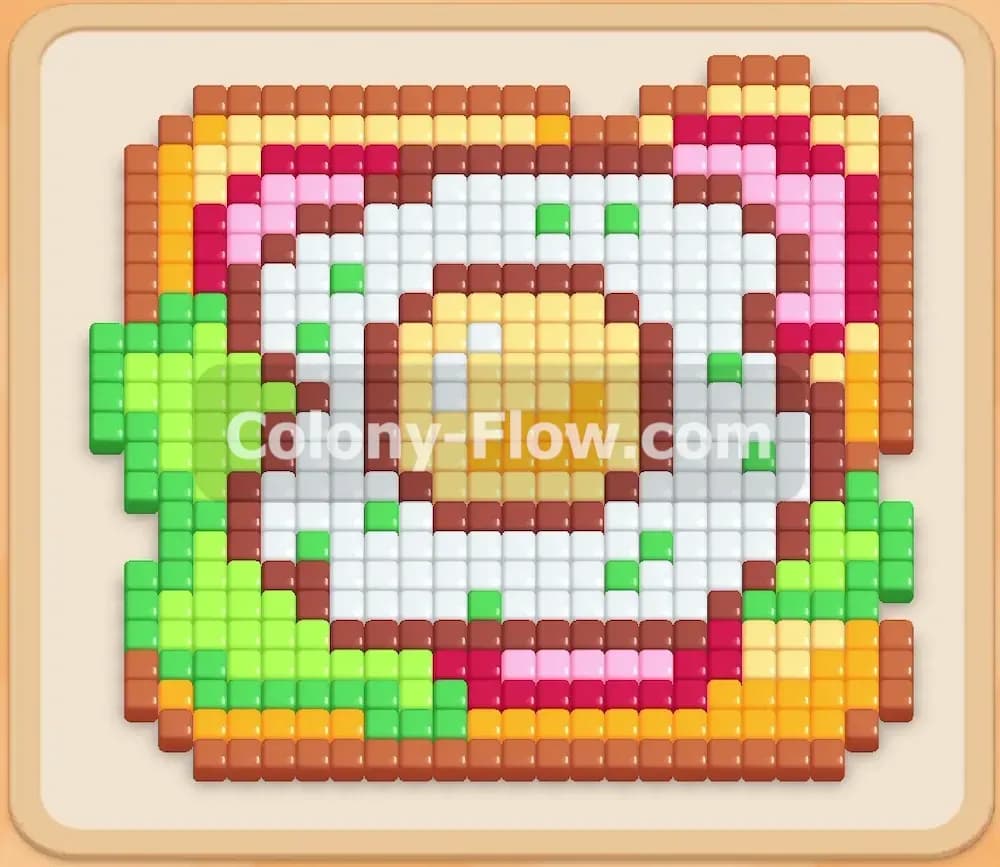
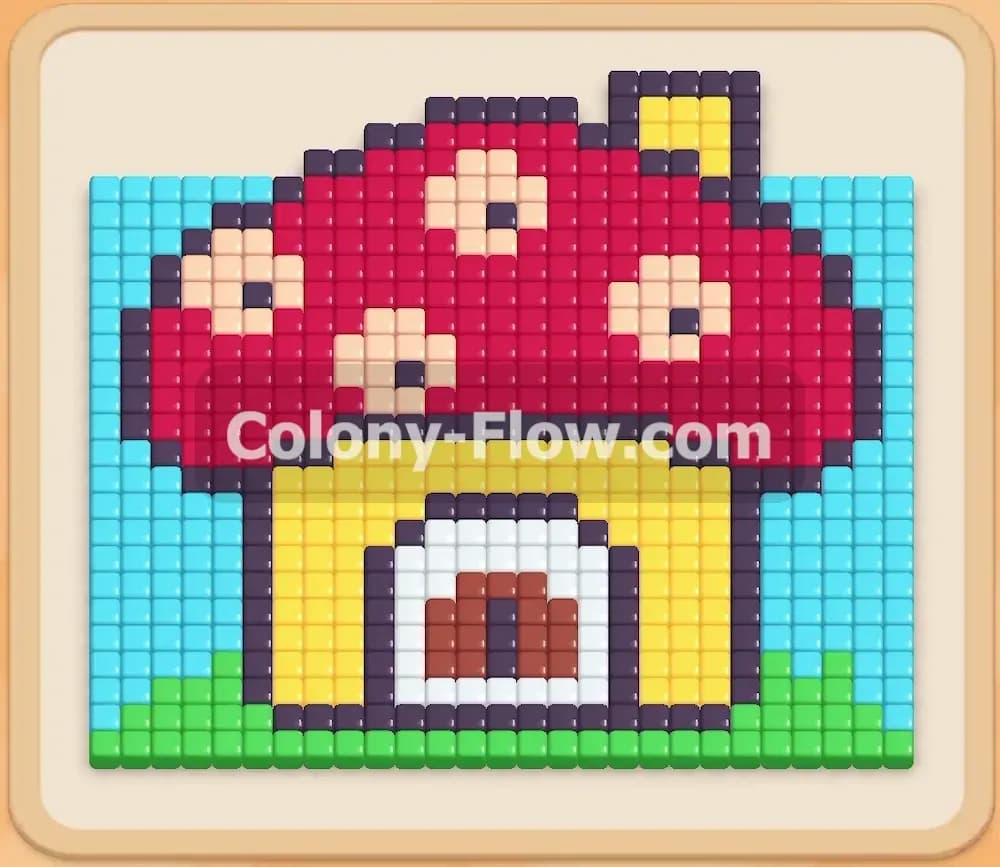
Colony Flow Level 4 brings a massive colorful mushroom house picture directly to your screen. You have to feed a huge colony of ants while managing several different colors at once to beat this puzzle. I will walk you through exactly how to keep your ants moving and avoid filling your waiting slots. You will learn the exact order to pull your blocks so your board never jams.
Colony Flow Level 4 Overview
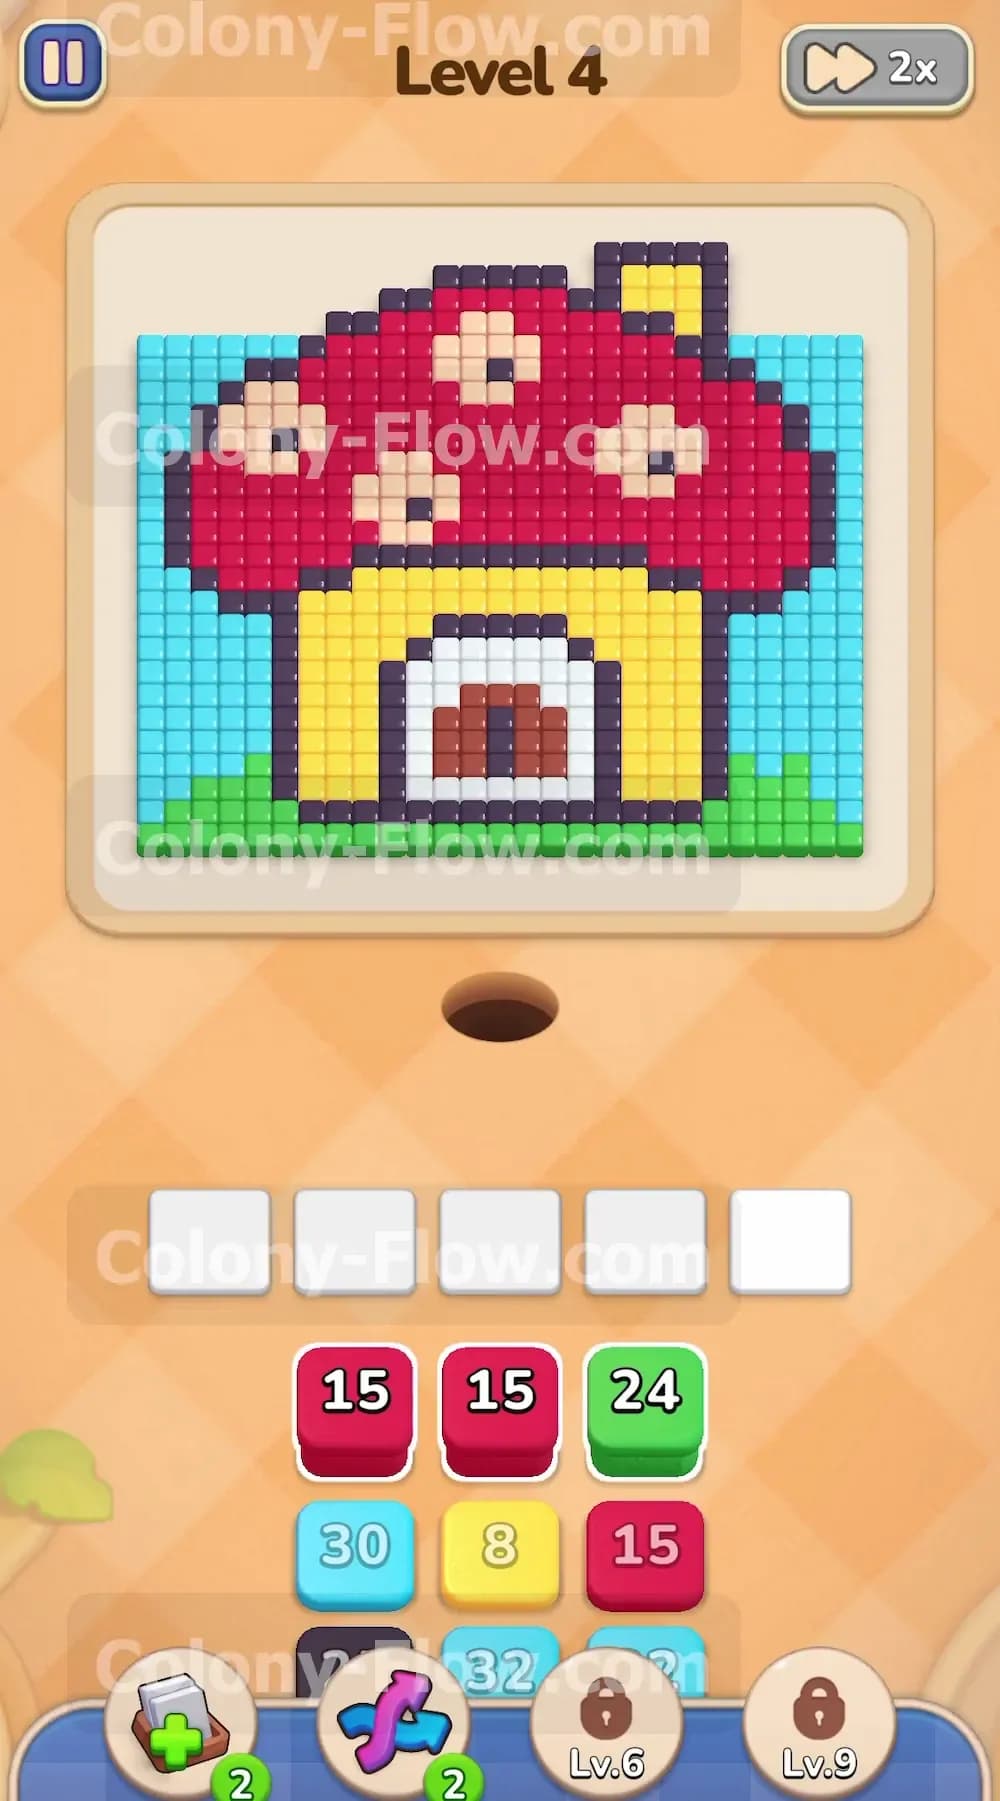
What You Are Working With
The picture in this level is very detailed and packed with different colors. You have a massive mushroom house sitting on a patch of green grass against a light blue sky. The house features a bright yellow base and a huge red roof covered in large peach spots. Right in the middle of the base sits a dark brown door wrapped in a solid white outline. A tiny yellow chimney rests on the top right side of the red roof. Your tray is fully packed with colored blocks that match all these specific sections. The numbers on the red roof blocks and the blue sky blocks are particularly high. You have five waiting slots positioned just above your tray. If you pull a block and the ants cannot reach that specific color on the board the block simply sits in the slot. If all five slots fill up and your ants stop moving you lose the level instantly.
Level 4 Objective
You clear the level by feeding every single colored pixel on the board to your swarming ants. You win when the mushroom house and the sky vanish completely and the board is totally empty. Your main goal is to pull blocks in a careful order that always leaves an open walking path for the ants to travel.
Colony Flow Level 4 Step by Step Solution
Step 1: Pull the green block to clear the grass and open the bottom paths
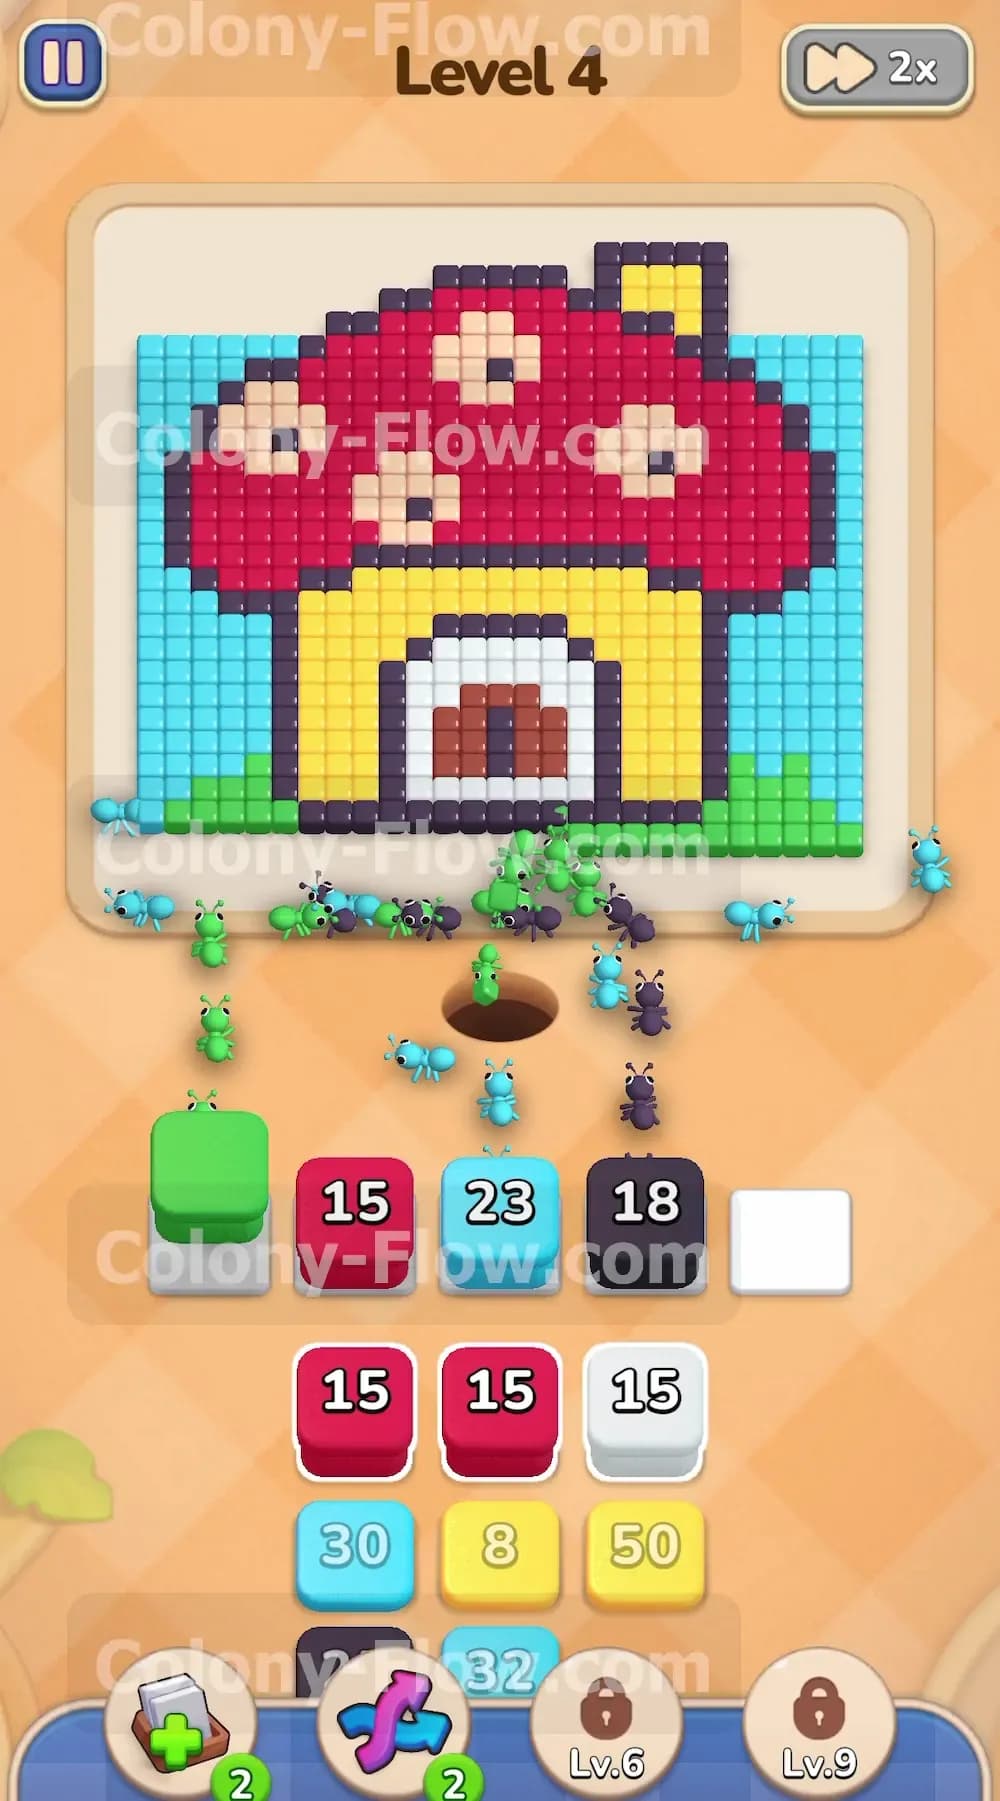
The green grass completely blocks the bottom edge of the mushroom house and the sky. You start your level by selecting the green block with the number 24 from your bottom tray. The ants immediately stream out of their nest hole and rush to the left and right sides of the board. They eat away all the green pixels resting at the very bottom. This is a vital first move because it unlocks the entire bottom row of the picture. If you skip the grass and try to grab the red roof colors right away your ants will get stuck. The red blocks would just sit in your waiting slots and waste valuable space. Clearing the green gives your ants direct physical access to the blue sky and the yellow base of the house. You keep your waiting slots safe by letting the ants finish the green grass before you crowd the board with other colors.
Step 2: Target the light blue sky to clear the outer edges of the picture
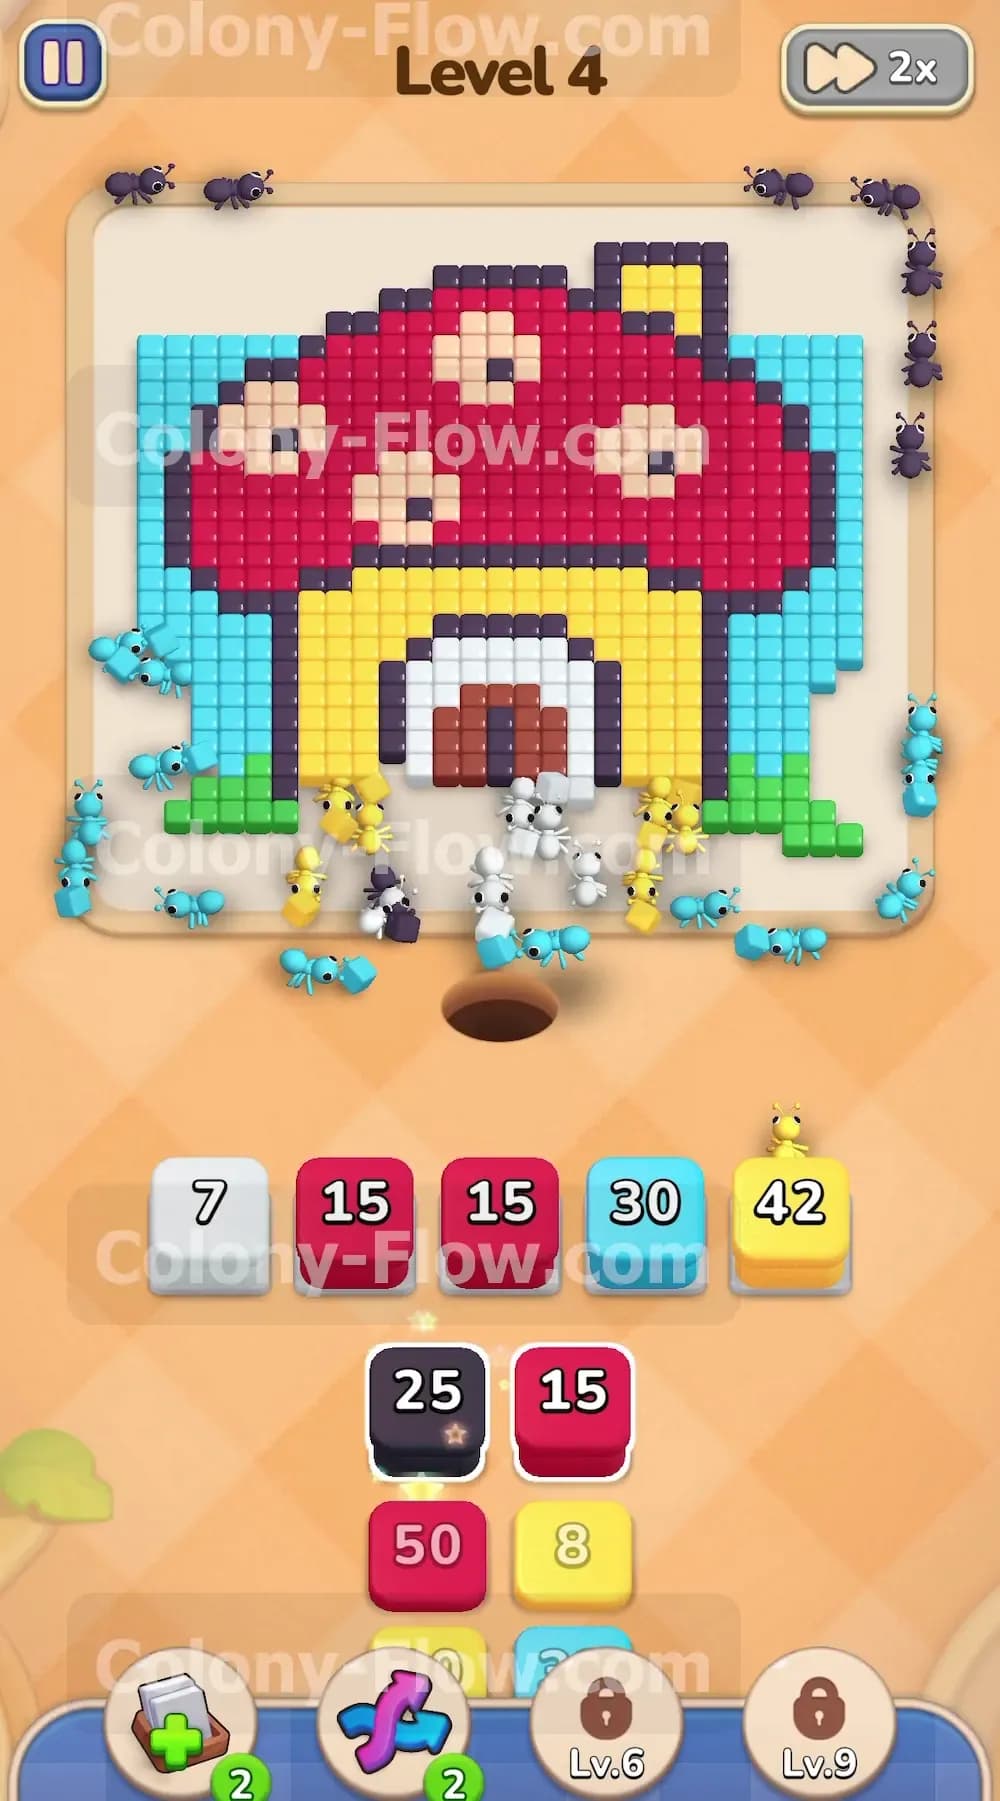
Once the green grass disappears you have a completely open path to the light blue sky. The sky surrounds the entire mushroom house on the left side and the right side and across the top edge. Pull the light blue block from your tray to send your ants out to the perimeter. The sky makes up a massive portion of the picture so the numbers on these blue blocks are very high. Watching the ants clear the sky is extremely satisfying and forms a core part of your winning strategy. Removing this outer blue layer means the ants have a clear path to walk all the way up the sides of the board. This prevents them from crowding in the center. You must leave room for the ants to walk around the sides of the mushroom cap later on. The blue blocks empty out your tray quickly and keep the ants moving fast without clogging your five slots.
Step 3: Break down the white door outline and start the yellow walls
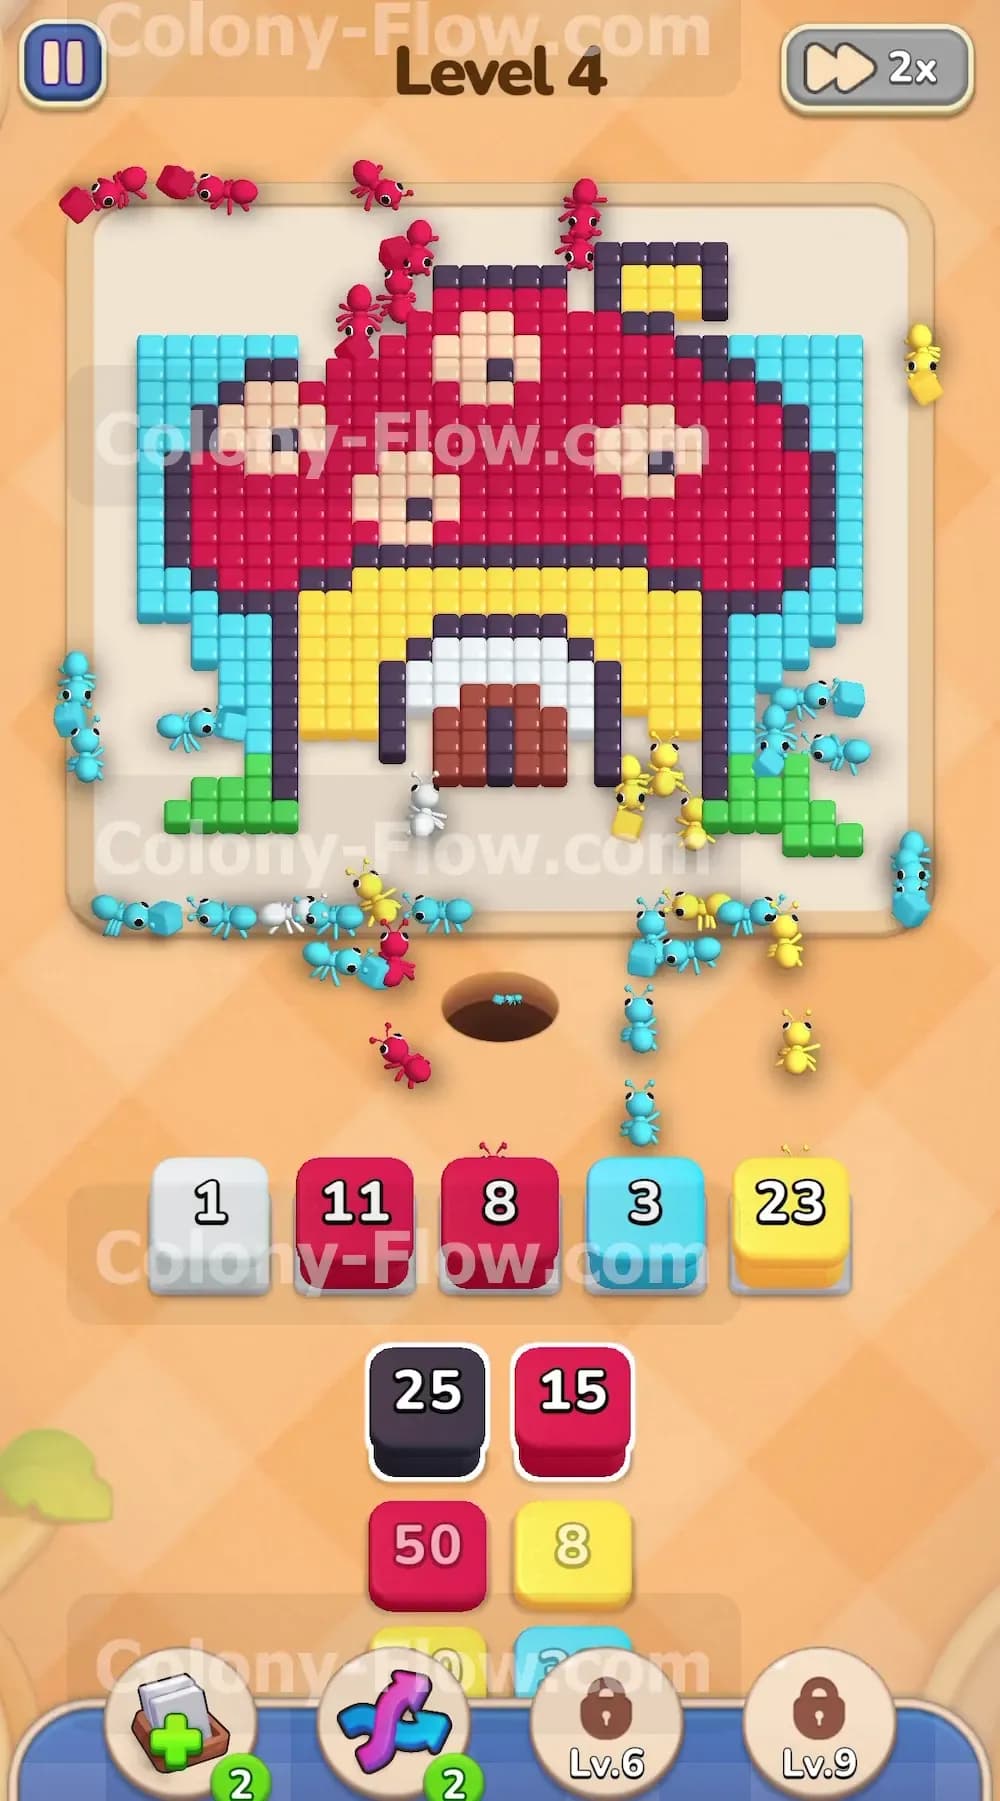
Now you need to turn your attention to the center bottom of the board. The house has a door with a white outline that you must remove to reach the brown wood underneath. Pull the white block to let the ants run straight up the middle and clear that specific outline. At the exact same time you can bring up a yellow block to start eating away the yellow walls of the mushroom house base. The yellow base sits right above where the grass used to be so the path is completely open for the ants to climb. Balancing the white block in the center and the yellow block on the sides keeps your ants busy and moving smoothly. Your five waiting slots remain completely safe because both the white and yellow colors have immediate open paths straight from the nest.
Step 4: Clear the dark brown door to hollow out the exact middle of the board
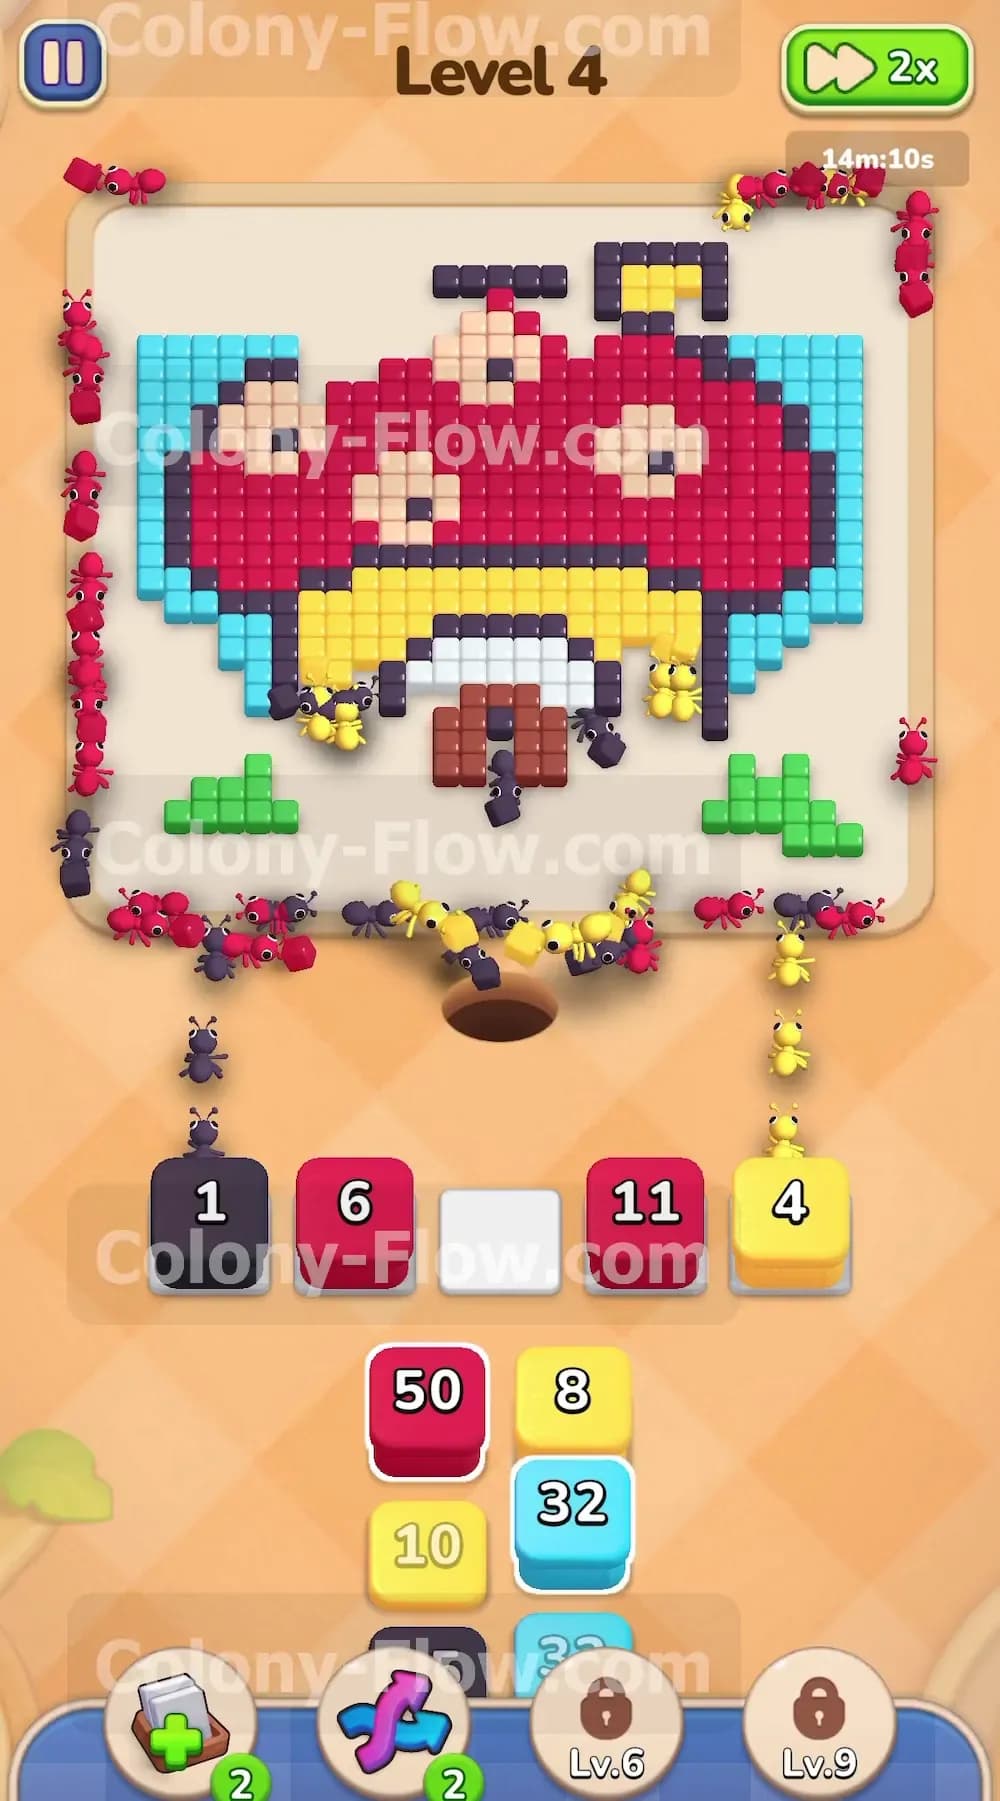
With the white outline completely gone the dark brown door is totally exposed to your ants. Pull the dark brown block from the tray into your active slots. Your ants will rush straight up the center path to eat the brown door pixels. Clearing the center is incredibly helpful because it provides a massive shortcut for your ants to reach the upper sections later. The yellow walls are still shrinking on the left and right sides while the brown door disappears directly in the middle. You are essentially hollowing out the entire bottom half of the picture. Always watch the numbers on your blocks drop as the ants take bites. Once the brown and yellow numbers hit zero those sections vanish completely. This massive empty space guarantees your ants will never get stuck trying to reach the roof.
Step 5: Release multiple red blocks to attack the massive mushroom roof
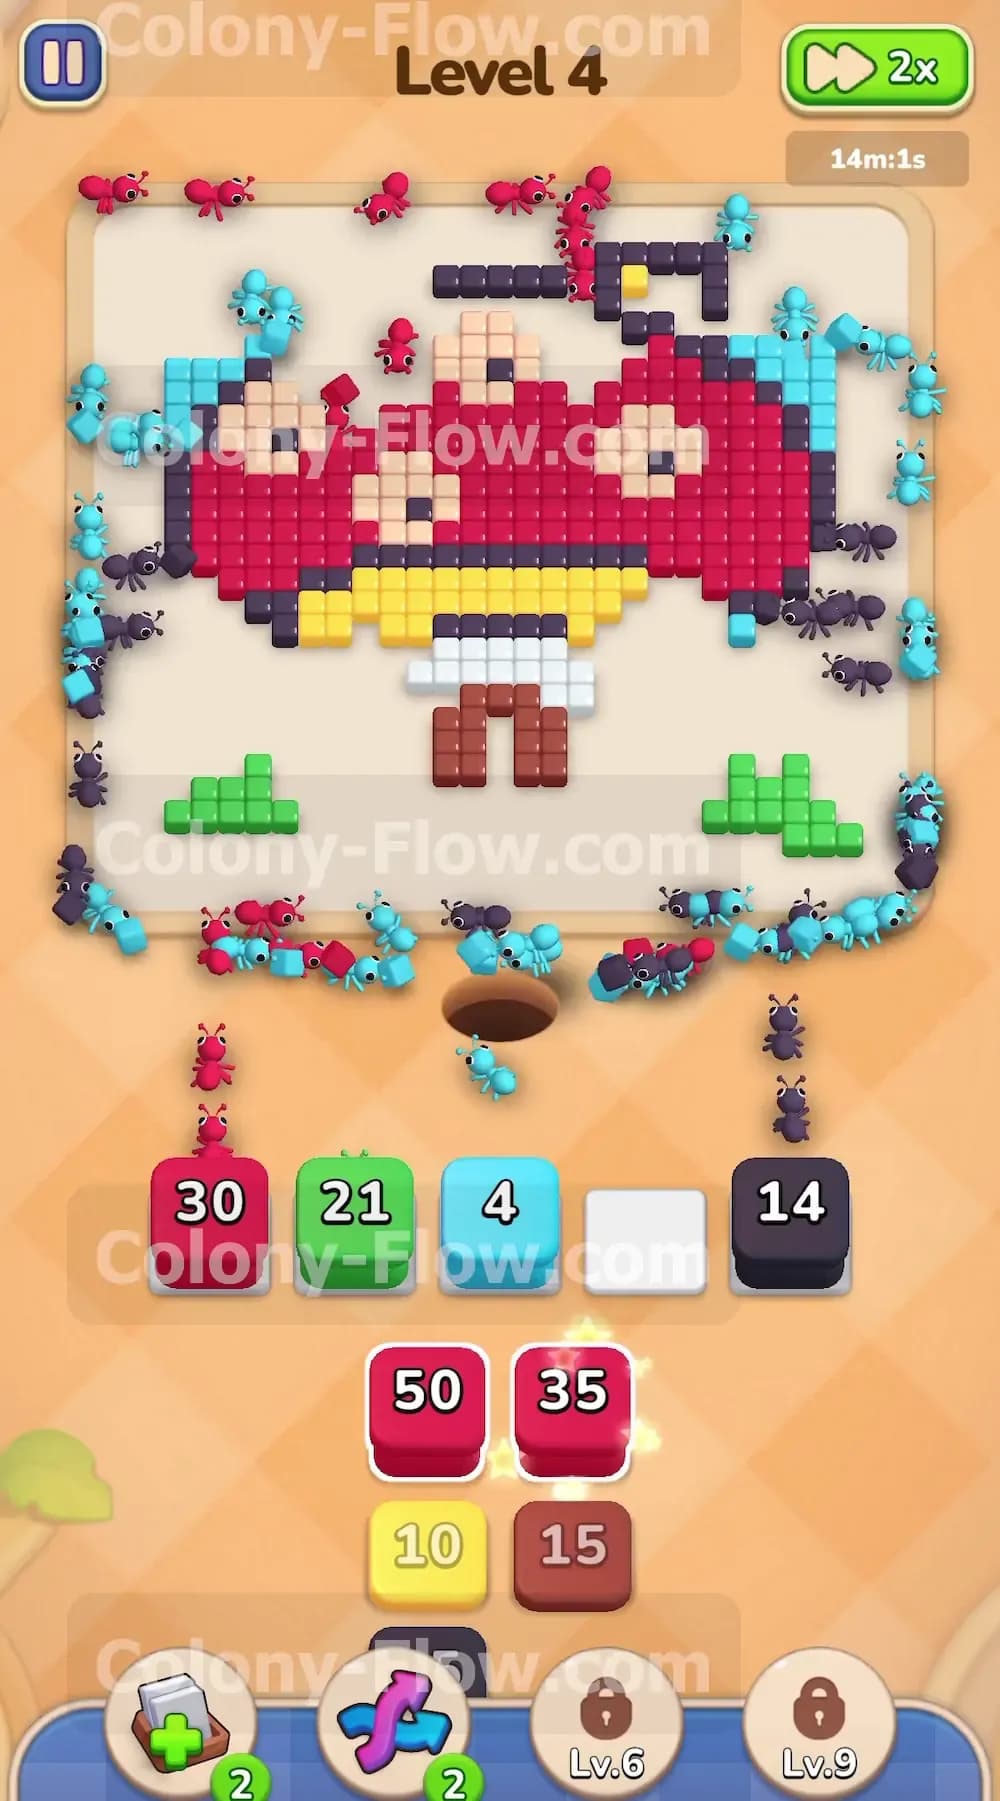
The red roof is the absolute largest single section of this entire puzzle. You will need several red blocks to clear it all out. Pull the first few red blocks into your waiting slots now. Because you cleared the sky on the outside and the base on the inside the ants have multiple angles of attack. They will swarm up the outside empty edges and rush straight up the middle shortcut to eat the red pixels. The numbers on these red blocks are quite large like 15 and 30. You have to be very careful here not to pull too many blocks at one single time. Let the ants chip away at the red before you fill your fifth waiting slot. You never want to dead end the board by pulling a block that has no open path. Leaving at least one slot completely empty is a great habit to build.
Step 6: Send up the peach blocks to clear the spots on the mushroom cap
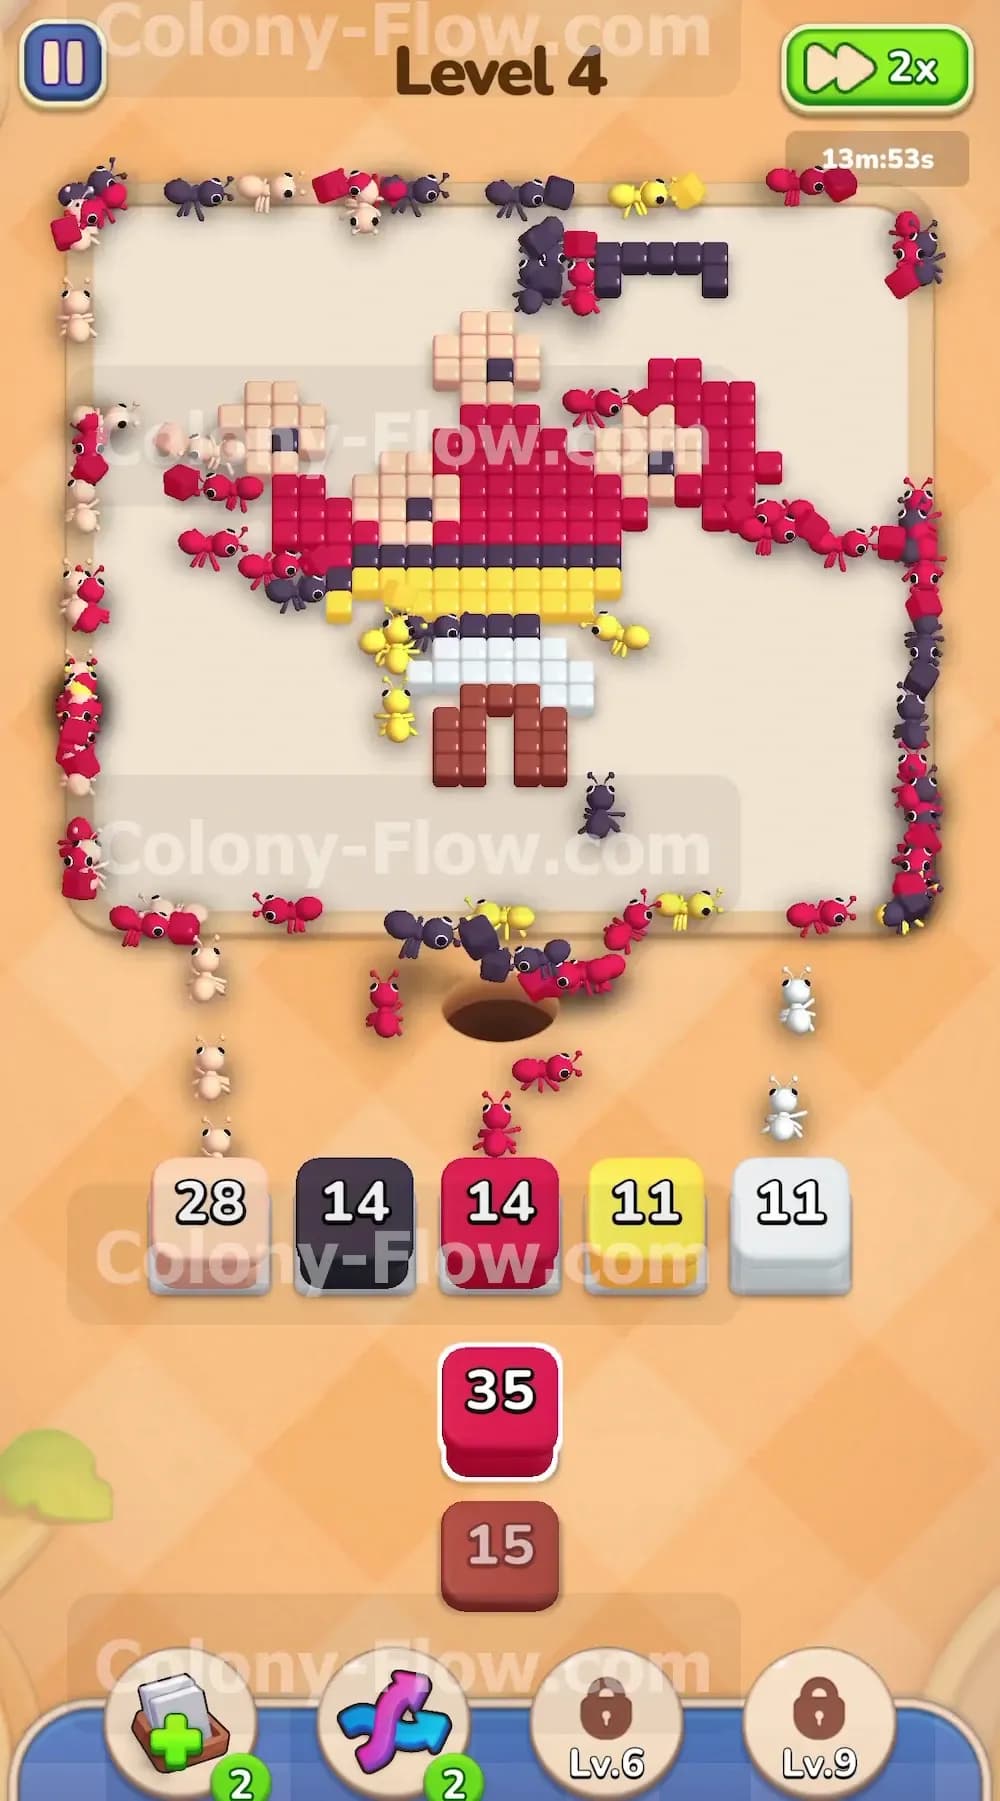
As the red roof slowly shrinks you will expose the peach colored spots. These spots start out totally surrounded by red pixels at the beginning of the level. You could not touch them earlier because there was absolutely no path through the solid red wall. Now that the red is partially gone the ants can easily reach the peach spots. Pull the peach block from the tray and watch the ants clean up those bright circles. Getting these spots out of the way creates huge empty gaps right in the middle of the roof. This helps the ants navigate much faster to the remaining red pixels at the very top of the board. Keep a close eye on your board and only pull the peach block when you actually see a clear physical opening in the red barrier.
Step 7: Clean up the final red and yellow pixels to finish the level entirely
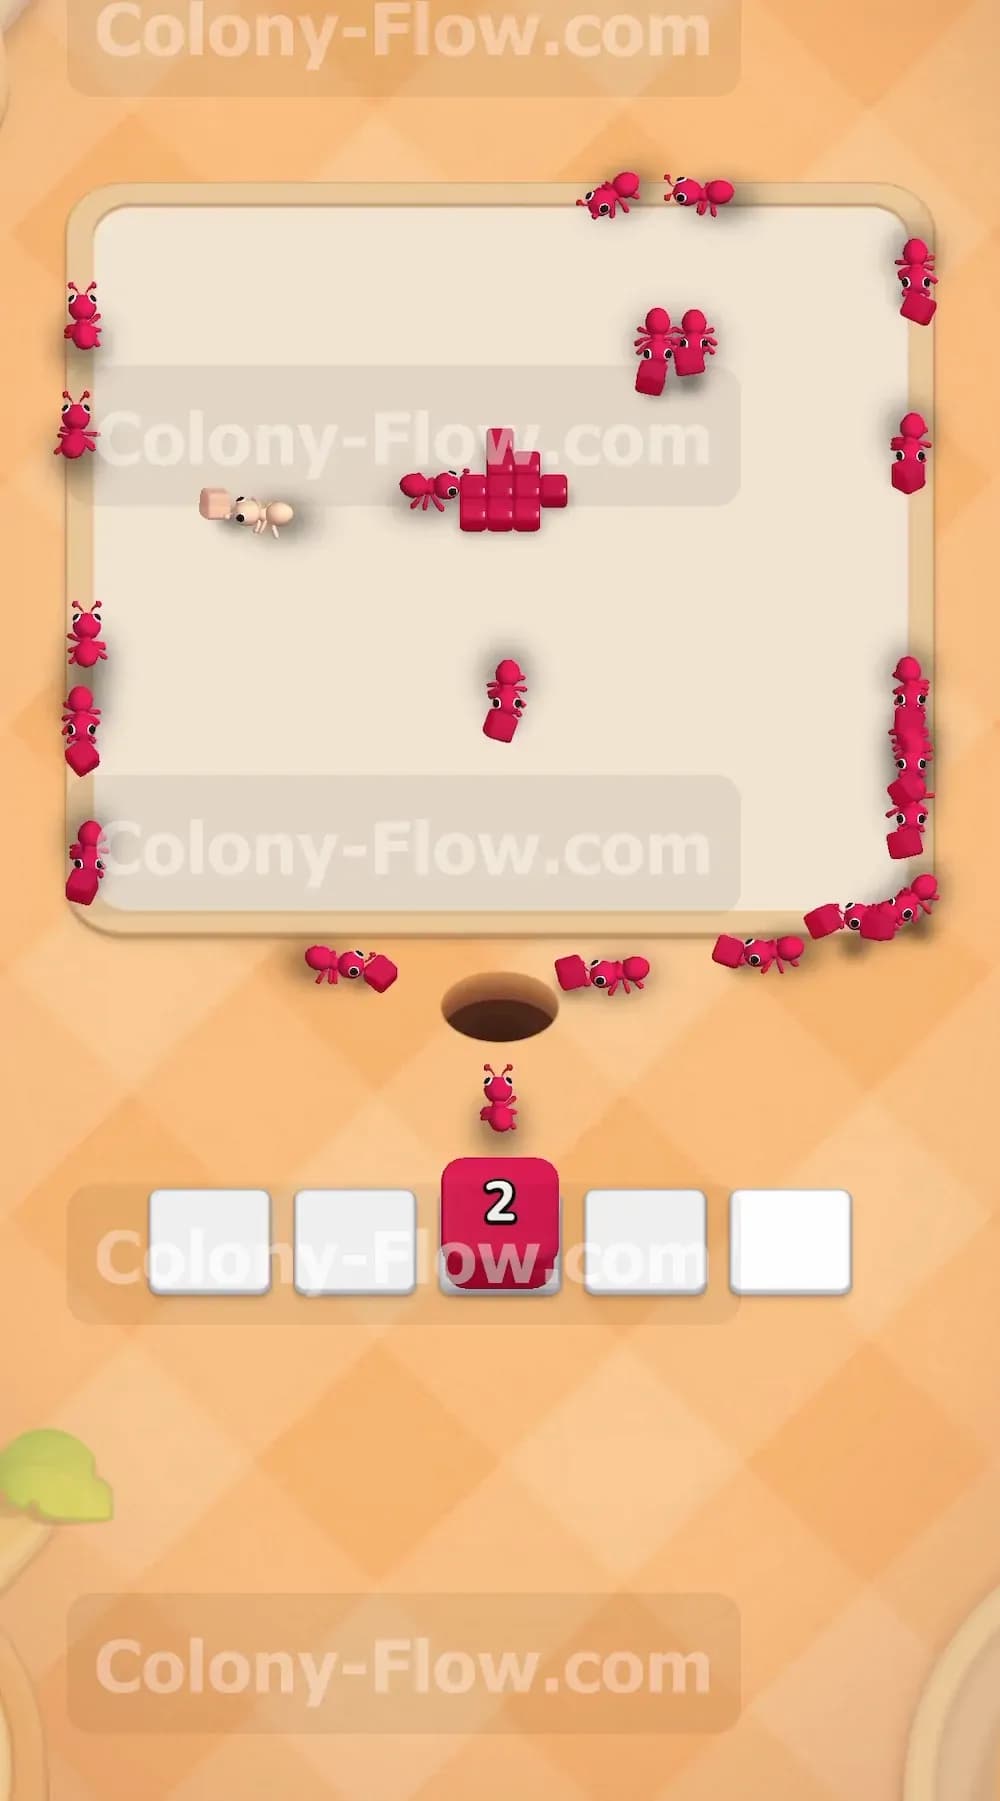
You are now in the final stretch of the level. Only a few scattered red pixels remain at the very top of the board along with a tiny piece of the yellow chimney. Bring up the last red block and the final yellow block from your tray. The board is mostly empty now so the ants travel incredibly fast from the nest to their final destinations. The numbers on these final blocks are very low so the work goes quickly. The remaining pixels disappear in seconds as the ants wrap up their job. Your waiting slots are completely clear and there is zero risk of a jam happening this late in the puzzle. The final pixel vanishes into thin air and the last ant crawls back down the hole to secure your victory.
Overall Strategy to Clear Level 4 Board
- Work your way from the bottom up. You absolutely must start with the green grass at the bottom of the screen. Clearing this grass opens the necessary paths to the yellow walls and the blue sky. Skipping the grass will immediately jam your waiting slots because the other colors are blocked.
- Clear the light blue sky early in the level. The sky takes up a huge portion of the outer edge. Sending your ants to eat the blue pixels creates a massive empty highway around the outside of the mushroom house. This outer highway gives your ants crucial side access to the giant red roof later.
- Hollow out the center to build a shortcut. You need to focus on the white door outline and the dark brown door early on. Removing these center pieces creates a fast vertical path straight up the middle of the board. Your ants will use this empty space to swarm the red roof without bumping into each other.
- Time your peach spot attacks perfectly. Do not pull the peach blocks until the red roof is partially gone. The peach spots are totally trapped inside the red roof. If you pull a peach block too early it will sit dead in your slot and push you closer to a loss.
- Manage the large red numbers very carefully. The red roof requires the most ants and the most blocks. Drip feed the red blocks into your slots one or two at a time. This prevents your five slots from filling up while the ants slowly chew through the massive red pile.
Final Thought
Level 4 requires patience and a good eye for opening paths. Following the steps exactly as I laid them out will keep your slots clear and your ants moving fast. If you find any part of this written walkthrough hard to visualize you can watch the video embedded above this article. The video shows my exact complete run so you can see how the ants clear the picture step by step.