Colony Flow Level 22 Walkthrough Solution & Guides | How to solve Colony Flow 22

Guide By Liam Stone
Updated on July 10, 2026
Want to skip the reading and watch instead? The video walkthrough for Level 22 is right above this article.
Video doesn't match your screen?
Game updates frequently scramble layouts! Try our AI Screenshot Solver first to find your exact board instantly, or report broken guides to our team.
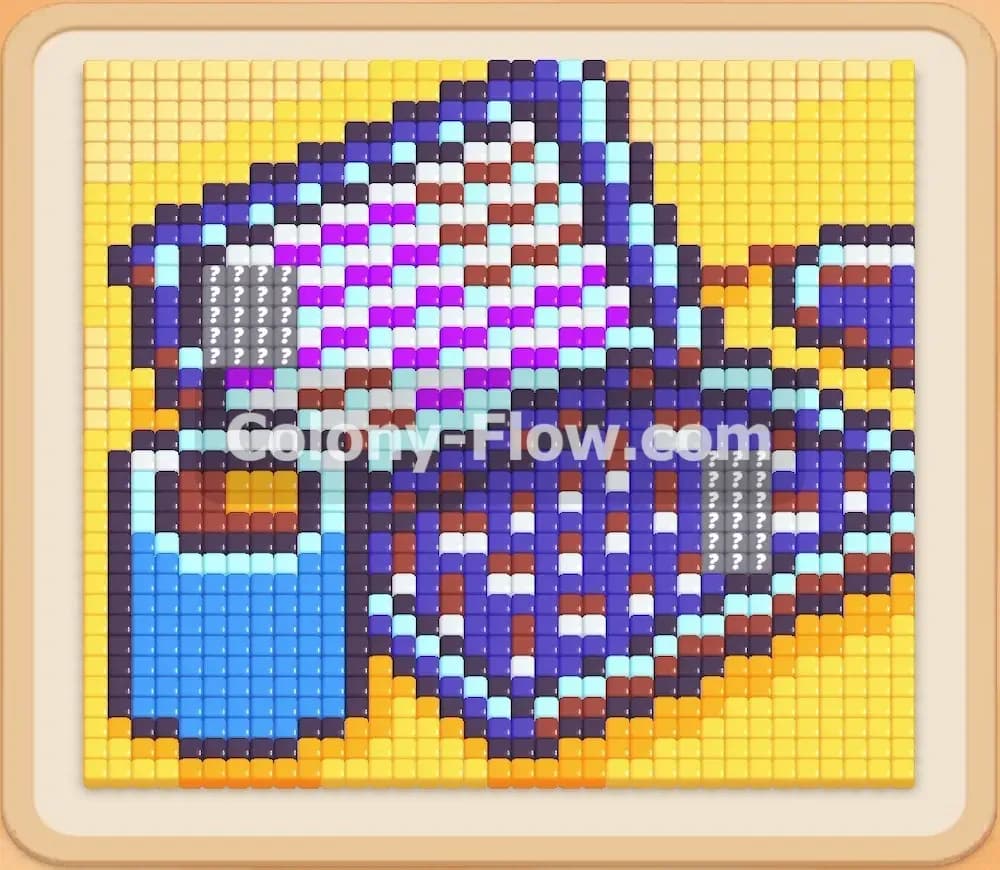
Welcome to Colony Flow Level 22. This puzzle presents a cozy pixel art mug filled with a hot drink and surrounded by bright floating stars. You need to manage your tray space carefully to clear the outer decorations before you can tackle the main solid body. I played through this entire board myself to find the exact sequence that keeps the ants moving without jamming the waiting slots. You will find my complete strategy detailed below to help you pass this stage smoothly.
Colony Flow Level 22 Overview
What You Are Working With
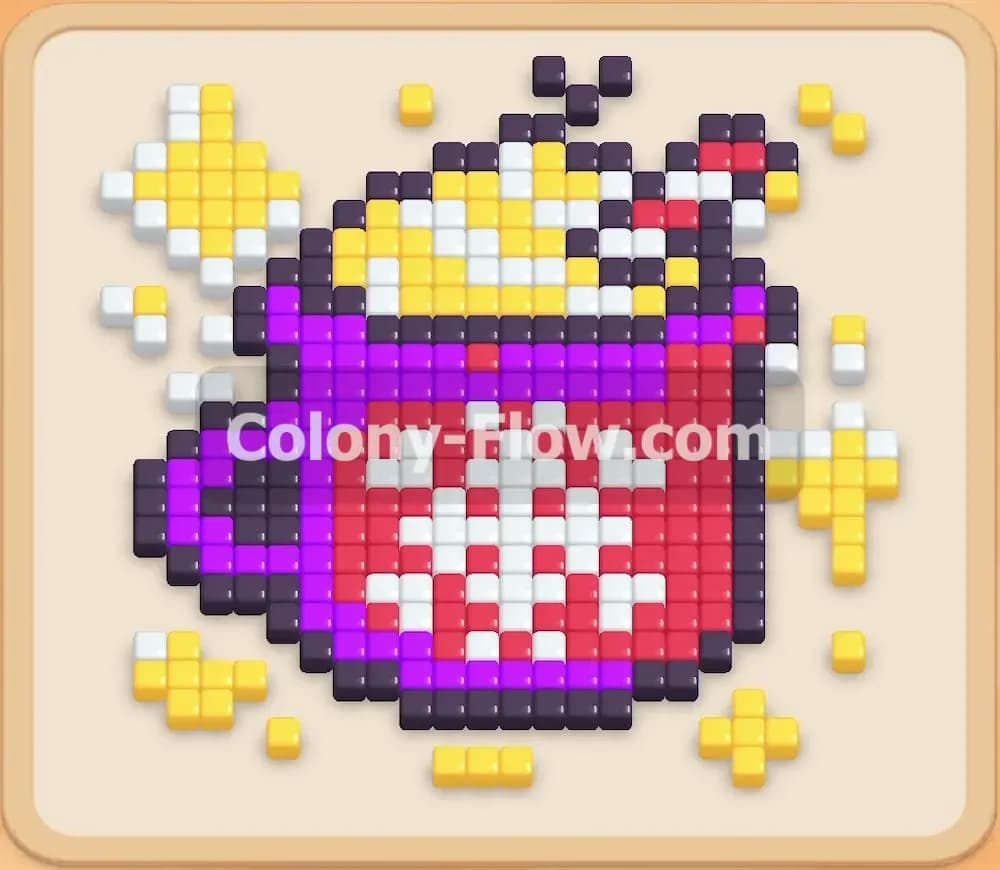
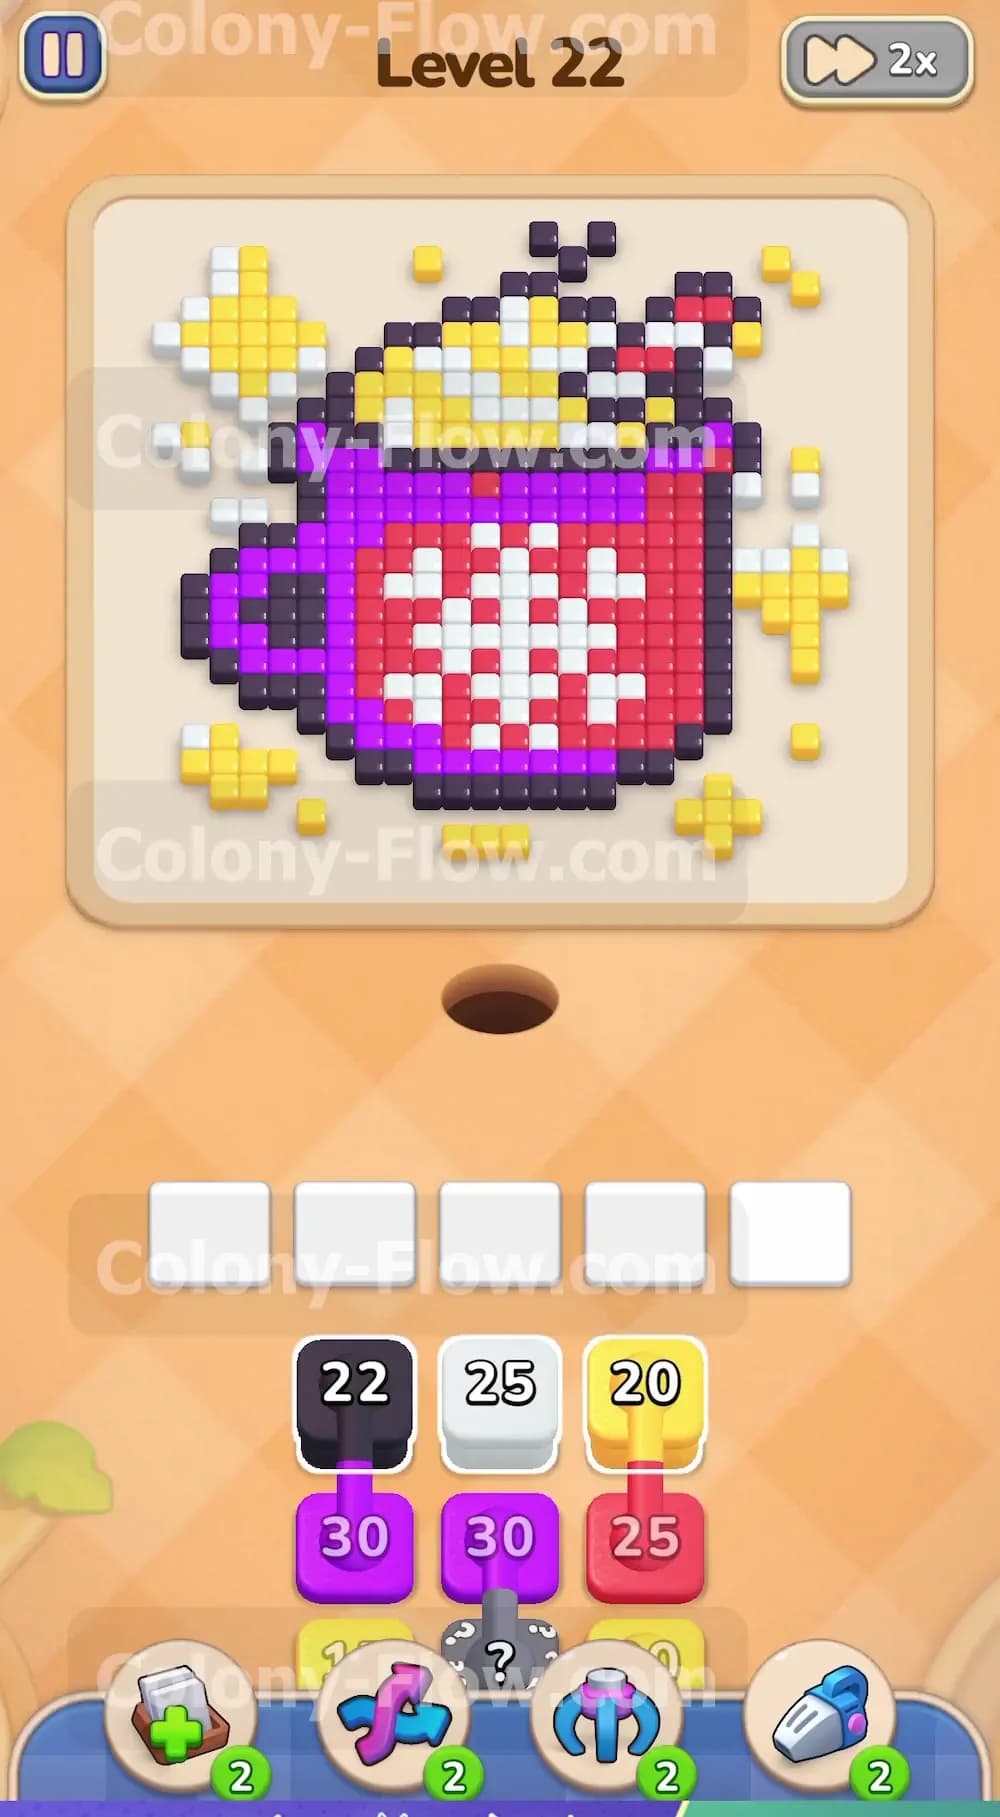
The picture on this level is a colorful hot chocolate or coffee mug. The main body of the mug consists of bright red pixels. A complex white snowflake pattern sits directly in the center of that red body. A dark purple outline forms a large handle on the left side and creates a shadow along the bottom. Black pixels create the very bottom edge of the mug and draw a stirrer or straw at the top. Bright yellow and white pixels form tiny starbursts scattered all around the outside of the mug. The top of the drink is made of yellow foam pixels.
Your tray at the bottom of the screen holds a deep stack of colored blocks. You have multiple black, white, yellow, purple, and red blocks with varying numbers on them. A grey hidden box sits buried in the middle of your tray stack. You will not know the color of this hidden block until you clear the pieces sitting directly in front of it. You must plan your moves to uncover this hidden box early enough to use its contents without blocking your other progress.
What It Takes to Clear Level 22 Board
The secret to clearing this board is peeling away the layers from the outside moving in. The ants start at the dark nest hole at the bottom of the screen. They need an open and unbroken path to reach their matching colored pixels. If you send up a red block too early, the ants cannot reach the red pixels because the outer purple and black pixels block their way completely. That red block will just sit in your waiting slot and waste space. You lose the game if all five waiting slots fill up with blocks that the ants cannot actively use. You must remove the bottom black outline, the outer stars, and the purple handle first. This action opens the physical pathways to the inner red body and the central white snowflake.
Colony Flow Level 22 Step by Step Solution
Step 1: Target the bottom edge and the left side decorations to open the lower area.
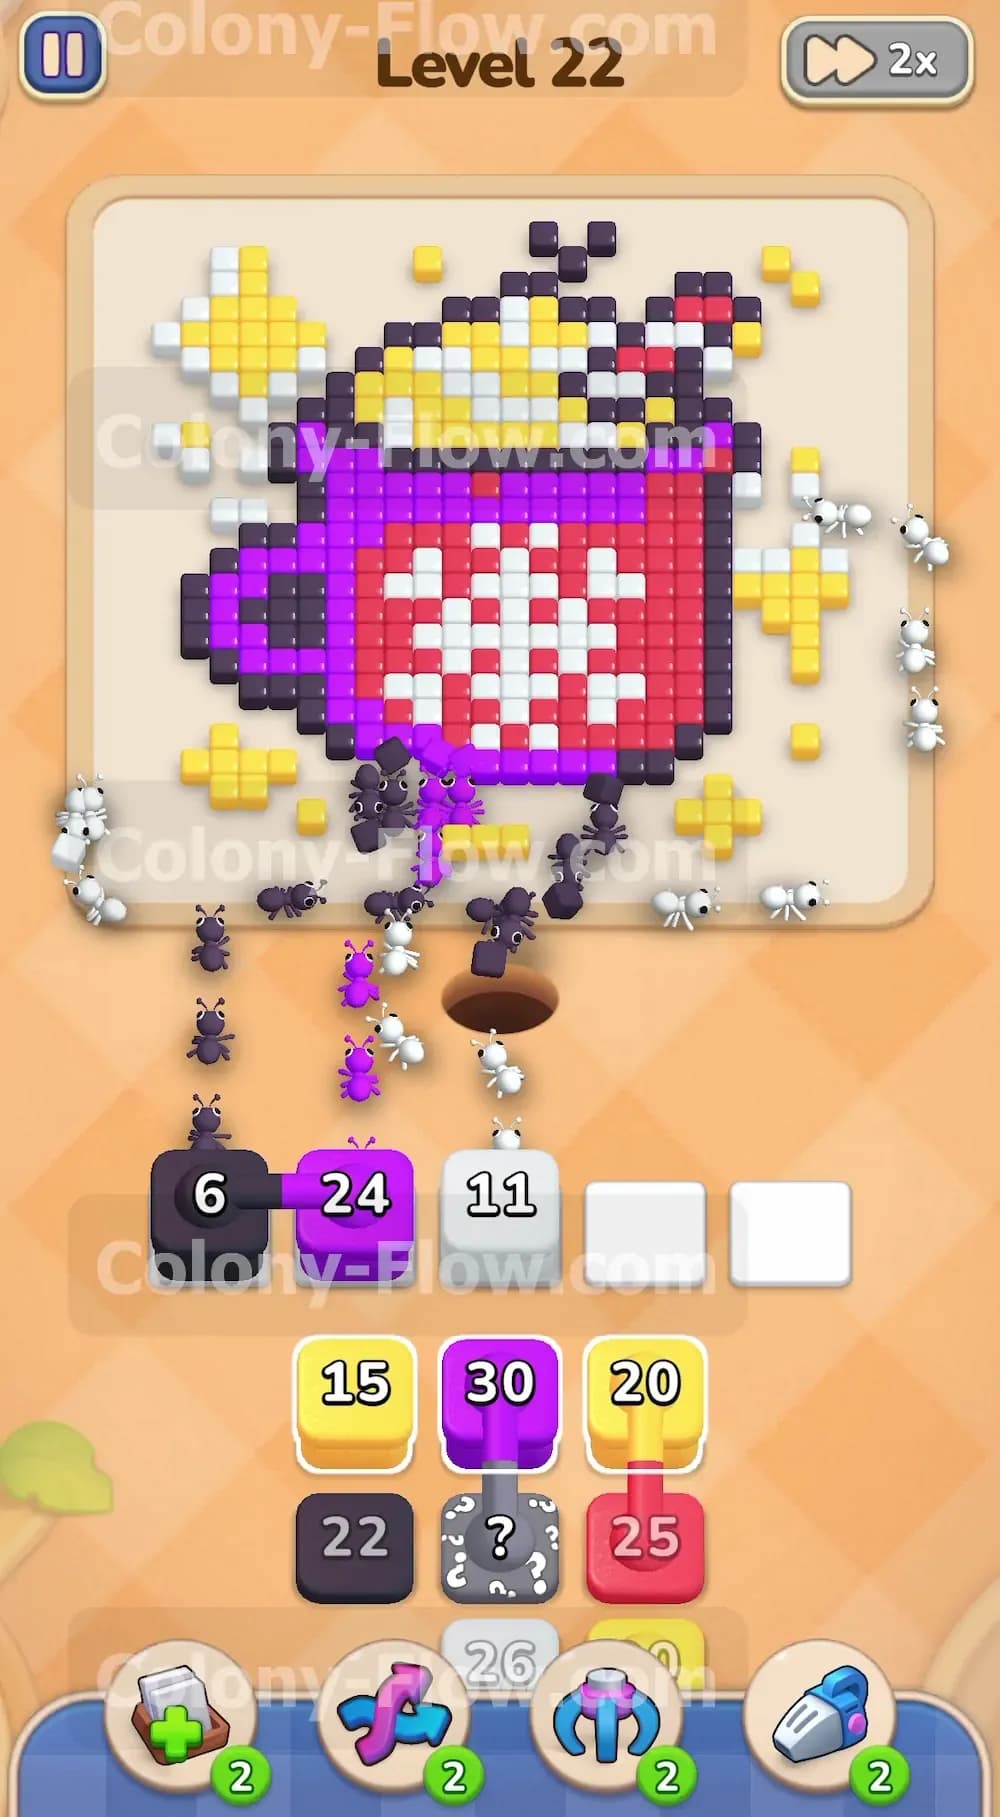
You start the level by targeting the bottom edge and the left side decorations to open up the lower area. You tap the first black block, the first white block, and the first purple block from your tray. The black block carries a count of 22 and sends ants straight up to eat the bottom edge of the mug. The white block holds a count of 25 and targets the bright white stars floating on the left side of the screen. The purple block starts with a count of 30 and allows the ants to start chewing through the purple handle on the left. All three of these colors have a wide open path right from the nest hole. Your slots remain clear and active as the tiny workers stream out and the numbers drop rapidly.
Step 2: Activate the first yellow block to clear the right side stars.
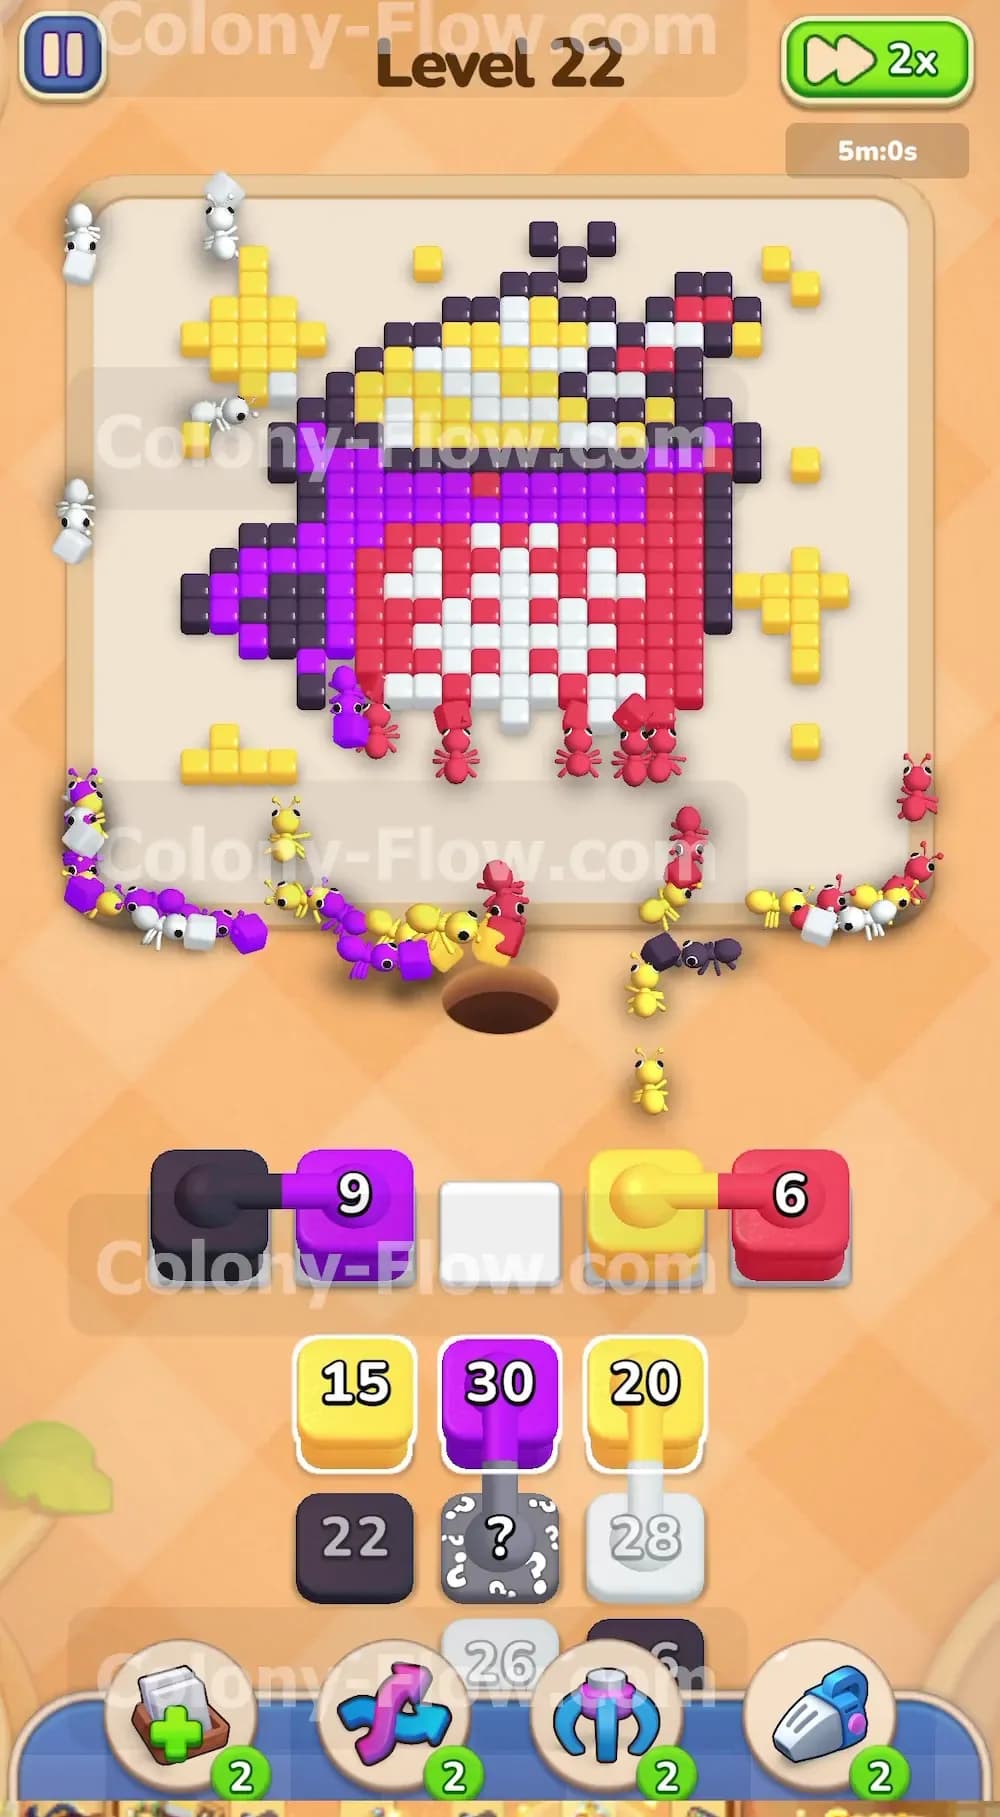
Once the initial black and white blocks clear enough lower space, you need to address the other side of the picture. You tap the first yellow block from your tray and move it into a waiting slot. The ants march out of the hole and turn right to eat the yellow stars scattered near the bottom right corner of the mug. You want to clear these outer floating decorations as early as possible because they clutter the board and restrict movement. Sending the yellow block up now ensures the ants stay busy on the right side while the handle slowly disappears on the left side.
Step 3: Push further up the sides with more white and black blocks.
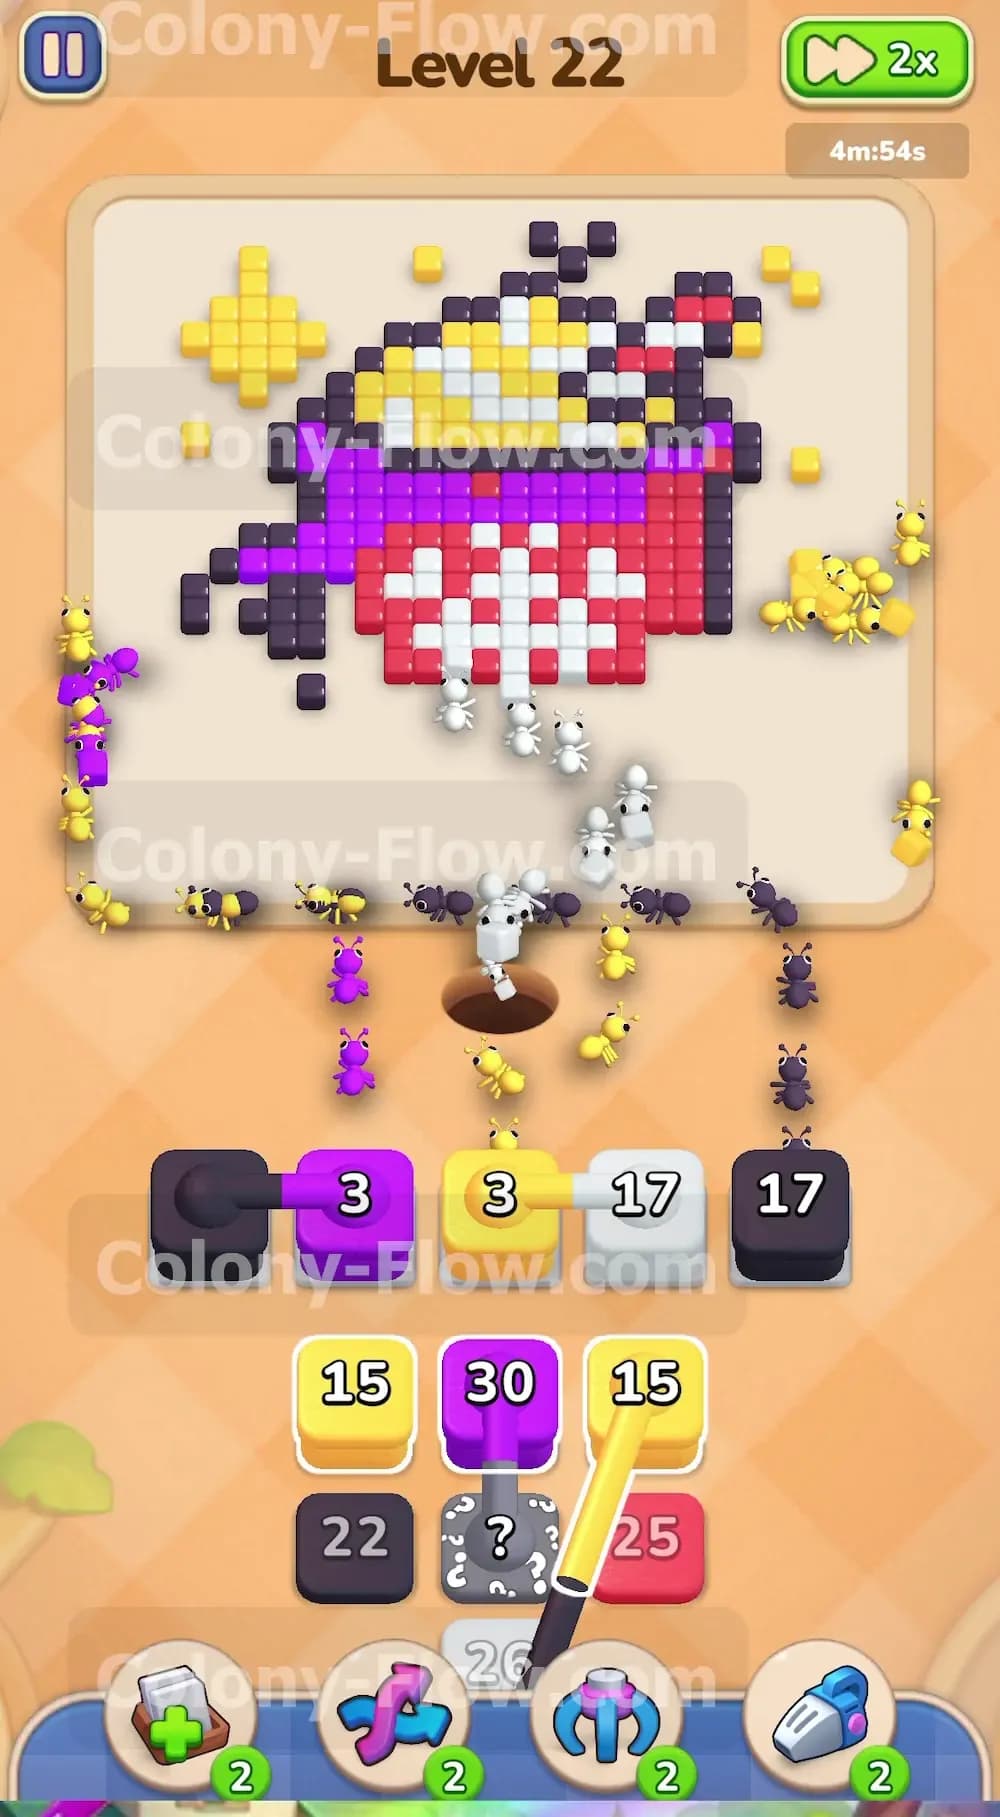
You now have enough open room on the left and right edges to send up another wave of blocks. You bring up a second white block and a second black block into your waiting slots. The ants use the newly opened paths to travel higher up the board. The white block targets the remaining white stars near the top left corner of the picture. The black block targets the black outline running vertically up the right side of the mug. The numbers on these blocks drop very fast because the ants have multiple open angles of attack. You are slowly exposing the inner red core of the mug from both sides.
Step 4: Break into the main red mug body and the white snowflake.
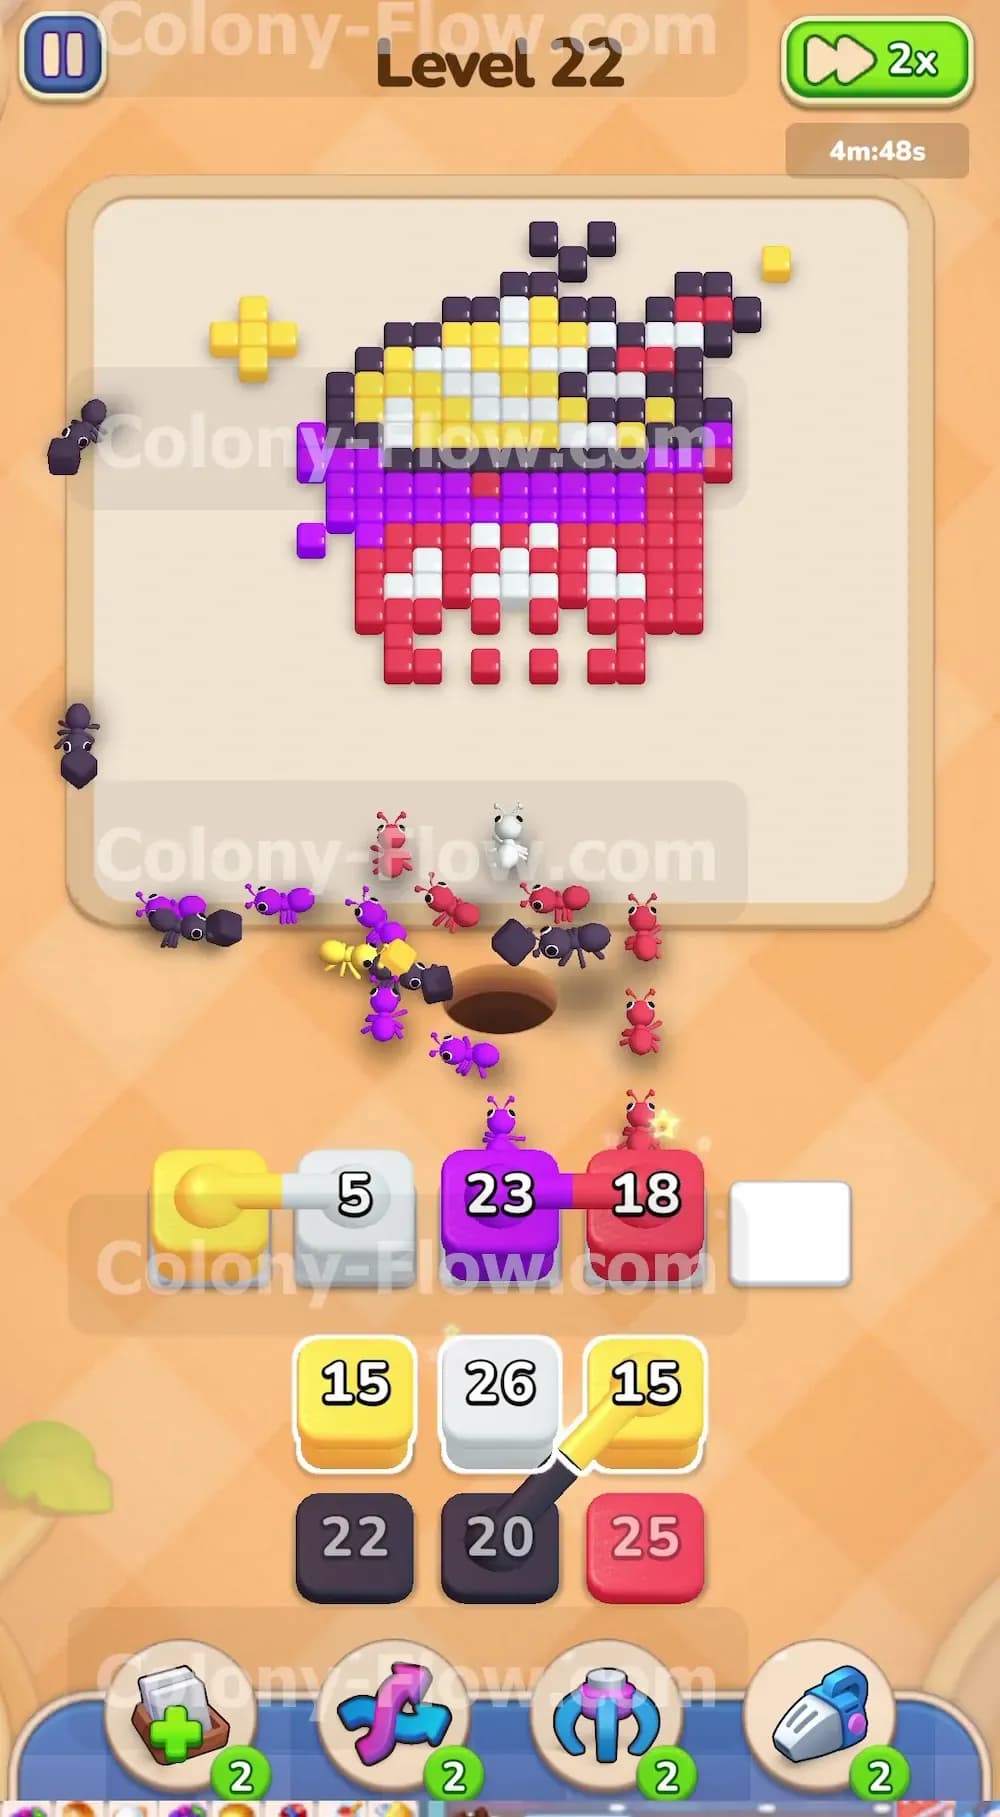
You finally have a clear physical path to the massive center of the picture. You tap the first red block and send it up to your waiting slots. The ants swarm the exposed bottom red pixels of the mug body. At the exact same time, you bring up a third white block. The ants use the tiny gaps in the red body to reach the bright white snowflake pixels right in the center. The red block has a high count of 25. The ants take a long time to chew through the solid red mass because they have to travel further from the nest. You must keep other paths active by rotating through other colors so the rest of your waiting slots do not sit idle while the red block counts down.
Step 5: Reveal the hidden box and clear the top outline.
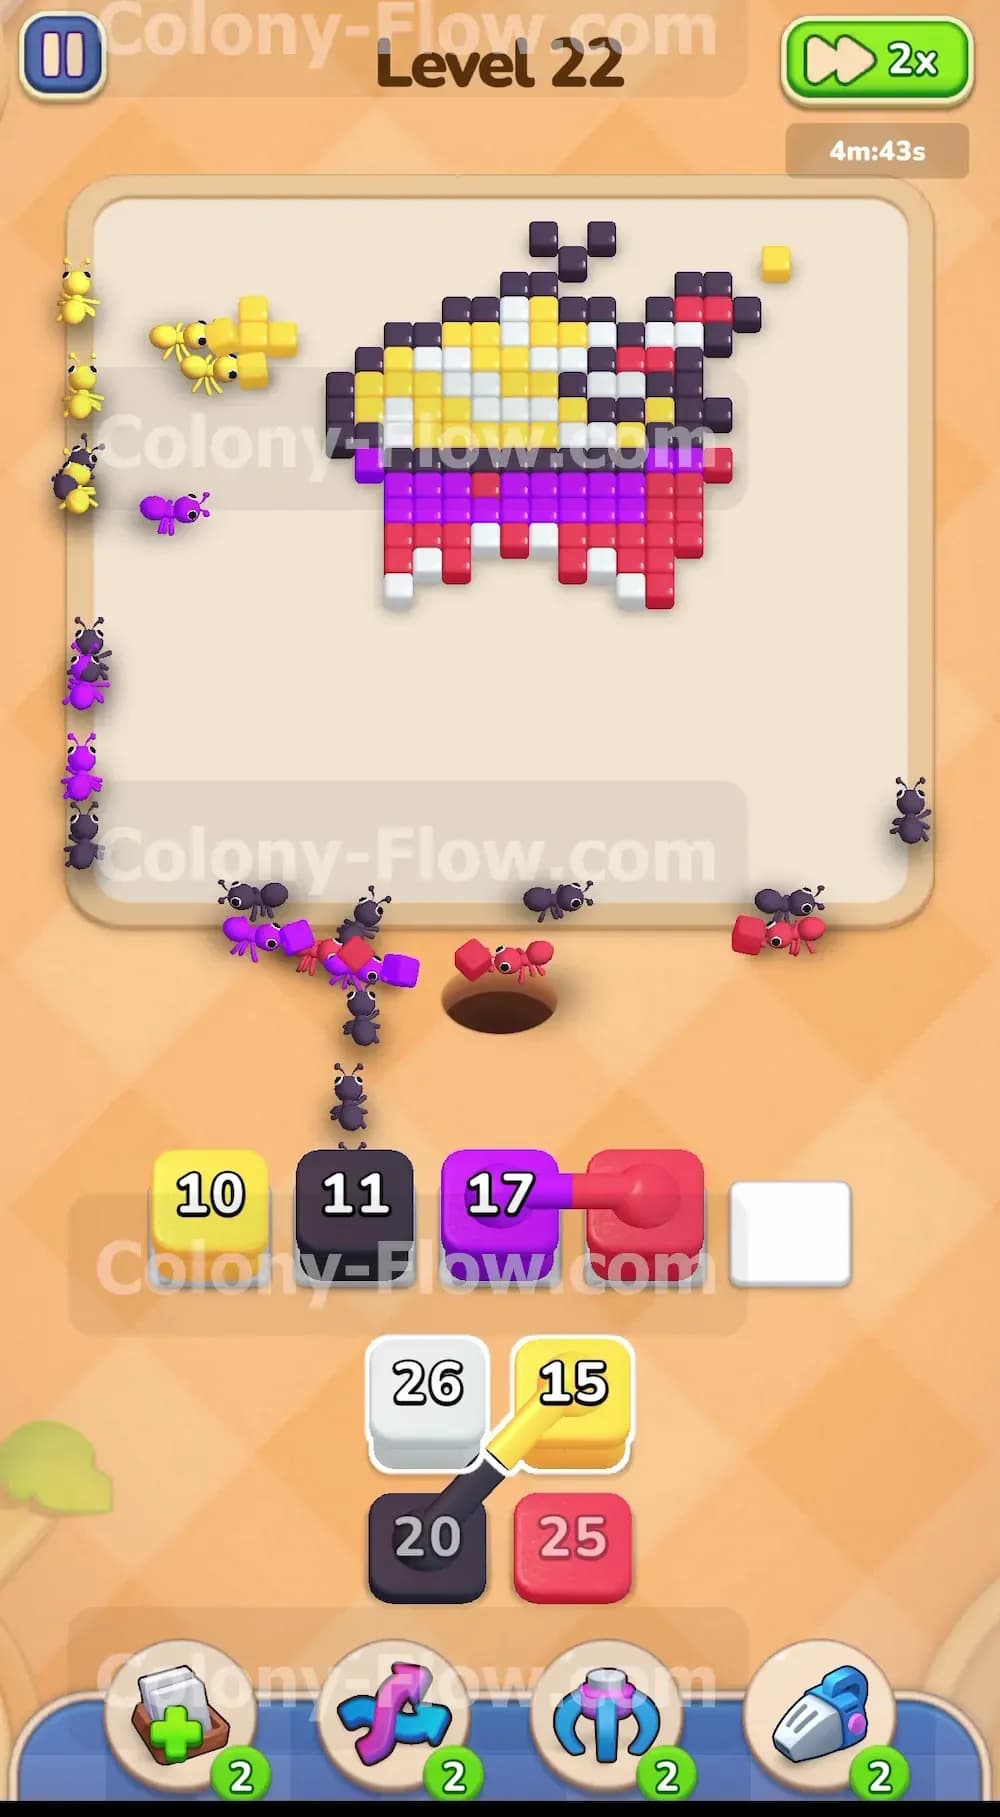
Clearing the blocks from the top half of your tray completely uncovers the grey hidden box. The box flips over and reveals itself as a black block carrying a count of 20. You send this new black block up to the slots along with a fresh yellow block. The ants march all the way to the top of the picture using the clear sides. They eat the black pixels forming the stirrer and the top outer outline. The yellow block sends ants to eat the yellow foam pixels at the very top of the drink. You are now actively attacking the board from the top rim and the middle core at the same time.
Step 6: Finish the purple mug rim to connect the clear zones.
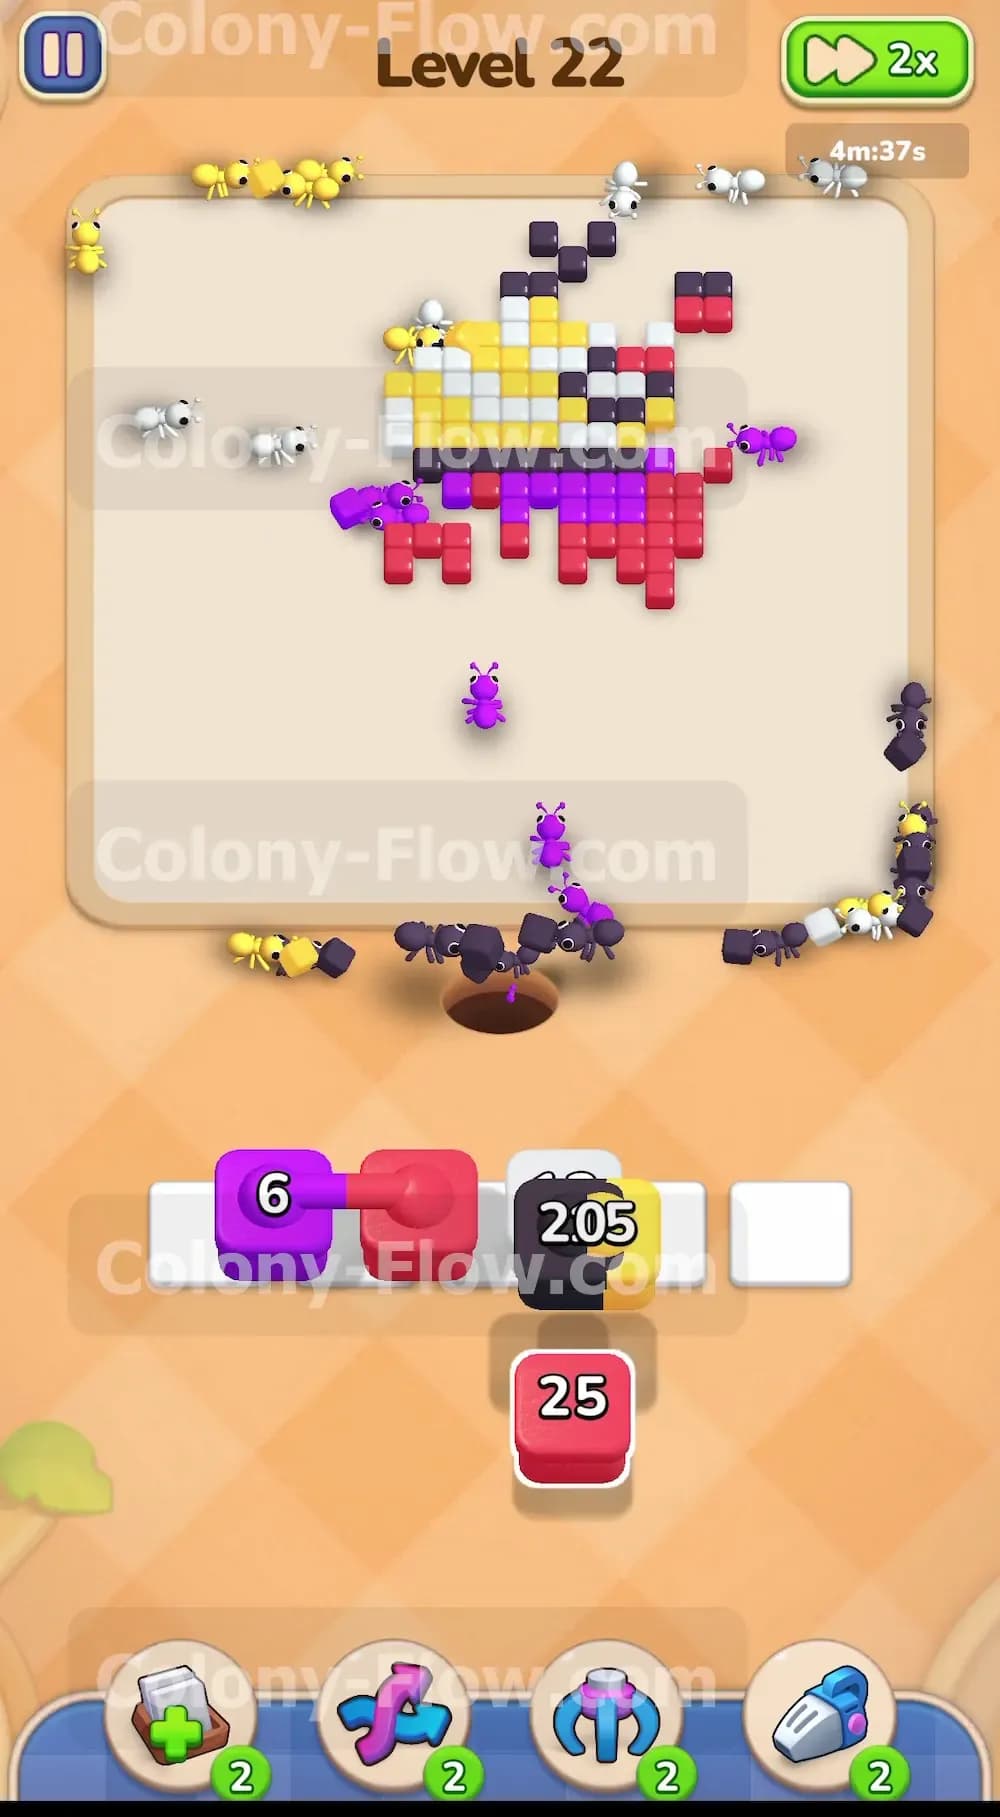
You tap the remaining purple block from your tray and move it into an empty waiting slot. The ants climb up the sides and target the horizontal purple pixels that form the top rim of the mug. This purple line separates the upper yellow drink foam from the lower red mug body. Clearing this line is absolutely necessary to connect the top clear zone with the bottom clear zone. The ants devour the purple line and open up a massive empty space in the middle of your screen. Your slots stay perfectly safe and never jam.
Step 7: Demolish the remaining solid red mug body.
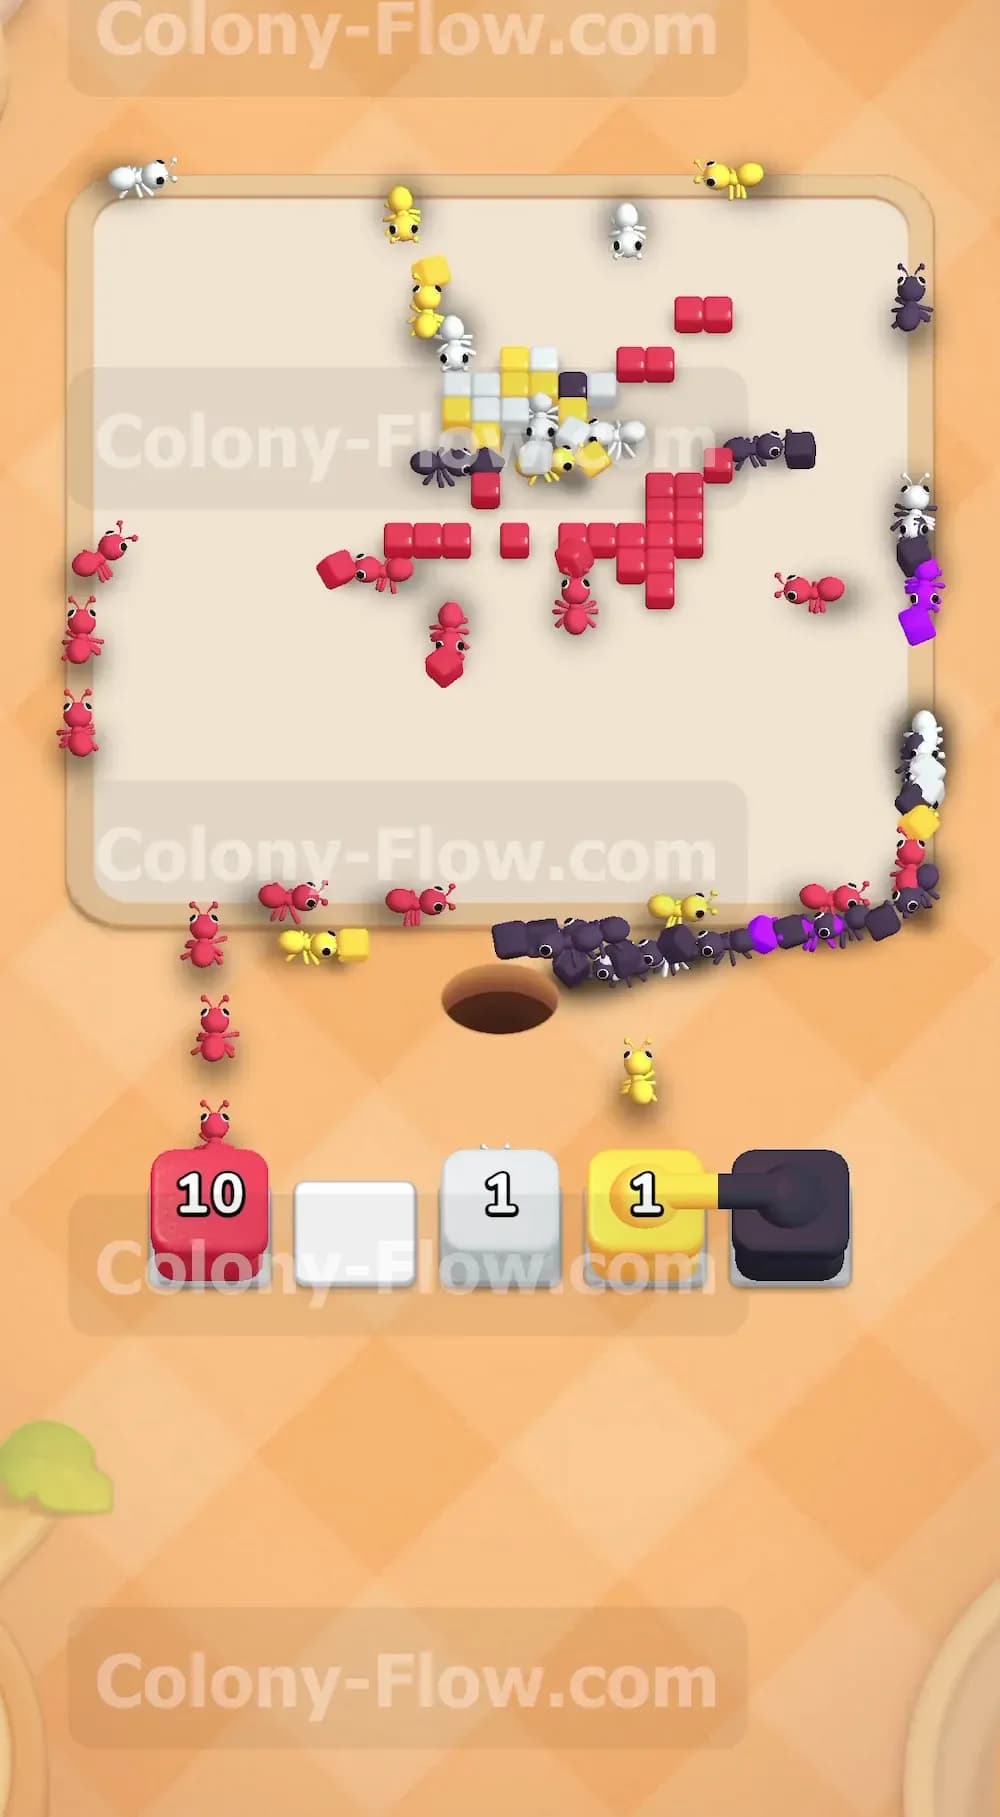
You bring up the final red block to deal with the top half of the solid mug body. The ants flood the middle area and eat away the red pixels surrounding the top half of the white snowflake. The red block drains its count of 25 extremely fast because the ants can surround the red pixels from all sides now. The entire solid block of the mug completely disappears. The board looks almost completely bare at this stage.
Step 8: Complete the final cleanup of the top decorations and inner snowflake.
You only have a few scattered pixels left on the board to win the level. You send up the last white block, the last yellow block, and a final black block. A group of ants runs to the center to finish the last few pieces of the white snowflake. Another group of ants runs to the very top to finish the last few scattered yellow foam pixels and black stirrer pixels. The waiting slots empty out one by one as the counts smoothly reach zero. The entire pixel art picture is fully cleared and the ants return to their nest hole.
Final Thought
This level tests your ability to clear outer layers systematically before rushing into the solid center pieces. If any step is hard to follow in text, I encourage you to watch the video above this article.