Colony Flow Level 391 Walkthrough Solution & Guides | How to solve Colony Flow 391

Guide By Liam Stone
Updated on July 19, 2026
Watch the video above for a faster look at how Level 391 gets solved.
Video doesn't match your screen?
Game updates frequently scramble layouts! Try our AI Screenshot Solver first to find your exact board instantly, or report broken guides to our team.
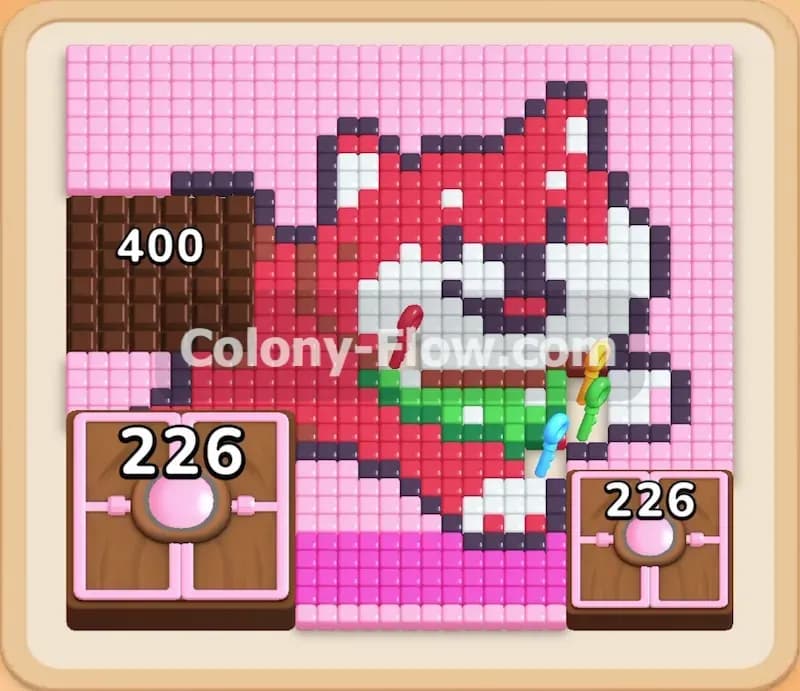
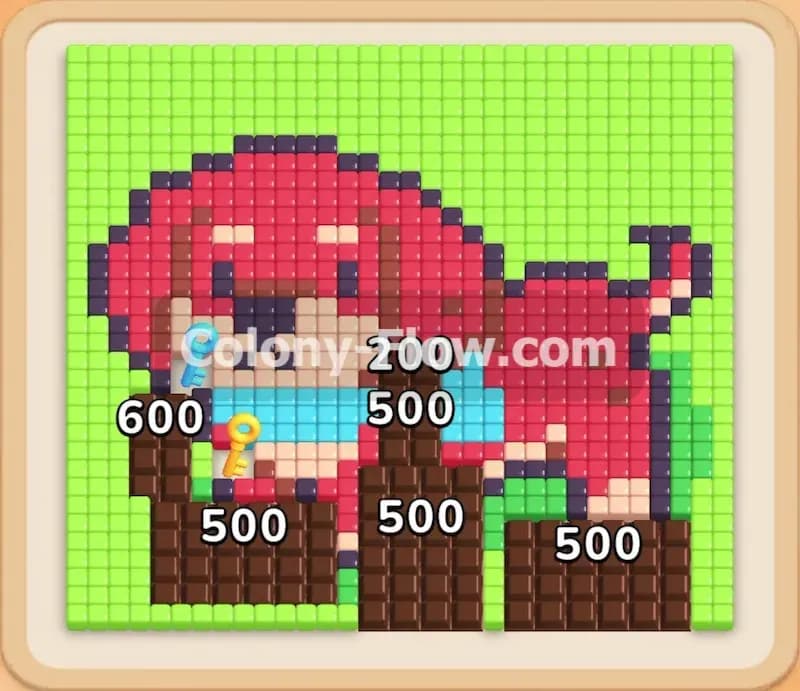
Colony Flow Level 391 throws a massive obstacle at you right from the very beginning. You are looking at a beautiful pixel art picture of a crying dog that is completely hidden behind four thick layers of chocolate. You must chew through this entire chocolate wall before you can even begin matching your colored ants to the actual artwork. This level tests your ability to sustain a long flow of ants without jamming your five waiting slots.
Colony Flow Level 391 Overview
What You Are Working With
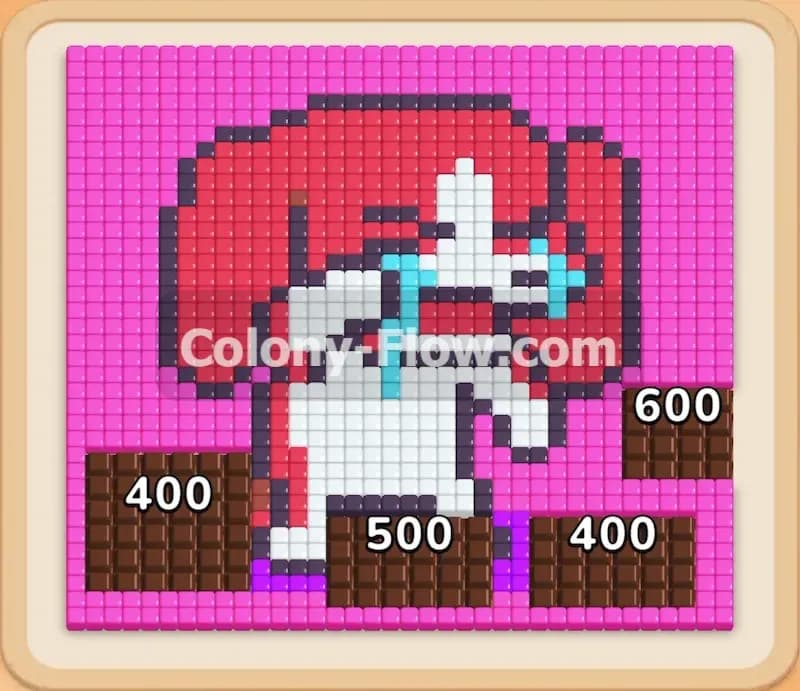
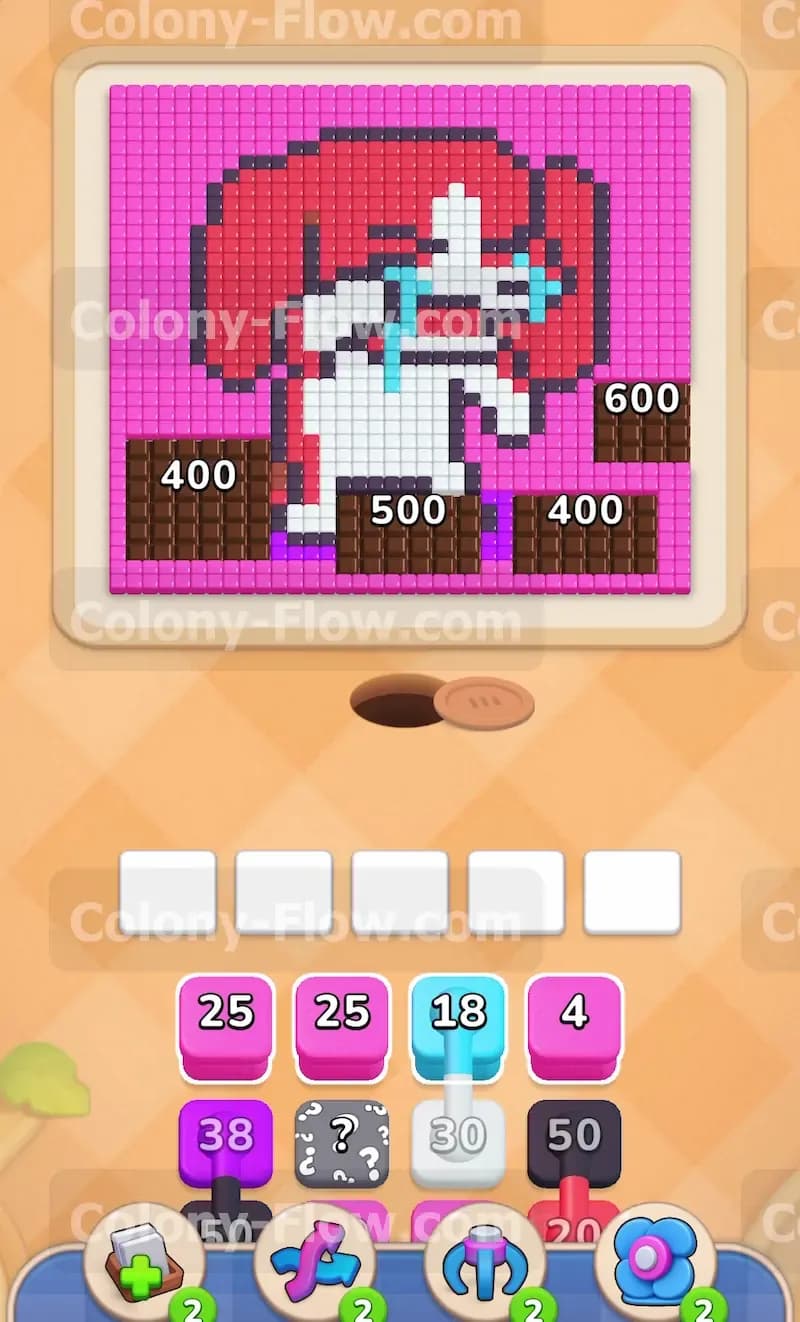
The main picture is a pixel art portrait of a crying dog. The artwork features a large pink background framing the entire image. The dog has a red head and floppy red ears sitting above a white face and white body. Blue tears fall from the eyes and black tiles make up the eyes and the nose. A small cluster of purple tiles sits on the bottom left edge.
The bottom half of the board is totally blocked by four separate massive chocolate pieces. Reading from left to right they require 400, 500, 400, and 600 ants to break. The tray at the bottom of your screen holds rows of colored blocks including purple, pink, cyan, white, red, and black. You will also deal with connected boxes where a white block and a cyan block are fused together and move as a single unit. Hidden boxes marked with question marks sit deeper in the tray waiting to reveal their true colors.
What It Takes to Clear Level 391 Board
Clearing this level requires a two phase approach. Phase one is pure brute force where you send thousands of ants directly into the chocolate wall. Chocolate tiles block the food tiles underneath but they accept ants of any color. This means you can pull any colored block into your five waiting slots and the ants will stream out to attack the chocolate. Your slots are very safe from jamming during this early stage.
Phase two begins the moment the chocolate completely shatters. The true picture opens up and you must immediately transition into precision color matching. The pink background and the white face become accessible first. You must sequence your blocks carefully from the tray. If you pull a red block into your waiting slots before the red ears are reachable your red ants will sit completely still. Filling all five waiting slots with blocked colors will cause you to lose the level instantly. You win by managing this transition smoothly and clearing every last tile of the picture.
Colony Flow Level 391 Step by Step Solution
Step 1: Focus all early blocks on breaking the massive chocolate wall.
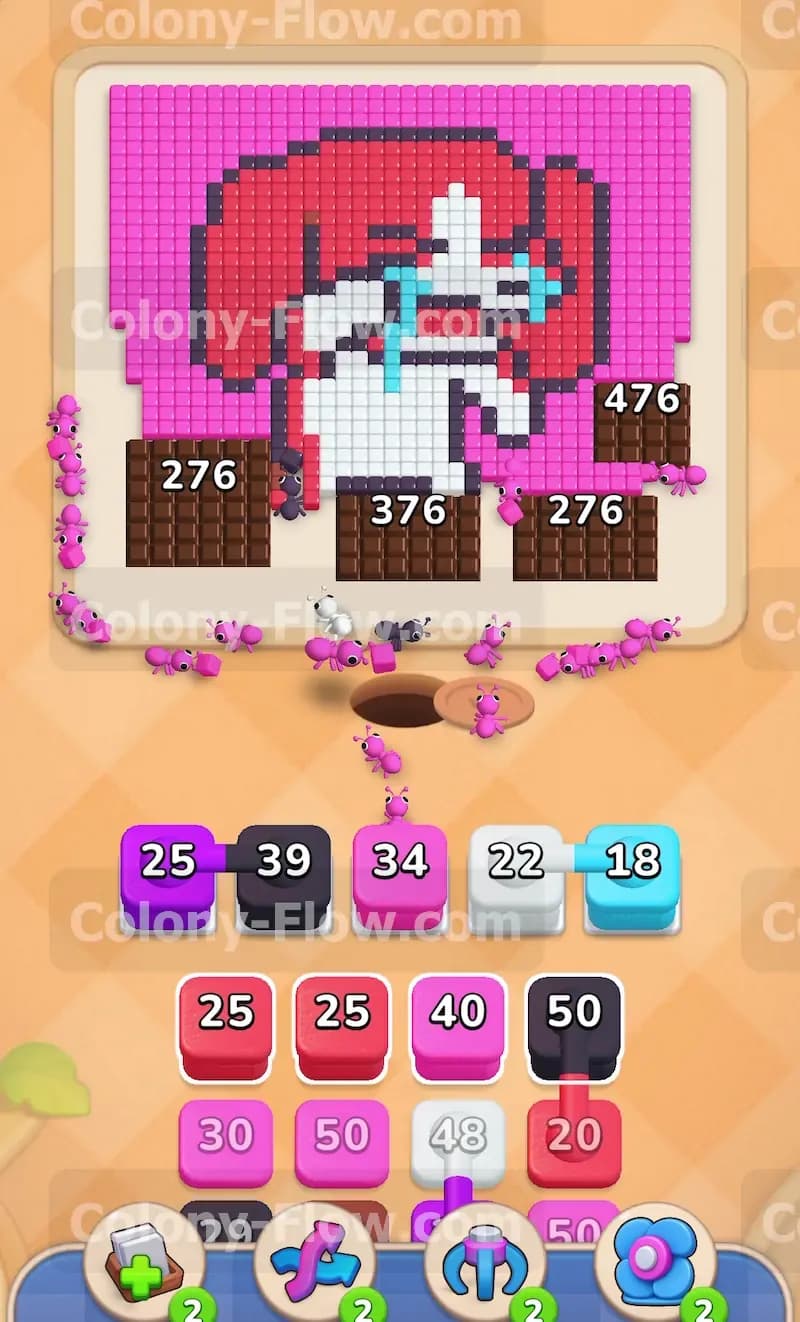
You begin the level by pulling your first available blocks into the five waiting slots. You bring up a purple block with 25 ants, a black block with 39 ants, a pink block with 34 ants, and a cyan block with 18 ants. Every single ant streams out of the nest hole and swarms the four massive chocolate barriers at the bottom of the board. The chocolate demands a huge number of ants to break and you will watch the starting numbers drop rapidly. You see the values fall from 400, 500, 400, and 600 down to 276, 376, 276, and 476. You do not need to worry about color matching during this exact moment because the chocolate absorbs every color.
Step 2: Manage the first connected boxes entering your waiting slots.
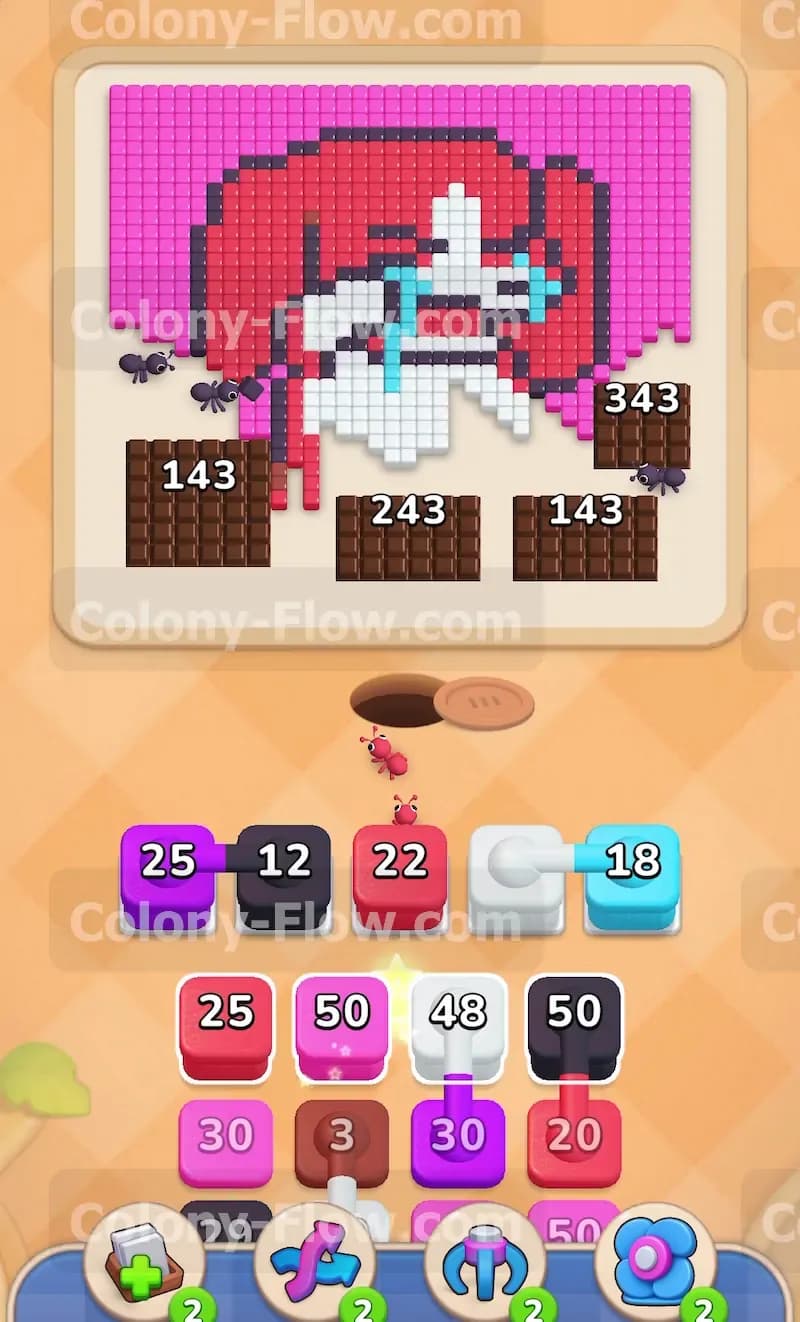
As you clear the first layer of blocks out of the tray a connected box moves into view. This specific connected box links a white block holding 22 ants and a cyan block holding 18 ants. Connected boxes take up two of your five waiting slots at the exact same time. You pull this pair into the active area. Because the massive chocolate wall is still present across the bottom of the board both the white ants and the cyan ants have a valid target. They join the massive swarm attacking the remaining chocolate barrier. You must always ensure both colors of a connected box have an open path before pulling them up. The chocolate makes this early step easy and keeps your slots flowing freely.
Step 3: Clear the outer edges of the chocolate barrier first.
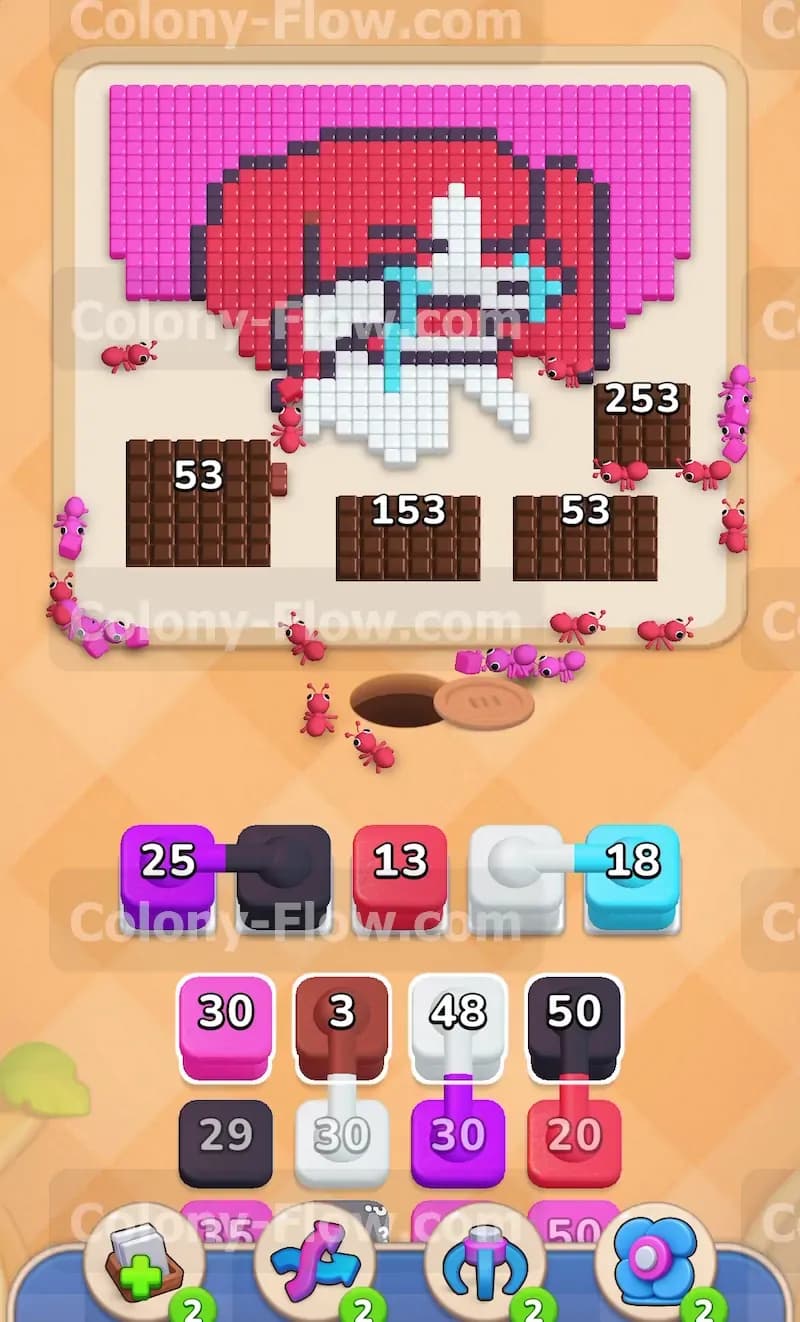
The constant stream of purple ants and pink ants finally cracks the smaller chocolate blocks. The chocolate values drop dangerously low into the 143 and 243 range. The far left block shatters completely and reveals a small section of purple tiles underneath. Now your purple ants have a specific color matched path to follow instead of hitting the chocolate. You bring up a black block with 12 ants and a pink block with 22 ants to keep the pressure high. The ants continue to chip away at the remaining chocolate pieces on the right side while also clearing the newly exposed purple tiles on the left. Your waiting slots remain clear because the board is opening up much wider.
Step 4: Shatter the center chocolate to reveal the white face and pink background.
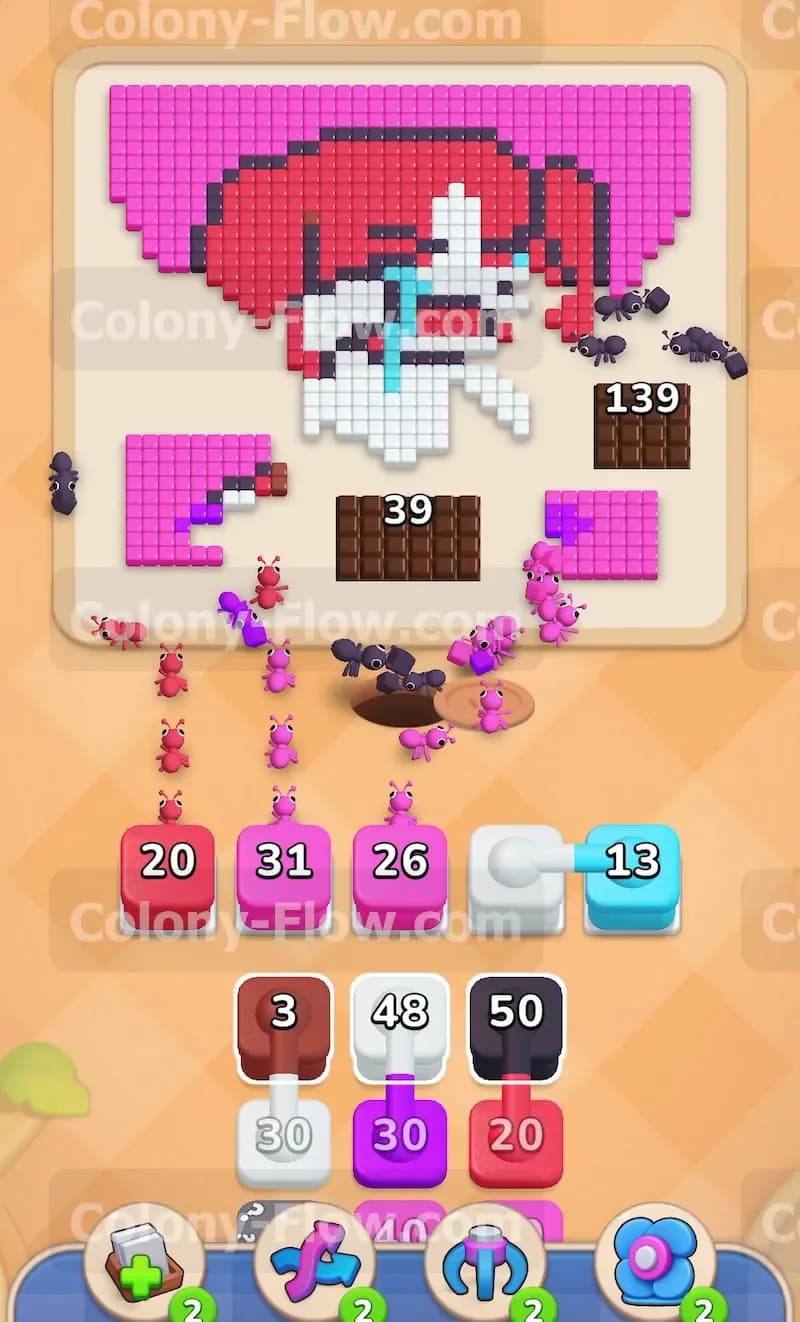
The middle left chocolate block and the middle right chocolate block finally crumble under the constant ant swarm. The numbers hit 53 and 153 before vanishing completely. This exposes the core artwork of the crying dog picture. A large white face and a massive pink background become valid targets for your ants. You pull a large pink block with 26 ants into your waiting slots. The pink ants rush out to devour the background tiles on the left side of the dog. You also pull a black block with 13 ants and a red block with 13 ants into the open slots. The board has now fully transitioned into the color matching phase.
Step 5: Target the blue tears and the lower white face tiles.
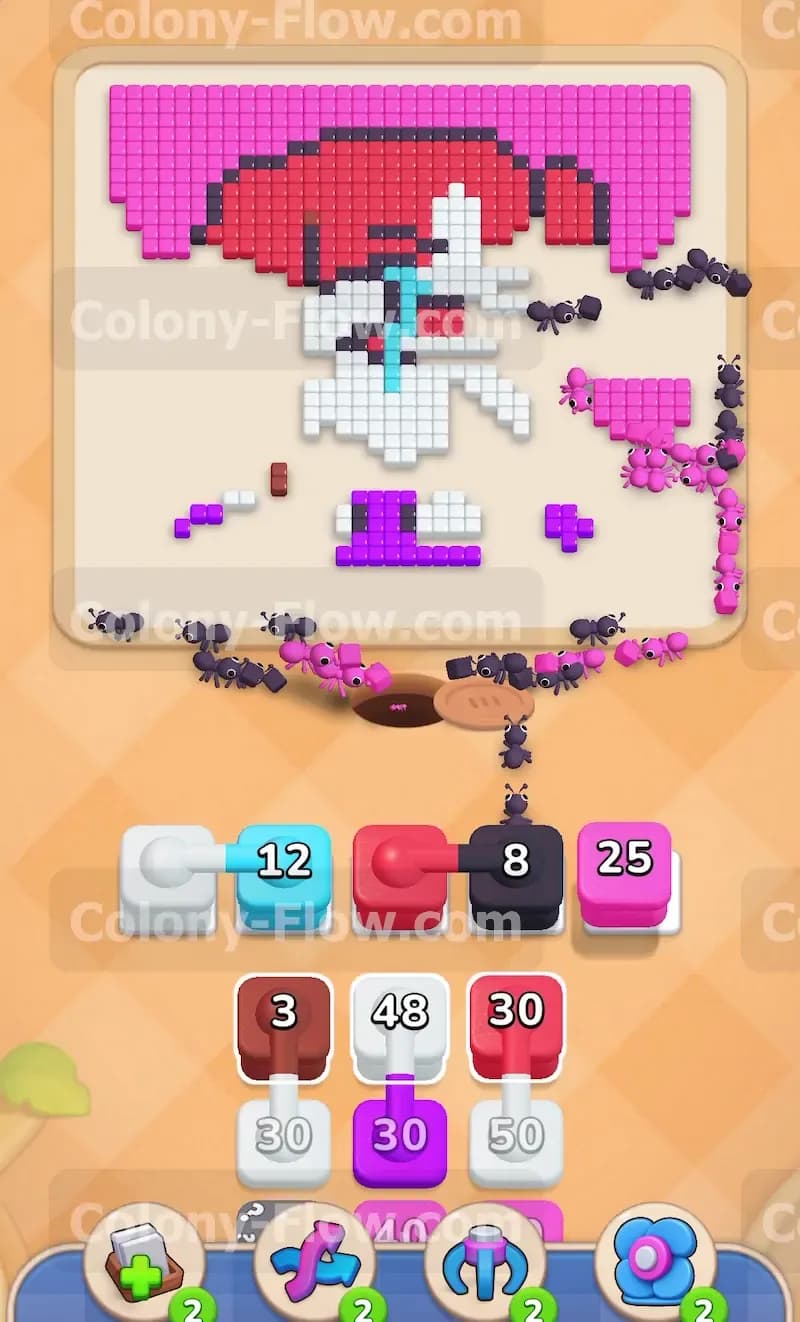
You bring up another connected white and cyan box into your waiting area. This connected pair holds 12 ants in the white block and 13 ants in the cyan block. The white ants swarm the lower jaw and the cheeks of the dog face. The cyan ants head straight for the blue tears falling from the eyes. The pink ants continue to eat away at the large pink background framing the character. You must watch your five slots very closely right here. You only want to pull blocks that match the currently exposed colors. The white ants clearing the face will soon open up a direct path to the red head and ears above.
Step 6: Attack the red head and ears of the crying dog.
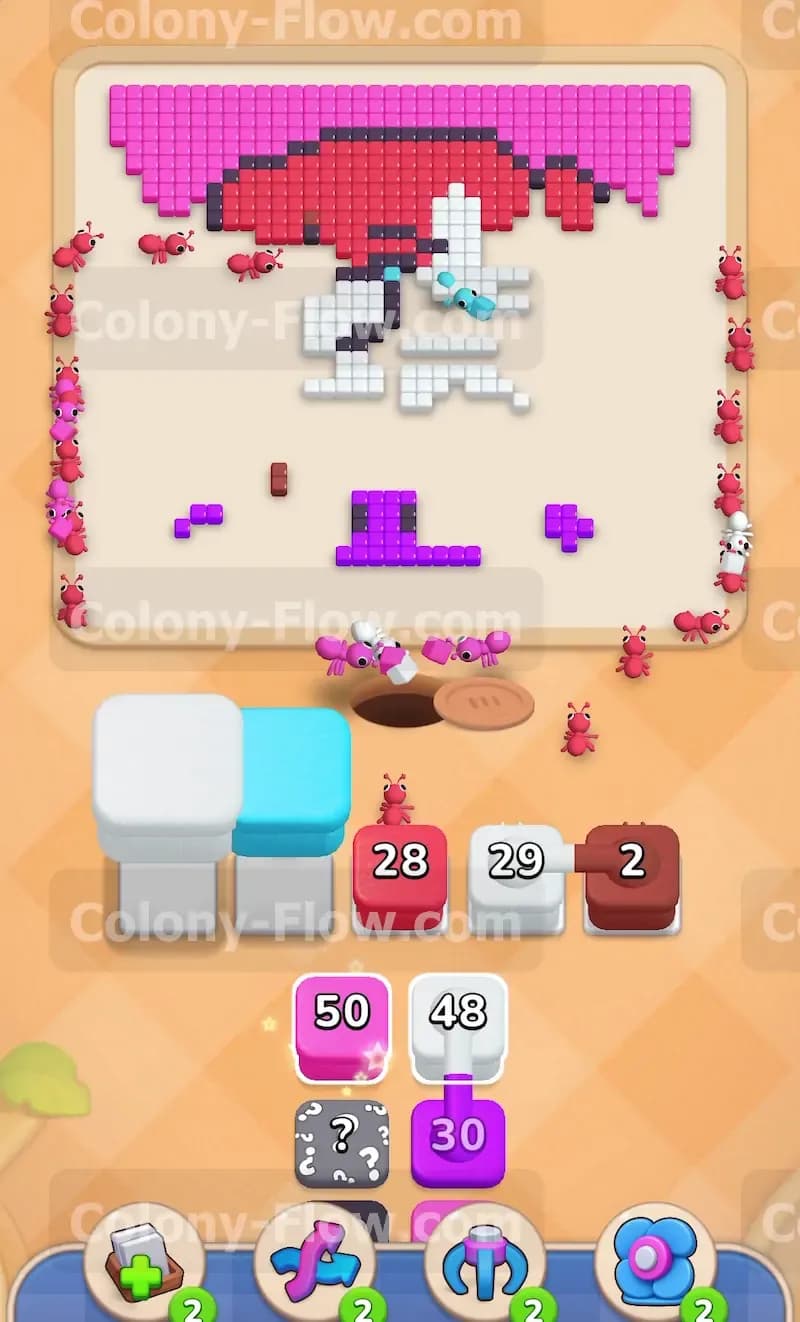
With the white face mostly cleared out of the way the red tiles are fully exposed and ready to eat. You pull a large red block holding 28 ants into the waiting area. You also bring up a black block with 29 ants and a brown block with 2 ants. The red ants stream up the middle of the board and split left and right to consume the large floppy ears. The black ants finally have a clean path to reach the eyes and the nose of the dog. You keep the slots moving by ensuring every single block you pull has an immediate target on the board. The pink background shrinks rapidly around the outer edges.
Step 7: Reveal the hidden boxes and deploy your final large blocks.
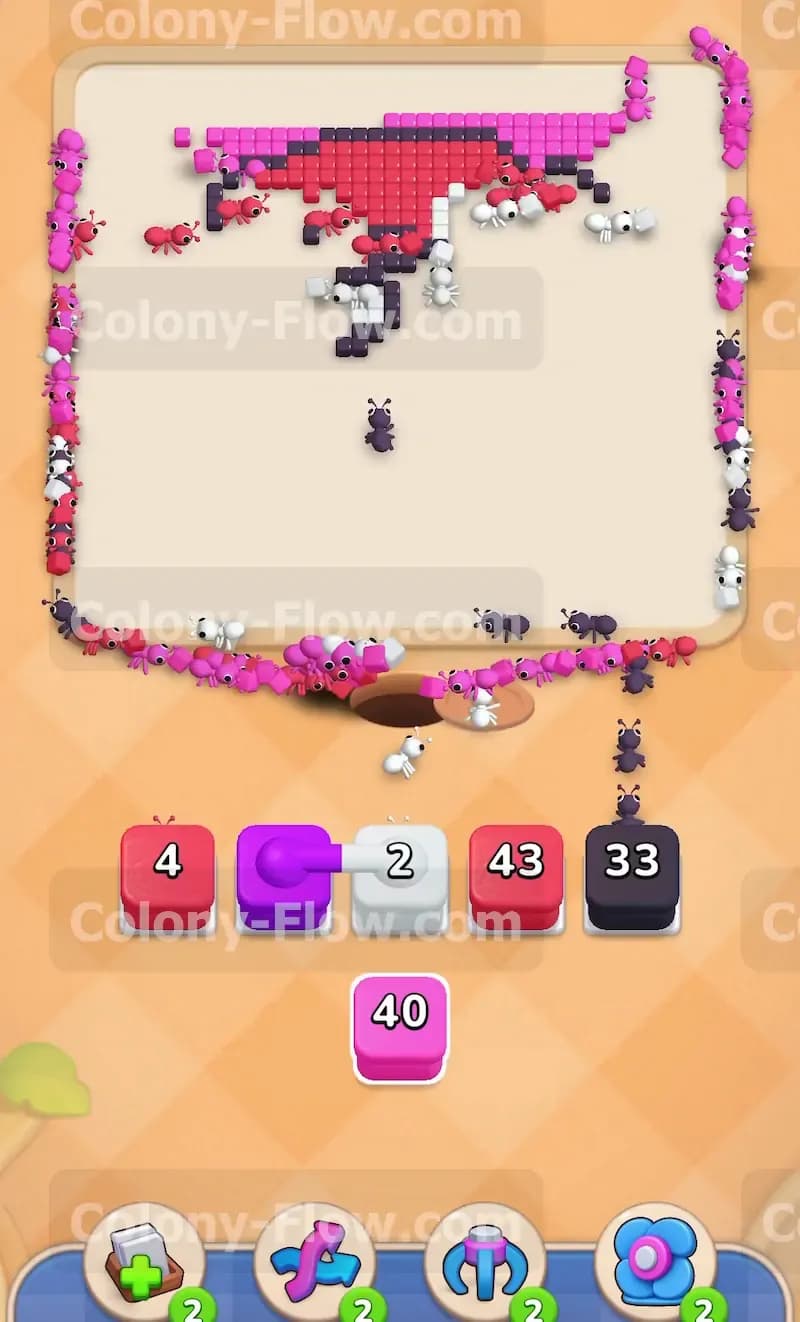
A hidden box marked with a question mark finally reaches the top row of your tray. It flips over to reveal its true color and number so you can plan your next move. You pull a massive red block with 43 ants and a black block with 33 ants into your empty slots. You also bring up a connected purple and white box with 2 ants. The remaining red ants swarm the very top of the dog head to finish the red sections. The black ants erase the final few pixels of the eyes and the nose. You pull a giant pink block with 40 ants to handle the last huge chunks of the pink background framing the top of the image.
Step 8: Erase the final border tiles to win the level completely.
The board is almost entirely empty now. Only a thin strip of pink background tiles remains across the very top edge along with a few scattered red tiles on the top of the head. Your red block and your pink block in the waiting slots empty their final ants onto the board. The ants march all the way up the outside edges of the screen and consume the very last squares of the picture. Your five waiting slots completely empty out as the final ants finish their meals. The picture vanishes and you win the level. You succeeded because you never let a block sit idle and you never let your five slots fill up without a valid path.
Final Thought
This level demands patience while you break down that enormous chocolate wall. You will spend over half the level just feeding blocks into the bottom barrier before you ever see the real picture. If you struggle to manage the connected boxes or the transition into the color matching phase I highly encourage you to watch the video above this article. Seeing the exact moment the chocolate breaks and how the ants redirect their paths will help you time your block pulls perfectly. Keep your slots flowing and you will clear this board.