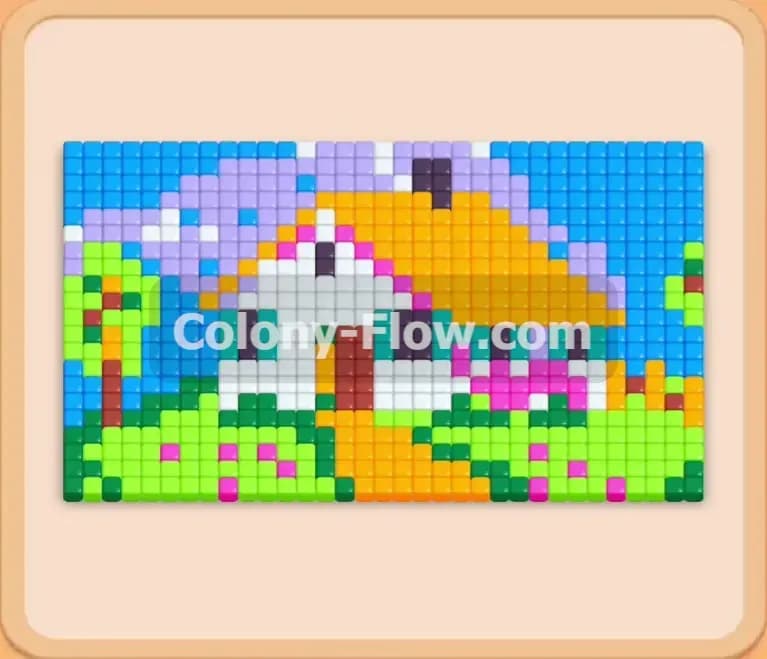
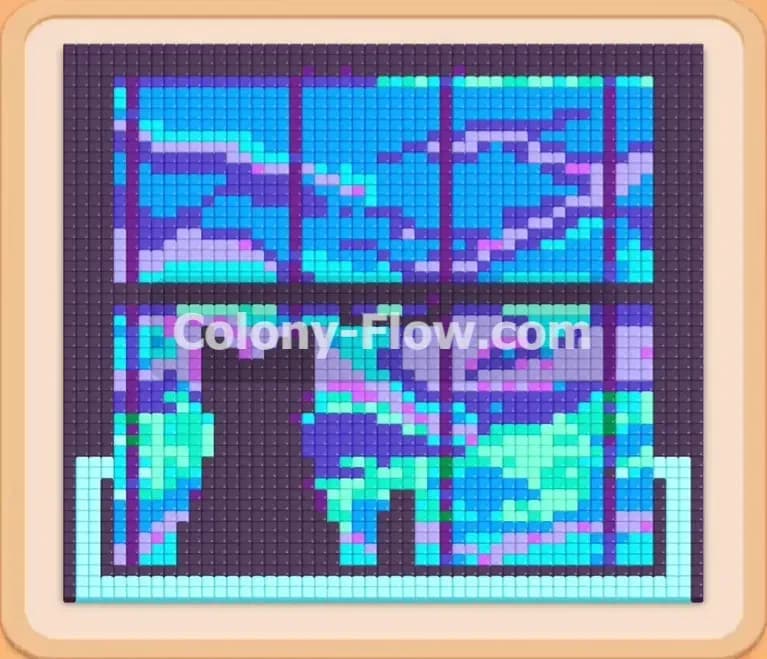
Colony Flow Level 1200 Walkthrough Solution & Guides | How to solve Colony Flow 1200

Guide By Liam Stone
Updated on August 12, 2026
Some readers just want to watch. The video above covers Level 1200 from start to finish.
Video doesn't match your screen?
Game updates frequently scramble layouts! Try our AI Screenshot Solver first to find your exact board instantly, or report broken guides to our team.
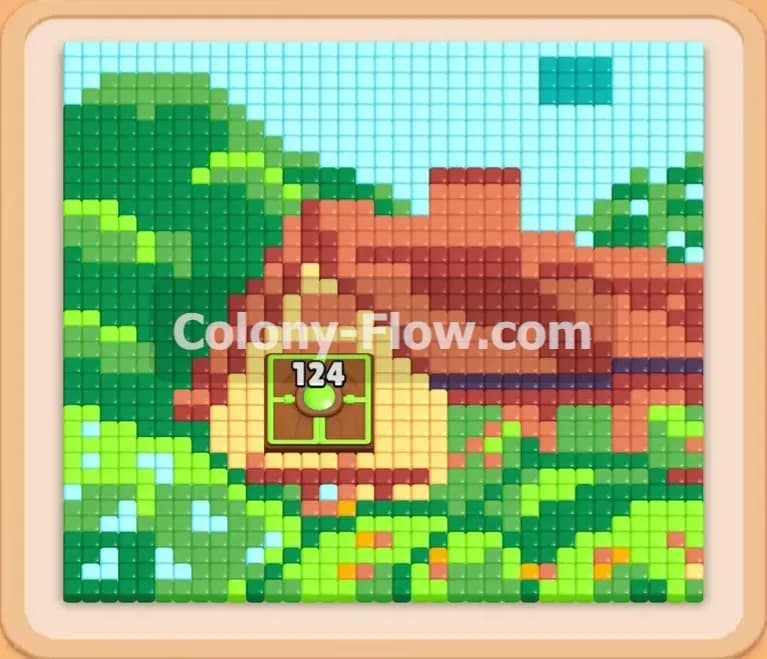
Colony Flow Level 1200 features a massive pixel art house surrounded by a lush green landscape and a bright blue sky. You face a giant numbered tile right in the middle of the picture that requires constant attention from the very first move. I played this level myself and found the perfect sequence to keep the ants moving without ever filling the waiting slots. I will show you exactly how to clear every pixel of this house and secure the win.
Colony Flow Level 1200 Overview
What You Are Working With
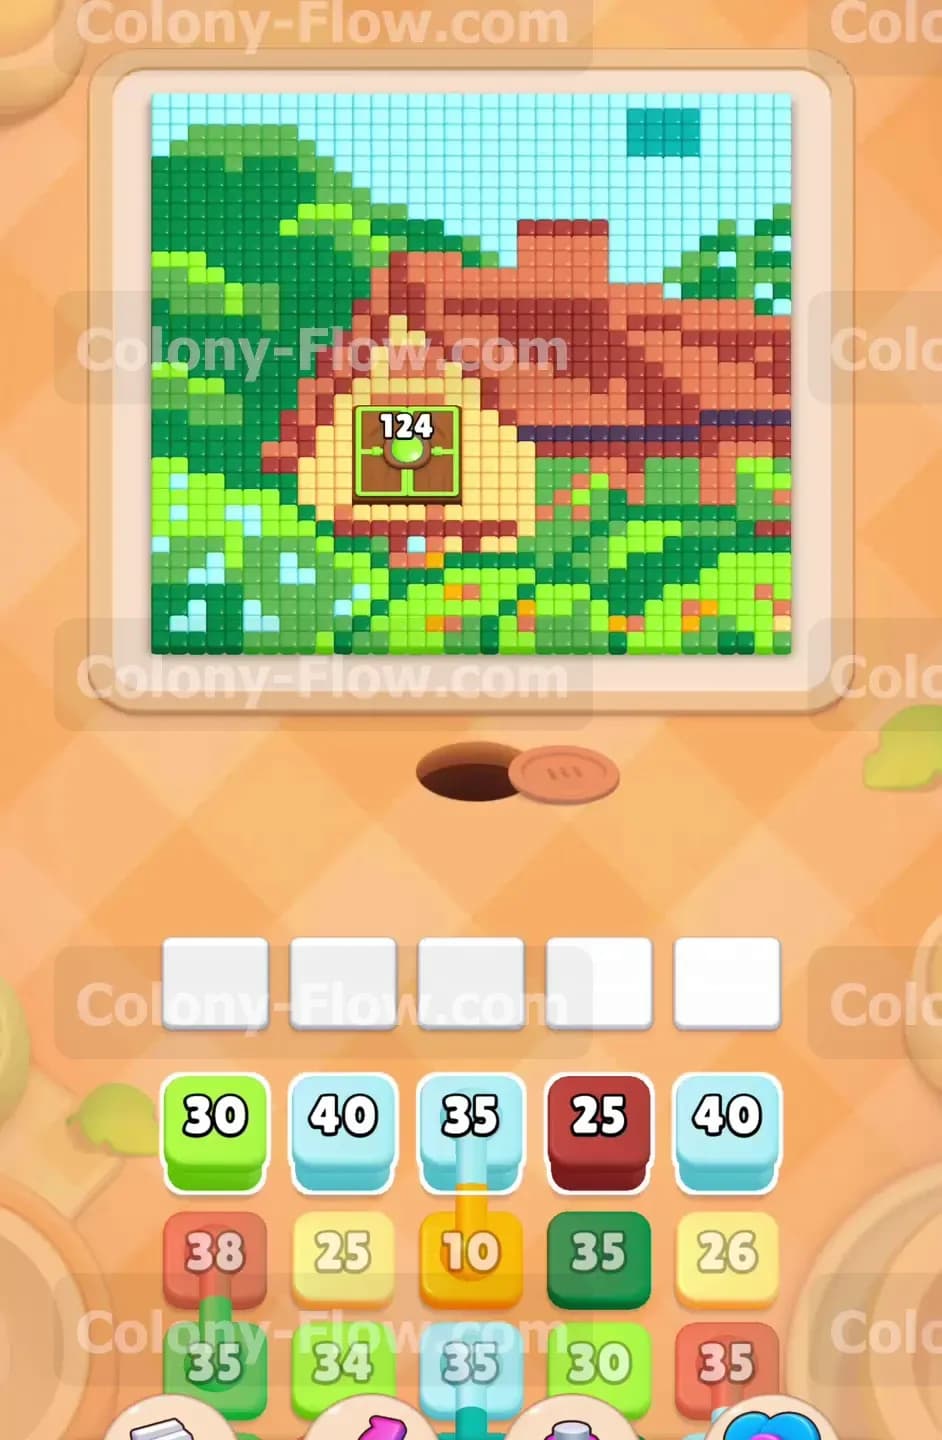
The picture displays a charming countryside scene. You have a massive blue sky spreading across the top and a sprawling green forest and lawn around the bottom. The center piece is a classic brown roofed house with bright yellow walls. Right in the middle of that house sits a green tile with a gigantic 124 count. This giant tile acts as the front window of the house. Your tray starts with several single blocks and one pair of connected blocks. You will see a green 30 block and a blue 40 block ready to go. You also have a blue 35 block physically linked to a yellow 10 block. The waiting area below the board has five empty slots. You must manage these five slots perfectly to avoid a complete jam.
What It Takes to Clear Level 1200 Board
Winning this level comes down to managing the giant green window tile while simultaneously clearing the large solid color zones around it. You lose immediately if all five waiting slots fill up and the ants have nowhere to go. You must always maintain an open path for the colors you place in the waiting area. The connected blocks pose your biggest threat. When you pull a connected pair you must ensure both colors have an open path to the picture simultaneously. Your main strategy involves chipping away at the green 124 tile early while sending other ants to the massive blue sky and the wide brown roof. Keeping these large areas completely open allows you to cycle through your bottom blocks quickly.
Colony Flow Level 1200 Step by Step Solution
Step 1: Attack the outer green landscape to open paths
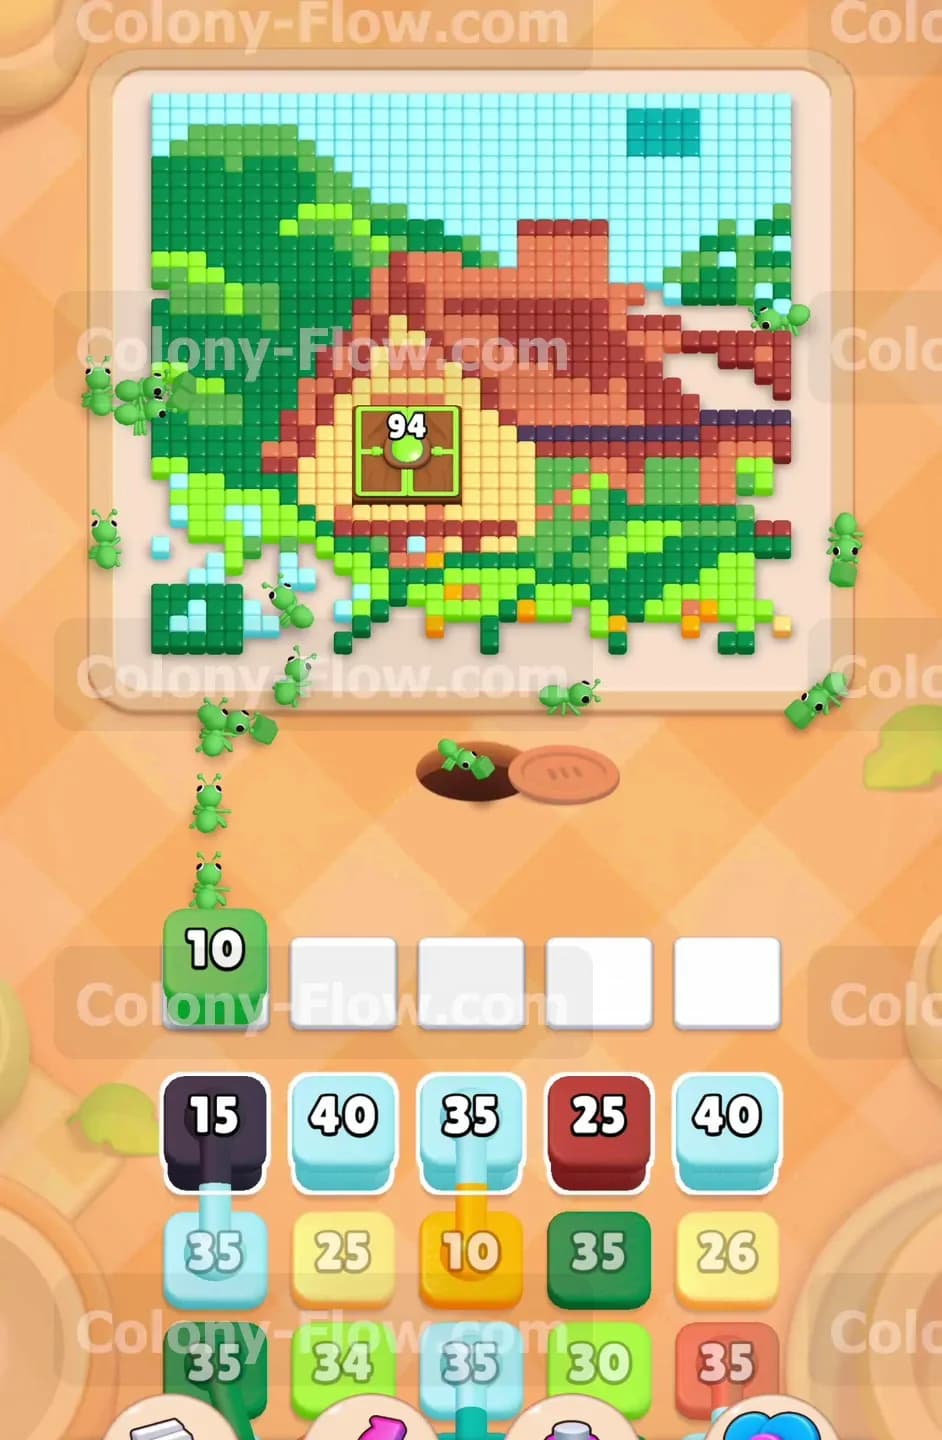
Start the level by tapping the green 30 block to move it into your waiting slots. The nest hole immediately opens and green ants pour out to eat the grass and trees on the bottom left side of the picture. A steady stream of these ants also marches straight toward the center window tile. They chip away at that massive 124 count and rapidly drop it to 94. The green block in your slot reduces to 10 as the ants depart for the board. This specific move is crucial because it opens up the bottom edge of the board right away. You now have a clear path for other colors to reach the house. You also take a significant chunk out of the hardest tile on the board very early in the game.
Step 2: Send blue ants to the sky to keep slots clear
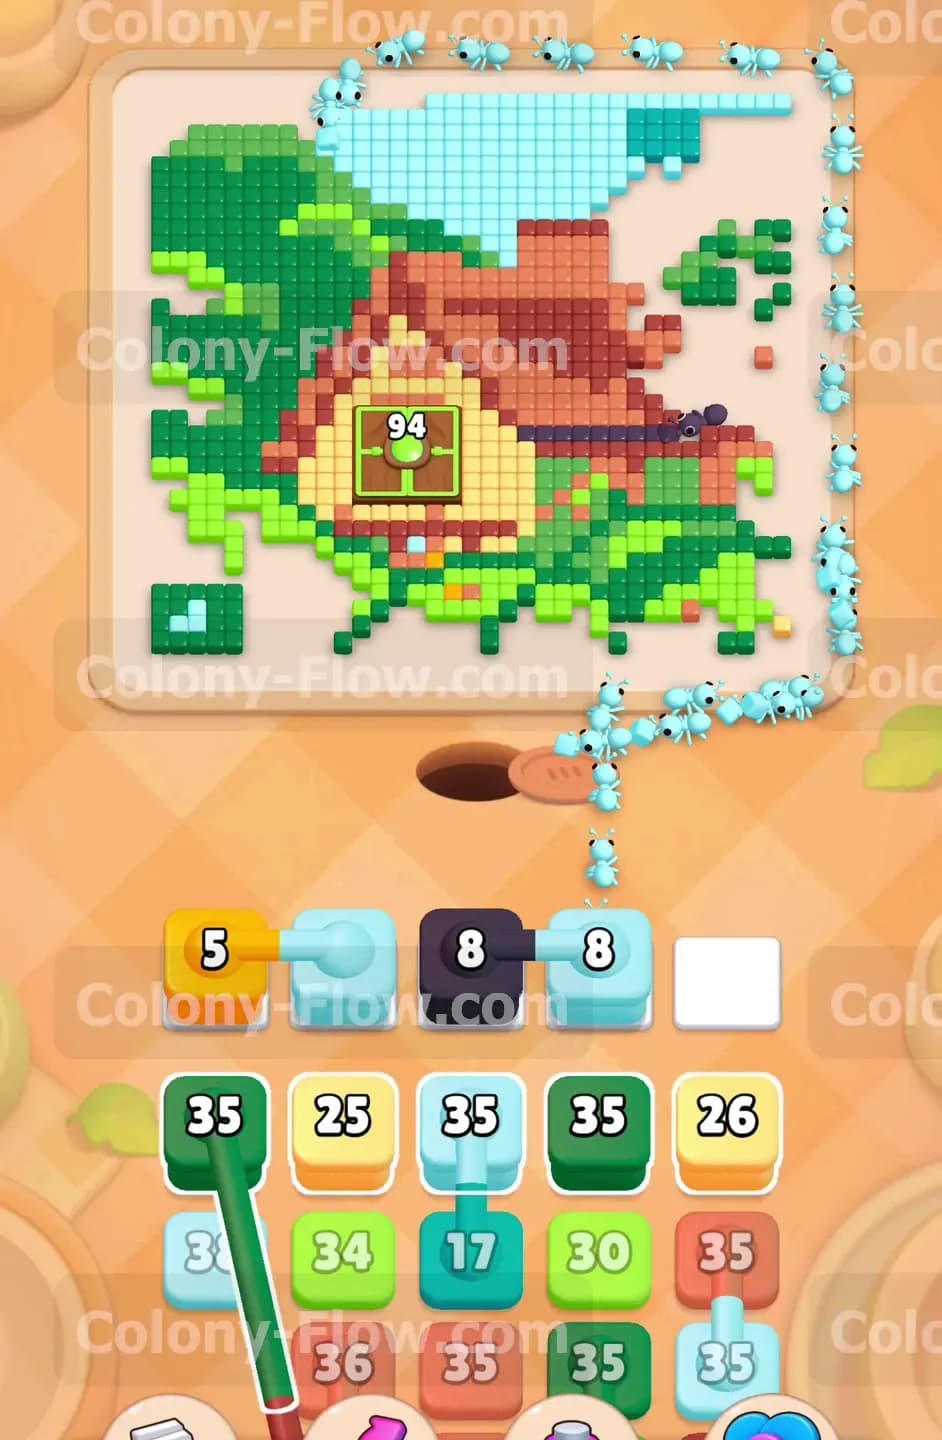
You need to balance the board by attacking the top section next. Tap the blue 40 block to send it up to the waiting area. Blue ants stream out of the nest and trace a long path around the far right edge of the picture. They begin eating the vast blue sky filling the entire upper right area. The sky contains a huge number of solid tiles so this path will stay open for a very long time. Having a reliable long path prevents your waiting slots from jamming while you plan your next moves. A black 15 block appears in the tray to replace the green block you used earlier. Ignore that black block for now and simply let the blue ants do their work in the sky.
Step 3: Move the connected blue and yellow blocks up
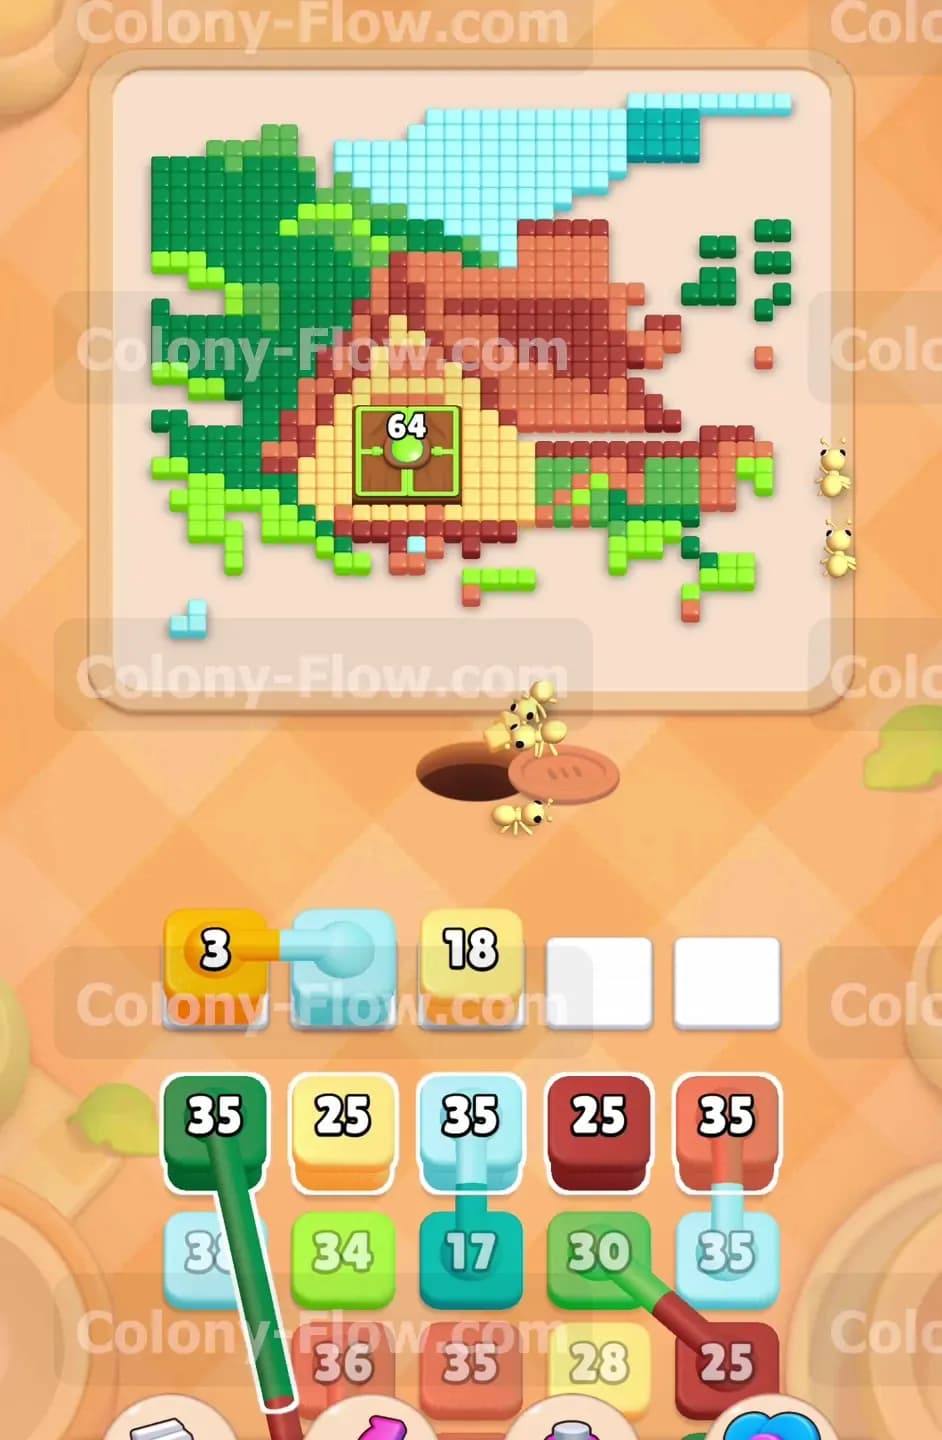
Now you must handle the first connected pair in your tray. Tap the blue 35 block that is linked directly to the yellow 10 block. Both blocks move into your waiting area together and occupy two slots. You must have paths open for both colors or the slots will jam and end your run. Thankfully the blue ants can easily join the sky clearing effort on the right side. The yellow ants find an open path straight to the yellow siding on the front of the house. The yellow siding is a smaller area but the 10 count block is perfectly sized for it. The ants chew through the siding and successfully free up the space around the front door.
Step 4: Deploy another green block to hit the window again
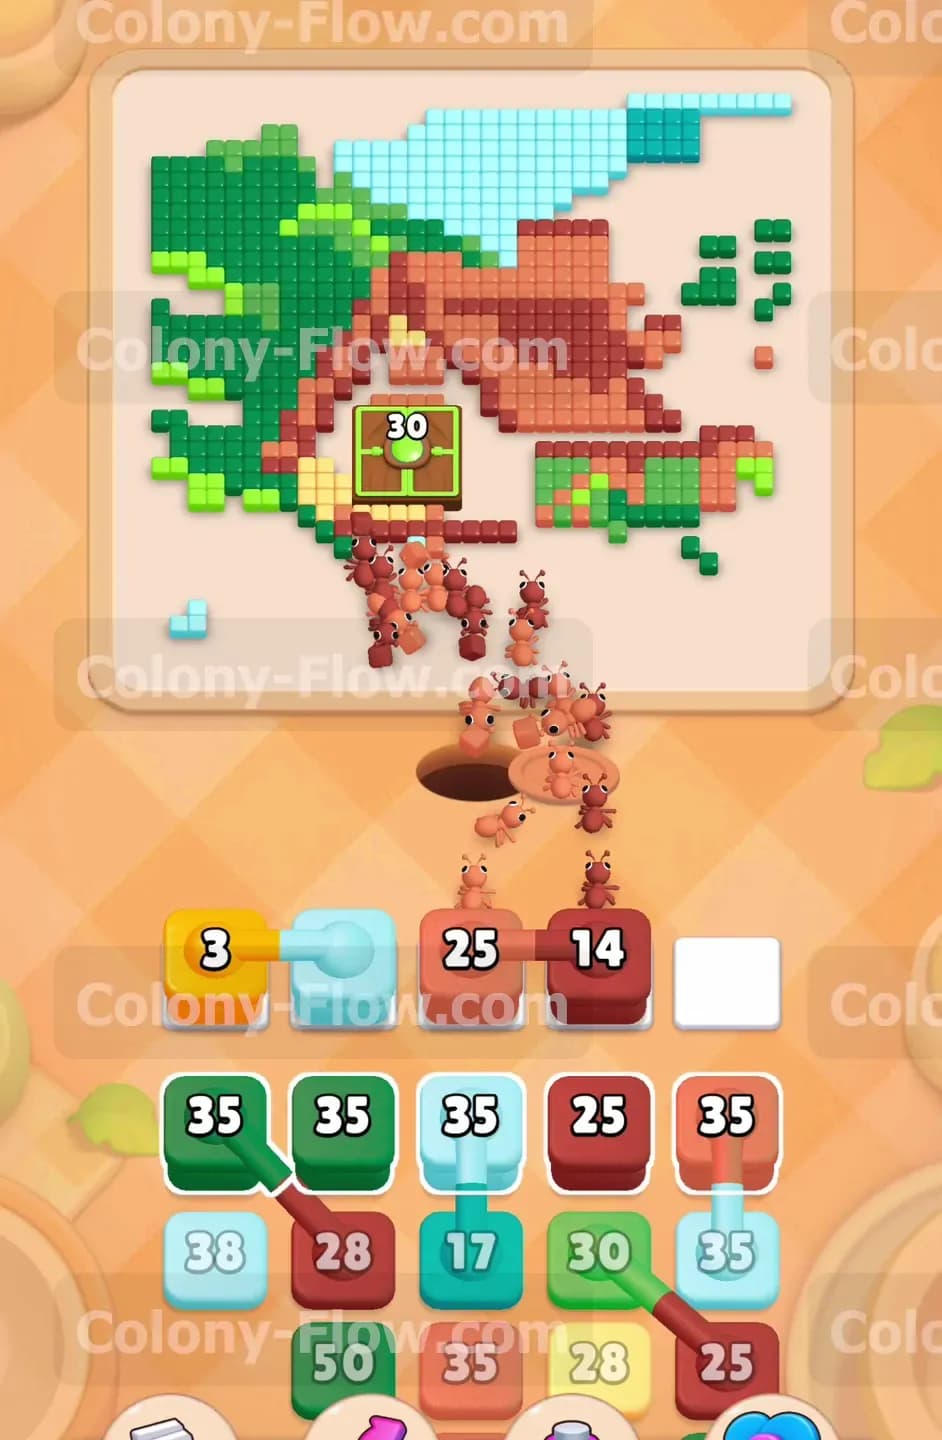
Your next priority is to continue wearing down that stubborn center window. Pull up the green 35 block from the bottom tray. The green ants flood the left side of the board and clear the remaining trees and bushes in the yard. A large group of them breaks off and marches right to the center window again. They hit the window hard and knock the number down from 94 to 64. The overall green landscape is shrinking very quickly. You must keep hitting that center tile whenever you have an open green path available. Doing this ensures you do not get stuck with a high number green block at the very end of the level when no other green tiles exist.
Step 5: Unleash brown ants onto the massive roof
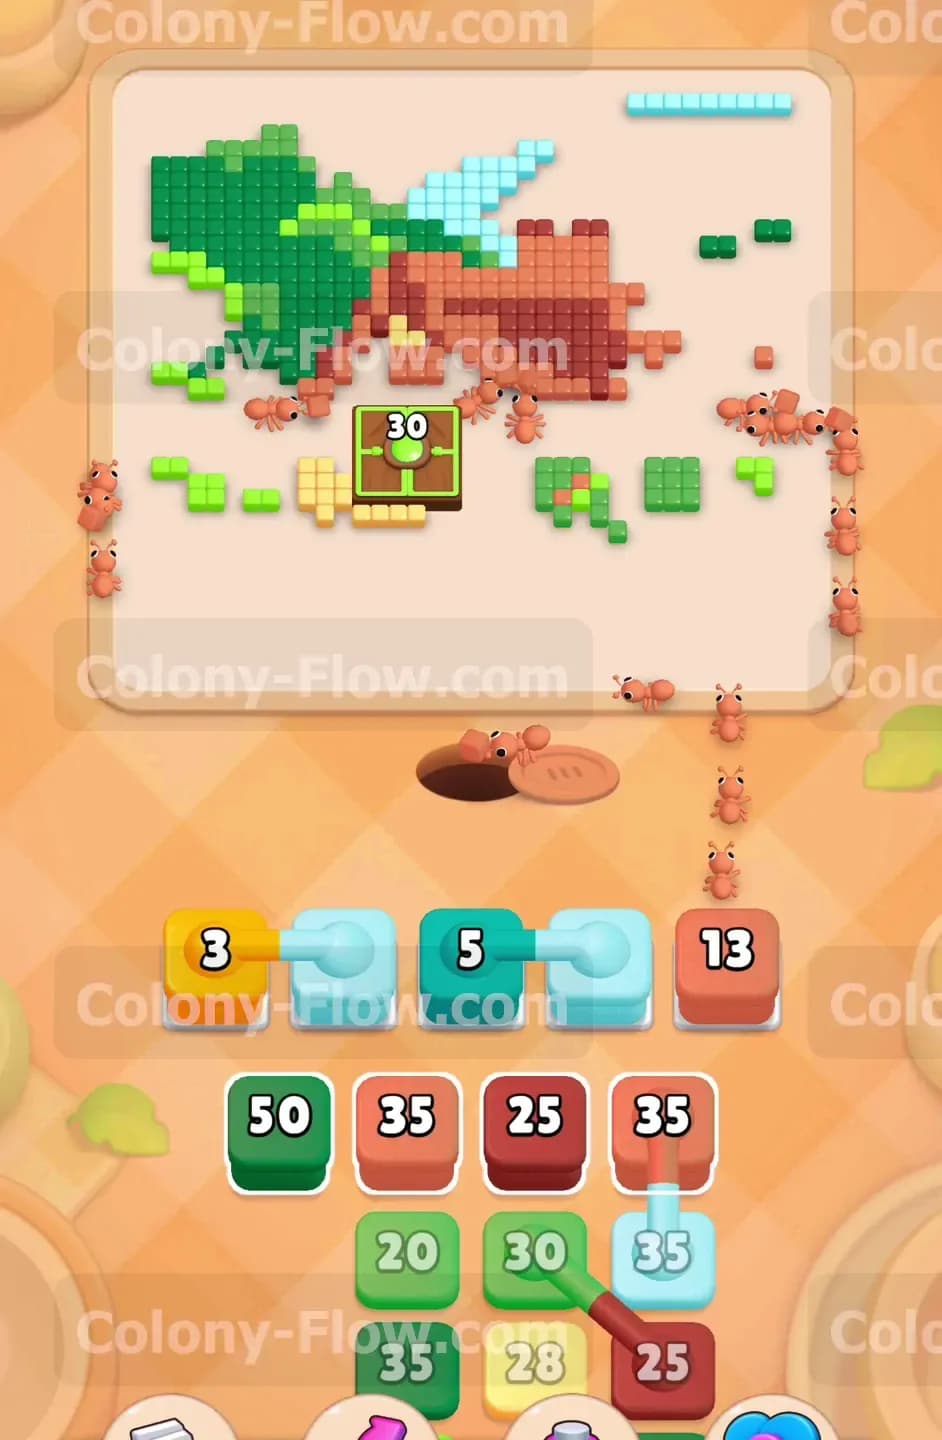
The house roof represents the largest untouched section of the picture at this stage. Bring up the brown 25 block from the bottom tray to fix this. Brown ants march straight out of the nest and climb straight up to the roof. The roof spans the entire width of the house and includes a large chimney on the right side. This massive brown area acts as a fantastic sink for your ants. The brown 25 block empties rapidly as the ants swarm the shingles. Opening the roof path early is essential because it gives you a totally safe place to dump heavy brown blocks later in the game.
Step 6: Handle the second set of connected blocks
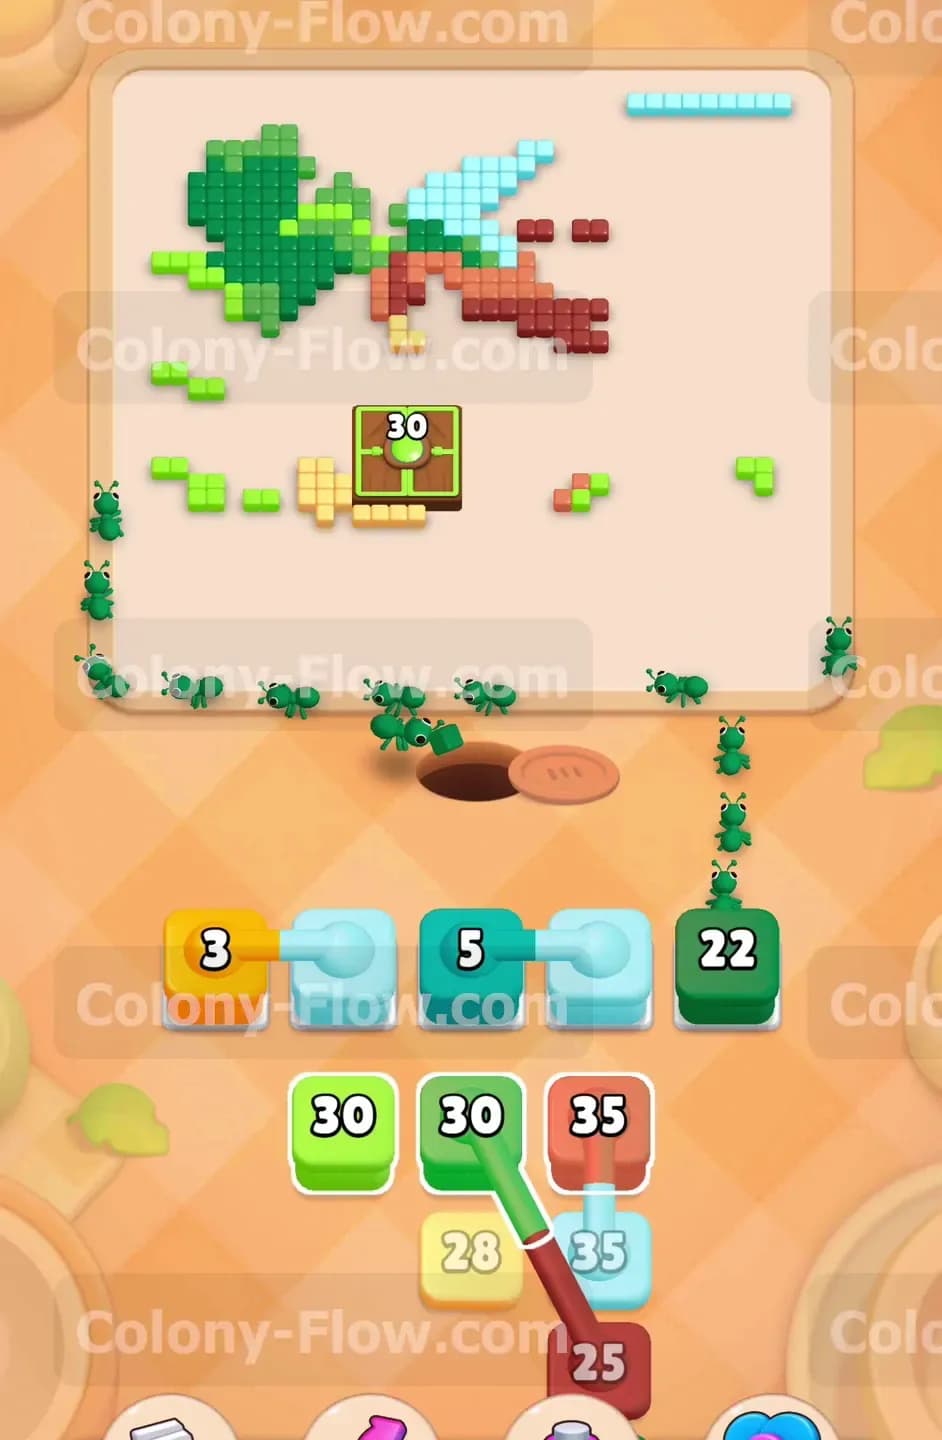
You will soon notice more connected blocks appearing in your tray. Tap the newly revealed connected blue blocks to move them into the waiting area. You also want to bring up a brown 35 block to keep the clearing momentum going. The blue ants travel around the newly cleared roof section and start eating the upper left corner of the sky. The brown ants join the remaining roof tiles and chew heavily through the chimney. Your waiting slots are getting quite full at this exact moment. You have a yellow 3 block and several blue and brown blocks sitting in the queue. You must trust the paths you opened earlier. The ants will continue to flow out and clear the blocks well before a game over triggers.
Step 7: Clear the remaining sky and roof sections
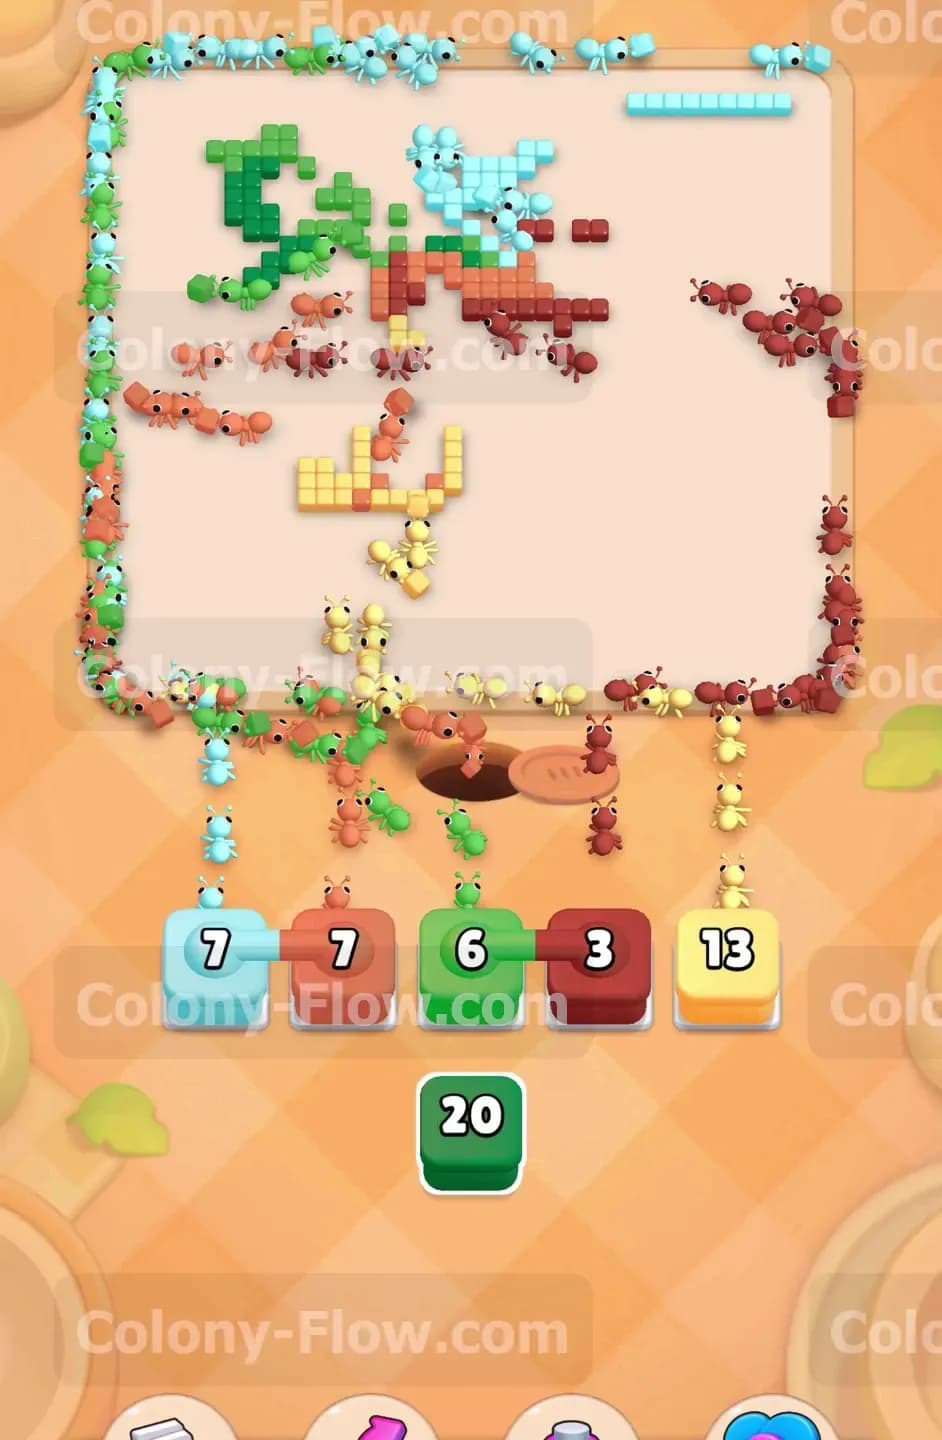
Wait a short moment for the current blocks to empty out into the picture. The blue ants wrap around the top edge and finish off the last few clouds remaining in the sky. The brown ants sweep across the entire roof and leave only scattered brown pixels behind. Your waiting slots begin to empty out nicely as the ants finish their assigned routes. This brief pause in action gives you a perfect chance to survey the board. The picture is mostly gone now. You only have a few scattered patches of green grass and that massive center window remaining. The yellow walls of the house are also partially intact but easily manageable.
Step 8: Destroy the center window completely
It is finally time to finish the hardest part of the level. Pull up the green 30 block from the bottom tray. The green ants march out and sweep up the last few patches of grass on the far left side. They then converge entirely on the center window for one final attack. The window number drops rapidly from 30 straight down to zero. The giant green tile shatters and completely disappears from the board. This moment brings a huge relief. You no longer have to worry about the biggest obstacle on the board blocking your progress. The path to victory is now completely open and clear. You only have a few random colored tiles left to clean up.
Step 9: Release the final swarm to win the level
You are now completely in the final cleanup phase. Pull up every remaining block in your bottom tray. You will send up yellow blocks and brown blocks and green blocks all at the exact same time. The nest hole unleashes a totally chaotic swarm of multicolored ants onto the board. They scatter in every possible direction to hunt down the final scattered pixels. The brown ants eat the last stray roof tiles. The yellow ants finish the remaining siding on the house. The green ants grab the tiny leftover leaves on the lawn. The board empties completely and the bright level clear message appears on your screen. You managed the slots perfectly and never gave the ants a single chance to jam.
Final Thought
Colony Flow Level 1200 demands careful constant attention to that giant center window and excellent management of the tricky connected blocks. Always prioritize opening large solid color zones like the sky and the roof to keep your ants moving freely. Take your time when the waiting slots get crowded and firmly trust the paths you built. I highly recommend watching the video above this article if you want to see exactly how the ants navigate the trickier sections of the house. You will master this board in no time.