Colony Flow Level 444 Walkthrough Solution & Guides | How to solve Colony Flow 444

Guide By Liam Stone
Updated on July 29, 2026
You can watch the video above to see Level 444 solved from the very first move.
Video doesn't match your screen?
Game updates frequently scramble layouts! Try our AI Screenshot Solver first to find your exact board instantly, or report broken guides to our team.
Welcome to Colony Flow Level 444. This puzzle presents a stunning sunset over the water that requires careful planning to solve. You face a dense board filled with massive color blocks and several special mechanics that can quickly clog your waiting slots. I played through this exact layout and found the safest sequence to keep your ants moving from start to finish.
Colony Flow Level 444 Overview
What You Are Working With
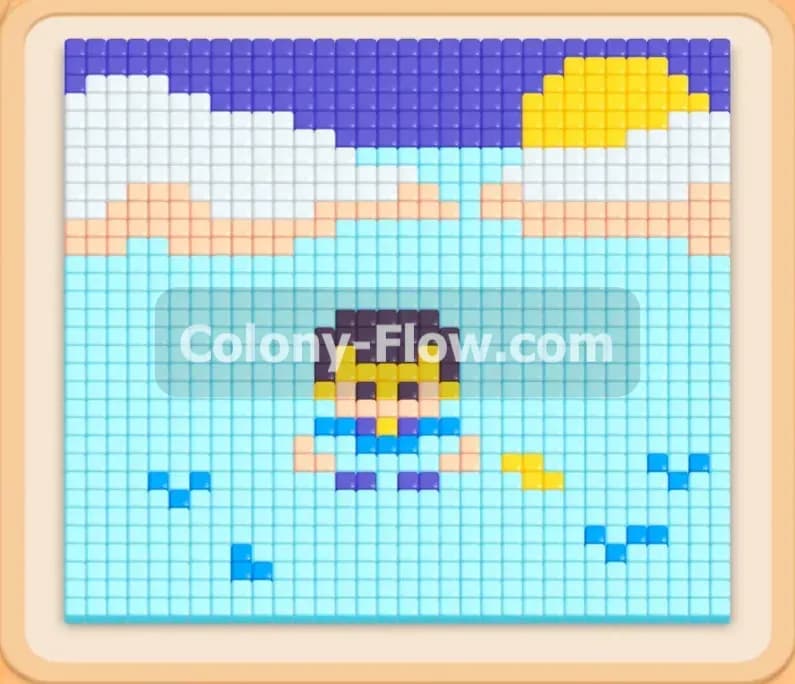
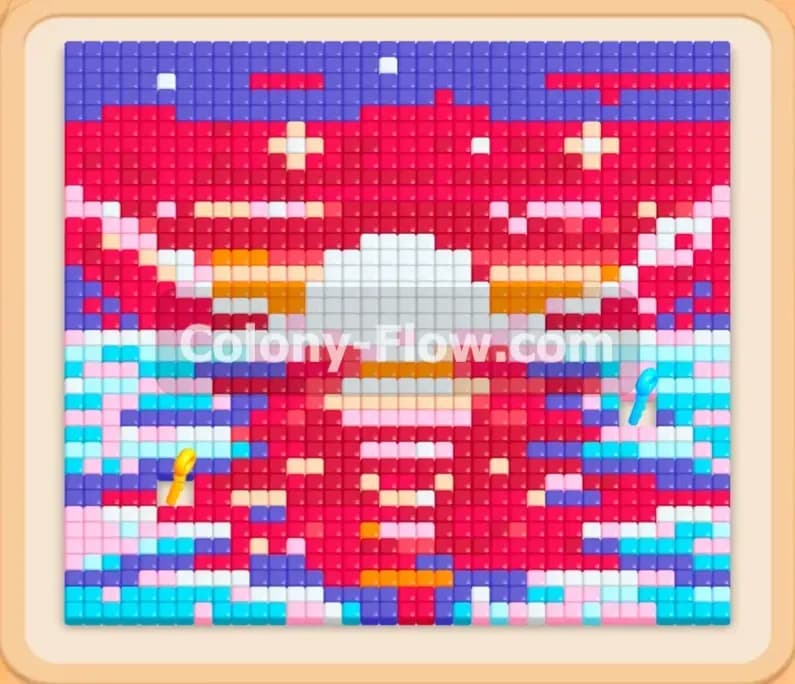
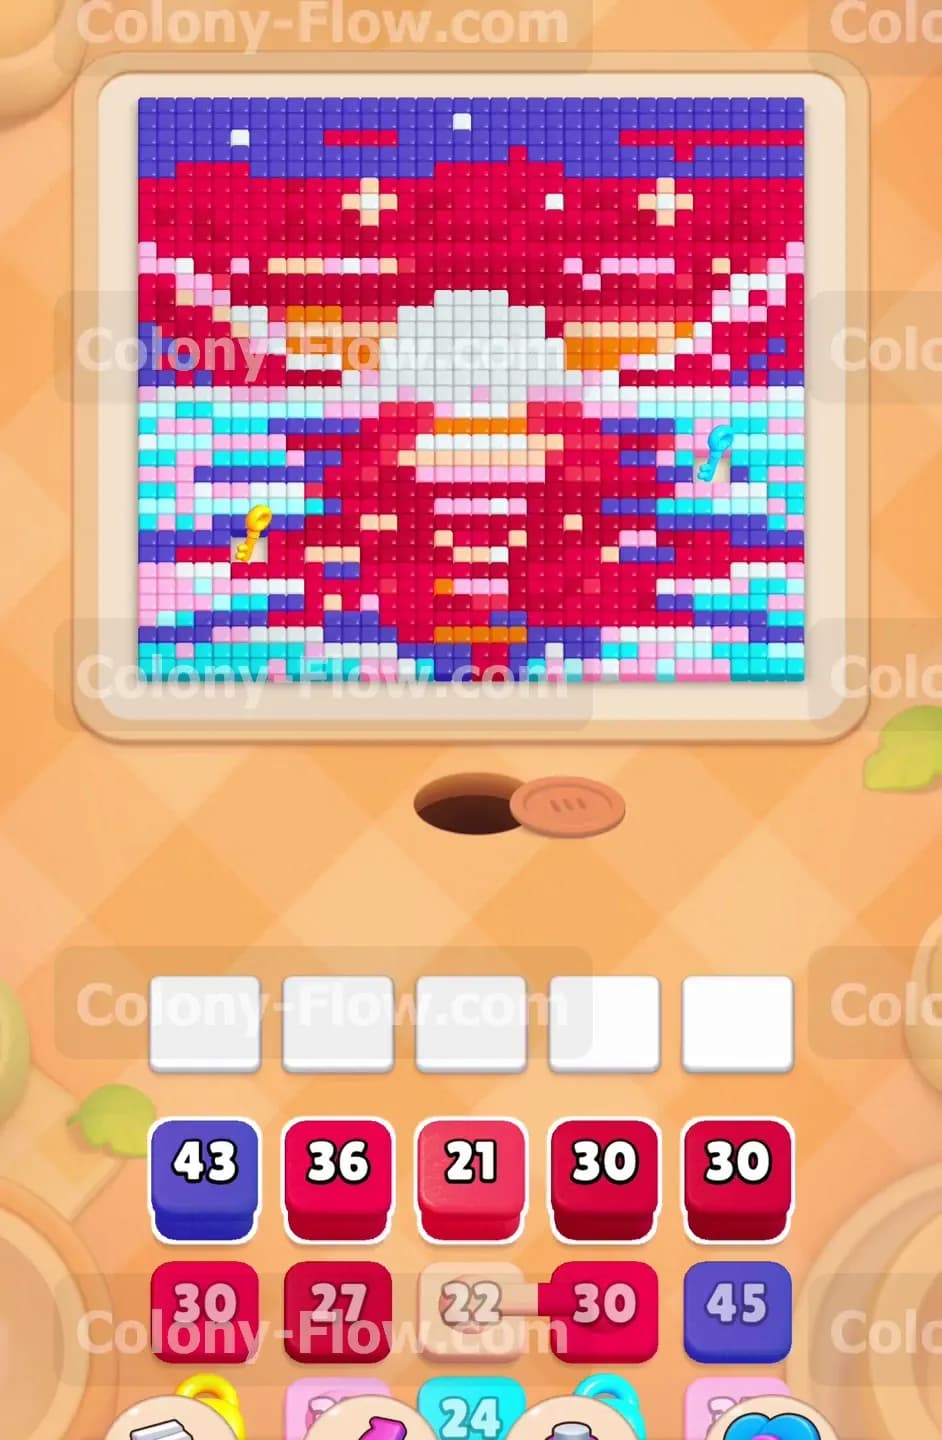
The picture shows a vivid landscape made of hundreds of tiny colored squares. The top half features a dark purple sky transitioning into a deep red sunset. A bright white sun sits right in the middle of the horizon. The bottom half depicts the water reflecting the sunset using a mix of light blue, cyan, pink, white, and red tiles. You can see a cyan key resting on the right side of the water area. Your starting tray is packed with high numbers. The top row holds a purple 43 block alongside several red blocks in the thirties. The bottom row has an orange 30 block and a locked purple 45 block. The lock matches the cyan key on the board. As you progress you encounter connected boxes where a light blue block is physically linked to an orange block. You also face a hidden box disguised with a question mark later in the level.
What It Takes to Clear Level 444 Board
Winning this level requires you to dismantle the sunset piece by piece without ever filling all five waiting slots at the bottom of your screen. The ants stream from the nest hole and travel along any open paths to reach the colored food tiles. You must match the colors in your tray to the accessible tiles on the board. When you pull a block it drops into one of the five waiting slots. If you pull a block that has no open path to its matching color it sits there and takes up space. If all five slots fill up with blocked colors your ants have nowhere to go and you lose the level. You clear the board by constantly opening new routes, unlocking the restricted blocks, revealing the hidden box, and ensuring your connected boxes always have a valid target.
Colony Flow Level 444 Step by Step Solution
Step 1: clear the bottom center red reflection tiles to open the board
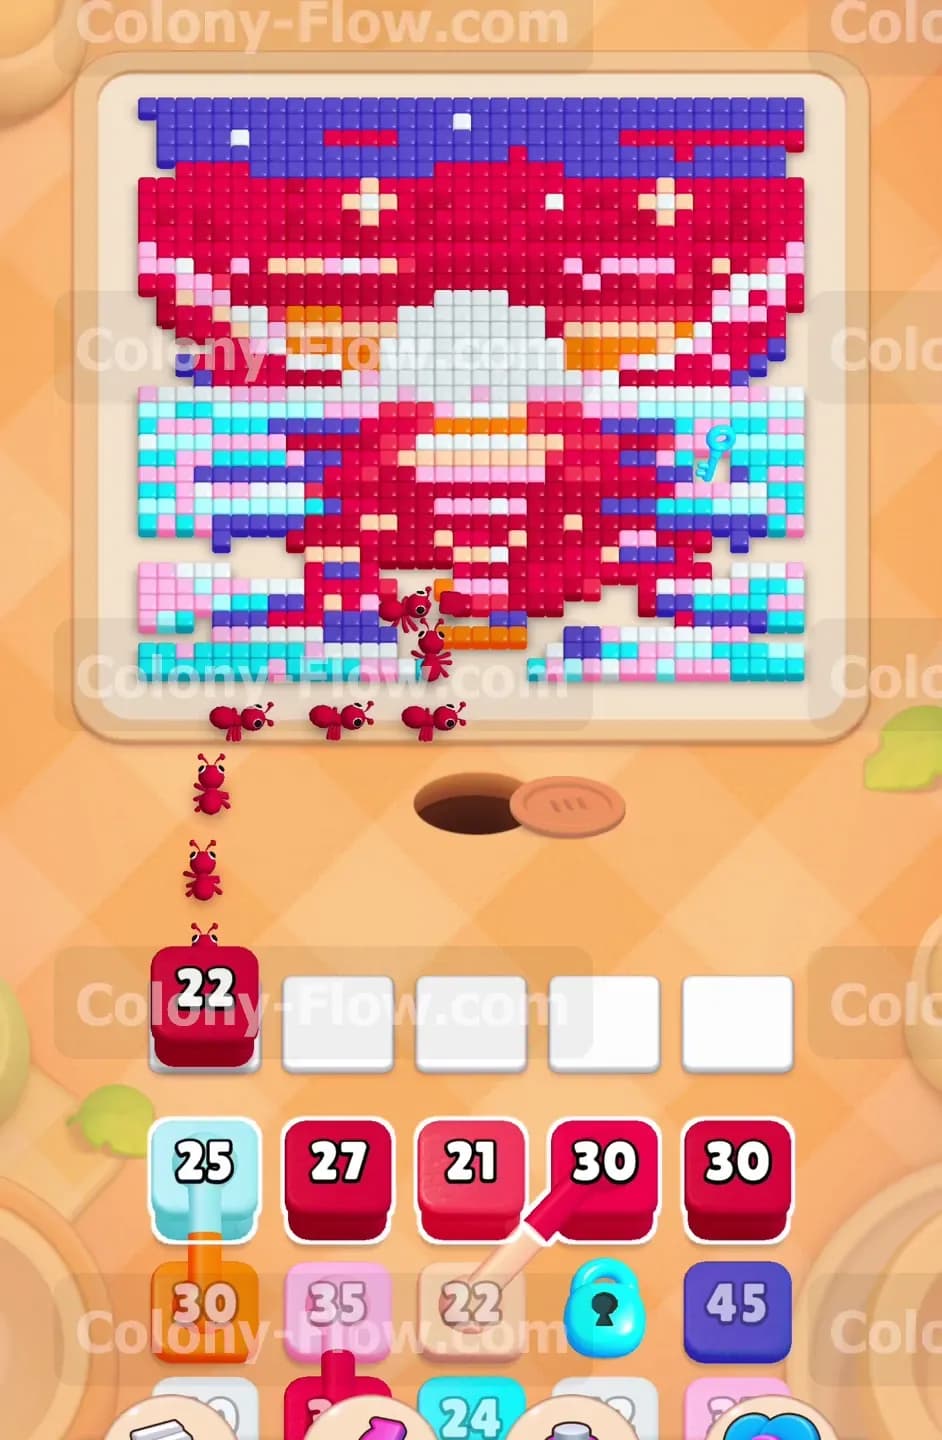
The nest hole sits directly below the center of the water area. The most accessible tiles are the red pieces forming the reflection of the sunset. Tap a red 22 block from your tray to send it into the first waiting slot. The ants immediately rush out of the hole and start eating the red tiles right in front of them. This action creates a wide vertical channel straight up the middle of the lower board. You must create this central path early because it exposes the surrounding light blue and pink water tiles. Keep your eye on the waiting slots. Only pull one red block at a time to ensure the ants finish the entire number before you commit another slot.
Step 2: deploy a top row purple block to begin clearing the night sky
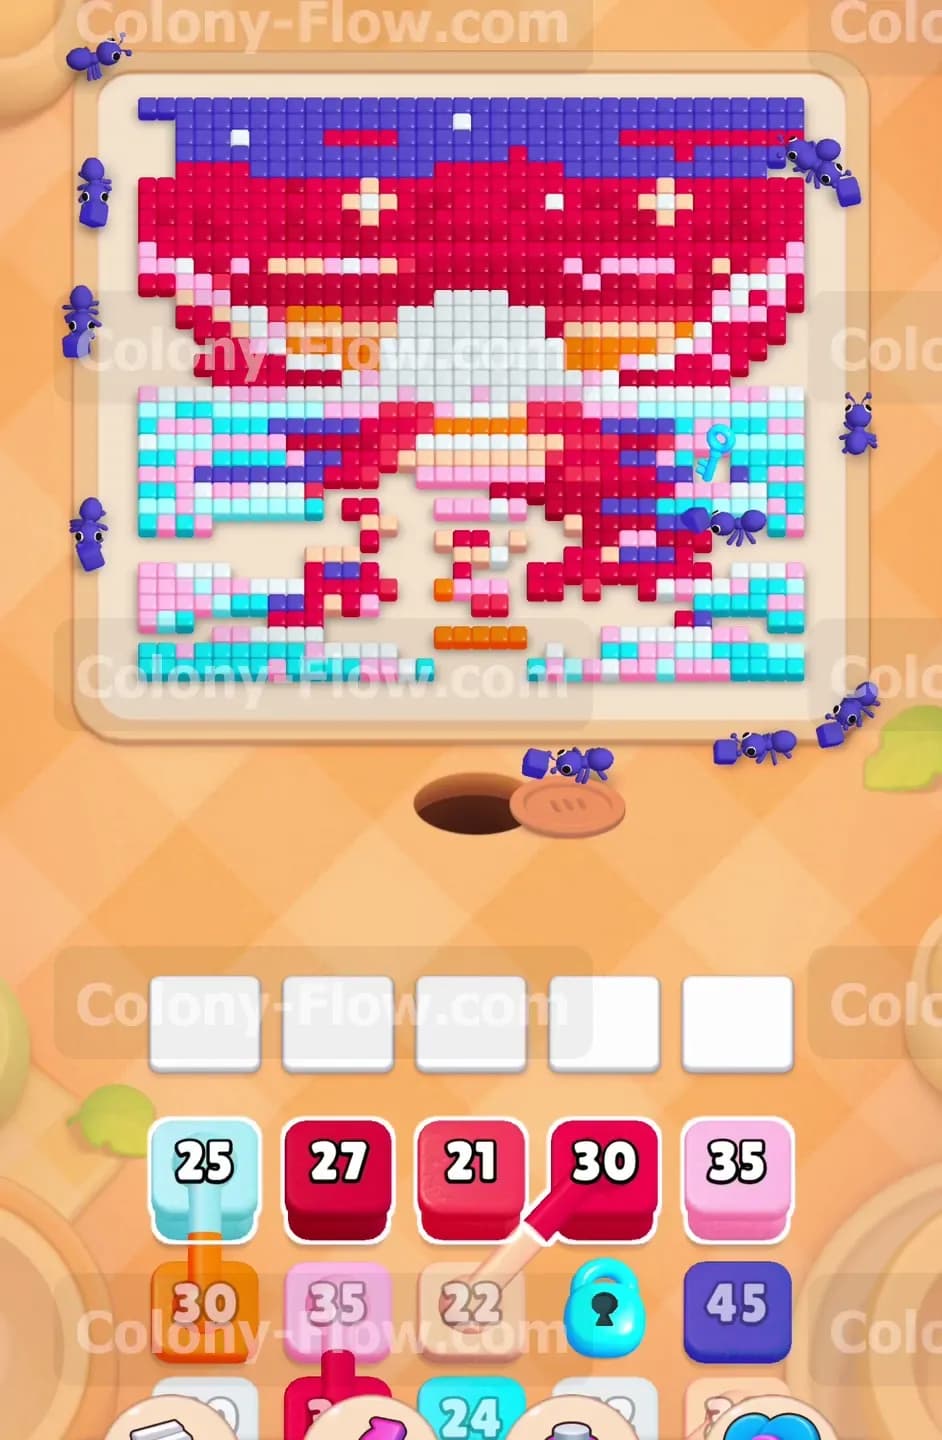
Once the ants carve a path through the red water tiles they can reach the outer edges of the board. The top portion of the picture is a massive cap of dark purple tiles. Tap the purple 43 block from the top left of your tray. The ants will march up the sides of the board and begin chewing away at the purple sky. Getting a high numbered purple block into the waiting slots early is a smart play. The purple section contains dozens of tiles and takes a long time to clear. Starting this process now ensures the purple block counts down steadily while you manage the lower section of the puzzle.
Step 3: use the first set of connected boxes for the light blue and orange tiles
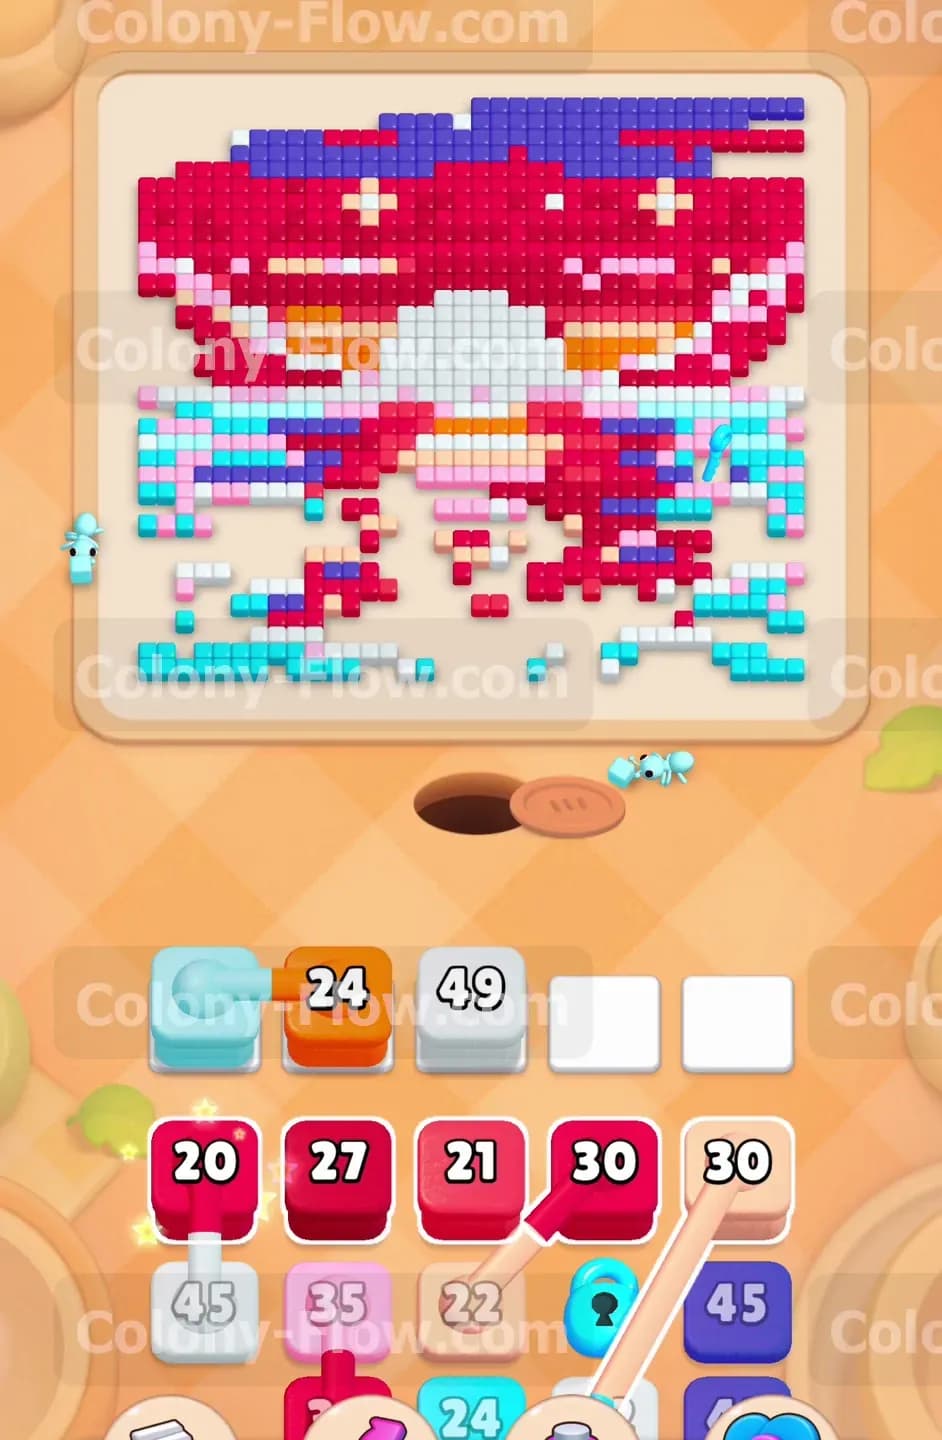
As you clear the initial red and purple sections new blocks slide into your tray. You soon see a set of connected boxes featuring a light blue block fused to an orange 24 block. Connected boxes move into the waiting slots as a single unit and take up more space. You must ensure both colors have an open path on the board before you pull them. The light blue tiles are scattered throughout the water section while the orange tiles make up the edges of the sunset reflection. Tap the connected boxes to move them down. The ants will divide their attention between the light blue water tiles and the orange sunset tiles. Let the ants work until both colors completely vanish from the waiting slots.
Step 4: clear the white sun to open the middle of the picture
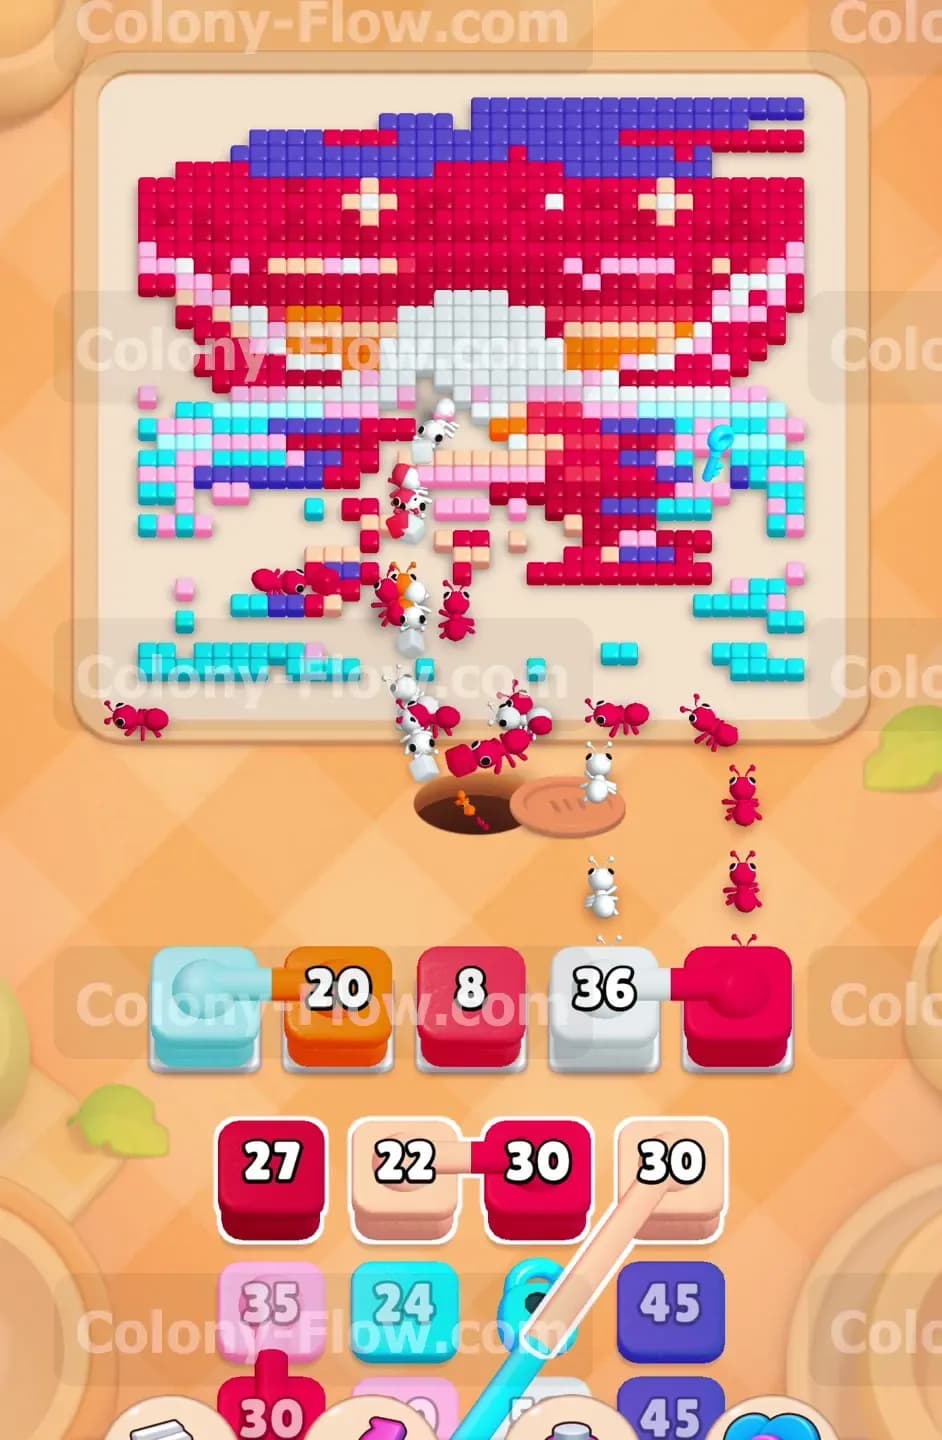
Your tray now offers a massive white 49 block. Pull this block into an empty waiting slot. The ants will flood up the central channel you created earlier and swarm the giant white sun. Eating the sun removes a huge obstacle from the very center of the board. This completely separates the left and right halves of the red sunset. Opening the center provides massive flexibility for routing your ants to the remaining side tiles.
Step 5: collect the cyan key to unlock the purple tray block
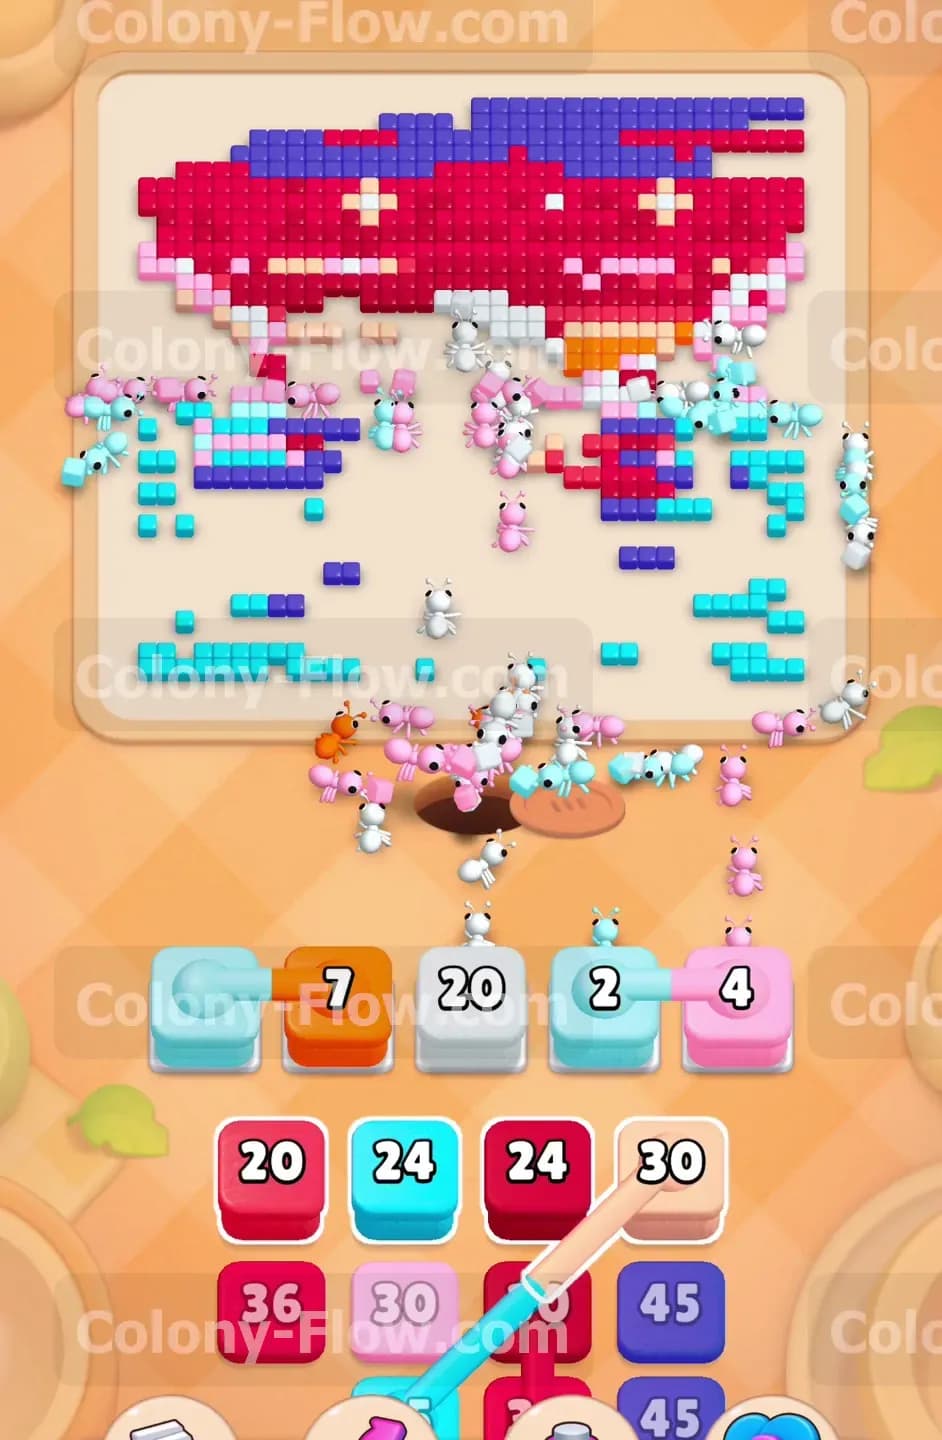
Look at the right side of the board amidst the remaining water tiles. You will spot a cyan key resting on top of a pink tile. Look at your tray and notice the purple 45 block with the matching cyan lock icon. You must collect the key to use that block. Pull a pink block to clear the water tiles directly under and around the key. When the ants eat the tile holding the key the key flies down to your tray and shatters the lock. The purple 45 block is now available to use. Keep it in the tray for now to save slot space.
Step 6: pull the remaining pink and light blue blocks to finish the water
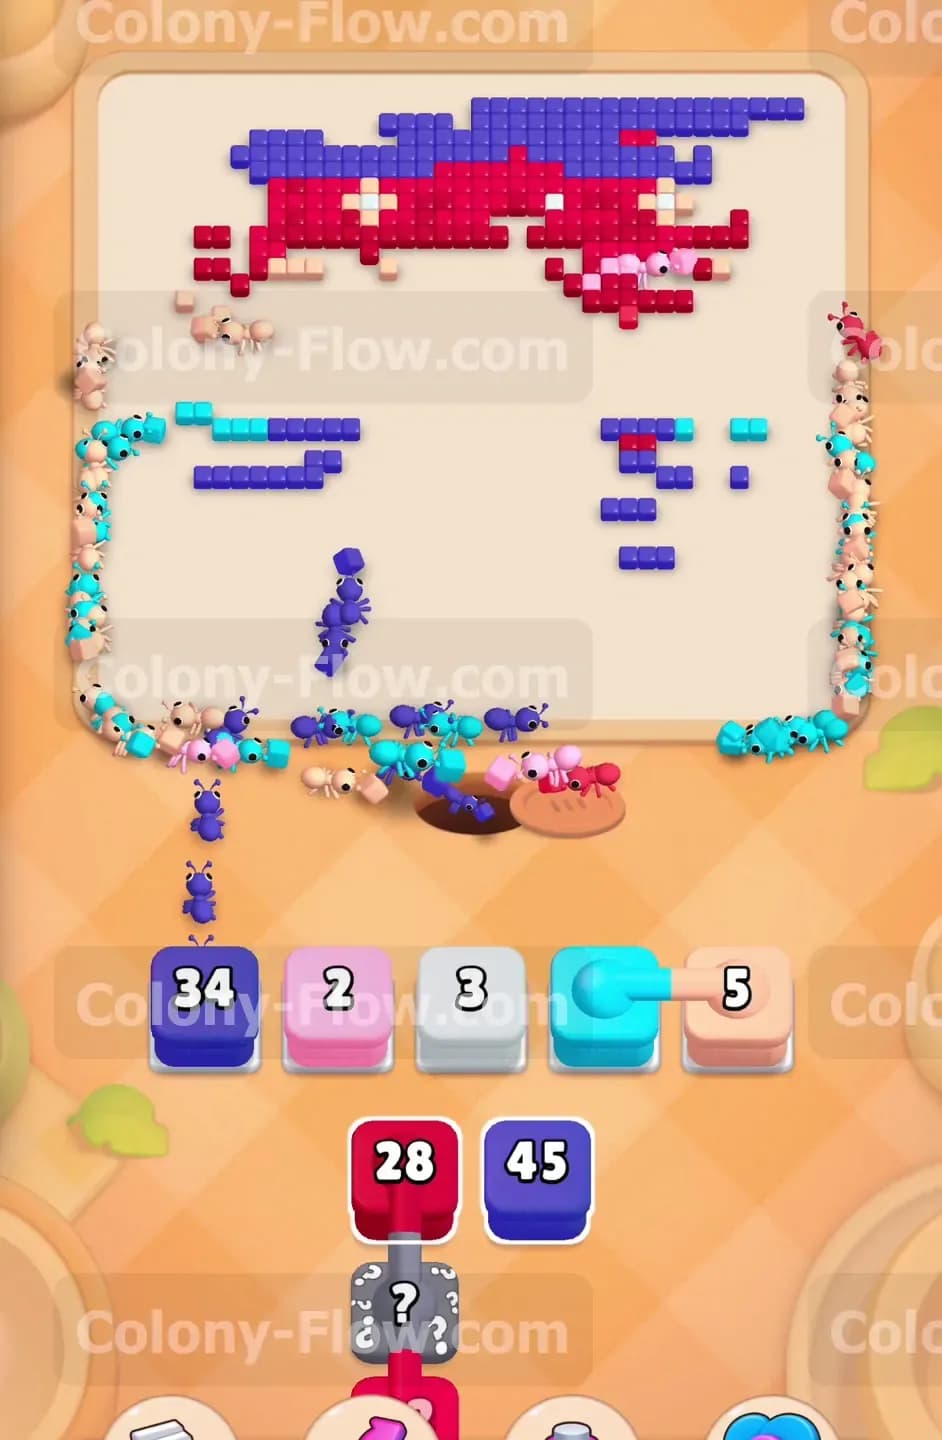
The lower half of the board still contains scattered patches of pink and light blue tiles. Your tray contains several smaller numbered blocks in these colors. Carefully pull these blocks one at a time. The ants will dart around the remaining red tiles to mop up the puddles of water. Be very careful here not to pull too many blocks at once. The remaining water tiles are broken into small disconnected patches. Wait for the ants to completely finish a color before introducing the next one. This patience guarantees you never hit a dead end and keeps your five waiting slots safe.
Step 7: reveal the hidden box by giving it a valid path
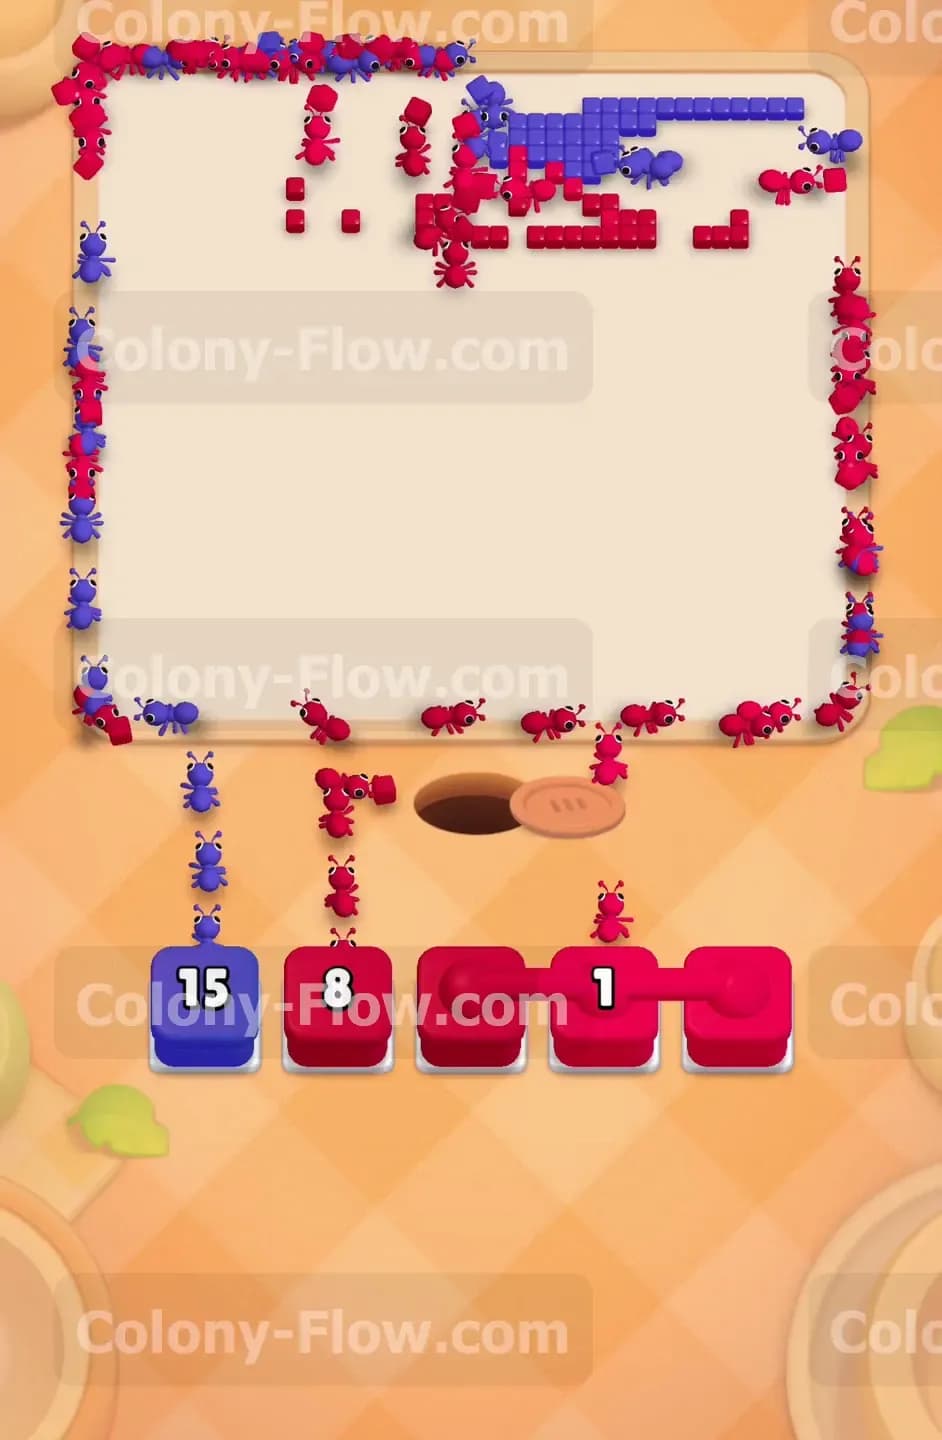
Your bottom tray now displays a gray block with a question mark on it. This is a hidden box. It refuses to show its true color or number until a valid path exists on the board. By clearing the water and the sun you have fully exposed the massive red bands of the upper sunset. Because the path is now completely open the gray box flips over and reveals its true color. Tap the newly revealed block to send it to the waiting slots and let the ants consume another massive chunk of the red sky.
Step 8: deploy the second set of connected boxes to clean up the edges
Another connected pair drops into your tray. This one features a light blue block connected to a pink 5 block. Scan the outer left and right edges of the board for the final few water tiles. Tap the connected pair to pull them down. The ants will take long trips around the empty center to reach the far edges and eat these last stragglers. Once this connected pair vanishes the entire lower half of the board is completely bare.
Step 9: unleash the remaining dark blue and red blocks to finish the sky
You are now in the final stretch. Only the thick borders of the red sunset and the dark purple night sky remain. Your tray is loaded with a dark blue 34 block and several red blocks counting down to zero. Start pulling these blocks into your waiting slots. The ants will form a giant perimeter ring around the empty center of the board and devour the remaining sky. Watch the numbers count down to zero. When the final red tile disappears the board is clear and you win the level.
Final Thought
This puzzle demands excellent timing and path management to avoid jamming your tray. Always prioritize the central paths to break the picture into smaller manageable sections before tackling the outer edges. If you find any of these movements confusing please watch the video above this article to see exactly how the ants navigate the board.