Colony Flow Level 66 Walkthrough Solution & Guides | How to solve Colony Flow 66

Guide By Liam Stone
Updated on July 11, 2026
The full Level 66 solution plays out in the video above, no reading required.
Video doesn't match your screen?
Game updates frequently scramble layouts! Try our AI Screenshot Solver first to find your exact board instantly, or report broken guides to our team.
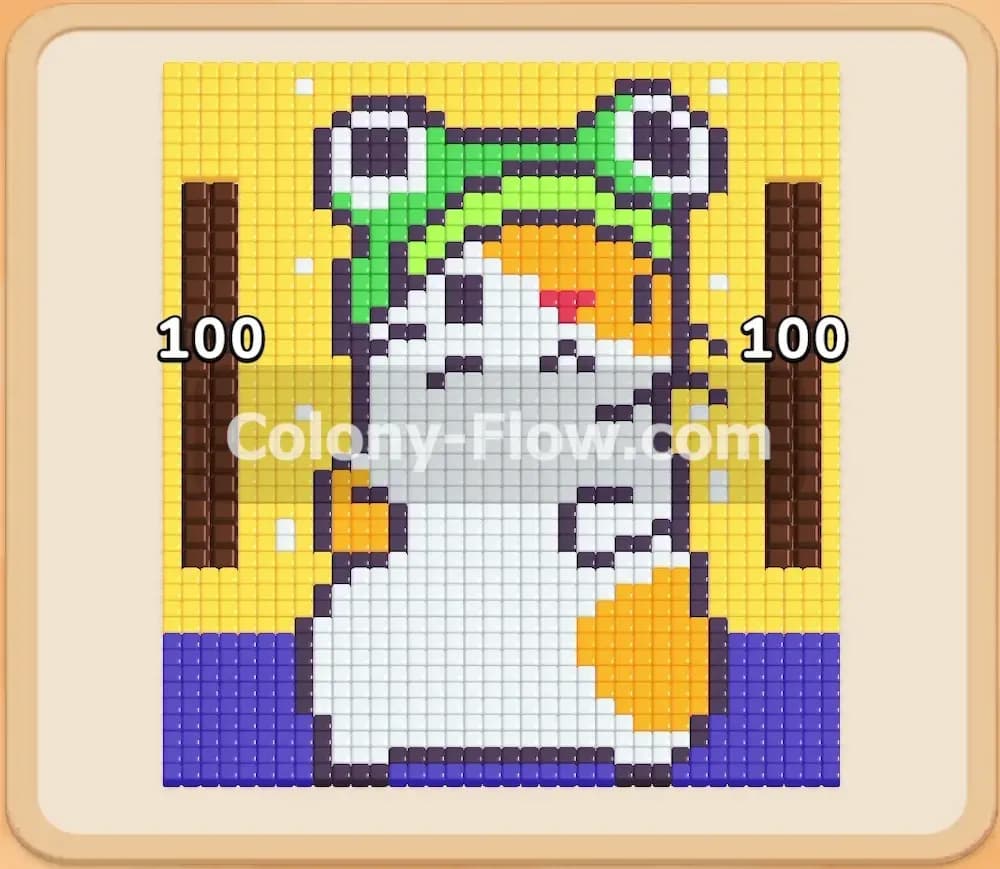
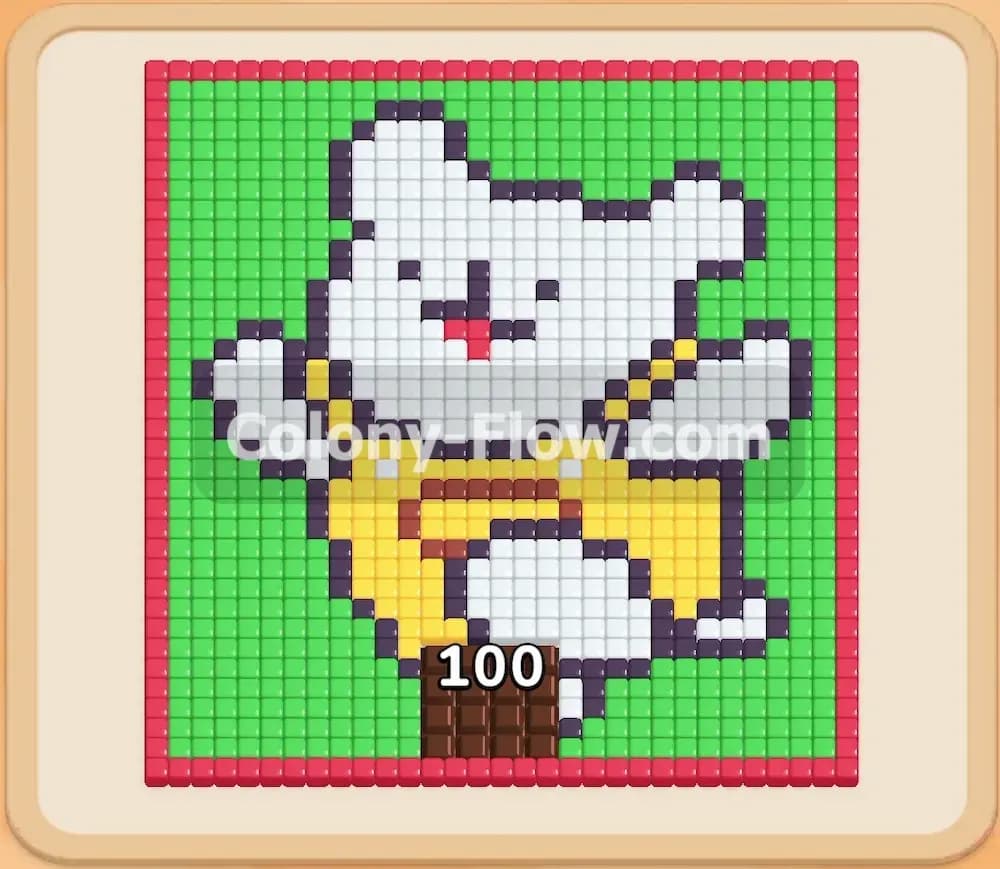
Playing Colony Flow Level 66 puts your block management skills to the test right from the start. A large white bear wearing yellow overalls sits on a green background framed by a red border. A massive chocolate tile at the bottom center blocks the most direct route into the picture. You need to chip away at that chocolate while keeping your five waiting slots from jamming.
Colony Flow Level 66 Overview
What You Are Working With
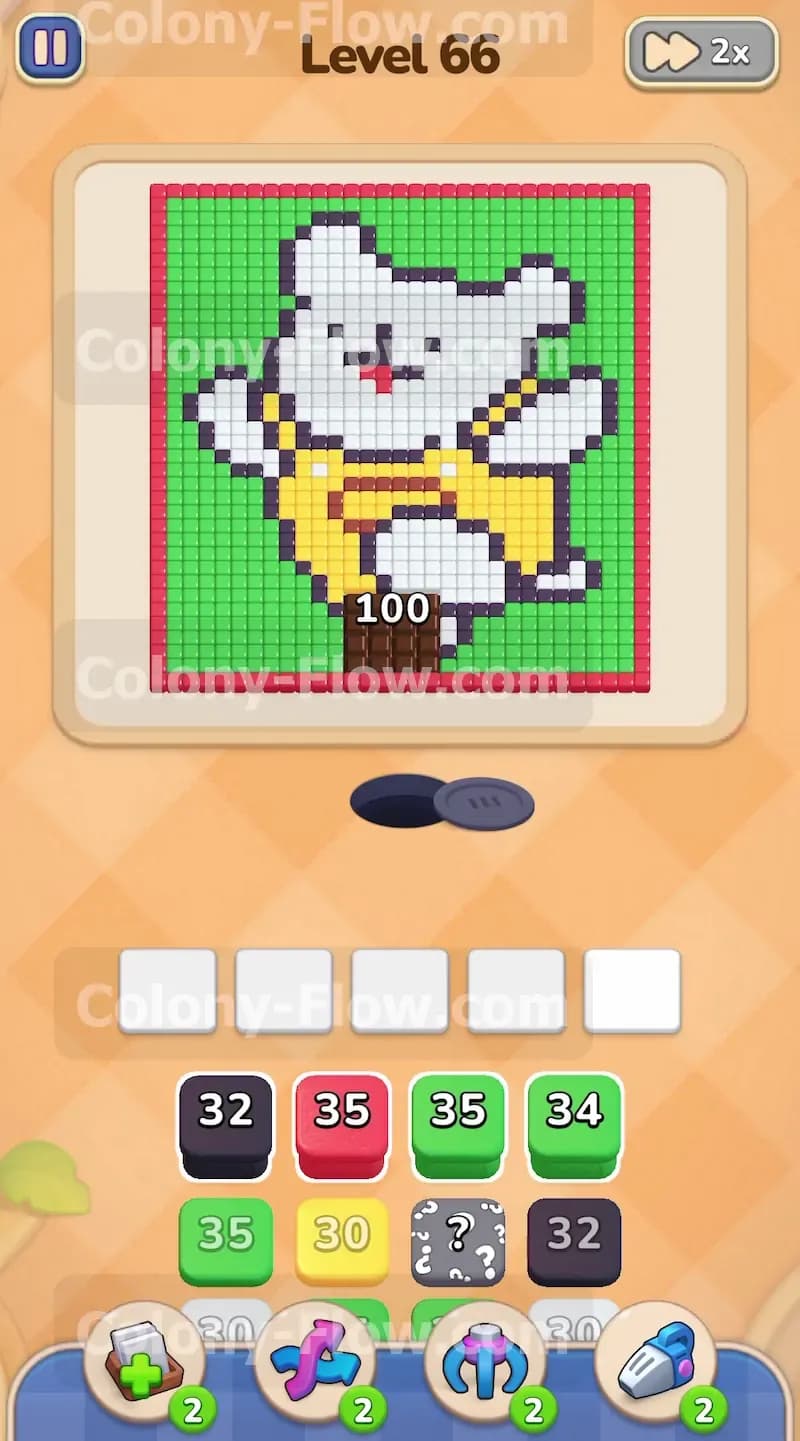
The main picture features a white bear character with black outlines and yellow clothing. The entire character sits over a green background layer. A red border surrounds the top and sides of the scene. A chocolate tile sits exactly at the entrance point with a value of 100 on it. The block tray at the bottom offers several colors including green, black, red, yellow, and white blocks. You will also spot hidden boxes marked with question marks buried deeper in the tray layers. These hidden boxes will only reveal their true color once you expose them by playing the blocks above them.
What It Takes to Clear Level 66 Board
Winning requires you to clear every single colored tile from the board without dead ending your five waiting slots. You pull a numbered block from the tray into a waiting slot to release the ants. The ants then march up the board to eat the matching colored tiles. Every time an ant eats a tile the number on the block goes down. When the block hits zero it disappears from the waiting slot. You lose if you fill all five slots with blocks that have no open paths to their matching colors on the board. You must clear the chocolate tile early to open the central paths and give your ants direct access to the yellow and white sections of the bear.
Colony Flow Level 66 Step by Step Solution
Step 1: Clear the bottom green corners to chip the chocolate tile
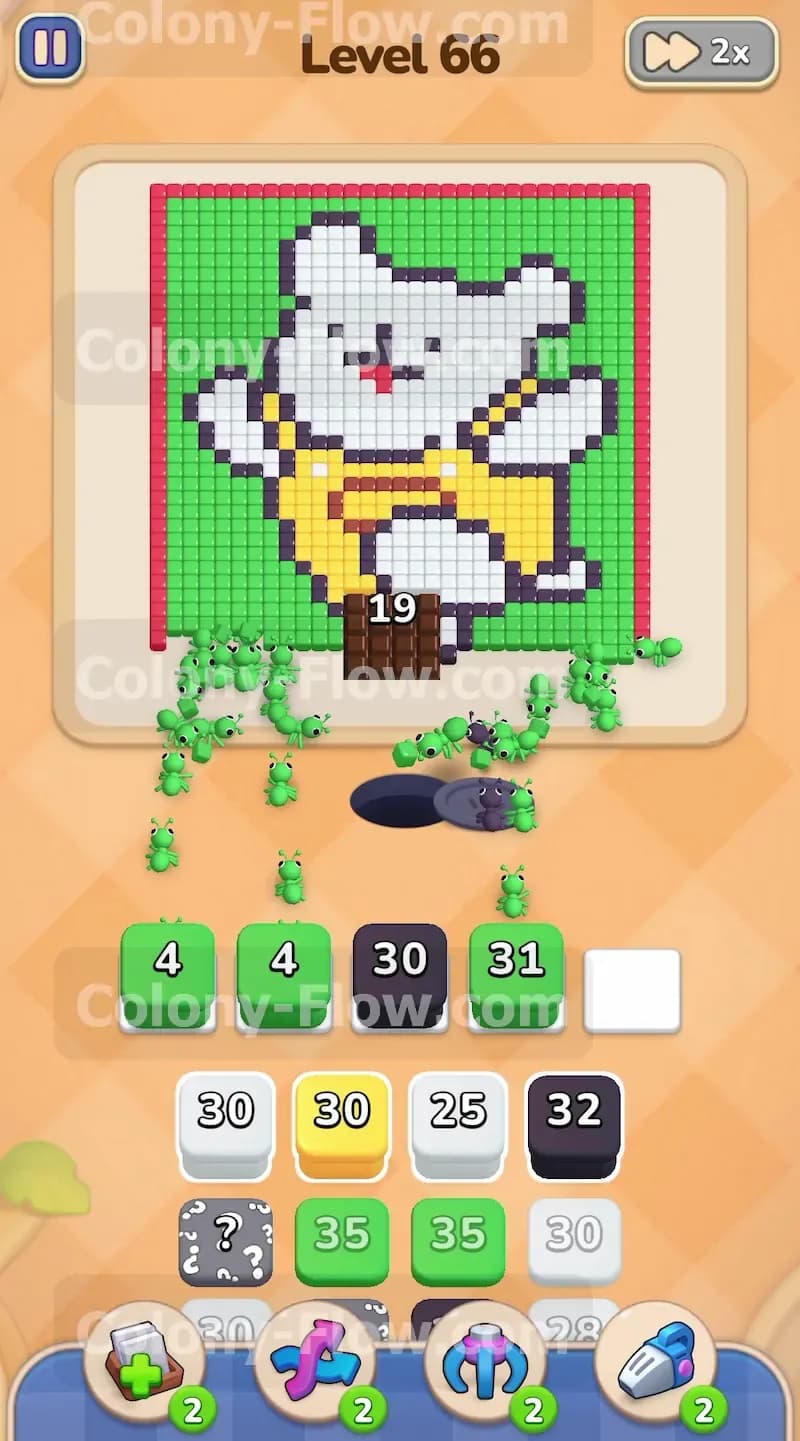
You start the board by pulling the available green blocks from the tray. The ants stream out of the nest and target the lower green background tiles on the left and right sides of the chocolate. Sending ants past the chocolate tile causes them to interact with it and reduce its high 100 count. You must keep pulling green blocks and a few black blocks to clear the bottom edges of the picture. This process slowly wears down the chocolate barrier. You keep an eye on your waiting slots to ensure the green blocks empty out completely. The tray gives you a mix of green blocks holding numbers like 35 and 34 in the first few layers. You pull these green blocks down into the slots and watch the ants march toward the bottom left and bottom right corners. The ants eat the green tiles and slowly open up the bottom edge of the board. Every ant that passes the chocolate tile takes a bite out of it. The number on the chocolate drops rapidly as your swarm moves past it. You also pull a black block with a number of 32 to start eating the black outlines near the feet of the bear. You always make sure at least one slot remains completely empty so you never lock the board.
Step 2: Destroy the chocolate barrier and access the yellow overalls
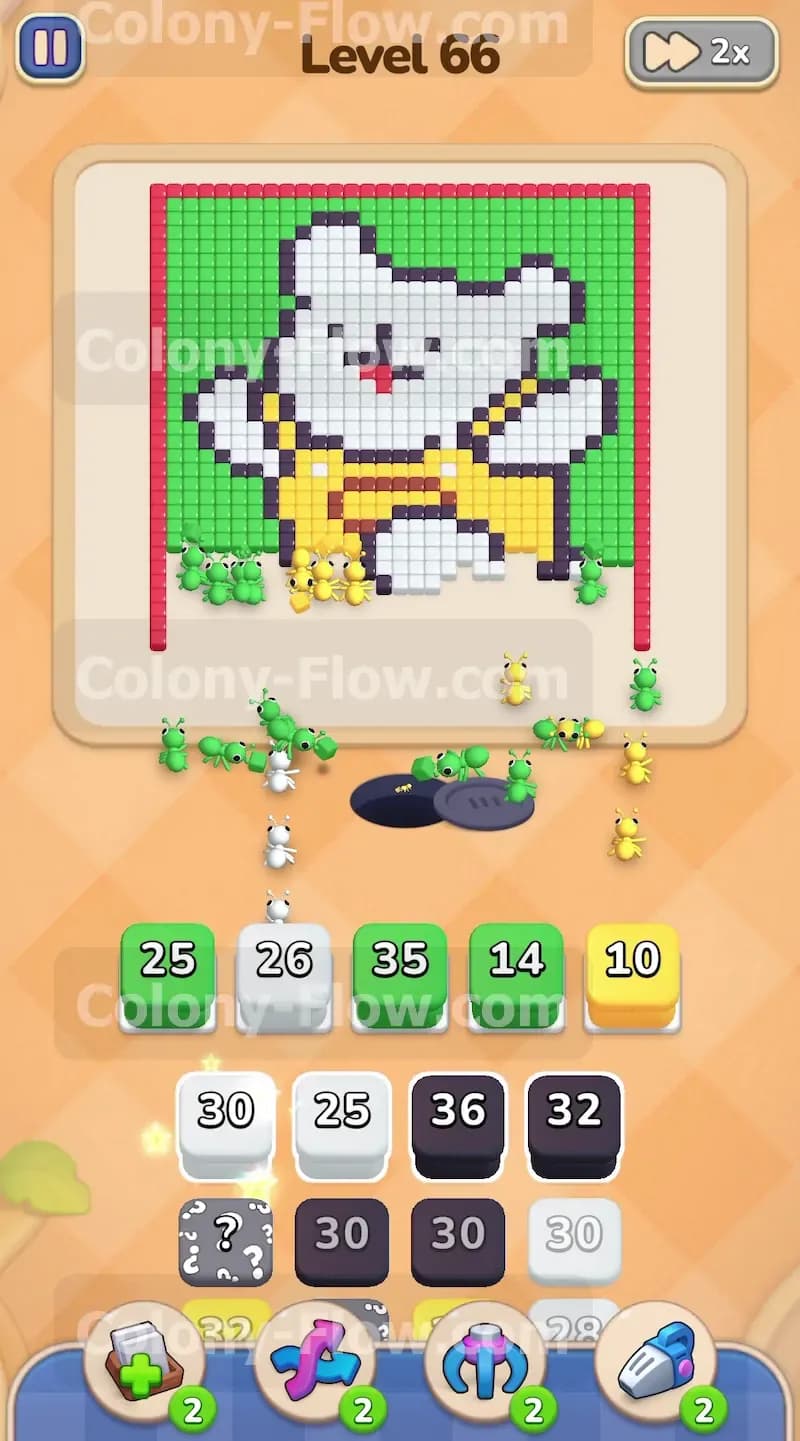
The continuous flow of ants completely destroys the chocolate tile and opens up the middle of the board. With the chocolate gone you now have a straight path to the yellow overalls on the lower half of the bear. You pull the yellow blocks holding numbers like 30 and 10 to send your swarm into the clothing area. The ants rush up the middle and clear the yellow sections. You also pull a few white blocks at this time because the hands of the bear are now exposed on the left and right sides. Balancing the yellow and white blocks keeps multiple paths active and prevents any single color from clogging your slots. You pull another yellow block to finish off the straps of the overalls. The ants easily navigate the empty space where the chocolate used to be. You pull a white block with a number of 25 to send ants to the white tiles on the belly. The ants spread out evenly across the lower half of the bear and keep the numbers dropping fast. Your tray presents more white and black blocks which you pull to keep the momentum going.
Step 3: Reveal and manage the hidden boxes in the tray
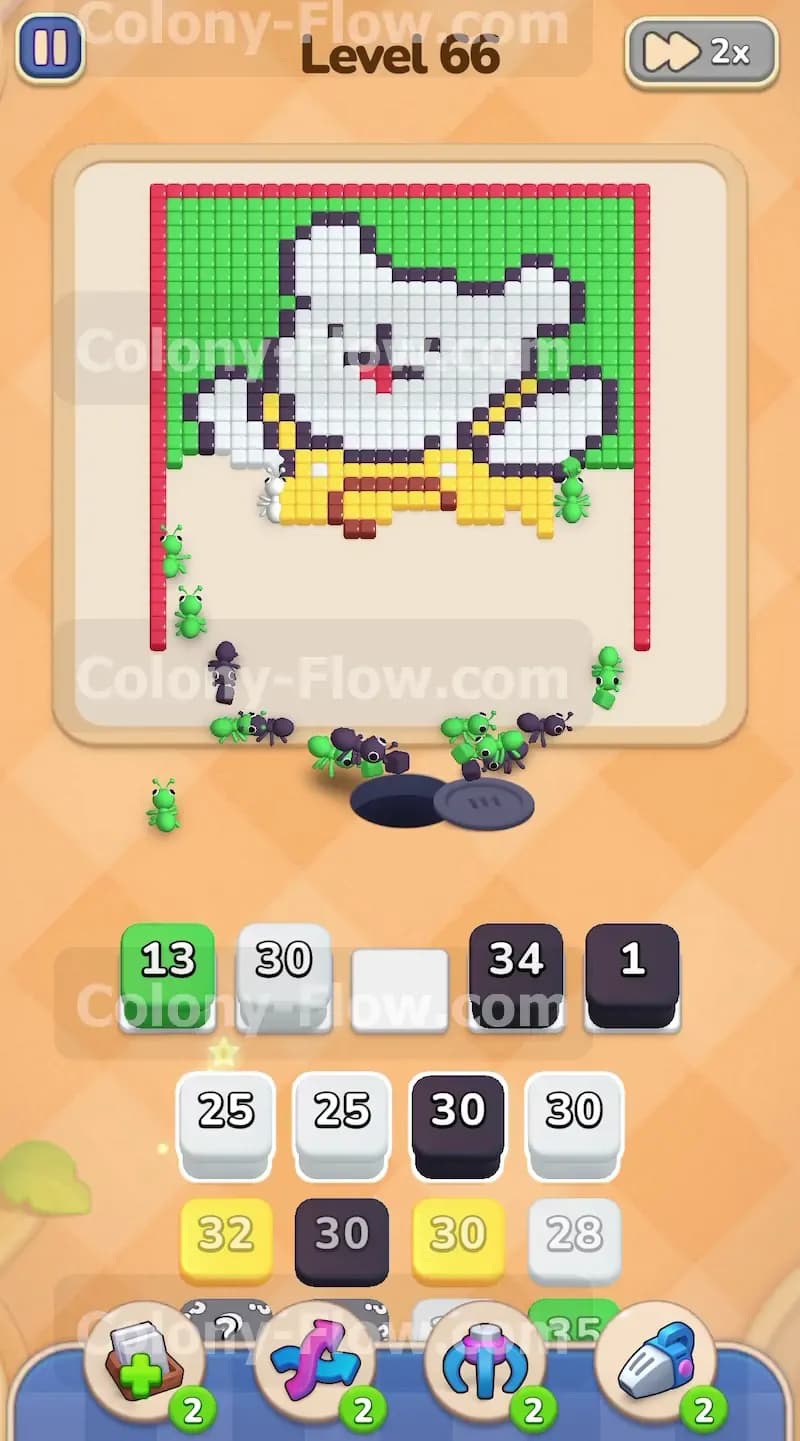
Clearing the top layers of the tray exposes the hidden boxes marked with question marks. You pull a hidden box into an open waiting slot to reveal its color. You must always leave at least two waiting slots open before pulling a hidden box. This safety measure ensures that if the hidden box reveals a color with a blocked path you still have room to play other blocks. You continue pulling black blocks to clear the outline of the bear. The ants eat away the black tiles outlining the yellow overalls and the lower torso. The hidden boxes usually turn into white or black blocks which perfectly match the exposed areas of the bear. You pull one of the hidden boxes and it turns into a black block. The ants rush to the black outlines of the arms and the torso. You pull another hidden box and it transforms into a white block. The ants march straight to the body of the bear and consume the white tiles. You never pull more than one hidden box at a time. This careful management keeps the slots flowing smoothly and prevents any surprise bottlenecks.
Step 4: Eat the white body and the black outlines of the bear
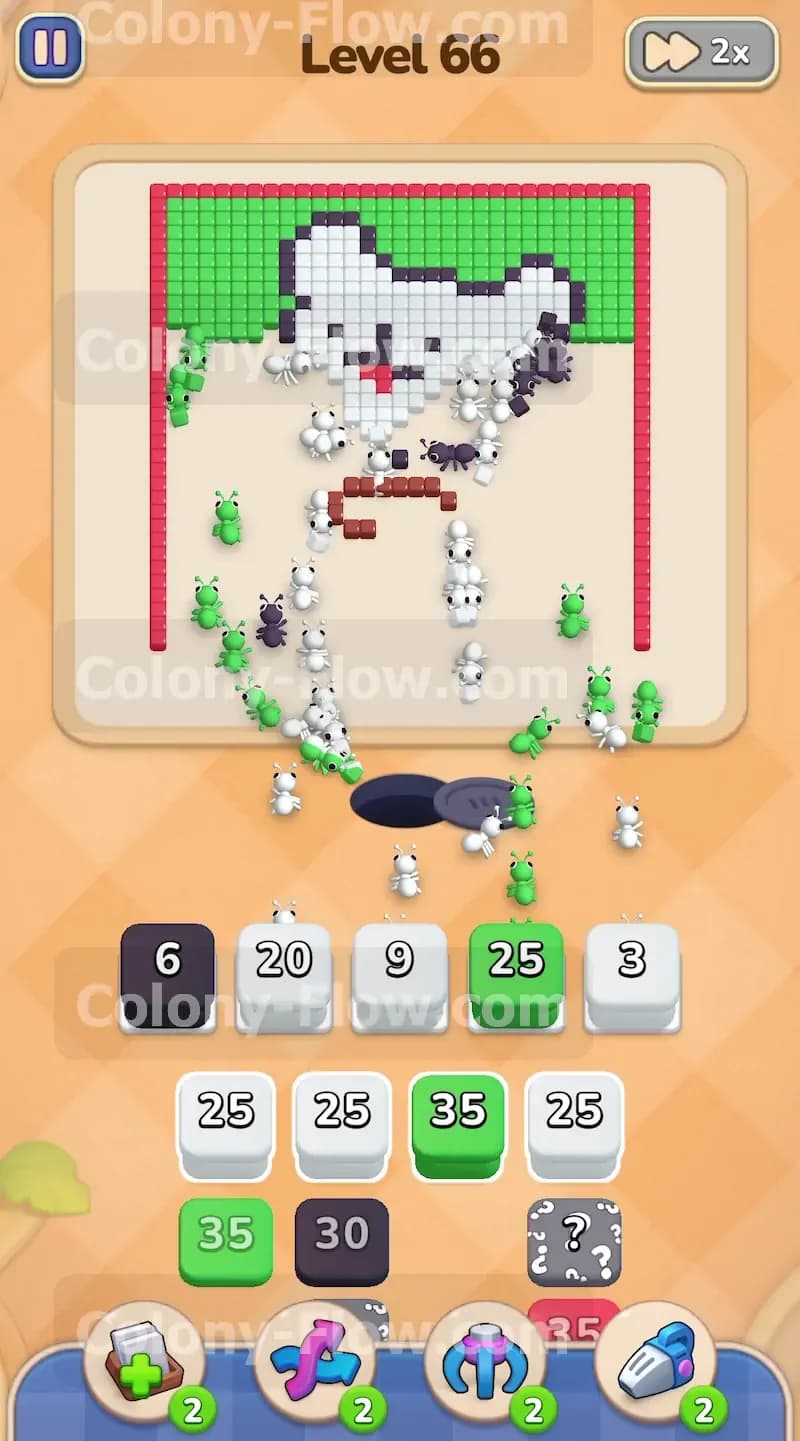
The middle of the board is now completely open and the yellow overalls are gone. You focus your attention on the massive white body of the bear. You pull the high number white blocks from the tray. Your ants swarm the belly and the arms of the bear to clear huge sections of white tiles. You must also pull black blocks to remove the inner facial features like the eyes and the mouth. Alternating between white and black blocks ensures the ants eat the picture evenly from the bottom up. Do not pull too many of one color at once or the ants will bottleneck in the narrow paths around the head. You pull a white block with a 30 and a black block with a 30. The white ants head for the cheeks and the chin of the bear. The black ants target the thick black lines defining the shape of the head. You watch the waiting slots closely. You wait for the black block to reach zero before you pull the next white block. This rhythm guarantees that the ants always have a valid target and your slots stay clear.
Step 5: Clear the head and open paths to the upper background
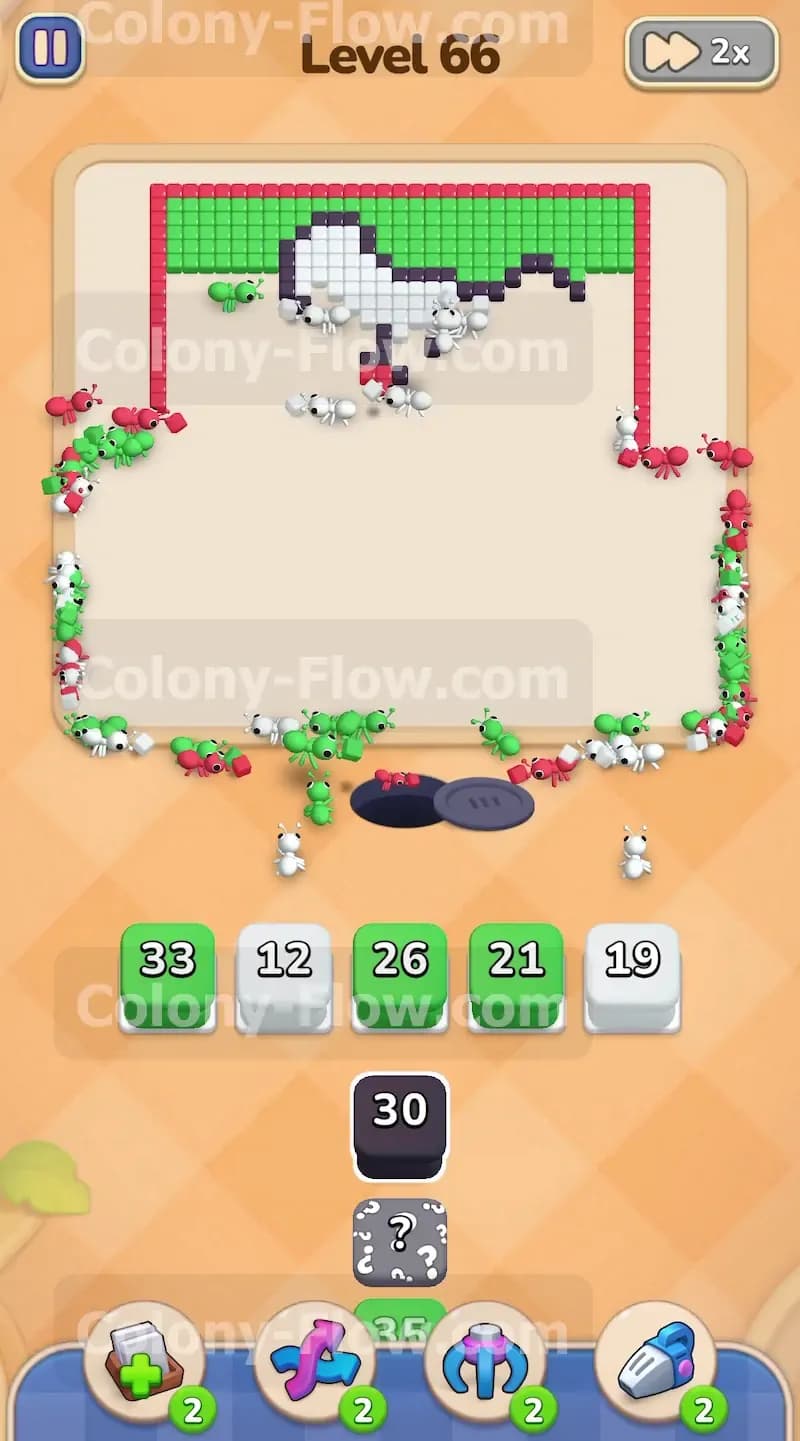
The ants finish off the lower torso and begin eating the white tiles that make up the head. You pull the remaining white blocks and the last few black blocks to clear the outline of the ears. As the head disappears the ants gain direct access to the large green background section at the top of the board. You now start pulling the green blocks from the tray. The ants split into two main streams and march up the left and right sides of the empty space to reach the top green tiles. You monitor your slots and only pull green blocks when you see a wide open route to the top corners. You pull a green block holding a 25 and another green block holding a 35. The ants flood the upper area and rapidly eat the green background. The shape of the bear is entirely gone now. The ants only have the top green section and the outer red border left to eat. You hold off on pulling any red blocks until the green area shrinks significantly. Keeping the red blocks in the tray prevents the red ants from crowding the paths and slowing down the green ants.
Step 6: Finish the upper green background and the red border
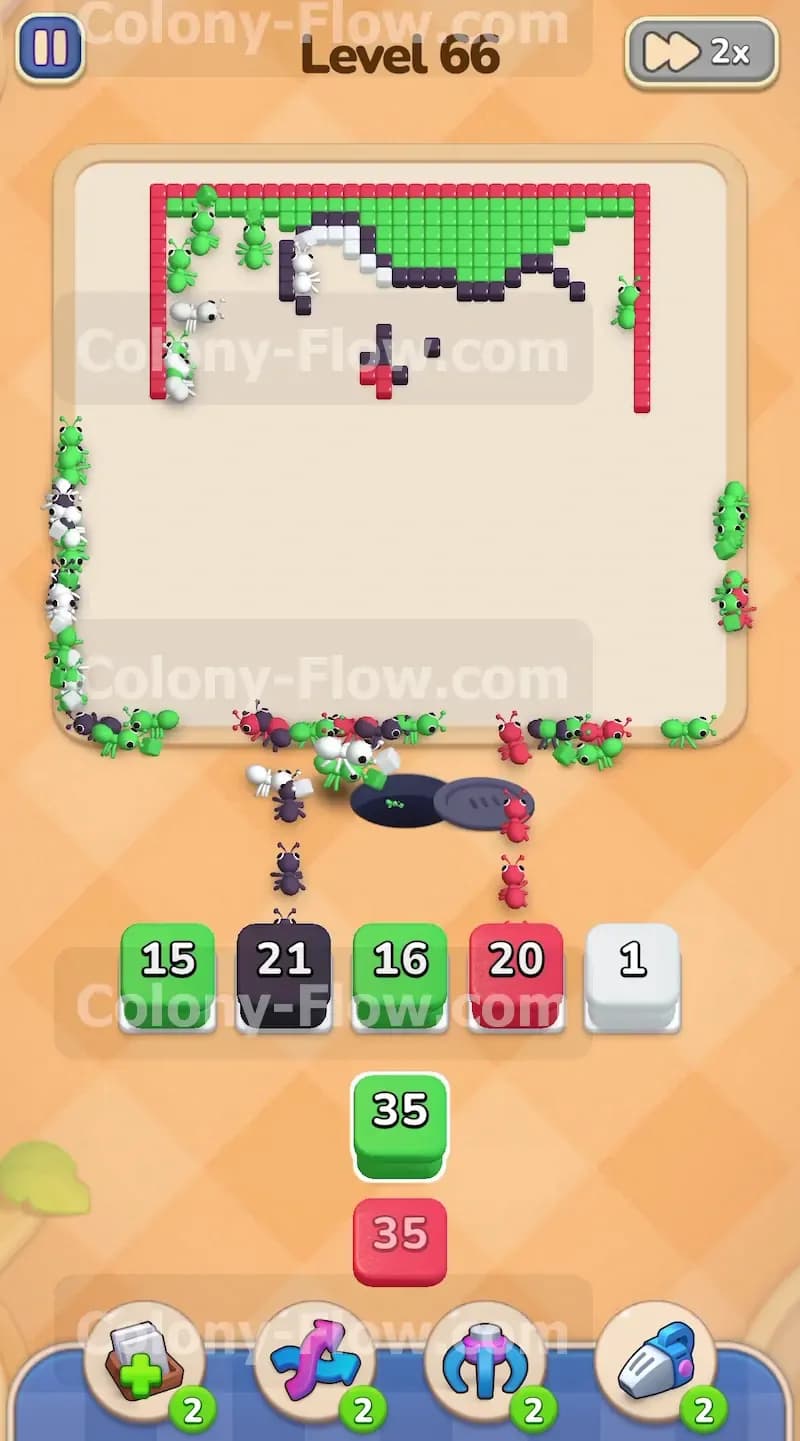
The final phase of the board involves clearing the top green background and the surrounding red border. You pull the remaining high number green blocks. The ants swarm the entire top section and quickly eat away the green tiles. Once the green is mostly cleared the red border becomes completely accessible. You pull the red blocks which hold numbers like 35 and 20. The ants march along the very outer edges of the board to clear the red lines. You pull the final white and black blocks to clean up any tiny leftover pieces of the face. The last ants return to the nest and the board is completely clear. You pull a red block with a 35 and the ants travel all the way up the right side to eat the red border. You pull the last green block with a 15 to clear the remaining top left corner. A final black block with a 21 clears the last bits of the ear outline. The ants finish their meal and disappear into the nest hole at the bottom. You successfully complete the board without ever trapping a block in the waiting slots.
Final Thought
Completing this board takes patience and careful slot management. You have to break that massive chocolate tile early to ensure your ants can reach the main parts of the character. Keeping your waiting slots open gives you the flexibility to handle the hidden boxes without getting stuck. I highly recommend you watch the video above this article if you find any specific part of this solution hard to visualize.