Colony Flow Level 400 Walkthrough Solution & Guides | How to solve Colony Flow 400

Guide By Liam Stone
Updated on August 1, 2026
You don't have to read the whole guide. The video above shows you exactly how to clear Level 400.
Video doesn't match your screen?
Game updates frequently scramble layouts! Try our AI Screenshot Solver first to find your exact board instantly, or report broken guides to our team.
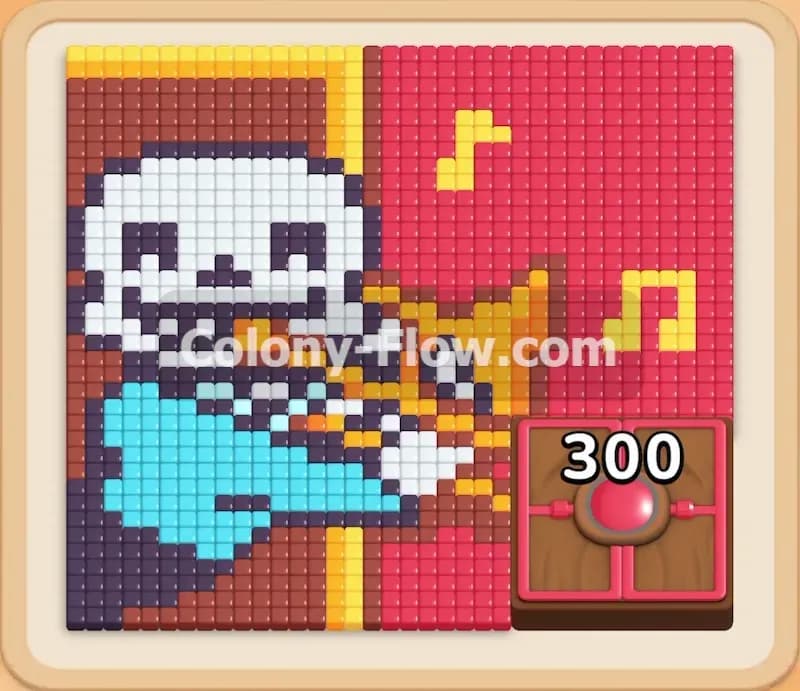
Colony Flow Level 400 drops you into a dense puzzle featuring a highly detailed pixel art picture of a skeleton playing a golden trumpet. I play every single level to map out the safest routes and this one demands tight control over your limited tray space. You face a massive blocked section in the corner and a tray packed with linked puzzle pieces that can easily ruin your run. You need to keep your ant colony moving constantly without ever jamming your tray.
Colony Flow Level 400 Overview
What You Are Working With
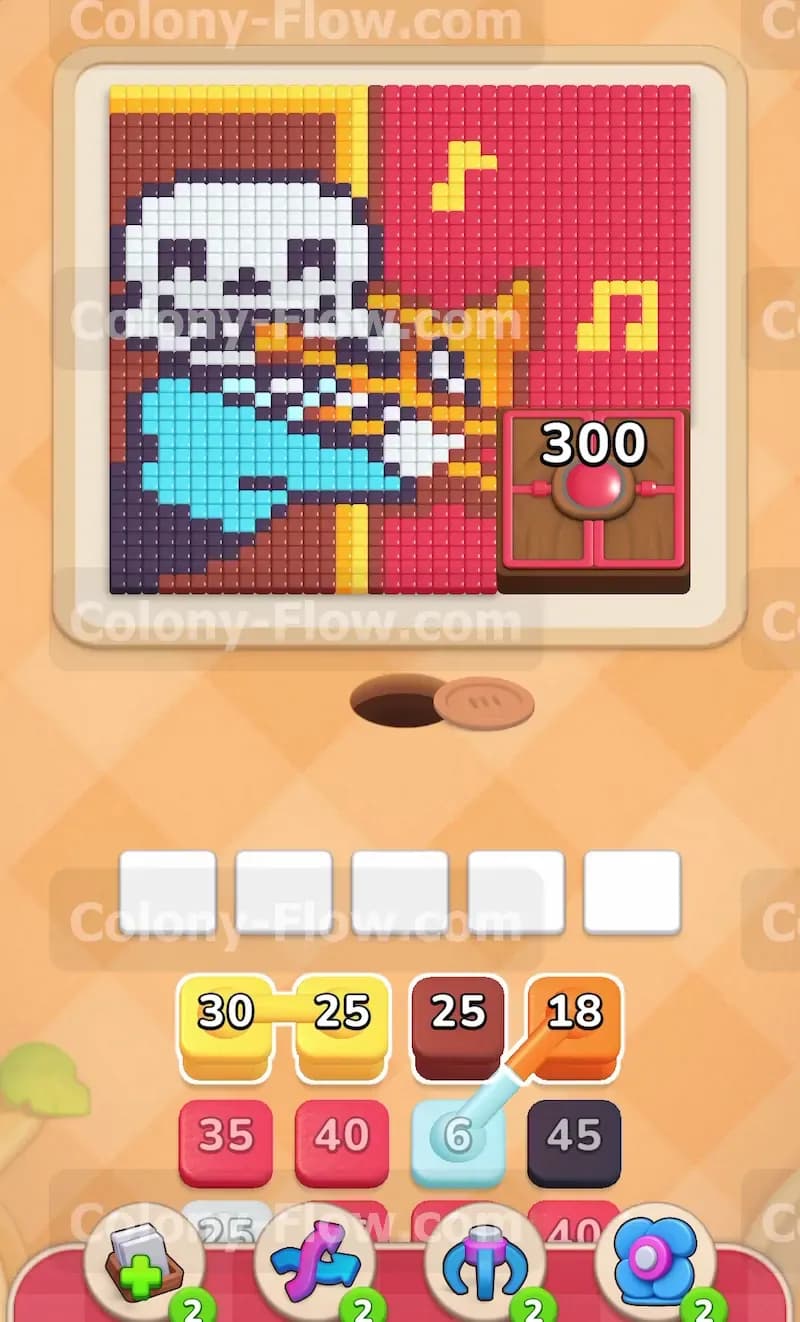
The pixel art image displays a white skeleton wearing a light blue shirt while blowing into a yellow and orange trumpet. Bright yellow musical notes float in the air above the instrument. A thick solid red background fills the rest of the canvas. Down in the bottom right corner sits a massive wooden Hungry Door with a red button displaying the number 300. The tray at the bottom holds your numbered blocks in various colors. Many of these blocks are Connected Boxes. When you select a connected block from the tray, the game automatically pulls its linked partner into your waiting slots along with it.
What It Takes to Clear Level 400 Board
Winning this level requires you to carefully carve away the outer edges of the character while feeding the Hungry Door. You have exactly five waiting slots to hold active blocks. Every single food tile your ants eat will lower the number on that large wooden door. You must clear three hundred tiles from the main board before that door will finally open to reveal the hidden corner underneath it. Because the Connected Boxes consume two of your five available slots at once, you must ensure you always have open paths for both colors before you tap them. If you pull too many blocks and fill all five spaces without an open path to the matching food tiles, the board jams and you lose the level immediately.
Colony Flow Level 400 Step by Step Solution
Step 1: Open the bottom left edge by deploying your first light blue block
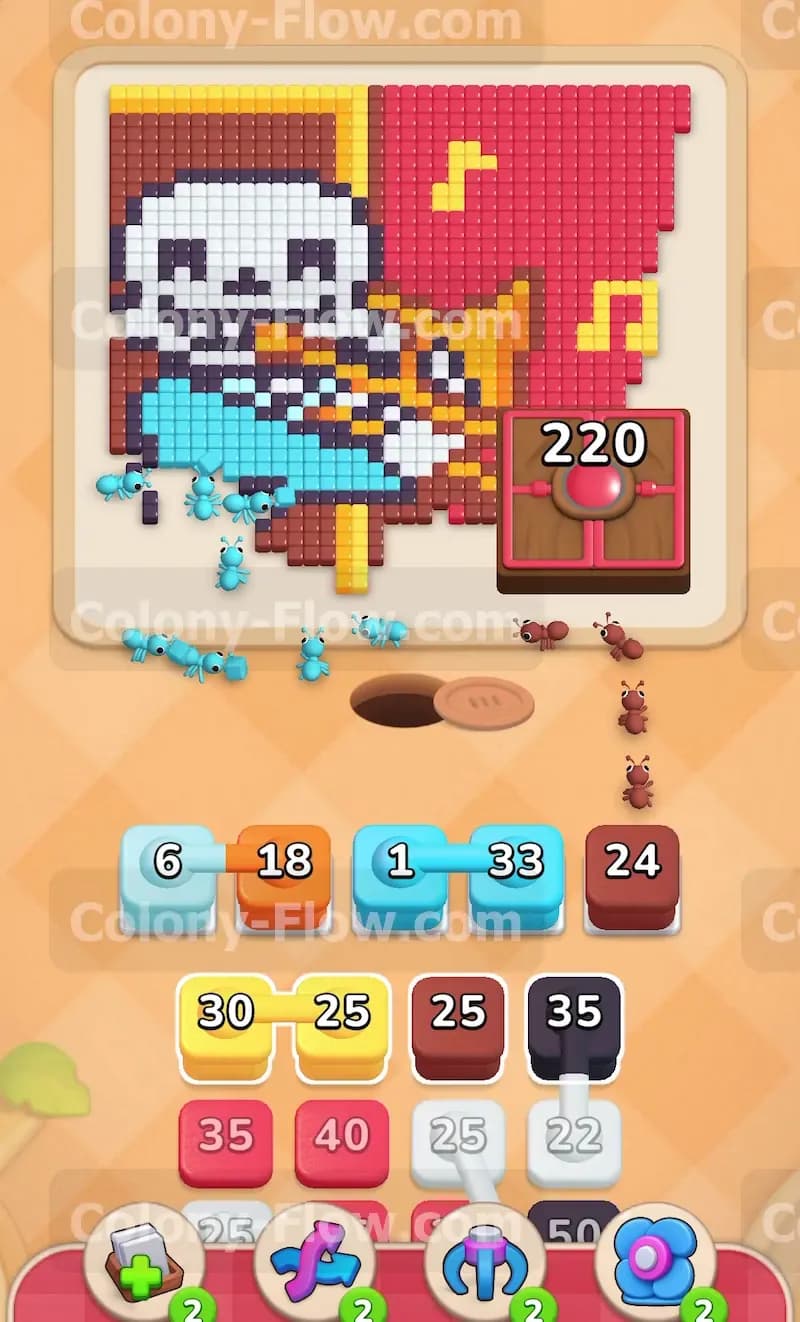
You need to create a starting point for your colony by clearing the outer edge of the skeleton shirt. Tap the single light blue block in your tray to pull it into your first waiting slot. The ants stream out of the nest hole and march directly to the bottom left corner of the picture. They begin eating the exposed light blue food tiles that make up the shirt. As the ants consume these tiles, you will see the red counter on the Hungry Door drop down from 300. This opens a small cavity in the puzzle so you can start routing ants deeper into the board.
Step 2: Send orange and brown ants into the lower trumpet section
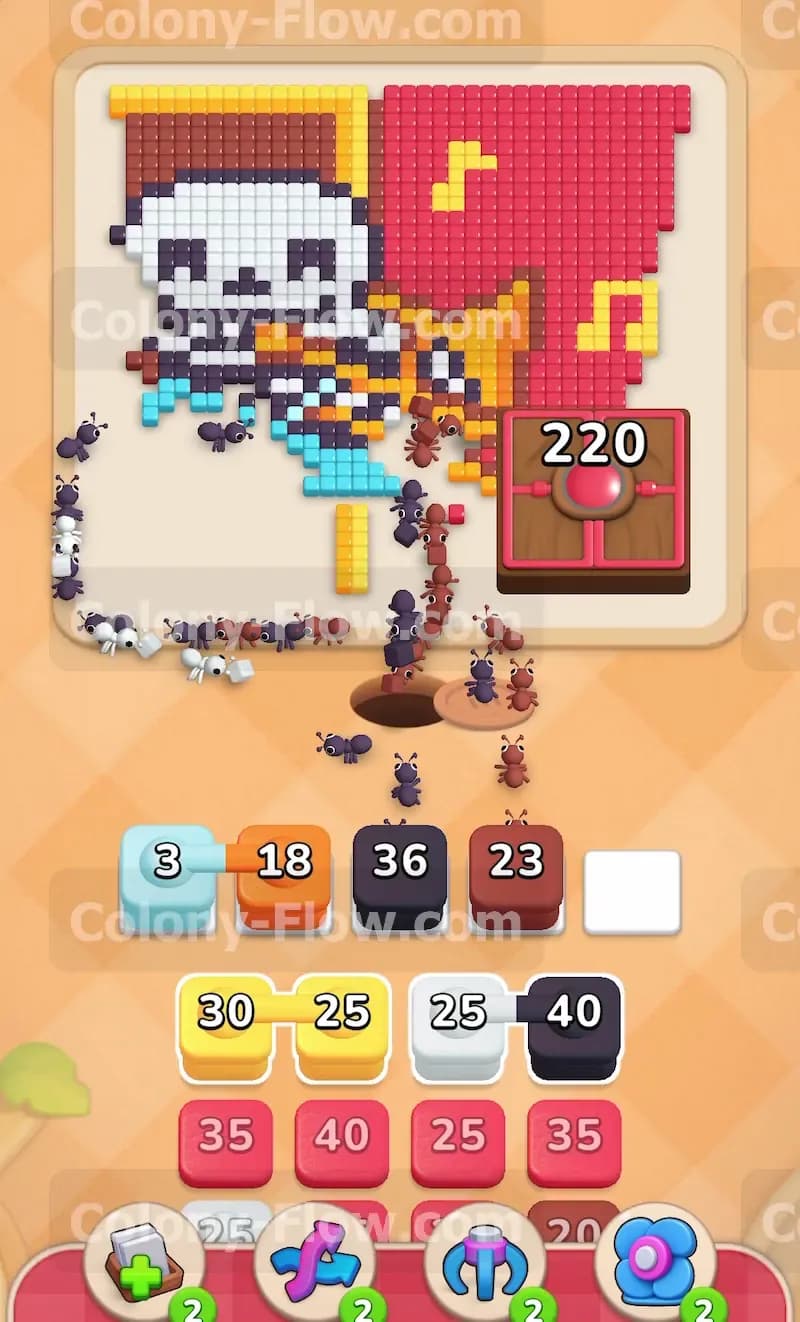
With the shirt partially cleared you now have a direct route to the bottom edge of the instrument. Tap the orange block and the brown block to move them into your tray. The orange ants and brown ants march up through the gap you just created in the blue shirt. They turn right and start chewing away at the dark shadows and brass details of the trumpet. Mixing your active colors early prevents your slots from jamming. Keeping multiple colors active on the board ensures a steady flow of ants leaving your tray and dropping the door counter even further.
Step 3: Unleash a massive wave of light blue ants to finish the shirt
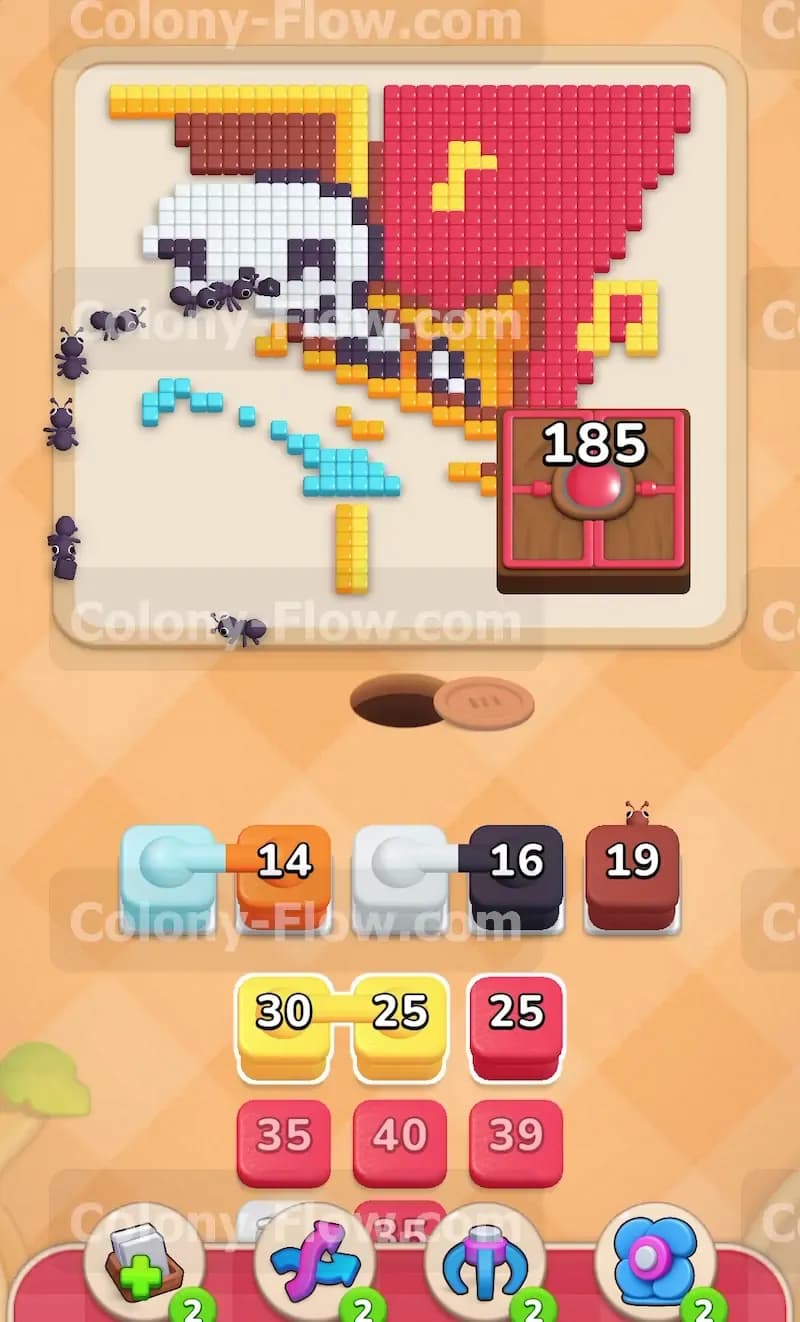
You still have a large chunk of the light blue shirt blocking the center of the skeleton. Pull the large light blue block holding thirty three ants into an empty slot. Because you previously cleared the bottom edge, this fresh swarm has immediate access to the upper arm and chest of the skeleton. They wrap around the black outline of the hand and consume the rest of the blue pixels. This massive feast drastically reduces the door requirement down near two hundred. Your board is now completely open on the left side and ready for the linked blocks.
Step 4: Clear the skull and outlines using connected white and black blocks
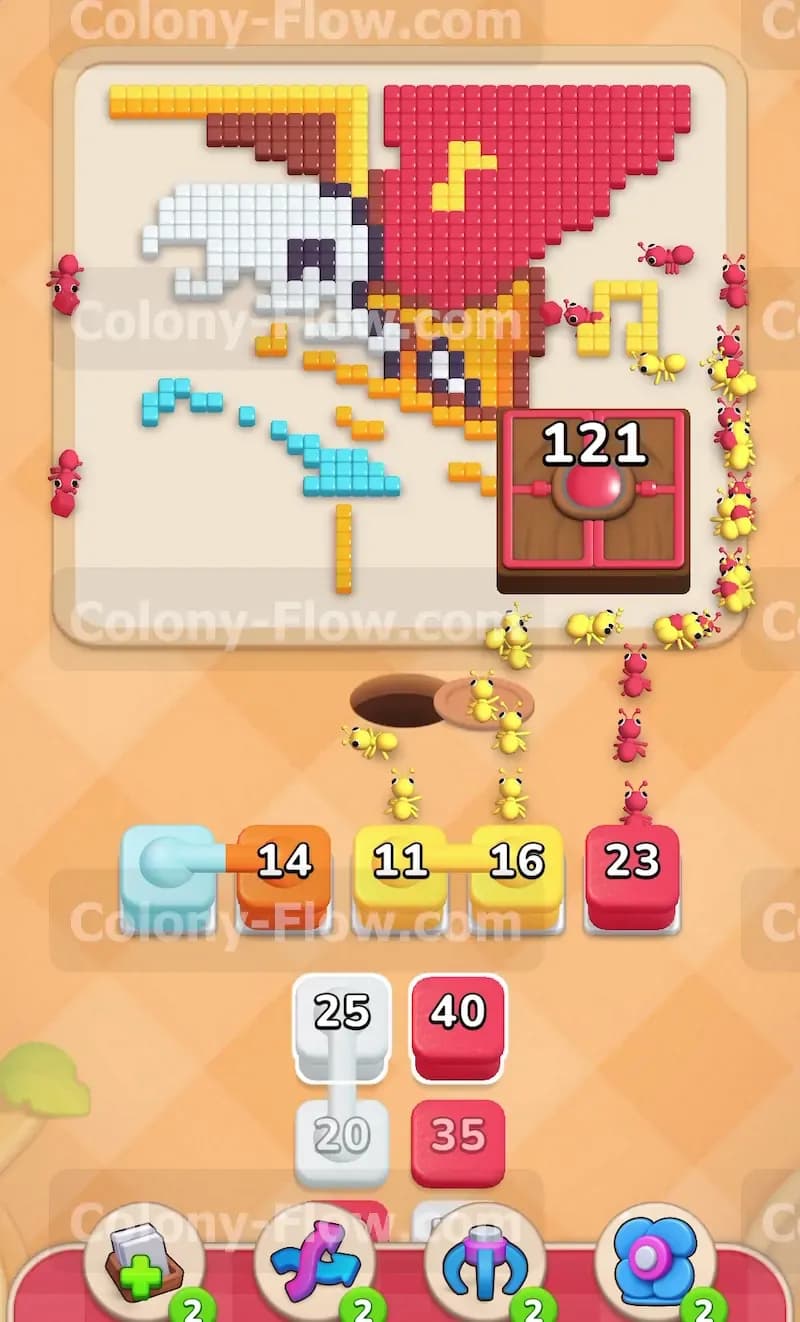
The entire white skull and its dark borders are fully exposed to your colony. Tap the linked white and black blocks sitting in your tray. Both blocks snap into your waiting slots at the exact same time and consume two of your valuable spaces. Since the white skull and the black borders both have clear paths, the ants immediately get to work. The white ants carve out the face while the black ants consume the thick outlines separating the skeleton from the background. You easily survive the double block pull because both colors found immediate targets on the open board.
Step 5: Carve into the solid background with a large red block
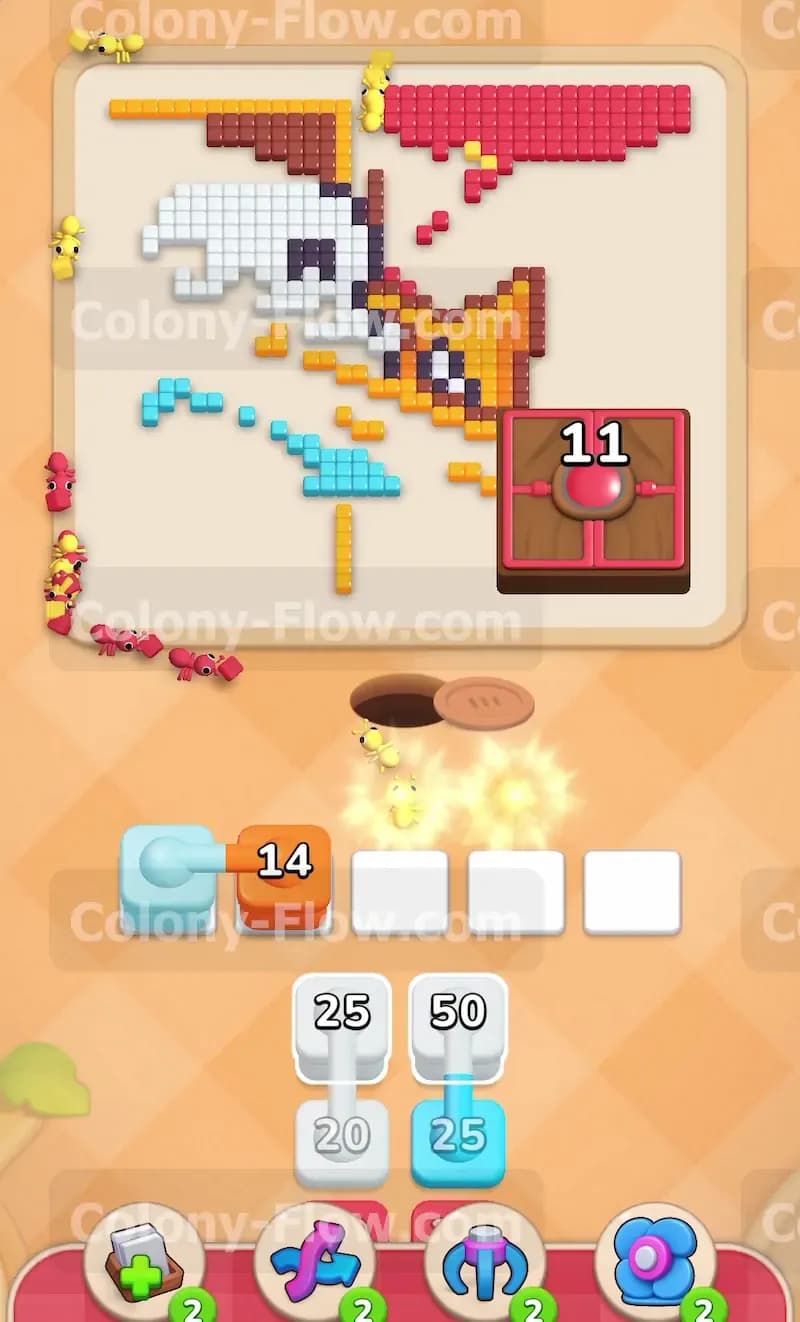
The solid red background covers the entire top and right sections of the puzzle. With the skull out of the way you finally have a clear path to these background tiles. Move a large red block holding thirty five ants into your tray. The red ants march all the way up the left side through the empty space and begin eating the top red border. The red background is so large that pulling a red block is incredibly safe as long as the outer edge is breached. The Hungry Door counter plummets as the top border vanishes entirely.
Step 6: Flood the board with yellow ants to clear the musical notes
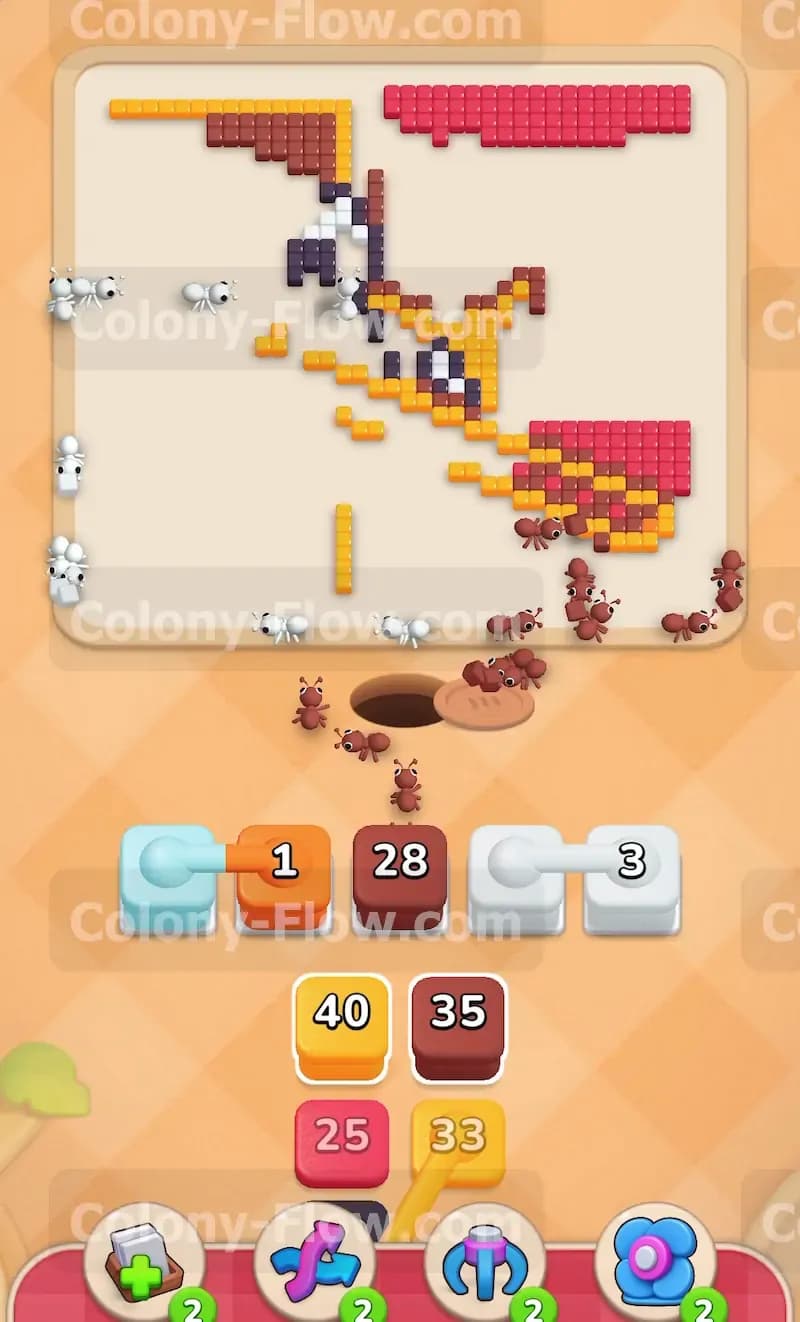
Scattered across the right side of the picture are bright yellow musical notes floating above the main yellow trumpet body. Tap the connected yellow blocks in your tray to pull a group of thirty ants and a group of twenty five ants into your slots. The yellow colony floods the board and splits into two massive groups. One group consumes the floating musical notes while the rest swarm the thick center valves of the trumpet. This move cleans up the middle of the board and exposes the deepest layers of the red background.
Step 7: Push the Hungry Door counter to zero to unlock the corner
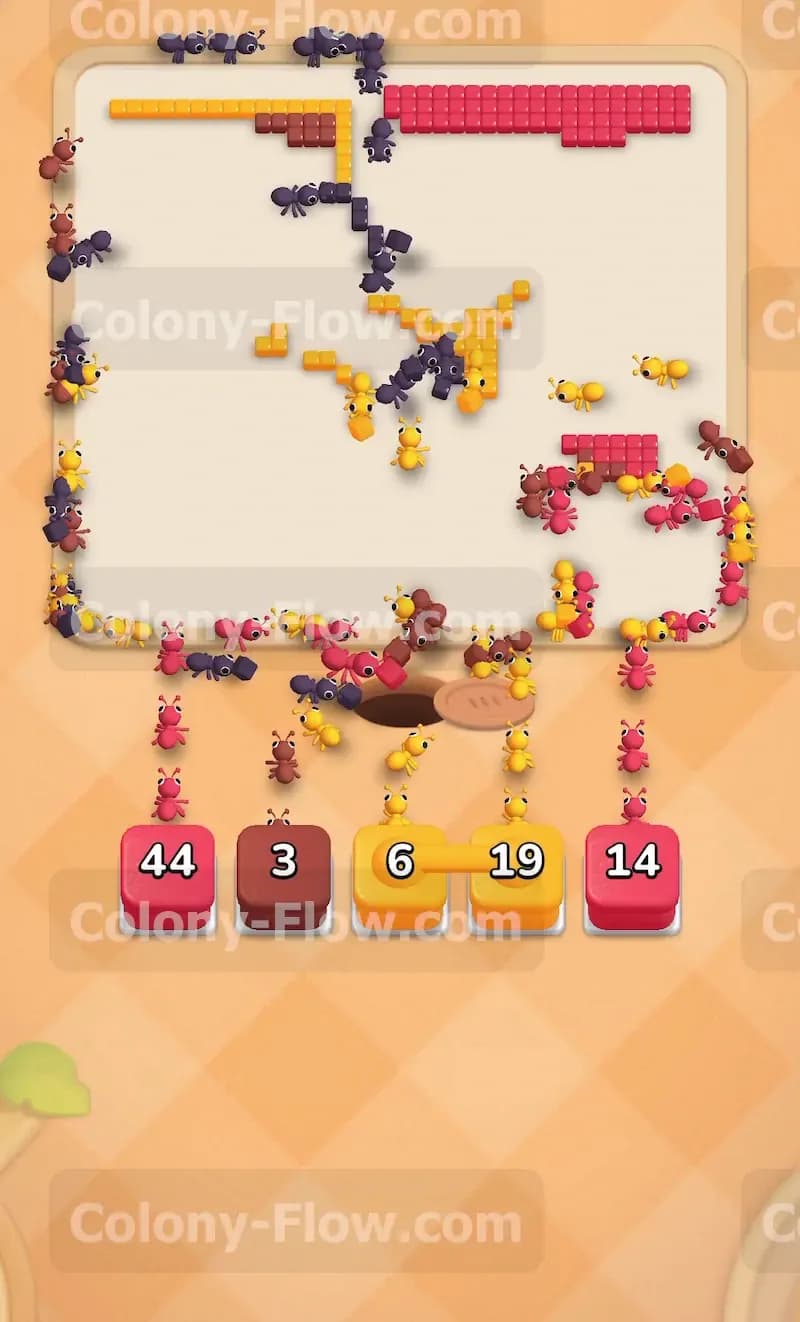
You are now in the final push to remove the wooden barrier. The Hungry Door counter is sitting right around twelve. You have open paths to the final remaining colors on the main board. Deploy a mix of your remaining light blue, yellow, and red blocks. The ants scatter across the board to eat the final pieces of the skull, the last trumpet sections, and the remaining background pieces. When the final required tile is eaten, the massive wooden door flashes brightly and vanishes from the bottom right corner. A solid block of red background tiles and a few brown trumpet pieces are now exposed.
Step 8: Clean up the hidden corner with your final red and brown ants
You must finish the level by clearing the tiles that were trapped behind the door. Your tray only holds a few remaining red blocks, a brown block, and a black block. Tap these final blocks to fill your slots. A final swarm of red and brown ants pours out of the nest hole and marches straight into the newly opened bottom right corner. The red ants consume the dense block of background tiles while the brown ants finish the tail end of the instrument. The ants chew through the final pixels and the board clears completely.
Final Thought
Managing the five slots while dealing with connected blocks is the true challenge of this puzzle. You must always verify that your ants have a physical path to their matching colors before you pull a paired block into your tray. If any of these written steps are hard to visualize or if you want to see exactly how the ants path around the skeleton, watch the video above this article. You can see my exact block order and watch how I manage the tray space to beat the level.