Colony Flow Level 423 Walkthrough Solution & Guides | How to solve Colony Flow 423

Guide By Liam Stone
Updated on July 29, 2026
The video above solves Level 423 step by step, so you can skip the article entirely if you prefer watching.
Video doesn't match your screen?
Game updates frequently scramble layouts! Try our AI Screenshot Solver first to find your exact board instantly, or report broken guides to our team.
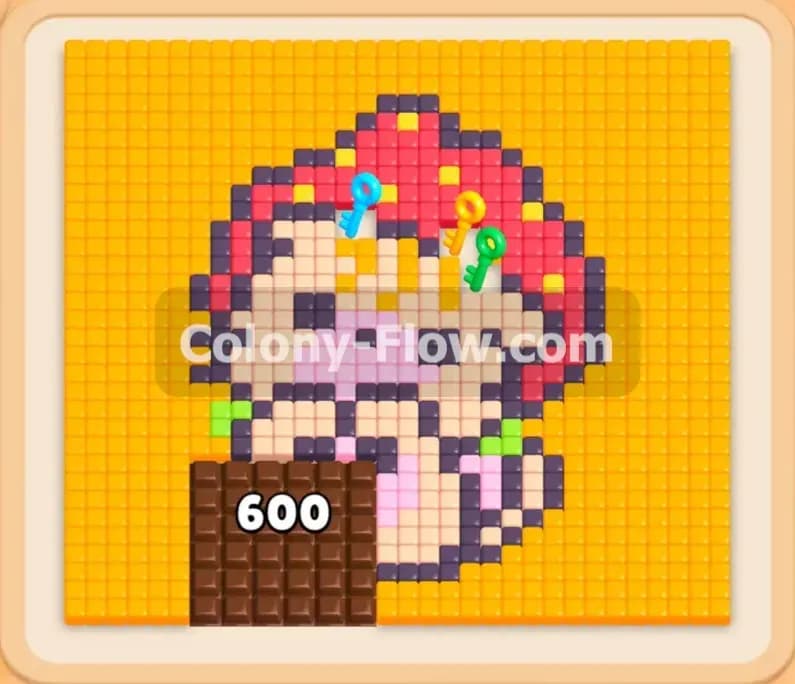
Welcome to Colony Flow Level 423. This puzzle gives us a fun pixel art picture of a monkey holding a banana. You have to feed your ant colony by clearing all the colored food tiles from the board. You will need to manage the waiting slots carefully and grab keys to open up locked items in the tray. I played through this entire puzzle and broke down every move to help you beat it without getting stuck. Every level presents a unique challenge and this one tests your ability to handle long chains of linked blocks. I will walk you through the entire process from the first move to the final tile.
Colony Flow Level 423 Overview
What You Are Working With
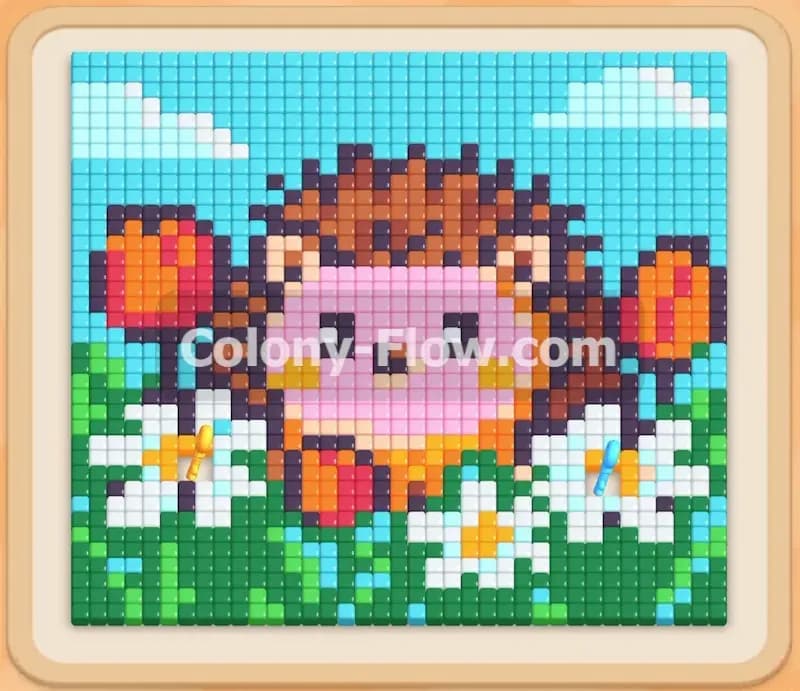
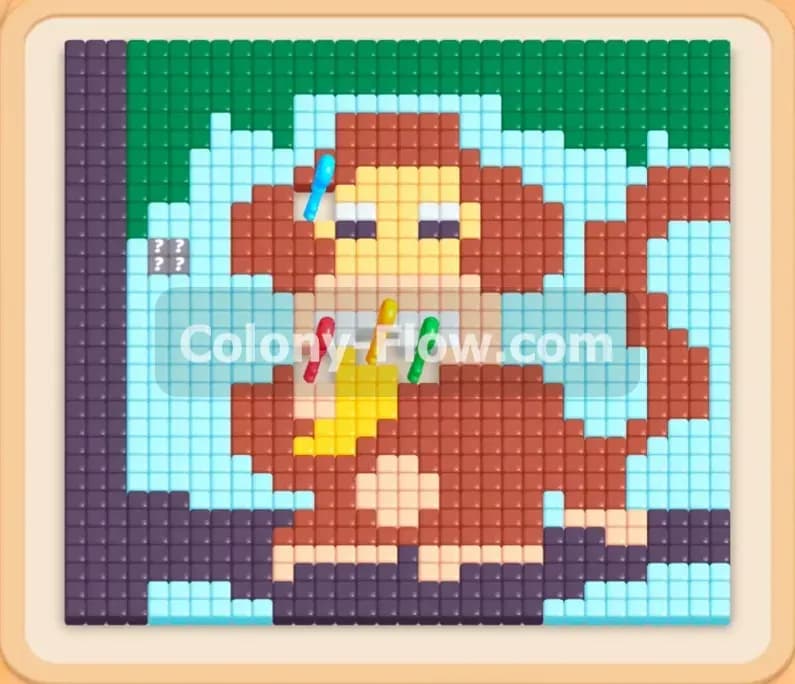
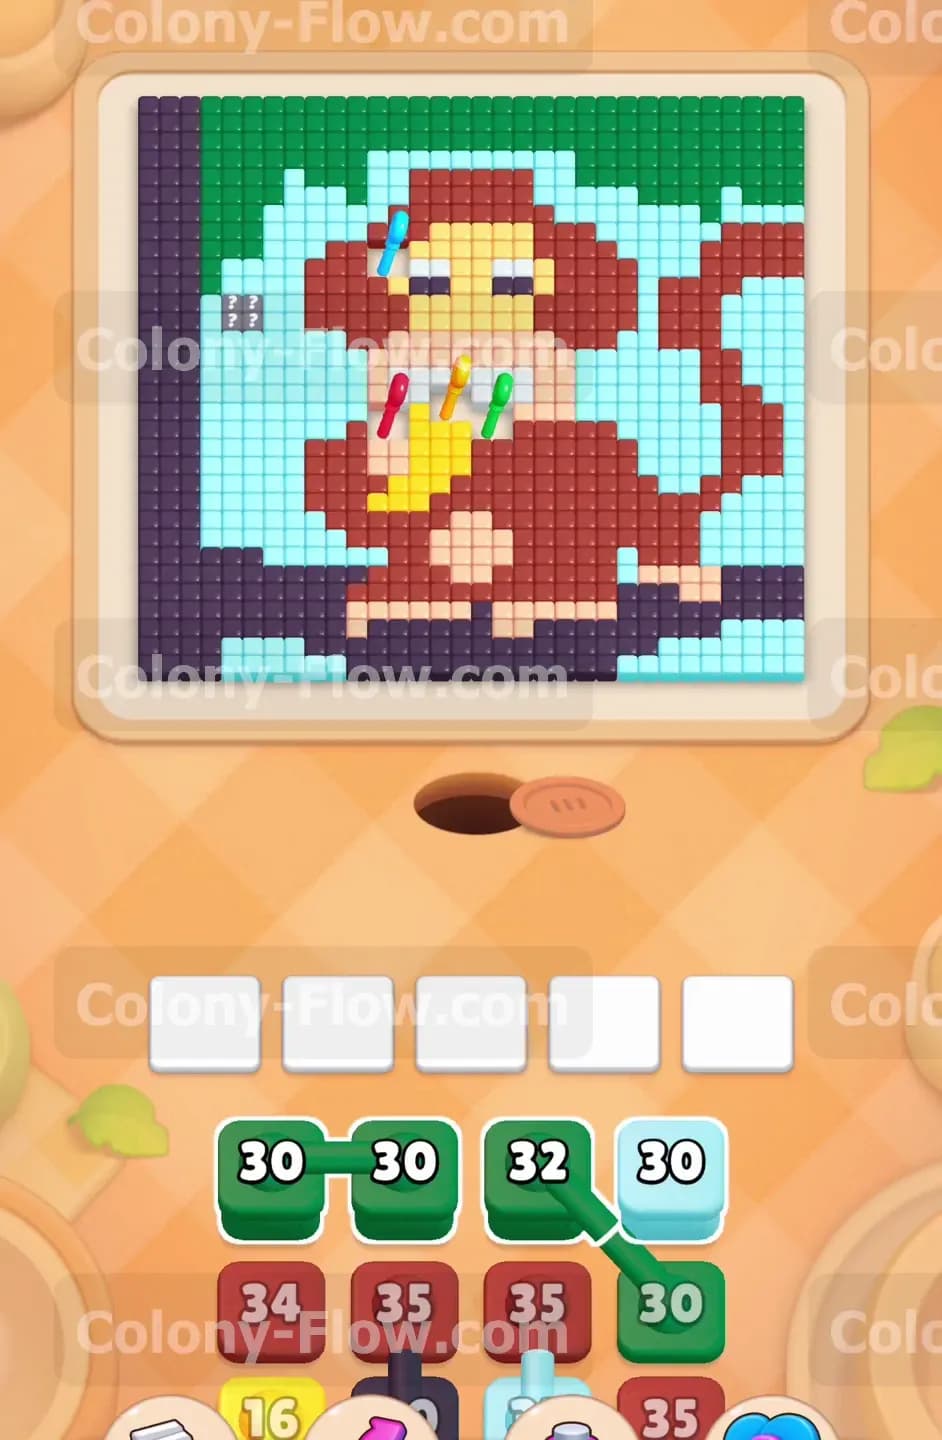
The board presents a pixel art picture of a monkey eating a yellow banana. The background consists of a green patch in the top right corner and light blue filling the rest of the open space. A thick dark purple border frames the picture on the left side and along the bottom edge. The monkey itself is made of red tiles for the fur and tan tiles for the face and belly. You will spot three keys resting on the board. There is a blue key near the monkey ear, a red key near the top of the banana, and a green key near the bottom. The tray at the bottom holds your numbered blocks in matching colors. Some blocks are linked together as connected boxes. You will also see blocks with locks on them and a hidden box waiting at the very bottom of your tray.
What It Takes to Clear Level 423 Board
You complete the level by matching colored blocks from your tray to the food tiles on the board until the entire picture is gone. The ants stream out of the nest and carry the food away. The main rule you must respect is managing your five waiting slots. If you pull blocks into all five slots and the ants cannot reach the matching colored tiles, the board jams and you lose. You have to clear the outer border first to open paths to the inner picture. As the ants chew away the monkey and the background, they will collect the keys. These keys open the locked blocks in your tray. You win when you pull the last block, the ants eat the final tile, and the board is totally clear.
Colony Flow Level 423 Step by Step Solution
Step 1: Clear the top right green section to open the board.
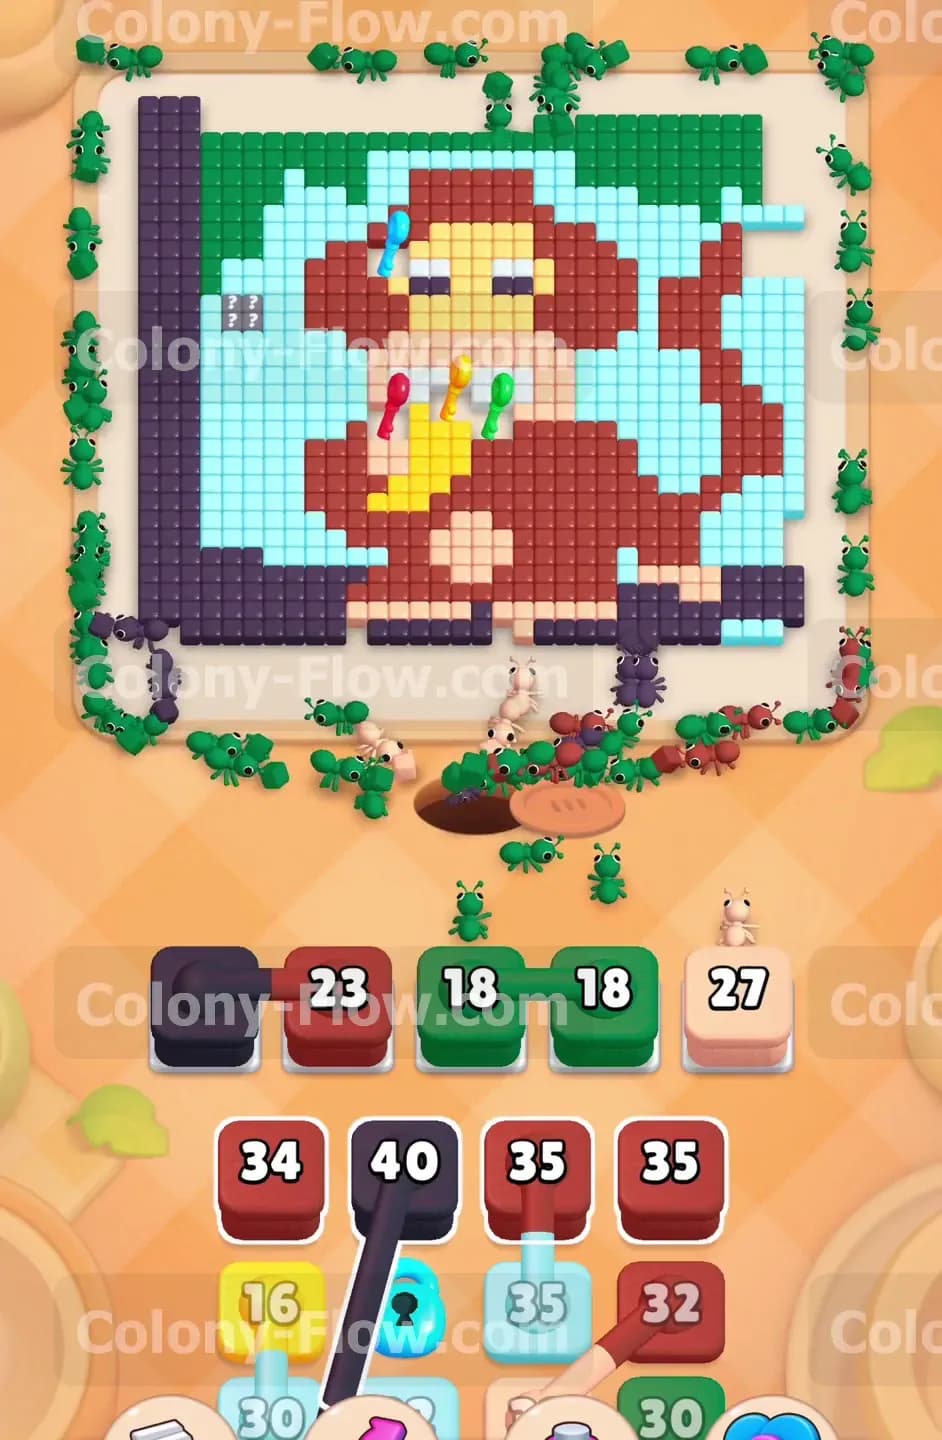
The best way to start is by targeting the green tiles in the top right corner. Your tray begins with two green blocks linked together. Tap these connected green blocks to pull them into your waiting slots. Since they are linked, they take up two of your five available slots immediately. The ants will pour out of the nest hole and rush to the upper right corner to eat the green food. You will see the numbers on the green blocks drop rapidly as the ants chew their way through the corner. This clears a large opening and exposes the light blue background tiles underneath. You still have three empty waiting slots, so you are in no danger of jamming the board yet. Leaving three slots open gives you plenty of flexibility for your next several moves.
Step 2: Begin clearing the light blue sky and the dark purple border.
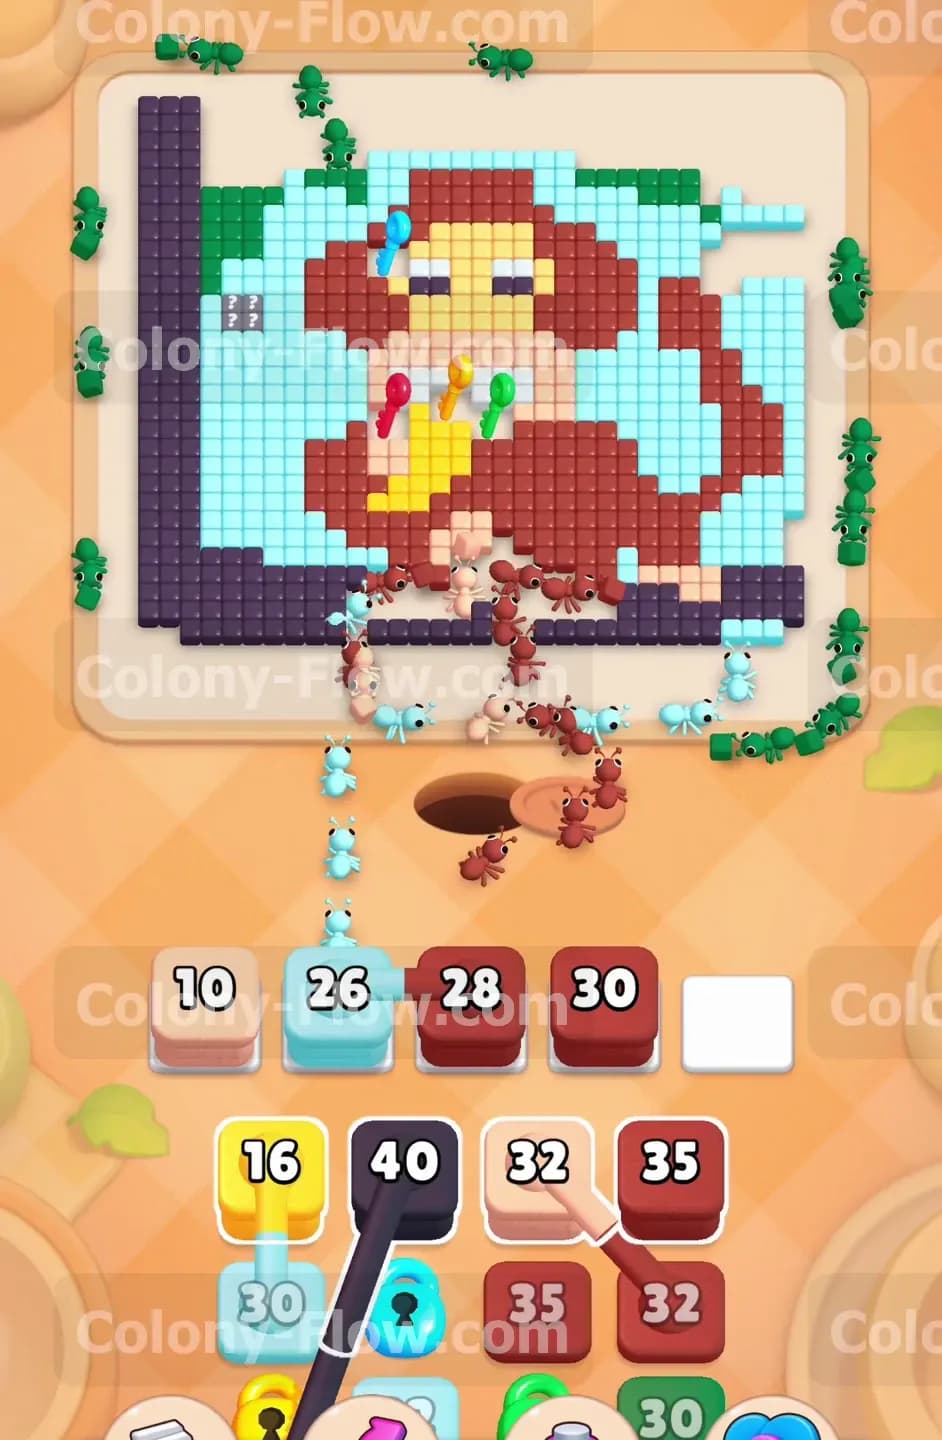
With the green section shrinking, you can start working on the light blue background. Tap the light blue blocks from your tray to send them to the waiting slots. The ants will begin dismantling the sky around the monkey. You will also notice the dark purple border on the left side is completely exposed from the very beginning. Tap a dark purple block to get your ants working on that thick border. This border takes a long time to clear because the dark purple blocks have very high numbers attached to them. Starting on the dark purple early ensures you do not get stuck waiting for it at the end of the level. Always make sure your waiting slots are flowing smoothly before you tap another block from the tray. Keeping a steady rhythm prevents any sudden traffic jams.
Step 3: Attack the monkey fur with red blocks and face with tan blocks.
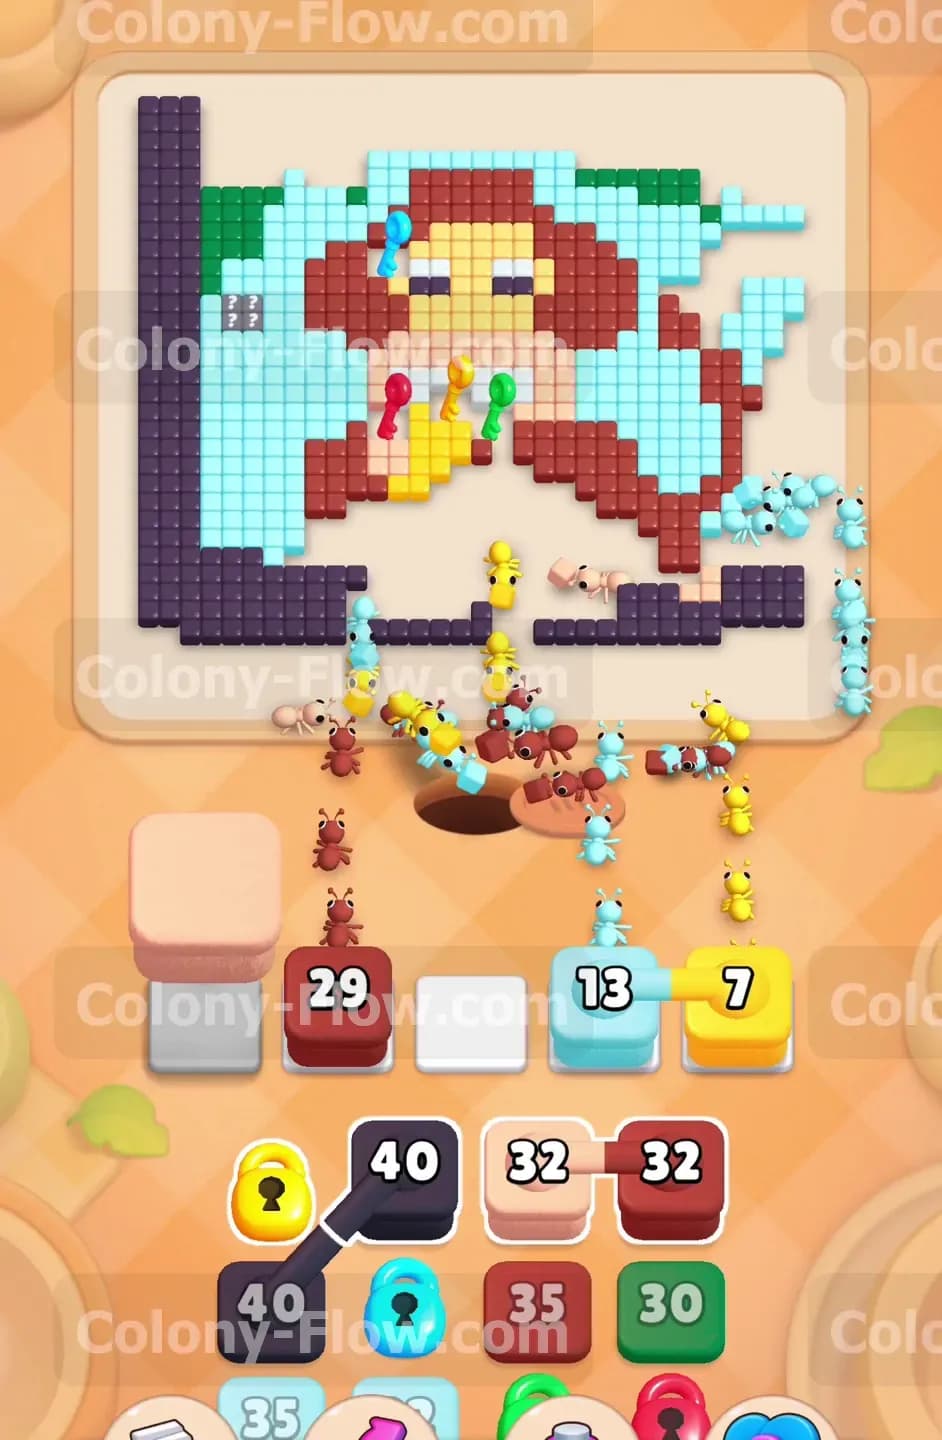
Now that the outer areas are active, you can send ants to the monkey itself. Tap a red block from the tray to clear the red tiles that make up the monkey fur. The ants will carve into the monkey body from the outside edges and slowly work their way inward. You will also see tan blocks in your tray. Tap a tan block to clear the face and belly of the monkey. Mixing the colors keeps the ants moving in different directions and prevents traffic jams on the board. You want to eat your way toward the center where the keys are located. Monitor your waiting slots closely because you are balancing light blue, dark purple, red, and tan blocks all at the exact same time. The board will look very busy but your paths will remain perfectly clear.
Step 4: Manage the connected chains of blocks carefully.
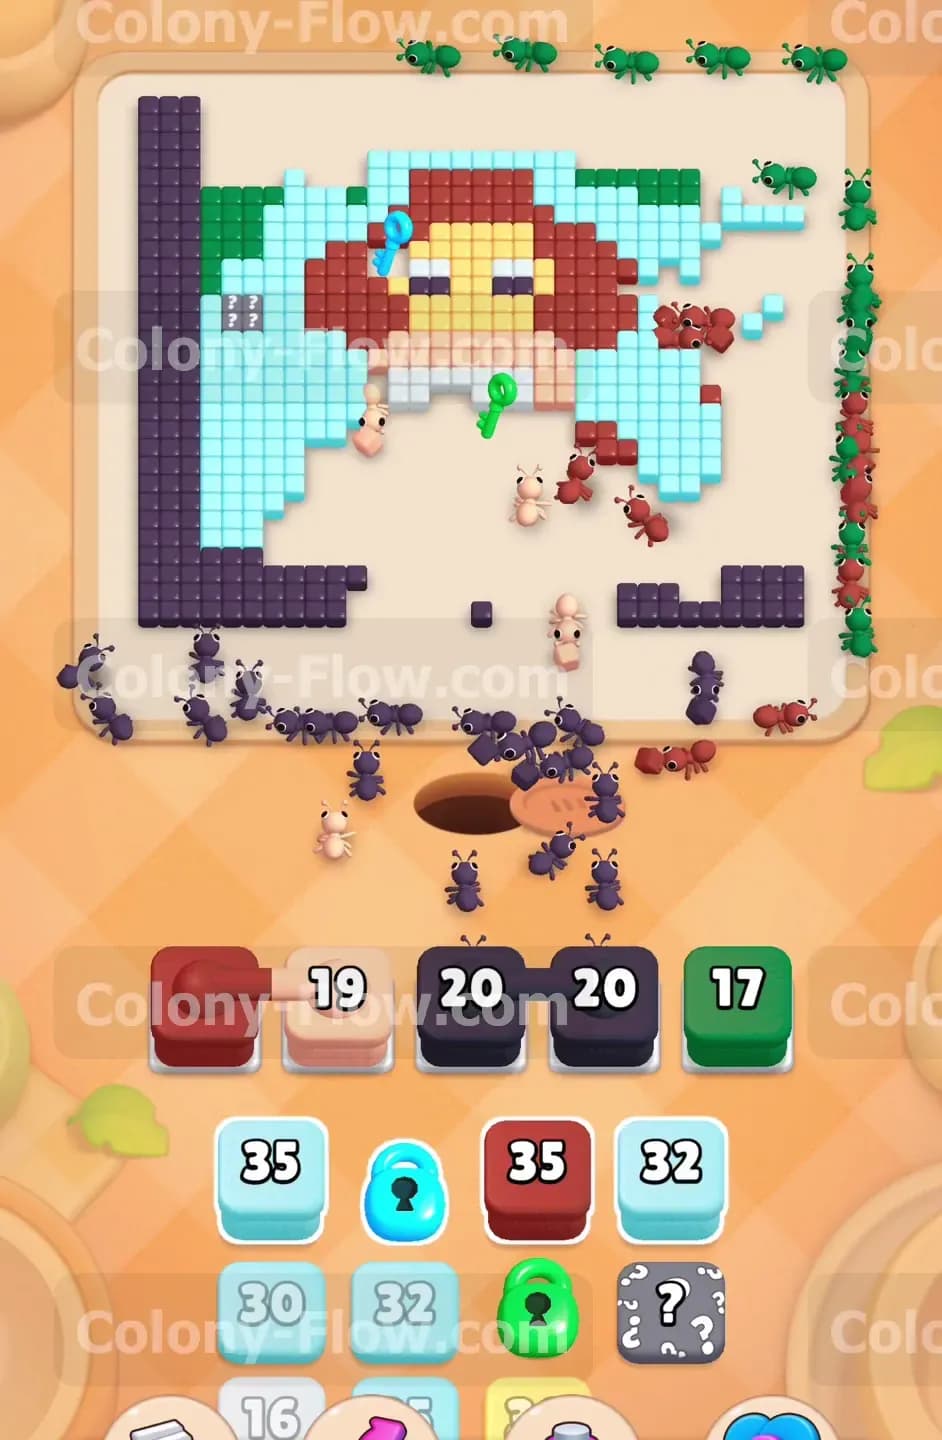
As you progress deeper into the tray, you will encounter long chains of connected blocks. You will see a dark purple block linked to a light blue block and a red block. When you tap one of these, all the linked blocks jump into your waiting slots at the same time. This is a very dangerous moment for your run. If you pull three connected blocks, you instantly fill three slots. You must guarantee that the dark purple, light blue, and red tiles all have open paths on the board before you tap this chain. If even one of those colors is blocked, that block will sit in your slot and clog your entire tray. Since you opened up the border and the monkey body early, the ants will easily find paths to all three colors and clear the slots quickly.
Step 5: Collect the keys to open the locked blocks in your tray.
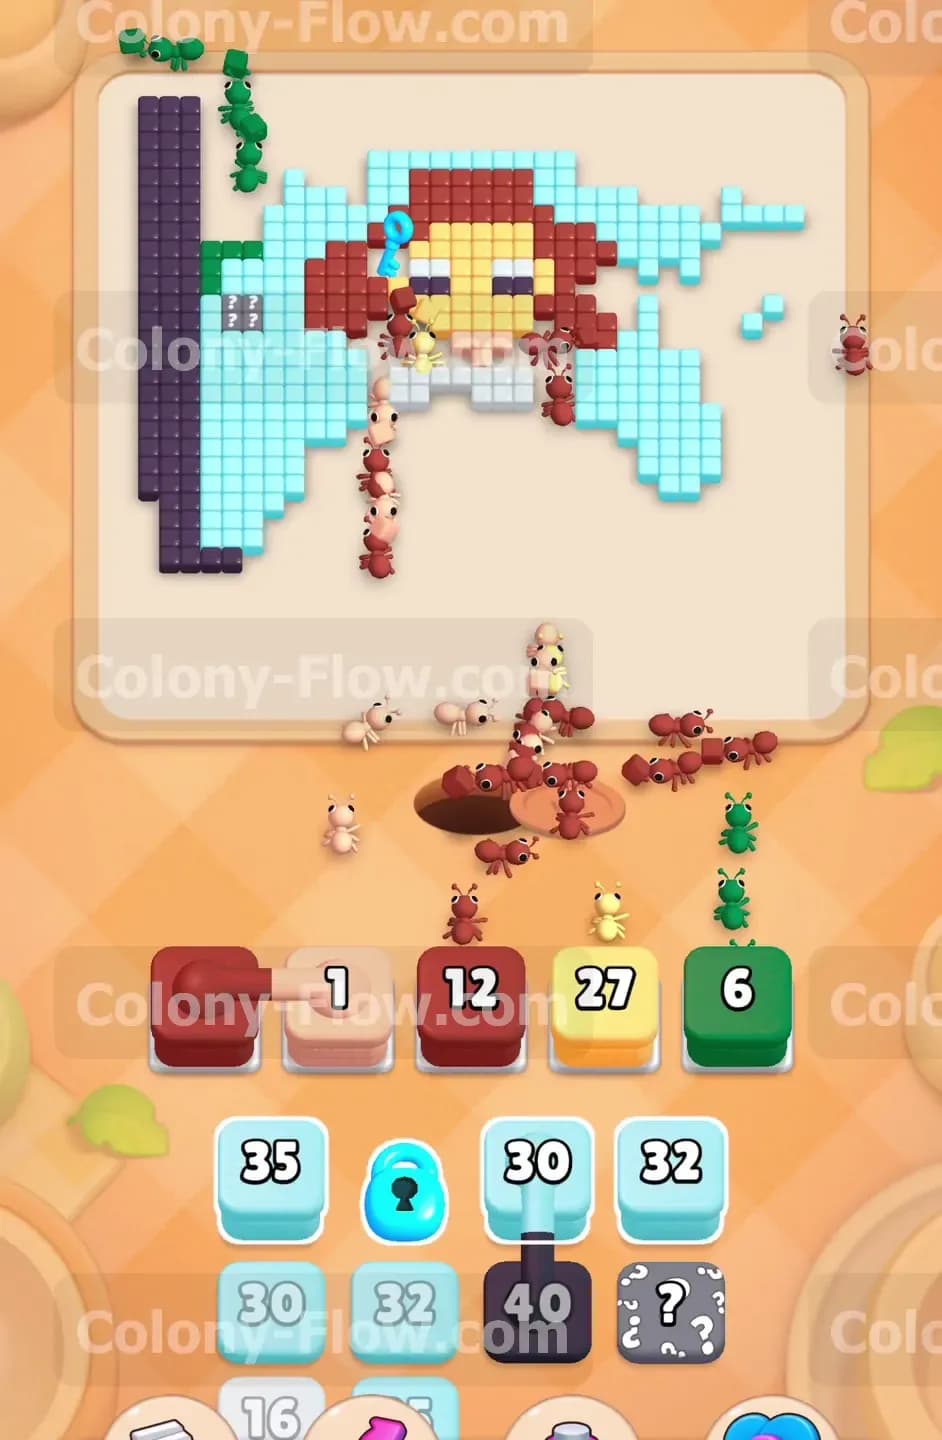
Your ants will eventually reach the middle of the board and uncover the keys. The blue key, the red key, and the green key are sitting on top of the tiles near the center. Direct your ants to eat the specific tiles holding these keys. Once an ant eats the tile under a key, the key flies down to your tray and opens a lock. You have several locked blocks in your tray waiting for these exact keys. Collecting the keys is a mandatory part of this puzzle. If you ignore the keys, the locked blocks will permanently block your progress and you will run out of moves. Focus your red and tan blocks entirely on getting these keys as soon as they become reachable. The faster you unlock the tray, the faster you can finish the monkey.
Step 6: Clear the yellow banana and more of the background.
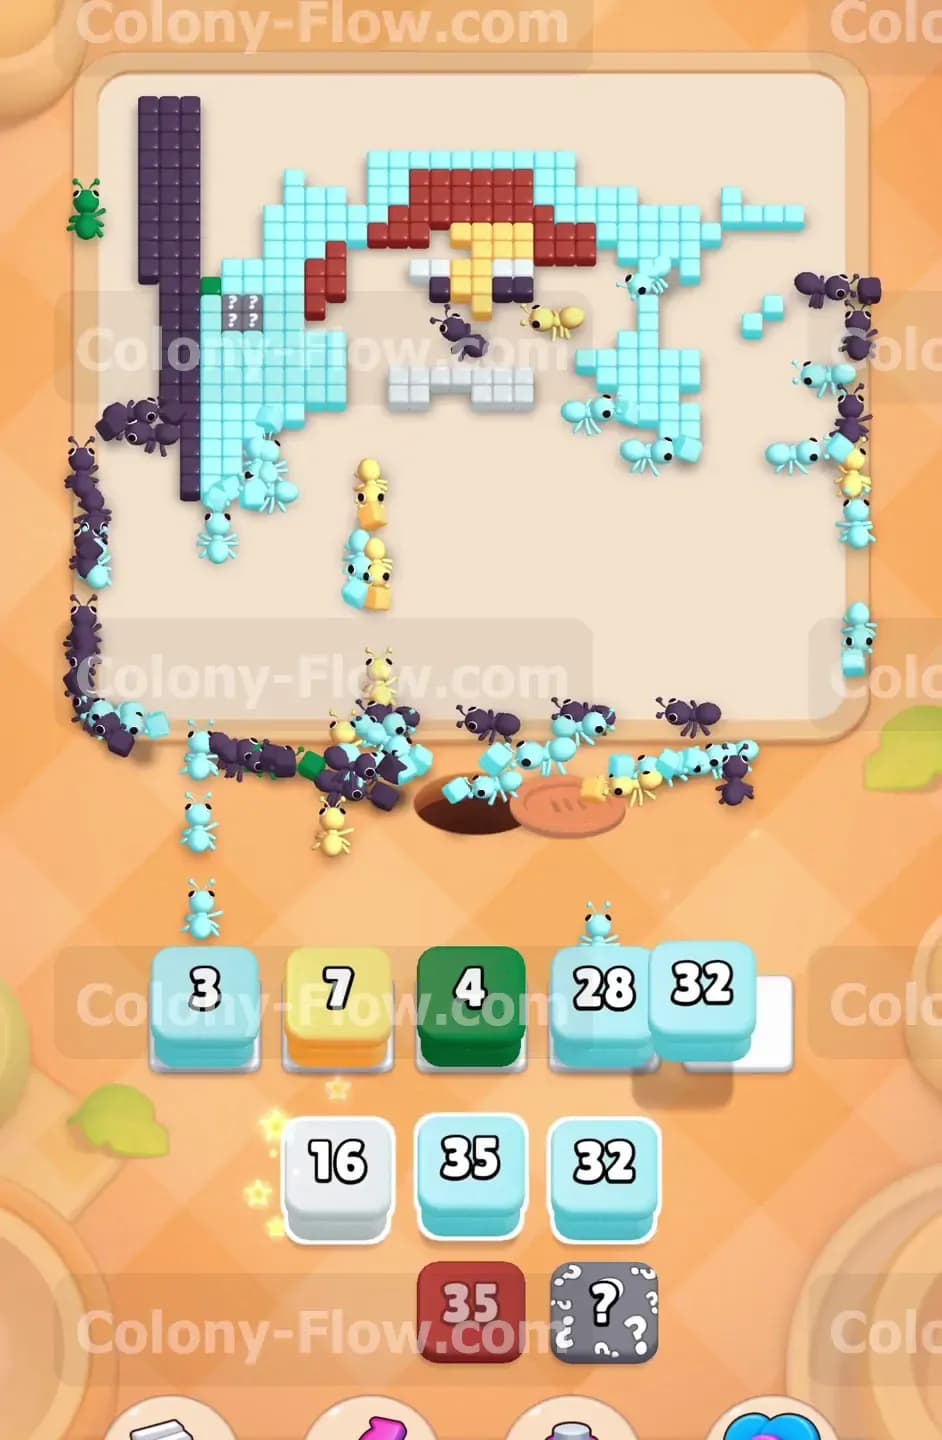
Once you collect the keys, the locked blocks in your tray become available to use. One of these is a yellow block. Tap the yellow block to send it up to the active area. The ants will swarm the center of the picture and completely eat the yellow banana. This opens up a massive hole in the middle of the board and gives your ants much shorter paths to the remaining tiles. Continue tapping light blue blocks to clear the rest of the sky surrounding the monkey. The picture is mostly empty now, but you still need to respect the five waiting slots rule. Never pull a block if its matching color is buried behind another color. Keep feeding the ants the colors they can reach right now.
Step 7: Handle the massive four block connected chain.
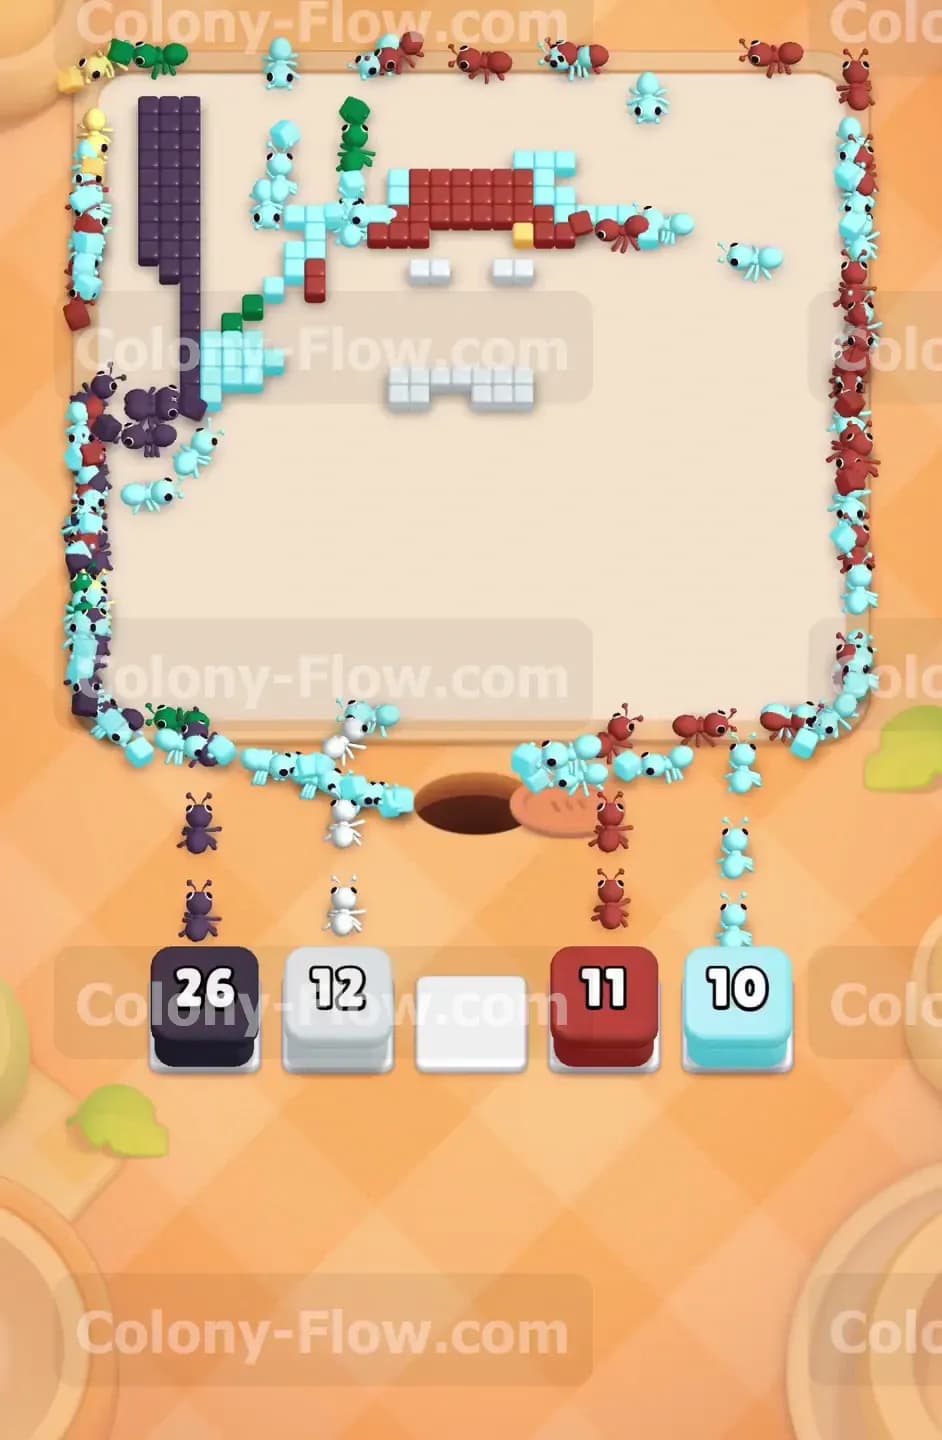
Deep in the tray you will find a massive chain of four connected blocks. This giant chain includes a red block, two dark purple blocks, and a green block. Tapping this chain will immediately fill four of your five waiting slots. You will only have one empty slot left to save you from a complete jam. Before you tap this giant chain, take a close look at the board. You must confirm that there are red tiles, dark purple tiles, and green tiles open and ready to be eaten. If all three colors are available, tap the chain without hesitation. The ants will divide their efforts and clear out the remaining fur, the bottom border, and the last few green tiles. This move requires confidence, but as long as the paths are open, your ants will clear the blocks without any trouble.
Step 8: Reveal the hidden box and clean up the leftovers.
Near the very bottom of the tray you will spot a hidden box. A hidden box conceals its true color until it has a valid path to move. Just leave it alone until the board is almost entirely empty. Do not tap it prematurely because you do not know what color it wants. Once the ants clear the tiles blocking its specific color, the hidden box will flip over and reveal what it needs. Tap it the moment it reveals itself. The ants will handle it in a few seconds and clear it from your tray. At this point you are just cleaning up the scraps left on the board. Tap the remaining light blue blocks and red blocks. The numbers will count down incredibly fast because there are only a handful of tiles left scattered around the board.
Step 9: Finish the final pieces to win the level.
The very last step is usually clearing the final chunk of the dark purple border or a lone light blue tile hidden in a corner. Your tray will only have one or two blocks left to play. Tap them to send them up to the waiting slots. The ants will march out for the final time, eat the very last colored tiles, and run back into the nest hole. The board will turn completely blank and the victory screen will appear on your device. You successfully navigated massive connected chains, unlocked all the blocks, and cleared the entire monkey picture without ever jamming your waiting slots.
Final Thought
This puzzle tests your ability to plan ahead and manage your limited space. By clearing the outer edges first and timing your connected chains perfectly, you give your ants the room they need to work. Grabbing the keys early stops the locked blocks from clogging your tray and halting your progress. Keeping the center paths clear makes everything flow much faster. If you ever feel lost or want to see the exact timing for the massive connected chains, please watch the video above this article to see exactly how I cleared the board.