Colony Flow Level 503 Walkthrough Solution & Guides | How to solve Colony Flow 503

Guide By Liam Stone
Updated on July 30, 2026
If you'd rather see it than read it, the video above walks through Level 503 from start to finish.
Video doesn't match your screen?
Game updates frequently scramble layouts! Try our AI Screenshot Solver first to find your exact board instantly, or report broken guides to our team.
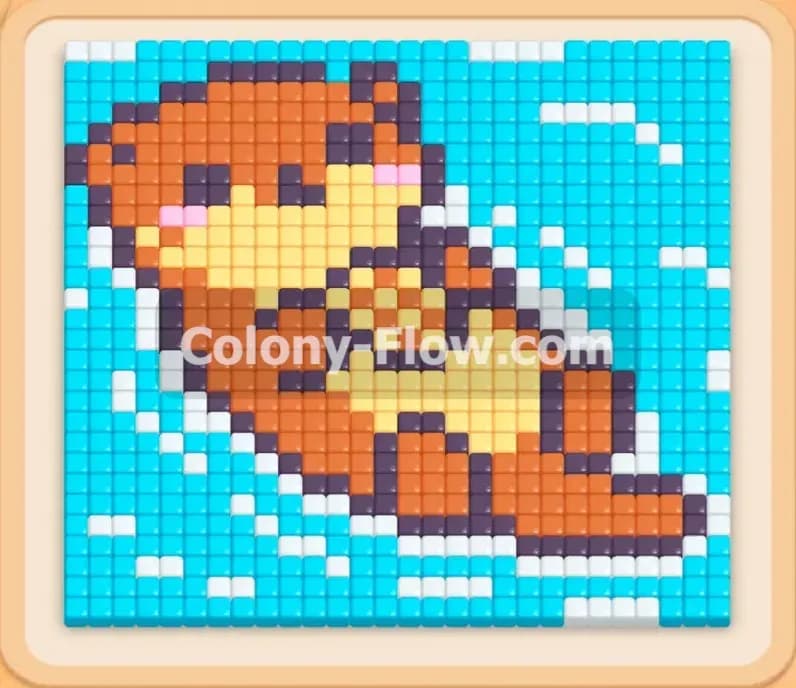
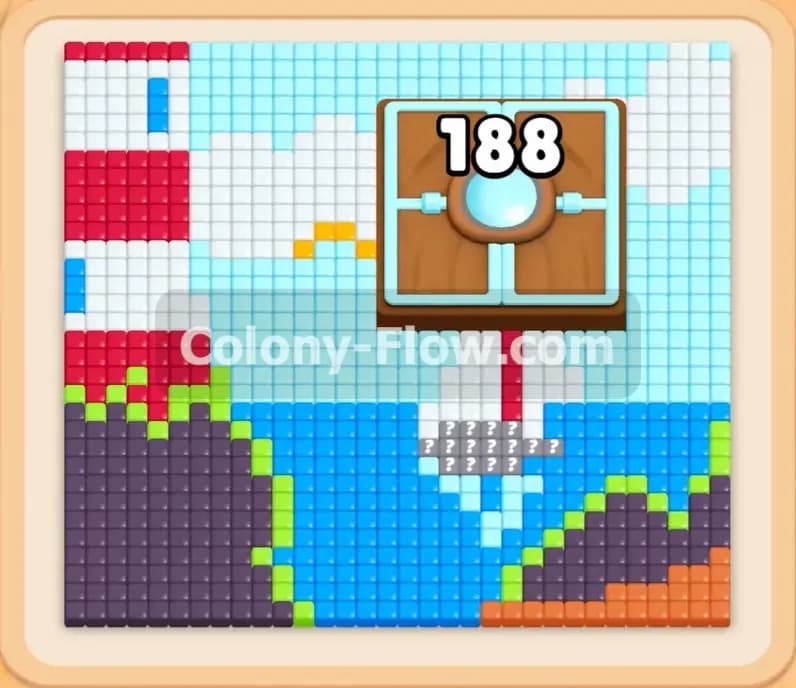
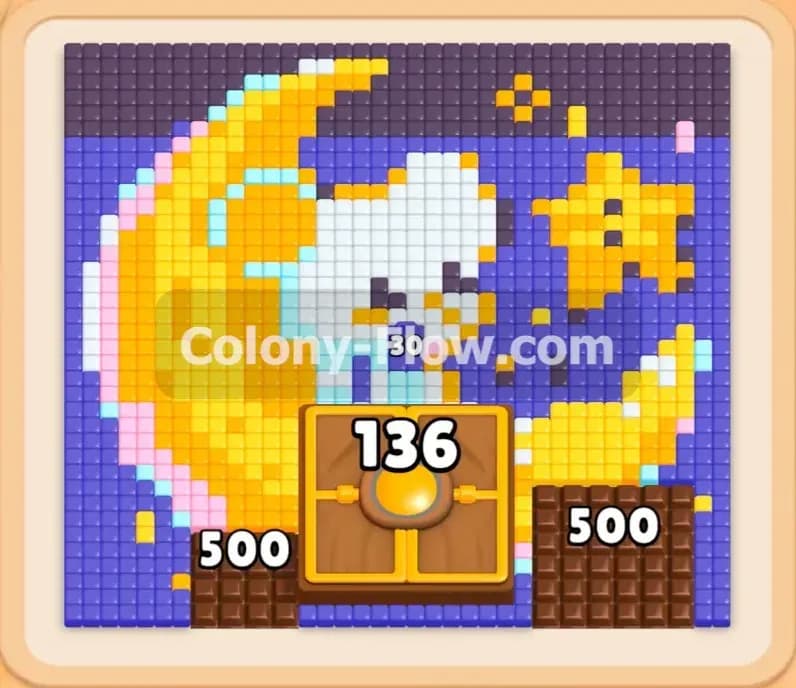
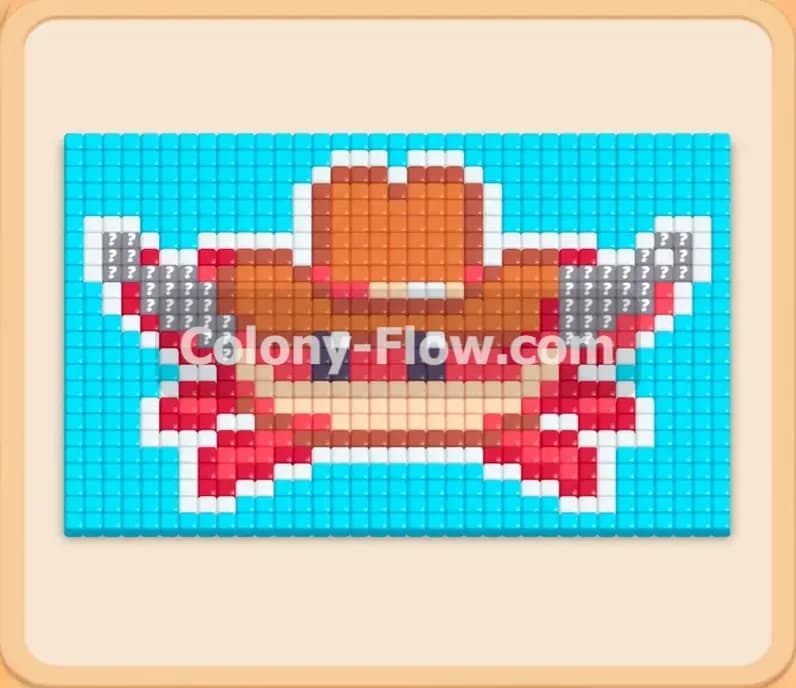
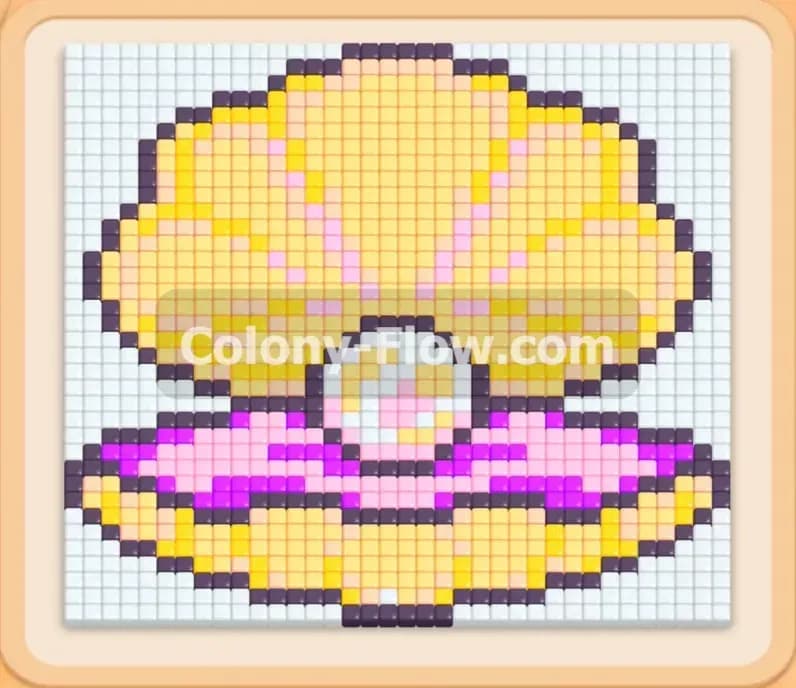
Colony Flow Level 503 brings a beautiful pixel art picture to your screen featuring a bright open clam shell and a glowing pearl. You take control of a hungry ant colony and guide them to eat the entire picture by matching colored numbered blocks from your tray to the tiles on the board. The design holds a lot of intricate details wrapped inside a thick dark outline and surrounded by a solid background. You will need to carefully manage your tray to break through the outer layers without trapping your colony.
Colony Flow Level 503 Overview
What You Are Working With
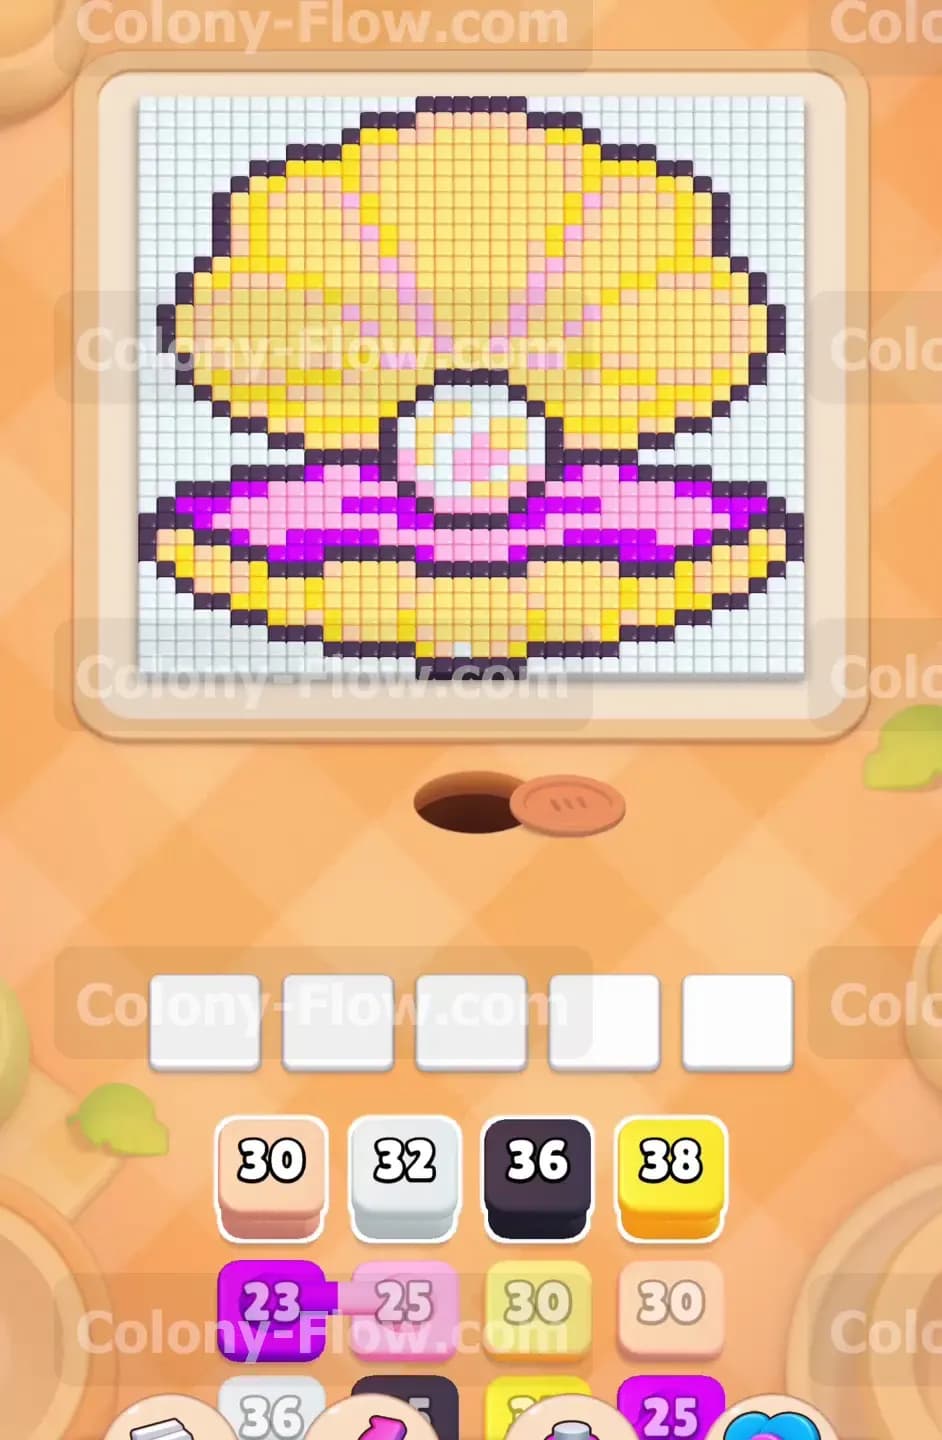
The board presents a large open clam shell sitting in the center of the screen. The main body of the shell consists of bright yellow tiles with orange accent pieces scattered near the edges. A thick black outline borders the entire shape and separates the top shell from the bottom base. Inside the lower section of the clam you will find a mix of pink and purple tiles forming a soft cushion. A bright white pearl sits directly in the center of this cushion. The entire clam picture rests on a large background grid made entirely of white tiles.
Your tray at the bottom of the screen holds the numbered color blocks you need to feed the ants. This level introduces the connected boxes mechanic. You will see certain blocks in your tray linked together by a solid line. When you tap one of these connected boxes to move it to your waiting area, the linked box follows it automatically. You must treat these linked pairs as a single unit when planning your strategy.
What It Takes to Clear Level 503 Board
You win the level when the ants consume every single pixel art tile on the board and return to the nest. The primary challenge comes from managing your five empty waiting slots. Every time you tap a block in your tray, it moves up into one of these five slots. The ants then crawl out of the nest hole, grab the color, and march to the matching tiles on the board. Each block holds a number that counts down as the ants eat the tiles.
You lose the level if you fill all five waiting slots with colors that have no open paths on the board. When this happens, the ants stop moving completely. Because the slots are full, you cannot pull any new blocks to clear a path, causing a permanent dead end. Your main goal is to constantly check the board and ensure that every block you pull has exposed tiles ready to be eaten. You must always keep at least one valid path open so your slots never jam.
Colony Flow Level 503 Step by Step Solution
Step 1: Clear the outer background and open the main shell paths
Start by pulling the top row of blocks from your tray to get the ants moving immediately. You will see a yellow thirty block, a white thirty two block, a black thirty six block, and a yellow thirty eight block. Pull the white block first. The entire clam picture is surrounded by a massive border of white background tiles. Tapping this white block sends a huge wave of ants to the outer edges of the board. Next, pull the black block to start breaking down the thick dark outline on the bottom edge of the shell. Finally, pull the two yellow blocks. The yellow shell parts are fully exposed on the left and right sides. This initial sequence is perfectly safe because all four colors have immediate open paths, ensuring your waiting slots process the blocks quickly without jamming.
Step 2: Break into the purple and pink shell base
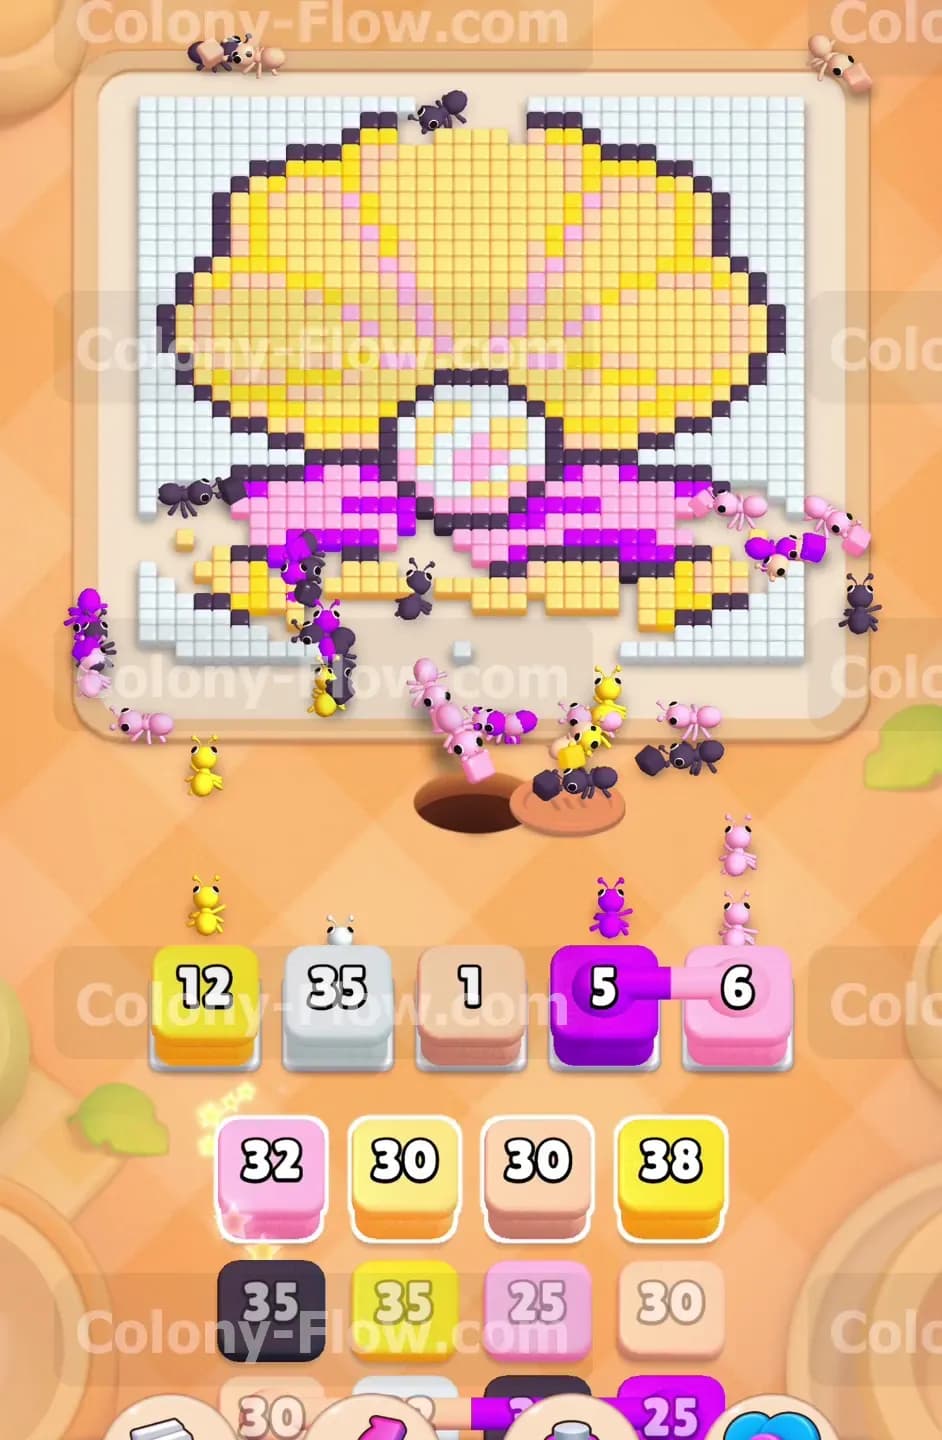
Once the first few blocks count down and clear out of your waiting slots, you gain access to the colorful base of the clam. Tap the purple twenty three block and the pink twenty five block from your tray. The ants will swarm the bottom center of the picture where the clam hinge sits. These pink and purple tiles are completely exposed on the bottom edge facing the nest hole. Feeding these specific blocks to the slots prevents any traffic jams. The ants will quickly count down the numbers on the purple and pink blocks. As these bright tiles vanish from the board, they break open the protective lower wall of the shell. This exposes the inner yellow sections and gives you a clear path toward the bright white pearl in the center.
Step 3: Feed the massive yellow shell sections
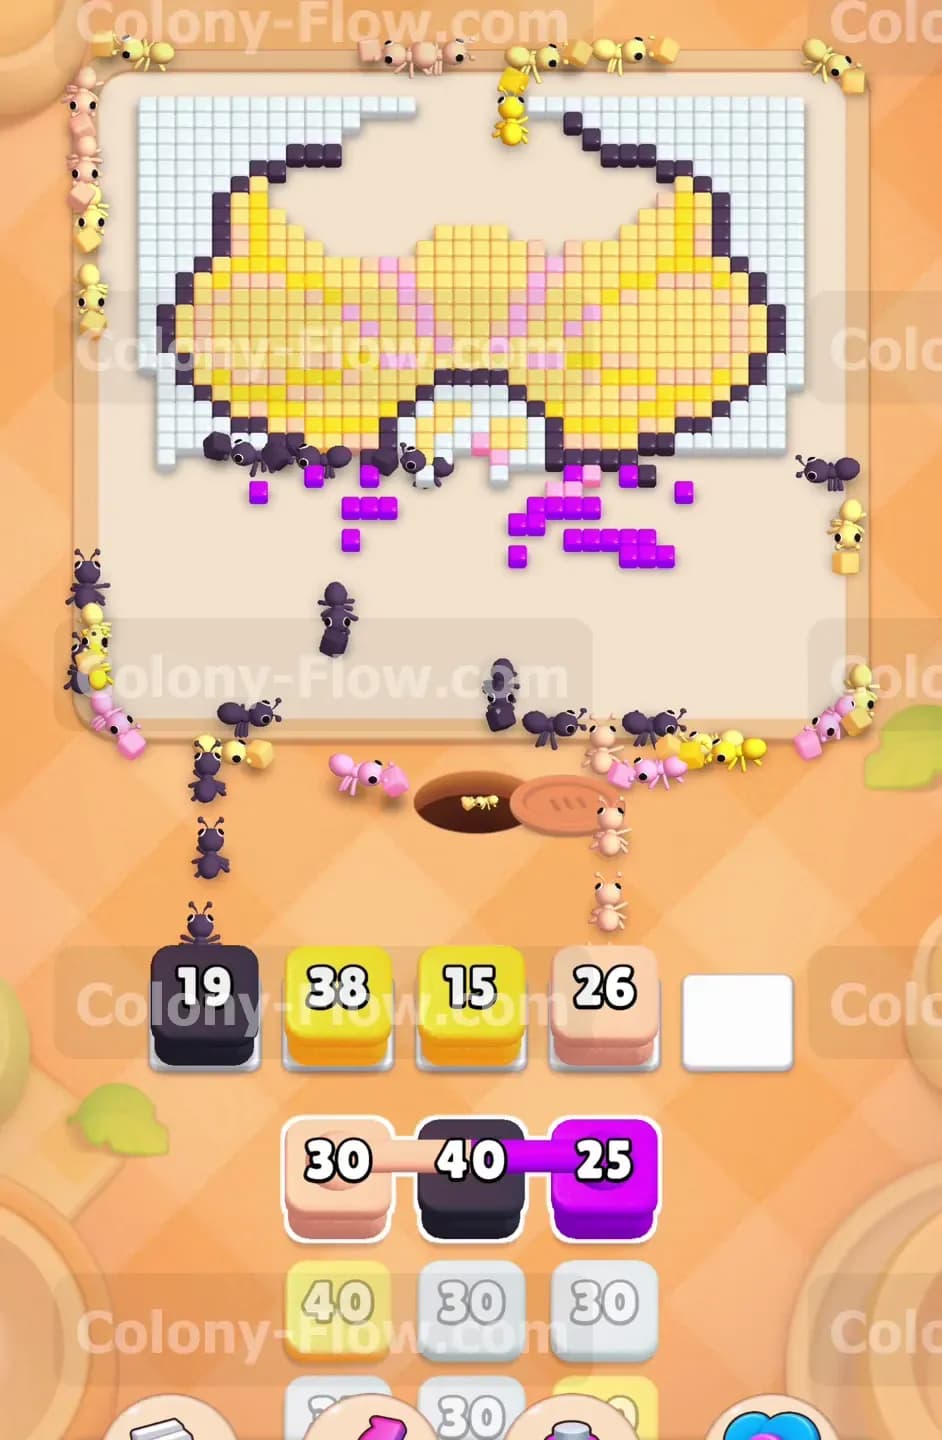
The clam shell contains a massive number of yellow tiles that will take a long time to clear. You will see several yellow blocks move up in your tray, including another yellow thirty block and a yellow thirty five block. Bring these up to your active waiting slots. Because the yellow tiles make up the largest portion of the image, the ants will always have a valid path to reach them. Keeping a yellow block active in your slots is a highly effective way to keep the colony busy and prevent dead ends. Add an orange thirty block to the slots to let the ants chew away the orange accent tiles near the bottom curves of the shell. Maintaining a steady flow of ants moving to multiple different colors keeps the board clearing at a rapid pace.
Step 4: Manage the connected boxes carefully
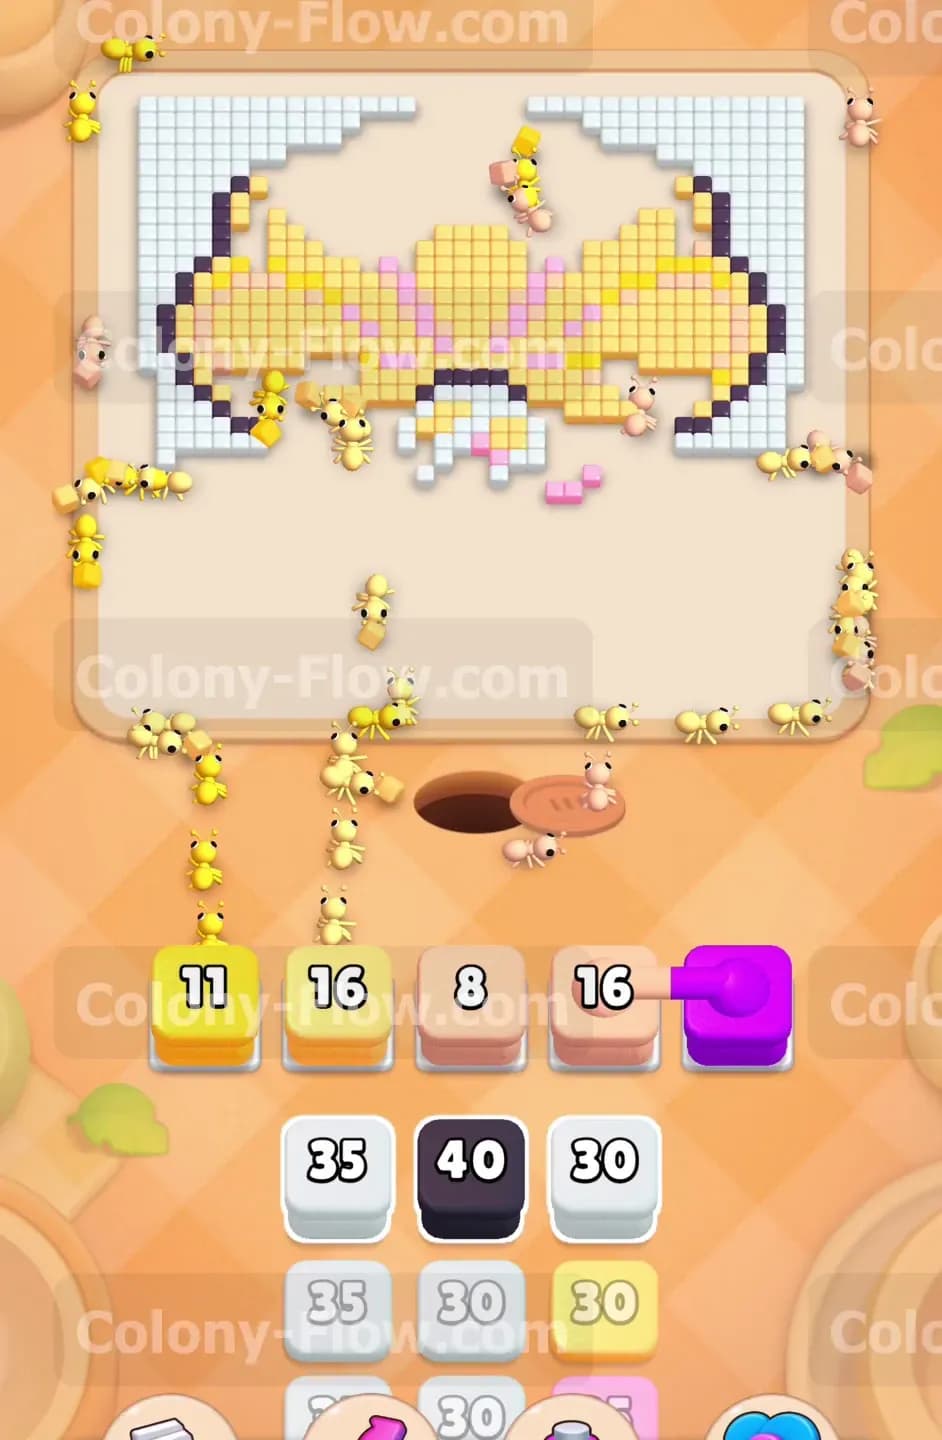
As you dig deeper into the block tray you will encounter the connected boxes mechanic. You will notice a black forty block linked directly to a purple twenty five block by a solid line. You cannot pull one without pulling the other. Before you bring these into your waiting area you must look closely at the board. You need to ensure that the black outline still has exposed tiles and that the purple base still has tiles available. If you pull this linked pair and all the purple tiles are blocked behind other colors, the purple block will sit dead in your slots. Since they take up two slots instantly, a mistake here leaves you with very little room to fix the jam. Wait until both the black and purple paths are completely clear before pulling this connected pair into your active slots.
Step 5: Expose and clear the white pearl
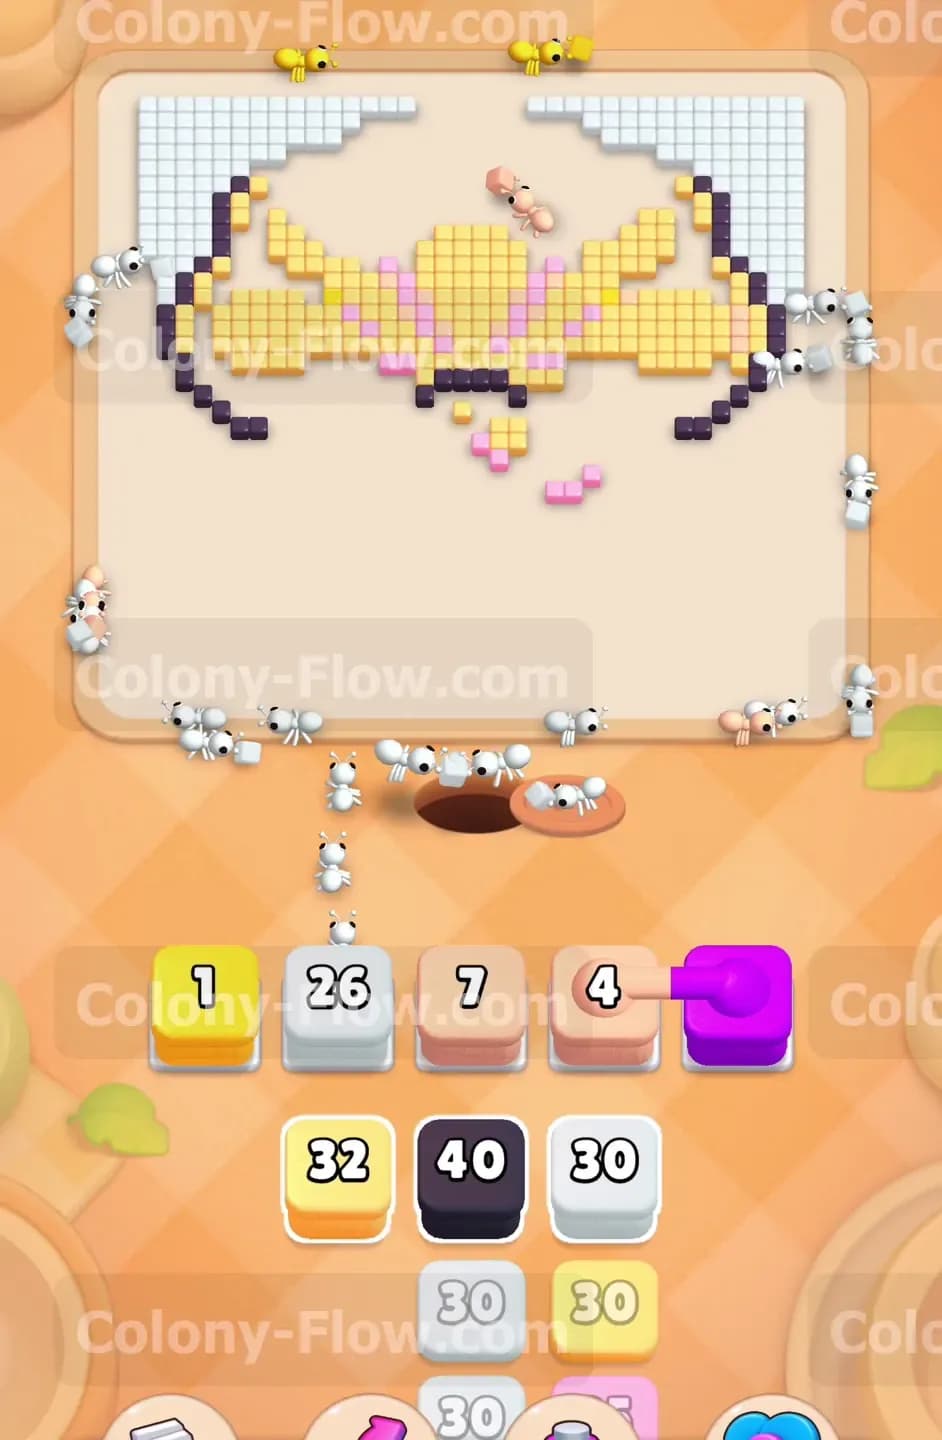
Breaking down the bottom black outline and the pink base removes the final barriers protecting the center pearl. Now you can safely pull the next white thirty block from your tray. The ants will march straight up into the center of the shell and devour the bright white pearl tiles. At the exact same time, other ants will continue eating the remaining white background tiles around the upper edges of the picture. Combine this move with a black thirty five block to eliminate the rest of the dark outline hugging the pearl. Watch the numbers on your blocks drop rapidly as the ants find multiple open paths to both the white and black tiles.
Step 6: Clear the upper curves of the clam shell
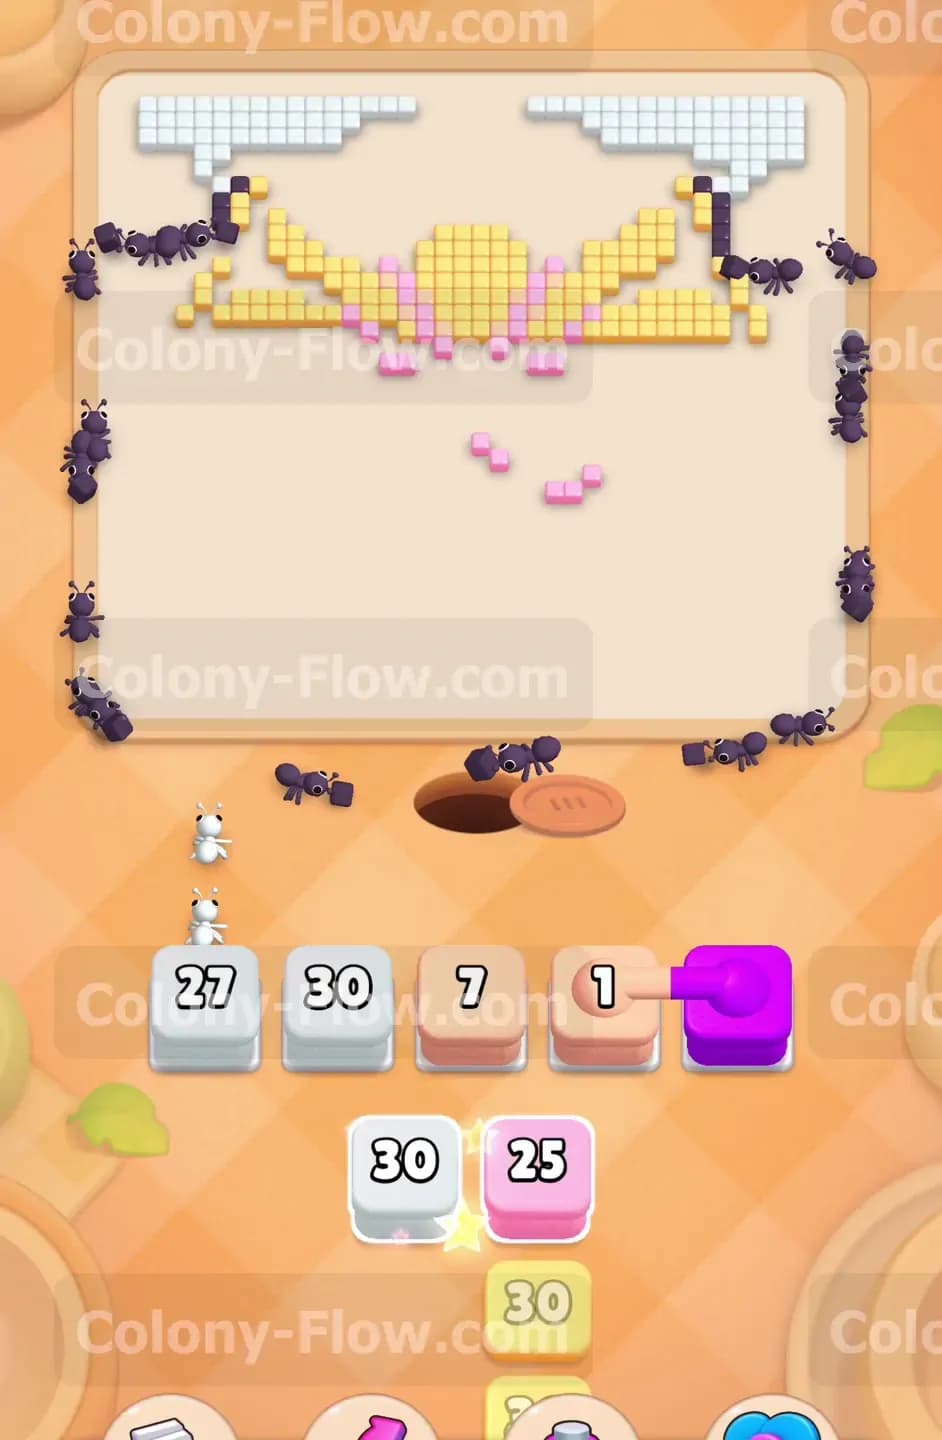
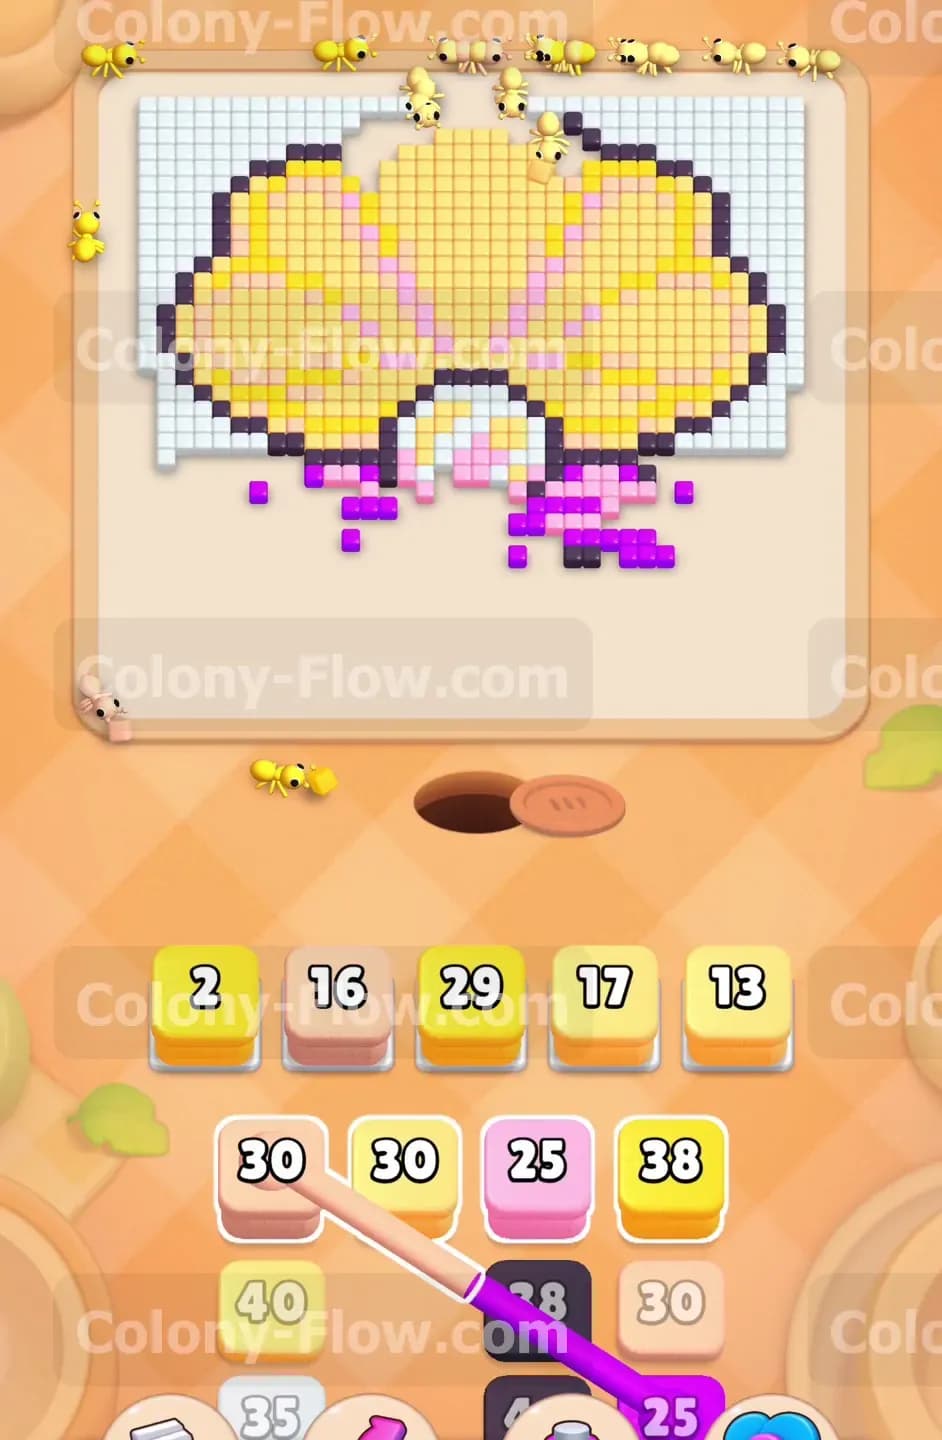
The bottom half of the board will be completely empty at this stage. The remaining tiles form the top arches of the yellow shell along with some scattered white background pieces near the top corners. Pull the light pink twenty six block and the remaining yellow blocks into your waiting slots. The ants now have a massive open area to cross, so they will travel in long lines from the nest hole to the top of the screen. Keep pulling yellow and white blocks as they appear in your tray. Avoid pulling any leftover orange or purple blocks unless you can clearly see those specific colors remaining on the top edges. Filling your slots with the wrong color at this late stage will cause a fatal dead end just before the finish line.
Step 7: Empty the final remaining tiles
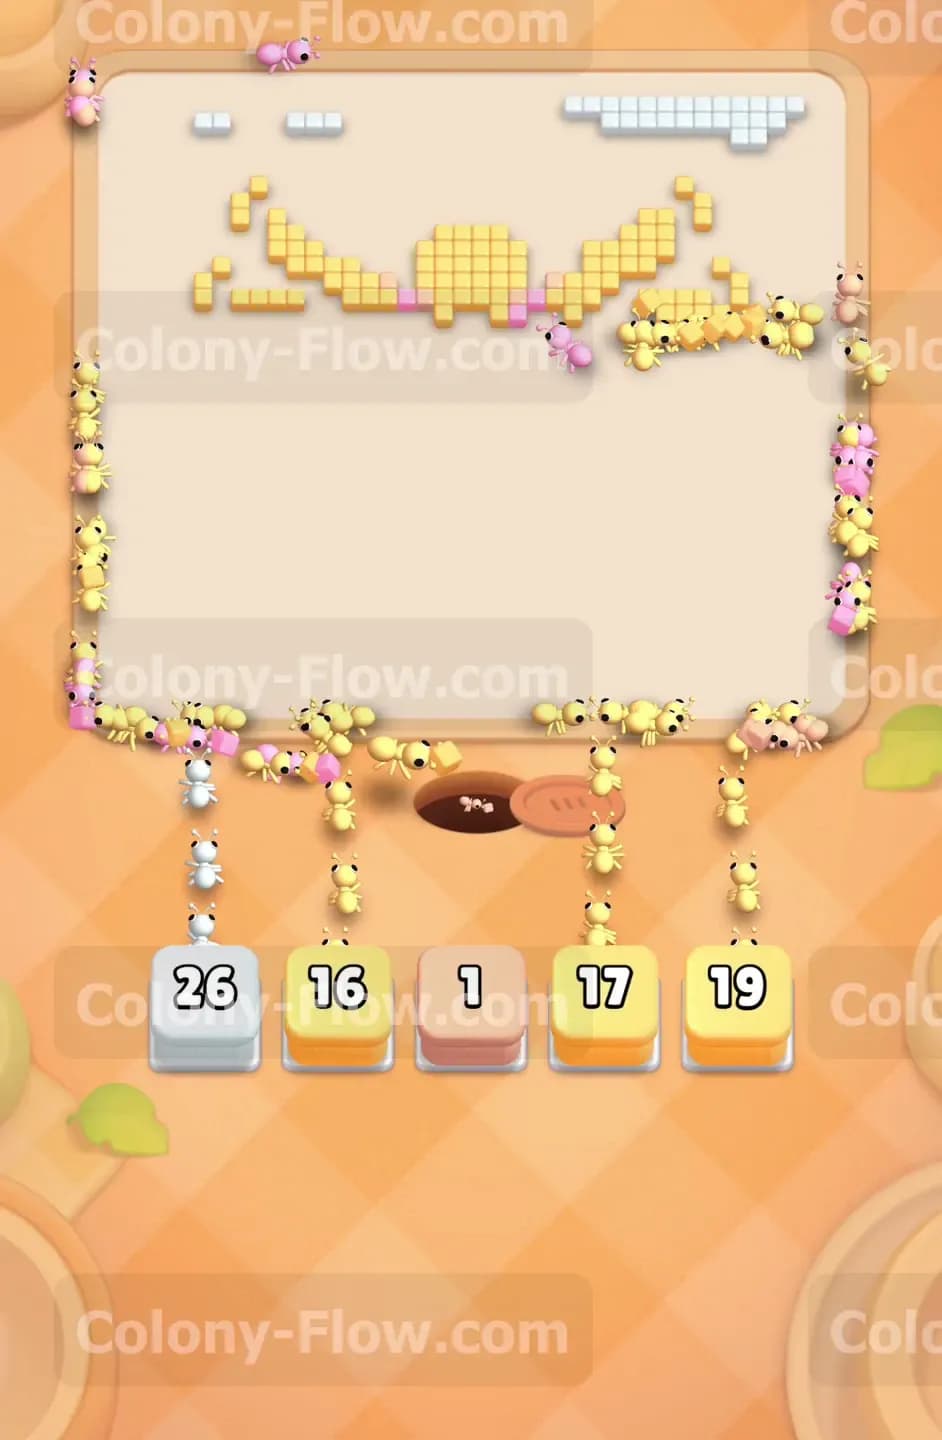
Only a few scattered yellow shell tiles and white background pieces remain at the very top of the board. You will have a light pink twenty seven block and a white thirty block waiting in your tray. Carefully pull exactly what you need to finish the job. Tap the white blocks to let the ants finish off the background grid. Tap the remaining yellow blocks to eat the final pieces of the shell. The ants will swarm the last few squares at the top edge of the screen. Once the final tile disappears from the board, the remaining ants will finish their march and you will successfully beat the level.
Final Thought
Level 503 requires careful attention to the connected boxes and a smart approach to the massive white background. Keep your waiting slots balanced and always verify your open paths before pulling linked blocks into your tray. If you find yourself getting stuck on a specific sequence of moves, watch the video above this article to see the exact timing of each block pull.