Colony Flow Level 355 Walkthrough Solution & Guides | How to solve Colony Flow 355

Guide By Liam Stone
Updated on July 18, 2026
Rather watch than read? The video above walks through Level 355 step by step.
Video doesn't match your screen?
Game updates frequently scramble layouts! Try our AI Screenshot Solver first to find your exact board instantly, or report broken guides to our team.
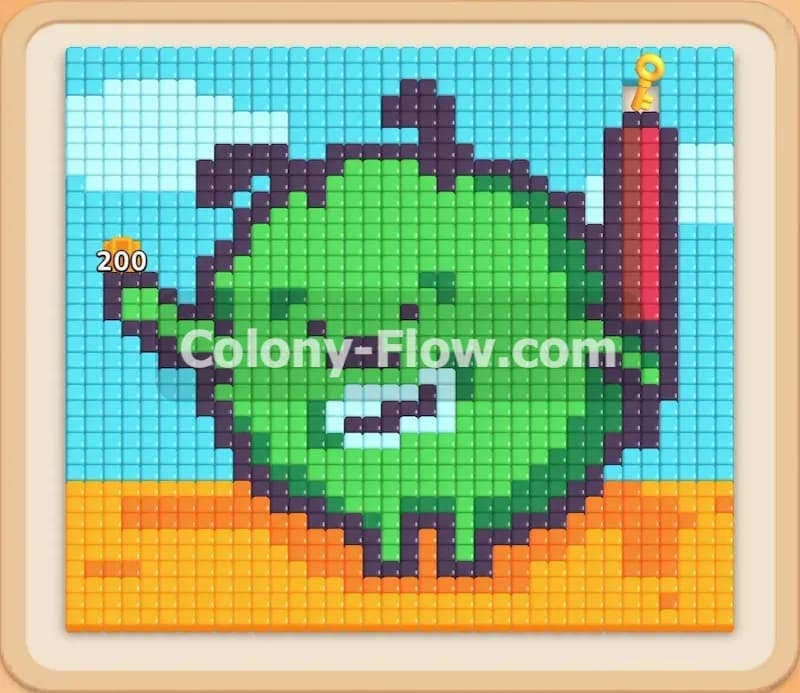
Colony Flow Level 355 is a busy puzzle featuring a fun green monster picture. You need to manage a large variety of colors right from the start to avoid clogging your waiting slots. I will walk you through the exact sequence to feed your ants and keep the board moving smoothly.
Colony Flow Level 355 Overview
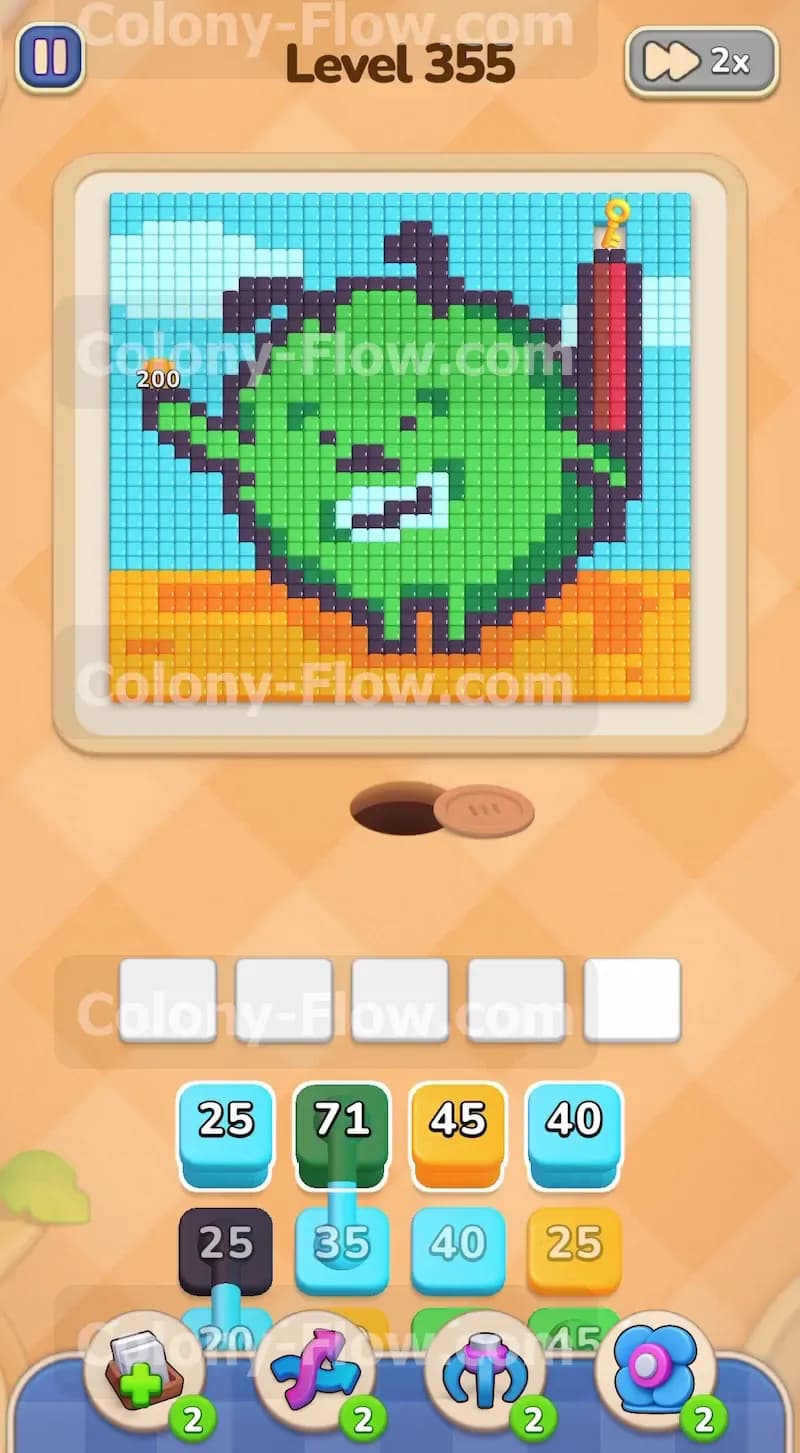
What You Are Working With
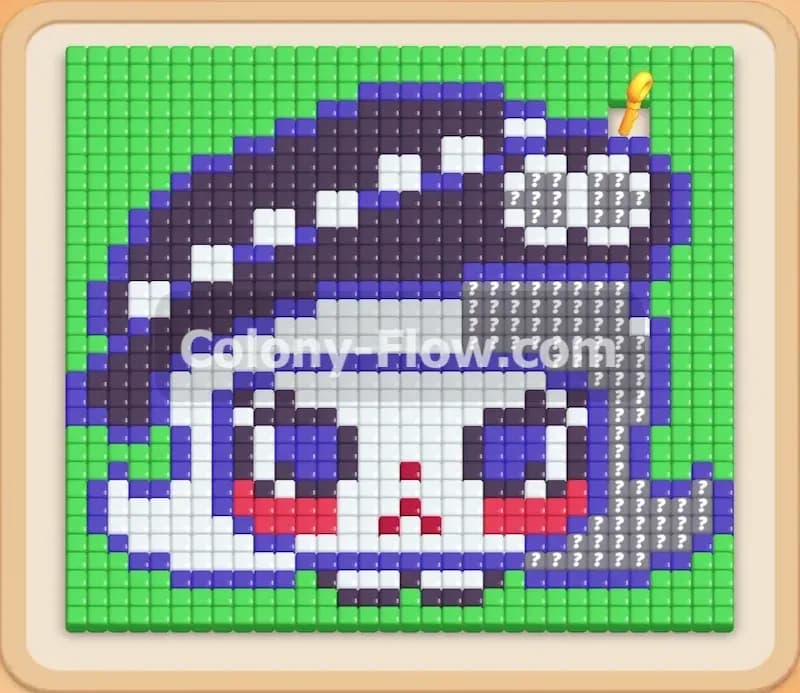
The picture at the top of the screen displays a round green monster with white teeth and dark grey outlines. The monster stands on a solid orange ground against a bright light blue sky. A tall red pillar object sits directly on the right side of the scene. The puzzle palette requires you to handle green, light blue, orange, black, and red blocks. The tray at the bottom holds these colored blocks with very high numbers printed on them. You will see blocks like a 71 green and a 45 orange early on in the tray. The level also includes hidden boxes inside the tray. A hidden box hides its true color until it has a valid path to move on the board. You have exactly five empty waiting slots above the tray to hold your active blocks.
What It Takes to Clear Level 355 Board
Winning this puzzle requires you to completely clear every colored pixel from the board without dead ending your ants. You lose the game if you fill all five waiting slots with blocks that have no open paths to their matching colors. You must carefully balance pulling large blocks for the main background colors with pulling smaller blocks for the fine details. The ants stream out of the nest hole at the bottom and travel up the open paths to the picture. They will eat the pixels and count down the numbers on your active blocks. You clear the board by constantly opening new paths and making sure at least one active block is always feeding ants to prevent a jam.
Colony Flow Level 355 Step by Step Solution
Step 1: Open the sky and the ground first
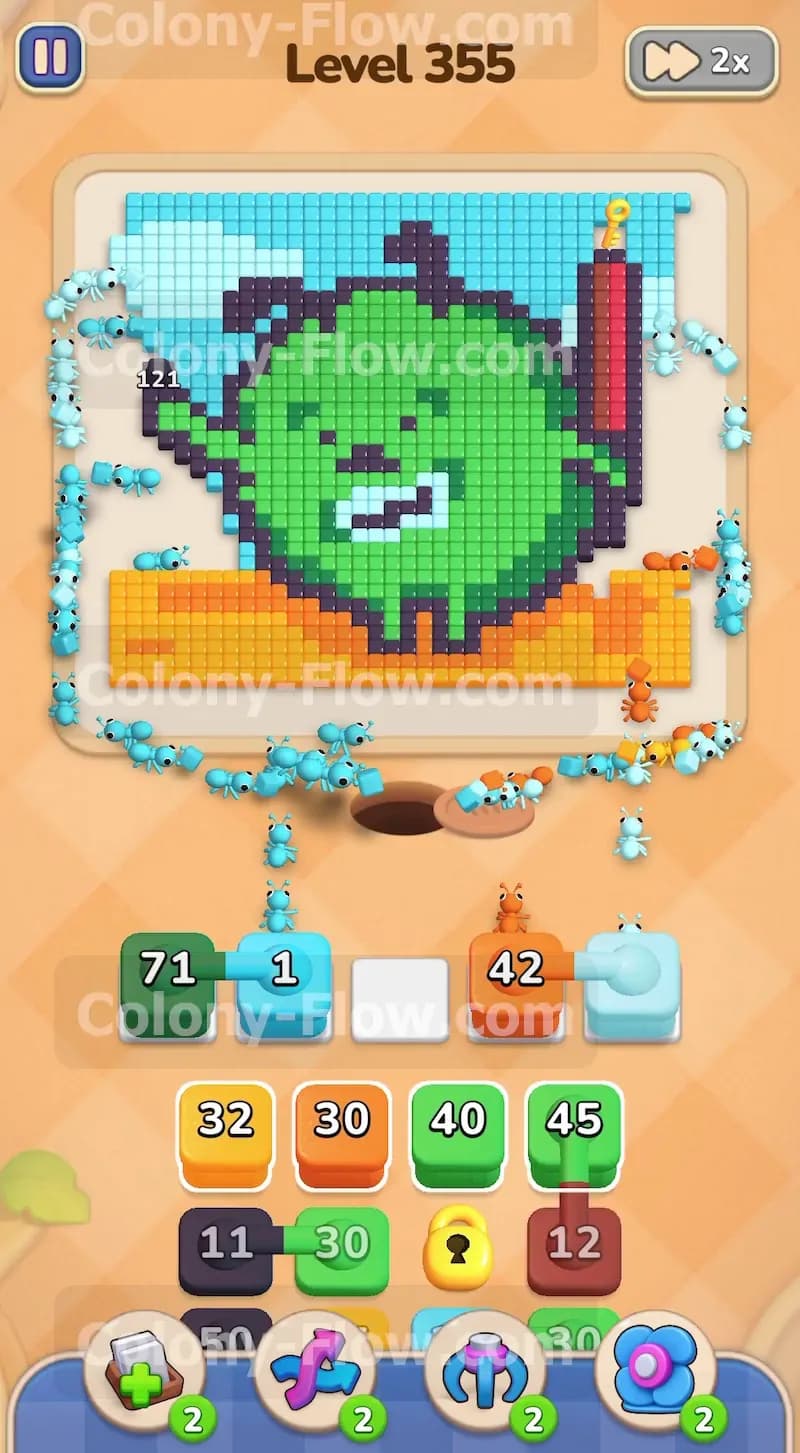
Start your game by pulling the 25 light blue block and the 45 orange block from the top row of the tray. The light blue block sends ants to eat the sky pixels around the top and sides of the picture. The orange block targets the ground below the green monster. Sending your ants to the outer edges right away opens up wide paths along the borders of the board. This prevents the ants from getting stuck near the bottom nest hole. The numbers on these two blocks will count down steadily as the ants work. You want to keep the board flowing so your waiting slots remain clear for the next moves.
Step 2: Introduce the main green color to the board
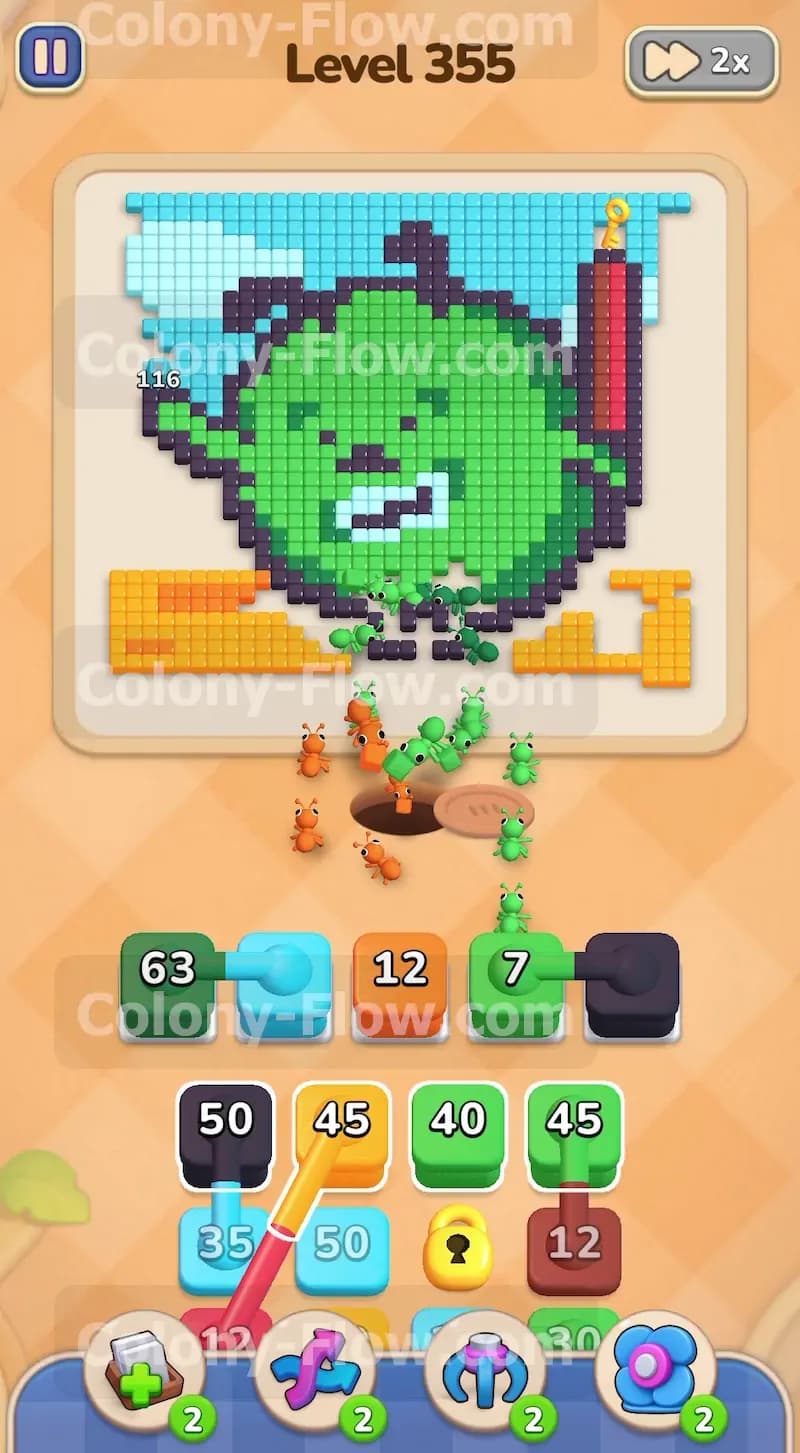
Once the first light blue and orange blocks drop their numbers slightly you pull the massive 71 green block up to the waiting slots. This block feeds a huge number of ants onto the main body of the green monster. The green area is the largest solid color block in the entire picture. Getting this large number started early is critical because it takes a long time to count down all the way to zero. The ants will carve a path right through the center of the monster. You now have three active colors pulling ants from the nest hole. This constant flow ensures your board never stalls and your slots stay open.
Step 3: Clear the dark outlines to open the inner sections
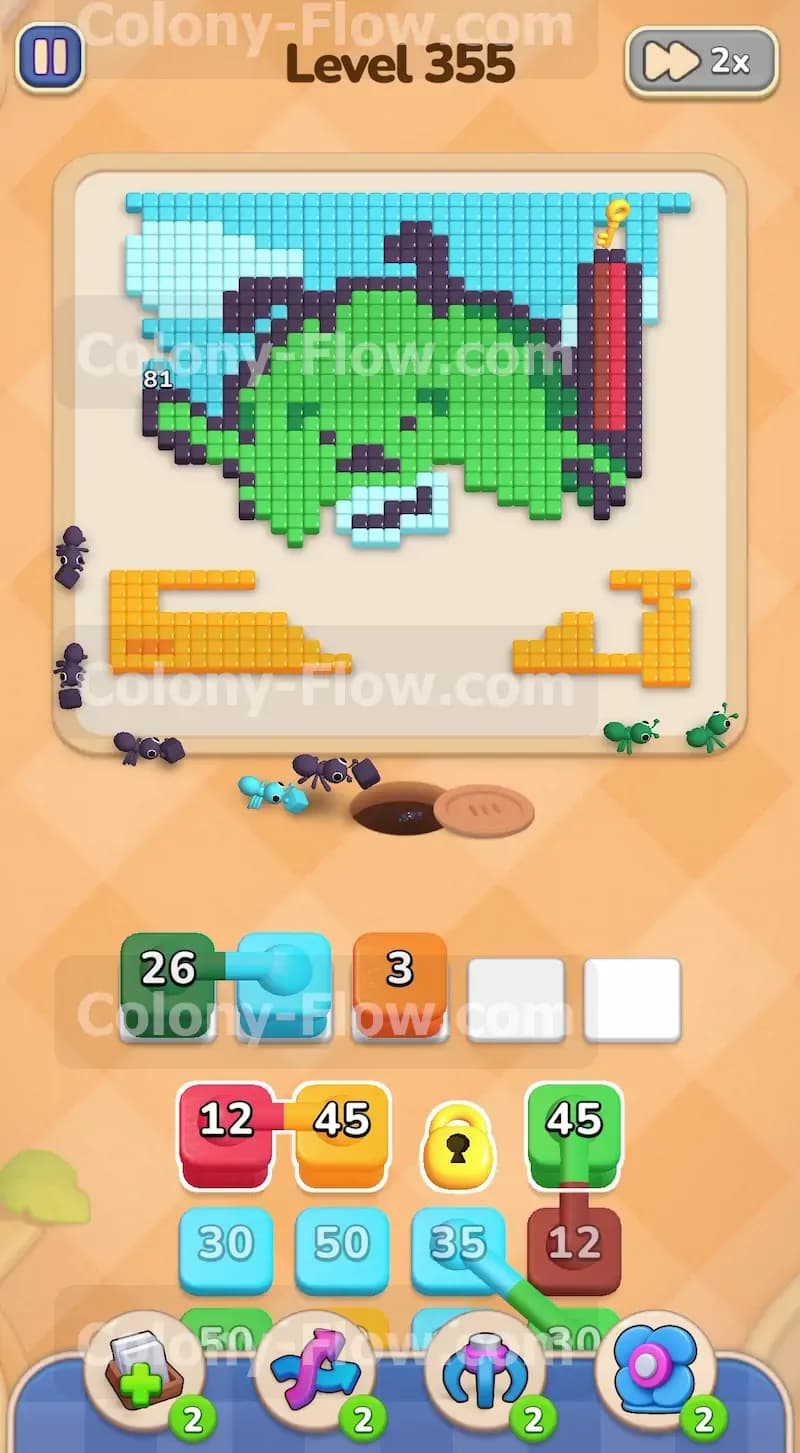
You need to pull the 25 black block next to start working on the dark grey outlines around the monster. The dark details form a thick barrier around the green body and the white teeth. Clearing these dark pixels breaks the wall and lets your ants reach the inner sections of the picture much faster. The black block will sit in your fourth waiting slot. Your ants will split their attention between the sky, the ground, the green body, and the dark outlines. Managing four active colors maximizes the efficiency of the colony and clears large chunks of the picture all at once.
Step 4: Continue clearing the massive background colors
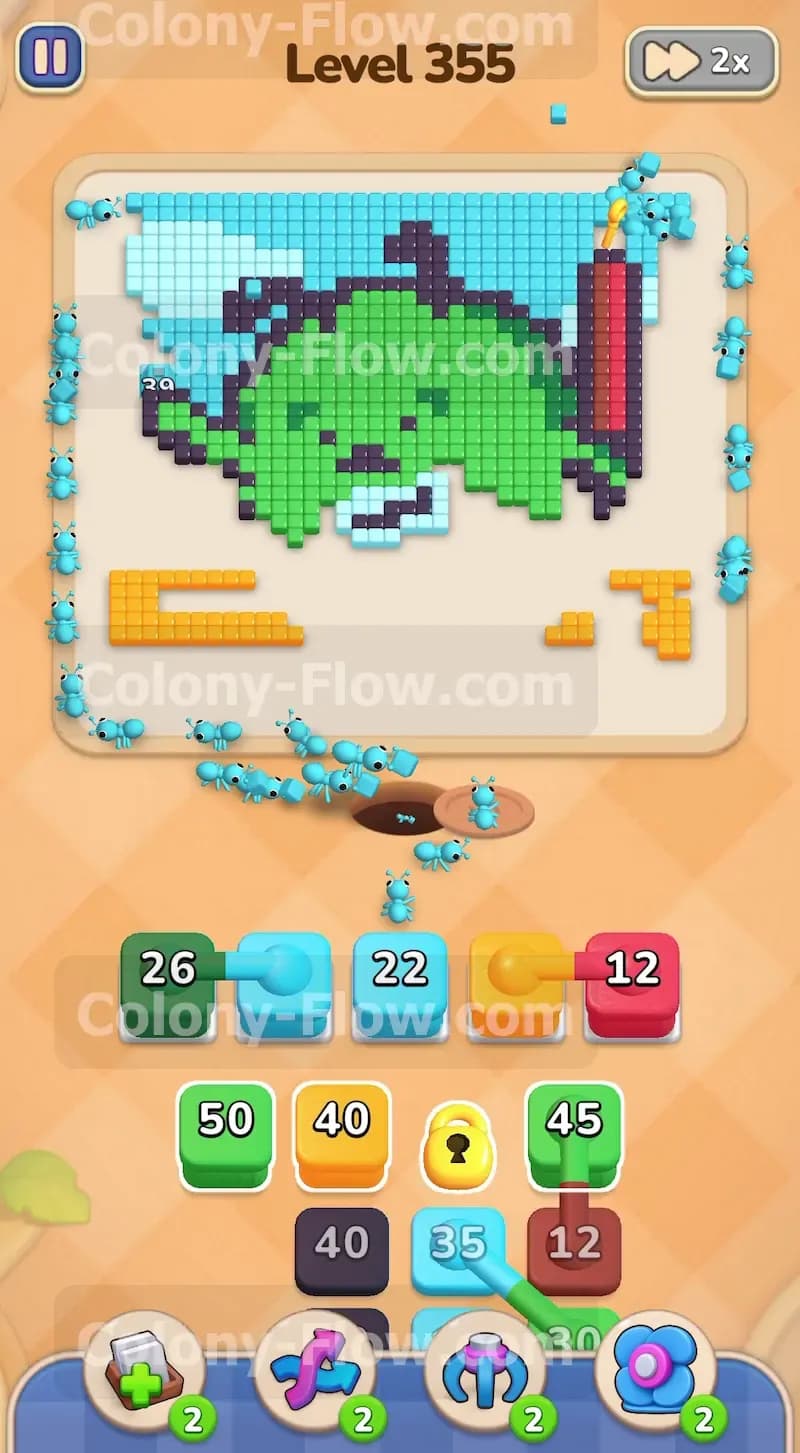
Pull the 40 light blue block and the 25 orange block as space opens up in your waiting slots. The sky and ground take up a massive amount of physical space in this puzzle. You must constantly feed light blue and orange blocks to the ants to keep these sections shrinking. The numbers on your active blocks will drop and eventually the blocks will disappear completely from the slots. Replacing them immediately with fresh light blue and orange blocks keeps the momentum going. This strategy prevents the waiting slots from filling up with locked colors that cannot reach their targets.
Step 5: Manage the hidden boxes in the tray
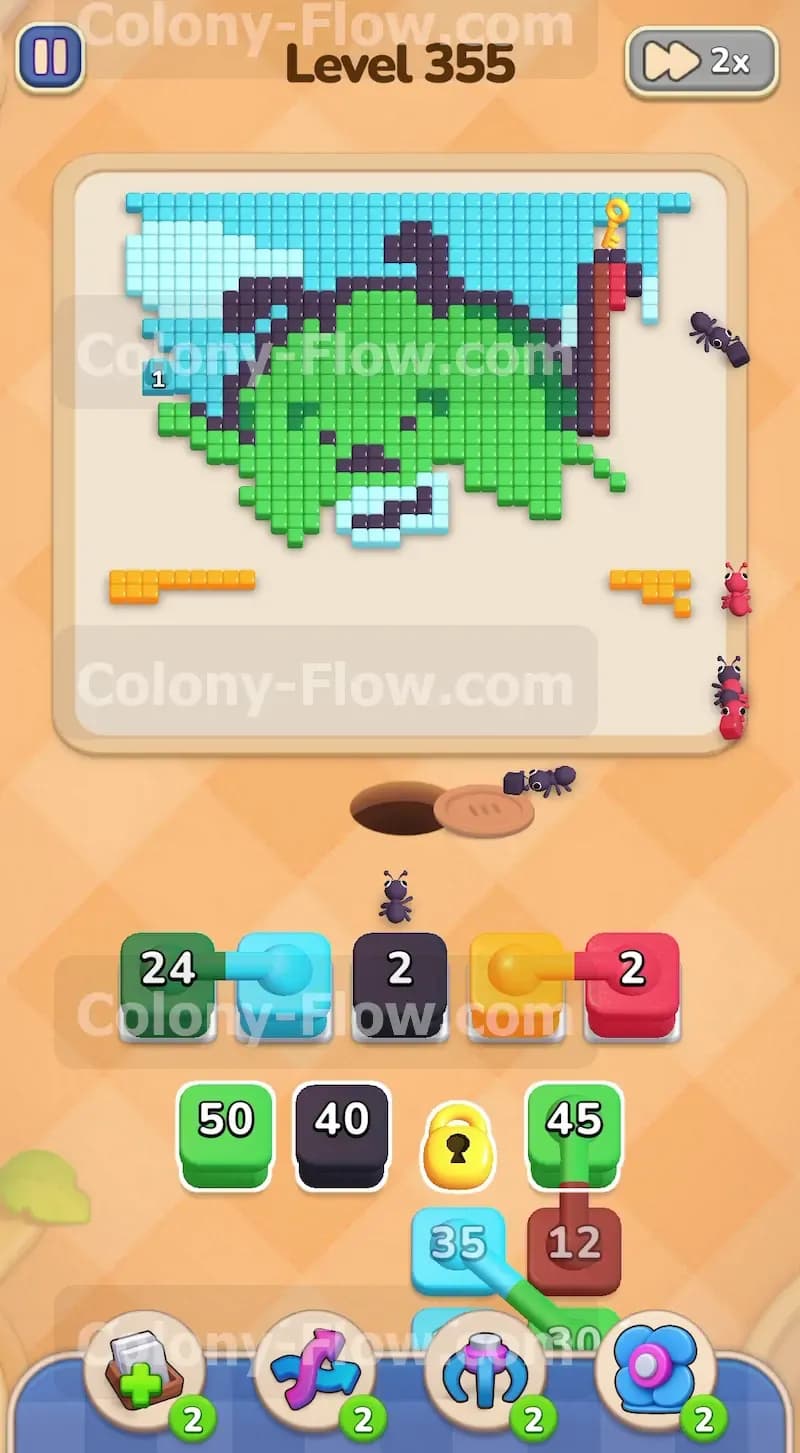
As you dig deeper into the tray you will encounter hidden boxes marked with yellow locks. A hidden box hides its true color until it has a valid path to move on the board. You manage these hidden elements by continuing to clear the visible colors on the outer edges and the main body. Once you clear enough of the surrounding pixels a valid path opens and the hidden box instantly reveals its color. You can then pull it up to the waiting slots safely. Never pull a hidden box if your board is severely blocked because it will reveal a color that has no open path and clog your precious slots.
Step 6: Target the red pillar on the right side
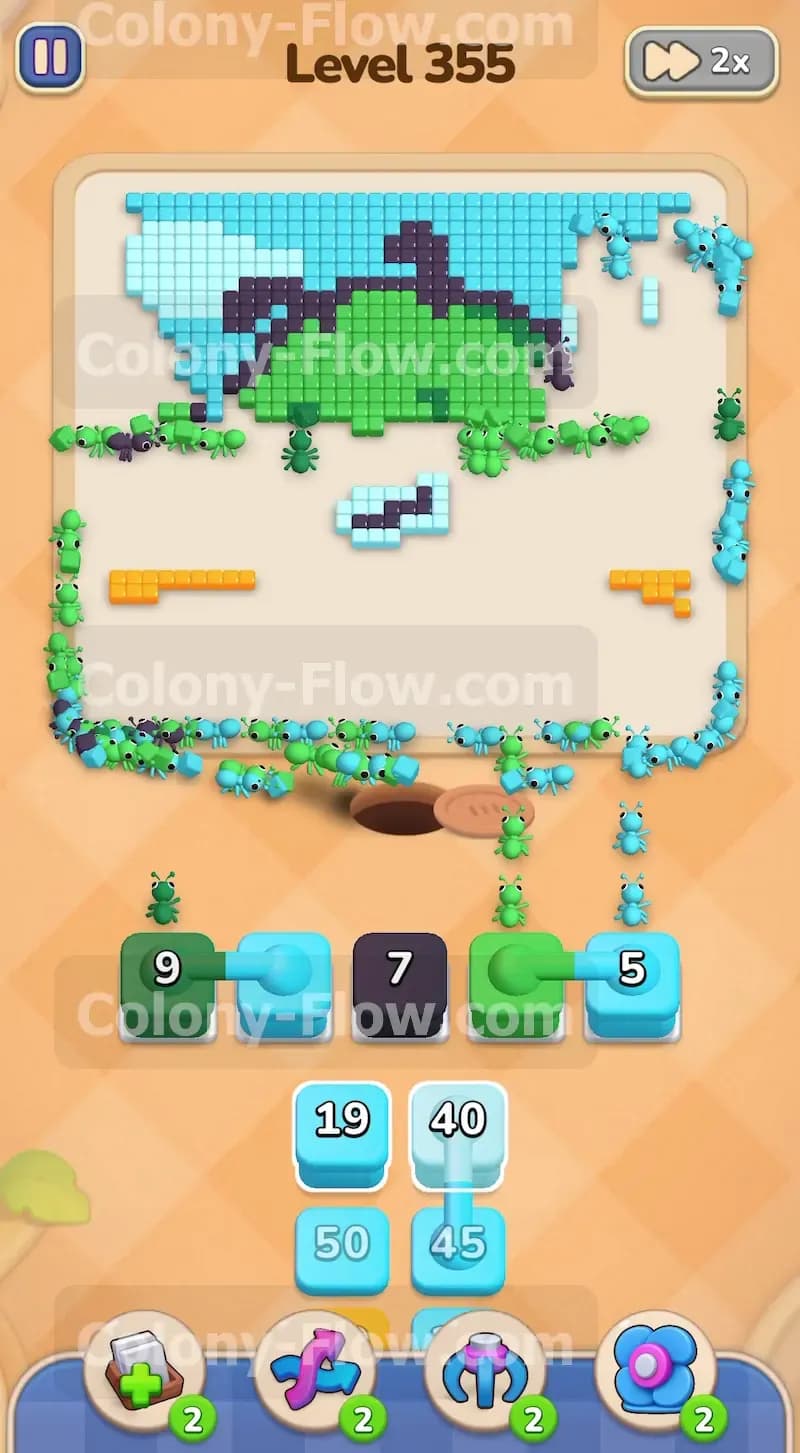
Pull the 12 red block to send your ants to the red pillar on the right side of the monster. This red object blocks access to a large section of the light blue sky directly behind it. The 12 red block is relatively small and counts down very quickly. The ants will march up the right side and devour the red pixels in seconds. Clearing this pillar removes a major obstacle and creates a wide open lane for your ants to reach the top right corner of the picture. Your waiting slots will free up a space as soon as the red block hits zero.
Step 7: Push through the remaining green body
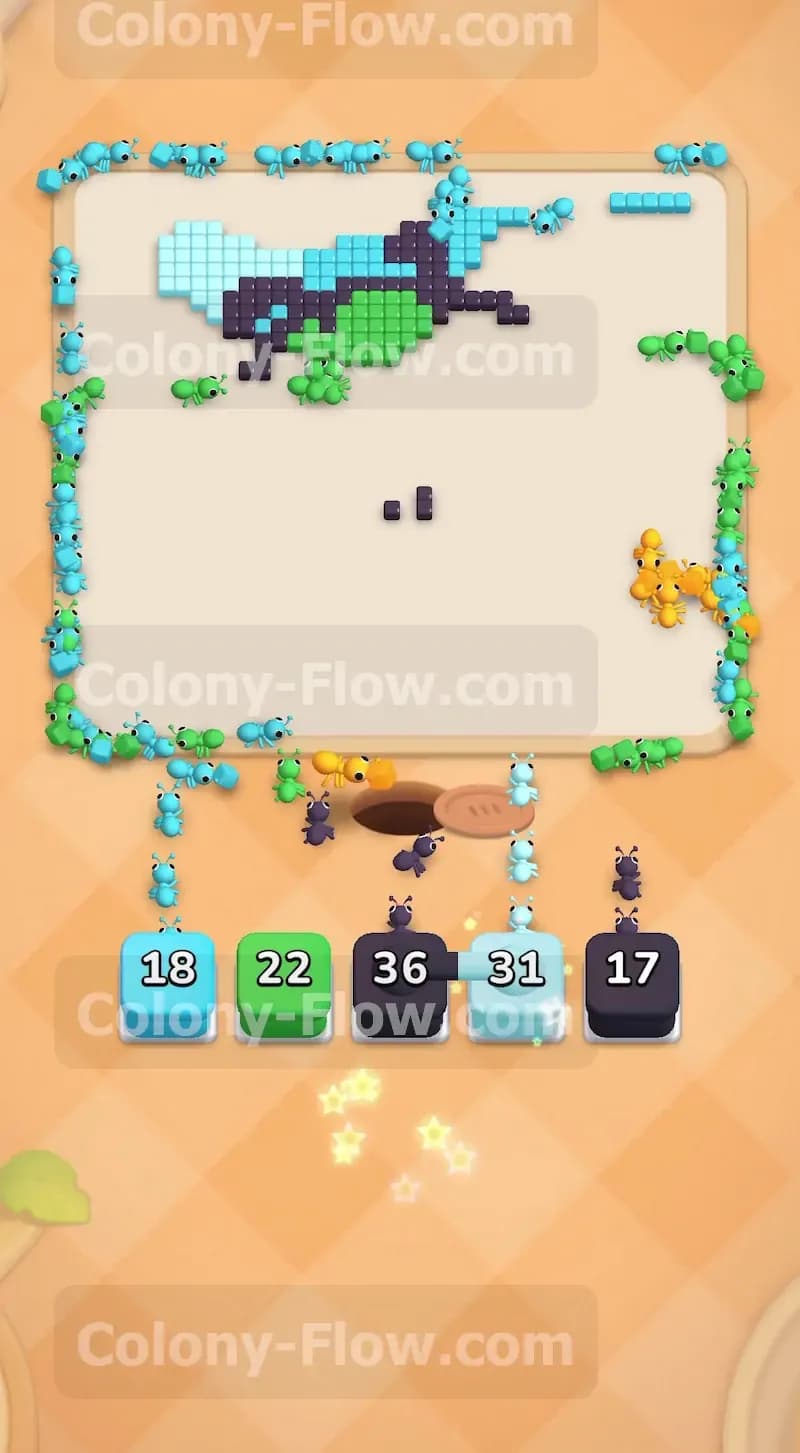
Pull the 45 green block and the 40 green block to tackle the rest of the monster. The ants will swarm the remaining green pixels right in the center of the board. At this stage the picture starts to look very fragmented and broken apart. You will see scattered pieces of green and small chunks of the dark outlines left behind. Feeding these large green blocks keeps the ants busy and clears out the core of the picture. You must ensure you always have a light blue or orange block active alongside the green blocks to maintain a healthy flow of ants across the entire board.
Step 8: Complete the dark details and the teeth
Pull the 11 black block and the remaining small blocks to clear the final details of the monster. The ants will target the dark grey pixels scattered randomly around the face and the body. You will also pull specific blocks to clear the white teeth once they become fully exposed. This step cleans up the messy center of the picture entirely. The board becomes very open and empty at this point. Your ants have clear unobstructed paths to almost every remaining pixel. You just need to keep pulling the right colors to match the remaining fragments without overfilling your waiting slots.
Step 9: Drain the final large background blocks
Pull the 50 light blue block and the 45 orange block to finish off the sky and the ground. The background sections are mostly empty now but a few thick clusters of pixels remain stubbornly in the corners. These large blocks provide the final massive wave of ants needed to scrub the outer edges of the board completely clean. The numbers will count down rapidly because the ants have zero obstacles blocking their way. Watch the remaining pixels disappear quickly as the light blue and orange blocks vanish from your waiting slots.
Step 10: Empty the last blocks from the tray
You reach the very bottom of the tray and pull the final 18 light blue, 22 green, 36 black, 31 light blue, and 17 black blocks. Your five waiting slots will hold all the remaining blocks for the final push. The ants will rush out of the nest to eat the last scattered pixels across the entire empty board. Since the picture is completely open every single color has a valid path. The ants easily navigate the empty space to find their exact targets. The blocks count down to zero and the board clears completely. You win the level when the last ant finishes its meal.
Final Thought
Colony Flow Level 355 demands careful management of your waiting slots and a steady rhythm of pulling blocks from the tray. You clear the board by balancing the massive background colors with the smaller detailed sections perfectly. Keep your ants moving to the outer edges early on to establish wide open paths for the rest of the puzzle. Watch the video above this article if any step is hard to follow in text.