Colony Flow Level 225 Walkthrough Solution & Guides | How to solve Colony Flow 225

Guide By Liam Stone
Updated on August 1, 2026
If reading isn't your thing, the video above walks you through Level 225 from start to finish.
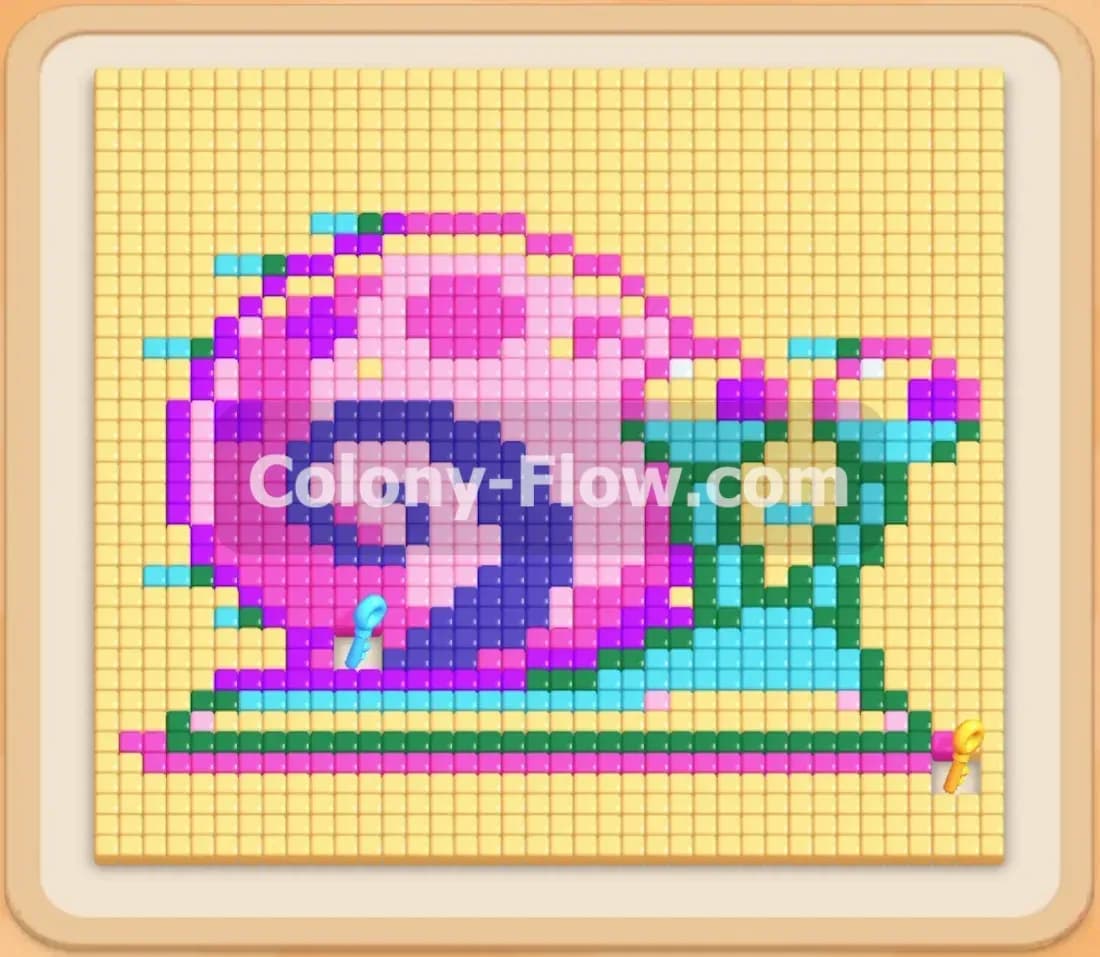
Video doesn't match your screen?
Game updates frequently scramble layouts! Try our AI Screenshot Solver first to find your exact board instantly, or report broken guides to our team.
Welcome back to another puzzle guide where we tackle Colony Flow Level 225 together. This stage presents a massive colorful snail surrounded by a blocky yellow background. You need to carefully manage your tray to dismantle the shell and the surrounding area without trapping your ants.
Colony Flow Level 225 Overview
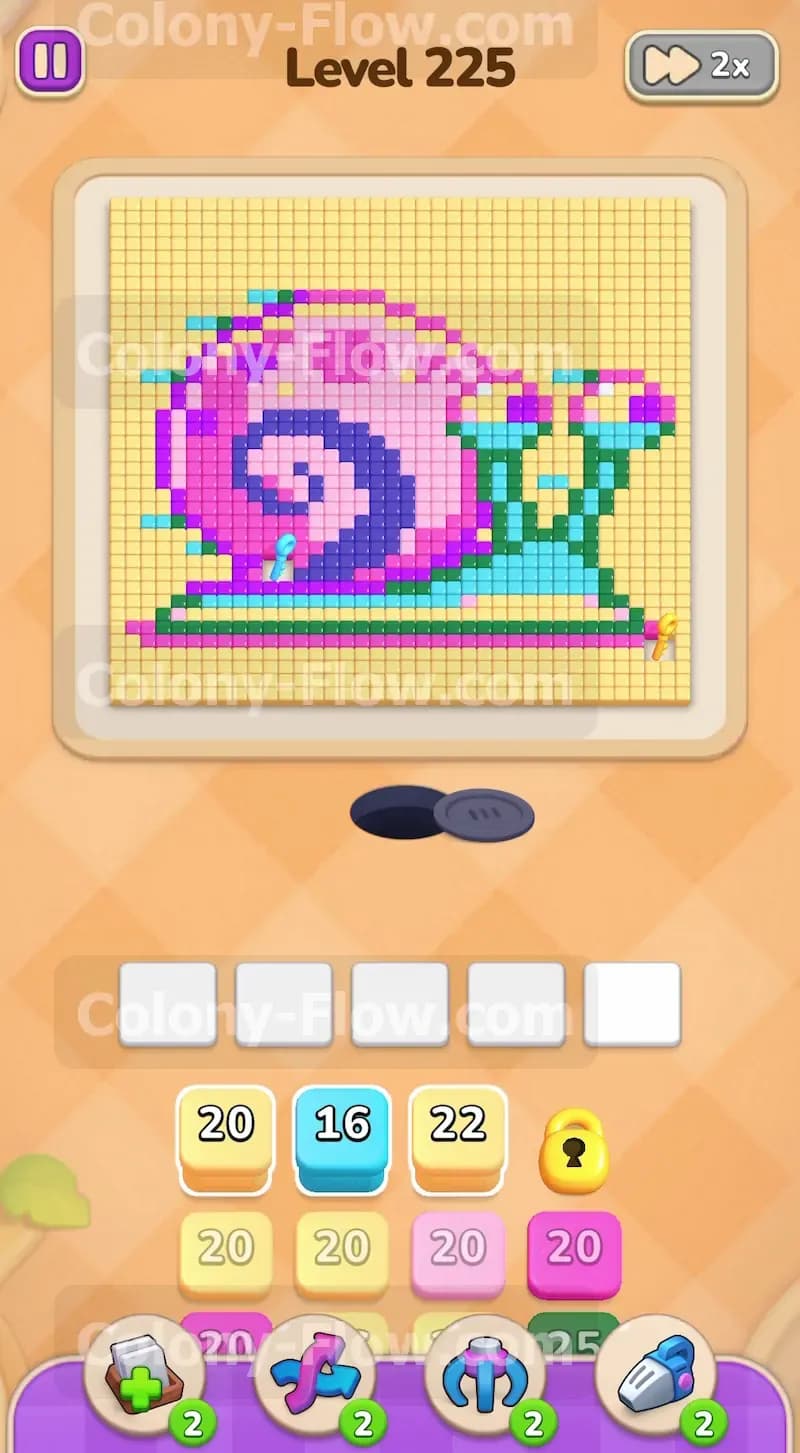
What You Are Working With
The board displays a large pixel art snail resting on a dark green base. The sky behind the snail consists of light yellow background tiles. The snail body features light blue tiles with eye stalks made of dark green and purple sections. The massive round shell uses bright pink tiles broken up by a dark blue spiral and thick purple borders. Your tray contains high number blocks like light yellow 20 blocks and pink 20 blocks stacked on top of each other. The high numbers mean you need wide open paths so the ants can reach enough tiles to empty a block completely.
What It Takes to Clear Level 225 Board
You win this level when the ants consume every single tile making up the snail and the yellow background. The primary threat is the row of five waiting slots at the bottom of the screen. If you pull blocks from the tray and fill all five slots with colors the ants cannot reach the board jams and you lose the level instantly. Every decision you make must leave at least one open route for the ants. You have to match your tray colors to the exposed edges of the snail picture. You must carefully dig through the layered tray without pulling too many blocks at once.
Colony Flow Level 225 Step by Step Solution
Step 1: Open the bottom edge by feeding the ants the dark green base and the outer yellow background tiles
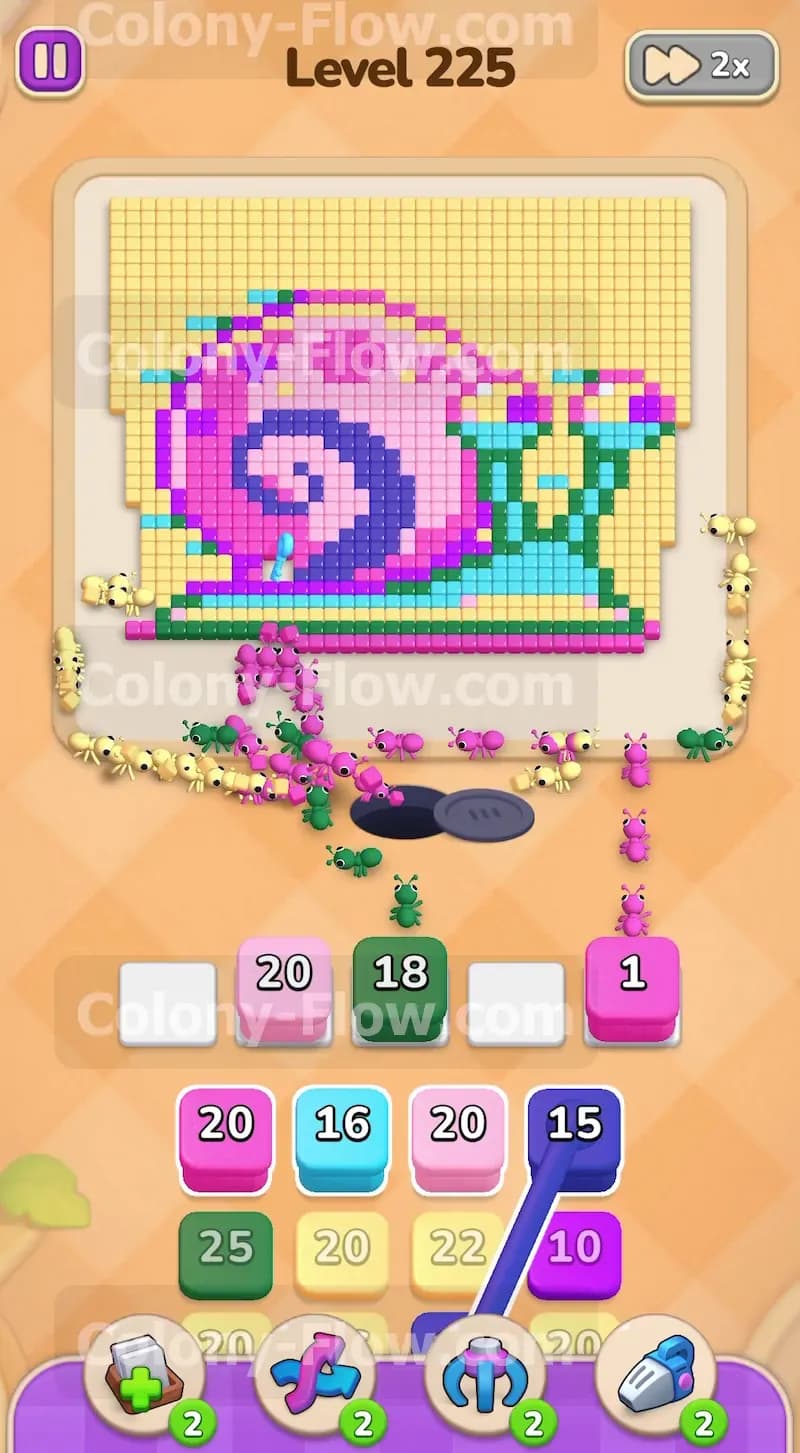
Begin by selecting the dark green 18 block and a light yellow 20 block from the tray. The dark green block holds a high number and the ants immediately march to the bottom flat line of the snail picture. At the same time the yellow tiles around the outer edge become accessible. Pulling these two colors first ensures the ants have immediate surface area to eat. The blocks will sit in your waiting slots and slowly count down as the ants carry the food away. This early move prevents your slots from jamming because both colors sit right on the outer boundary of the pixel art.
Step 2: Pull the first pink block to start breaking down the massive snail shell
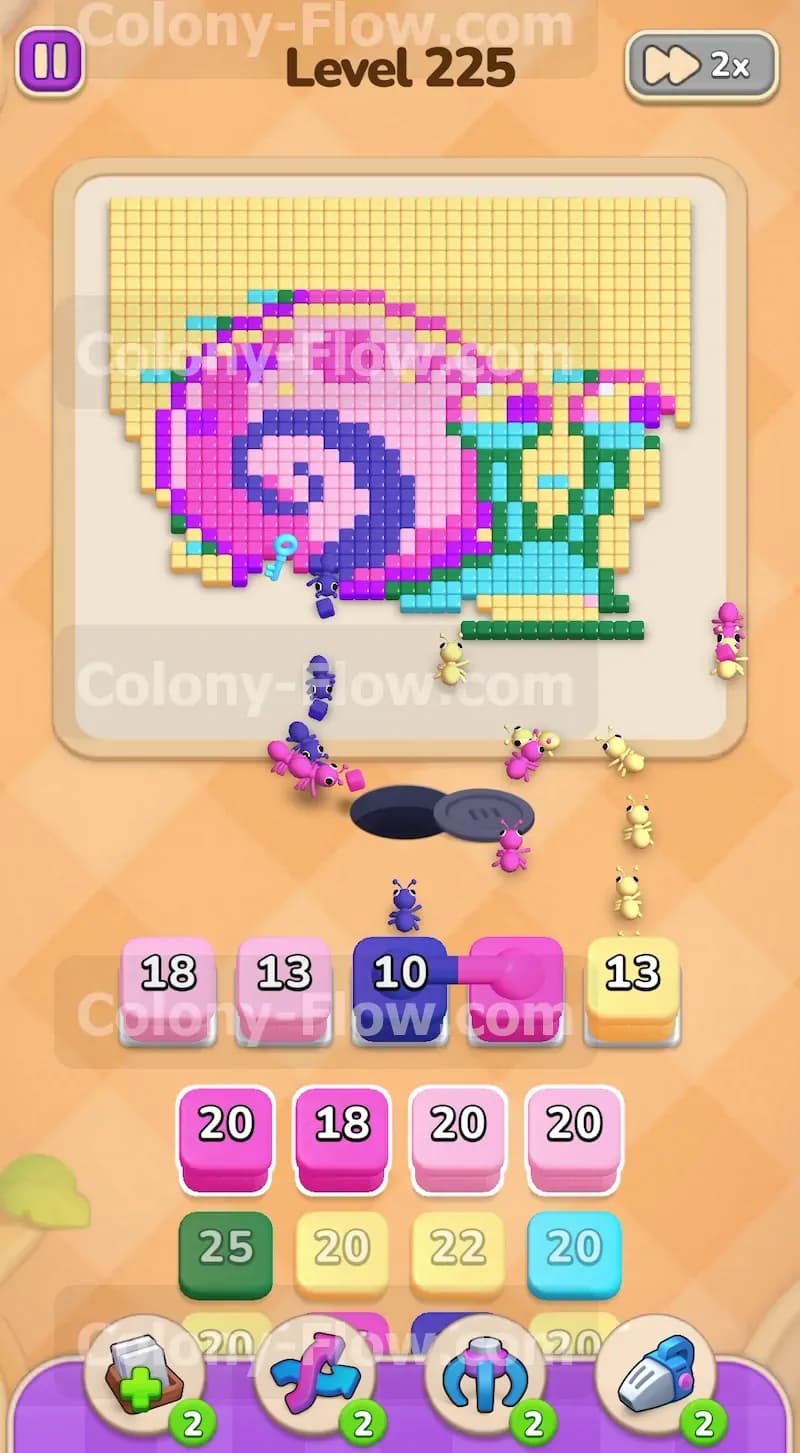
With the dark green base clearing out you will see the pink outer shell become fully exposed to the nest hole. Select a pink 20 block from the tray and watch the ants swarm the left side of the shell. Pink represents a huge portion of the picture. The tray gives you multiple pink blocks stacked up. You must pull them carefully. Only pull one pink block at a time to keep your waiting slots open. If you pull three pink blocks at once you risk clogging the slots while the ants take their time chewing through the outer layers. The single pink block will drop its number steadily as the ants work.
Step 3: Introduce the purple block to clear the thick outlines around the shell
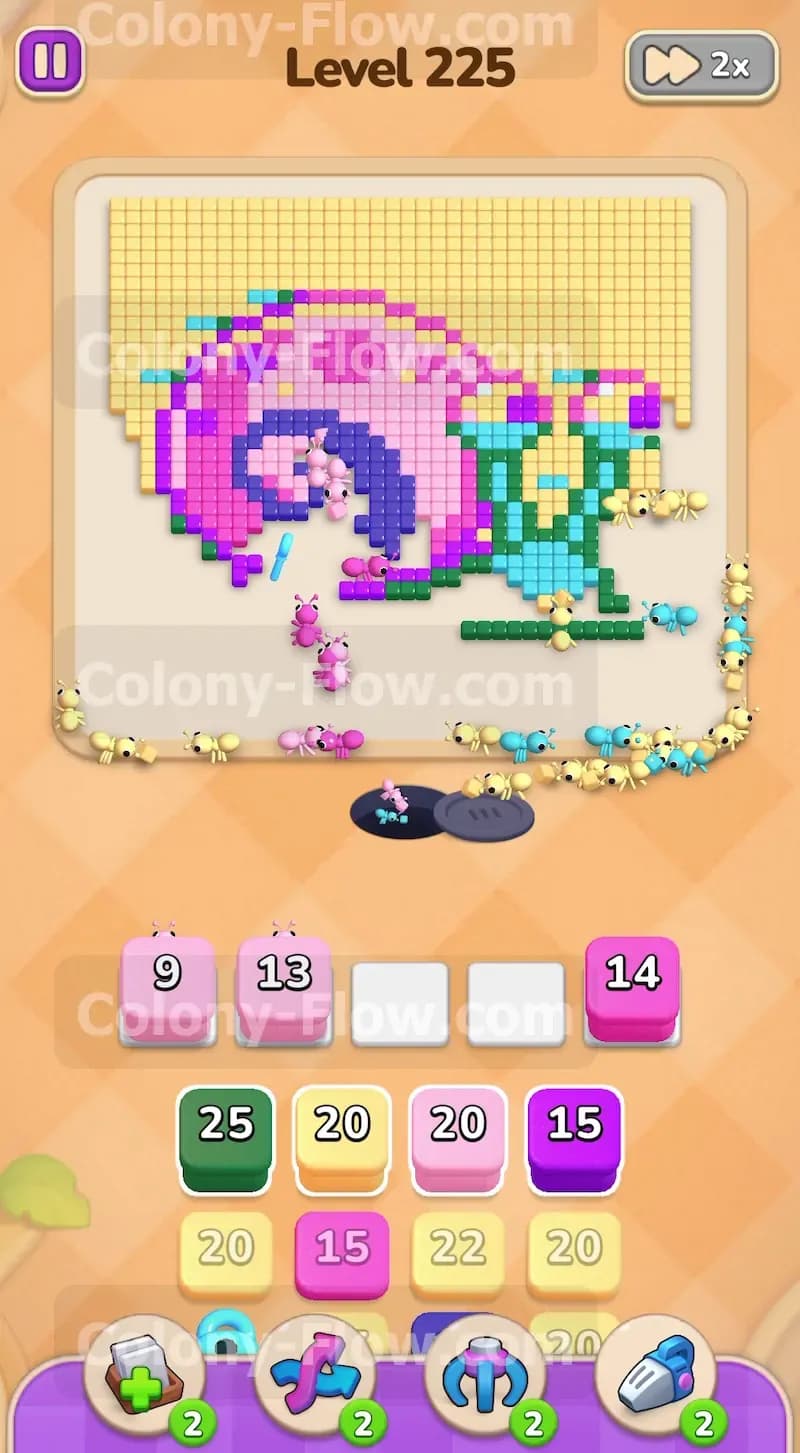
As the ants eat away the pink shell tiles they will expose the purple dividing lines. Pull a purple 18 block up to your waiting area. The ants will weave through the missing pink sections to reach the purple tiles. This move is very safe because the purple lines run through the entire shell and connect directly to the open air. The purple block numbers will count down slowly because the lines are thin. Thin lines mean fewer ants can attack the edge at the same time. Leaving your other waiting slots empty right now gives you maximum flexibility.
Step 4: Send ants into the dark blue spiral winding through the center of the shell
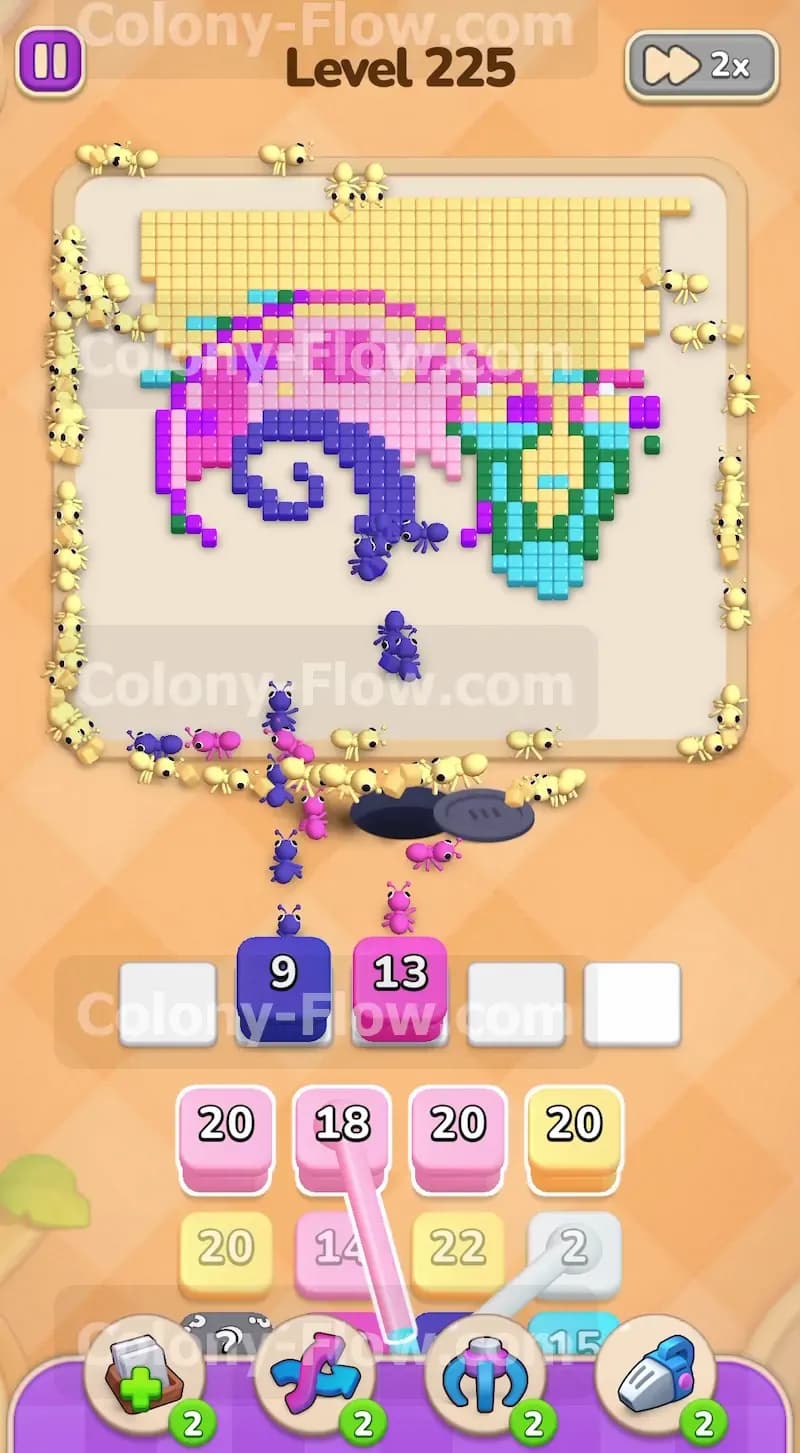
The purple and pink blocks will eventually reveal the tip of the dark blue spiral pattern. Bring up a dark blue 15 block from your tray. The dark blue tiles snake deep into the center of the snail. The ants will form a long continuous line walking into the gap you just created. This hollows out the center of the shell perfectly. Keep an eye on your remaining pink blocks in the tray. You can pull another pink block alongside the dark blue one to keep two distinct groups of ants working on different parts of the shell at the same time.
Step 5: Clear the light blue body of the snail resting just above the bottom green base
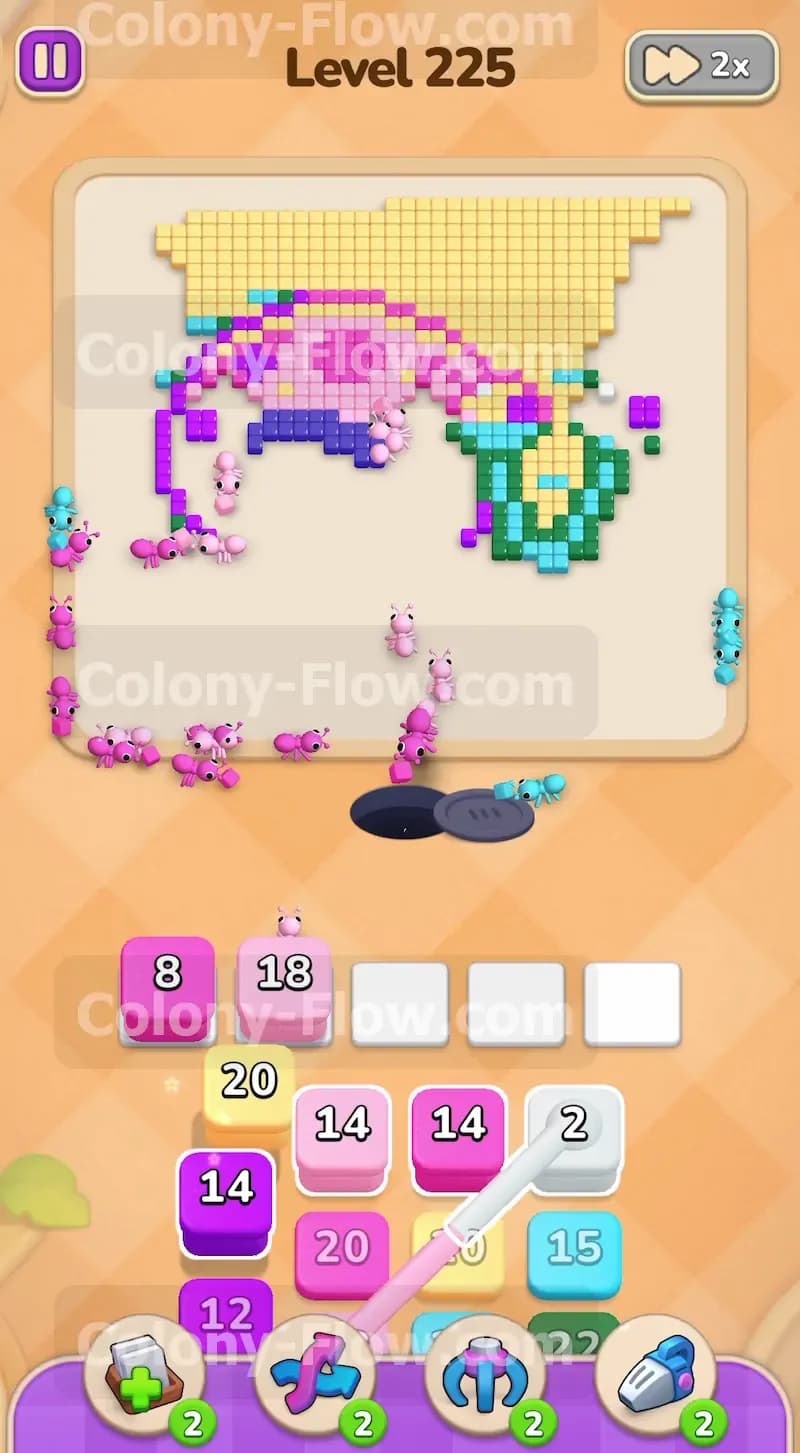
You will notice the light blue body of the snail is now completely uncovered since the dark green tiles at the very bottom are gone. Select a light blue 16 block from your tray. This block handles the long flat section of the snail body and the base of the eye stalks. The ants have a perfectly straight line to these tiles. The ants will chew through these quickly because the entire underbelly of the snail is exposed at once. This fast action keeps your active slots cycling rapidly and prevents any dangerous traffic jams at the nest hole.
Step 6: Return to the light yellow background blocks to free up space in your tray
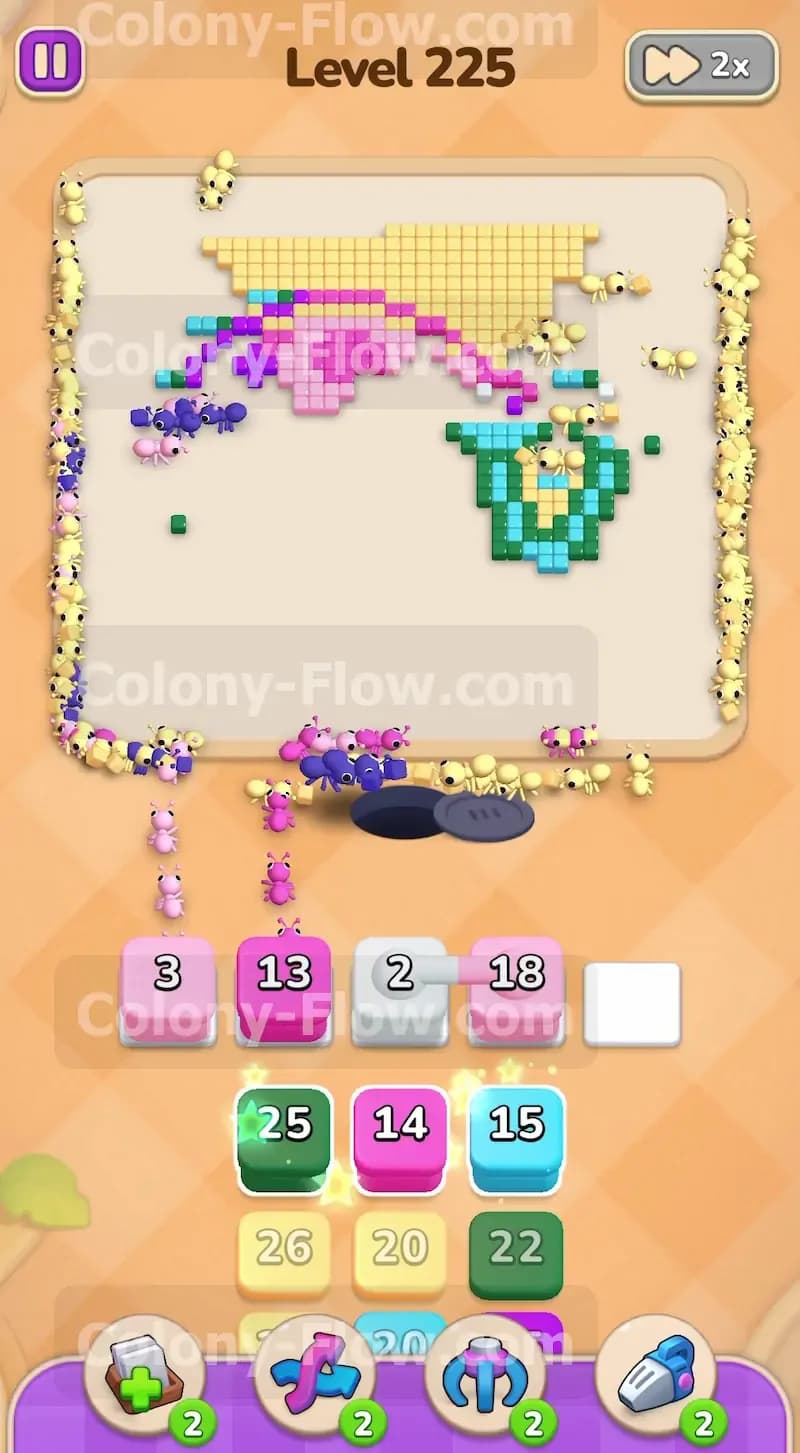
Your tray will start getting crowded with high number light yellow blocks covering up the colors you need for the endgame. You need to pull them to uncover the final colors hiding underneath in the tray stack. Select another light yellow 20 block and let the ants attack the huge block of sky above the snail. The background tiles wrap around the entire picture so the ants will split into multiple groups. They will run up the left side and the right side simultaneously. This massive surface area means a yellow 20 block will vanish in seconds. You clear a slot and reveal more useful colors in the tray.
Step 7: Address the dark green and purple tiles forming the top of the eye stalks
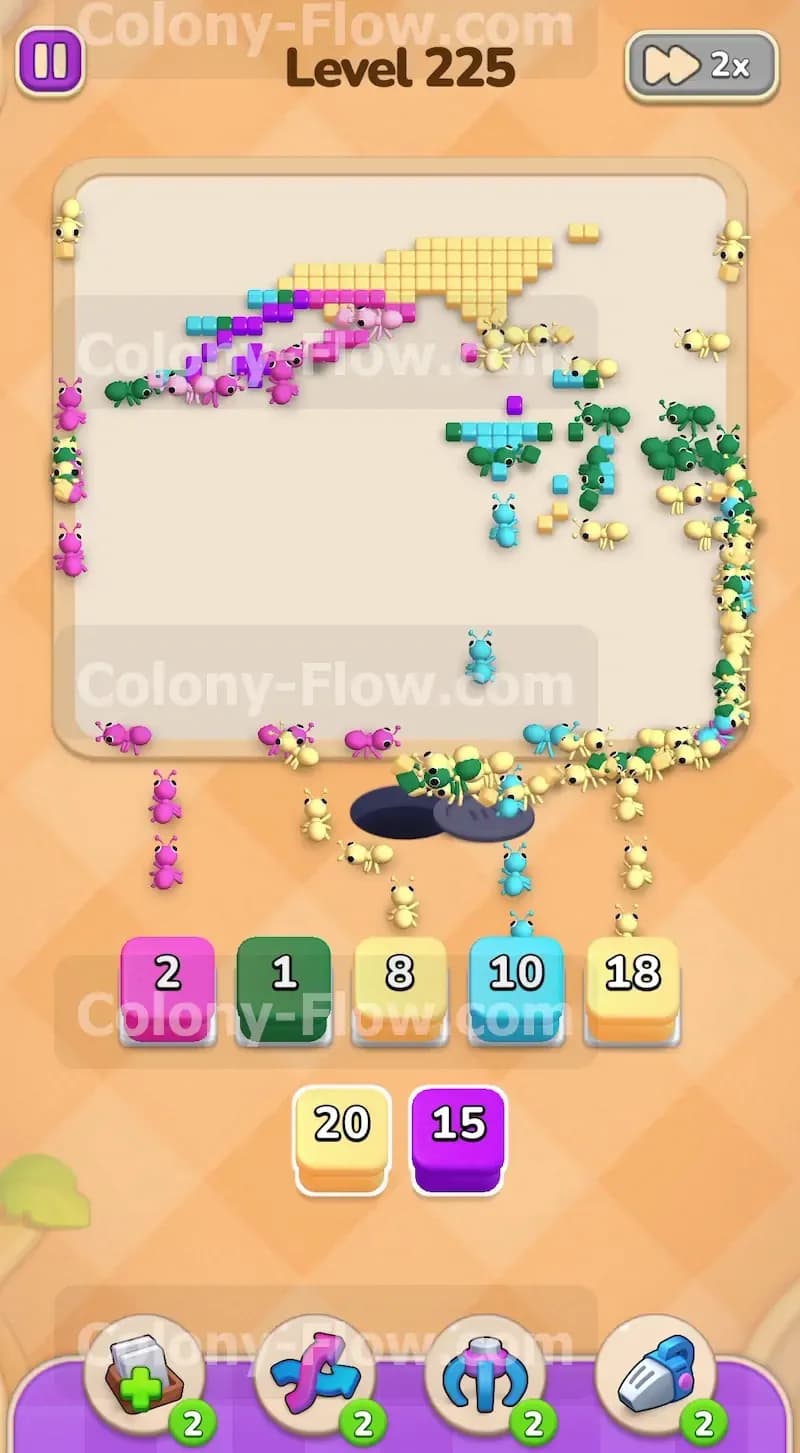
The light blue body tiles clearing out will leave the top halves of the eye stalks floating on the right side of the board. These use dark green and purple tiles. Pull the dark green 25 block and the purple 15 block from your tray. Because these are small isolated clusters you must be certain the ants have a clear path to them. The ants will march across the empty space where the light blue body used to be and eat the eye stalks. The numbers on your dark green and purple blocks will drop to zero and the blocks will disappear from the slots completely.
Step 8: Perform the final cleanup on the remaining pink shell and yellow sky tiles
You are now looking at a mostly empty board with a few lingering pink spots from the inner shell and a top layer of yellow background. Pull your remaining pink blocks and your final yellow blocks. The ants will scatter to grab the last few isolated tiles. The pink blocks will drop from a low number down to zero. The yellow blocks will empty out as the ants consume the very top corners of the pixel art. Your waiting slots will empty entirely. The ants return to the nest and the board is perfectly clean. You have successfully passed the level without ever blocking your paths.
Final Thought
Colony Flow Level 225 requires patience and careful tray management to carve through the giant snail shell. If you ever pull a color too early and clog your slots the whole board stops moving. Keep your paths wide open and let the ants do the heavy lifting. I encourage you to watch the video above this article if any step is hard to follow in text.