Colony Flow Level 126 Walkthrough Solution & Guides | How to solve Colony Flow 126

Guide By Liam Stone
Updated on July 11, 2026
Watch the video above first if you want to see Level 126 solved before reading the written steps.
Video doesn't match your screen?
Game updates frequently scramble layouts! Try our AI Screenshot Solver first to find your exact board instantly, or report broken guides to our team.
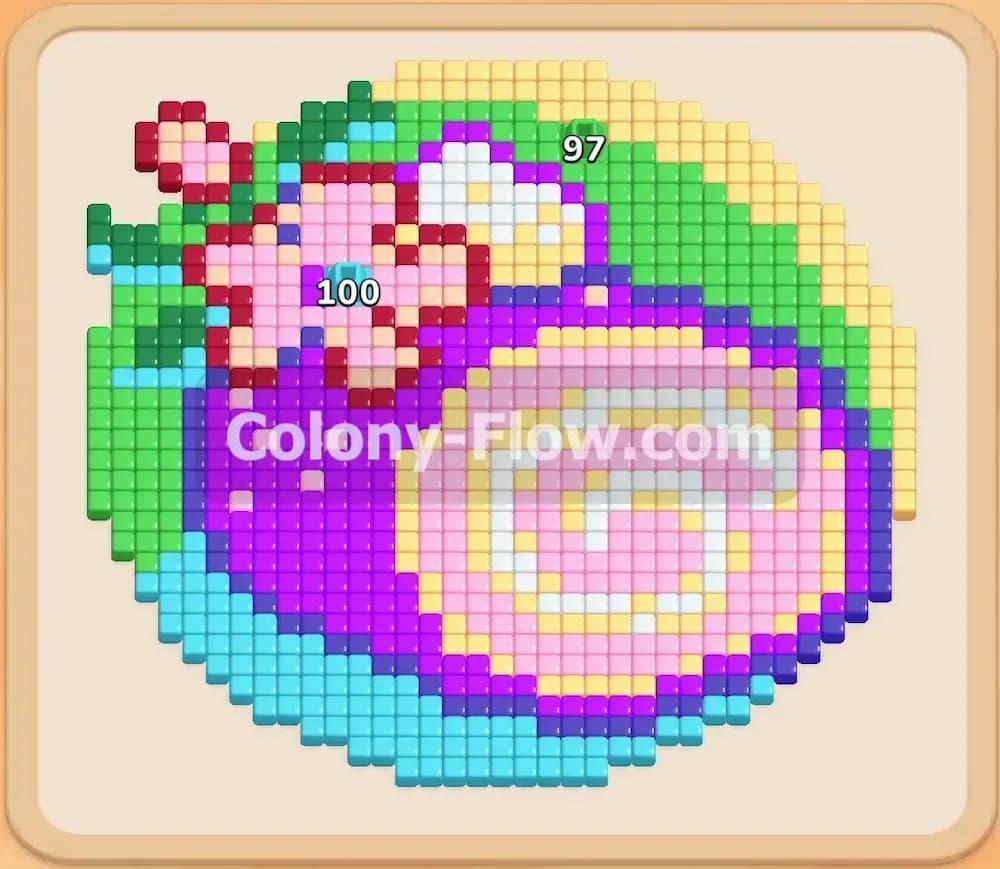
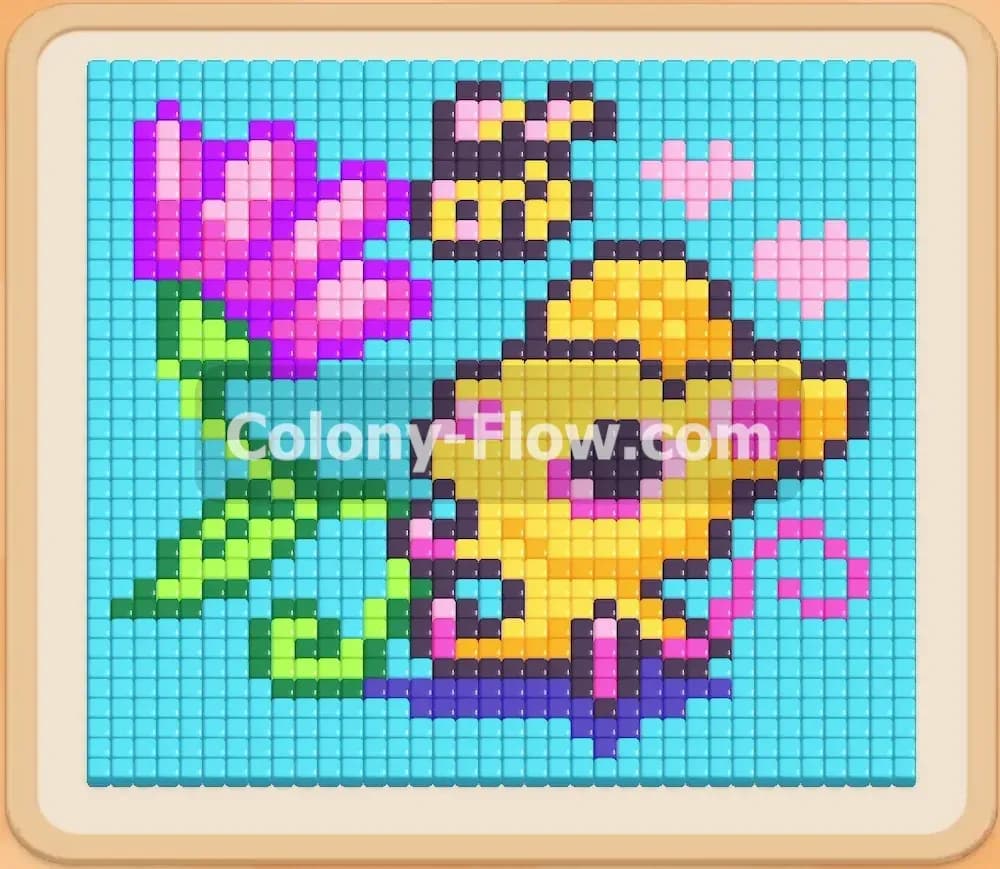
Colony Flow Level 126 presents a colorful pixel art scene of a yellow mouse smelling a bright pink flower with a bee hovering above. The main challenge comes from the massive light blue background that wraps around the entire image. You must constantly manage your blocks to clear the sky while carefully dismantling the inner details. I played through this board to map out the exact sequence of moves so you can beat it without jamming your slots.
Colony Flow Level 126 Overview
What You Are Working With
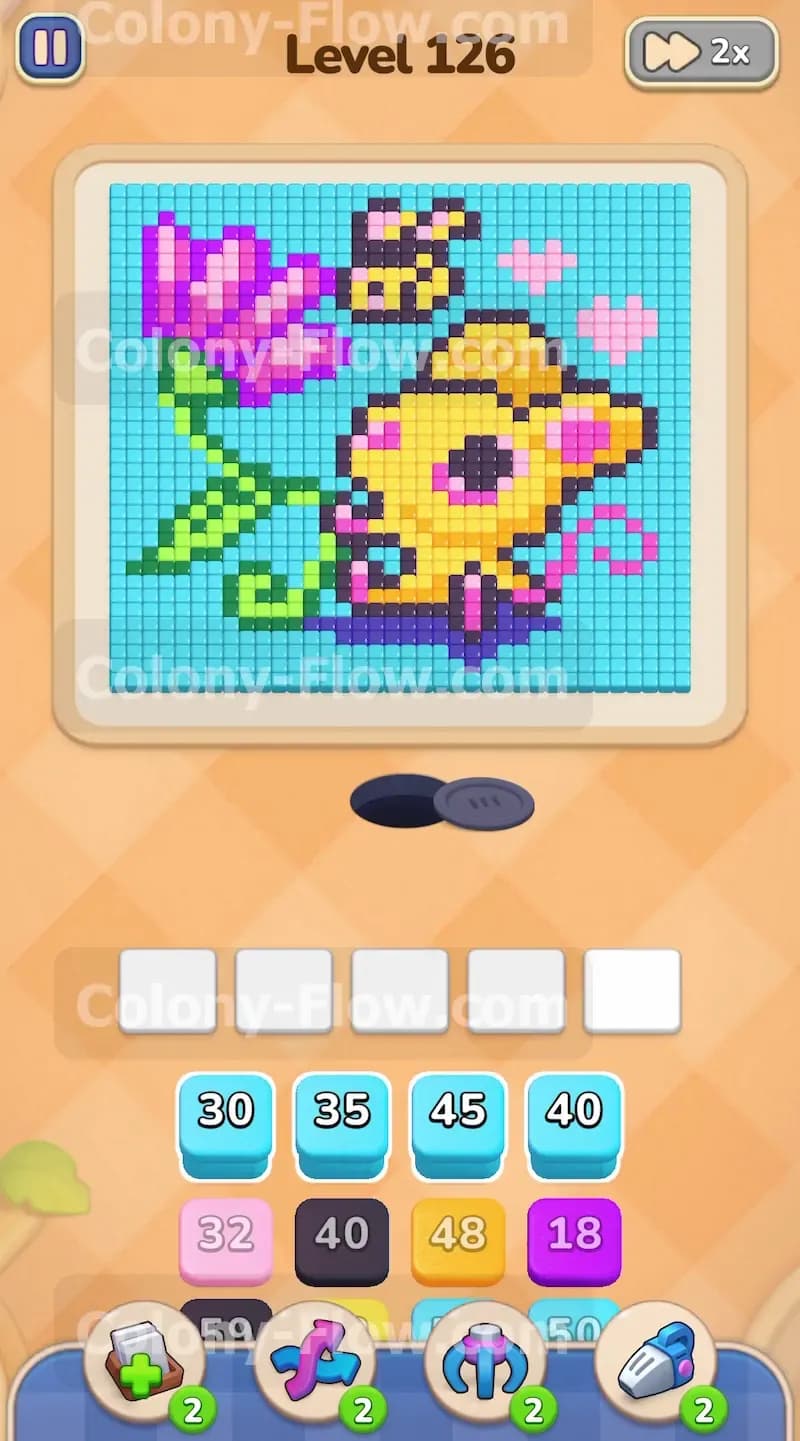
The board displays a detailed pixel art picture. A yellow mouse sits on the right side. The mouse has a curly pink tail and a small pink floating heart next to it. It also features orange shading along its back and its ears. A large pink flower stands on the left side. The flower has a thick green stem and several green leaves. The petals hold some darker purple shading inside them. A yellow and black bee flies right above the mouse. A dark purple outline wraps around the base of the flower and the mouse. A giant light blue background fills the rest of the board. The tray at the bottom matches these colors perfectly. You will find cyan blocks for the background. You have dark purple blocks for the outline. The tray holds orange and yellow blocks for the mouse and the bee. You get black blocks for the eyes and the bee stripes. Pink and purple blocks handle the flower and the tail. Green blocks are there for the stem. The board does not contain any special mechanics like hidden boxes or hungry doors. It is a pure pathing puzzle.
What It Takes to Clear Level 126 Board
To win the level you need to erase every single pixel from the picture. The light blue background is your biggest obstacle because it covers so much area. You have to chip away at the cyan tiles constantly to reach the upper sections of the flower and the bee. Your five waiting slots control the entire flow of the game. If you pull blocks from the tray and the ants cannot reach their matching colors the slots will fill up. When all five slots lock up and no ants can move you lose the level immediately. You must balance clearing the outer sky with eating the inner details of the mouse and the stem. Keeping at least one active color flowing guarantees that your slots stay clear. The level is complete when the last background tiles vanish and your colony returns to the hole.
Colony Flow Level 126 Step by Step Solution
Step 1: Start clearing the background and the base outline.
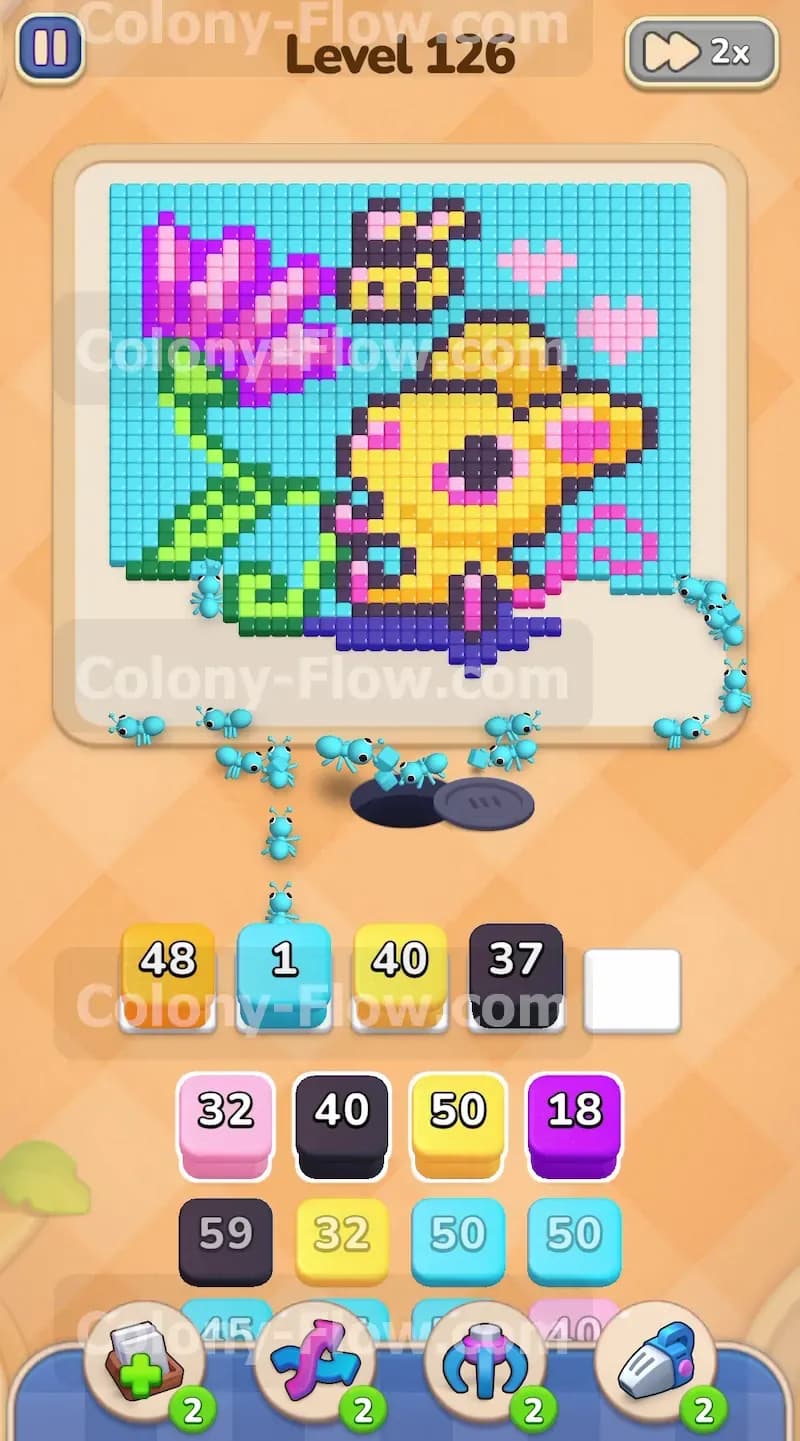
The level begins with only the bottom edge of the picture exposed to your ants. The light blue background touches the outer paths on both the far left and the far right sides. The dark purple base outline is also wide open right above the starting hole. You need to get your colony moving immediately to create space in your tray. Pull your first cyan block from the top row of the tray. The ants will split up and march up both sides of the board to eat the light blue tiles. While they work on the sky pull the large dark purple block from the lower section of the tray. These ants will attack the bottom outline. Getting these two colors moving early is the best way to start. This dual approach gets your colony flowing and frees up valuable tray space for your next moves. Keeping the ants busy on the outer edges prevents the bottom hole from getting clogged.
Step 2: Bring out the orange and yellow for the mouse.
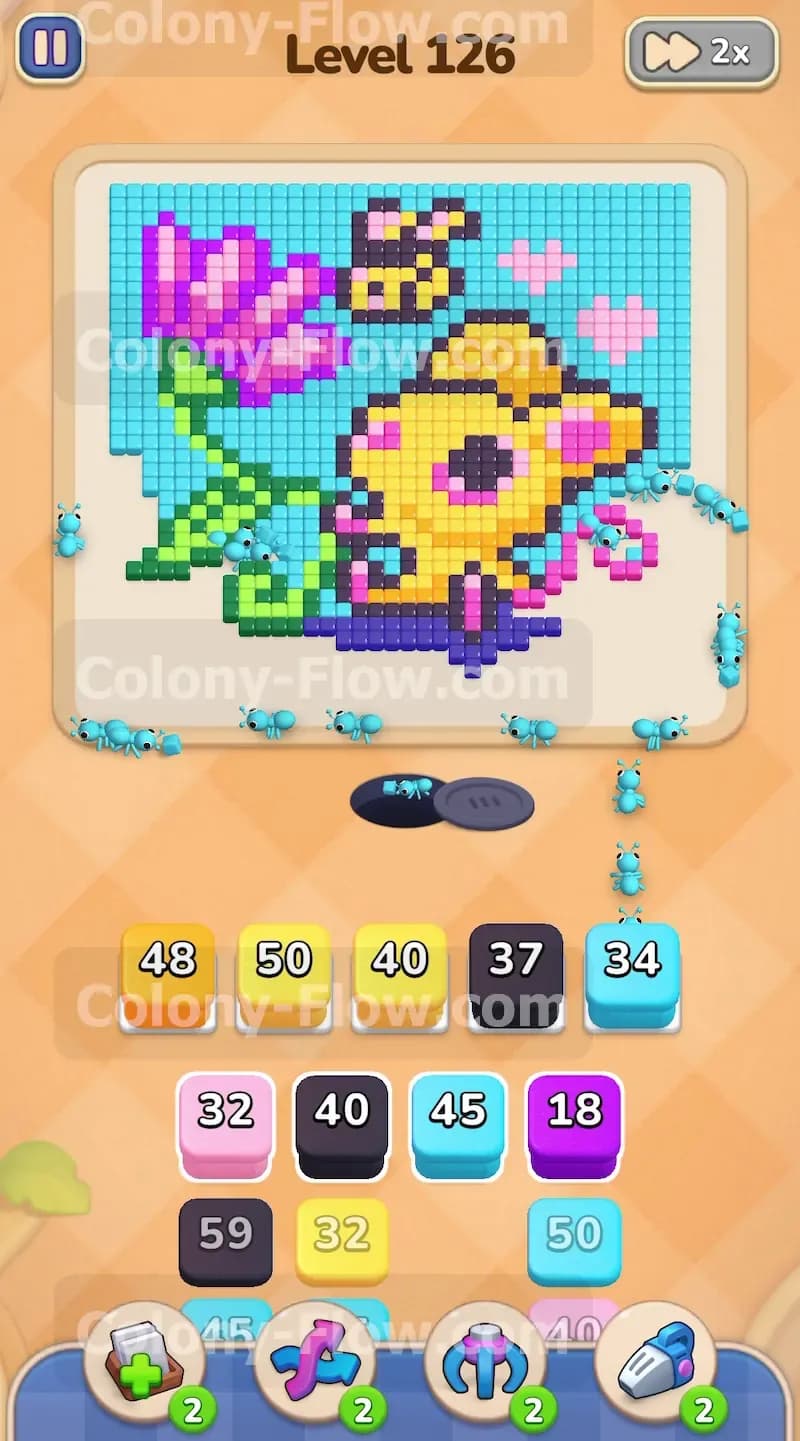
As the dark purple ants eat the base outline they expose the bottom of the mouse. The main body of the mouse is yellow but it has distinct orange shading along its back and its ears. You want to have ants ready to eat these colors the exact moment they open up. Pull an orange block and a yellow block into your waiting slots. Since the dark purple outline is clearing fast the orange and yellow tiles become valid targets almost instantly. The ants will stream out and start dissolving the lower half of the mouse body. Moving these blocks out of the tray also reveals more options underneath them in the stack. Always make sure your active colors have a clear path so your slots keep moving. You never want a block sitting in a slot with nowhere to go.
Step 3: Refresh the cyan block to keep the background shrinking.
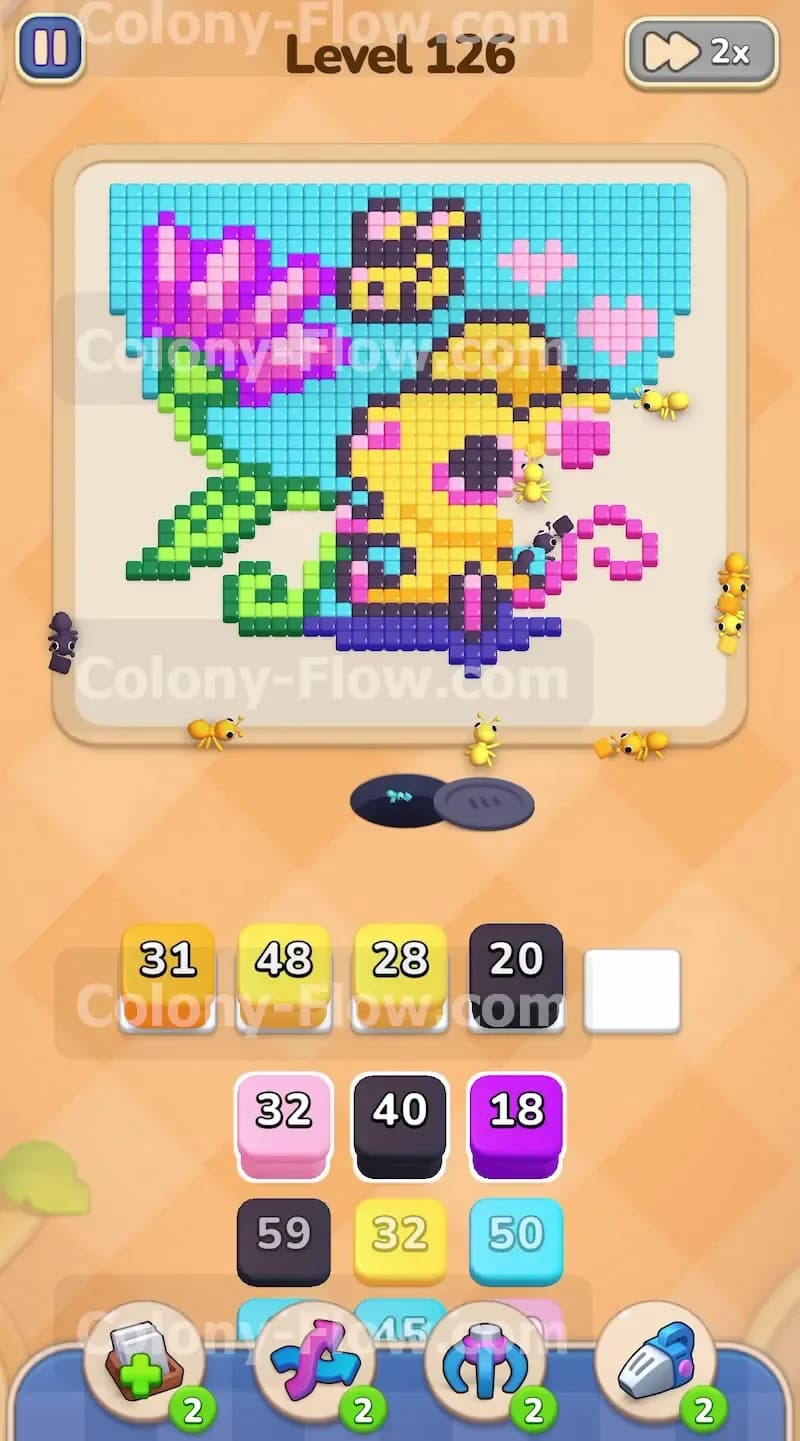
The light blue background takes up a massive portion of the board and wraps around everything. Your first cyan block will run out of numbers very quickly because there are so many tiles to clear. You cannot afford to let the background clearing stall. The cyan tiles block access to the upper parts of the flower and the bee. Keep a close eye on your waiting slots as the numbers tick down. When your first cyan block drops to one or disappears completely you must pull another cyan block from the tray. This sends a fresh wave of ants up the sides of the board to continue the work. At the same time your dark purple ants will continue creeping up the outline of the stem and the mouse. Keeping the cyan and dark purple active together guarantees that your board is constantly opening up new pathways for future colors.
Step 4: Introduce black and pink to target the details.
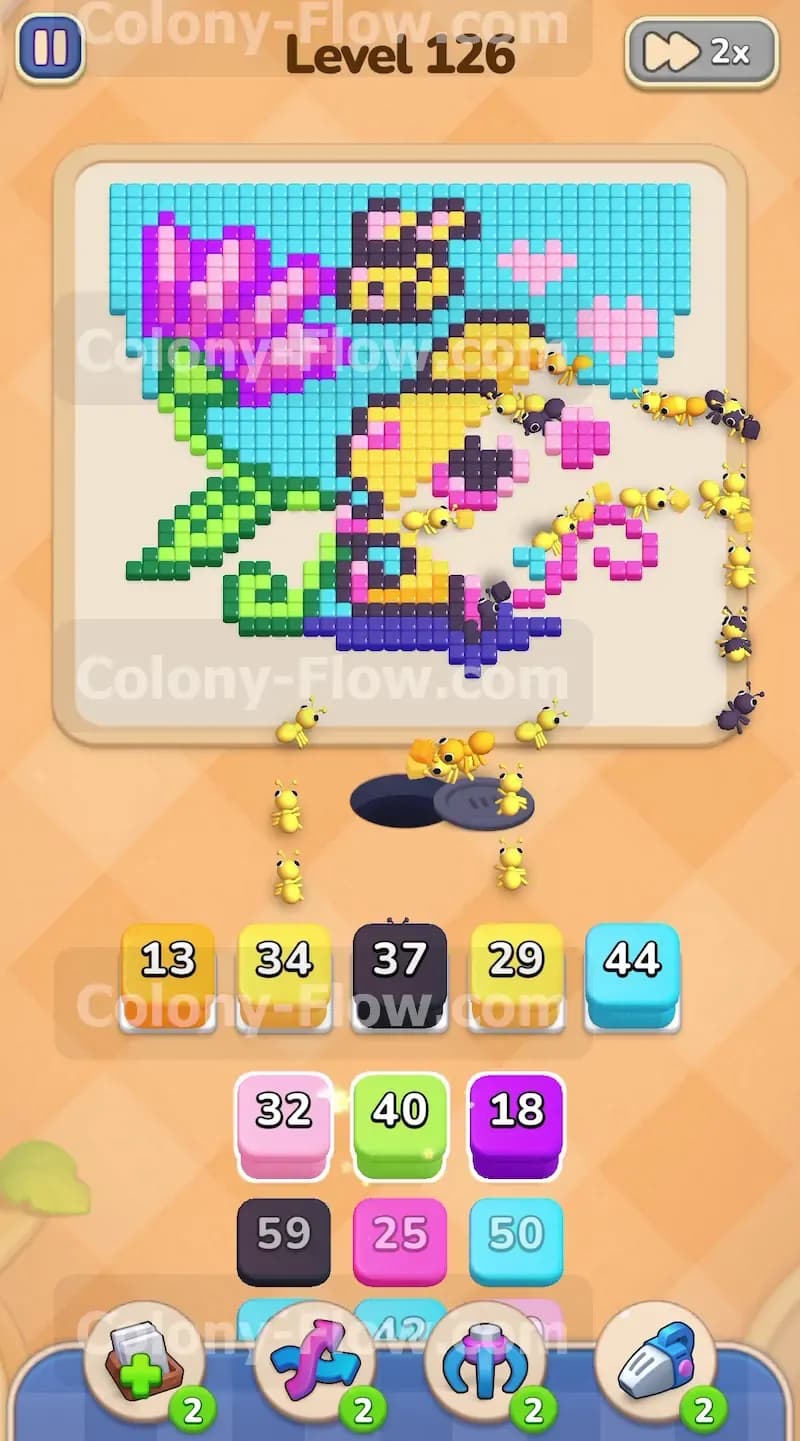
The yellow and orange ants will make quick work of the mouse body. As the middle of the mouse clears out the black eyes and the pink tail open up. You need to clear these smaller details to reach the core tiles behind them. Pull a black block and a pink block into your waiting slots. The pink ants will rush to the right side to eat the curly tail and the small pink heart floating nearby. The black ants will target the eyes first. Once the eyes are gone the black ants will wait in the slots until the cyan background clears enough to expose the black stripes on the bee. Loading the black and pink blocks early ensures that small isolated pixels do not bottleneck your overall progress. It is always better to have them ready in the slots than stuck in the tray.
Step 5: Tackle the green stem and the flower leaves.
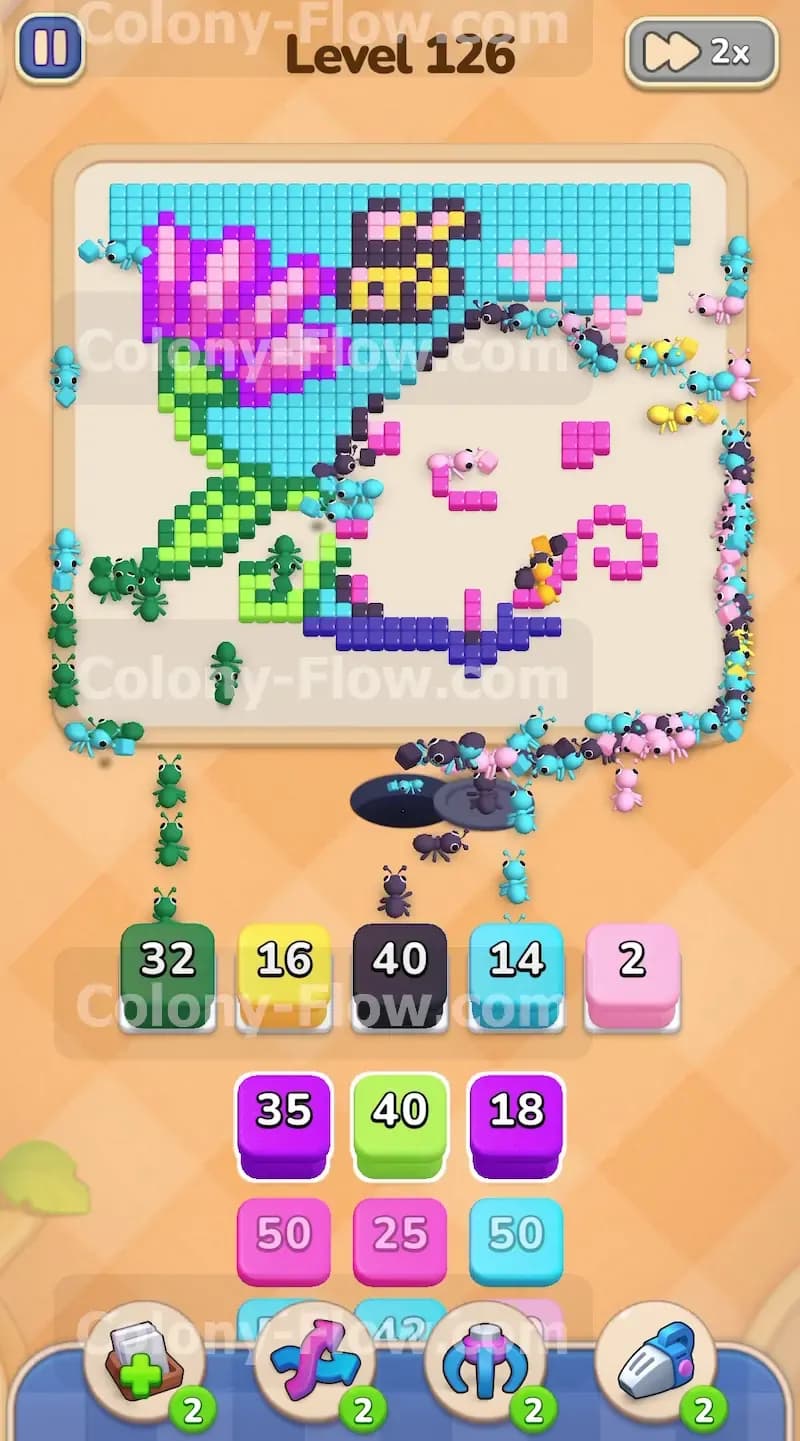
By this stage the bottom background is entirely gone. The dark purple ants have cleared the lower outline completely. This leaves the green stem and the leaves of the flower fully exposed on the left side of the board. Pull the green block from your tray to get things moving. The green ants will flood out and quickly dismantle the stalk and the leaves. Clearing the green section is a huge step forward for your board state. It removes the thick barrier beneath the large pink flower. It also allows the dark purple ants to finish the outline on the left side of the screen. Your waiting slots should flow smoothly during this phase because the green tiles are highly accessible. The ants have a straight path directly to their targets.
Step 6: Clear the giant pink flower and the bee.
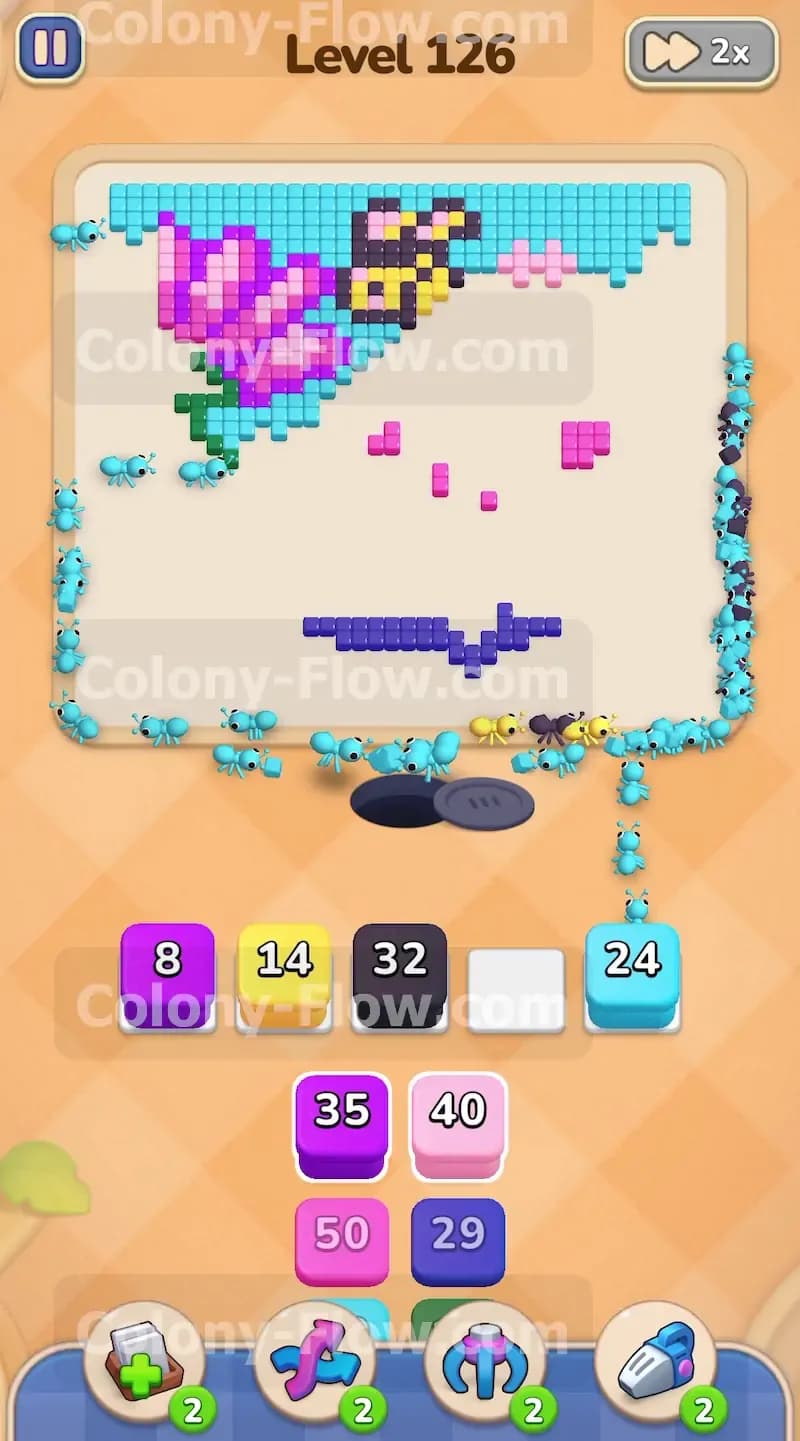
With the stem gone the bottom of the pink flower is completely open. The cyan ants have also made great progress on the top half of the board which exposes the bee. Now is the perfect time to dump your remaining colors into the board. Pull your remaining pink blocks to send a massive swarm into the flower petals. The flower also contains some darker purple shading inside the petals. Pull the purple block from the tray so those ants can work alongside the pink ones. On the right side of the board pull your remaining yellow blocks and black blocks. These ants will fly up to the top and finish off the bee. The entire center of the board will collapse in a matter of seconds as all these colors attack at once. Your tray will be nearly empty at this point.
Step 7: Clean up the final top background tiles.
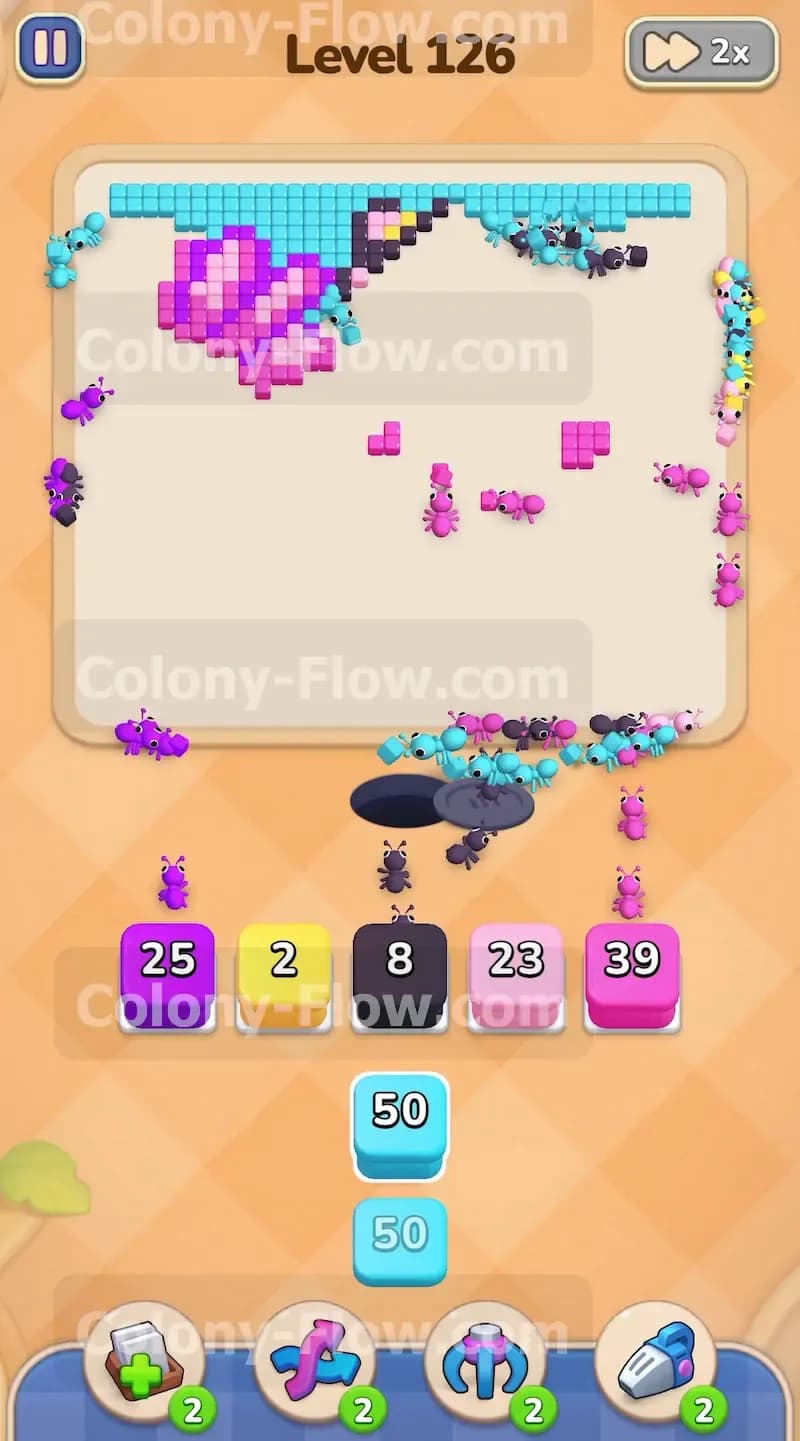
The mouse is gone. The bee is gone. The flower has completely vanished. The only thing left on the board is a thin strip of light blue background tiles along the very top edge. Your tray should only have a few cyan blocks remaining at this point. Pull them into your waiting slots to finish the job. The ants will take the long walk up the empty board and spread out across the top. They will sweep from left to right eating the final pieces of the sky. Watch your numbers drop as the last tiles disappear. The picture will clear completely and the colony will finish the board. You have successfully managed your tray and kept your slots open to win the level. Patience at the end is key to avoiding a silly mistake.
Final Thought
Level 126 teaches you the importance of managing massive background colors while picking apart the small details inside the picture. You have to keep the light blue tiles clearing constantly or the rest of the board will lock up. Remember to balance your pulls so you always have a clear path open for your ants. Watching the entire board rather than just one section is the secret to winning consistently. If you find any of these steps hard to follow in text I strongly encourage you to watch the video above this article. Seeing the exact timing of the block pulls will help you master the flow and clear the board with ease.