Colony Flow Level 295 Walkthrough Solution & Guides | How to solve Colony Flow 295

Guide By Liam Stone
Updated on July 16, 2026
The written guide below covers Level 295 in depth, but you can watch the video above for the same solution.
Video doesn't match your screen?
Game updates frequently scramble layouts! Try our AI Screenshot Solver first to find your exact board instantly, or report broken guides to our team.
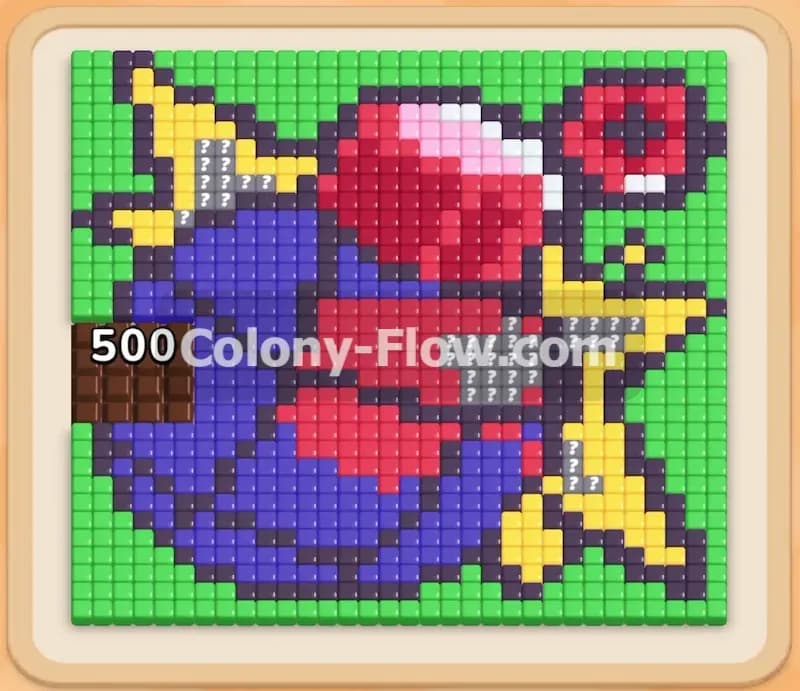
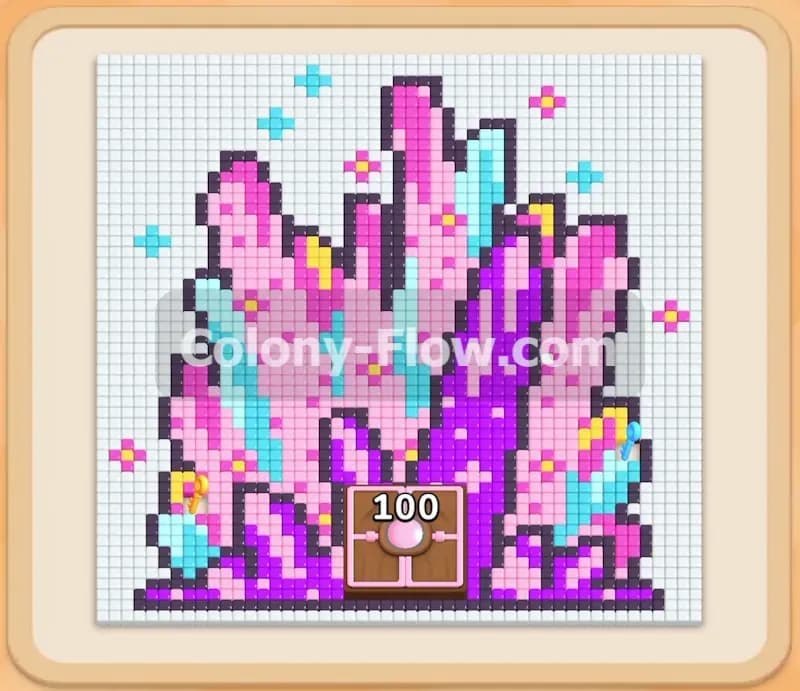
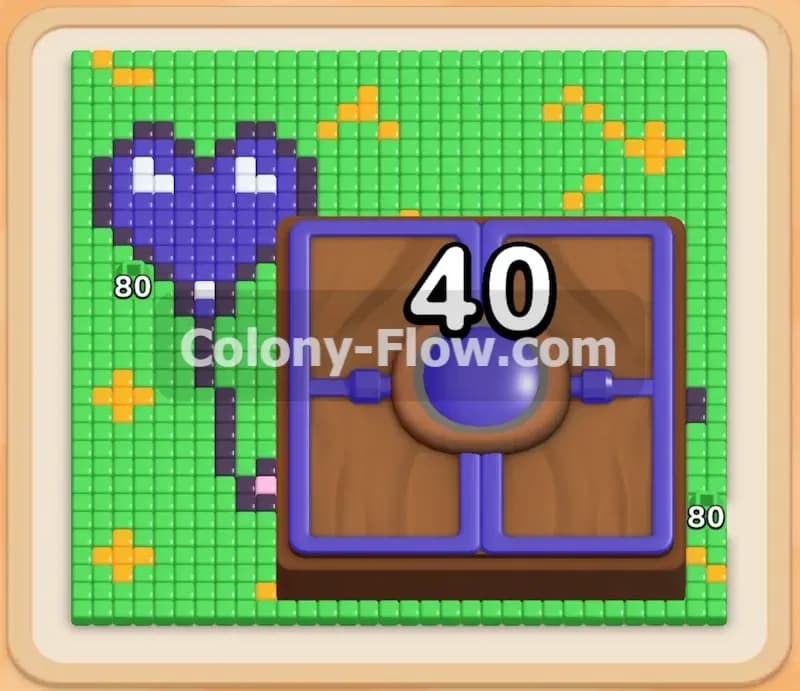
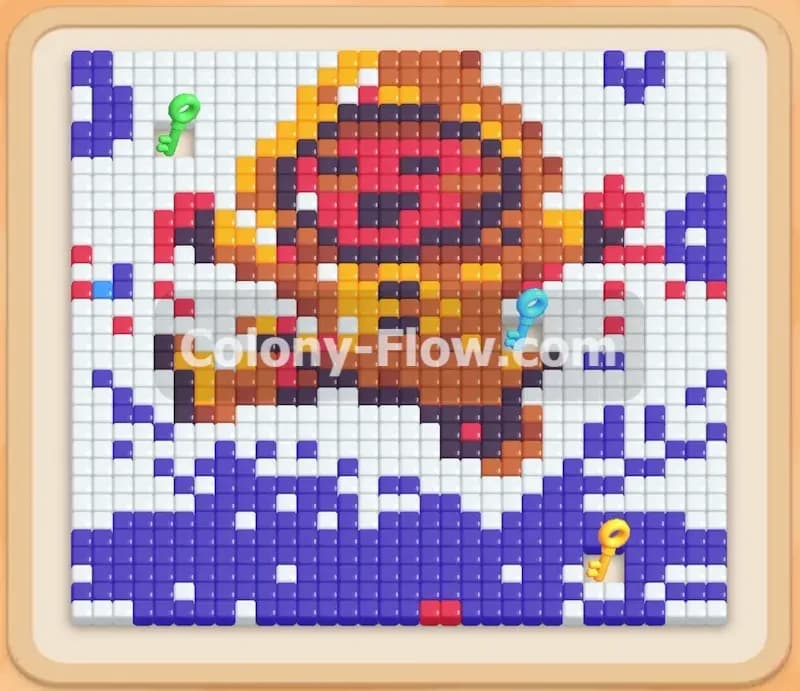
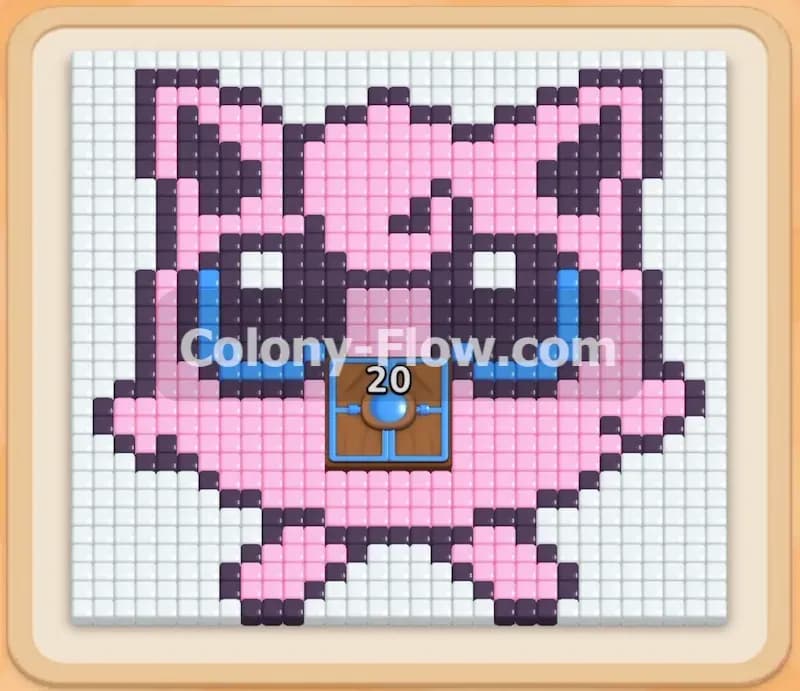
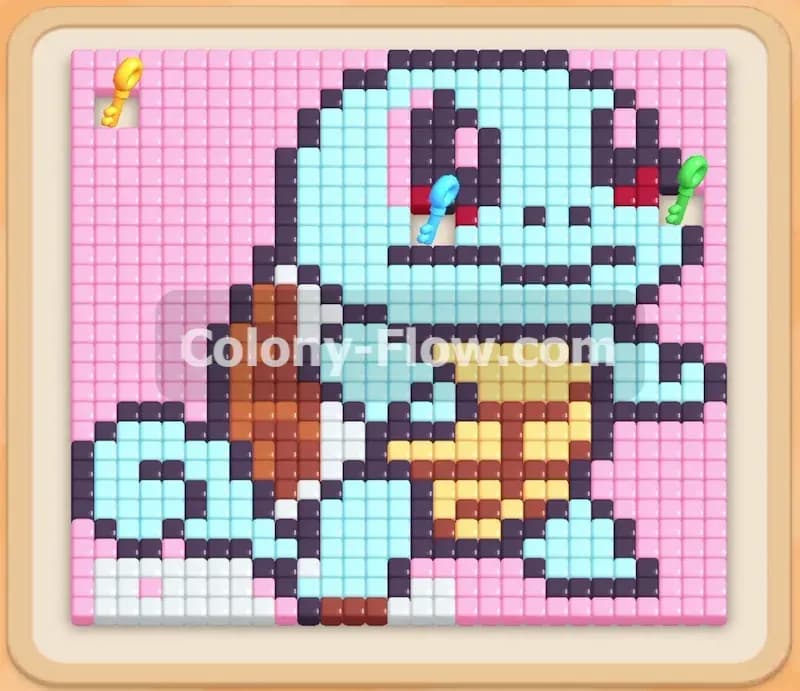
Welcome to Colony Flow Level 295. I played through this entire level and I am here to share the exact method I used to win. The picture features a fun pixel art turtle creature with a light blue body, a dark brown shell, and a yellow belly. It sits against a bright pink background. You have to manage a tightly packed tray where many essential blocks start out locked. This walkthrough will guide you on how to crack the outer layers, grab the keys, and clear the board without jamming your slots.
Colony Flow Level 295 Overview
What You Are Working With
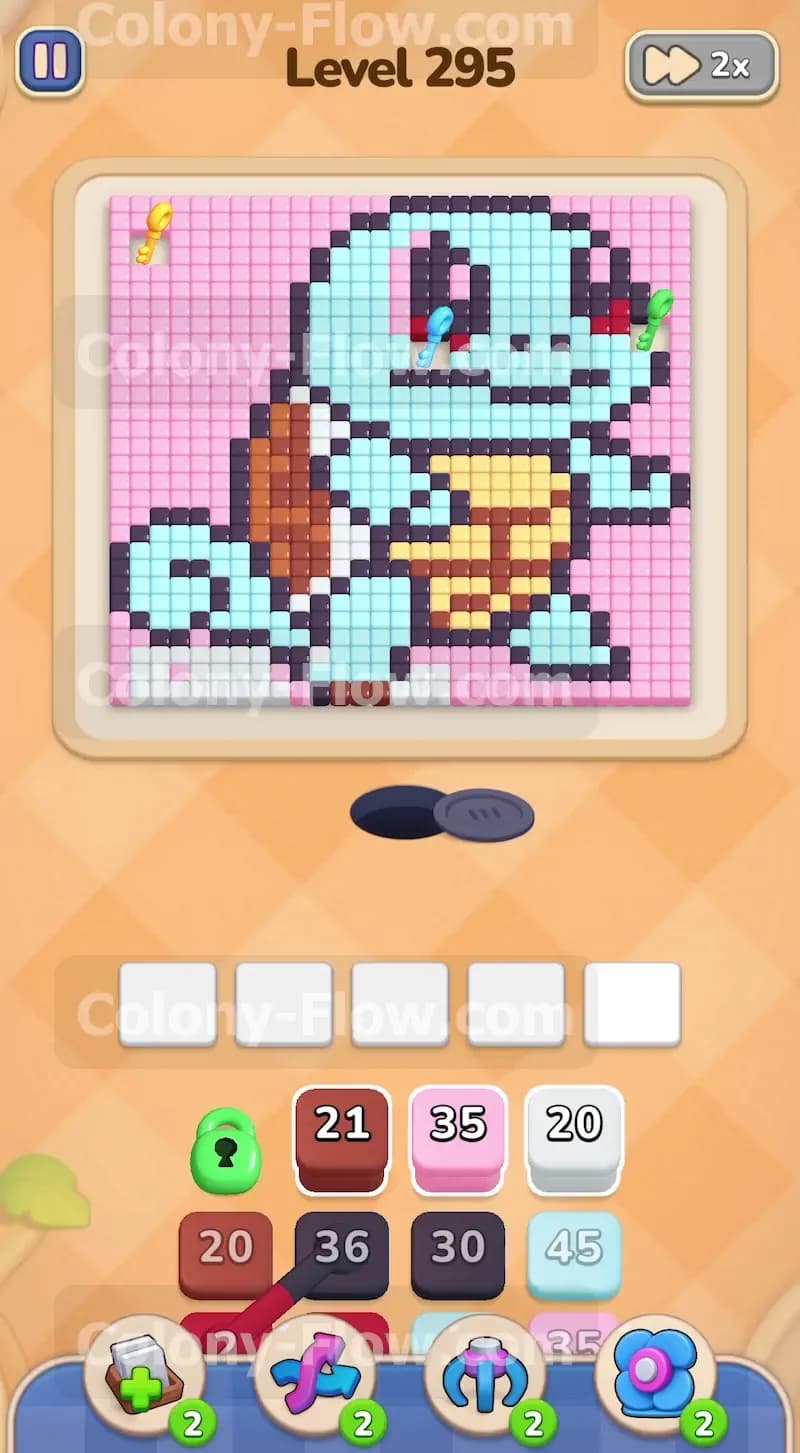
When the level begins you see a solid wall of pink background tiles filling the outer edges of the board. A small strip of white tiles rests at the very bottom center right above the nest hole. Inside the pink background sits the turtle character. It has a thick black outline that completely seals off the interior colors. The main body consists of light blue tiles. The left side features a thick dark brown shell. The center stomach area is filled with yellow tiles. The board also features four lock and key mechanics. You will find a yellow key hidden in the top left corner of the pink background. A green key rests on the far left edge of the dark brown shell. The character eyes hold the remaining two keys. One eye holds a light blue key and the other holds a red key. Your tray at the bottom contains pink, light blue, white, black, red, and brown blocks. Many of these blocks display colored lock symbols. You have five waiting slots above the tray to hold your active numbers.
What It Takes to Clear Level 295 Board
To beat this level you must work from the very bottom edge and slowly carve paths up the left and right sides. The solid black outline acts as a physical wall that stops ants from reaching the light blue body and the yellow belly. You must prioritize the pink background tiles to expose the black outline. Gathering the keys dictates your entire strategy here. The locks in your tray prevent you from using certain colors until you secure the matching key on the board. You must carefully guide your colony to the yellow, green, light blue, and red keys as soon as possible. The primary way you lose this level is by pulling blocks into your five waiting slots when the ants have no open path to reach those colors. If the slots fill up with colors blocked by the black outline, the colony stops moving and you fail. Every single move must guarantee an open path.
Colony Flow Level 295 Step by Step Solution
Step 1: Clear the bottom boundary to open main paths.
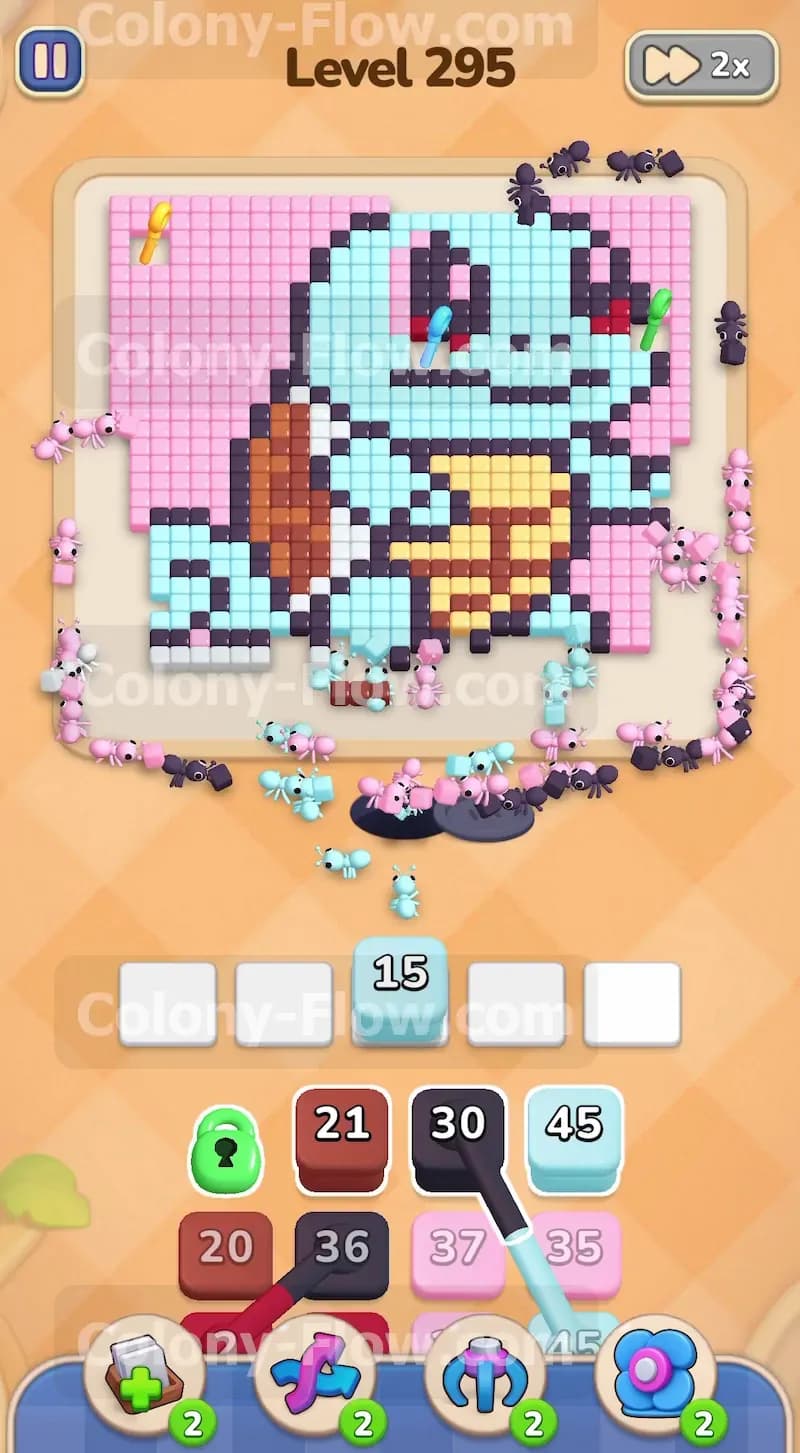
The very first thing you need to do is clear the immediate area around the ant nest hole. The nest sits at the bottom center and a small layer of white tiles blocks the direct upward path. Pull the white block from your tray into a waiting slot. The white ants will rush out and consume those bottom tiles. Next you need to start working on the pink background. Pull a high numbered pink block and a light blue block. The light blue ants will target the bottom feet of the character since they are exposed early on. The pink ants will split left and right to start eating away the massive pink sections on the lower half of the board. Do not pull any black or brown blocks yet. The black outline is still heavily covered by the pink tiles and pulling them now will waste your waiting slots. Keep the traffic flowing with pink and light blue ants until the lower sides open up.
Step 2: Attack the left pink background and gather the yellow key.
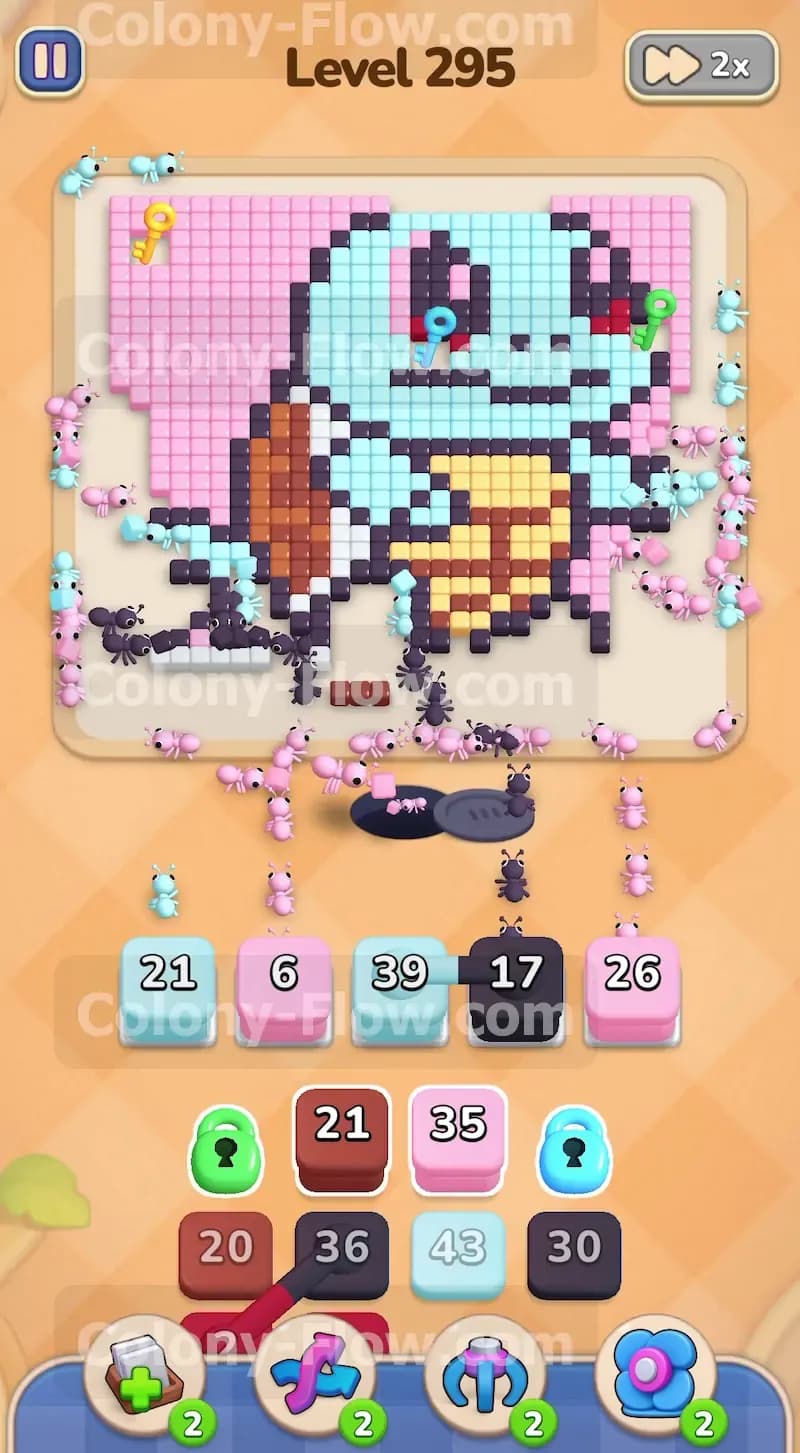
With the bottom corners cleared you can now focus on the top left section of the board. This area holds a huge block of pink background tiles and the crucial yellow key. Pull another large pink block into your waiting slots. You will see a massive swarm of pink ants march up the left side of the screen. They will chew through the top left corner and eventually consume the tile holding the yellow key. Collecting this yellow key unlocks the yellow blocks resting down in your tray. You will definitely need those yellow blocks later to clear the belly of the creature. While the pink ants work on the left side you should pull another light blue block. This keeps a steady stream of ants working on the exposed feet and lower body. Keeping two different colors active prevents your waiting slots from jamming and ensures the colony always has an open destination.
Step 3: Break the black outline to enter the character body.
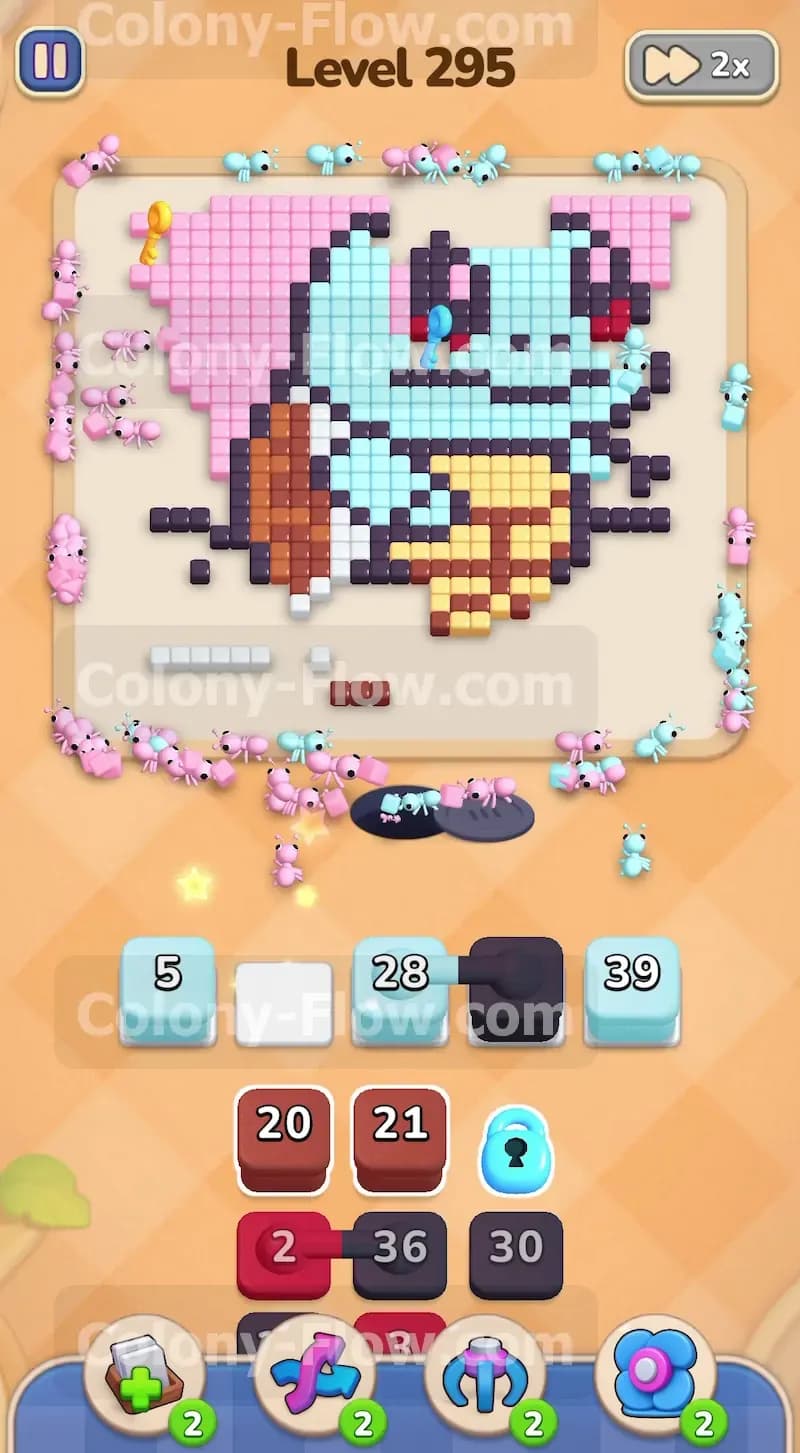
The receding pink background finally exposes the thick black outline surrounding the turtle. This black border is the main barrier preventing you from reaching the internal colors. Now is the correct time to pull a black block into your active queue. The black ants will rush out and start dismantling the bottom and side borders. Breaking this outline is absolutely vital for your success. Watch the remaining numbers on your black blocks carefully. The outline is quite thick and requires multiple black blocks to clear completely. I recommend alternating your pulls. Pull one black block and let the ants clear a section. Then pull a pink or light blue block to keep other areas clearing simultaneously. If you pull three black blocks at once they might get stuck waiting for each other to finish moving. As the black border disappears the interior yellow belly and the brown shell become totally accessible to your colony.
Step 4: Dismantle the brown shell and grab the green key.
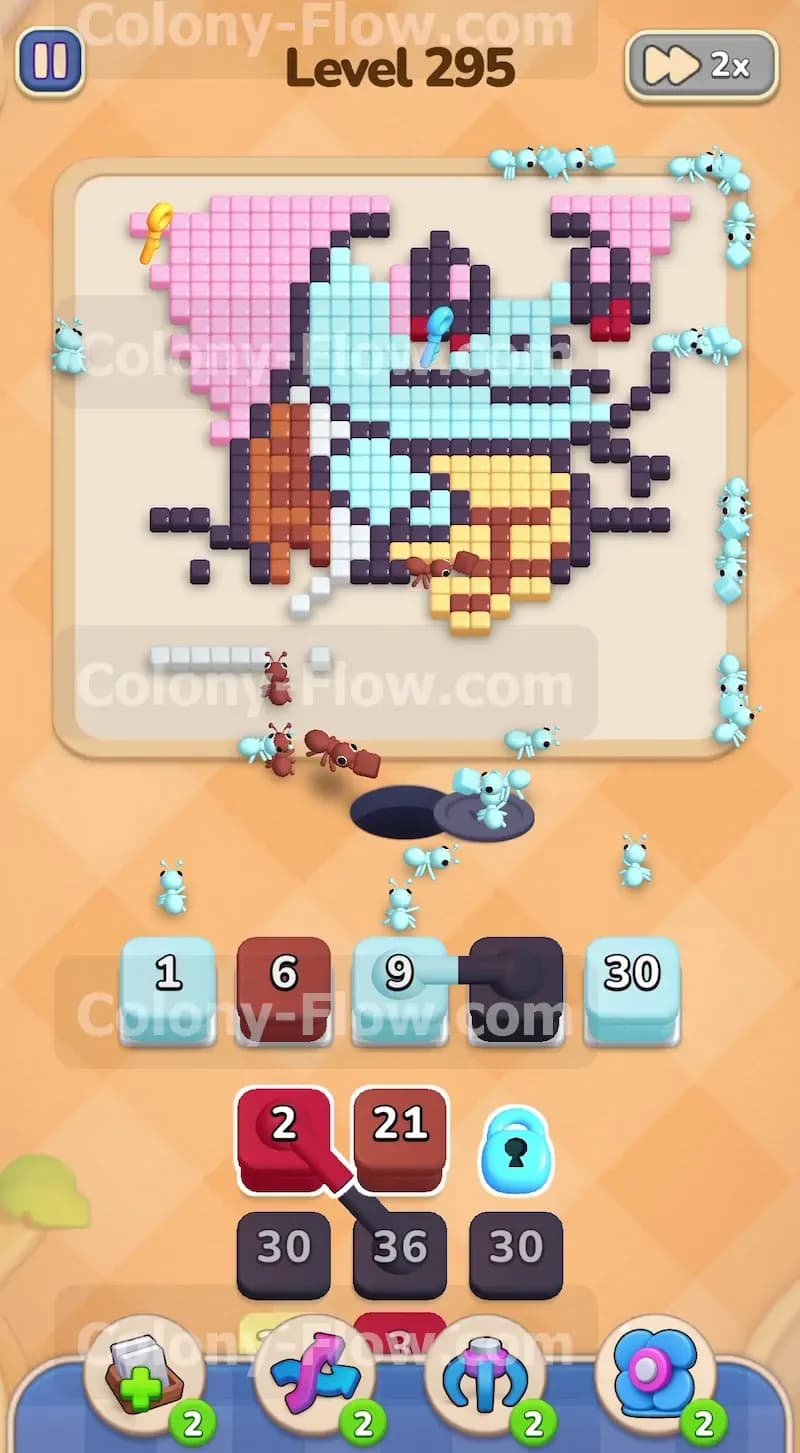
Look at the left side of the character where the dark brown shell sits. The green key is located right on the outer edge of this shell section. Since the black outline is broken you can now safely bring up your brown blocks from the tray. Pull a brown block into a waiting slot and watch the brown ants stream toward the left side. They will quickly eat the outer shell tiles and grab the green key. Securing this key unlocks another restricted section of your tray. The shell contains a lot of dark brown tiles so you will need to use a few brown blocks to finish it. Always check that the path remains clear before pulling the next brown block. Mix in some light blue blocks to maintain forward momentum on the main body. The light blue ants will continue marching up the center while the brown ants handle the left side.
Step 5: Target the light blue body and the eye keys.
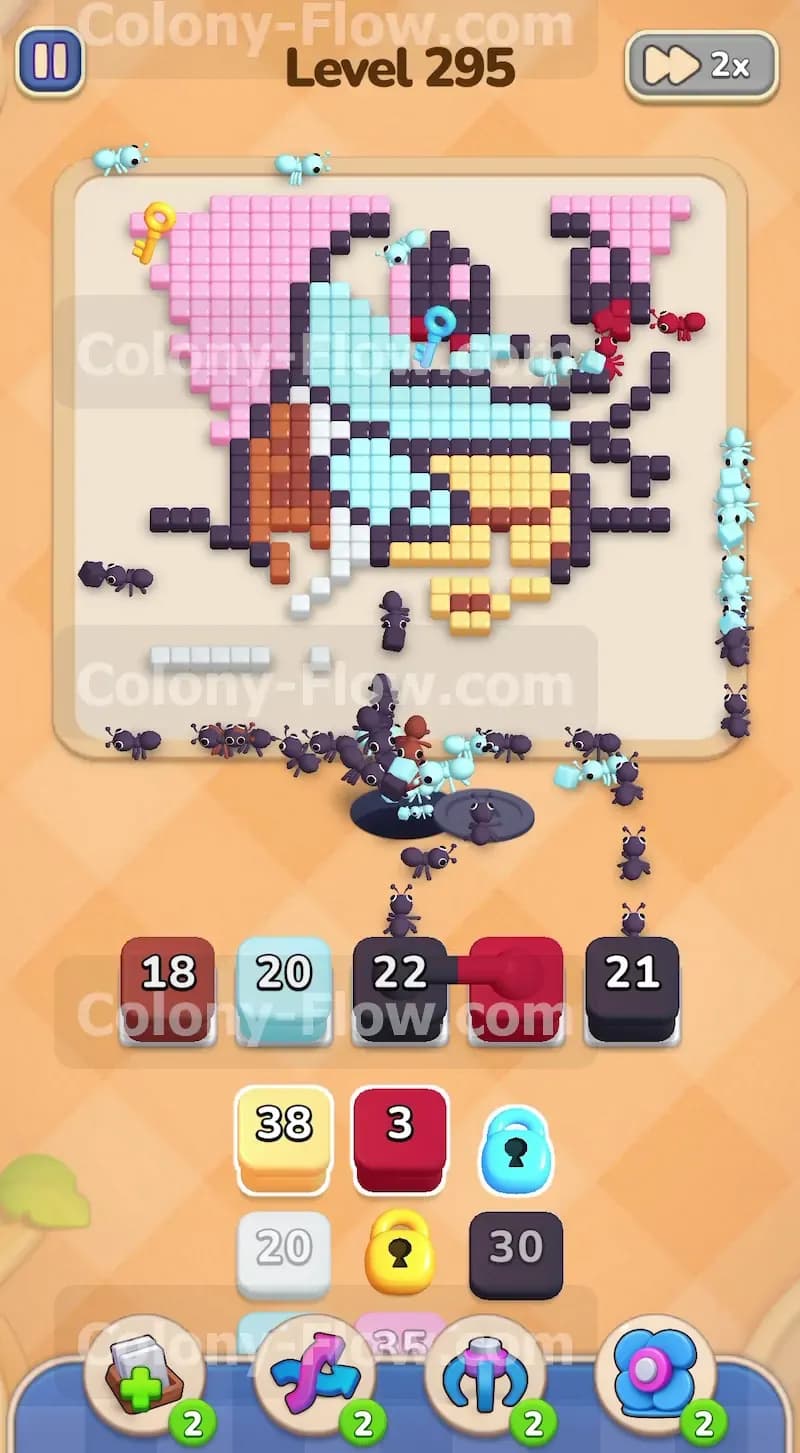
The bulk of the character body and the entire head consist of light blue tiles. The two eyes contain the final keys required to unlock your tray. The left eye holds the light blue key and the right eye holds the red key. Pull your highest numbered light blue block into the waiting slots. The ants will flood the center of the board and consume the chest and lower head tiles. They will naturally chew their way up toward the eyes. You also need to deal with the specific eye colors. Pull a red block to send red ants directly into the right eye to grab the red key. Send black ants to clear the pupils. Collecting these final eye keys removes all remaining locks from your tray. You now have complete freedom to choose any block you need to finish the puzzle.
Step 6: Clear the yellow belly tiles.
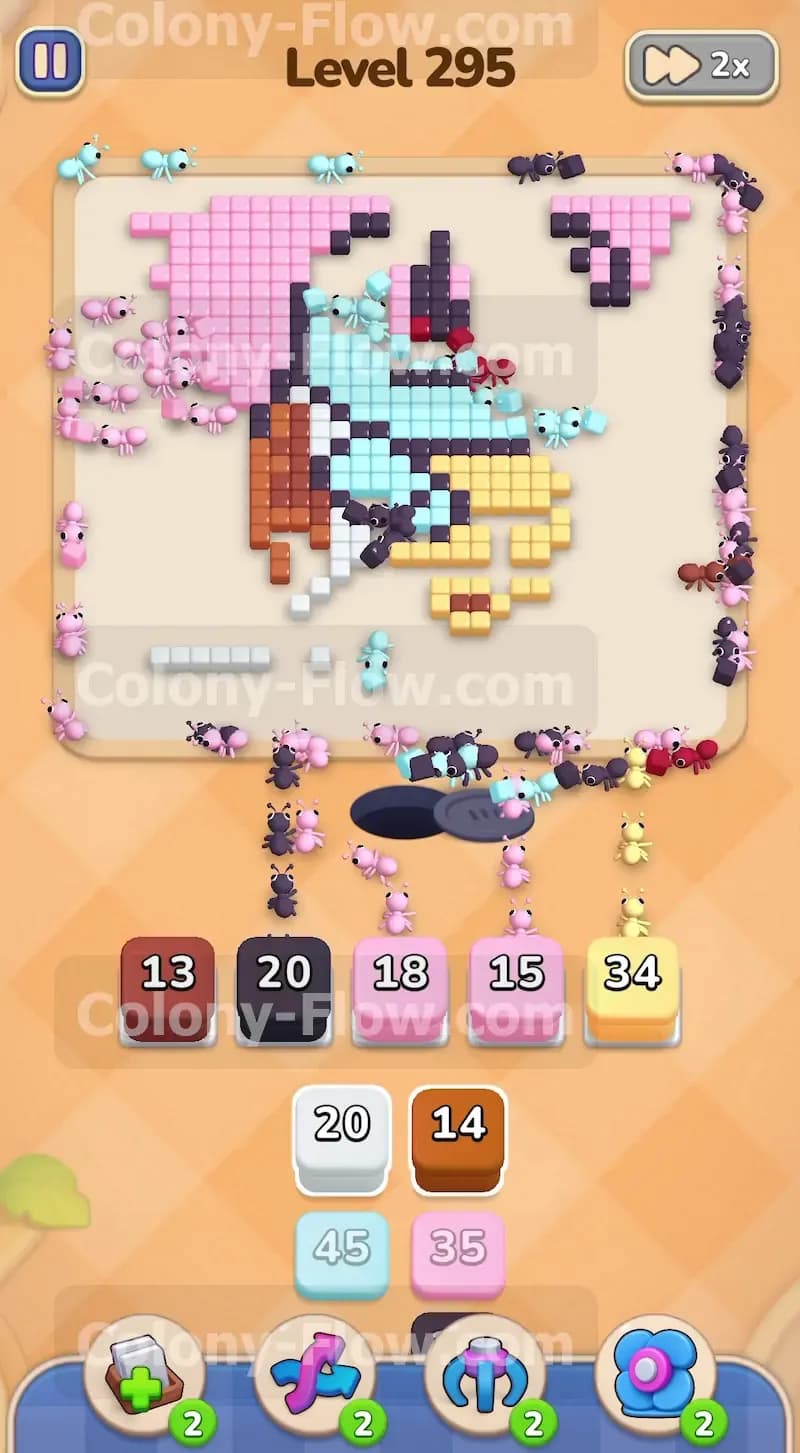
The center of the character features a large yellow stomach area. You collected the yellow key back in the second step so the yellow blocks are fully ready and waiting in your tray. Bring up a large yellow block to send a swarm of yellow ants into the center of the board. The yellow tiles are clustered very tightly together. Because they are grouped up a single large block will send enough ants to clear almost the entire belly section at once. Before you pull the yellow block you must physically trace the path from the nest hole to the belly. Verify that no stray black outline tiles are blocking the entrance. If a single black tile blocks the way your yellow block will sit uselessly in the slot. Confirm the path is open and then let the yellow ants do their job.
Step 7: Clean up the remaining top sections and finish the board.
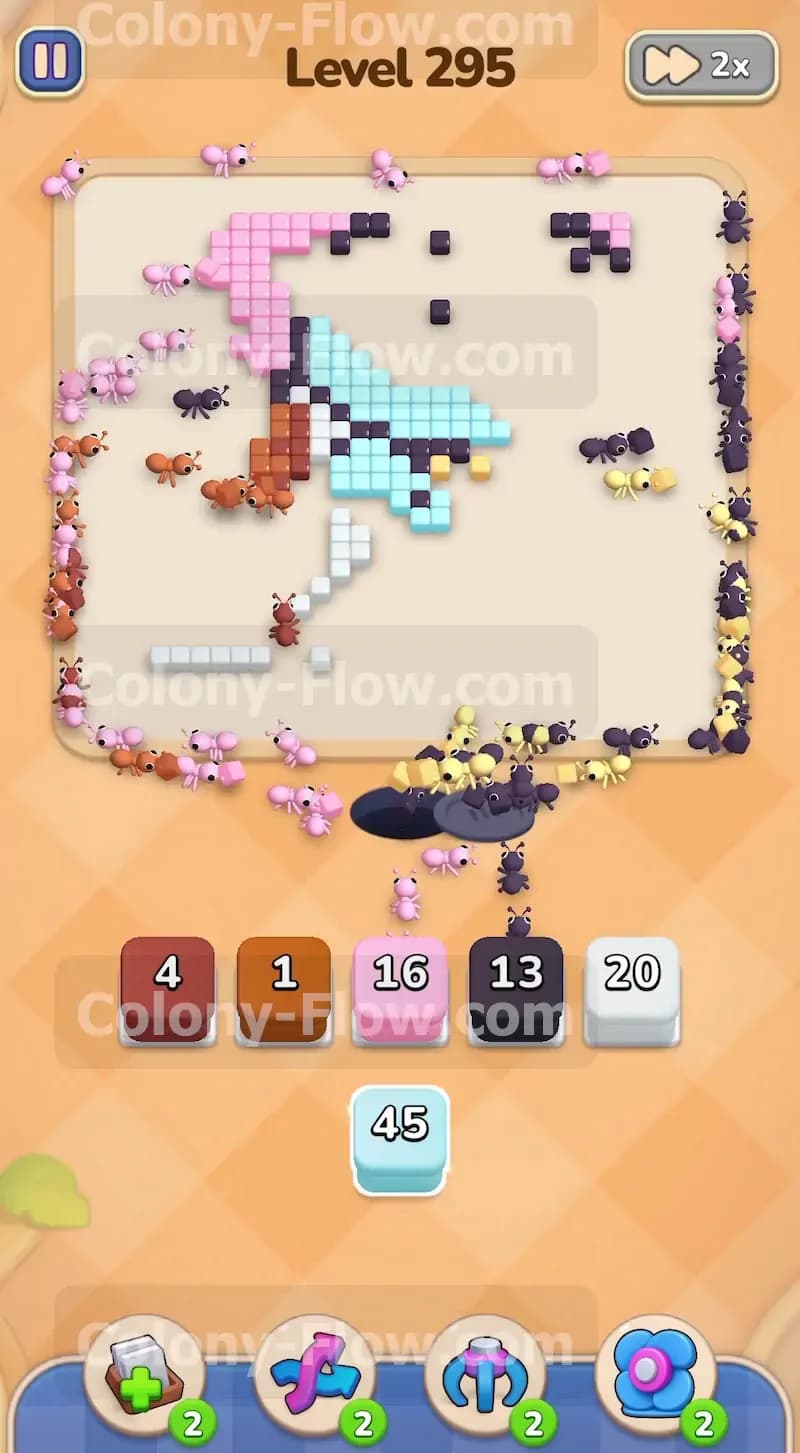
At this point the board is almost entirely empty. You will only see a few scattered patches of tiles at the very top of the head and in the top right corner. You likely have some leftover pink background tiles in the top right and a handful of black outline tiles surrounding the top of the head. Look at your tray and pull the exact matching colors. A small pink block will send ants to handle the last bit of the background. A final black block will dispatch ants to eat the very last outline tiles. The ants will march in a straight line right up the middle of the empty board to reach their final targets. The picture will completely disappear and you will win the level.
Final Thought
Colony Flow Level 295 requires patience and careful path management. You must respect the black outline and gather the keys in the proper sequence to avoid filling your waiting slots with unusable colors. If any of these steps feel hard to visualize you can always watch the video above this article. Watching the exact ant movements in real time will help you master the flow and clear the board.