Colony Flow Level 227 Walkthrough Solution & Guides | How to solve Colony Flow 227

Guide By Liam Stone
Updated on July 13, 2026
Skip the article and watch the video above instead. It covers every move you need for Level 227.
Video doesn't match your screen?
Game updates frequently scramble layouts! Try our AI Screenshot Solver first to find your exact board instantly, or report broken guides to our team.
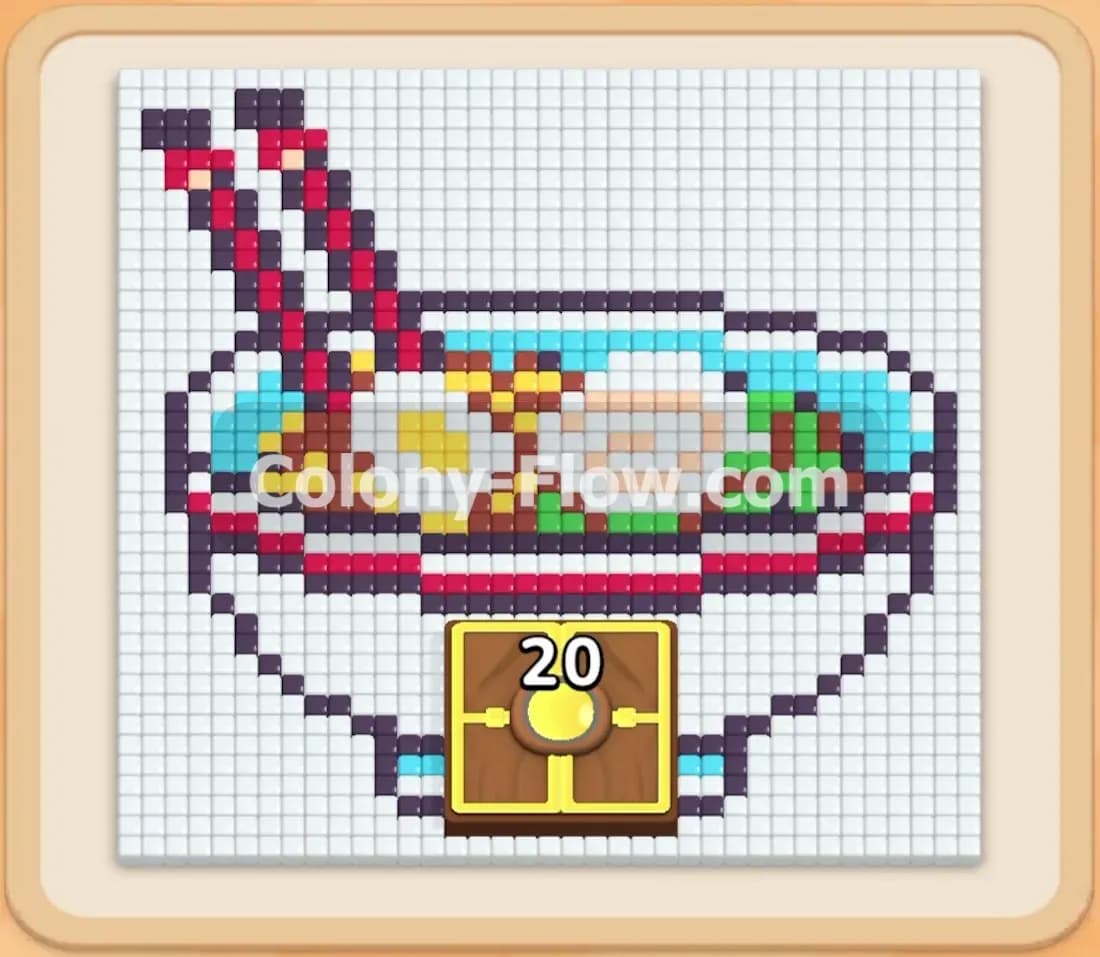
Colony Flow Level 227 presents a massive pixel art picture of a character in a paper boat. You must direct your ant colony to eat the entire scene without jamming your waiting slots. This board tests your patience because some colors stay trapped behind others for a long time.
Colony Flow Level 227 Overview
What You Are Working With
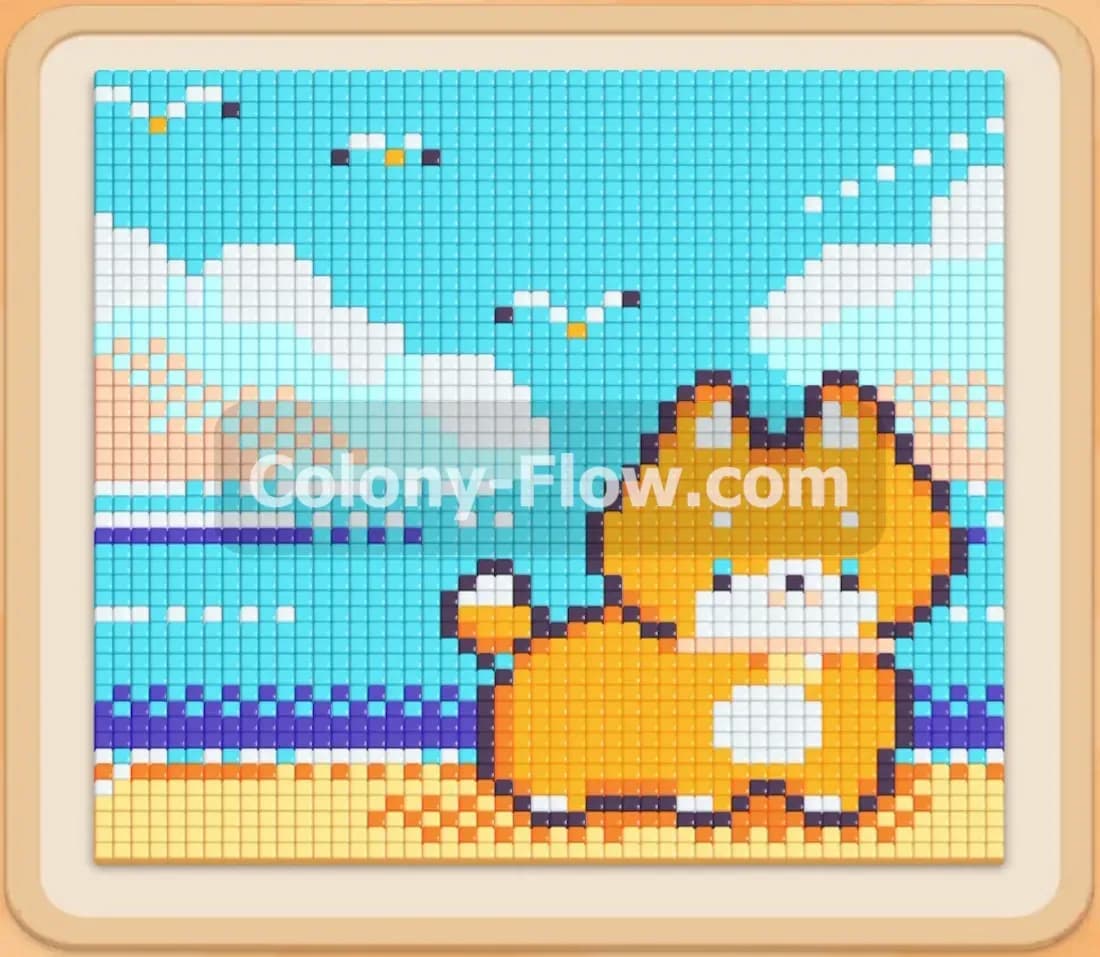
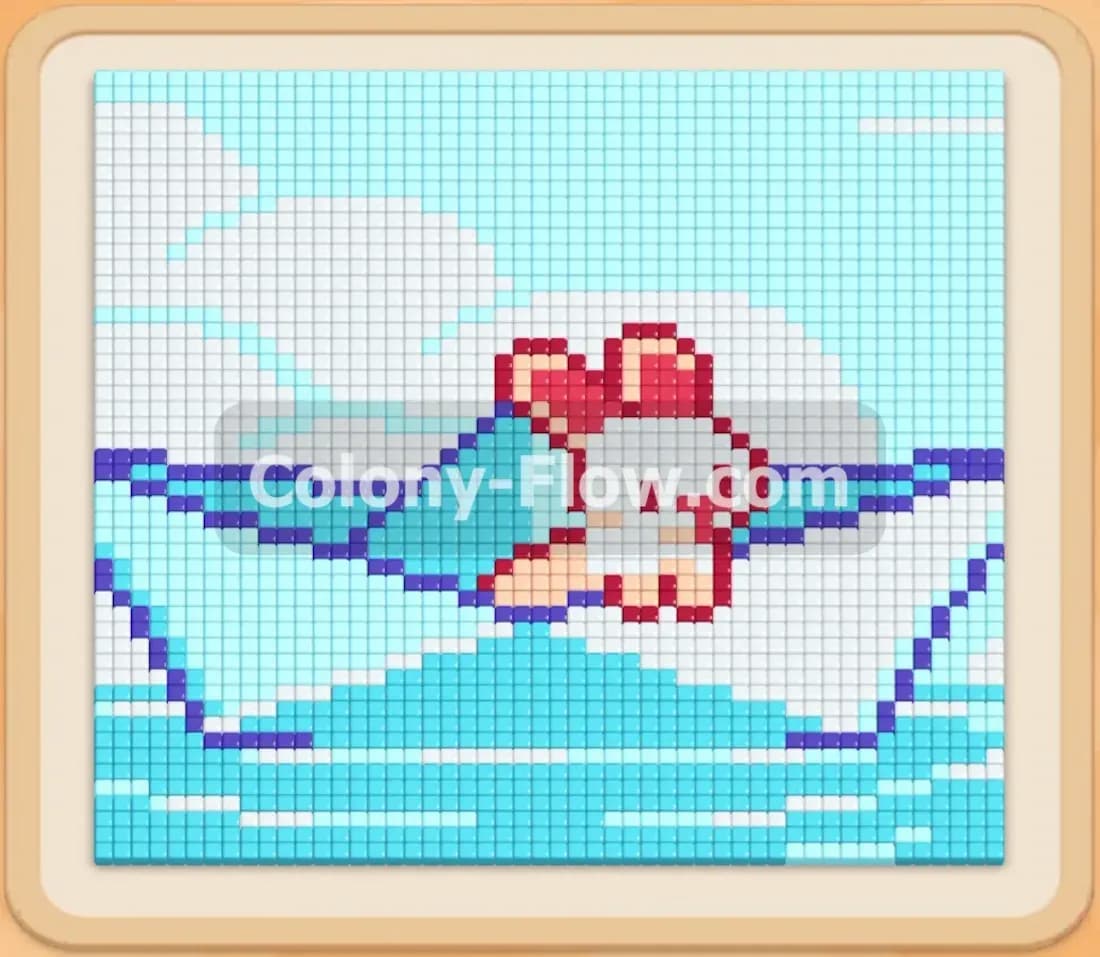
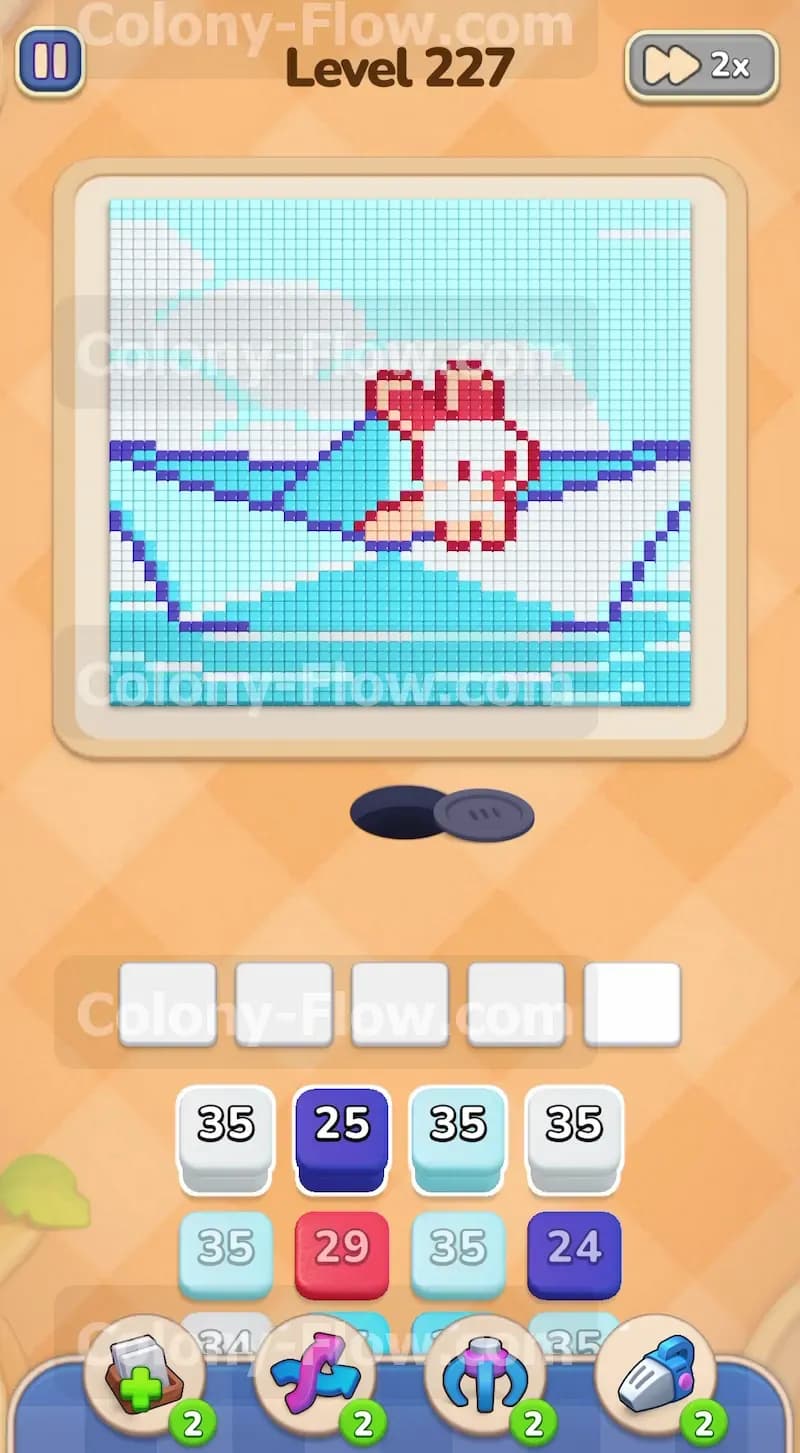
The picture shows a white and peach character with a red bow sitting in a blue paper boat. The background consists of white clouds and a light blue sky with some dark blue water underneath. Your tray at the bottom holds numbered blocks in matching colors. The starting top row gives you mostly white and dark blue blocks. The second row reveals light blue, a large red block, and a purple block. The board has five waiting slots. The nest hole sits right below the picture. The ants pour out of this hole and follow open paths to the tiles.
What It Takes to Clear Level 227 Board
You clear this board by matching every block in the tray to its corresponding color in the picture. You win when the final block empties and the ants consume the last tile. The main challenge comes from the layout of the picture. The red bow and peach body sit dead in the center. The white clouds and light blue sky surround them entirely. You will have to pull colors you cannot reach right away just to uncover the blocks you actually need. This clogs your waiting slots. You must carefully cycle the available outer colors through your remaining open slots to carve a path to the center.
Colony Flow Level 227 Step by Step Solution
Step 1: Start with the outer white clouds
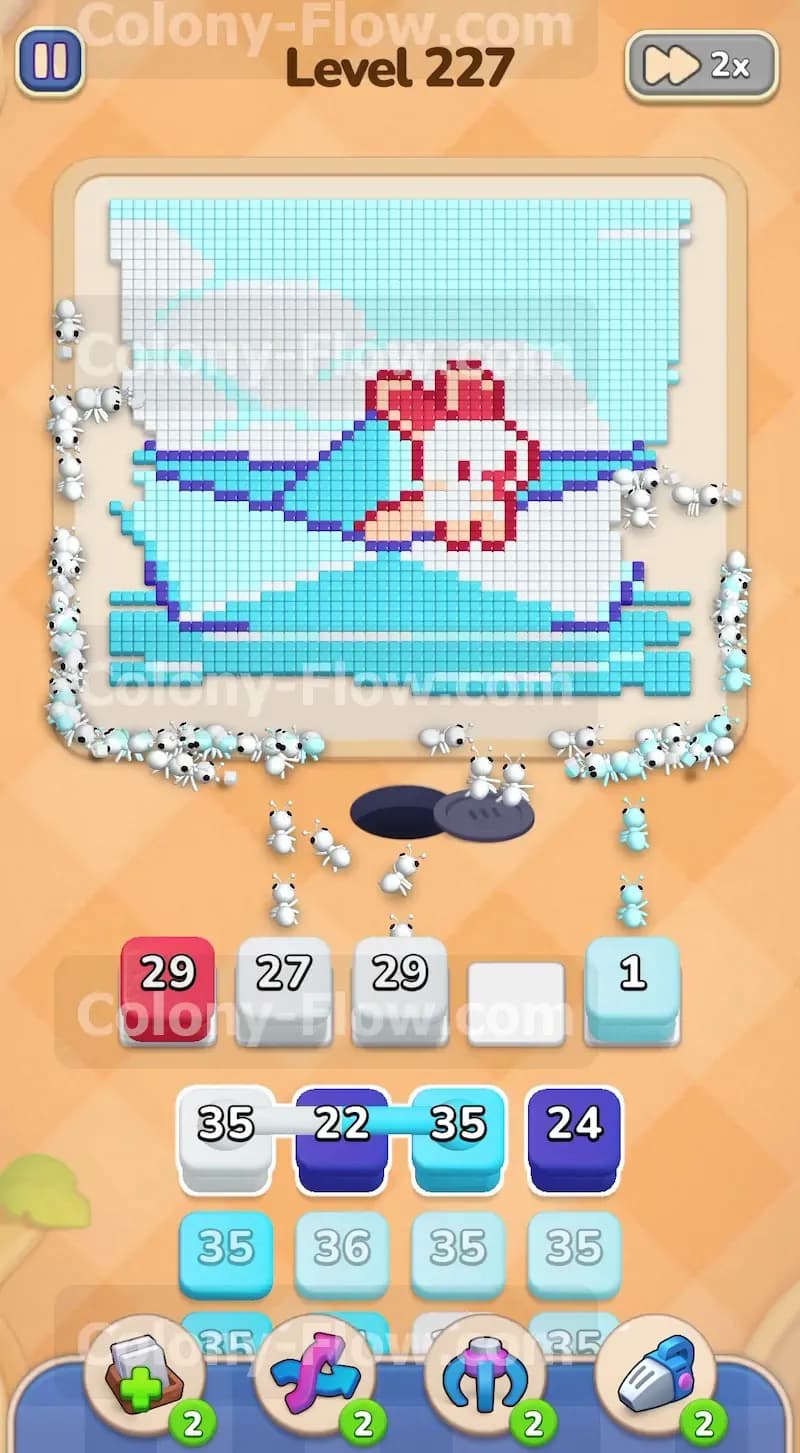
You want to clear the edges of the picture first. The top row of the tray gives you three white blocks numbered 35. Pull these white blocks into your waiting slots to start the flow. The ants will immediately stream out of the nest and target the white clouds surrounding the boat. The white tiles sit directly on the outer edge of the pixel art. This means the ants have wide open paths to reach them from the very first second. Watch the numbers on your white blocks count down as the ants carry the food away. The ants form long trails across the empty screen space to reach the highest clouds. You can watch the tiny ants carry the colored squares back down the screen. The animation helps you track which paths are the most efficient. Keep one or two slots empty for now. You need space to maneuver when the tray forces you to pull unplayable colors later. Managing your five slots is the only way to survive. If you fill them all blindly, the ants will run out of valid paths and you will lose.
Step 2: Bring out the light blue blocks for the sky
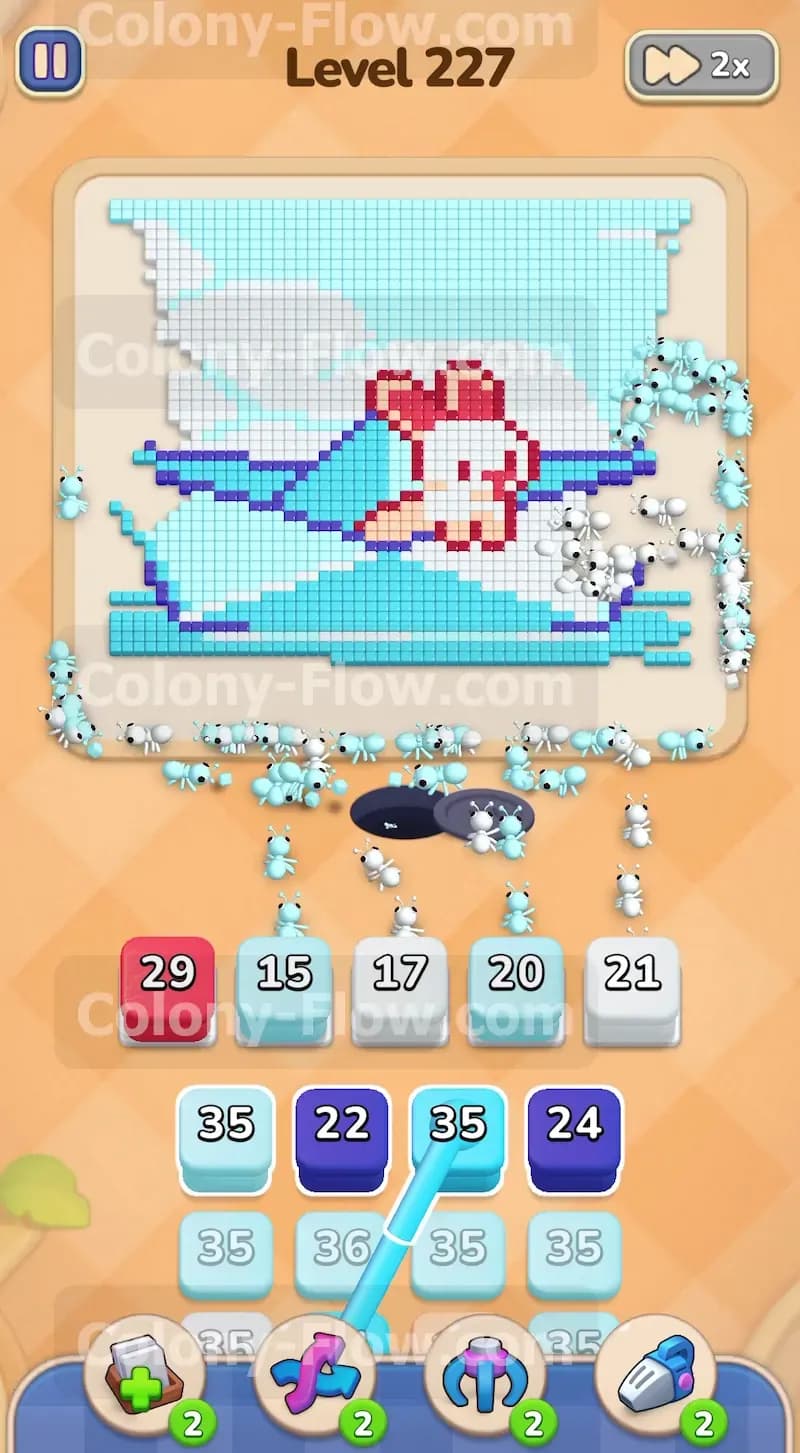
Once the first white blocks finish and leave the slots empty, you expose the second row of the tray. Pull the light blue blocks numbered 35. The ants will shift their focus to the light blue sky filling the top half of the picture. The light blue tiles are completely accessible now that some of the white clouds are gone. Your ants will flow smoothly upward and fan out across the large patches of blue. The sky tiles connect to each other in large blocks. This grouping allows the ants to clear multiple tiles without having to travel very far. This keeps your slots turning over at a fast pace. The fast turnover is exactly what you want. You want the blocks to hit zero quickly so they disappear and free up the slot for the next color. The light blue sky covers a massive area. The ants will chew through these tiles steadily. Watch the board to see which paths they prefer. They usually take the shortest route available. Let them work through the bulk of the sky before you make your next big decision.
Step 3: Deal with the red block trap
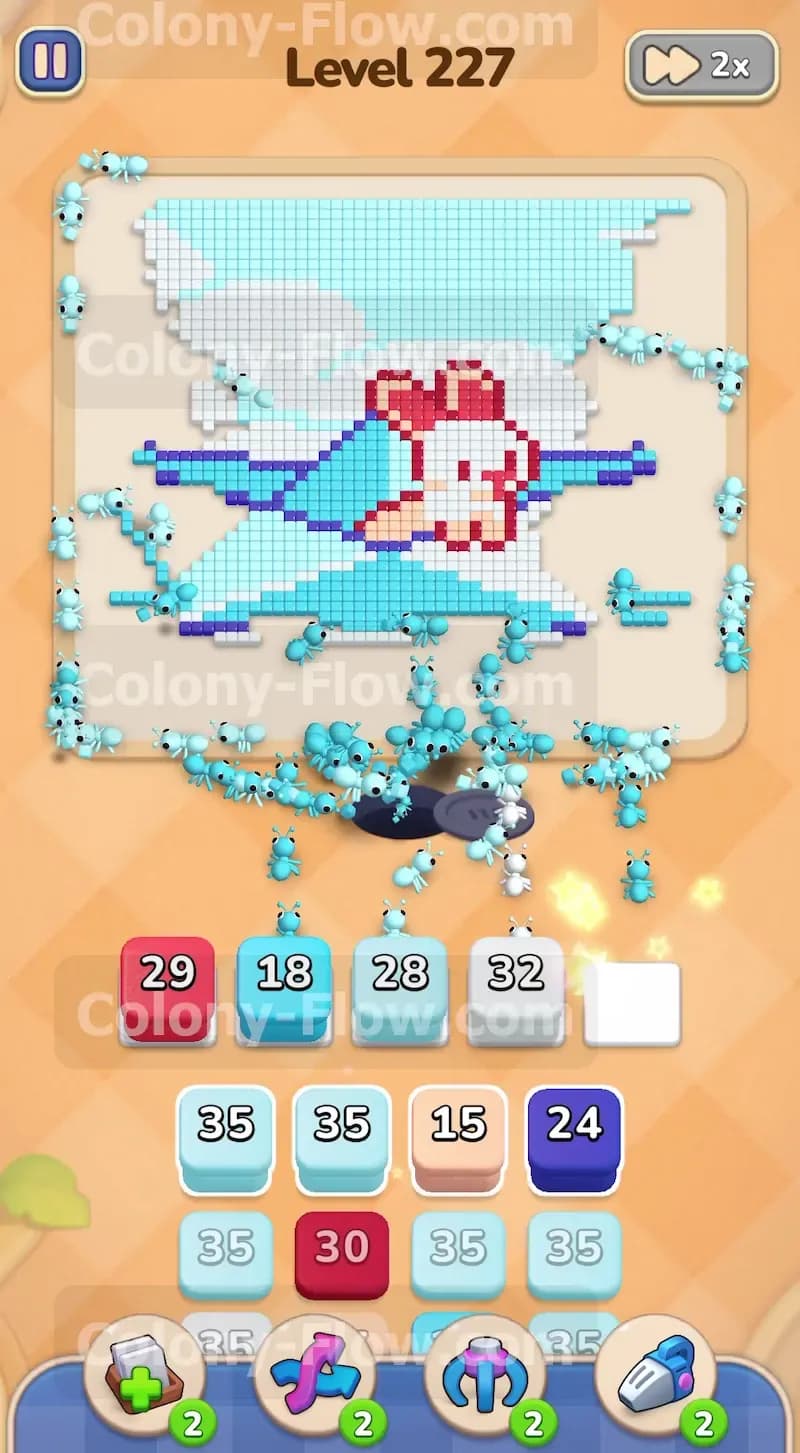
You will soon need more white and light blue blocks from deeper in the tray to keep the momentum going. To reach them, you must pull the red block numbered 29. Pull it into a waiting slot right now. The ants cannot reach the red bow yet because the thick dark blue boat and the peach body block the way entirely. The red block will sit in your waiting slot and do nothing. Patience is key here. The game wants you to panic and pull random blocks when you see a slot jammed. You now have only four usable slots for the rest of the early game. You must accept this temporary penalty. Do not panic about the dead slot. Just keep using the remaining four open slots to feed the active colors to the colony. If you accidentally pull another color that cannot move, you will drop down to three slots. That makes the board extremely dangerous. Be precise with your next pulls. Only take colors that touch the empty space.
Step 4: Break the dark blue boat outline
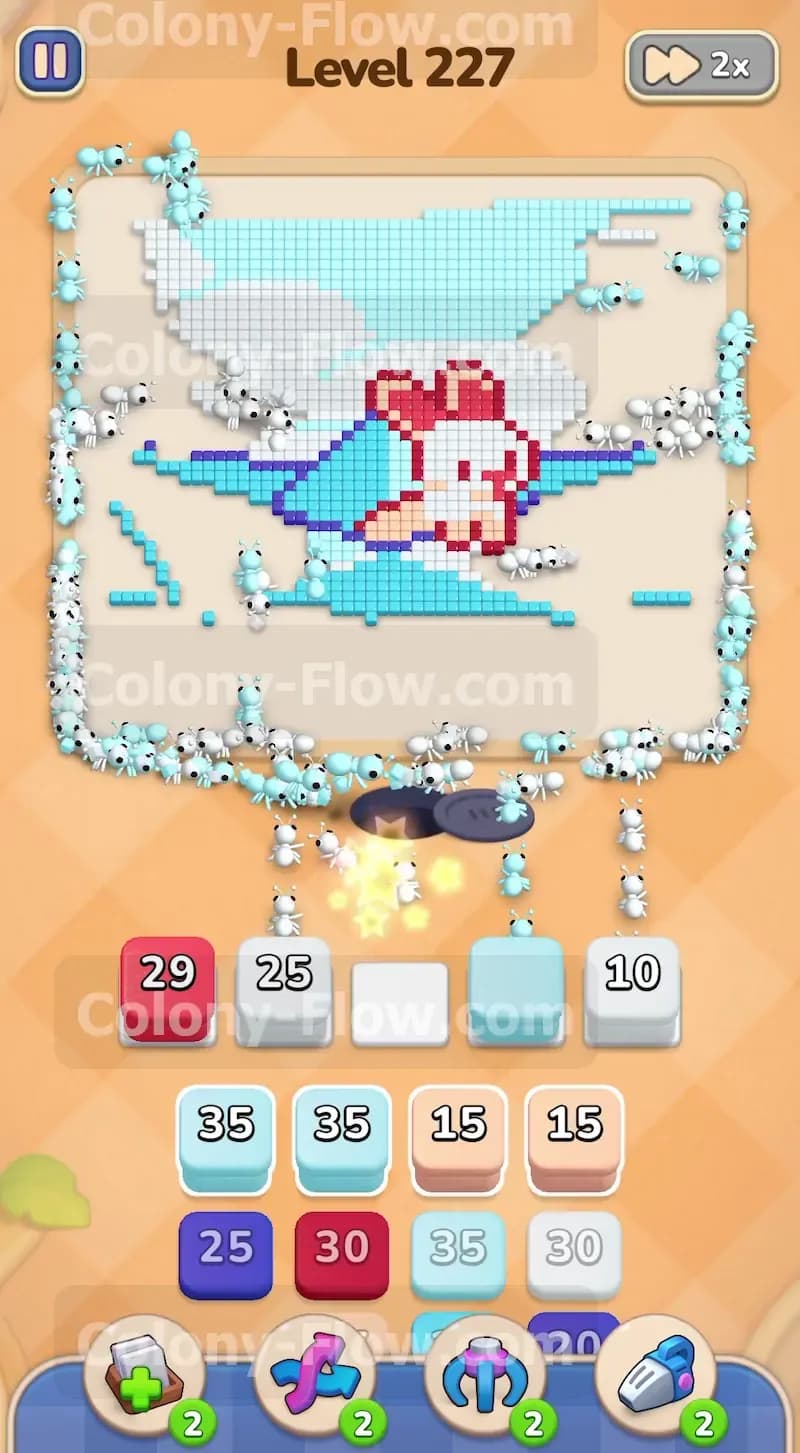
With the sky partially cleared, you can start attacking the paper boat itself. Pull the dark blue block numbered 25. The dark blue tiles form the thick outline of the boat and some heavy waves at the bottom of the picture. The dark blue tiles outline the hull and the mast of the paper boat. Removing them exposes the inner structure. The ants will trace along these lines and begin dismantling the outer hull. Clearing the dark blue outline is the crucial move to unlock the inner sections of the picture. As the dark blue tiles vanish, you slowly expose the peach tiles of the character hiding inside. Monitor your four active waiting slots very closely during this phase. Wait for a slot to completely empty before pulling the next block from the tray. The dark blue lines snake around the entire middle. The ants will travel in multiple directions to eat them. Let them finish the entire dark blue block so you get that slot back.
Step 5: Continue clearing the light blue water
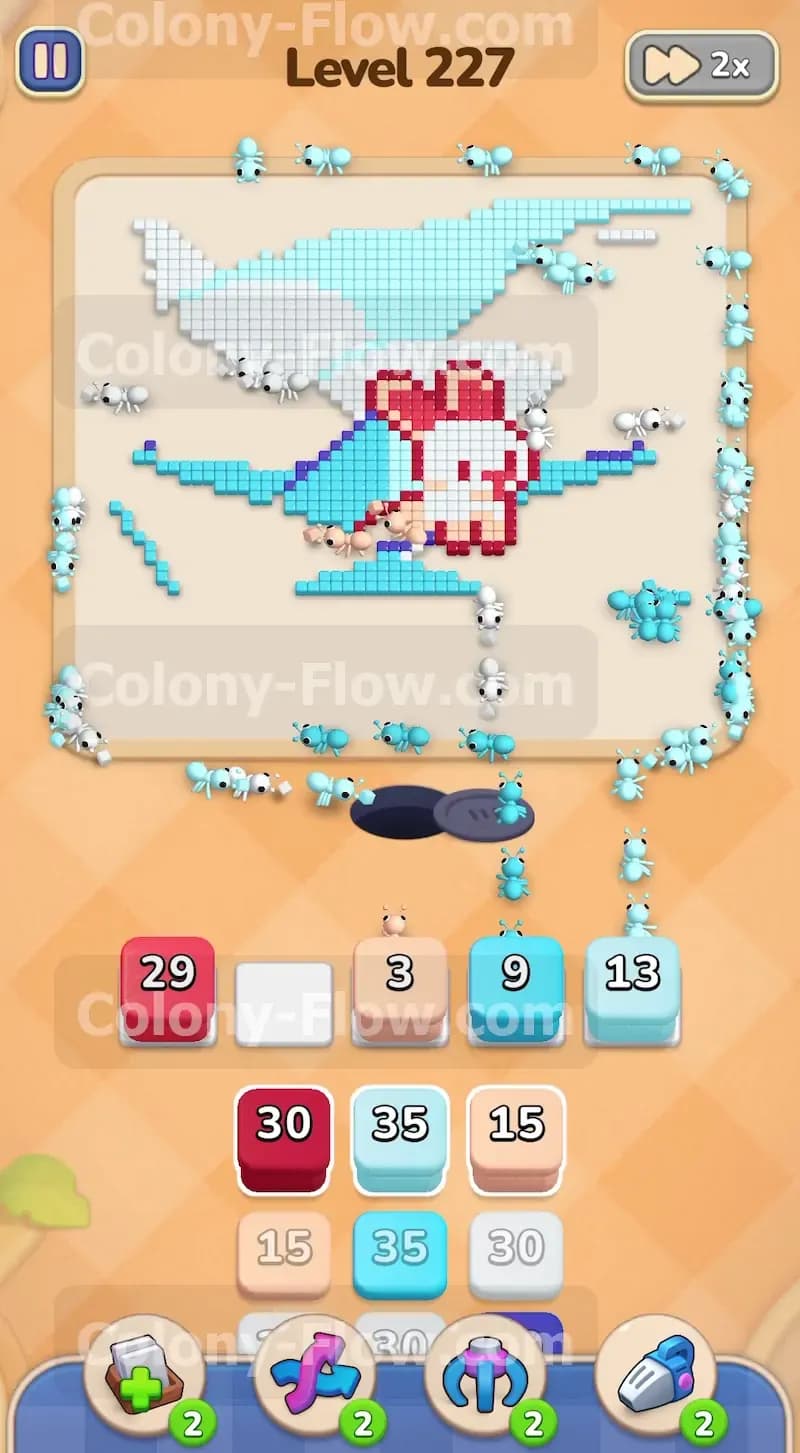
The bottom of the picture features light blue water mixed with white foam. Pull the next set of light blue and white blocks to clear this section. You will see blocks numbered 30 and 35 in the tray. Pull them up. The ants will split their attention between the remaining sky at the top and the deep water at the bottom. The game builds tension by forcing you to manage multiple fronts. You have ants working the top and the bottom at the same time. This widespread eating clears a massive amount of tiles rapidly. Your slot numbers will drop fast as hundreds of ants swarm the top and bottom simultaneously. Keep rotating fresh white and light blue blocks into your available slots as the old ones empty out. Always ensure the ants have a valid path to the colors you pull. The water at the bottom provides a great buffer. It gives the ants plenty of easy targets while you wait for the center of the boat to open up.
Step 6: Feed the peach character body
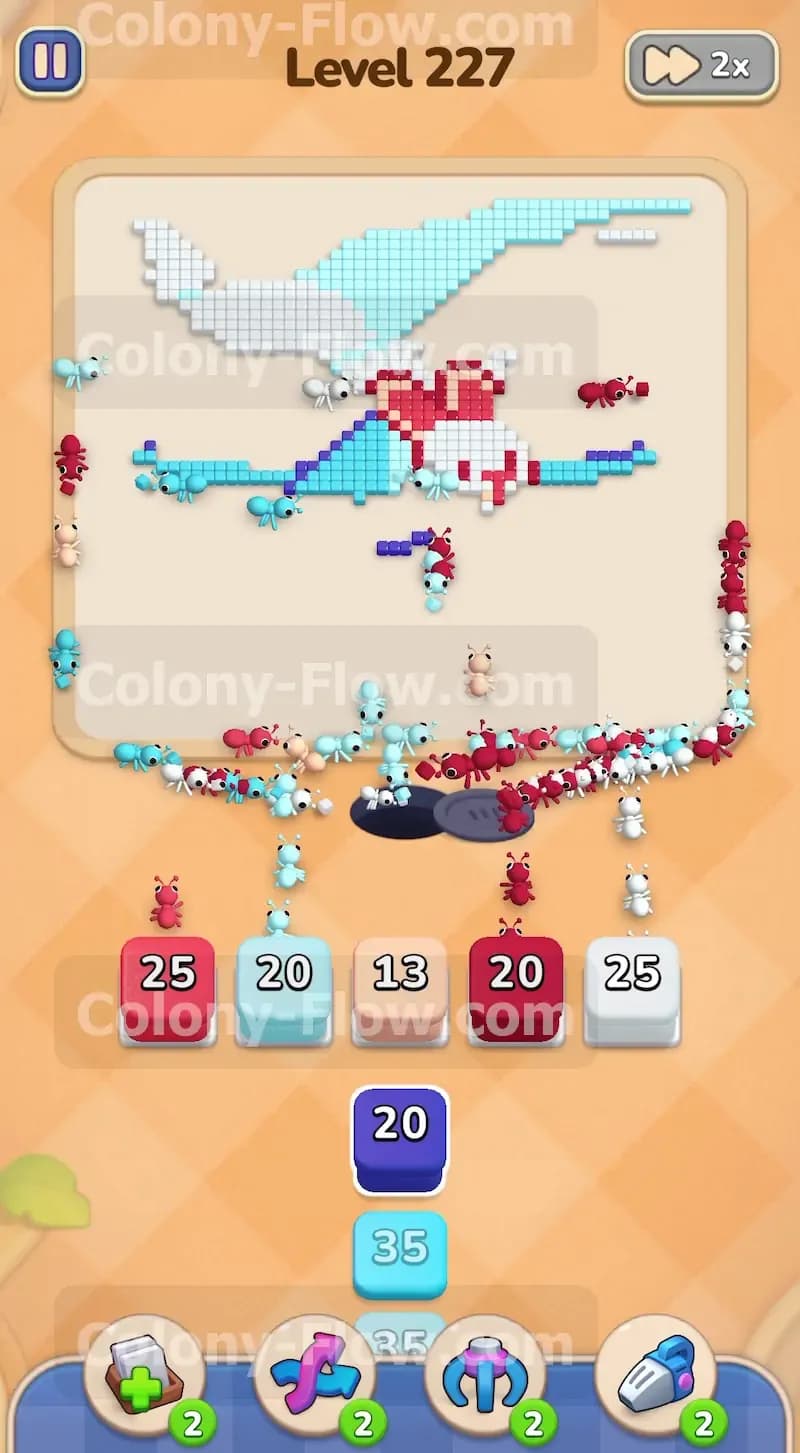
The boat outline is now broken enough to let the ants inside. Pull the peach blocks numbered 15 into the waiting slots. You will see a couple of these peach blocks in the middle rows of the tray. The peach tiles form the head and body of the dog character. It sits right in the middle of the boat. The ants will march straight into the center of the boat and eat the body of the little character. This step feels incredibly rewarding because you finally crack the core of the picture. The peach tiles sit right on top of the red bow. Clearing the peach tiles removes the final physical barrier protecting the red tiles. The ants will swarm the peach body and tear it down in seconds. Make sure you do not pull any new colors until the peach blocks hit zero. You need to keep the board stable for the big release in the next step.
Step 7: Unleash the trapped red block
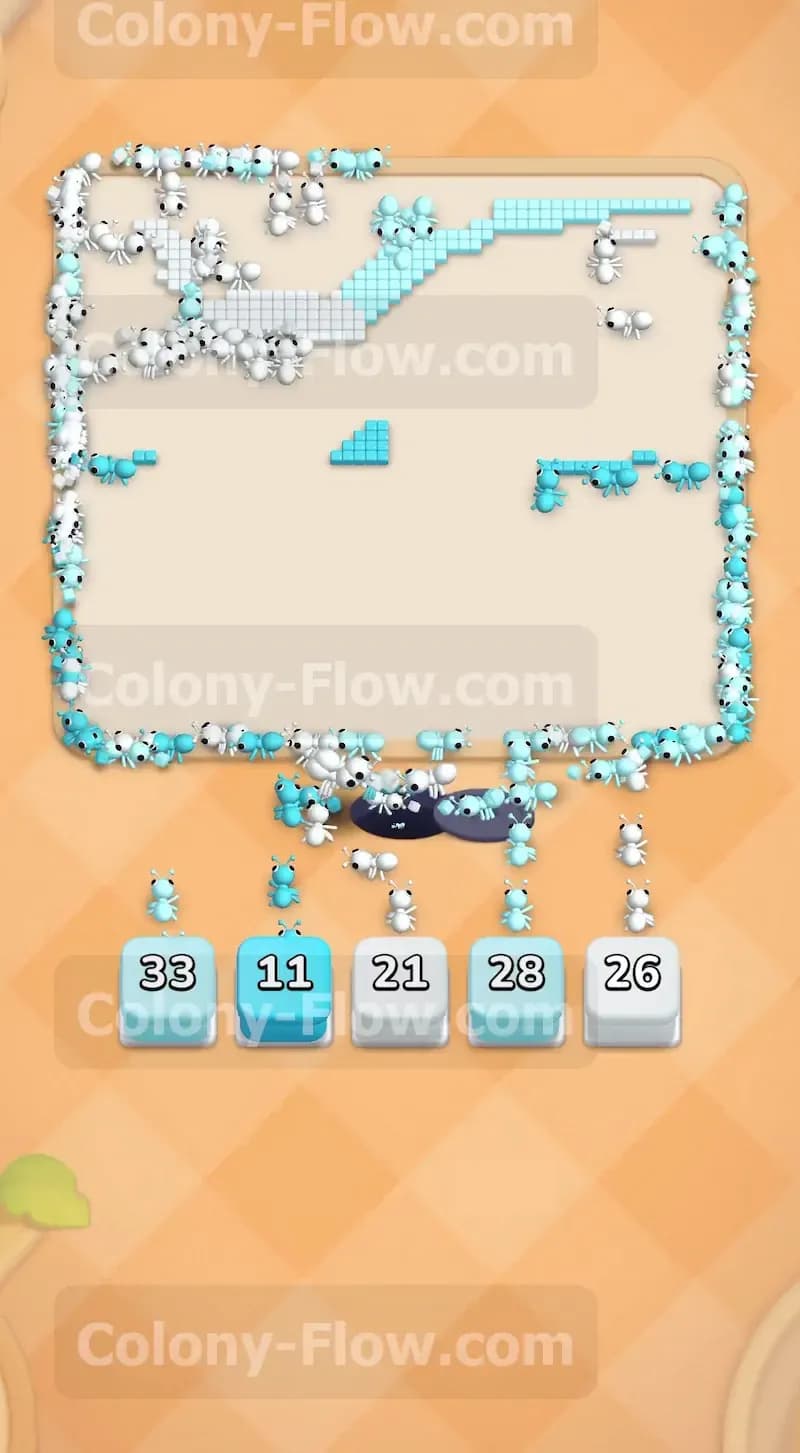
The red block numbered 29 has been taking up space in your slots for several minutes. You have been playing with a handicap this whole time. Now that the peach tiles are completely gone, the ants finally have a clear path to the red bow in the center. The red bow gives the character a splash of color. Seeing it finally disappear feels like a huge victory. You do not need to pull anything new to make this happen. The ants will automatically detect the open path and swarm the red tiles on their own. Watch that stubborn red block count down from 29 to zero and vanish from your screen. You finally get your fifth waiting slot back. This moment breaks the tension of the level. Having all five slots open gives you maximum flexibility for the final cleanup phase. The board is now wide open and entirely under your control.
Step 8: Clear the purple details
The tray holds a purple block numbered 24. Pull it now. The purple tiles make up small details inside the boat and around the character. The purple tiles add depth and shading to the boat. They are the last unique color on the board. These tiles were completely buried early on. Now they sit exposed in the middle of the empty space. The ants will quickly devour these remaining inner pieces. Since you have all five slots available again, you can safely pull the purple block along with any other colors you need without fear of jamming the board. The purple block will empty out very fast. The ants have straight paths to the remaining tiles. There are no obstacles left to slow them down. Just drop the block in and watch them finish the interior.
Step 9: Empty the final tray blocks
Your tray only has a few blocks left. They are mostly light blue and white blocks with lower numbers like 11 and 21. Pull all of them into your empty waiting slots at the same time. The picture is now mostly empty background space. The ants will scatter to the far corners of the board to hunt down the last remaining stray tiles. The paths are completely open everywhere. The final moments are purely automatic. The ants know exactly where to go. The outer edges of the sky and the last few ripples of the water will vanish. You just need to wait a few seconds for the colony to finish the job. The final blocks will hit zero and disappear. The board clears completely and you win the level.
Final Thought
Level 227 requires good slot management above all else. Accepting that the red block will jam a slot early on allows you to plan your other moves properly. You just have to keep the flow moving around the outside until the center opens up. Watch the video above this article if you want to see exactly how the timing works for the middle sections.