Colony Flow Level 647 Walkthrough Solution & Guides | How to solve Colony Flow 647

Guide By Liam Stone
Updated on August 8, 2026
Watching beats reading for some players. The video above has the entire Level 647 walkthrough ready to go.
Video doesn't match your screen?
Game updates frequently scramble layouts! Try our AI Screenshot Solver first to find your exact board instantly, or report broken guides to our team.
Welcome to Colony Flow Level 647. This board throws a massive chocolate block and a stubborn hungry door right in your way. You have to carefully peel back the colored layers without jamming your waiting slots. I will walk you through exactly how I clear this tricky layout.
Colony Flow Level 647 Overview
What You Are Working With
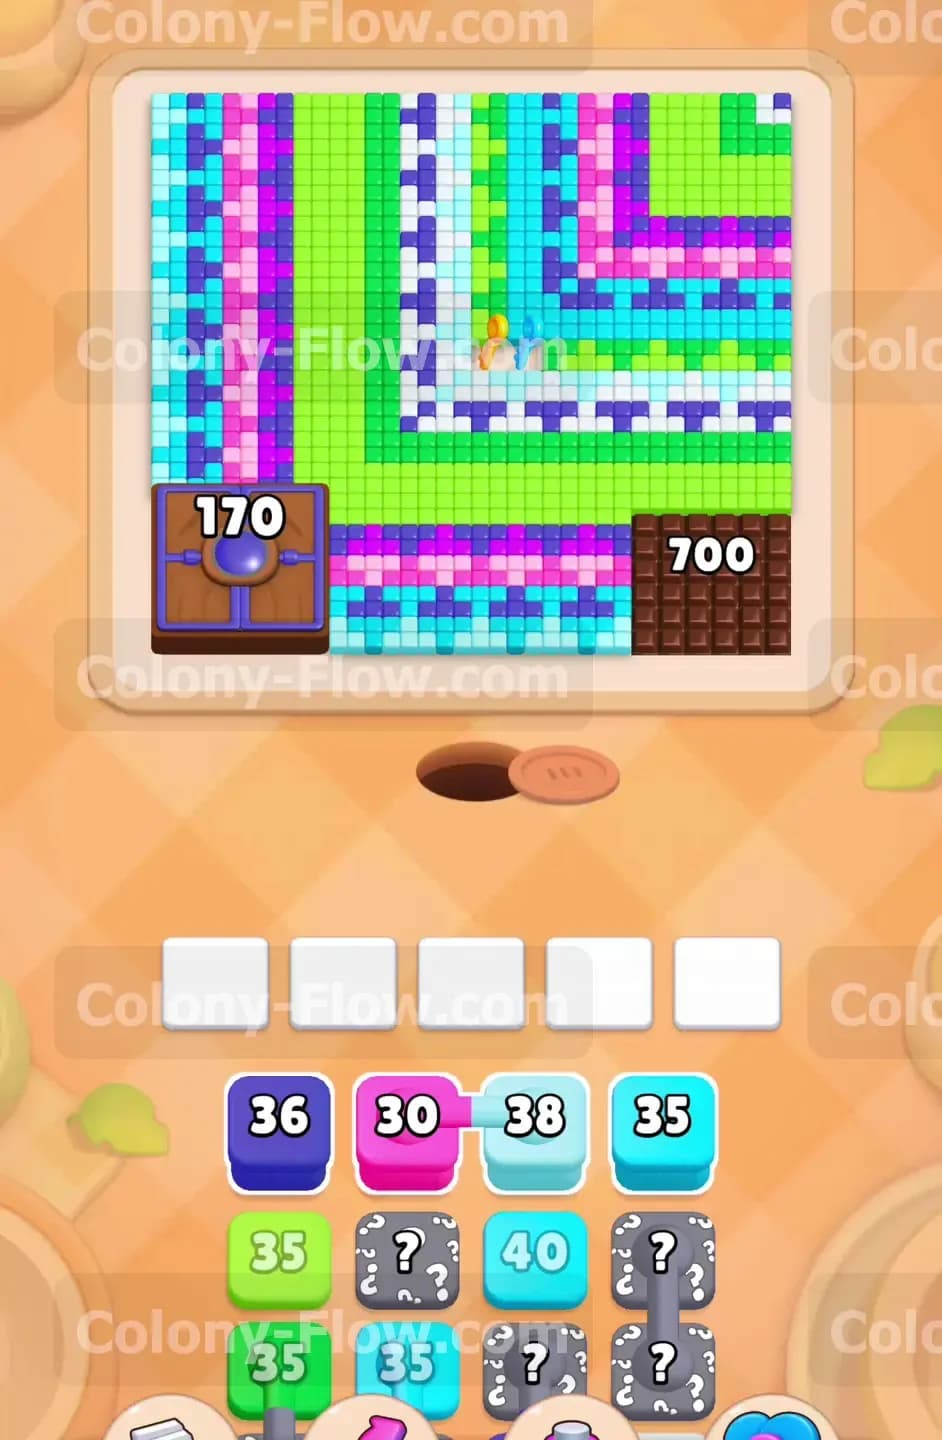
The picture on this board looks like a large layered chevron pointing down toward the bottom right. The colored bands wrap around each other in tight rows. You will see green and purple and dark blue and cyan and white and pink tiles. A massive Hungry Door sits on the bottom left. This door requires 170 hits to open. On the bottom right sits an enormous square of Chocolate. That chocolate block demands 700 hits to fully clear. The tray holds a mix of standard blocks along with connected boxes and hidden boxes. You will also spot an egg shaped lock in the tray. A yellow key sits right in the middle of the board. You need to pick up that key to progress.
What It Takes to Clear Level 647 Board
Clearing this board requires you to manage your five waiting slots perfectly. If you pull too many blocks and fill those slots while paths are blocked you lose the level instantly. You have to chip away at the hungry door and the chocolate simultaneously. Those two obstacles eat up a lot of block numbers. You slowly break down the chevron layers to clear paths toward the center. Reaching the yellow key frees up the locked tray blocks. Once the chocolate and the hungry door finally vanish the remaining tiles clear out fast.
Colony Flow Level 647 Step by Step Solution
Step 1: Start chipping away at the Hungry Door.
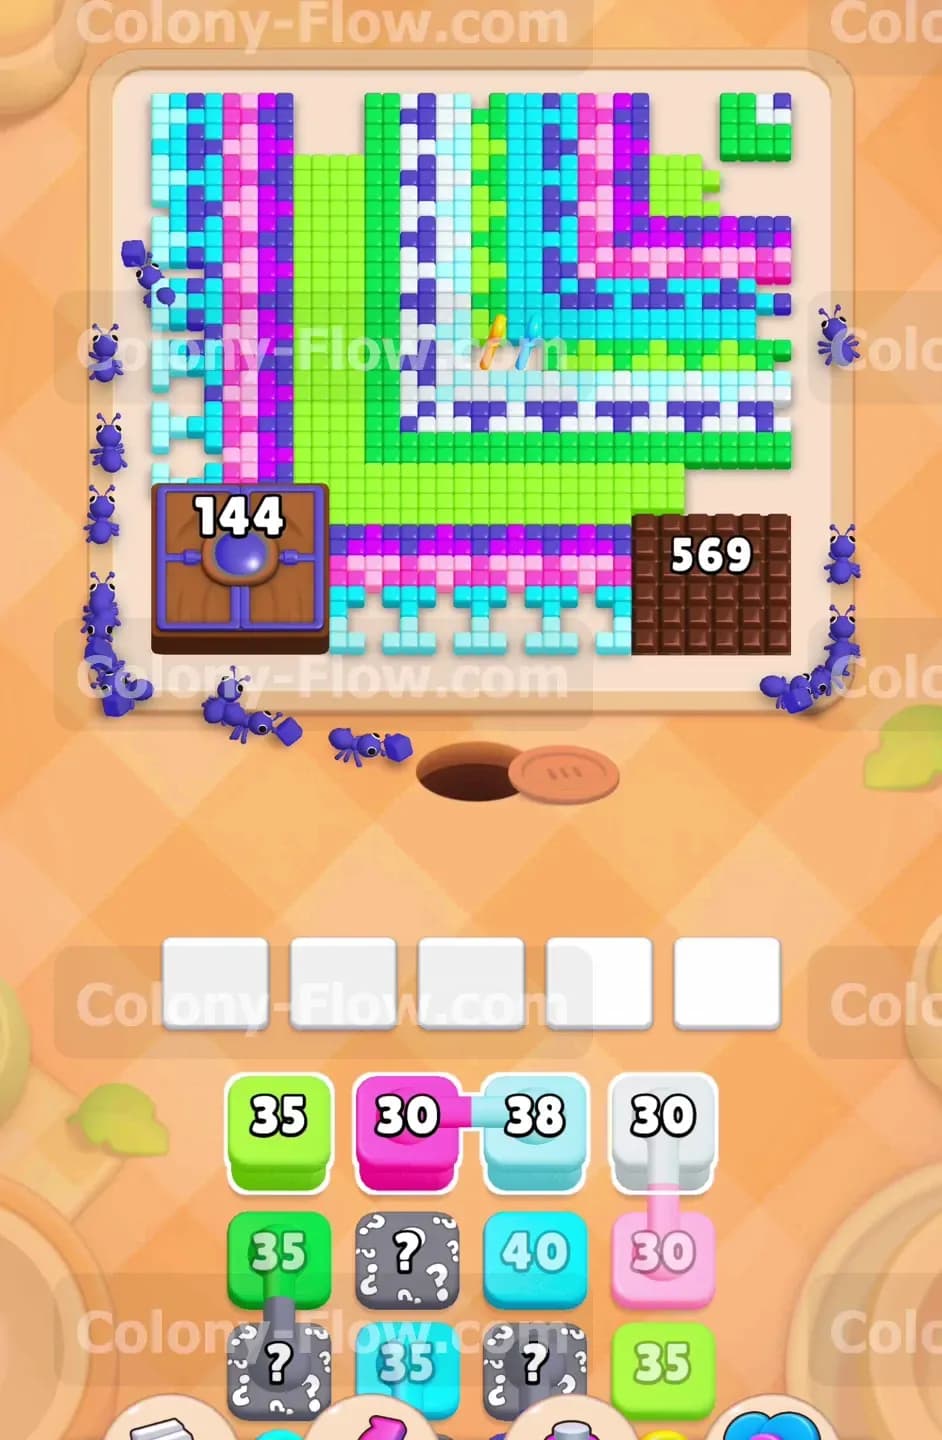
You begin the level facing two major obstacles that dominate the bottom corners. Pull the Dark Blue 36 block from your tray up into the first waiting slot. The dark blue ants exit the nest and immediately path toward the bottom left. They target the dark blue tiles forming the outer band of the large chevron shape. A large portion of these ants will also walk directly into the Hungry Door. This door starts with a requirement of 170 ants. Feeding the door early is a great strategy. The dark blue block easily depletes its count and disappears from the waiting slot. Your slots remain clear and the ants establish a solid initial path.
Step 2: Attack the massive chocolate block with green ants.
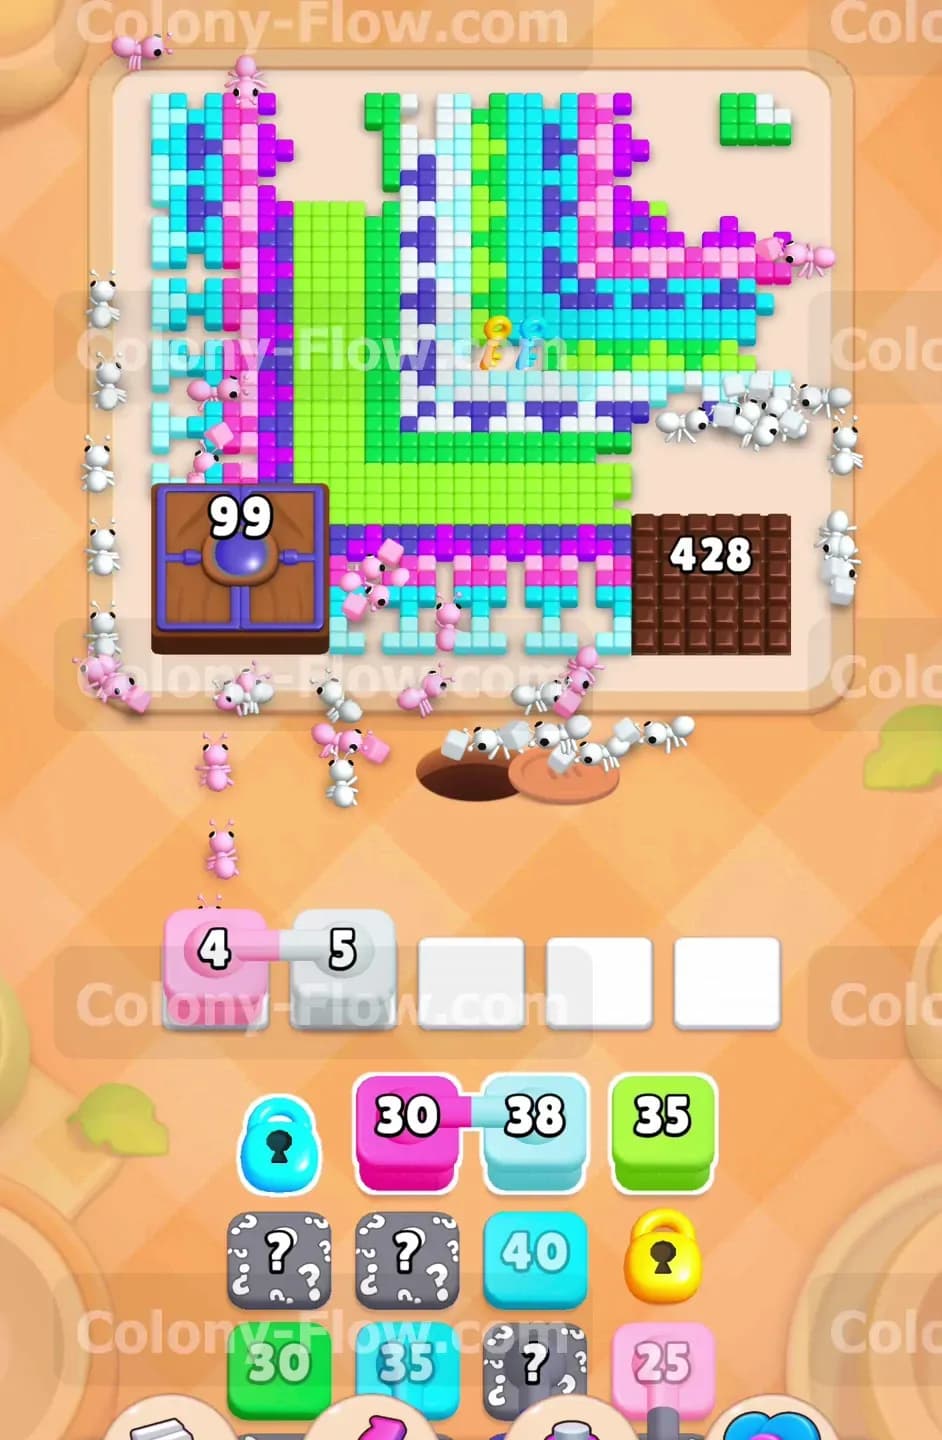
Next you must address the massive block of Chocolate sitting on the bottom right. Bring the Green 35 block up to your waiting slots. The green ants march out and target the green tiles outlining the very edge of the chevron pattern. Many of these ants will divert into the chocolate. Chocolate acts as a heavy shield covering the regular food tiles underneath. This specific chocolate block requires an incredible 700 hits to destroy. The green ants barely scratch the surface of that high number. They do manage to lower the count and clear enough green tiles to completely use up the block number. The Green 35 block finishes and leaves your slot empty.
Step 3: Deploy the connected pink and cyan blocks.
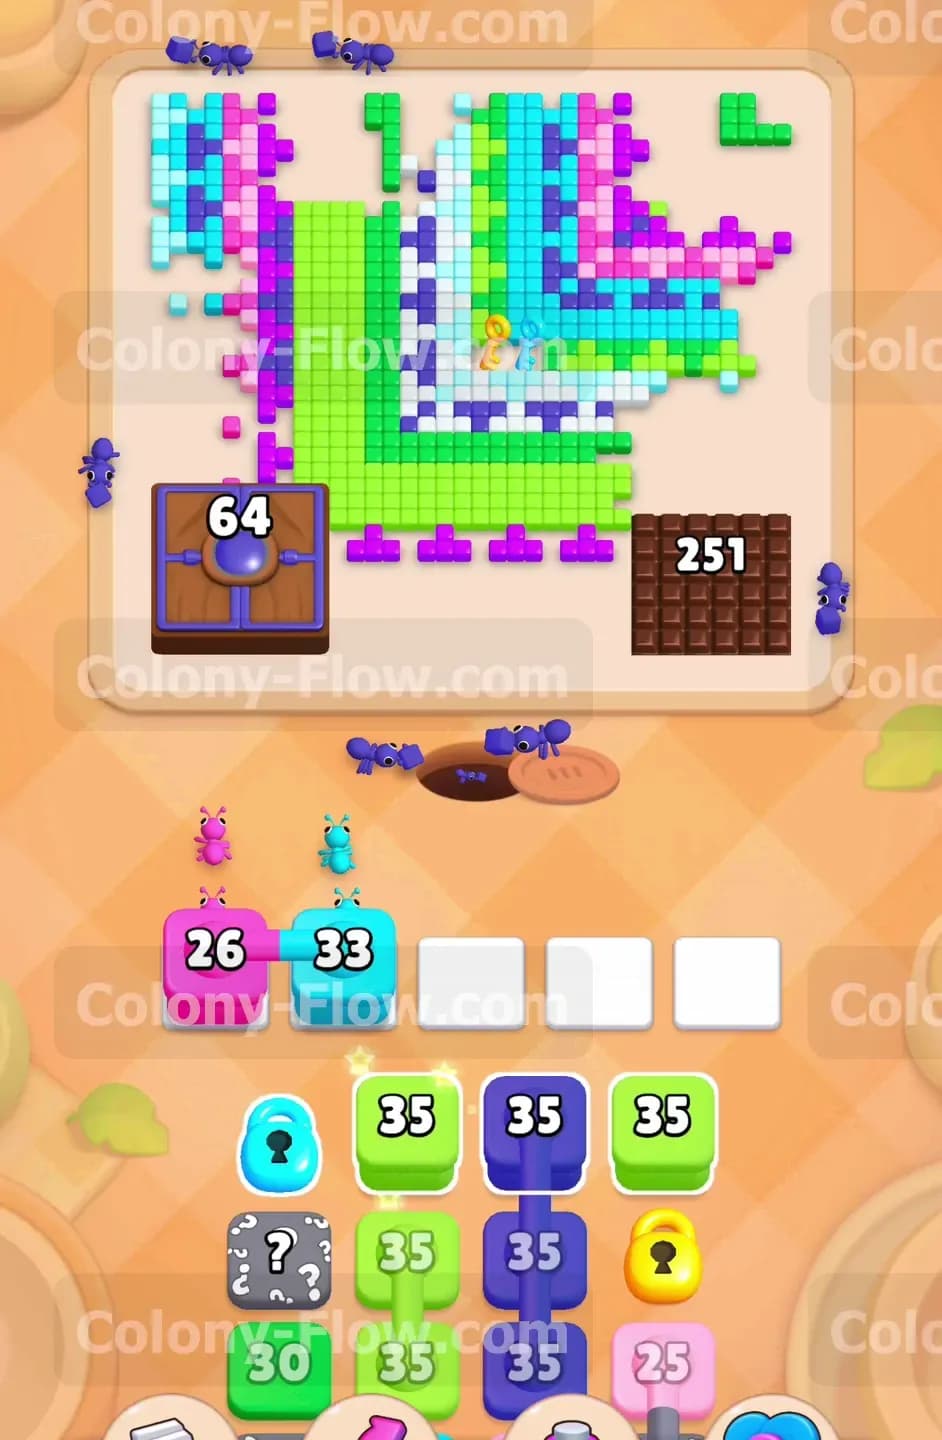
Your tray now presents connected boxes. You will see a Pink 30 block physically linked to a Light Blue 38 block. Connected boxes always move into the waiting slots as a single unit. Pull them up now. The pink ants search for the pink colored sections of the chevron while the light blue ants hunt the cyan sections. Because the paths are still quite restricted by the door and the chocolate many of these ants simply walk straight into the two large obstacles. The Hungry Door number steadily drops. The Chocolate block number ticks down into the 500 range. The heavy traffic keeps the paths moving and prevents the slots from jamming up.
Step 4: Bring in the white block to dig deeper into the chevron.
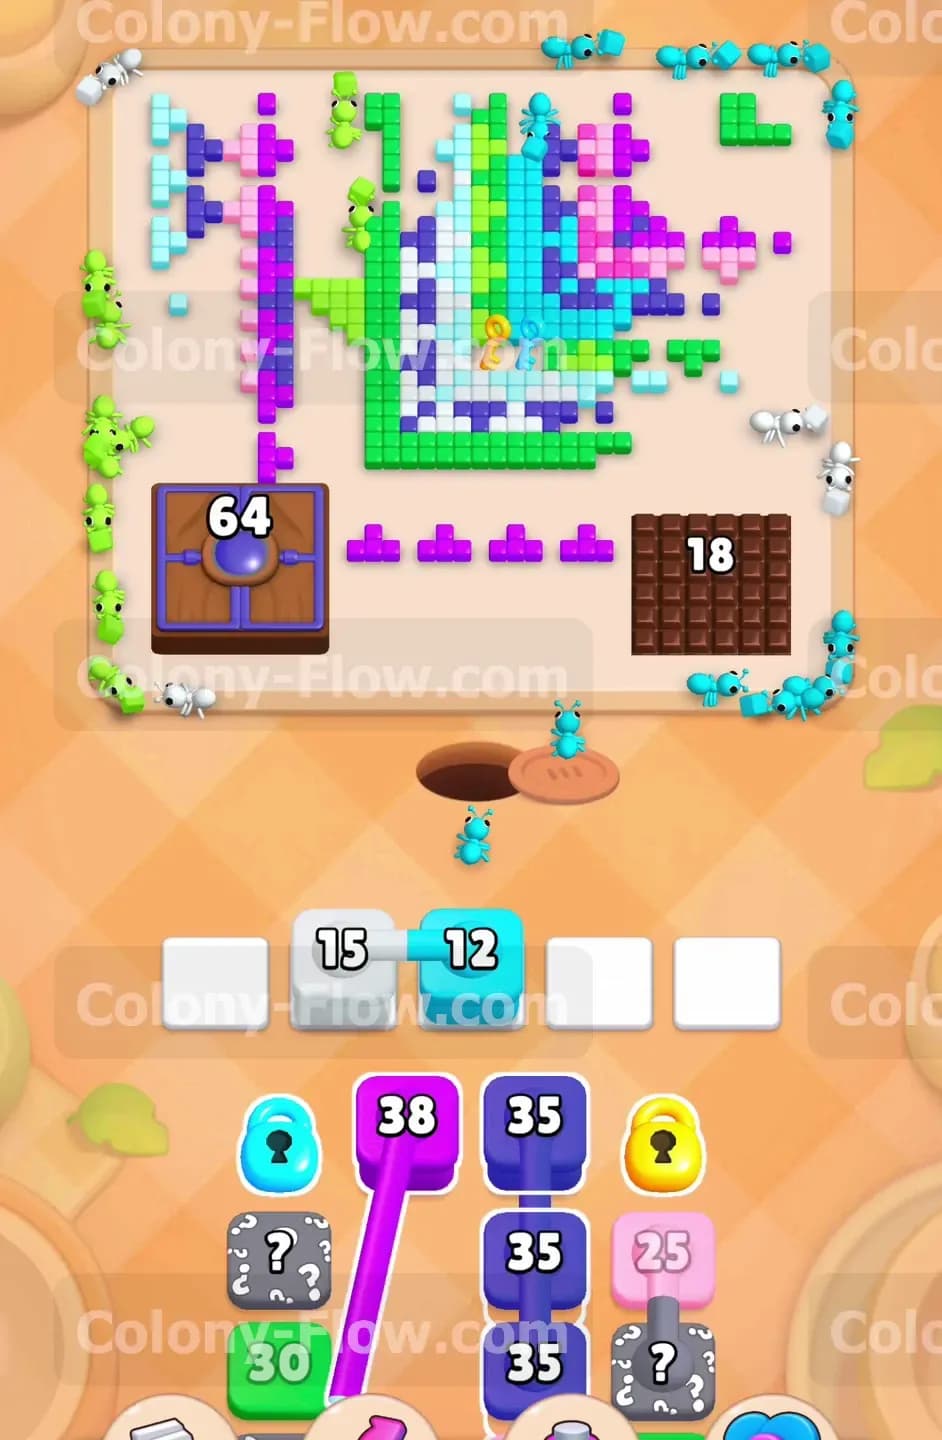
You need to dig deeper into the center of the chevron to reach the yellow key. Move the White 30 block into your slots. The white ants rush the board and find the white bands of tiles nestled inside the main picture. The white ants chew away large sections of the pattern. They also continue the assault on the chocolate and the hungry door. You must always watch your five waiting slots during these big moves. If you pull too many blocks while the ants are walking a long path the blocks back up. You lose the level if all five slots fill and no path exists. Wait for the white ants to finish before moving forward.
Step 5: Send more pink and cyan to break the bottom layers.
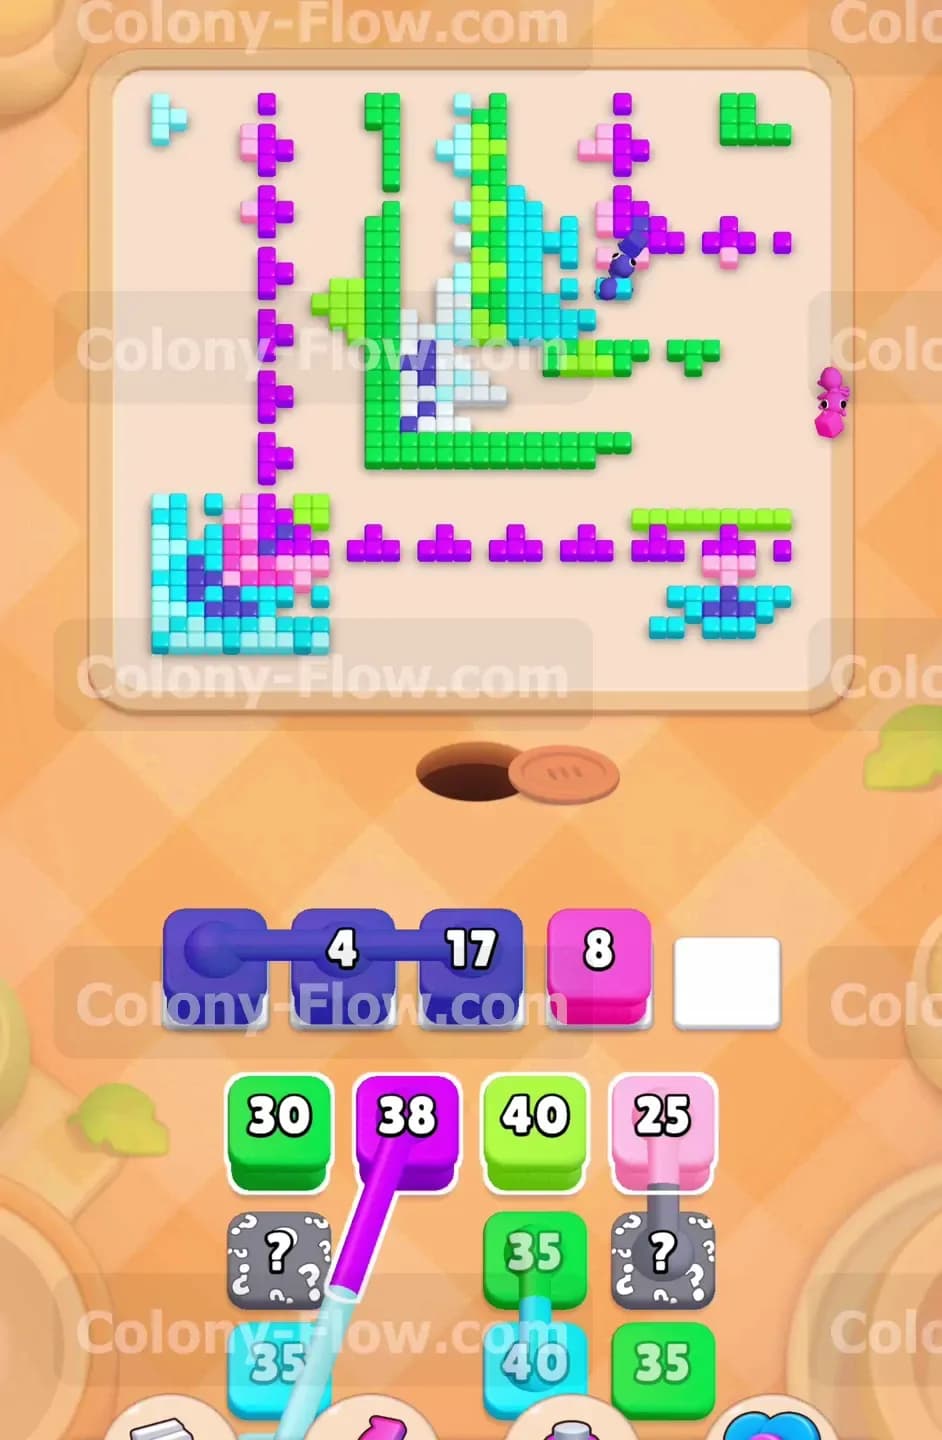
Bring up the next set of pink and cyan blocks from the tray. You have a Pink 4 block and a White 5 block available. Place them in the slots to clean up the remaining sections on the left side of the board. The ants quickly consume the straggling tiles. Clearing this specific area creates a much shorter route toward the center of the board. The Hungry Door drops down to exactly 64 points. The giant Chocolate block drops to 251 points. You are breaking through the toughest part of the level. The board opens up significantly and gives your future ants plenty of room to maneuver.
Step 6: Release another wave of connected green and dark blue blocks.
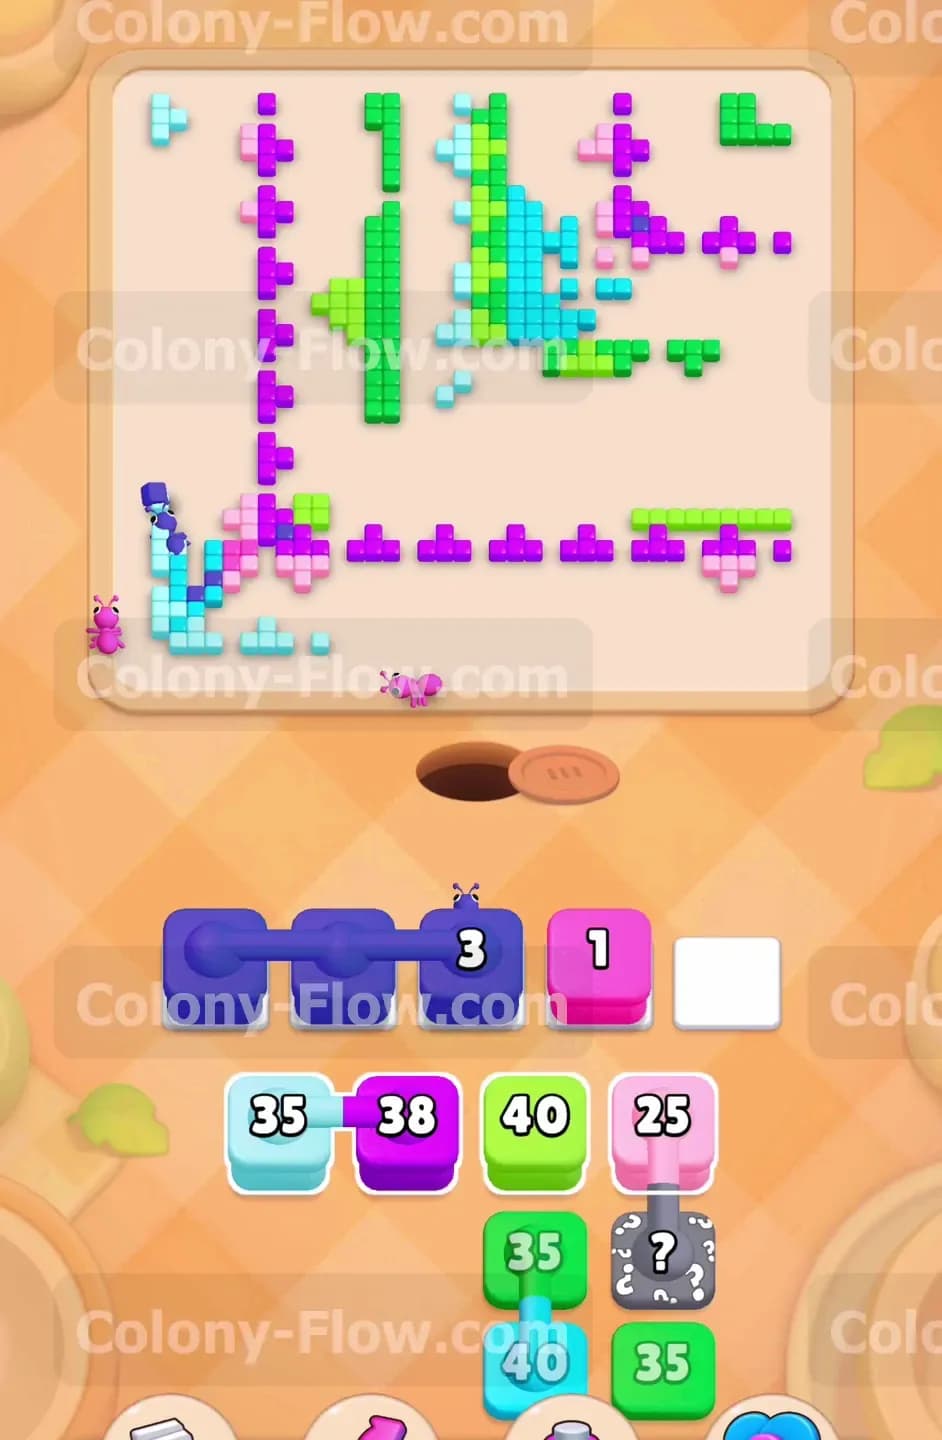
Your tray now offers another set of connected boxes. Pull the Green 35 block connected to the Dark Blue 35 block into your slots. The green and blue ants swarm the right side and the top sections of the chevron. They throw their remaining numbers heavily into the Chocolate block. The continuous assault finally breaks a path straight through the middle layers of the colored bands. This new path leads exactly to the spot where the yellow key rests. Securing this path is the most critical move of the entire level.
Step 7: Grab the yellow key and unlock the tray.
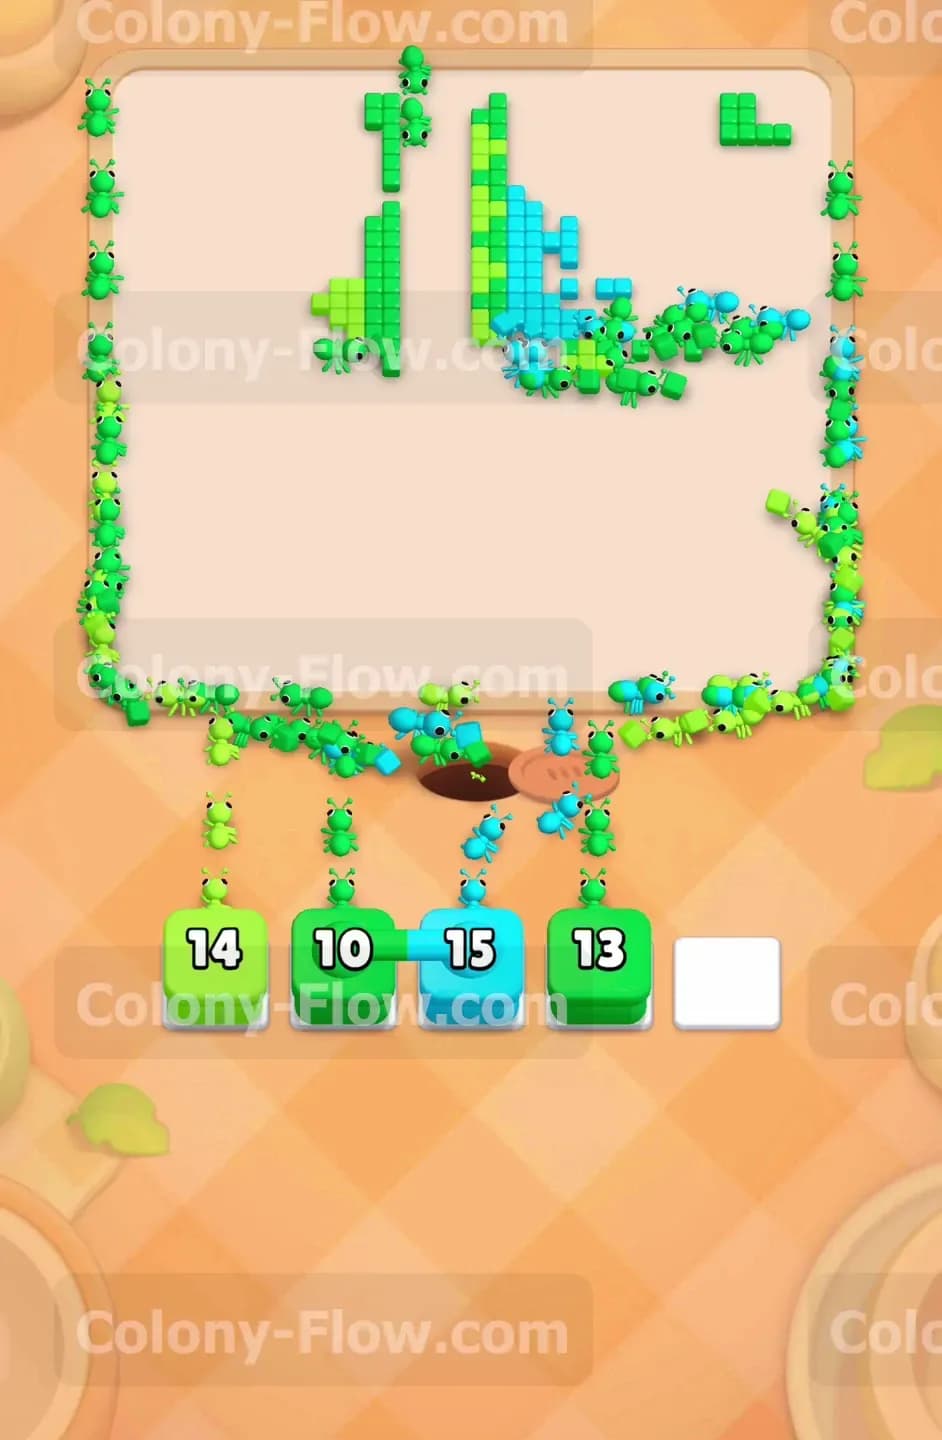
The green and blue ants finally reach the middle section and touch the yellow key. Collecting the key immediately triggers an action in your tray. The yellow egg shaped lock holding your tray blocks hostage flies off the screen. Removing that lock grants you access to a Pink 25 block and multiple hidden question mark boxes. You absolutely need these blocks to clear the final tiles. Always ensure your ants have an open lane to the key. If you block the lane with the wrong color you will jam the slots and fail the level right here.
Step 8: Destroy the Hungry Door completely.
You are now ready to destroy the Hungry Door once and for all. Pull the White 15 block and the Cyan 12 block into your slots. The ants target the last few tiles on the left side and dump their remaining counts directly into the door. The door takes the final 64 hits and completely vanishes from the board. Destroying the door opens up a massive chunk of empty space on the bottom left corner. Your ants now have a completely unobstructed route to walk. The risk of jamming your waiting slots drops heavily.
Step 9: Obliterate the remaining Chocolate block.
Turn your attention back to the right side of the board. The giant Chocolate block is clinging to life with only 18 points remaining. Pull the next available dark blue and pink blocks to finish the job. The ants swarm the bottom right corner and smash the last bits of chocolate. The massive 700 point barrier shatters and disappears. Shattering the chocolate reveals the original food tiles trapped underneath it. You now have full visibility and full access to every single tile remaining on the board.
Step 10: Clear the main purple and dark blue segments.
Your tray provides a Purple 38 block connected to a Dark Blue 35 block. Move them into the slots. The purple and dark blue ants flood the board and target the thick bands of color on the top right. Without the door or the chocolate blocking the way the ants chew through these tiles with incredible speed. The numbers on your blocks drop rapidly as the ants find immediate paths to their matching colors. The tight chevron shape completely breaks down into scattered disconnected islands of tiles.
Step 11: Reveal the hidden boxes and clean up the stragglers.
Look at the Hidden Boxes remaining in your tray. These boxes show question marks and refuse to reveal their color until a valid path exists. The board is now wide open so you can safely pull them up into the slots. The question marks flip over and reveal themselves as green and cyan blocks. The newly revealed ants march out and hunt down the isolated islands of green and cyan tiles left behind by your previous moves. Give the ants time to finish their routes completely before you pull the final blocks.
Step 12: Launch the final sweep to clear the board.
You have reached the final phase of the level. The tray holds just a few remaining blocks. You see a Green 14 a Green 10 a Cyan 15 and a Green 13. Pull every single one of them up to the waiting slots. The board is practically empty so there is zero chance of jamming your slots now. The final waves of green and cyan ants sprint across the open space. They devour the very last tiles clinging to the far corners of the board. The entire picture clears away. The last ants run back to the nest hole and you beat the level.
Final Thought
Level 647 tests your patience with those two massive point sinks. You just have to balance feeding the Hungry Door and the Chocolate block while slowly working toward that yellow key. Keep your waiting slots clear and let the ants do the heavy lifting. Watch the video above this article if you want to see exactly how the timing plays out on screen.