Colony Flow Level 900 Walkthrough Solution & Guides | How to solve Colony Flow 900

Guide By Liam Stone
Updated on August 8, 2026
Not in the mood to read? The video above solves Level 900 for you from beginning to end.
Video doesn't match your screen?
Game updates frequently scramble layouts! Try our AI Screenshot Solver first to find your exact board instantly, or report broken guides to our team.
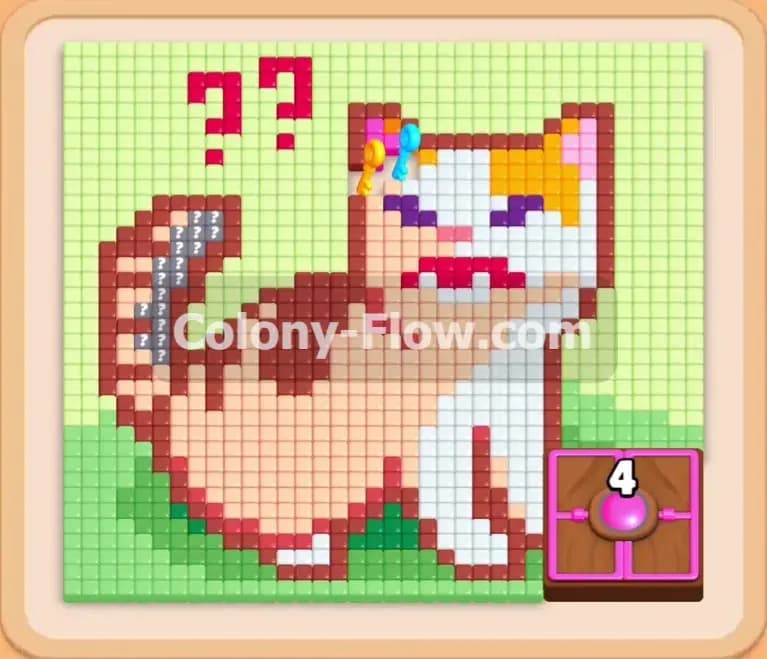
Welcome to Colony Flow Level 900. I am Liam Stone and I play every single level to figure out the exact moves you need to win. This puzzle features a giant pixel art cat surrounded by a massive green background. You will face tricky connected boxes in your tray and a Hungry Door that blocks your progress early on. I will walk you through the exact sequence of moves to keep your waiting slots clear and beat this board without getting stuck.
Colony Flow Level 900 Overview
What You Are Working With
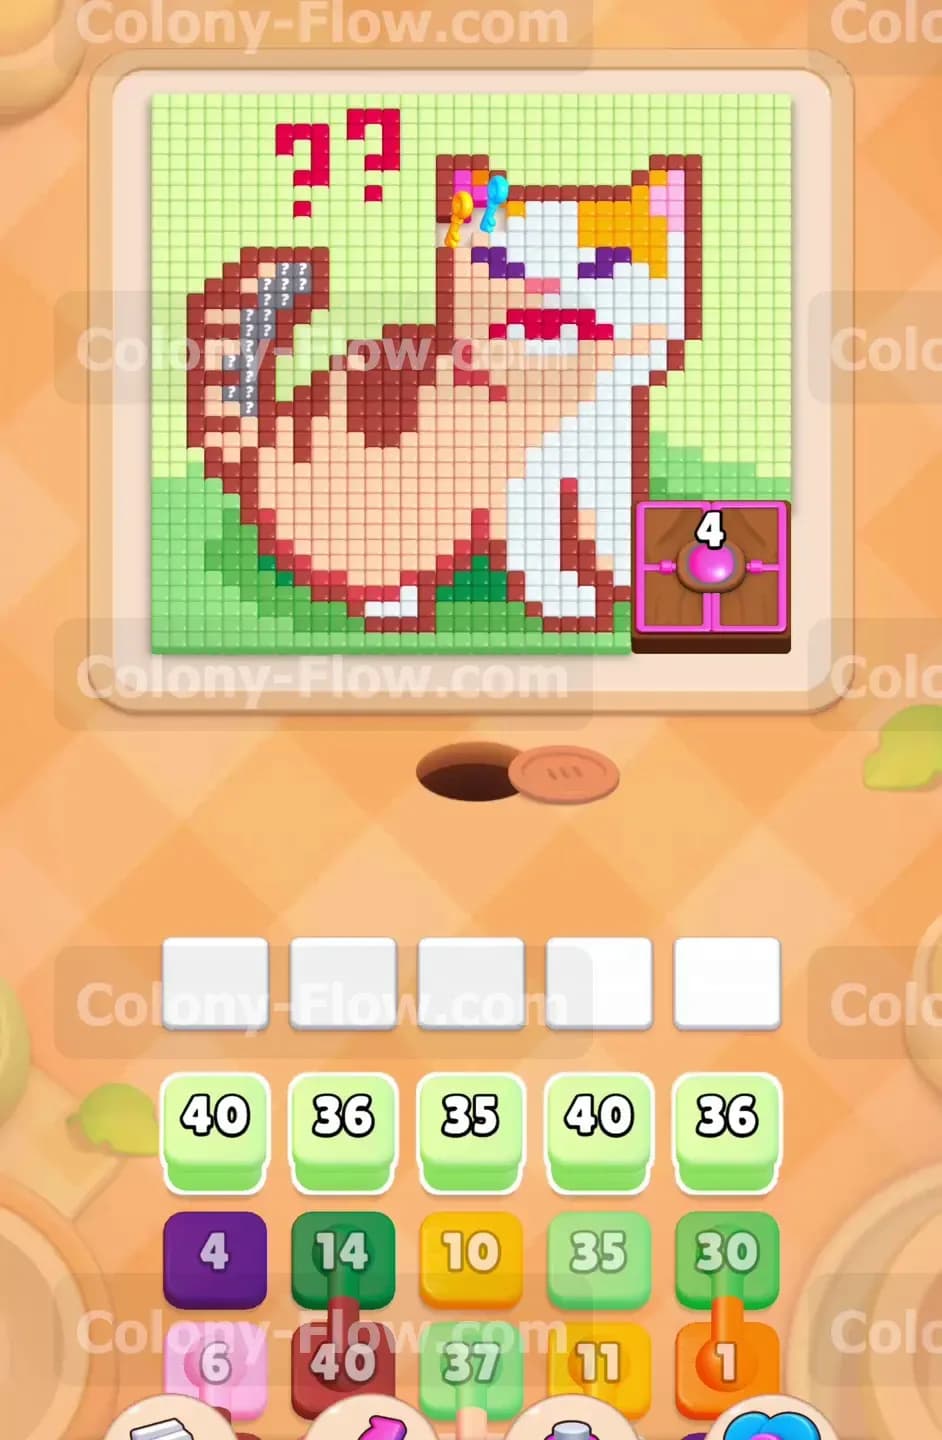
The board displays a large cat made of white brown light orange and dark red tiles. Above the head of the cat you see large red question marks built into the pixel art. The background consists of hundreds of light green tiles. On the lower right side of the board sits a Hungry Door that demands purple ants to open. Your tray starts packed with high number light green blocks. Further down in your tray you will find connected boxes linked by cords. You will also see a yellow lock and a cyan lock blocking your access to the bottom rows. You must unlock these to reach the high capacity white and red blocks waiting at the bottom.
What It Takes to Clear Level 900 Board
You win by completely eating away the cat and its background. You must prioritize the light green exterior to make room for your ants to travel. You also have to fulfill the Hungry Door requirement early enough so you do not jam your waiting slots with purple blocks. Collecting hidden keys on the board removes the locks in your tray and grants you the white and dark red blocks needed for the final stretch. The main rule of the game dictates that you lose if you fill all five waiting slots and no ants can clean the board. Every move requires you to keep at least one path open for the ants so the waiting slots never jam. Frame your entire solution around never creating a dead end.
Colony Flow Level 900 Step by Step Solution
Step 1: Clear the outer light green background first
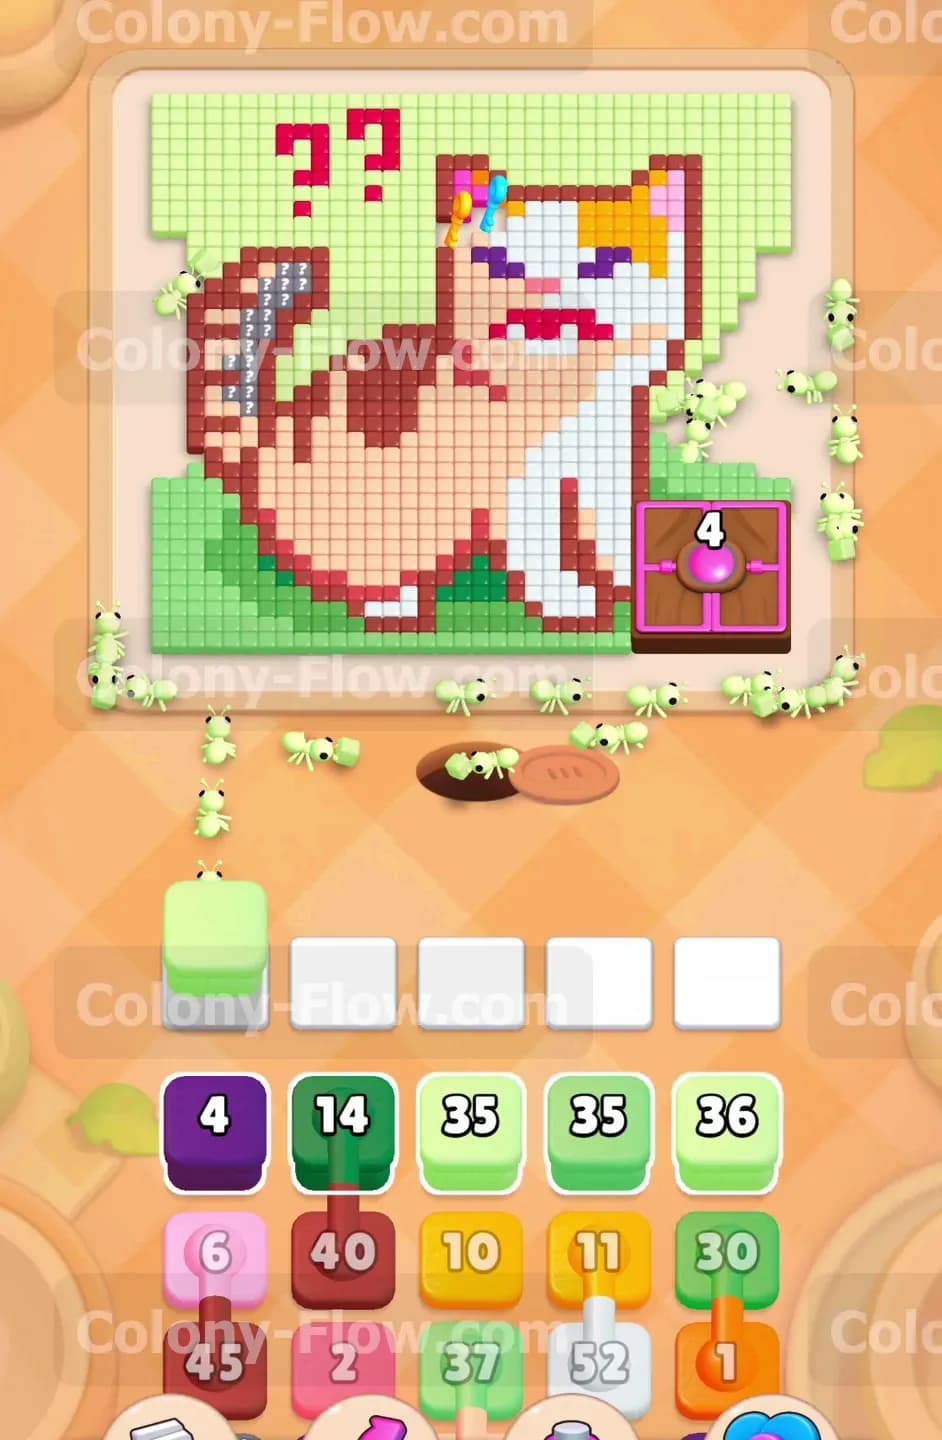
You start with a row of high capacity light green blocks carrying numbers like forty and thirty six. Tap the first three light green blocks into your waiting slots. The ants emerge from the nest hole at the bottom center and march upward. They immediately begin chewing away the massive green area surrounding the cat. Keep a close eye on your five slots. As the numbers count down and one block completely empties tap the next light green block to keep the flow going. You want to clear the lower left and lower right areas completely before moving to other colors. Doing this ensures your ants have wide open pathways to reach the upper sections of the board later on.
Step 2: Feed the Hungry Door with purple ants
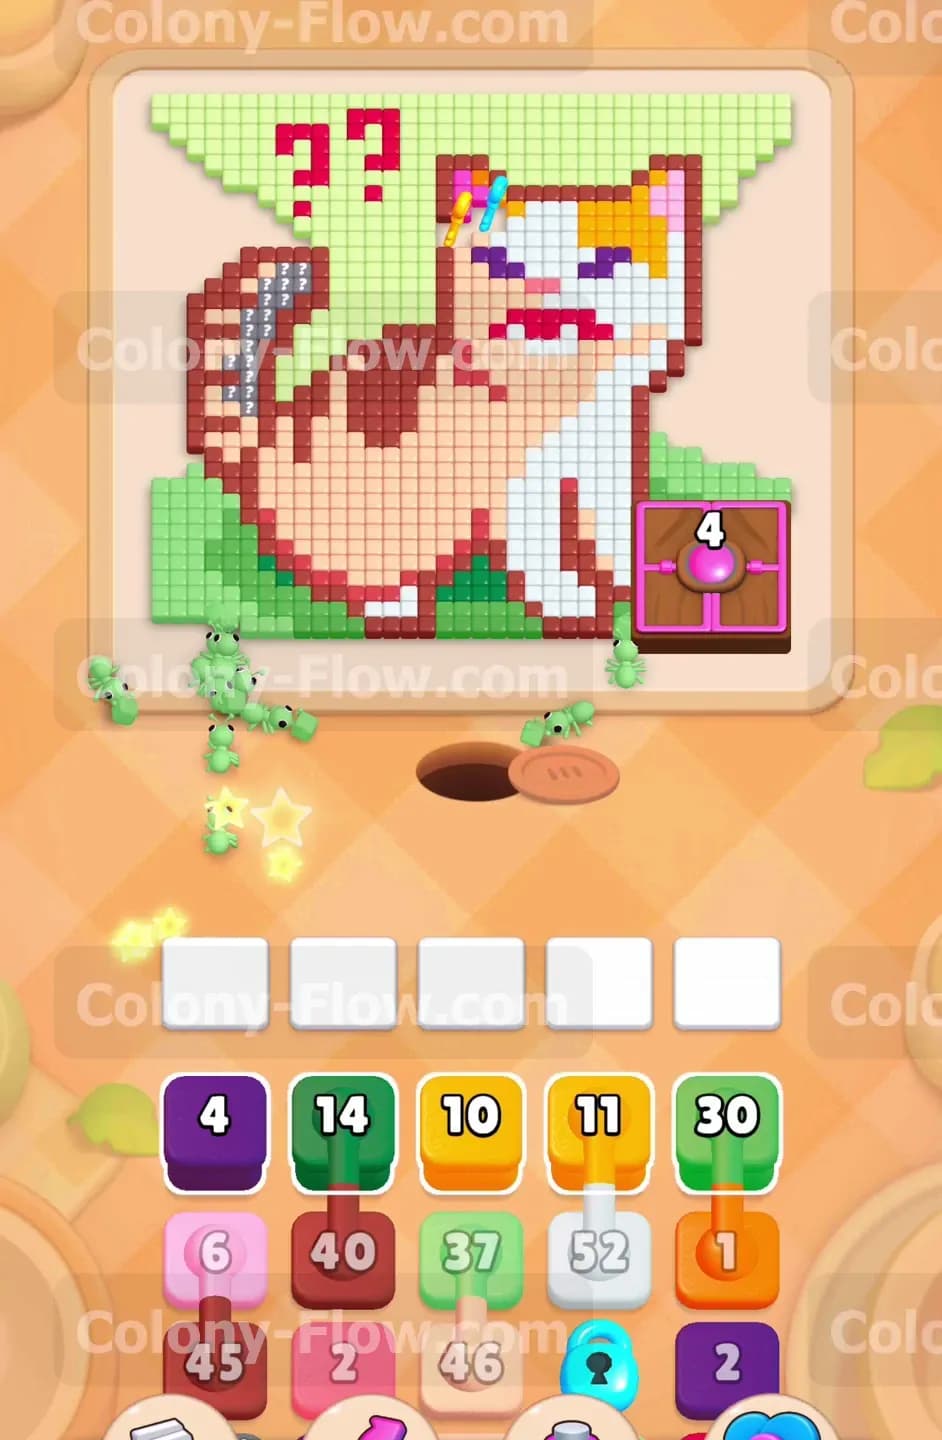
Once the right side of the board opens up you will see a clear path to the Hungry Door. This door demands exactly four purple ants to open and get out of the way. Look at your tray and find the dark purple block with the number four on it. Send it up to your waiting slots. Do not tap any other blocks right now. You want the purple ants to have exclusive access to the path so they march straight into the door. The block in your tray will count down from four to zero as the ants enter the door. The door then vanishes and opens up the space behind it. This satisfies the requirement and removes a major barrier on the right side of the board.
Step 3: Untangle the connected boxes in your tray
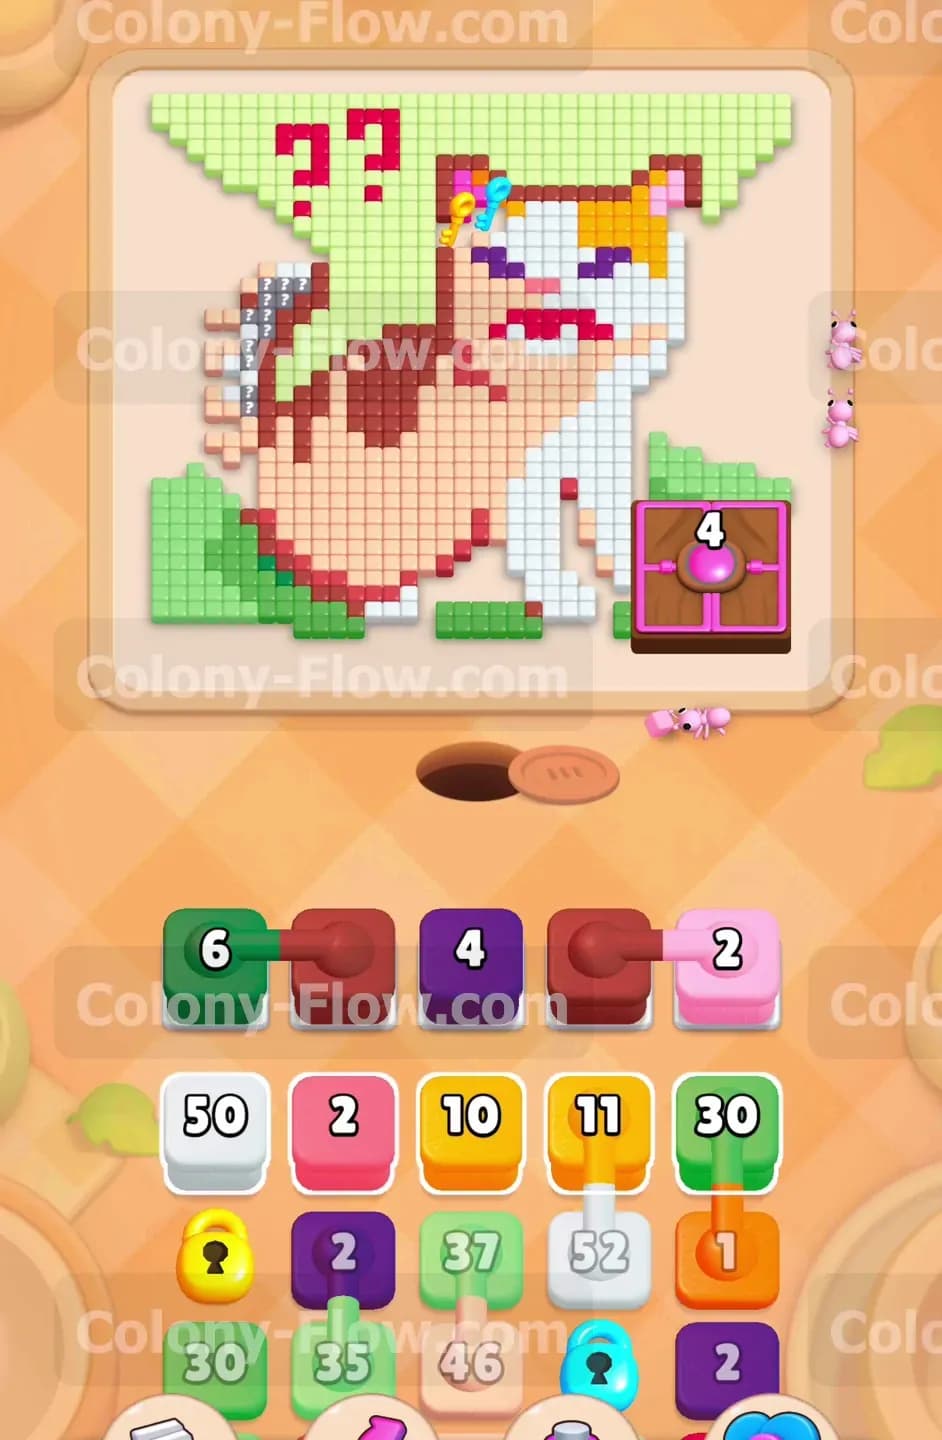
Now you face the connected boxes in your tray. You will see a dark green block linked to a dark red block and a dark purple block linked to a pink block. When you tap one of these linked blocks the entire connected group jumps into your waiting slots together. This action consumes two or more slots instantly. You have to send these up very carefully. Make sure you have open food tiles for both colors before you tap the group. The dark green ants will eat the remaining green patches near the bottom left while the dark red ants begin attacking the cat outline. Managing these pairs carefully prevents your slots from clogging. If you pull a connected pair and one color has no valid path you risk filling your five slots and losing the level entirely.
Step 4: Reveal the hidden keys to unlock your tray
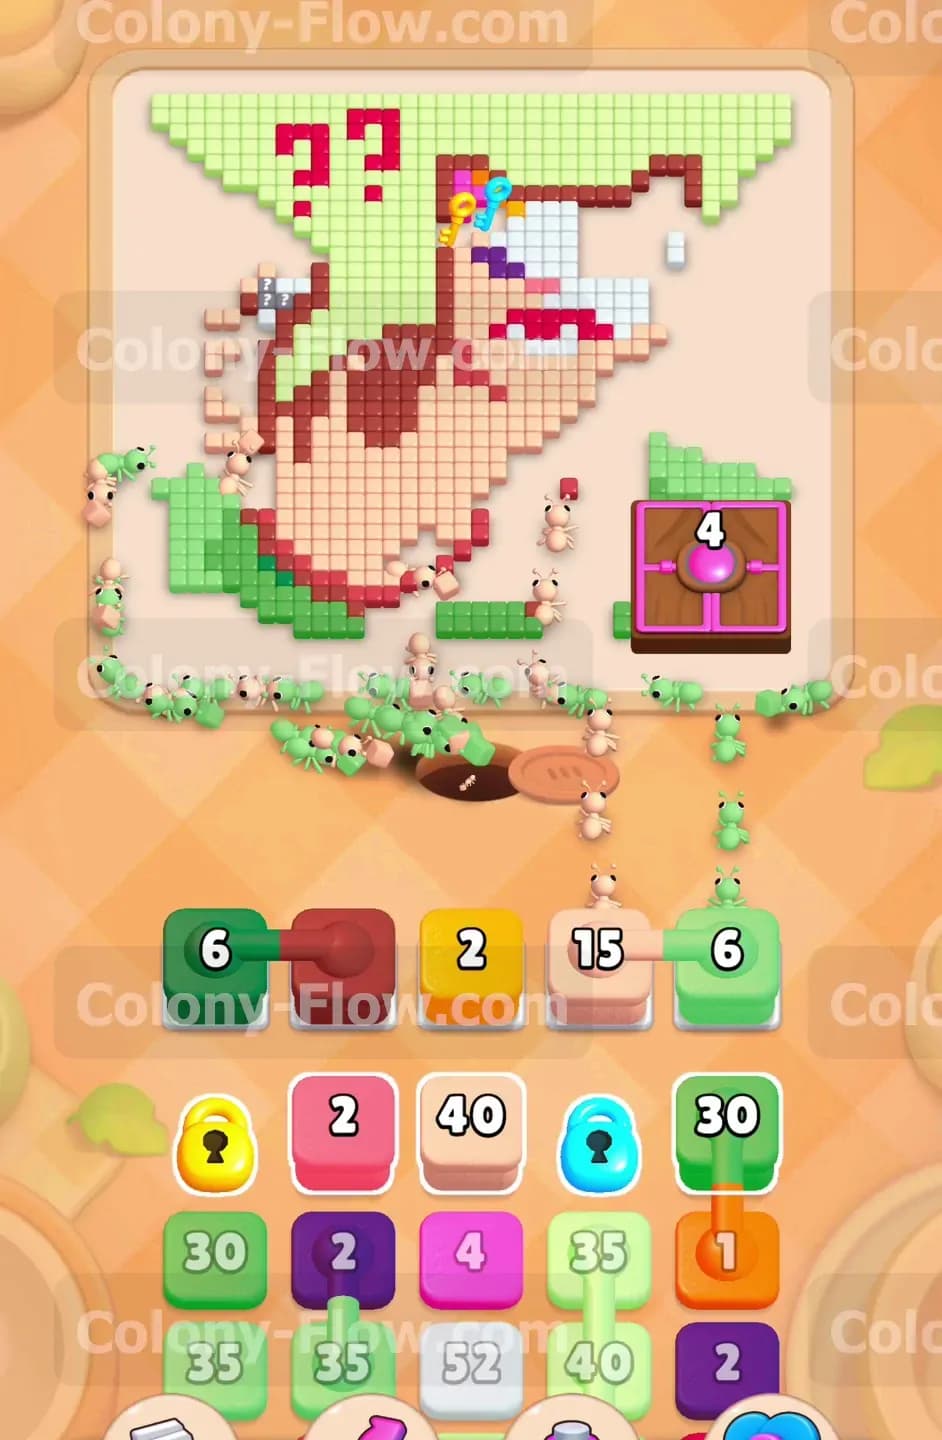
The board holds hidden keys under specific cat food tiles. As your pink and dark green ants clear the lower sections of the board they naturally reveal these hidden keys. Once the tiles on the adjacent sides are cleared the ants pick up the keys automatically. Collecting these keys breaks the yellow lock and the cyan lock sitting in the middle of your tray. You must prioritize clearing the bottom left corner where the first key hides. This is a critical action because those two locks physically block the high capacity white blocks you desperately need to clear the face of the cat. Wait patiently for the locks to shatter before you tap any more blocks.
Step 5: Flood the board with high capacity white blocks
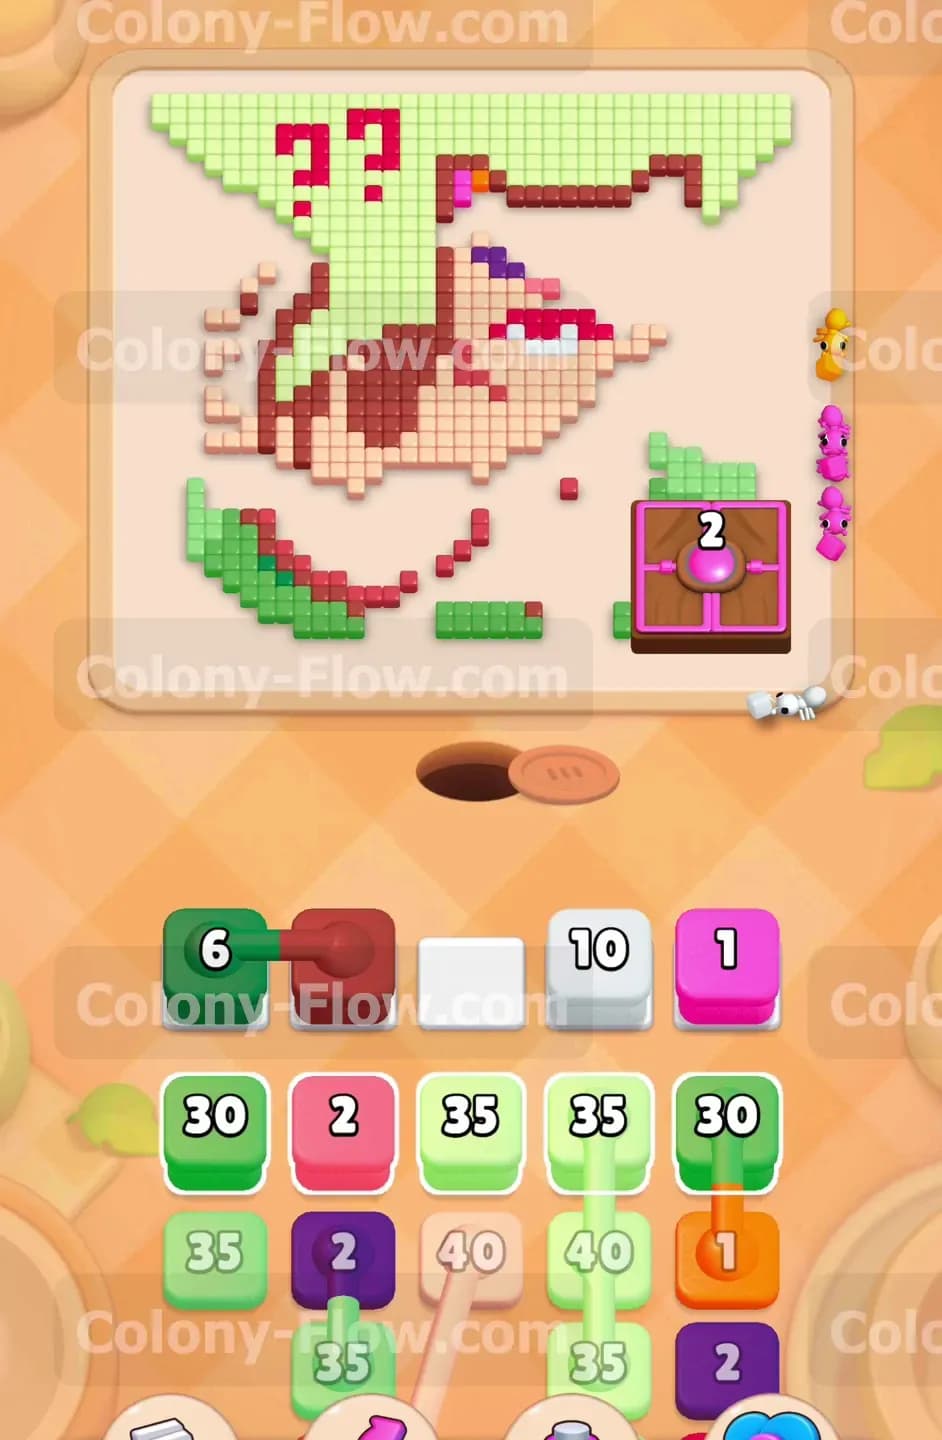
With the locks gone you now have access to massive white blocks carrying numbers like fifty and fifty two. Tap two of these white blocks into your waiting slots. The ants will flood the board and rapidly eat away the large white sections of the cat face and paws. Because the white area is incredibly huge you can safely queue up to three white blocks without worrying about filling all five slots and losing. The ants will spread out evenly across the white tiles and the numbers on your blocks will drop incredibly fast. Keep feeding white blocks from your tray into the waiting slots until the entire white face and paw sections are completely erased from the pixel art.
Step 6: Use the pink blocks for the small details
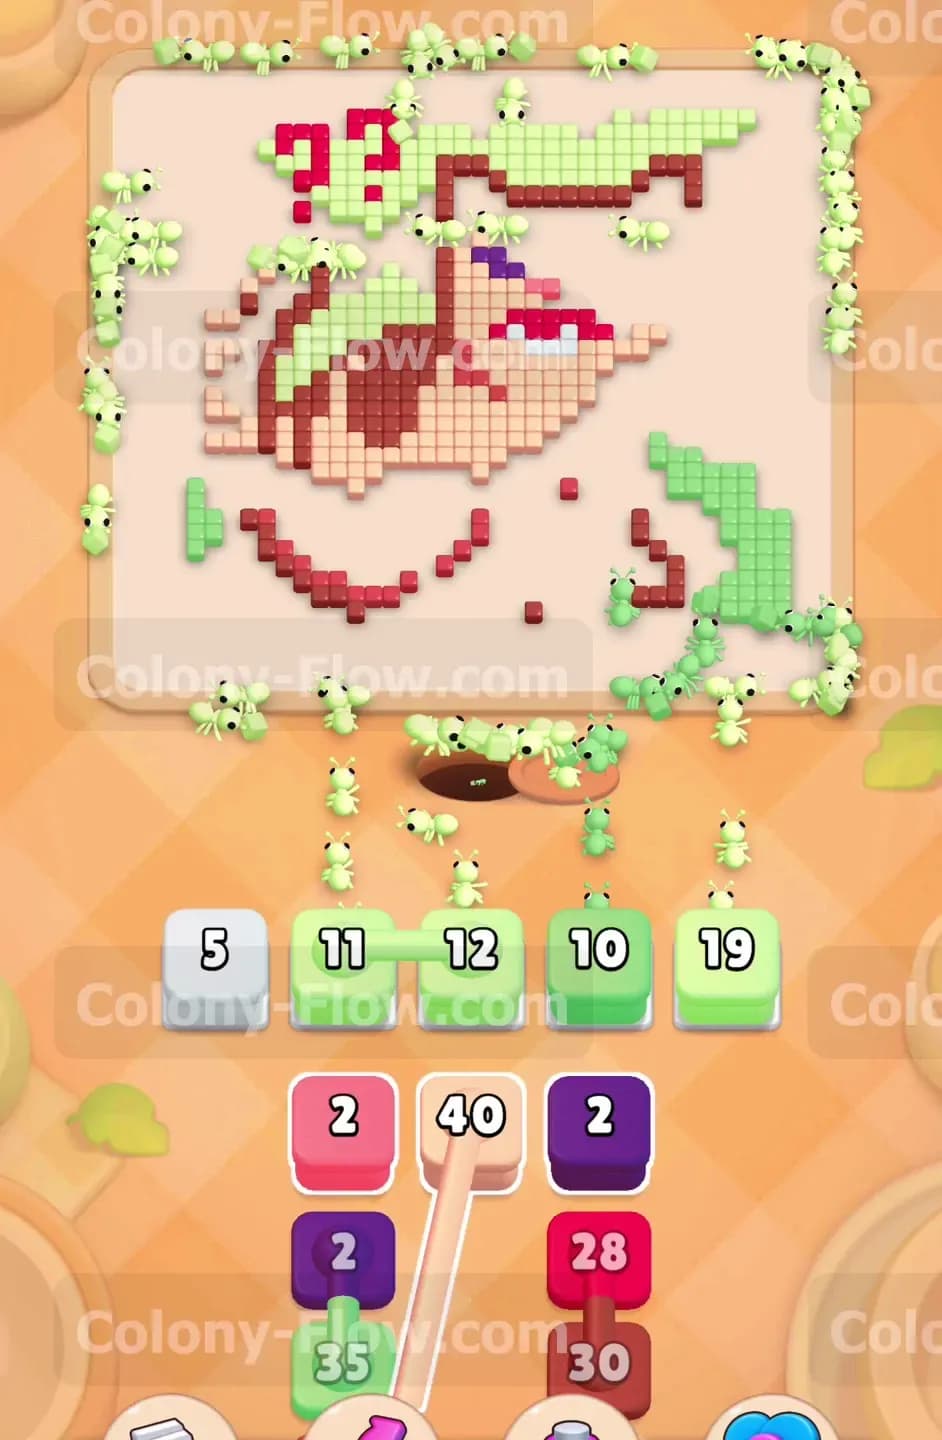
While the white blocks finish their job you will notice several small pink blocks in your tray carrying low numbers like two and four. These pink blocks correspond to the tiny details on the cat pixel art such as the inner ears and the decorative bows on the head. Tap a pink block into a waiting slot alongside your final white block. The pink ants will slip past the white ants and target those specific small details. Because the numbers are so low the pink blocks will clear out of your waiting slots in just a few seconds. Do not pull all the pink blocks at once. Pull them one by one to ensure they do not get stuck behind a traffic jam of white ants trying to reach the top of the board.
Step 7: Shatter the dark red outline
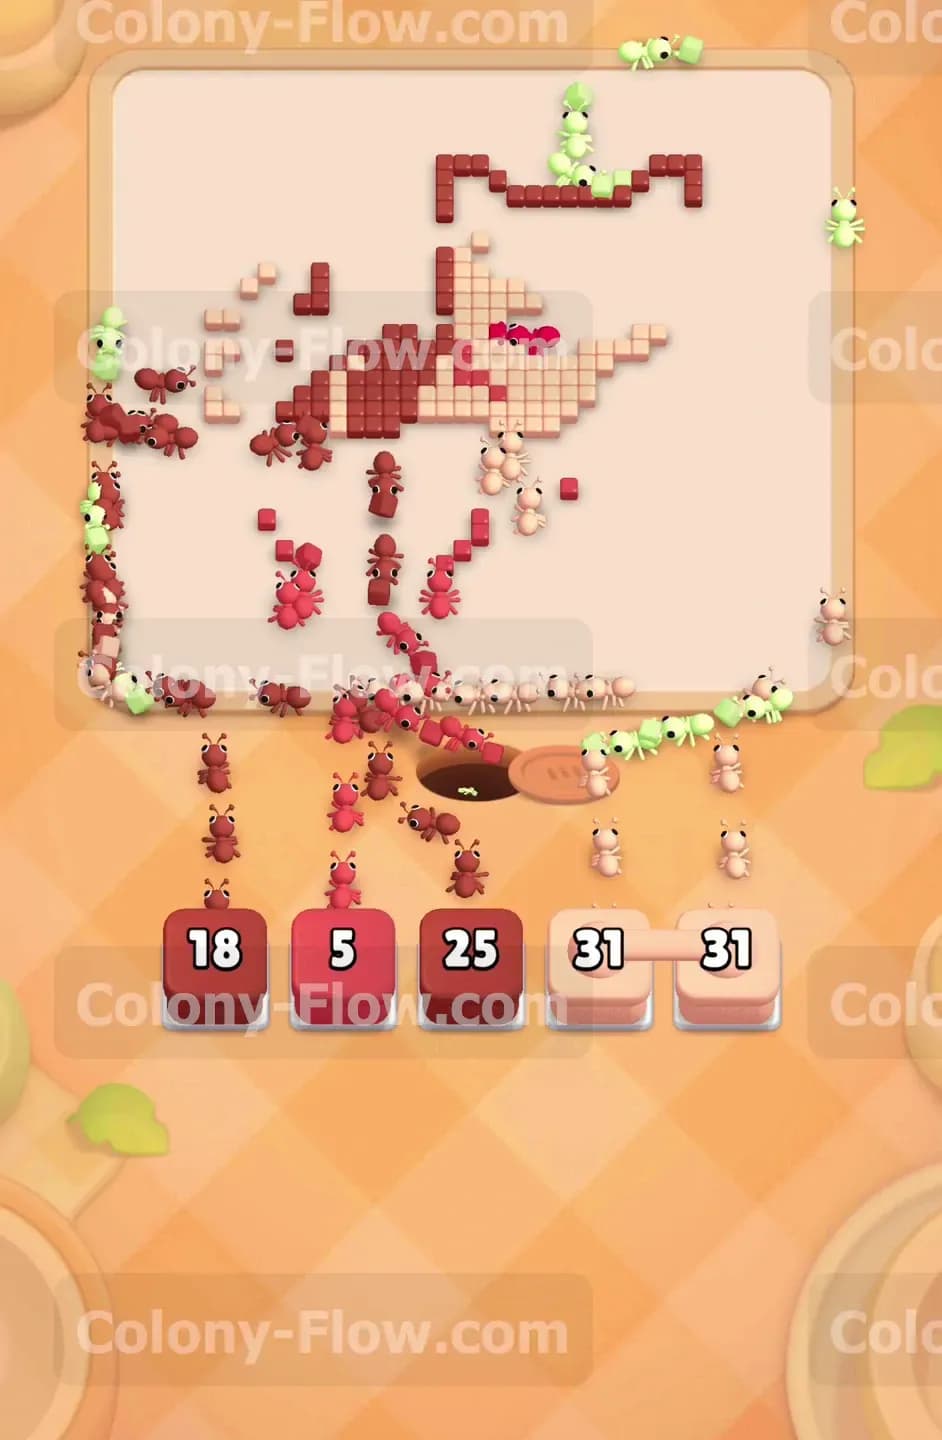
The final major phase involves clearing the remaining dark red outlines around the cat body and tail. Your tray now shows several dark red blocks with numbers like eighteen and twenty five. Tap the dark red blocks into your waiting slots. The ants will march up and trace the entire perimeter of the cat shape eating the border tiles. You must wait for the dark red outline to completely break apart before moving to the next color. If you tap the body colors before the outline is broken the new ants might steal the pathways and cause your dark red blocks to stall. Let the dark red blocks completely drain to zero and disappear from your waiting slots.
Step 8: Clean up the final brown and light orange body tiles
The only things left on the board are the brown and light orange body tiles that make up the back and tail of the cat. Your tray contains large light orange blocks in the thirties and a few remaining brown blocks. Tap the light orange blocks first. The ants will rush in and clean up the thickest parts of the body. As the light orange blocks drop below ten tap your final brown blocks. The ants will mop up the remaining disconnected food tiles on the tail and back. The board empties completely and the level ends in a victory. You managed your five slots perfectly and never created a dead end.
Final Thought
This board requires tight control over your waiting slots especially when dealing with the connected boxes and the Hungry Door. You have to pace yourself and let the paths open up naturally. If any step is hard to follow in text I highly encourage you to watch the video above this article. Seeing the exact timing of the block pulls will help you master the flow and beat the level on your very next try.