Colony Flow Level 117 Walkthrough Solution & Guides | How to solve Colony Flow 117

Guide By Liam Stone
Updated on July 11, 2026
Not in the mood to read? The video above solves Level 117 for you from beginning to end.
Video doesn't match your screen?
Game updates frequently scramble layouts! Try our AI Screenshot Solver first to find your exact board instantly, or report broken guides to our team.
Colony Flow Level 117 throws a massive obstacle right in your face from the very beginning. You start with a giant slab of chocolate covering almost the entire board. Getting past this barrier requires careful tray management so you never jam your waiting slots early. I am going to show you exactly how to crack this puzzle open and win without getting stuck.
Colony Flow Level 117 Overview
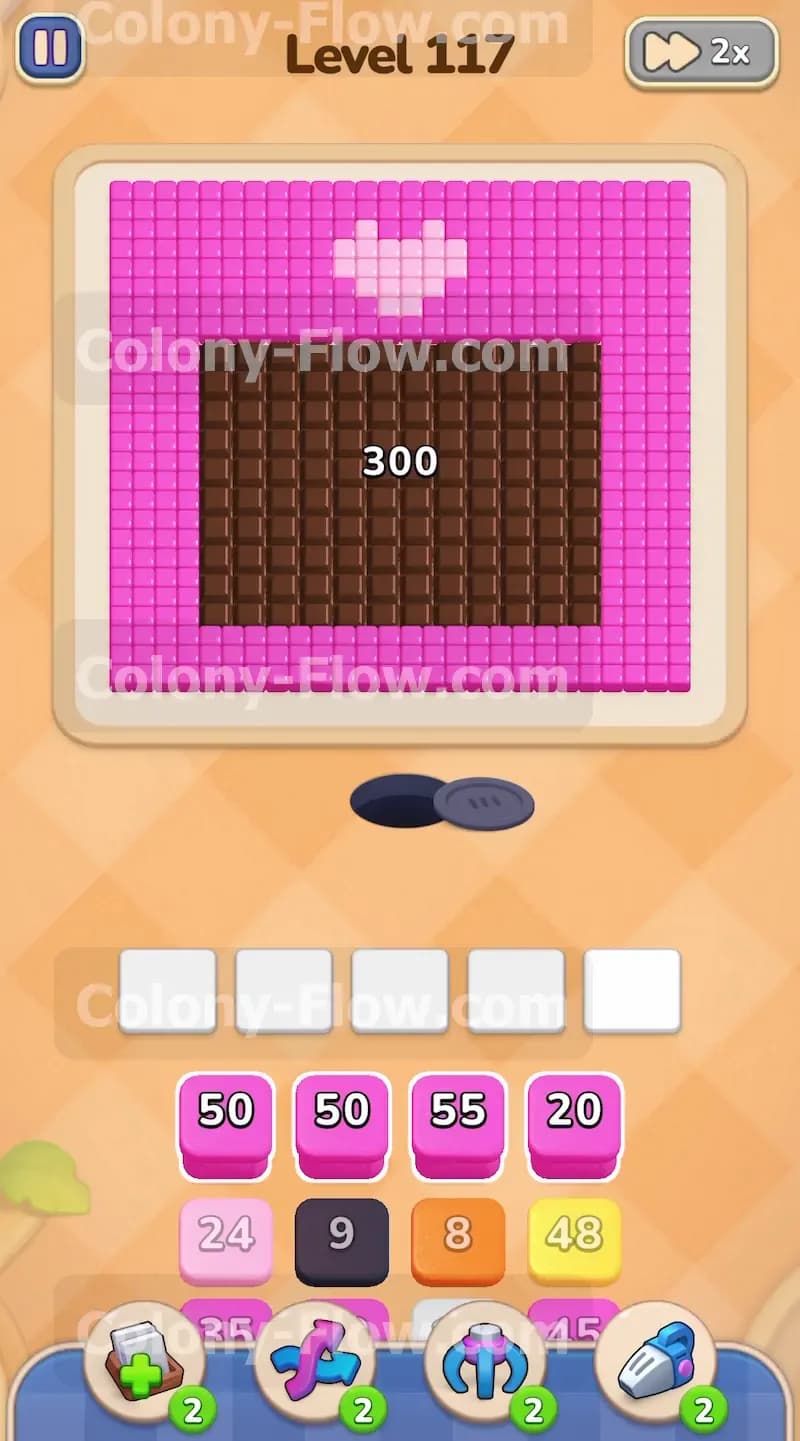
What You Are Working With
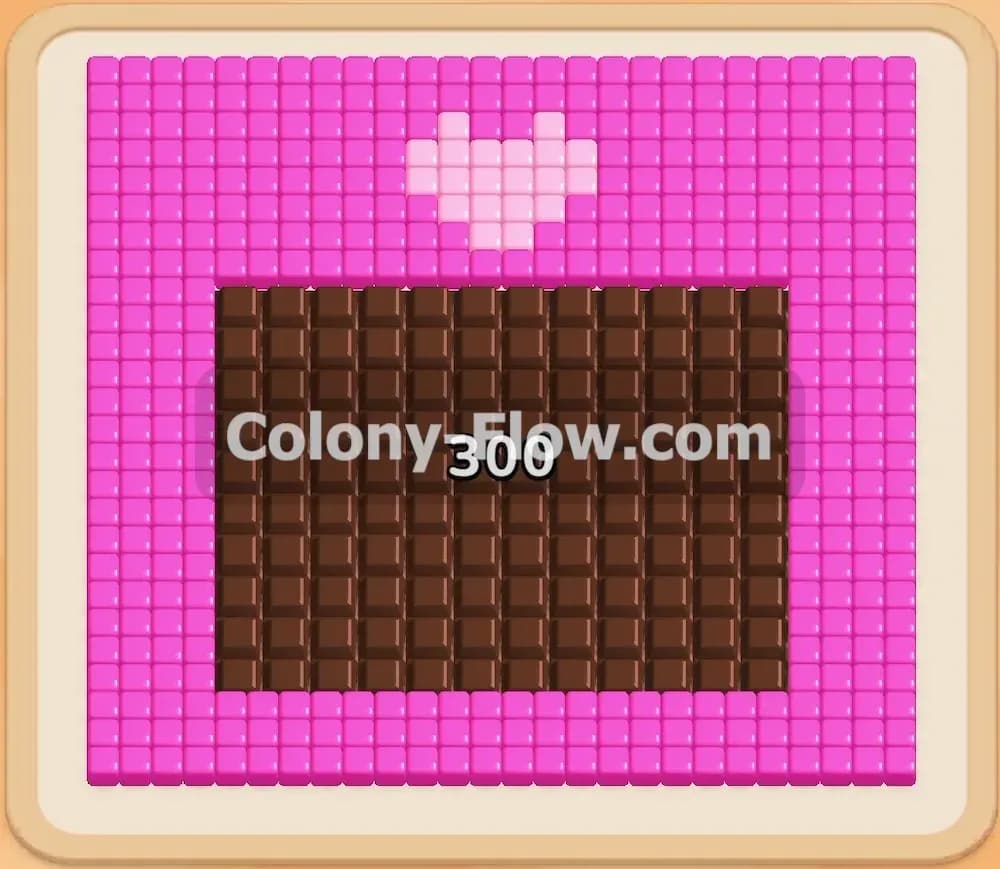
When you load into the board you will see a wide border made of bright pink tiles framing the top and the sides of the screen. A lighter pink heart sits near the top edge. Right in the middle sits a huge square chocolate block with a massive 300 point counter. This chocolate completely hides the main picture underneath. Your tray gives you a row of pink blocks right away. Below those starting blocks you will find yellow blocks, black blocks, orange blocks, green blocks, and white blocks. You must clear the colored tiles touching the chocolate to damage the slab. The ants cannot eat the chocolate directly. They must eat the pink tiles bordering it to reduce that 300 point counter.
What It Takes to Clear Level 117 Board
You need to break the giant chocolate block to uncover the real puzzle hidden beneath it. You win by feeding the ants enough pink tiles to drop the 300 counter all the way down to zero. Once the chocolate disappears you will find a colorful hidden picture. Then you just match the remaining tray colors to the board tiles to finish the stage. The main danger is filling your five waiting slots while you dig for enough pink blocks to finish the chocolate. You have to pull the wrong colors into your tray to reach the right ones. If you miscount and fill all five slots with colors the ants cannot reach you will fail the stage immediately.
Colony Flow Level 117 Step by Step Solution
Step 1: Pull the top row of pink blocks to start attacking the border
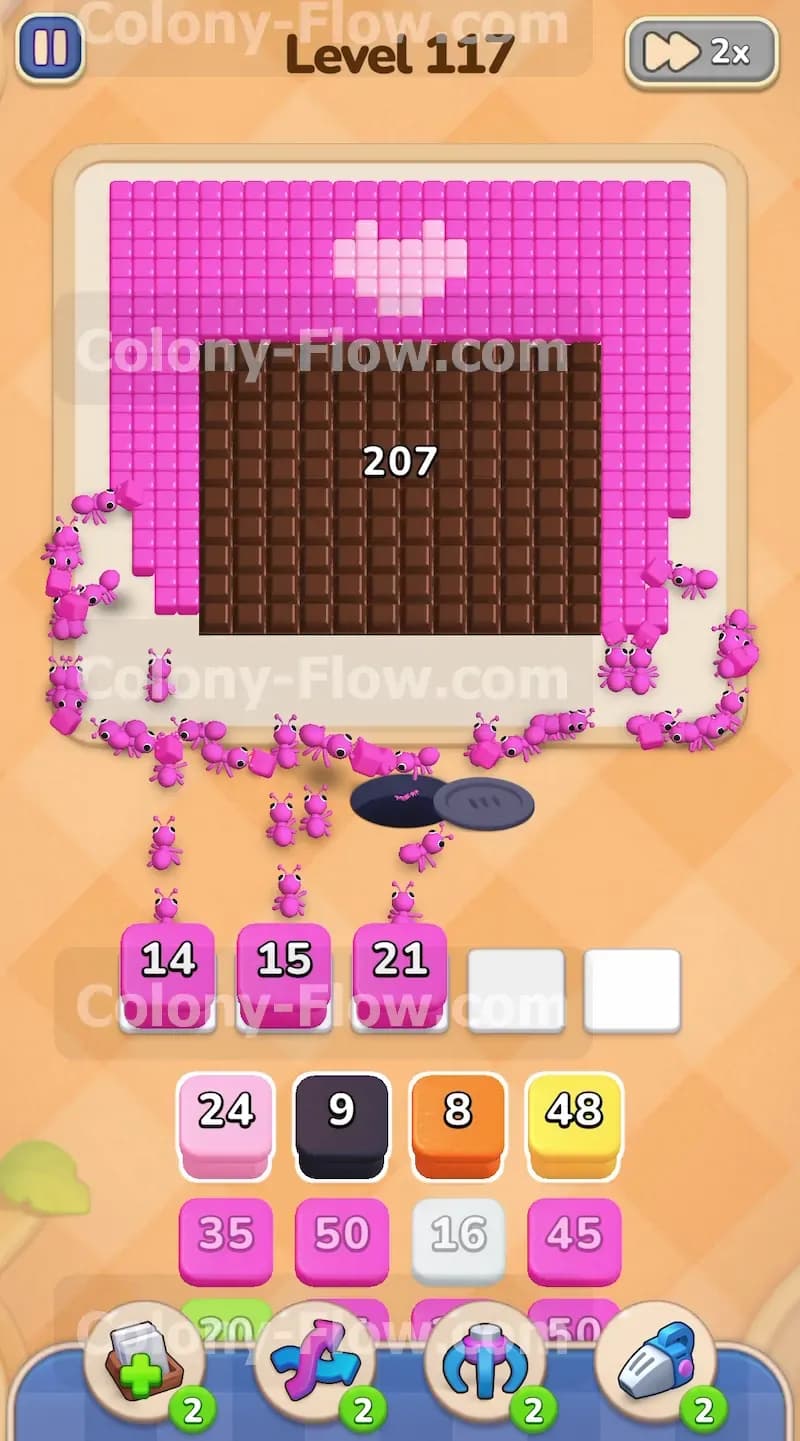
You begin with four pink blocks sitting right on top of the tray. Pull the 50 block, the 50 block, the 55 block, and the 20 block up into your waiting slots. The ants will stream out of the nest hole at the bottom of the screen and head straight for the pink tiles surrounding the center. As the ants eat these outer pink tiles the chocolate block takes damage. You will see the counter drop quickly from 300 as the ants chew through the perimeter. Keep the paths open and let the ants work through this massive pile of food. The numbers on your pink blocks will steadily count down as the ants carry the pieces away. The ants will naturally wrap around the sides of the chocolate block as they clear the path.
Step 2: Pull the yellow block to access the pink blocks underneath
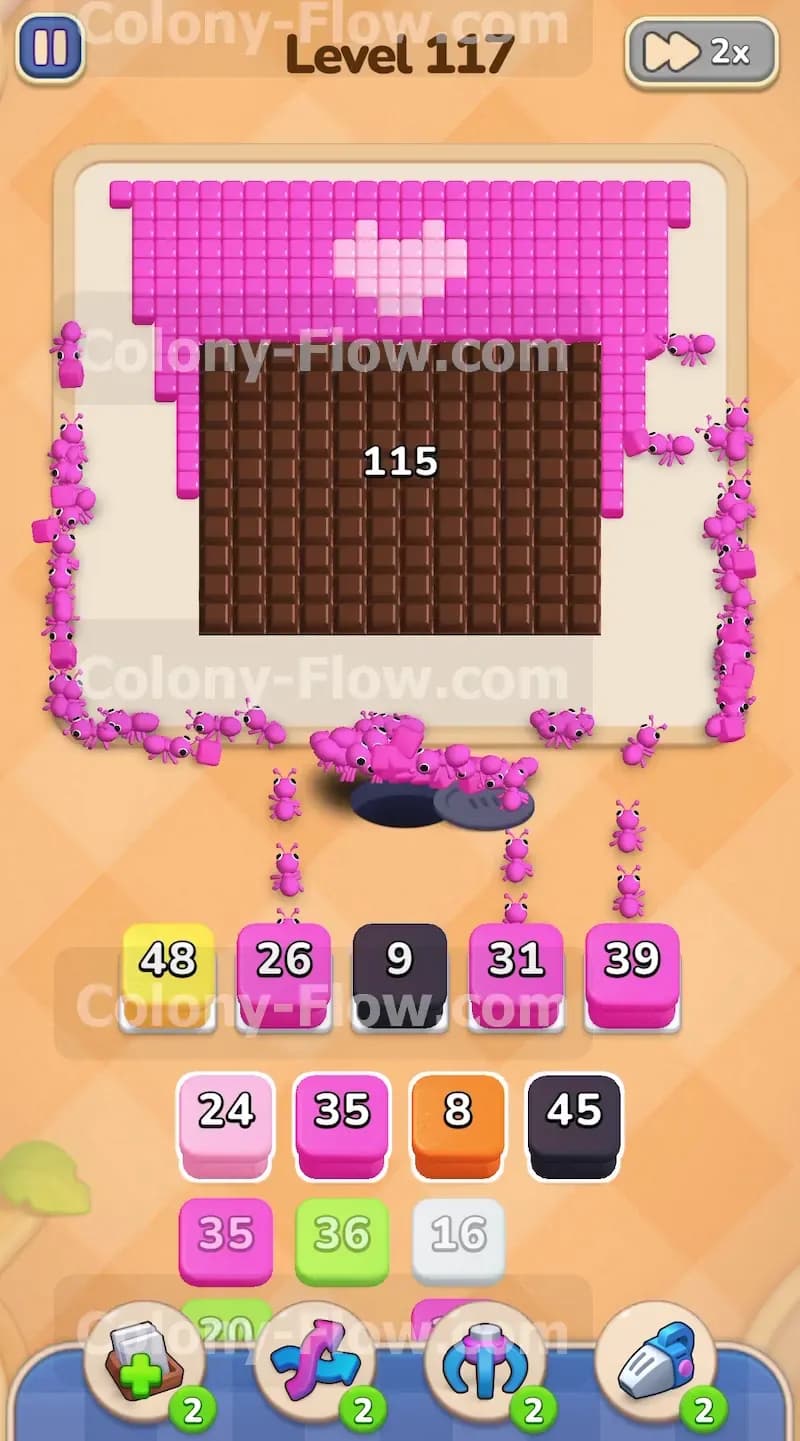
The first wave of ants will run out of pink blocks before the chocolate is completely gone. You need more pink blocks to finish the job but they are trapped under other colors in the tray. Pull the large 48 yellow block into an empty waiting slot. The ants cannot use yellow yet because the yellow tiles are hidden safely under the chocolate slab. This yellow block will sit and take up one precious space in your tray. Pulling it allows you to reach the 35 pink block sitting right below it. Send that pink block up to your slots to keep the ants moving and keep the chocolate counter dropping.
Step 3: Pull the black block to reach the next needed pink block
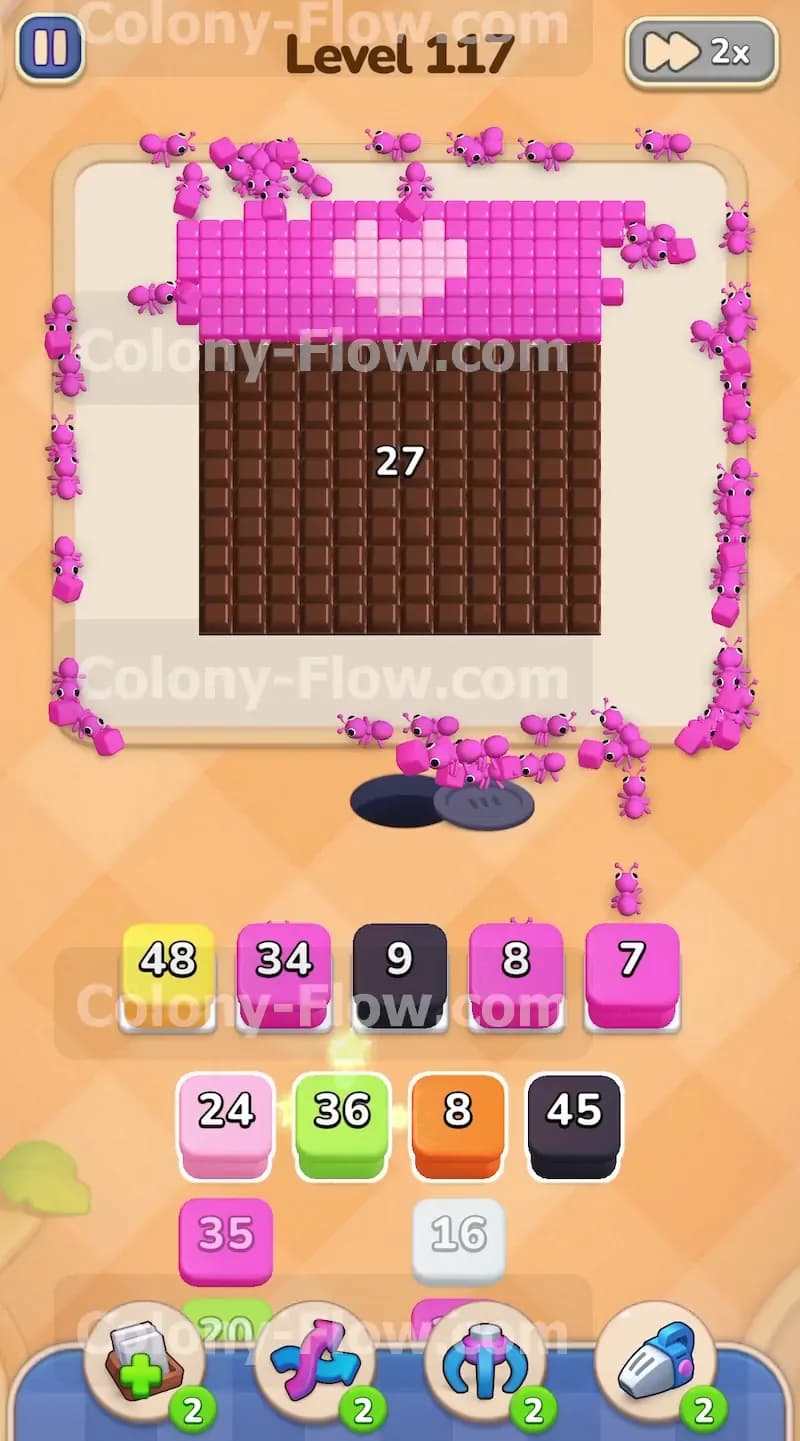
You still need more pink power to finish off the huge chocolate square. The counter will be sitting around 115 points and your ants are hungry again. You must pull the 9 black block into your waiting slots. Just like the yellow block this black block will not move. It sits there and takes up a second slot. Now you can grab the 45 pink block located right under it. Your ants will rush out again and continue clearing the outer pink boundary. The chocolate counter will drop down into the twenties as the ants eat the sides of the board. You now have two dead slots in your tray so you must be very careful with your next pulls.
Step 4: Bring up the orange block to uncover the final pinks
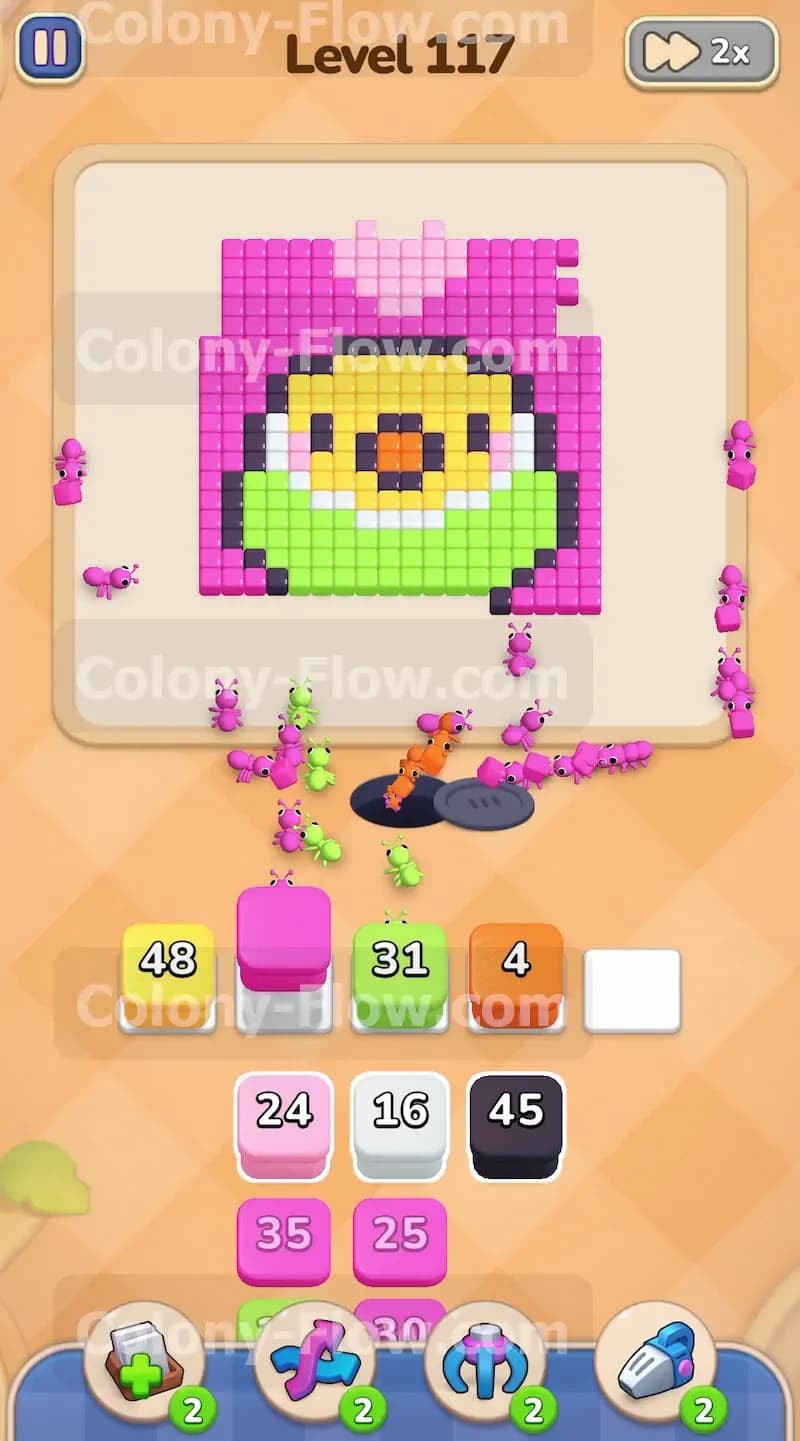
The chocolate is almost broken but your ants are running dry again. Pull the 8 orange block into a waiting slot. You now have three stuck blocks in your tray taking up space. This is dangerous but completely necessary to win. Remember that if you fill all five slots with colors the ants cannot reach you lose immediately. Holding three useless blocks is risky but leaves you just enough room to cycle the pink blocks. Pull the final pink blocks you just uncovered. The ants will swarm the last few pink border tiles touching the chocolate. The chocolate counter hits zero and the massive slab shatters completely. The board is finally free of the obstacle.
Step 5: Start clearing the green body of the hidden bird
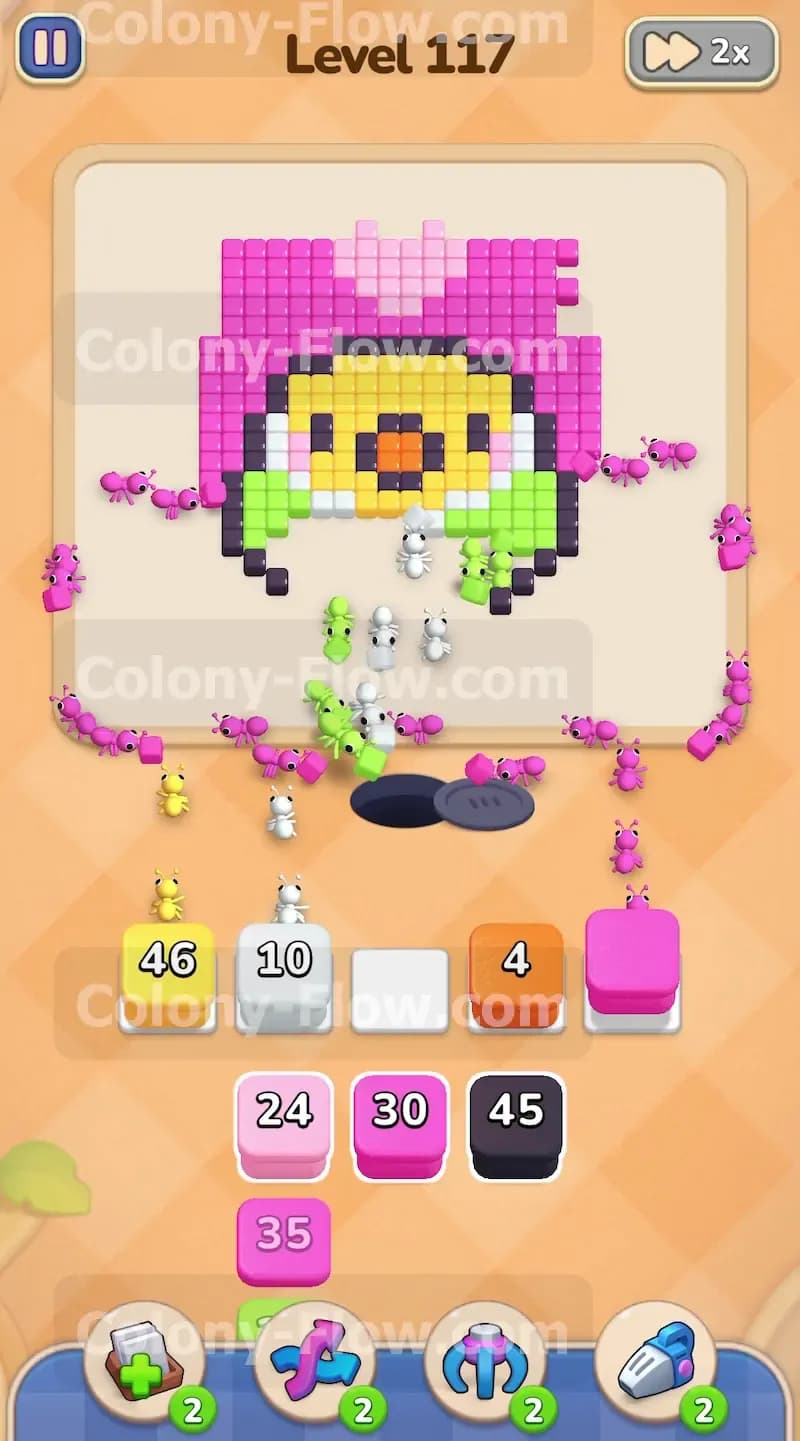
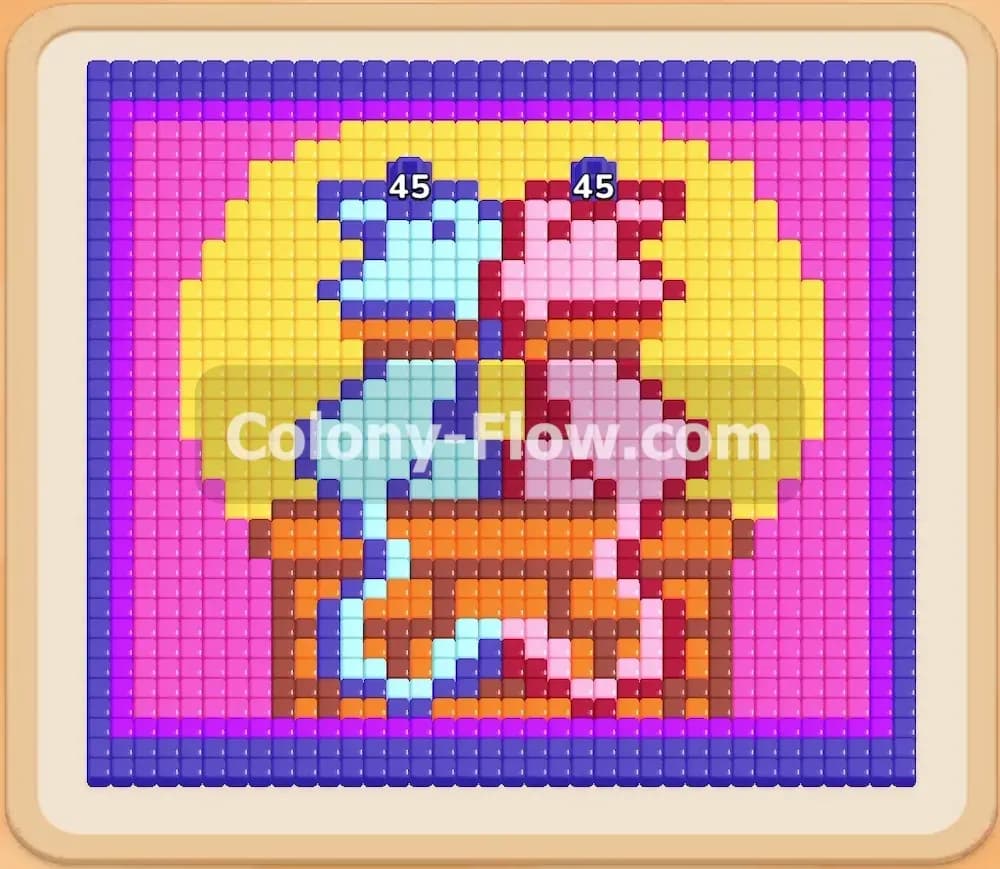
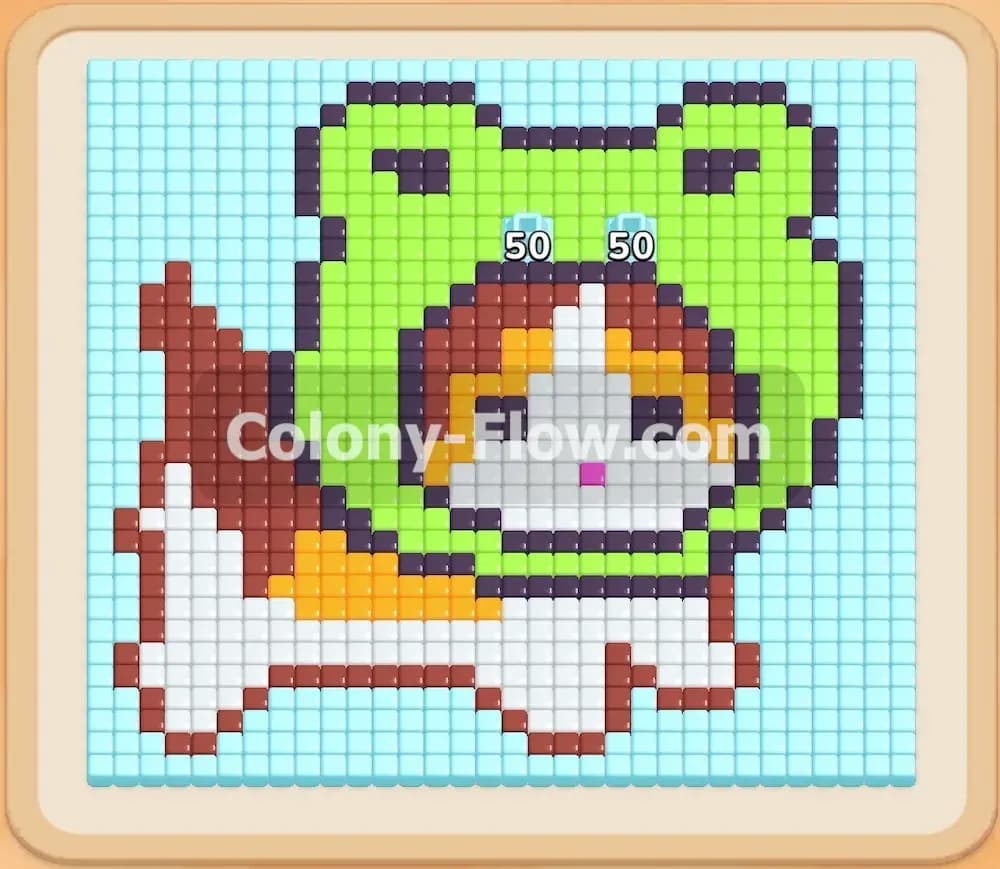
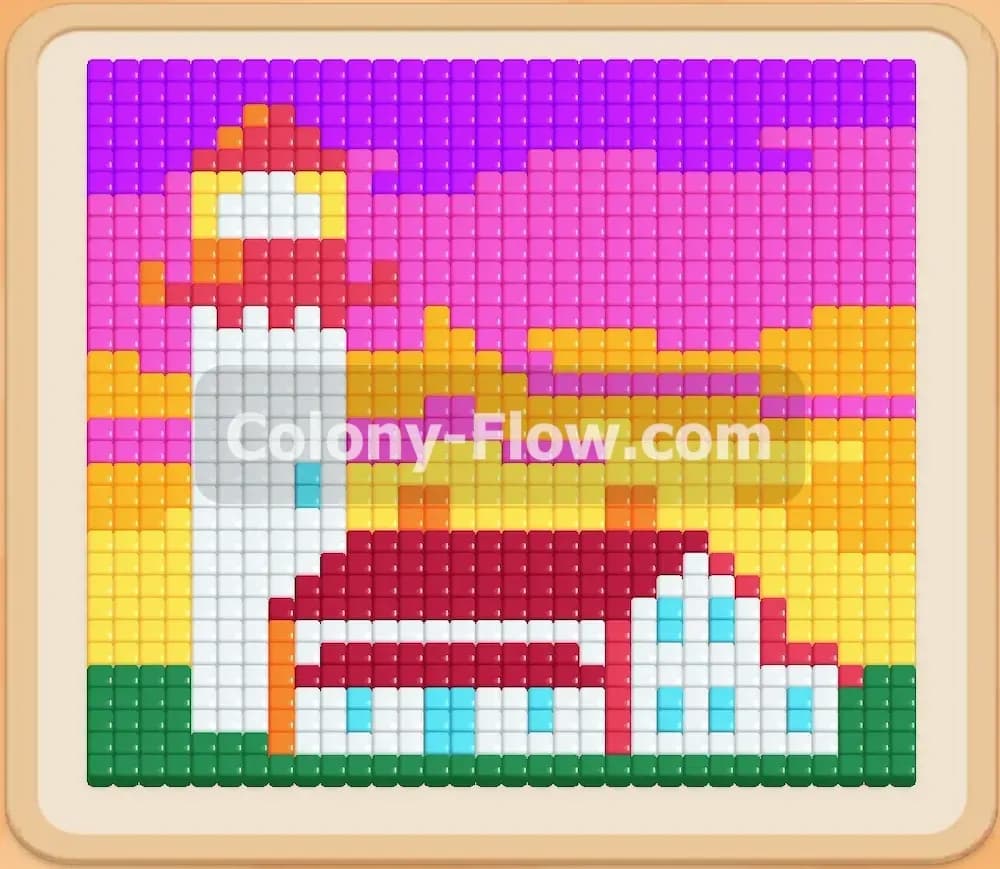
Breaking the chocolate reveals a beautiful pixel art bird sitting in the middle of the board. The bird has a bright green body and a yellow head. Now that the green tiles are exposed your ants can finally eat something besides pink. Pull the 36 green block and the 31 green block from the tray. The ants will march up and devour the bottom half of the bird. This clears out the green paths and opens up the middle of the board completely. Your waiting slots are safe for now as the fresh colors finally give your ants new targets.
Step 6: Clear the orange cheeks and white details
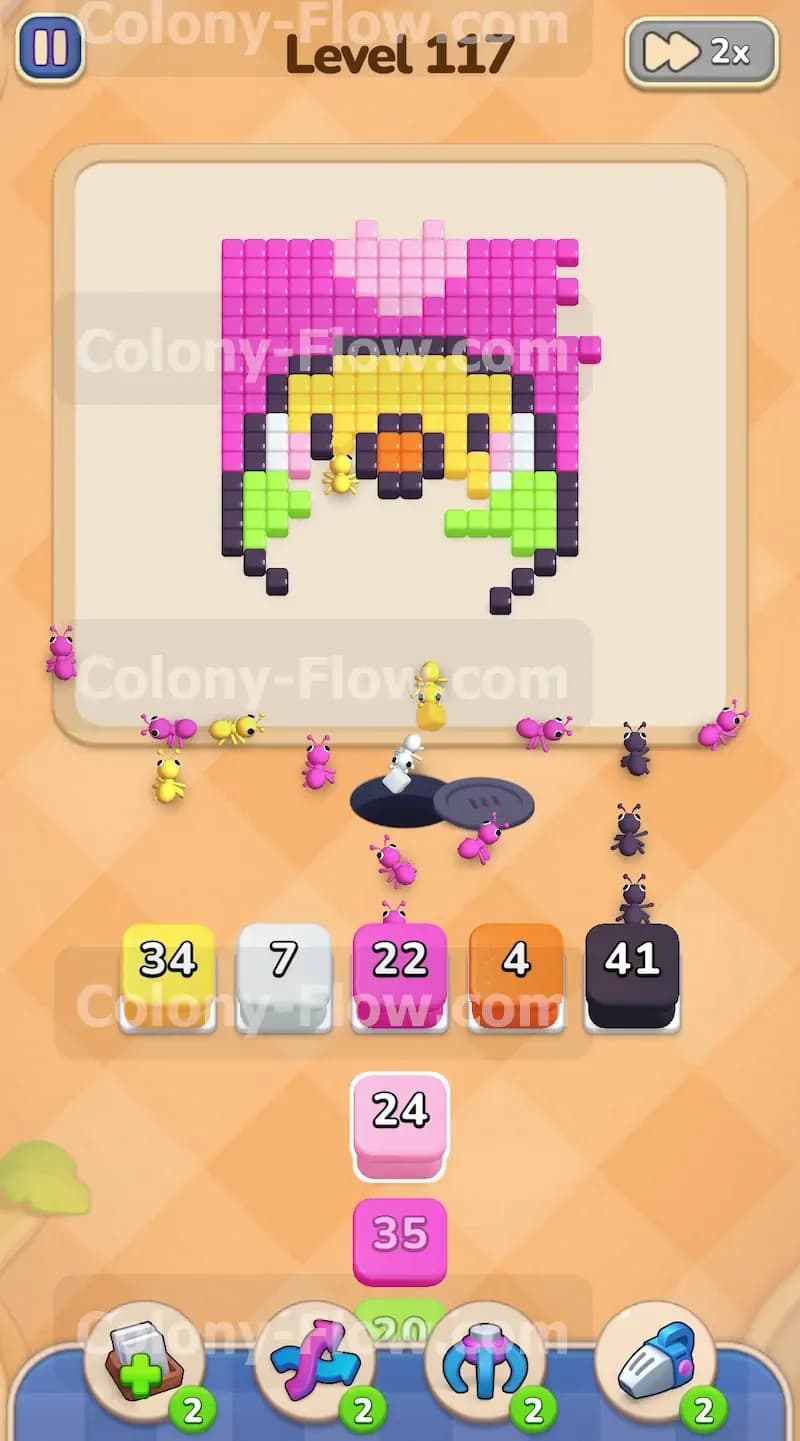
Your 8 orange block has been sitting in your waiting slots for a long time. Now that the chocolate is gone the ants can finally reach the orange cheek tiles on the bird. The ants will automatically empty the orange block from your waiting slots. This frees up a vital space in your tray. Pull the 16 white block from the tray to clear the white details near the bottom of the bird. Your tray is much safer now and the board is really opening up.
Step 7: Clear the yellow head and empty your waiting slots
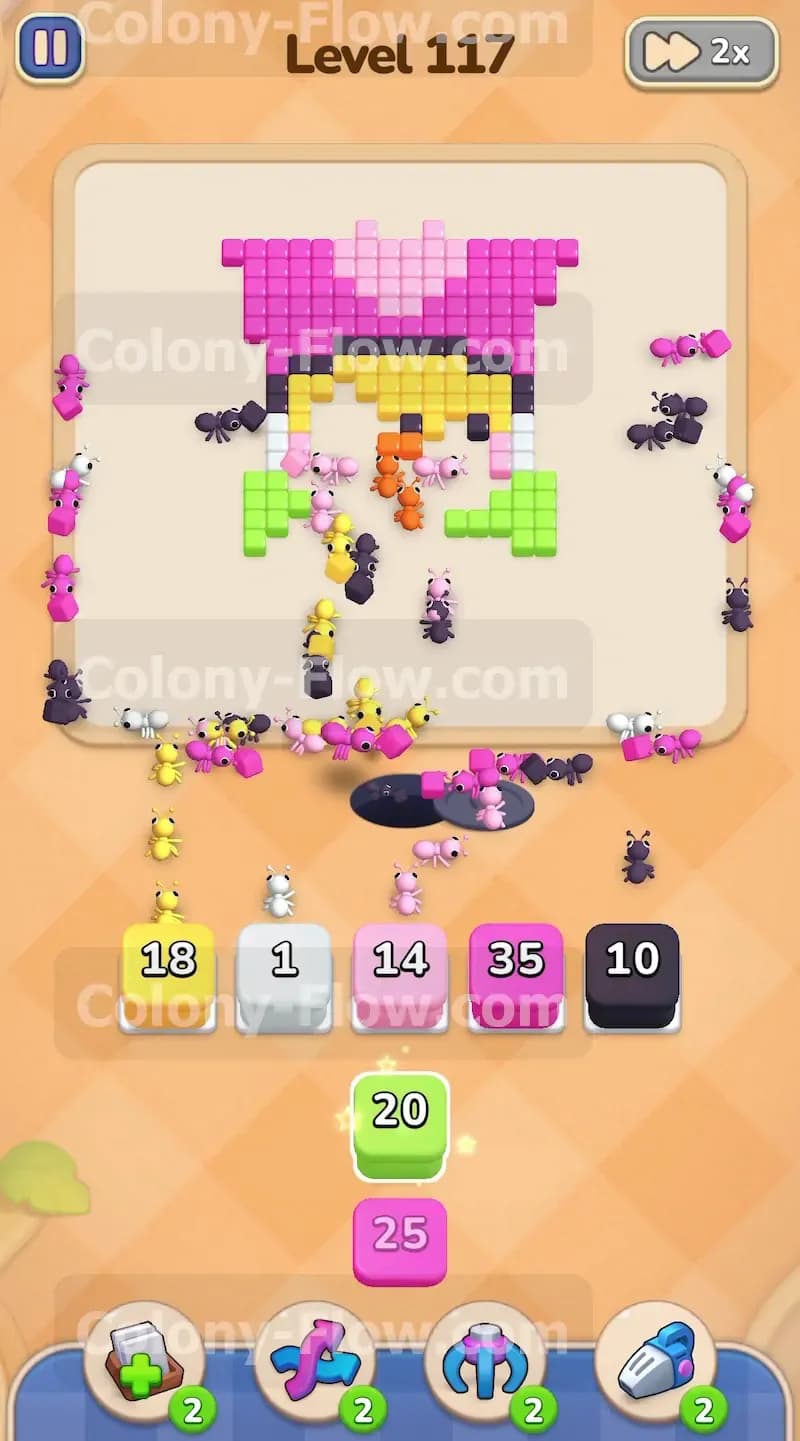
Your big 48 yellow block finally has a clear path. The ants will swarm out of the nest and start eating the yellow head of the bird. The bright yellow tiles vanish row by row as the ants carry them back down the open middle path. The yellow block will drain down steadily and eventually leave your waiting slots entirely. The bird head disappears very fast. You now have total control of the board and plenty of free space in your tray for the final moves. You never have to worry about jamming the board again.
Step 8: Clear the black eyes and finish the remaining pink tiles
Your 9 black block finally empties as the ants clear the black eyes and beak details. The bird is completely gone. Only the lighter pink heart and a few scattered pink border tiles remain. Pull the final 24 pink block and the 35 pink block from the tray. The ants will rush the top of the board to eat the heart. The last blocks empty out and the picture clears entirely. You win the level.
Final Thought
That is how you beat Colony Flow Level 117. The giant chocolate block looks intimidating but managing your tray space correctly makes it simple. Keeping track of your dead slots ensures you never trap your ants. If you have trouble visualizing how to stack the yellow and black blocks while breaking the chocolate please watch the video above this article for a clear demonstration.