Colony Flow Level 131 Walkthrough Solution & Guides | How to solve Colony Flow 131

Guide By Liam Stone
Updated on July 11, 2026
Skip ahead to the video above if you want to see Level 131 solved without reading the full article.
Video doesn't match your screen?
Game updates frequently scramble layouts! Try our AI Screenshot Solver first to find your exact board instantly, or report broken guides to our team.
Welcome to Colony Flow Level 131 where you need to manage a massive swarm of ants to clear a beautiful floral picture. This level presents a symmetrical grid of four large flowers separated by thick green borders. You will need to carefully balance your wait slots to ensure your ants always have a valid target to eat. I will guide you through the exact sequence of moves to dismantle this board without ever jamming your tray.
Colony Flow Level 131 Overview
What You Are Working With
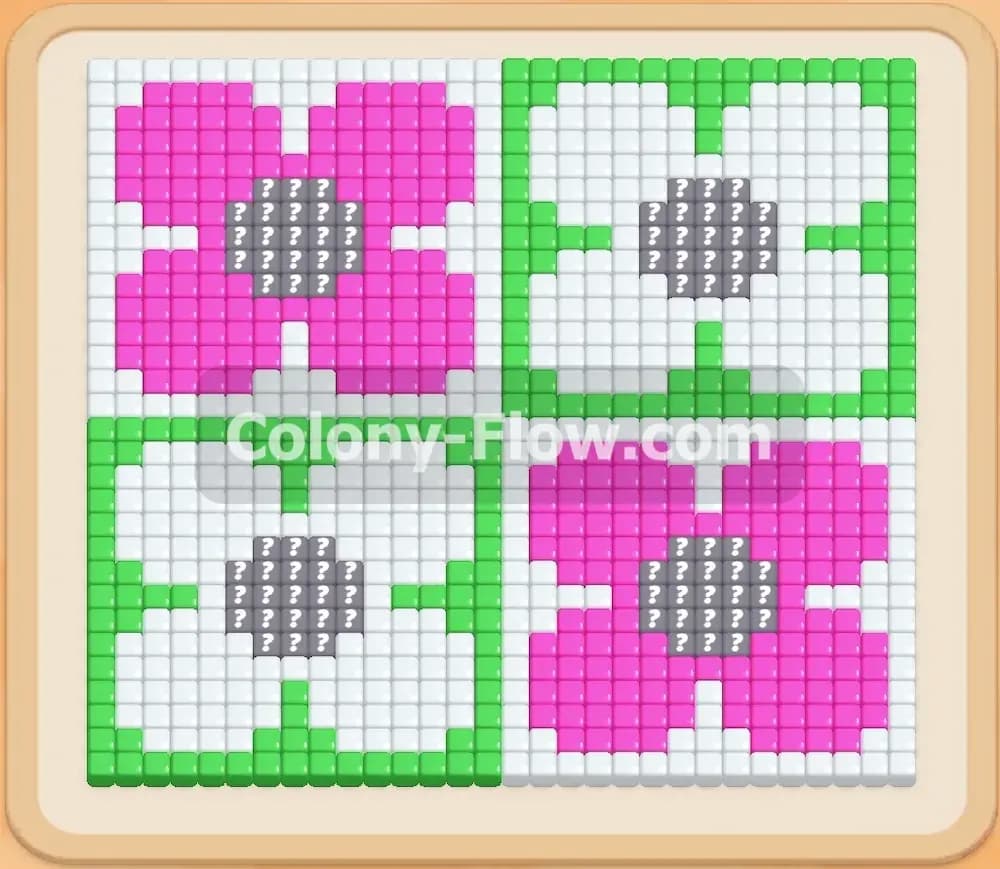
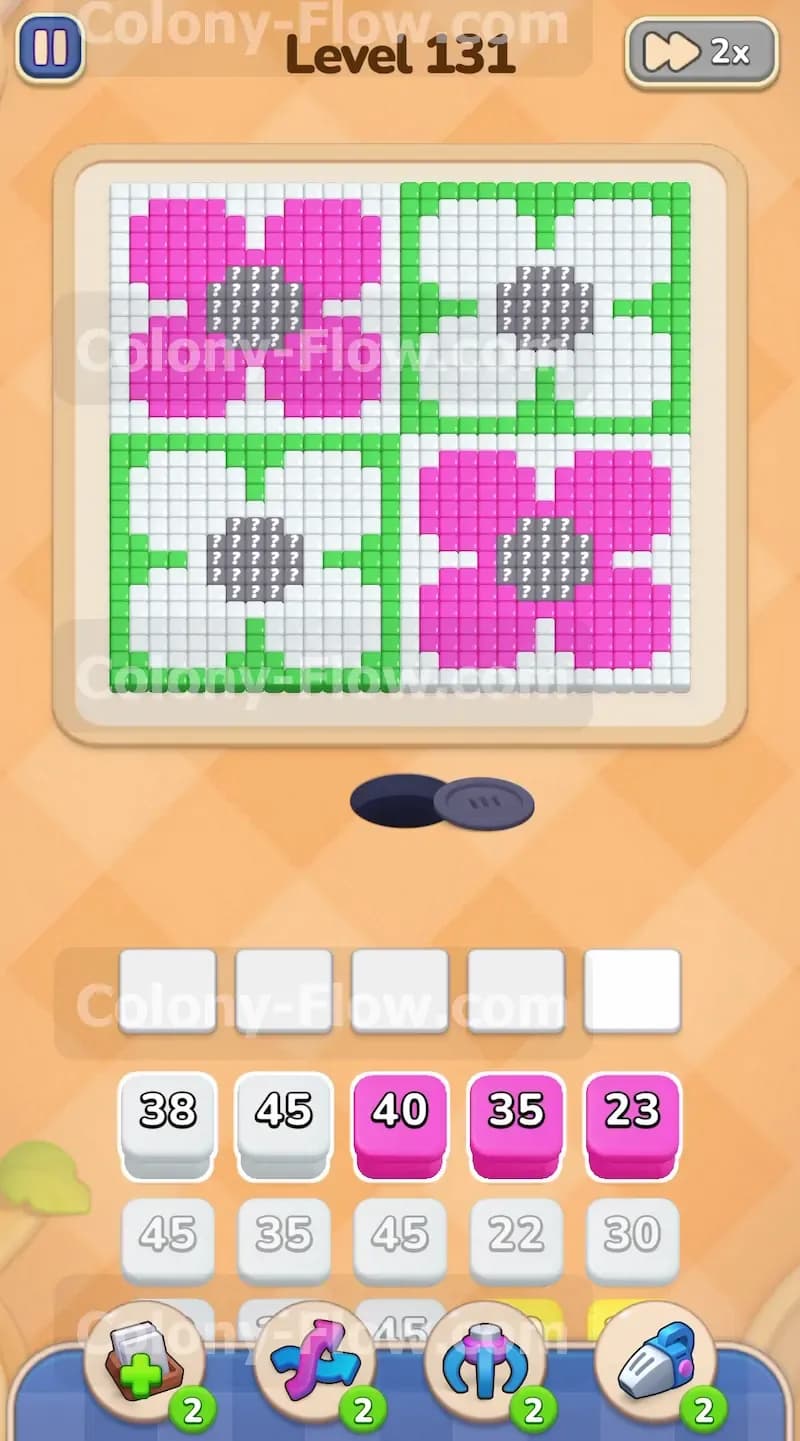
The board displays a large square picture divided into four equal quadrants by a thick green grid. Each quadrant contains a large flower design. The top left flower and the bottom right flower feature bright pink petals surrounding a white inner ring. The top right flower and the bottom left flower are built entirely of white petals. Every single flower has a solid grey center. The background surrounding the flowers inside the green grid is made of white tiles.
This layout creates natural bottlenecks. The ants cannot cross the green grid lines until you clear them. They must walk around the outer edges of the entire picture to reach the specific colors they want to eat. This long travel time means your blocks will sit in the wait slots for several seconds before the numbers start going down.
Your nest hole sits directly below the picture in the bottom center of the screen. Your block tray at the bottom holds multiple layers of numbered blocks in white, pink, green, and yellow colors. The numbers on these blocks are quite high. You will see blocks carrying thirty, forty, and even fifty ants. This means you will have huge streams of ants flooding the board at the same time. The wait slots above the tray give you five empty spaces to hold blocks while the ants do their work. You must monitor these five spaces constantly to avoid a fatal jam.
What It Takes to Clear Level 131 Board
Winning this level requires you to peel the picture away layer by layer starting from the outside edges. The green border traps the inner parts of the flowers. You cannot reach the grey centers until you clear the petals surrounding them. You must release white and pink ants first to eat away the outer white background and the large outer petals.
Your primary goal is to keep at least one clear path open for your ants at all times. If you pull too many blocks of a color that cannot reach its matching tiles, your wait slots will fill up. Once all five slots are full and no active ants can move, you lose the level instantly. You have to alternate between white, pink, green, and yellow blocks to match the exposed tiles on the board. You will slowly carve paths through the green borders to give your ants faster routes to the top half of the board. Managing the high block numbers is the real test of your skills here.
Colony Flow Level 131 Step by Step Solution
Step 1: Clear the outer white background on the left side
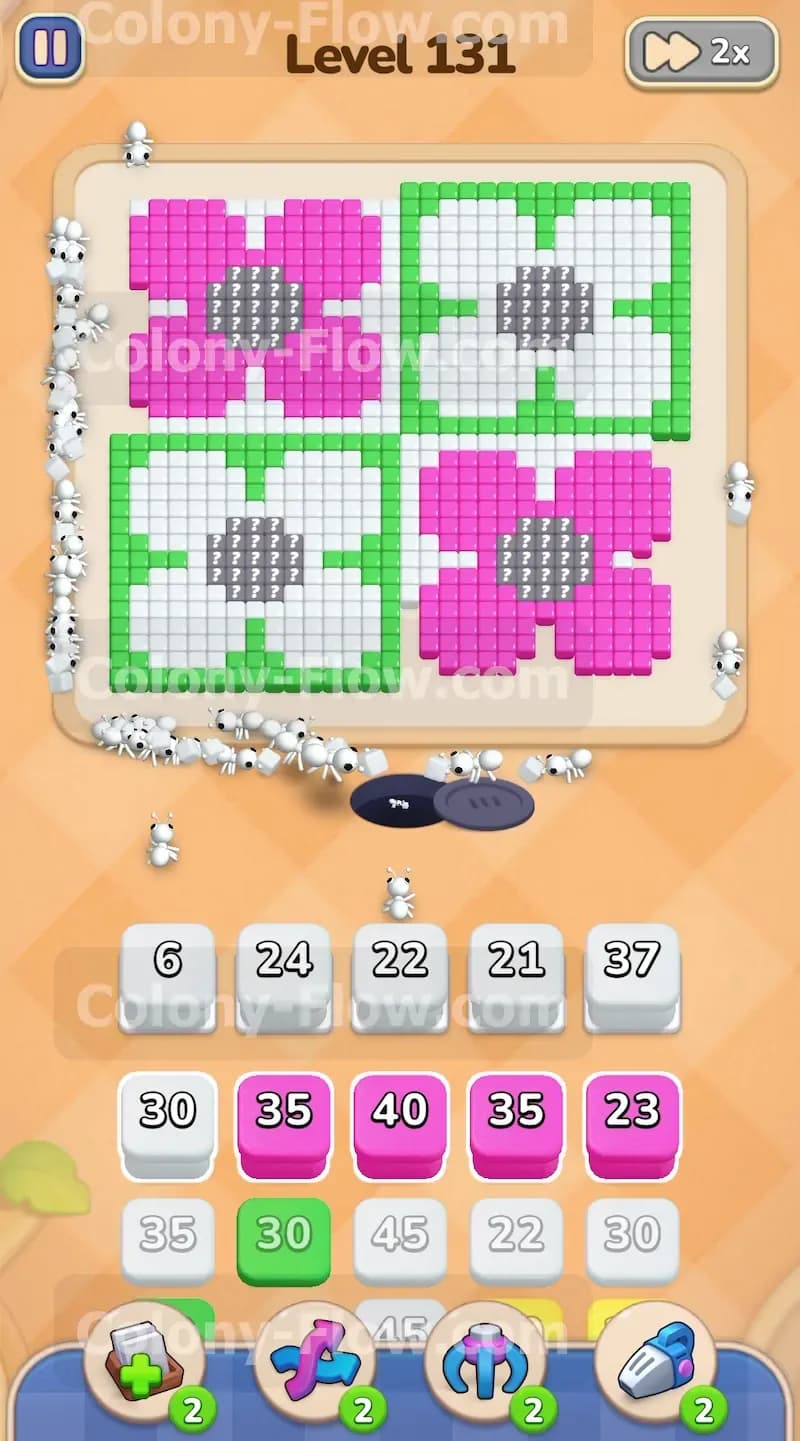
You must start by pulling white blocks from the tray to unleash your first wave of ants. Select a white block and watch it move into your wait slots. The white ants will pour out of the nest hole and travel up the left side of the board. They will immediately start eating the white background tiles surrounding the bottom left flower. You can pull two or three white blocks in a row because there is a massive amount of white food available on the outer edges. The numbers on your white blocks will drop rapidly as the ants consume the border area and begin biting into the white petals of the bottom left flower. Watching the white tiles vanish gives you a clear visual indicator of which paths are opening next.
Step 2: Send pink ants to attack the bottom right flower
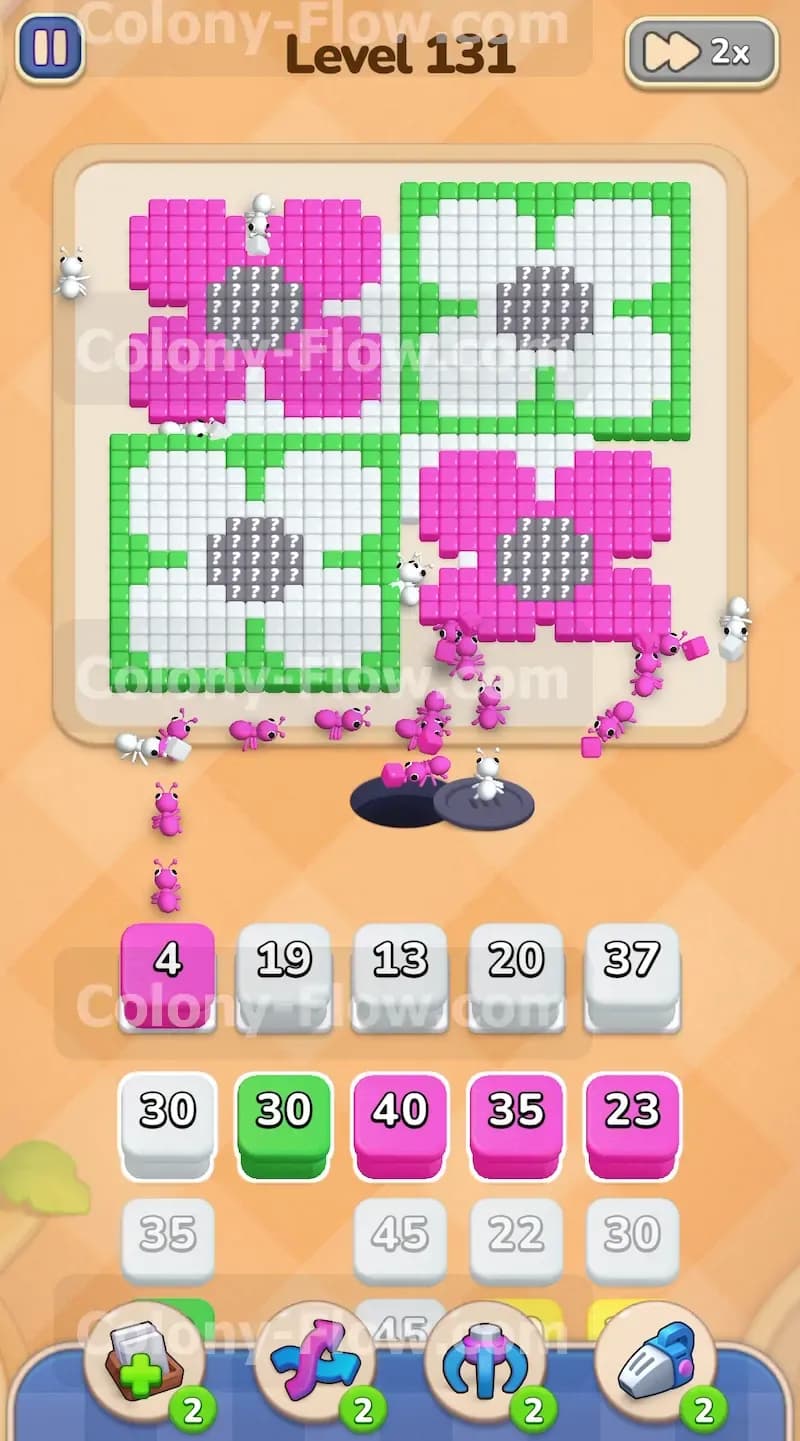
Once the white ants have secured a wide path on the left, you should look at the right side of the board. The bottom right flower is covered in pink petals. Pull a pink block with a high number like forty into your wait slots. A stream of pink ants will emerge and march to the right. They will bypass the white tiles and directly attack the outer edge of the pink petals. You now have two active streams of ants working simultaneously. The white ants clear the left side while the pink ants dismantle the right side. This dual assault keeps your wait slots processing blocks at a steady pace and prevents any single color from dominating the board.
Step 3: Break the lower green borders to open shorter paths
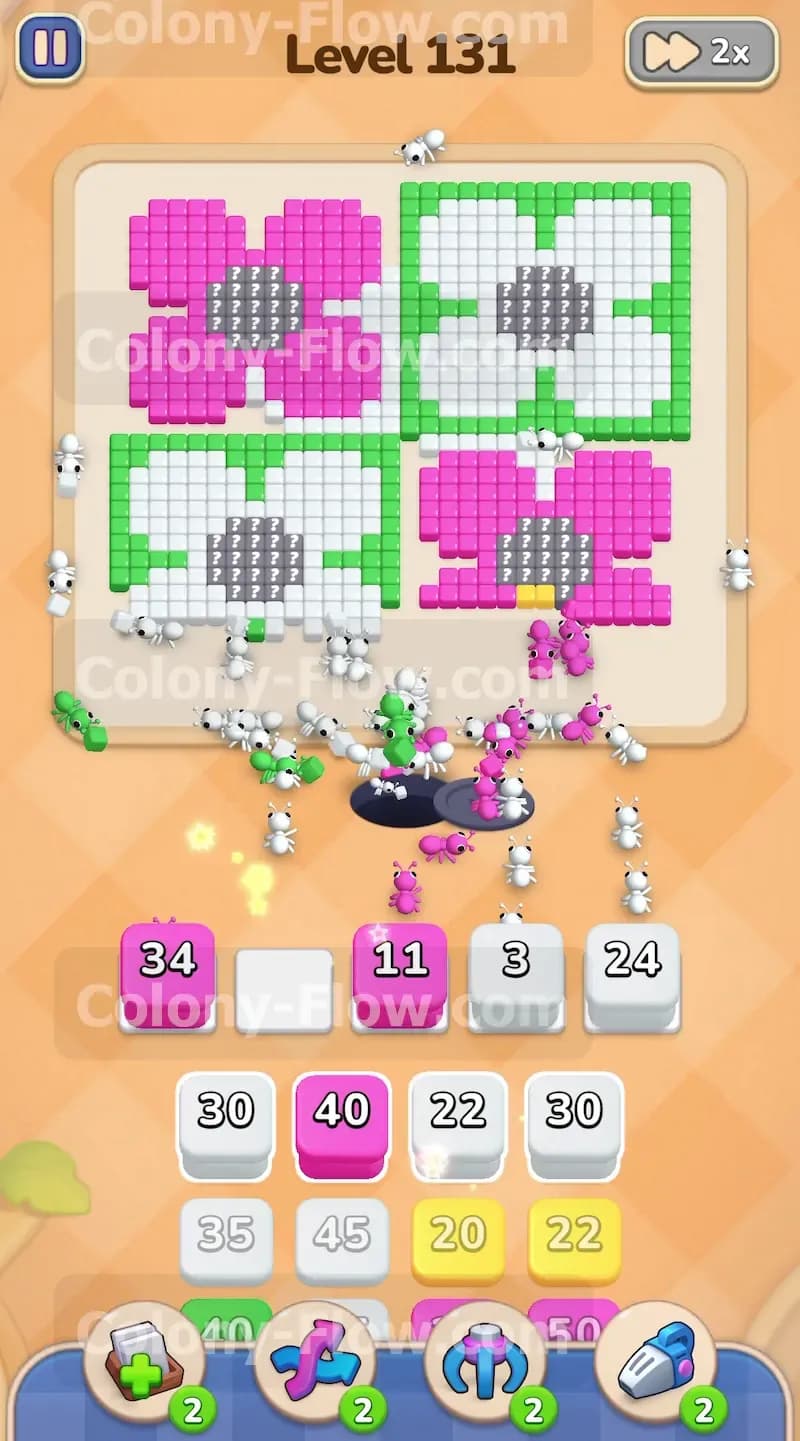
As the outer white and pink petals disappear, the thick green grid lines become fully exposed to your ants. This is the exact moment to pull a green block from the tray. You will see a green block numbered thirty drop into your wait slots. Green ants will exit the nest and target the lower sections of the green border. Eating these green tiles opens the board significantly. Removing the bottom sections of the grid opens a direct central path for future ants. They will no longer have to walk all the way around the outer edges to reach the top half of the picture. This shortens travel time and clears your wait slots much faster.
Step 4: Finish dismantling the lower white petals
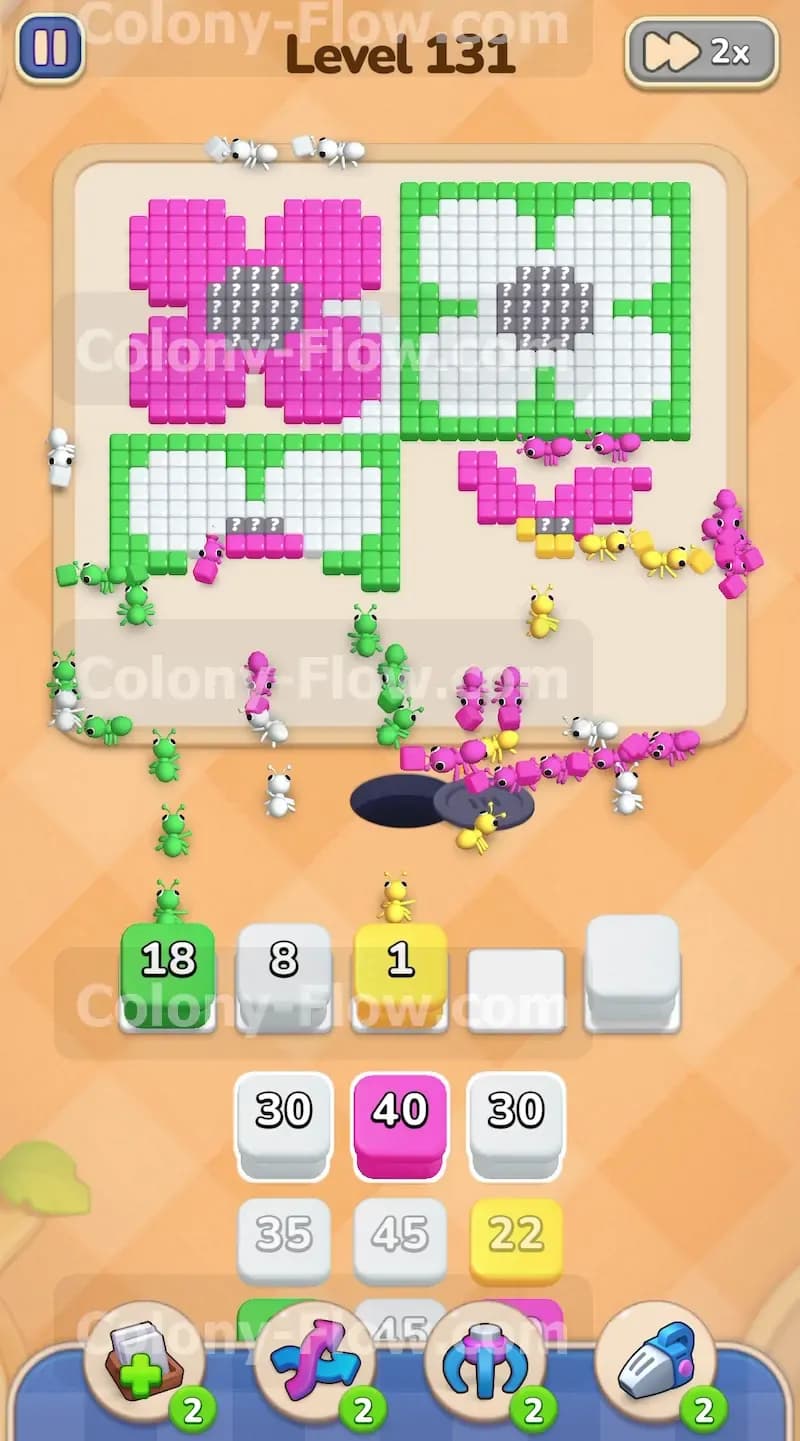
You still have a large chunk of the bottom left flower remaining on the screen. Pull another white block to replenish your white ant swarm. The white ants will flood into the gaps created by the missing green borders. They will aggressively consume the rest of the white petals on the bottom left flower. You must keep pulling white blocks whenever the active white number in your wait slots drops below ten. This ensures a continuous flow of workers out of the nest hole. Do not let the white ants stop completely because you need the entire bottom left quadrant clear before you can safely focus your attention entirely on the top half of the board.
Step 5: Deploy yellow ants to consume the flower centers
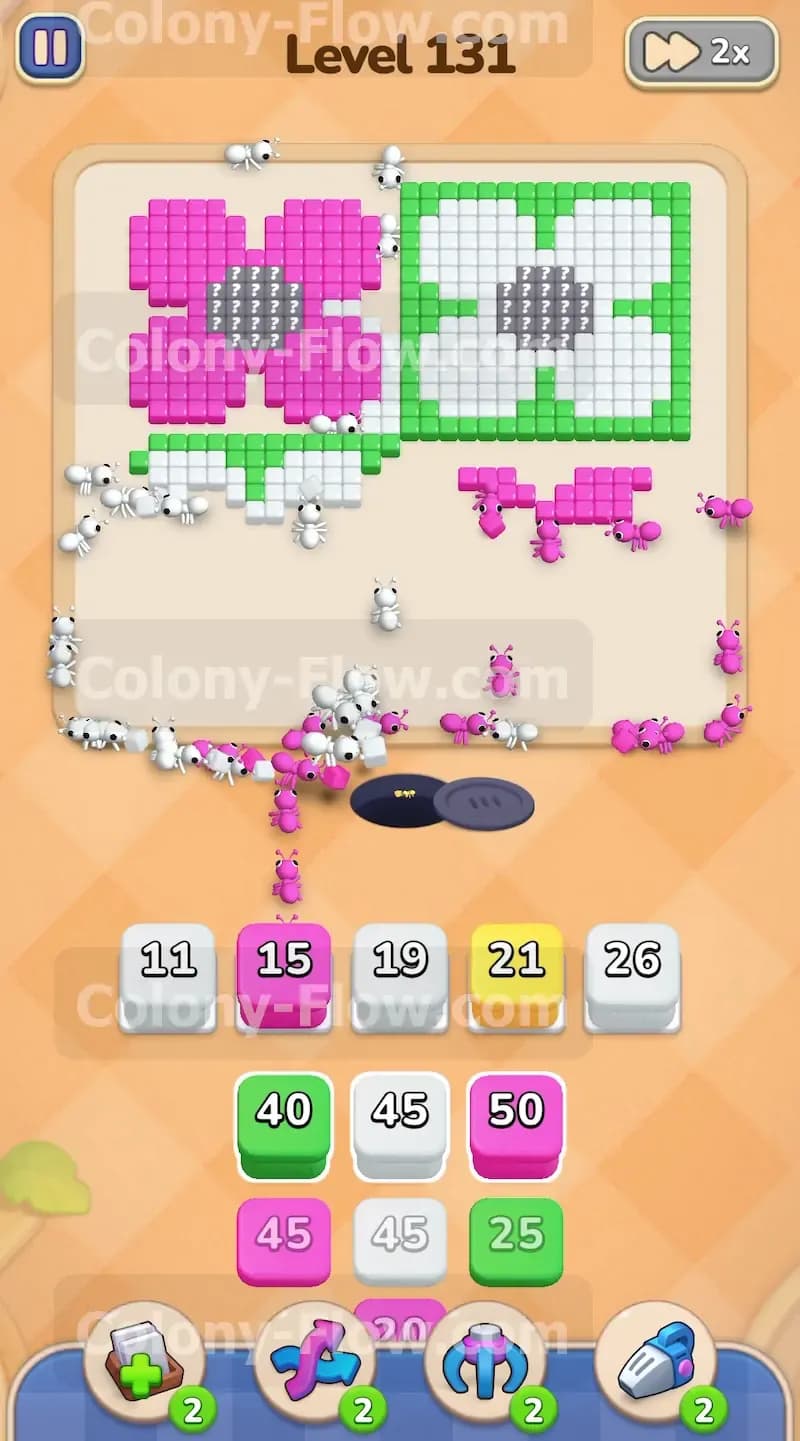
The grey centers of the bottom flowers are now completely exposed and ready to be eaten. You might wonder how to clear grey tiles when you have no grey blocks in your tray. The secret lies in the yellow blocks hiding at the bottom of your screen. Pull a yellow block into your wait slots. Bright yellow ants will stream out and rush straight toward the grey center of the bottom right flower. The yellow ants will eat the grey tiles rapidly. You must wait until the centers are fully exposed before pulling a yellow block. If you pull a yellow block too early, it will sit in your wait slots and take up valuable space while waiting for a path.
Step 6: Direct a massive white swarm to the top right flower
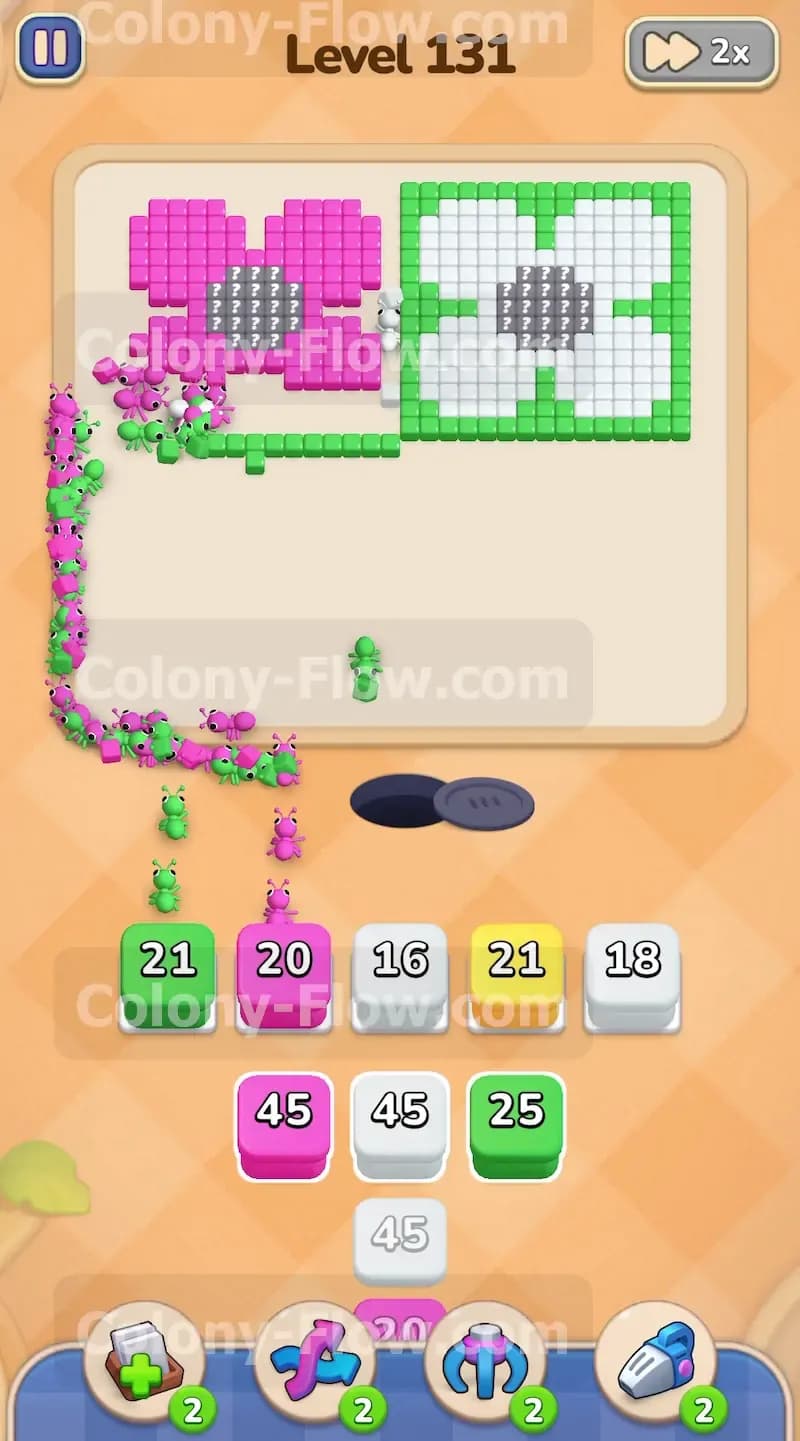
With the bottom half of the board largely completely empty, your ants will automatically seek targets in the top half. The entire top right quadrant consists of a white flower surrounded by a white background. This is a massive feeding ground for your white ants. Pull a heavy white block numbering forty five or higher. The white ants will march straight up the middle of the empty board and swarm the top right quadrant. You can confidently pull multiple white blocks during this phase. The sheer volume of white tiles guarantees that your wait slots will not jam because the ants have hundreds of targets to consume.
Step 7: Unleash pink ants on the top left flower
While the white ants devour the top right flower, you need to address the top left quadrant. This area contains the final pink flower. Check your tray for the remaining pink blocks. Pull a large pink block numbered fifty into your wait slots. The pink ants will surge forward and travel straight up the left side of the board. They will begin chewing through the bright pink petals. You must balance your pulls carefully here. Keep one slot processing white ants for the right side and one slot processing pink ants for the left side. This dual processing keeps the board clearing evenly and prevents any single color from blocking your progress near the end.
Step 8: Clean up the final green borders and yellow centers
The board is now mostly empty space. Only a few scattered green border pieces and the two grey centers of the top flowers remain. Pull your last green block to send green ants after the remaining border lines. As soon as the green ants open the path to the top left flower center, pull your final yellow block. The yellow ants will race up the board to consume the last grey center tiles. Watch the numbers on your blocks tick down to zero one by one. The ants will eat the very last tile on the screen and the level will end in a satisfying victory.
Final Thought
Level 131 tests your patience and your ability to read the board layout before you pull blocks. You must respect the green borders and clear the outer layers before attempting to reach the inner flower centers. If you ever find yourself stuck or if your wait slots fill up too fast, just pause and review your pathing. You can always scroll up and watch the gameplay video above this article to see exactly how the timing works in real time. Good luck and keep those ants moving toward their goals.