Colony Flow Level 426 Walkthrough Solution & Guides | How to solve Colony Flow 426

Guide By Liam Stone
Updated on July 29, 2026
The video above has the full Level 426 walkthrough, so skip the reading if you just want to watch.
Video doesn't match your screen?
Game updates frequently scramble layouts! Try our AI Screenshot Solver first to find your exact board instantly, or report broken guides to our team.
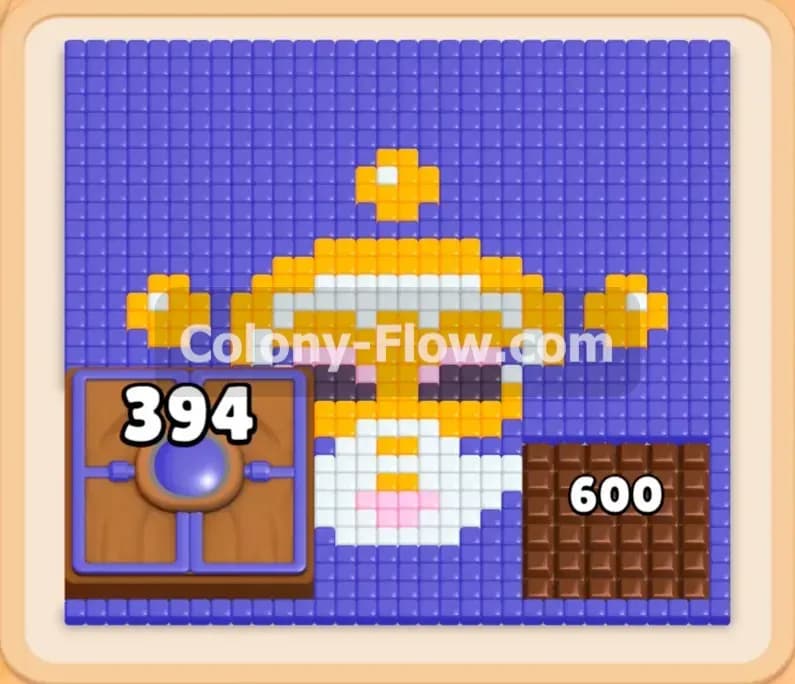
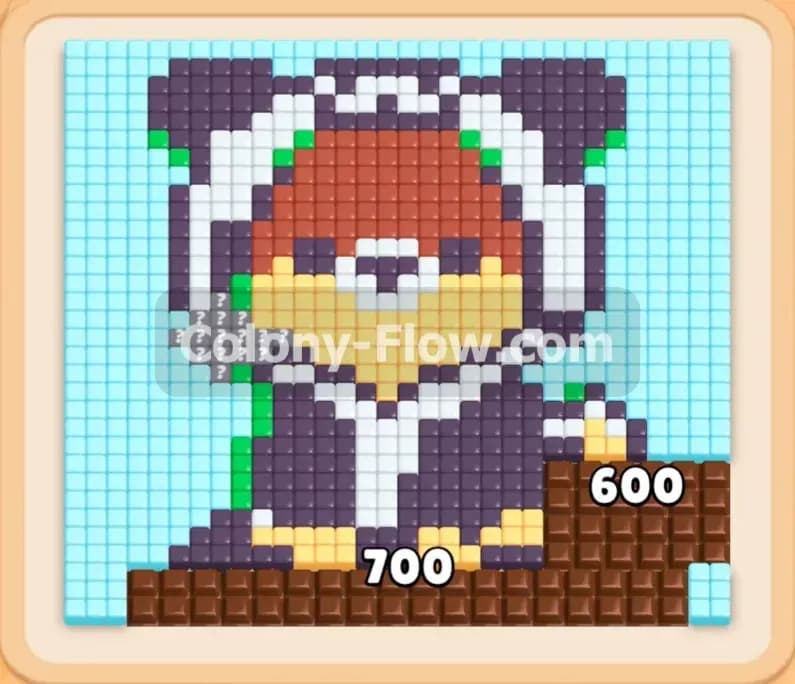
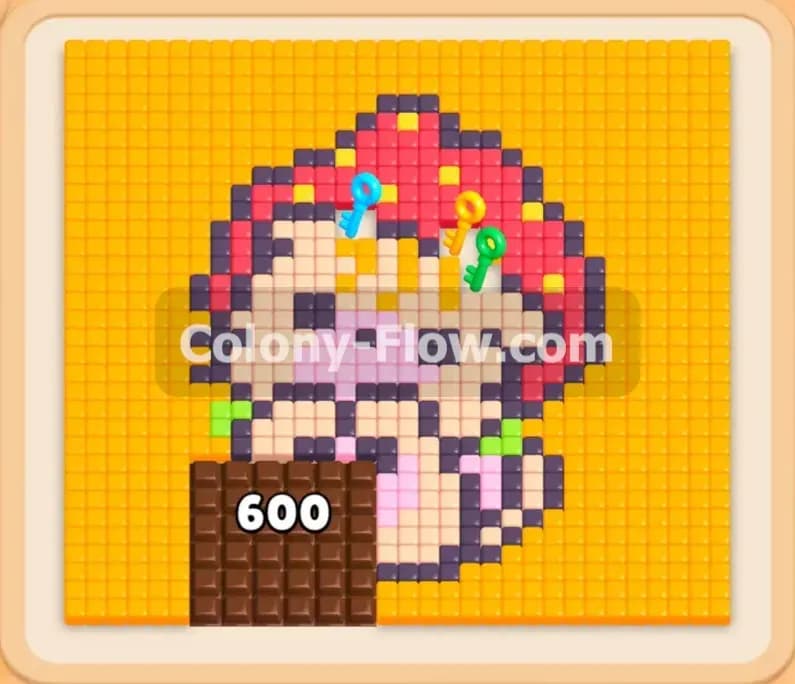
Welcome to Colony Flow Level 426. This level presents a large pixel art picture of a cute character wearing a red hood surrounded by a massive yellow background. The most striking feature is a giant block of chocolate sitting right at the bottom center of the board. You will need to manage a steady flow of ants to clear the picture while chipping away at that massive chocolate barrier. The key to winning is understanding how to release the right colors at the right time. I will walk you through the exact moves to solve this puzzle without getting your waiting slots jammed.
Colony Flow Level 426 Overview
What You Are Working With
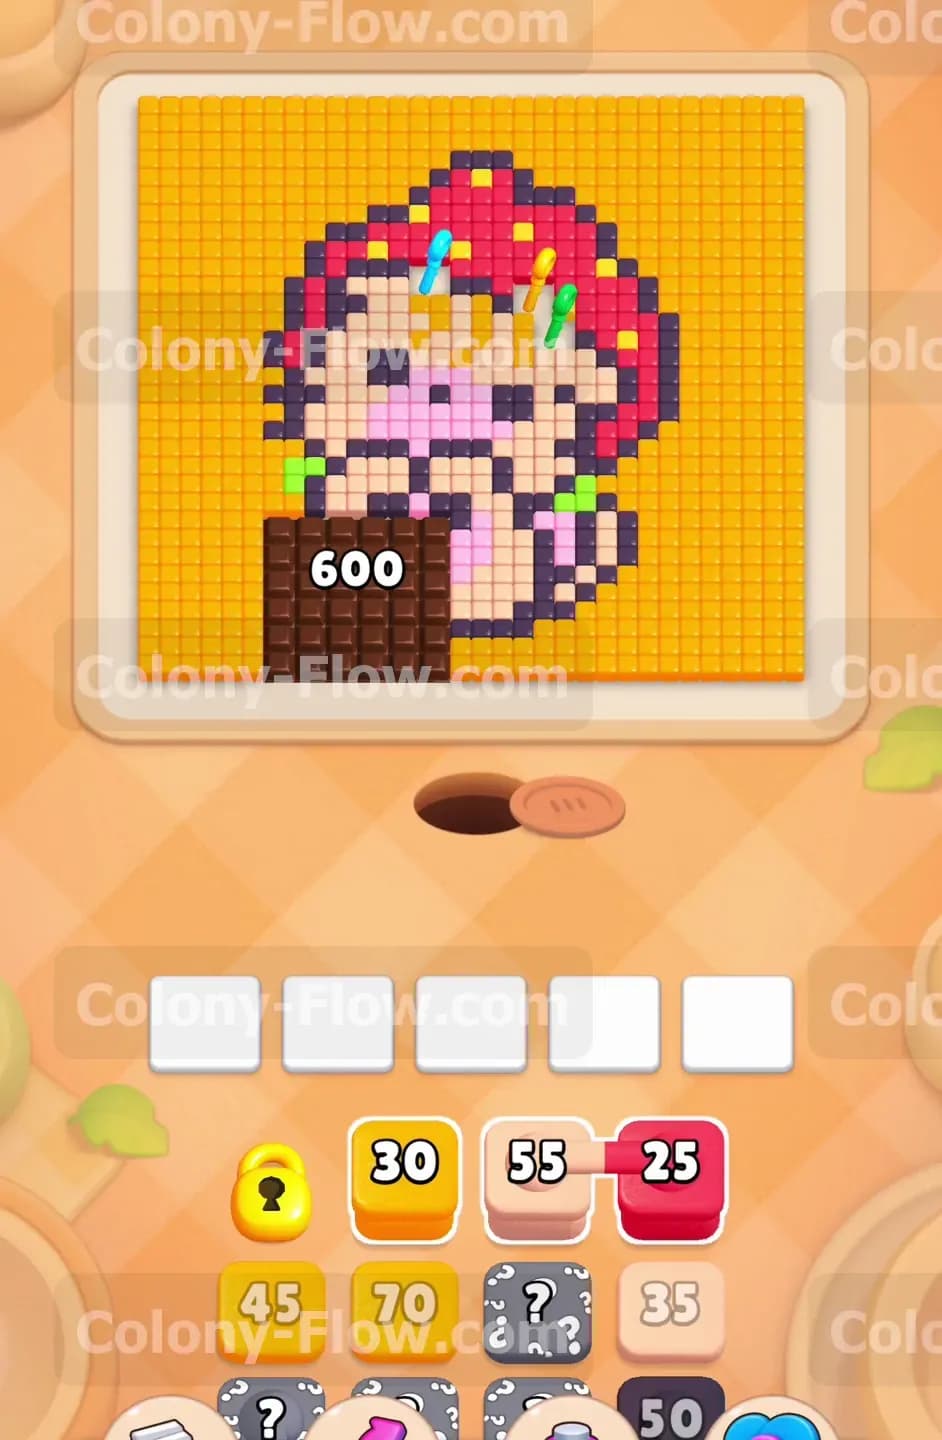
When you first look at the board you see a pixel art character resembling a little bear or cat wearing a bright red hood. The character is set against a very large solid yellow background that takes up most of the screen. Right at the bottom center of the puzzle sits a massive chocolate block. This chocolate block displays a number of 600. This means it requires six hundred individual ant hits to break apart. The chocolate covers a significant portion of the lower character tiles and acts as a huge physical barrier.
Down in the tray you have a complex arrangement of numbered blocks waiting to be used. You will see yellow pink red black and green blocks stacked up. There are several sets of connected boxes in the tray. These connected boxes must be pulled together as a single unit and they require two open waiting slots to move. The tray also features locked blocks. You will notice a yellow lock and a cyan lock and a green lock protecting certain blocks underneath them. To open these locks you must collect the corresponding colored keys that are currently resting on top of the tiles up in the picture. Finally there are hidden boxes in the tray marked with question marks. These hidden boxes will only reveal their true color once you pull the active blocks sitting in front of them.
What It Takes to Clear Level 426 Board
To win this level you must completely clear every colored tile from the board and completely destroy the giant chocolate block. The primary challenge here is managing your five waiting slots while dealing with the tricky connected boxes. If you fill all five waiting slots with blocks that have no open path to their matching tiles the board will jam and you will instantly lose the level. You must pull blocks in an order that guarantees the ants always have a clear route to eat their target tiles. As the ants travel to eat the yellow background and the red and pink character tiles they will naturally bump into the chocolate block and reduce its count. You need to prioritize gathering the keys to unlock the deep tray blocks and consistently feed the board to wear down that huge chocolate barrier.
Colony Flow Level 426 Step by Step Solution
Step 1: Start eating the yellow background and pink character tiles.
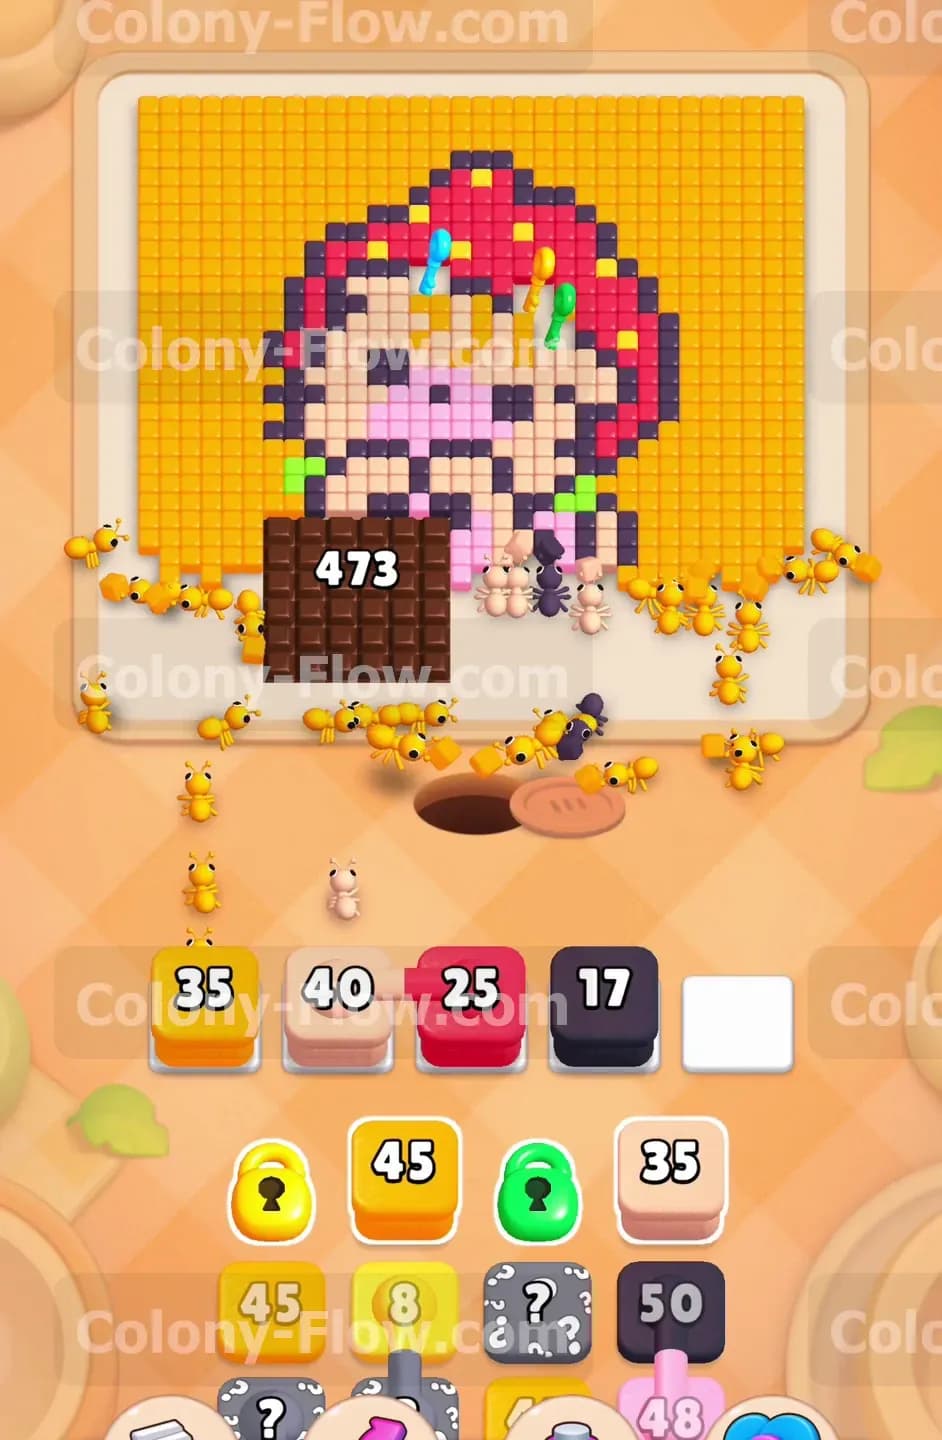
The puzzle starts completely solid so your very first priority is opening up the outer edges and the bottom corners. Look at the top row of your tray to see what is available. Pull the available yellow block and the pink block into your waiting slots. This action releases a swarm of yellow ants and pink ants from the nest hole. The yellow ants will immediately head for the bottom left and bottom right corners of the yellow background. The pink ants will target the accessible pink tiles on the lower part of the character face. As these ants march toward their tiles they will physically collide with the giant chocolate block. You will see the 600 count begin to drop right away. Getting these first two colors active is absolutely crucial because it creates physical space on the board for the ants to maneuver. You must always ensure the ants have a clear path to follow so your waiting slots do not get stuck early on.
Step 2: Pull the first set of connected red and black boxes.
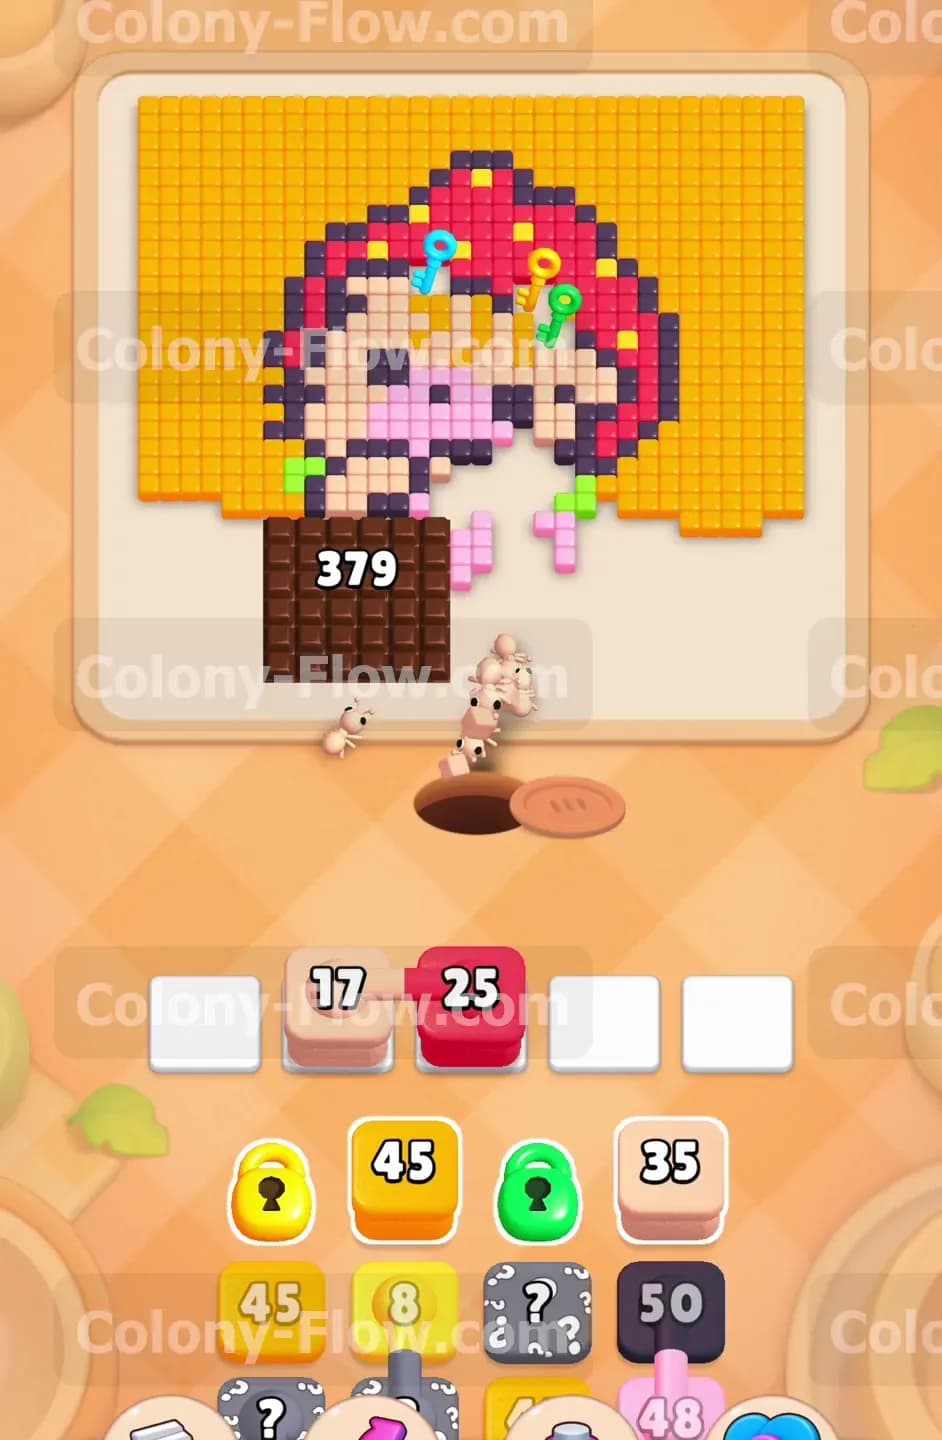
With the yellow and pink ants busy making space you can now safely introduce more colors to the board. Your tray contains a set of connected boxes featuring a red block and a black block. Make sure you have at least two open waiting slots and pull this connected pair. The red ants will flood out of the nest and begin tearing into the red hood of the character. The black ants will target the dark outline tiles that give the character its shape. Having four blocks active in your waiting slots creates a very heavy and continuous flow of ants. This heavy traffic is exactly what you want because every single ant that brushes past the bottom center will take a hit out of the chocolate block. The red hood covers a very large area at the top of the picture so the red ants will have plenty of work to do. Monitor your waiting slots closely and wait for one of the active blocks to fully empty before making your next move.
Step 3: Collect the keys to open the locked tray blocks.
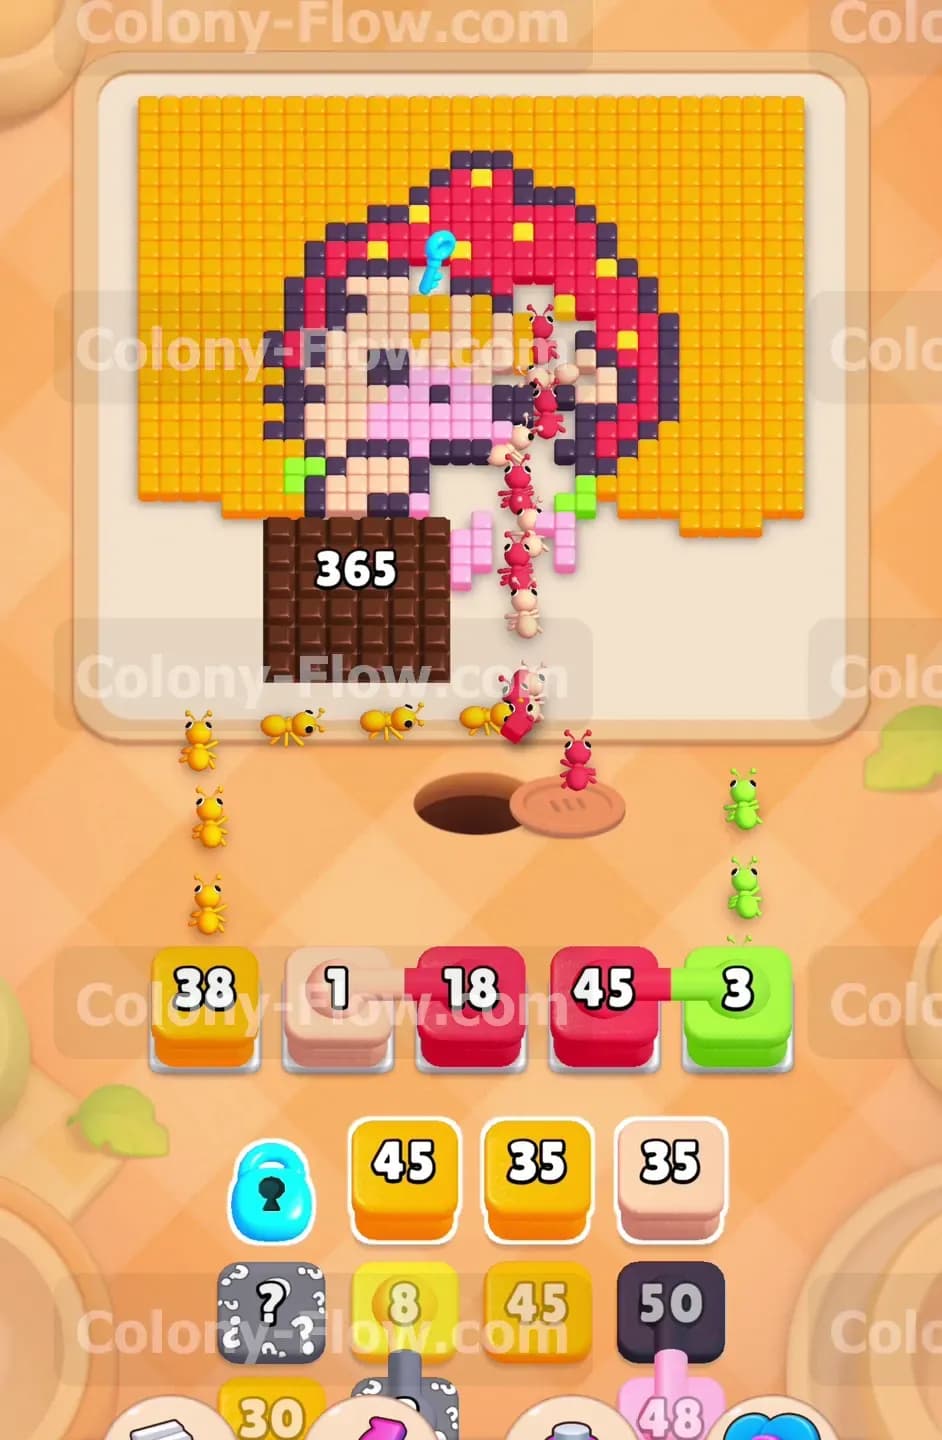
As your red pink and yellow ants eat away the outer tiles they will eventually reach the colored keys resting on the picture. You need to keep pulling yellow blocks from the tray whenever a waiting slot opens up. The yellow background is absolutely huge and requires a constant supply of yellow ants to clear completely. By aggressively eating the yellow background and the upper sections of the red hood your ants will drop the specific tiles located underneath the keys. Collecting these keys will automatically remove the colored locks down in your tray. You will see the yellow lock and the cyan lock disappear giving you free access to the high numbered blocks trapped behind them. Unlocking the tray early is a mandatory move because you will desperately need those deep tray blocks to finish the puzzle later. Keep a close eye on the chocolate block count as it should be dropping well below 400 by this point in the level.
Step 4: Bring in more pink and red ants for the character.
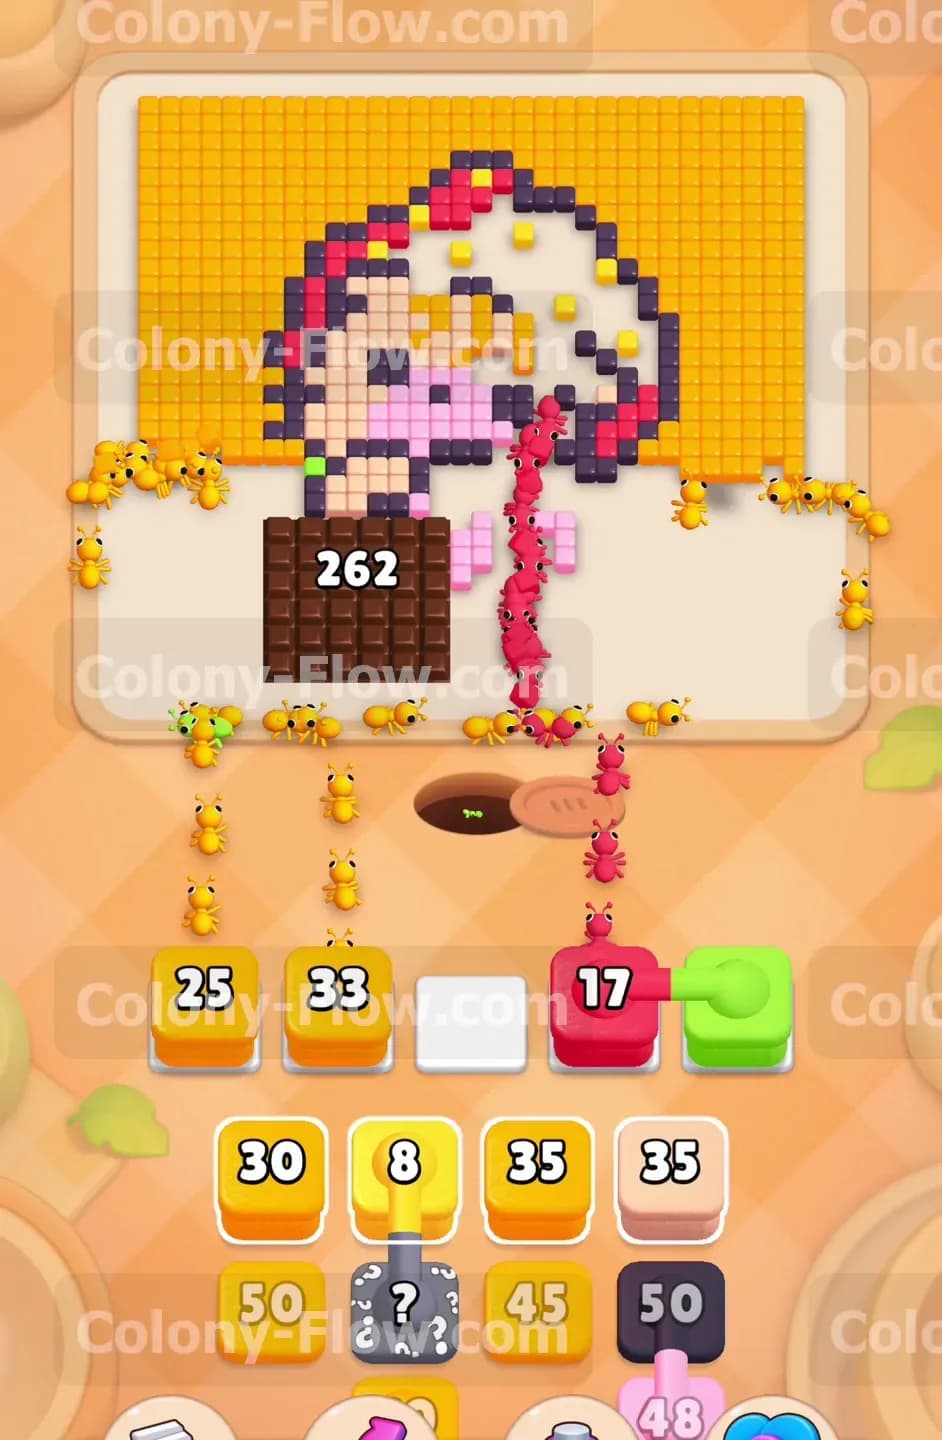
Now that you have unlocked new sections of the tray you can focus heavily on destroying the character itself. Pull the newly available pink block into a waiting slot. Then pull the next set of connected boxes which consists of a red block and another pink block. This combination sends a massive wave of red and pink ants straight up the middle of the board. They will aggressively eat the remaining parts of the red hood and the pink face of the character. Because the top center of the board is now wide open these ants have a direct and clear path to their targets. This direct path guarantees your waiting slots will not jam up and ruin your game. The sheer volume of ants moving through the center space will deal massive damage to the chocolate block. You will notice the chocolate count dropping incredibly fast as the red and pink ants swarm directly over it to reach the character tiles above.
Step 5: Release and utilize the hidden boxes.
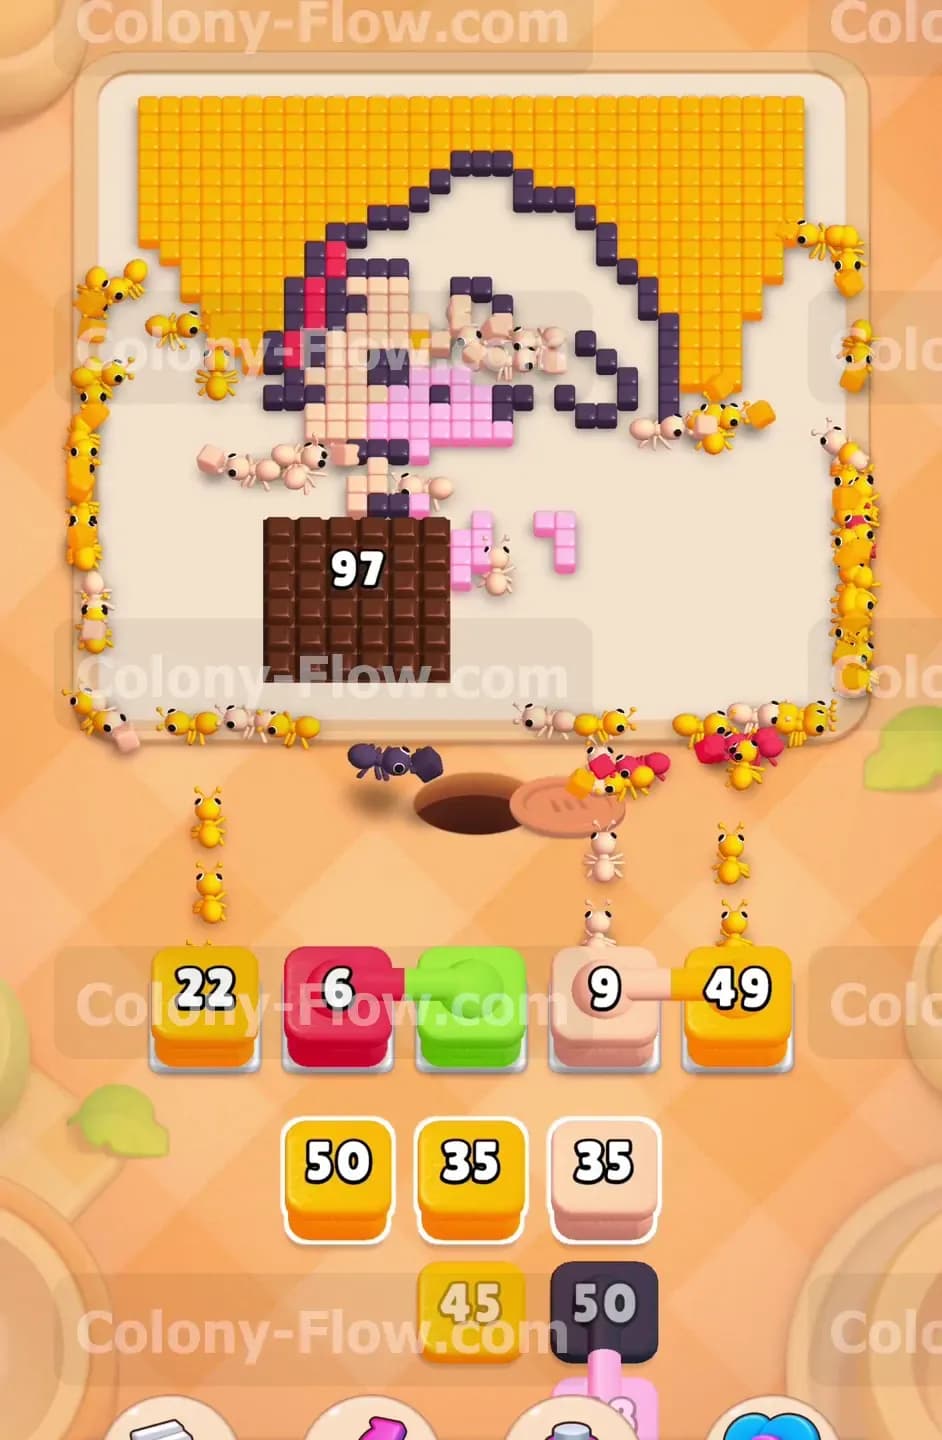
As you clear out the middle rows of the tray the hidden boxes marked with large question marks will finally be exposed. Once the blocking tiles in front of them are pulled these hidden boxes will flip over and reveal their true colors to you. You will typically find a black block and another yellow block hiding in these spots. Pull the newly revealed black block to send a fresh batch of black ants after the remaining outline tiles. You should also pull the green block that became available earlier in the tray. The green ants will rush up to clear the small green details located near the character head. The board is getting very open now. The massive yellow background on the left and right sides is mostly gone. The character is almost fully eaten away except for the parts hidden directly behind the chocolate. Keep feeding the board with any available yellow blocks to maintain the heavy pressure on the remaining background tiles.
Step 6: Destroy the massive chocolate block completely.
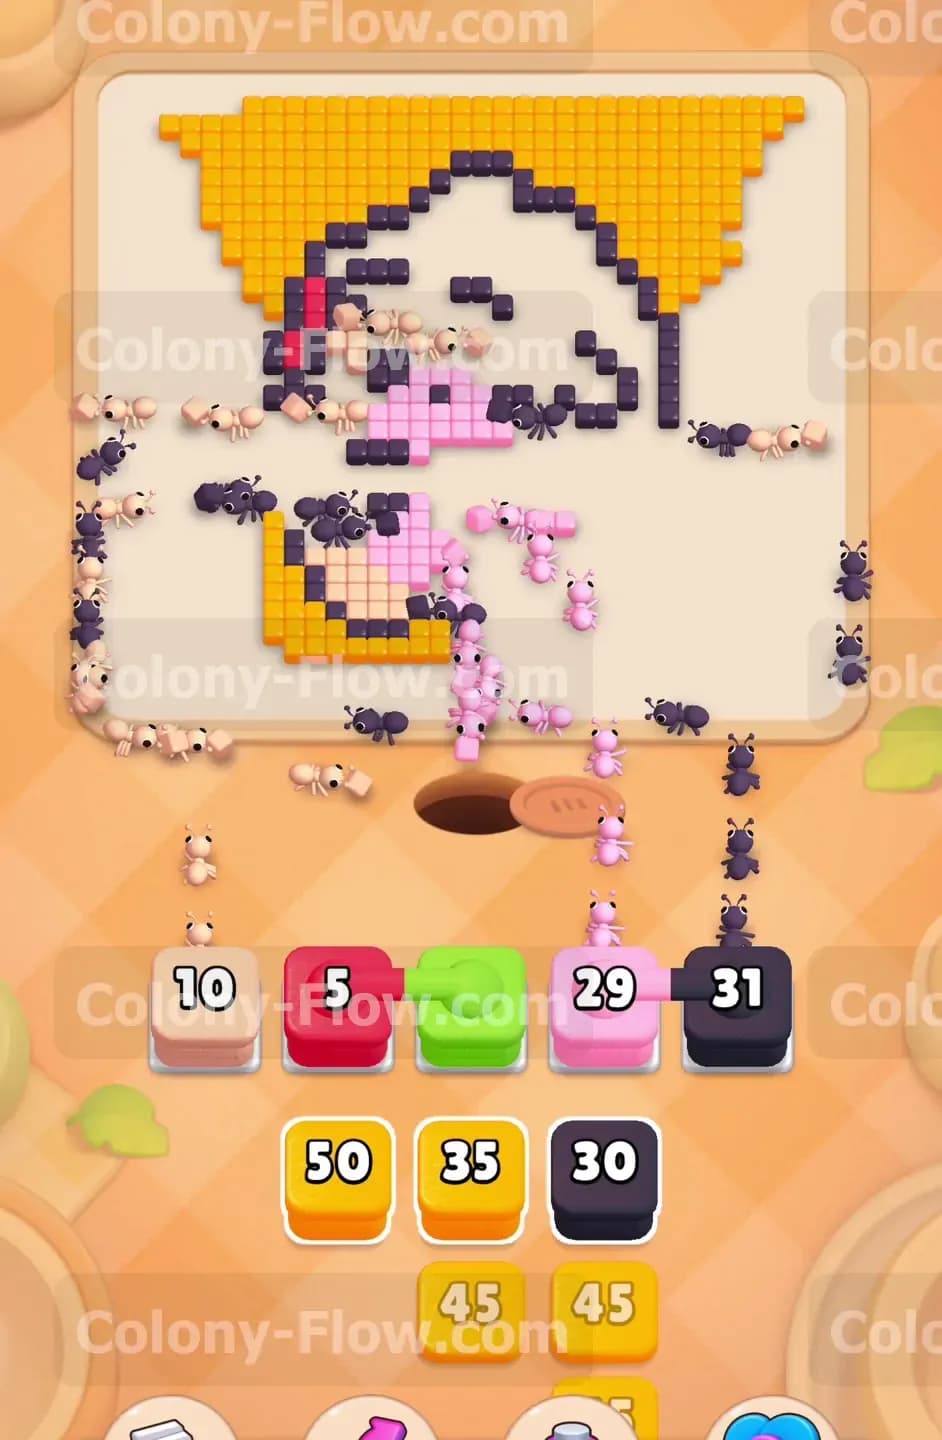
You are now approaching the final stage of the character cleanup operation. Pull the large connected pair of pink and black blocks from the bottom of the tray. This will release a final heavy surge of pink and black ants onto the board. They will target the last few visible character tiles located just above the chocolate mass. The intense traffic generated from this move will be the final blow to the chocolate block. You will watch the counter drop rapidly from double digits all the way down to zero. When it finally hits zero the entire chocolate block will shatter and completely vanish from the board. This is the most satisfying moment of the whole level. The destruction of the chocolate block exposes the final bottom section of the puzzle. You will reveal the last hidden pink black and yellow tiles that were trapped underneath it all this time. Your board is now completely open and you are entirely safe from any risk of dead ends.
Step 7: Clear the final background tiles to win.
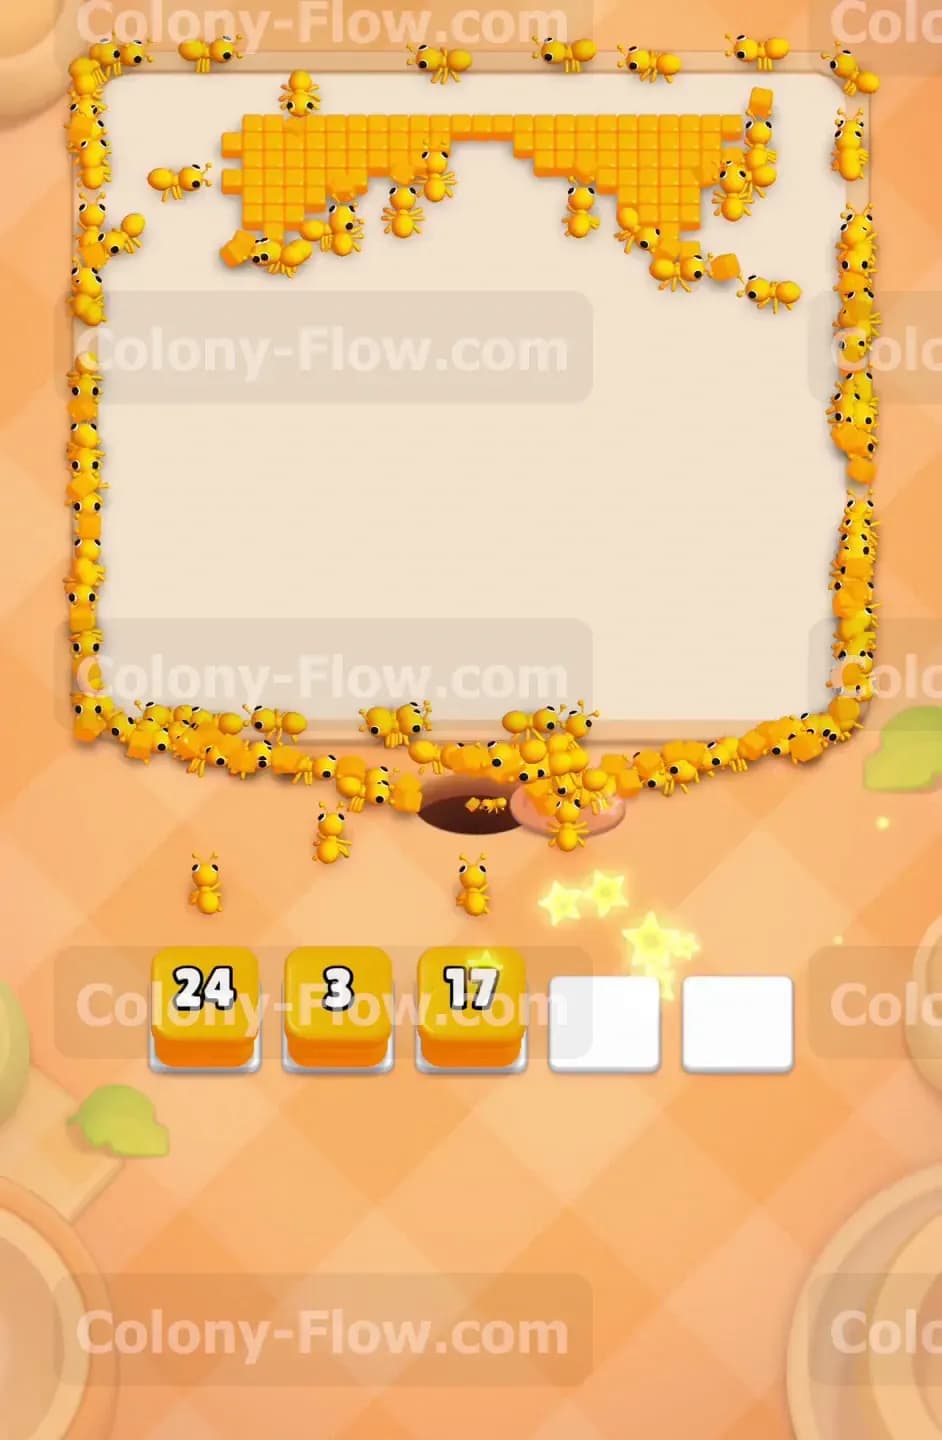
With the giant chocolate obstacle completely gone finishing the level is a very simple cleanup operation. The only tiles remaining are the newly exposed bottom section and a few scattered yellow background tiles near the very top edges. Look at your tray and pull all the remaining yellow blocks. You will have plenty of empty waiting slots now so you can safely pull multiple blocks at once. The yellow ants will pour out of the nest and sweep across the wide open board. They will easily reach the top corners to eat the last bits of the background and quickly clear the yellow tiles at the bottom. Once the final colored tile is consumed the last few remaining ants will run back into the nest hole. The board will be completely clear and you will successfully win the level.
Final Thought
Level 426 looks very intimidating at first glance because of that massive chocolate block but a steady flow of ants will take it down easily. The real secret to winning is to keep pulling your connected boxes carefully so you always have an open path for the ants to travel. Do not let your waiting slots fill up with blocks that have nowhere to go. If any of these text instructions are hard to picture just watch the video above this article to see exactly how I cleared the board.