Colony Flow Level 397 Walkthrough Solution & Guides | How to solve Colony Flow 397

Guide By Liam Stone
Updated on August 1, 2026
The video above shows you how to clear Level 397 without needing to read a single step below.
Video doesn't match your screen?
Game updates frequently scramble layouts! Try our AI Screenshot Solver first to find your exact board instantly, or report broken guides to our team.
Welcome to Colony Flow Level 397. This level presents a fun pixel art frog sitting on a white grid background. You need to guide your ant colony to eat the frog and the surrounding white tiles. I will walk you through the entire process from the first move to the final clear. You just need to manage your tray slots and keep a steady flow of ants moving.
Colony Flow Level 397 Overview
What You Are Working With
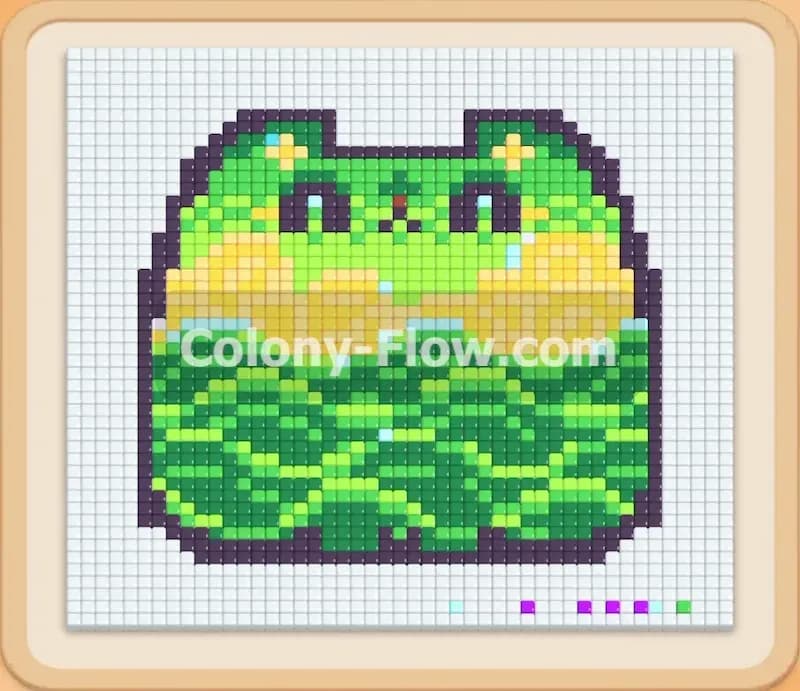
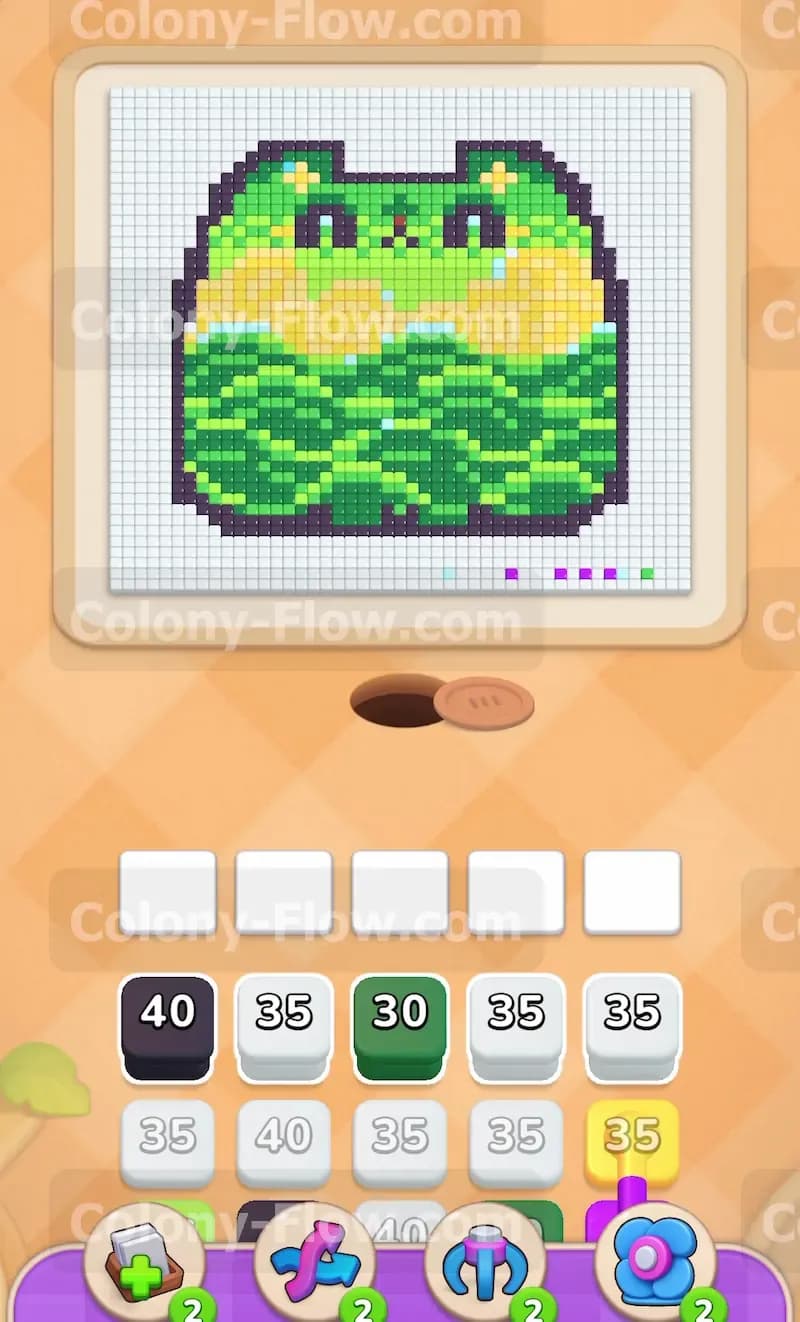
The board features a large frog design made of dark green, light green, and yellow tiles. A black outline surrounds the frog. A large area of white background tiles surrounds the entire figure. The very bottom right corner contains a few tiny starter dots in purple and white.
In your tray at the bottom, you have a mix of colored blocks with numbers. You see white blocks for the background, black blocks for the outline, and various shades of green and yellow for the frog body. This level includes two special block types. You will encounter connected boxes that pull together into the waiting slots. You will also find a hidden box marked with a question mark. This hidden box reveals its true color only when a valid path opens up for it.
What It Takes to Clear Level 397 Board
To win this level, you must clear every single tile on the board, including the frog and the white background grid. You pull blocks from the tray into your five waiting slots. The ants match the color of the block and march out of the nest hole to eat the corresponding tiles. The number on the block counts down as the ants consume the tiles. When the number reaches zero, the block disappears from the slot.
The main danger is filling all five waiting slots with blocks that have no open path. If you do this and the ants stop moving, the slots jam and you lose the level. You must always pull blocks that match accessible tiles on the board. We will tackle the bottom edge first, work our way up the sides, and then clear the center of the frog to ensure the slots never jam.
Colony Flow Level 397 Step by Step Solution
Step 1: Open the bottom right path with purple and white blocks
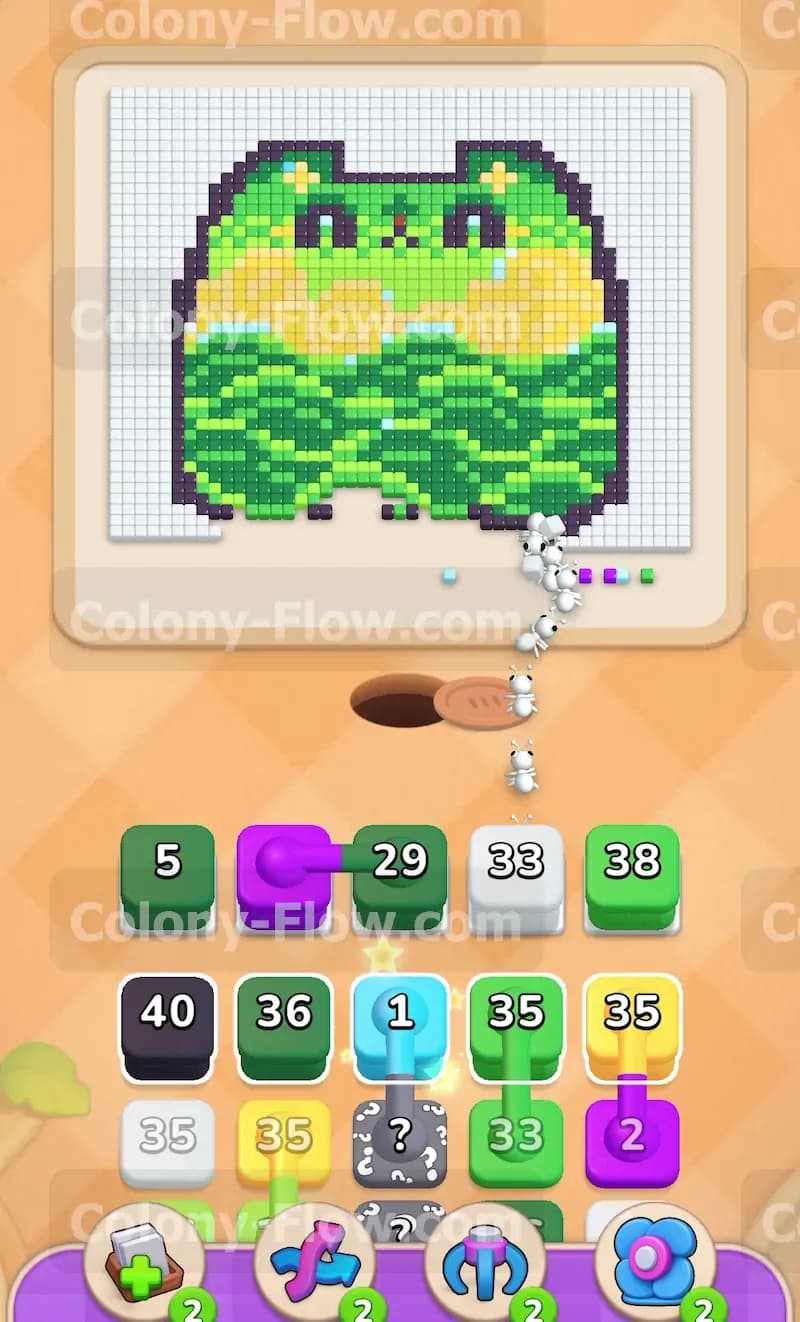
You start by focusing on the small colored dots at the bottom right of the picture. Pull a white block and a purple block into your waiting slots. The white ants stream out of the nest hole and begin eating the bottom row of the white background grid. The purple ants march out to consume the small cluster of purple dots. The numbers on your blocks drop rapidly as the ants clear these initial tiles. This opens a wider path to the bottom edge of the frog.
You can now pull a dark green block and a light green block from the tray. These colors match the bottom layers of the frog body. The dark green ants and light green ants start chipping away at the bottom of the pixel art. Your waiting slots remain clear because the ants have a direct route to their matching colors. The hidden box sits in the tray and you leave it alone for now.
Step 2: Deploy the connected light blue and black blocks for the outline
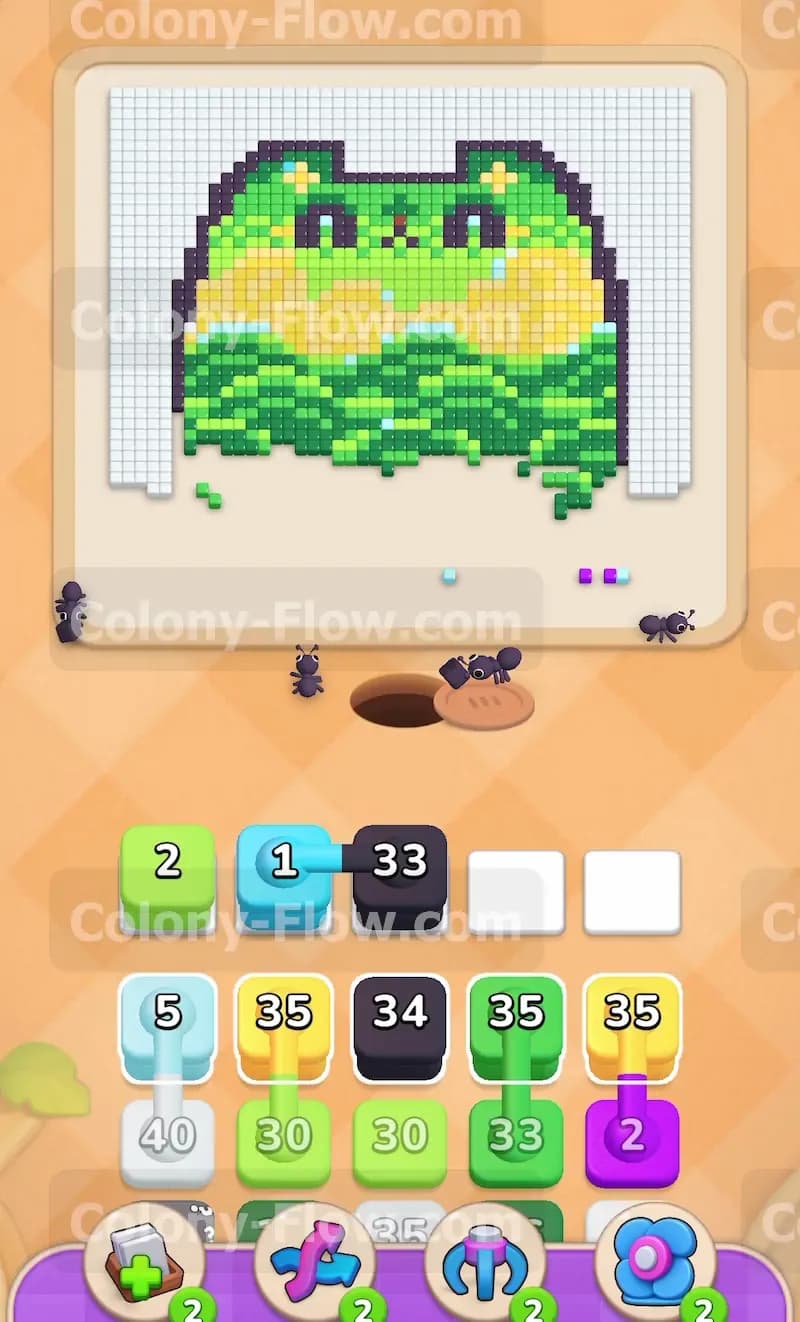
With the bottom path open, you need to start clearing the black outline of the frog. Look in your tray for the connected boxes containing a light blue block and a black block. When you tap one, both blocks pull into your waiting slots together. The black block carries a large number. A massive swarm of black ants emerges from the nest and marches to the left side of the frog. They begin eating their way up the black outline.
The light blue block only has a count of one. The light blue tile is not reachable quite yet, so this block will sit in your slot. This is perfectly fine because you still have empty slots available. Pull another light green block to keep the light green ants working on the lower body of the frog. You always want multiple colors of ants working at the same time to maximize your clearing speed and keep the board open.
Step 3: Send more black ants up the left side of the frog
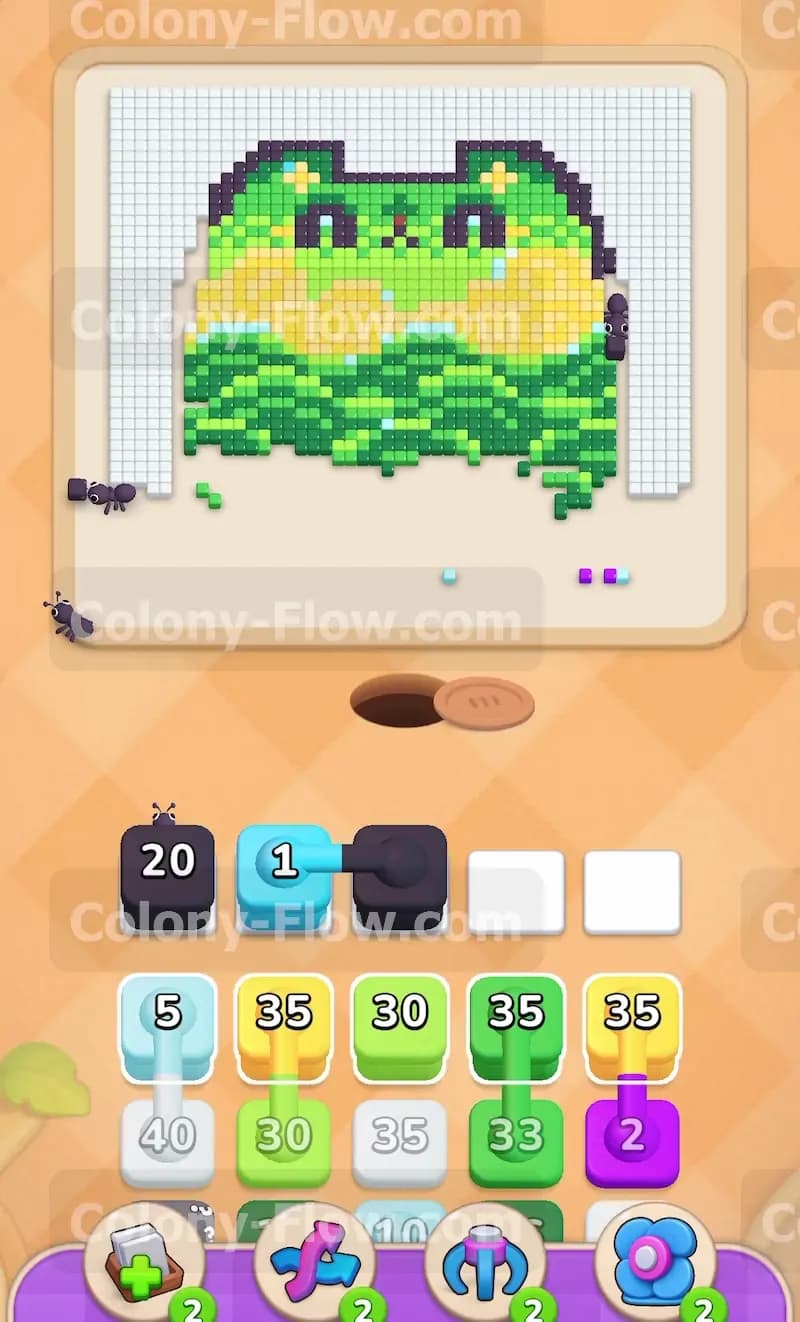
The black ants from the previous step will eventually run out of numbers. The black outline extends all the way around the frog, so you need more black ants to continue the job. Pull another black block from the tray. The new wave of black ants marches past the cleared areas and attacks the top left section of the black outline.
At the same time, pull another white block into the slots. The white ants need to continue clearing the white background grid on the left side. By clearing the background and the outline simultaneously, you open multiple angles of attack for the inner colors of the frog. Your light blue block remains in the slot, but your other slots cycle through black and white blocks smoothly. You never dead end the board because you always choose colors that touch the empty space.
Step 4: Swarm the white background grid with white ants
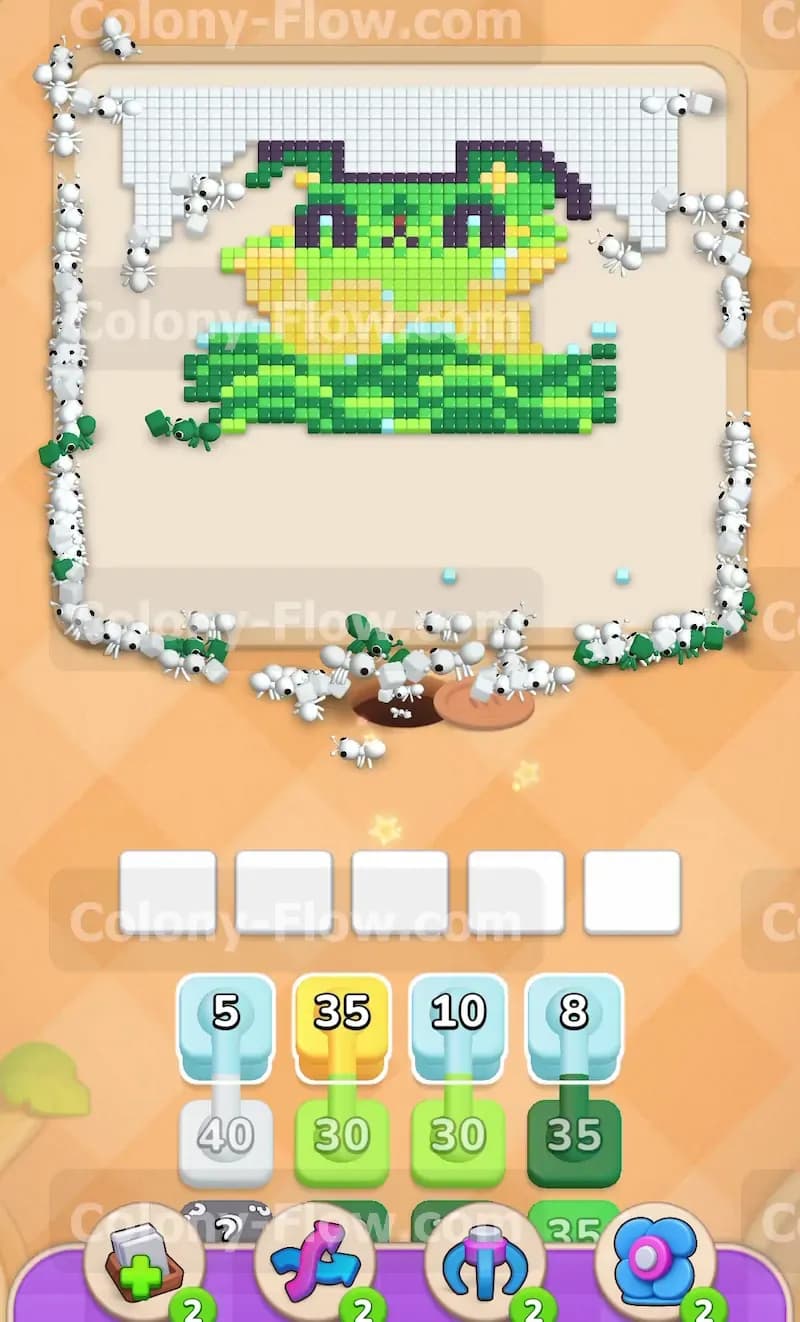
The white background makes up a huge portion of this level. You must clear it to access the top and right sides of the frog. Pull a green block and a light green block to keep the frog body shrinking. Then pull a large white block. The white ants flood the board. They travel up the left side, across the top, and down the right side of the white grid.
This massive swarm of white ants is incredibly satisfying to watch. They strip away the entire outer layer of the board. As they eat the white tiles, the numbers on your white blocks plummet. The blocks clear out of your waiting slots quickly. The hidden box in the tray will reveal itself as a usable color once the surrounding tiles are gone. Just keep feeding white blocks into the slots as long as white tiles remain accessible.
Step 5: Clear the yellow face using connected blocks
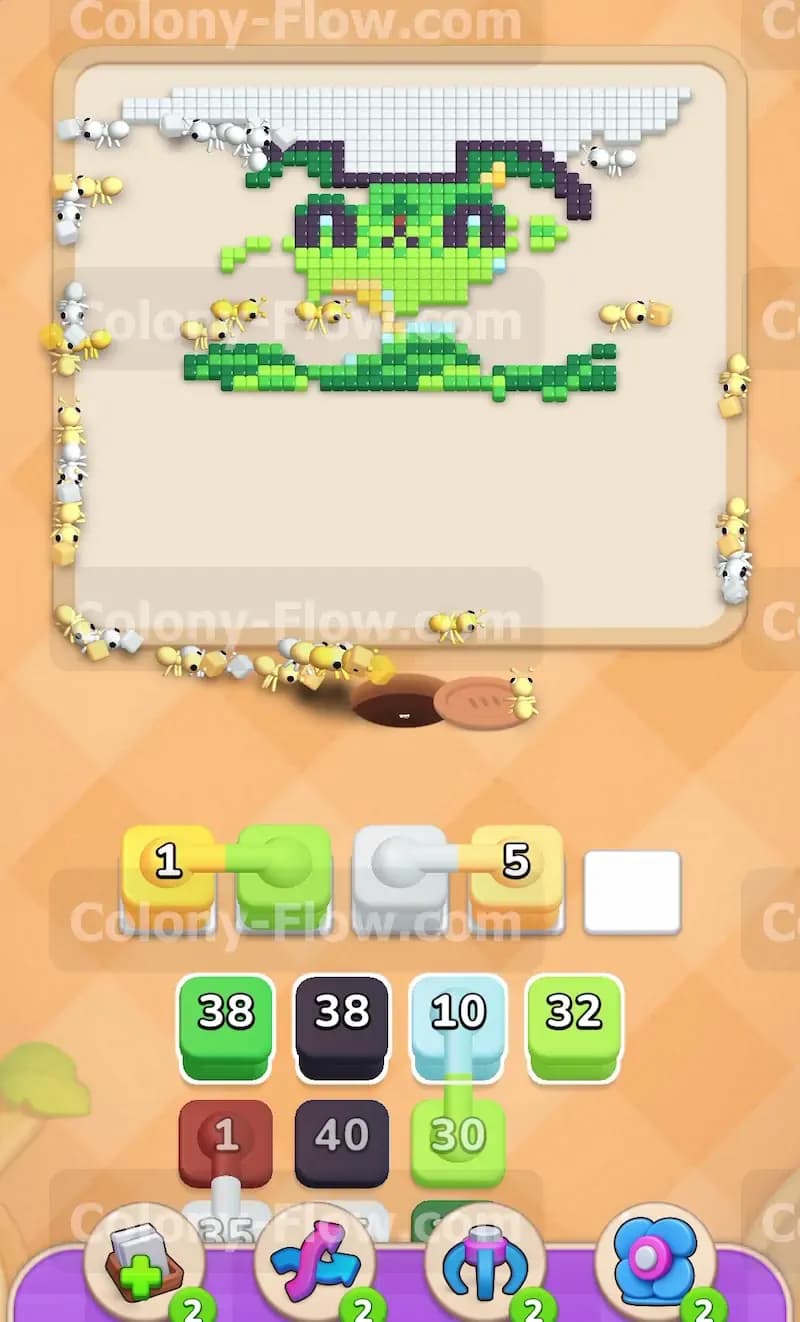
Once the white background is mostly gone, the entire top section of the frog becomes exposed. This area consists entirely of yellow tiles. Pull a yellow block from the tray. The yellow ants rush out and devour the top half of the frog face. The yellow area is quite large, so the block number drops fast.
You will also see another set of connected boxes in the tray. This pair links a light green block and a white block. Pull these connected boxes into your slots. The remaining white ants hunt down the last stray white tiles in the corners. The light green ants attack the detailed patches on the frog face. Keep an eye on your slots and make sure you do not pull a color that is trapped behind another color. The yellow and light green tiles are wide open, so these moves are completely safe.
Step 6: Finish the remaining eyes and body details
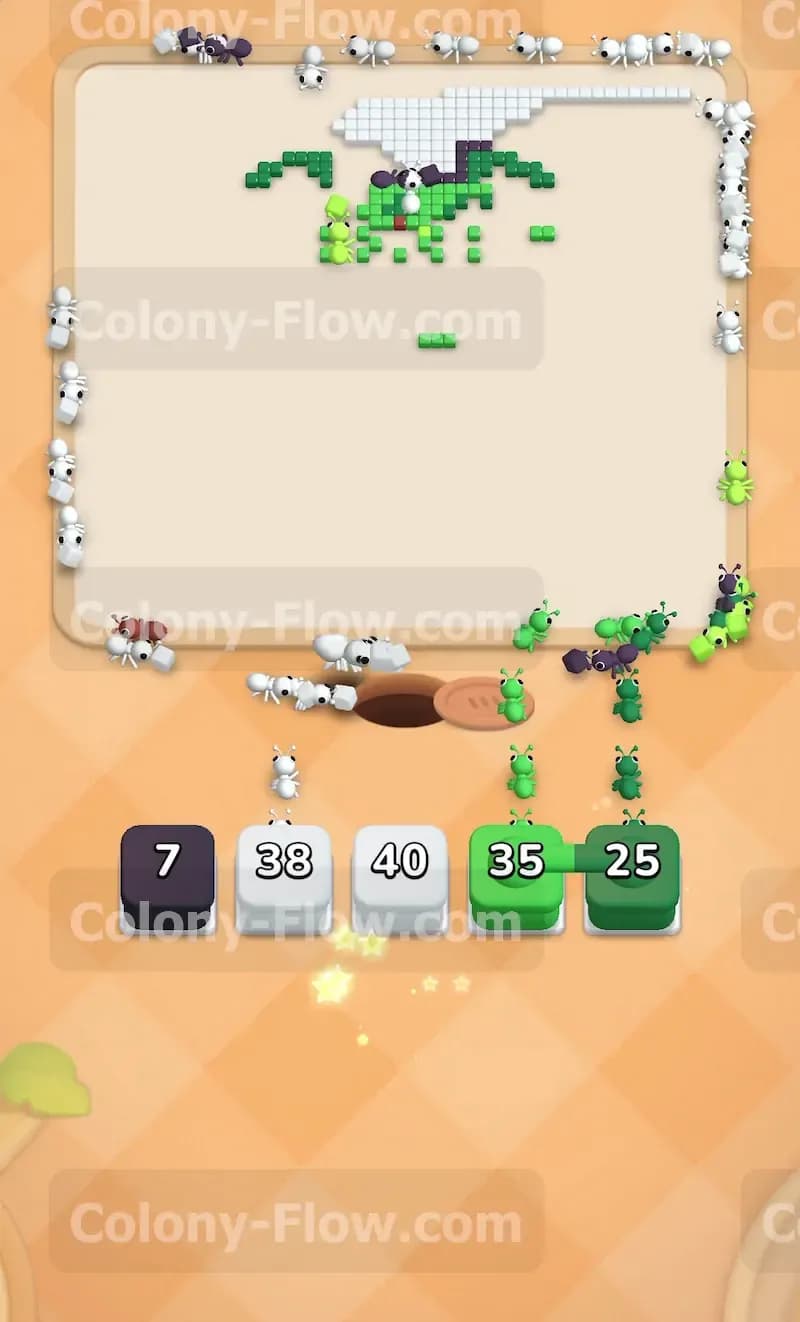
The board is now mostly empty space. Only the black eyes, a few light green spots, and the final dark green pieces of the body remain. Pull a black block to send ants to eat the eyes. Pull your remaining dark green and light green blocks to clear the last chunks of the frog body. You might also have one final white block to clean up any tiny background specks you missed earlier.
The ants race across the large open board to reach their targets. The waiting slots clear out one by one as the final numbers reach zero. The hidden box from earlier has turned into a usable color and you pull it to finish its matching tiles. The very last ant eats the very last tile, the picture vanishes, and you win the level. Your slots stayed clear the entire time because you carefully managed the flow of colors from the outside in.
Final Thought
Level 397 requires a good balance of clearing the outer white grid and chipping away at the inner frog colors. The connected boxes can easily jam your slots if you pull them too early, so always wait until both colors have a clear path. Managing the massive swarms of white and black ants is the key to opening up the board. If you find yourself getting stuck or pulling the wrong block, please watch the video above this article. The video shows the exact timing for every single move.