Colony Flow Level 95 Walkthrough Solution & Guides | How to solve Colony Flow 95

Guide By Liam Stone
Updated on July 16, 2026
The written guide below covers Level 95 in depth, but you can watch the video above for the same solution.
Video doesn't match your screen?
Game updates frequently scramble layouts! Try our AI Screenshot Solver first to find your exact board instantly, or report broken guides to our team.
Welcome to Colony Flow Level 95. This specific puzzle presents a really fun pixel art character portrait but hides some tricky mechanics right in the middle of the board. You need to manage massive food blocks and unlock hidden areas without clogging your five waiting slots. The board looks intimidating at first glance because of the huge solid color blocks and the grey question mark tiles staring back at you. Let me walk you through exactly how to beat this board and keep your ants moving from start to finish.
Colony Flow Level 95 Overview
What You Are Working With
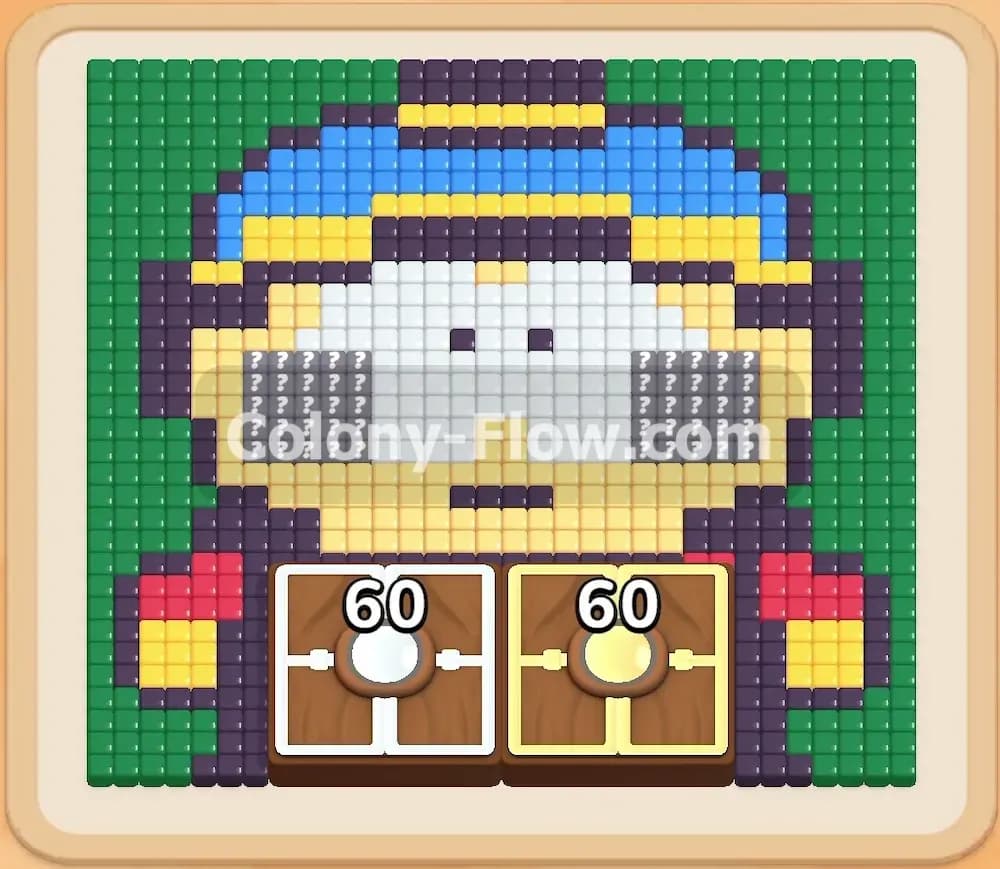
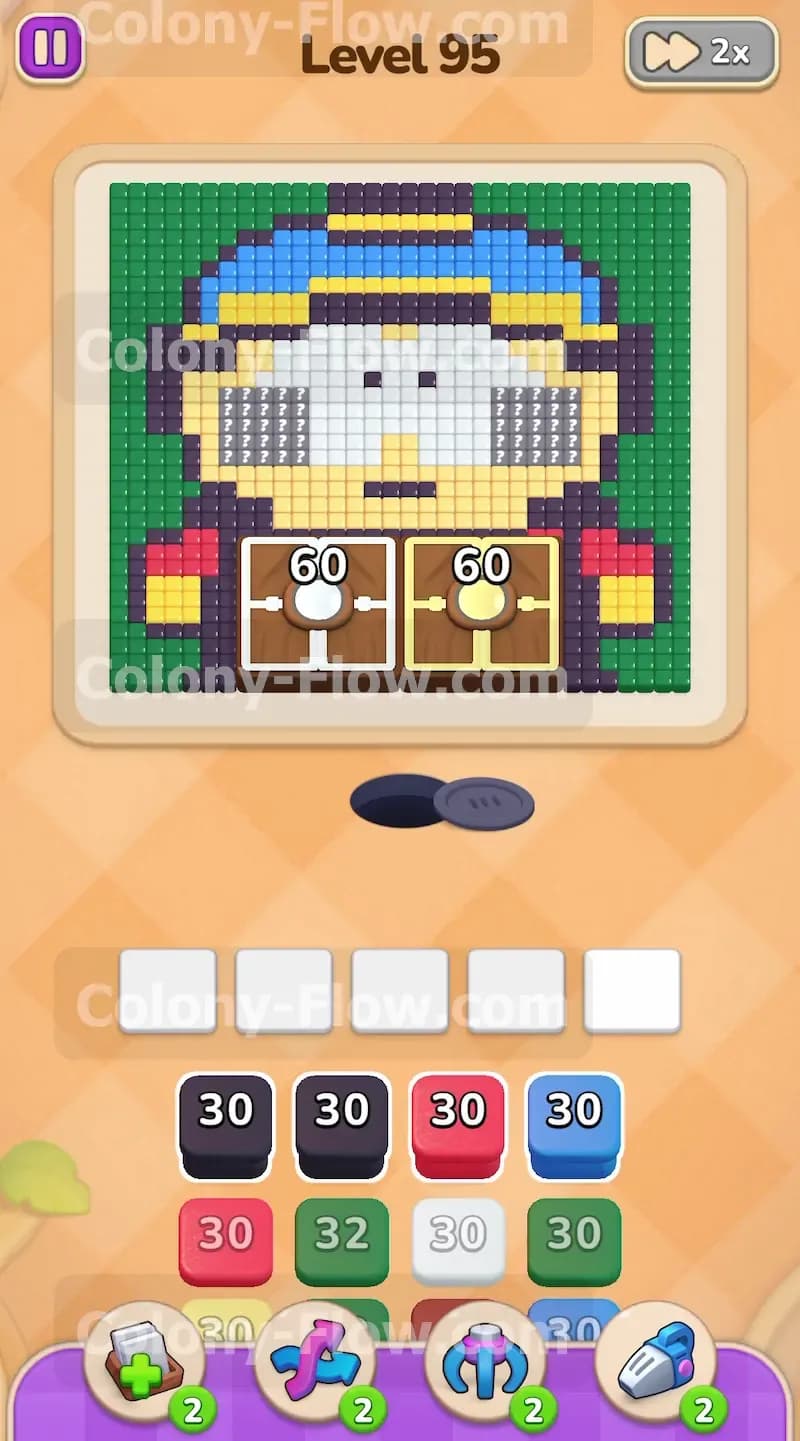
The pixel art picture in this level is a large character portrait taking up most of the screen. You have a solid green background filling the top corners and a blue and yellow hat sitting on the character. The character features a large white face outlined in black. The most noticeable features are the two massive brown chest blocks sitting at the bottom of the portrait. Each of these large blocks demands 60 ants to fully clear. You will also spot grey blocks with question marks on the cheeks of the character. These are Hidden Food tiles. They stay locked and unknown until you clear the normal food tiles directly next to them. Down in your tray at the bottom of the screen, you have a wide variety of colors. You will see green, black, red, blue, yellow, white, purple, and brown numbered blocks. Most of these carry a standard 30 count. You have plenty of ants available to clear the board, but the sheer variety of colors means you can easily run out of slot space if you guess wrong.
What It Takes to Clear Level 95 Board
Winning this level means completely eating the portrait from the outside in while managing your limited tray space. You must clear the open green background and the black outer edges first to create pathways deeper into the board. Then you have to strategically attack the white face to unlock the Hidden Food tiles located on the cheeks. At the exact same time, you must constantly chip away at the massive 60 count brown chest blocks at the bottom. The main rule of the game dictates that you lose if your five waiting slots fill up and no ants can reach their target. You must always keep at least one active path open. If you pull a color that has no open path on the board, that block sits uselessly in a slot and blocks you from pulling what you actually need. My solution focuses on keeping your tray moving and your ants flowing so you never hit a dead end.
Colony Flow Level 95 Step by Step Solution
Step 1: Clear the outer green background and black outlines first
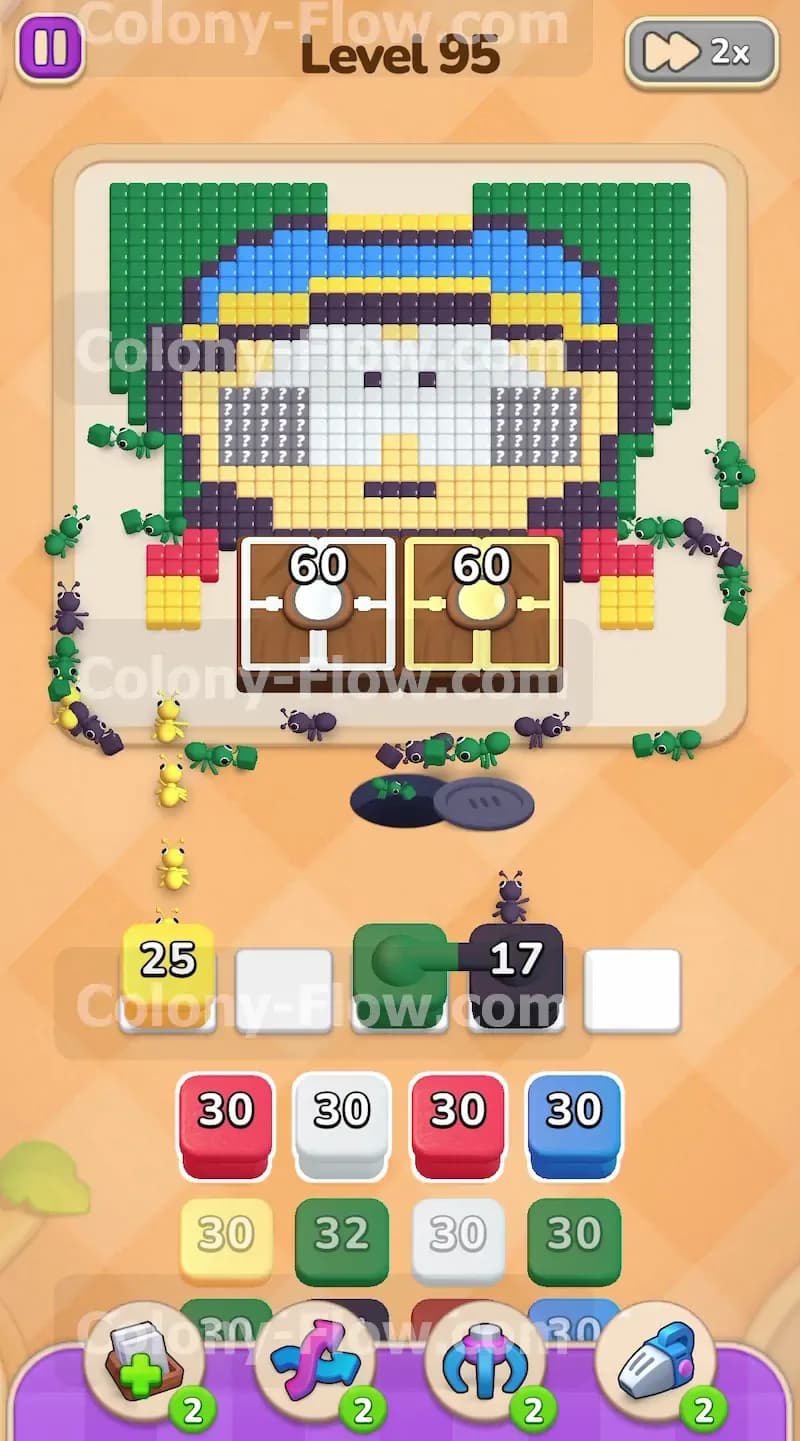
Start your run by pulling the green and black blocks from your tray into your waiting slots. The green background is completely exposed on the outer edges of the board. Sending green ants out immediately gives them plenty of valid targets to eat. The black outline around the character is also wide open for attack. Pulling a black block sends ants to chew away the borders and define the shape of the portrait. This is the safest possible opening move because these outer paths are wide open and guarantee your waiting slots will not jam. As the green and black blocks count down and empty out of your slots, you create fresh room to bring up new colors. Never pull a color trapped in the middle of the portrait during this opening phase. You must stick to the outside edges to build early momentum.
Step 2: Send yellow ants to the hat and shoulder pads
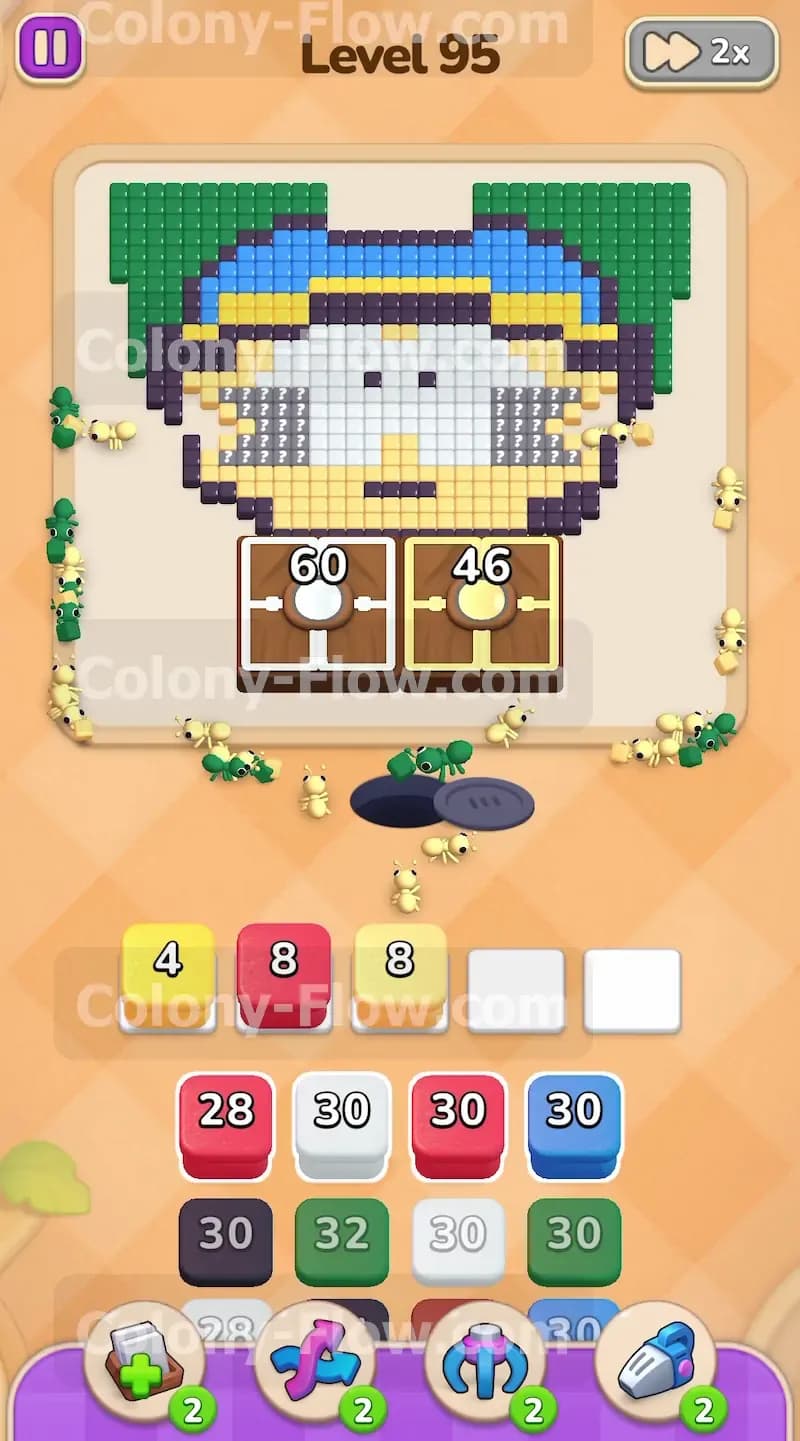
Once the outer green edges start thinning out, pull a yellow block into your slots. The character features a bright yellow band across the top hat and yellow details on the lower shoulder areas. Because the black outline is actively disappearing from your first move, the yellow tiles are now perfectly accessible to your colony. The yellow ants will stream out of the nest hole and split up to tackle these newly exposed areas. This keeps your momentum going and prevents your slots from stagnating. The yellow block will count down quickly as the ants find their targets and eat the pixels. Keeping the yellow ants moving ensures you maintain an active flow and keeps your tray cycling properly.
Step 3: Attack the massive brown chest blocks early
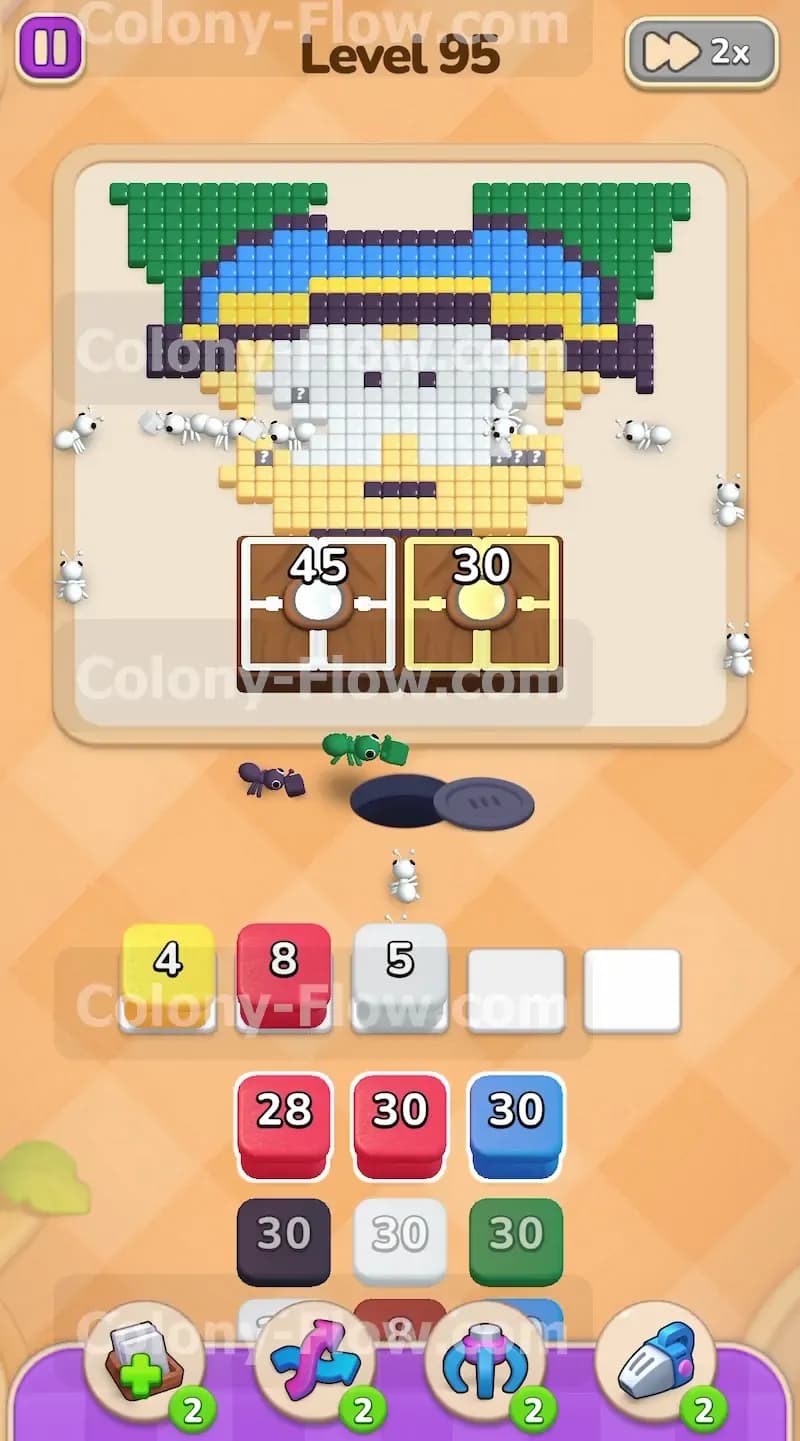
You cannot ignore the huge brown blocks at the bottom of the portrait for long. Each of these chest pieces demands 60 ants to fully clear from the board. Because your brown tray blocks only hold 30 ants each, you will need to commit multiple tray blocks to clear just one of these chest features. Pull a brown block now and let the ants start marching toward those large pieces at the bottom. Starting this process early is absolutely crucial for your success. If you leave these massive blocks for the very end of the level, they will clog your tray and bottleneck your entire flow. By chipping away at the 60 count right now, you safely cycle brown blocks out of your slots while keeping other paths open for different colors.
Step 4: Eat the white face to expose the hidden food tiles
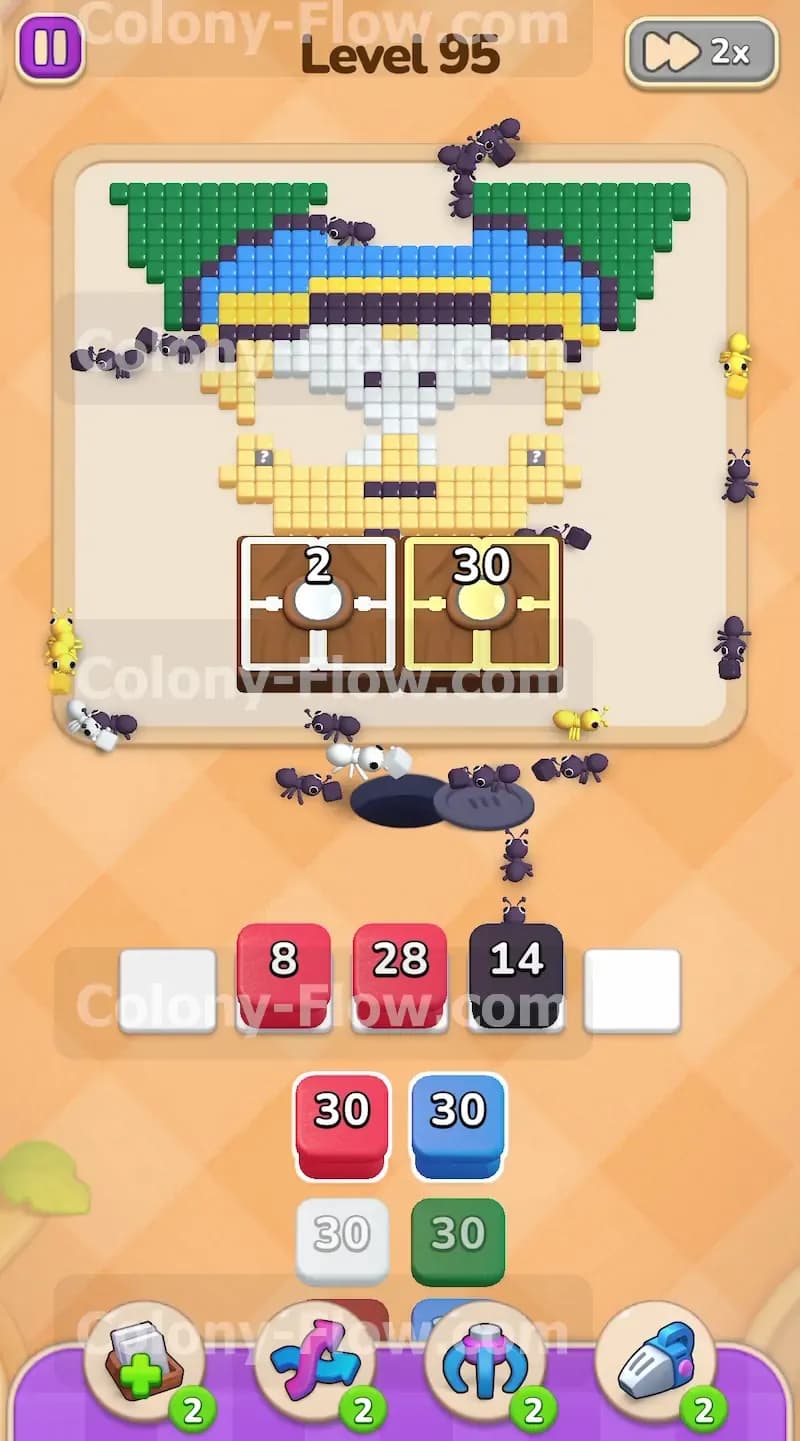
With the bottom chests slowly shrinking and the outer hat mostly gone, it is time to focus your attention on the center of the board. Pull a white block to release ants into the large white face of the character. The white tiles cover a massive portion of the center screen. More importantly, they directly touch the grey question mark tiles resting on the cheeks. These grey tiles are Hidden Food. They will not reveal their true color or allow ants to eat them until you clear the white tiles right next to them. As your white ants chew through the face, the adjacent borders disappear completely. This triggers the Hidden Food to unlock and transform into regular colored tiles. You must complete this specific action before pulling any colors you do not currently see on the board.
Step 5: Clear the newly revealed red and purple tiles in the center
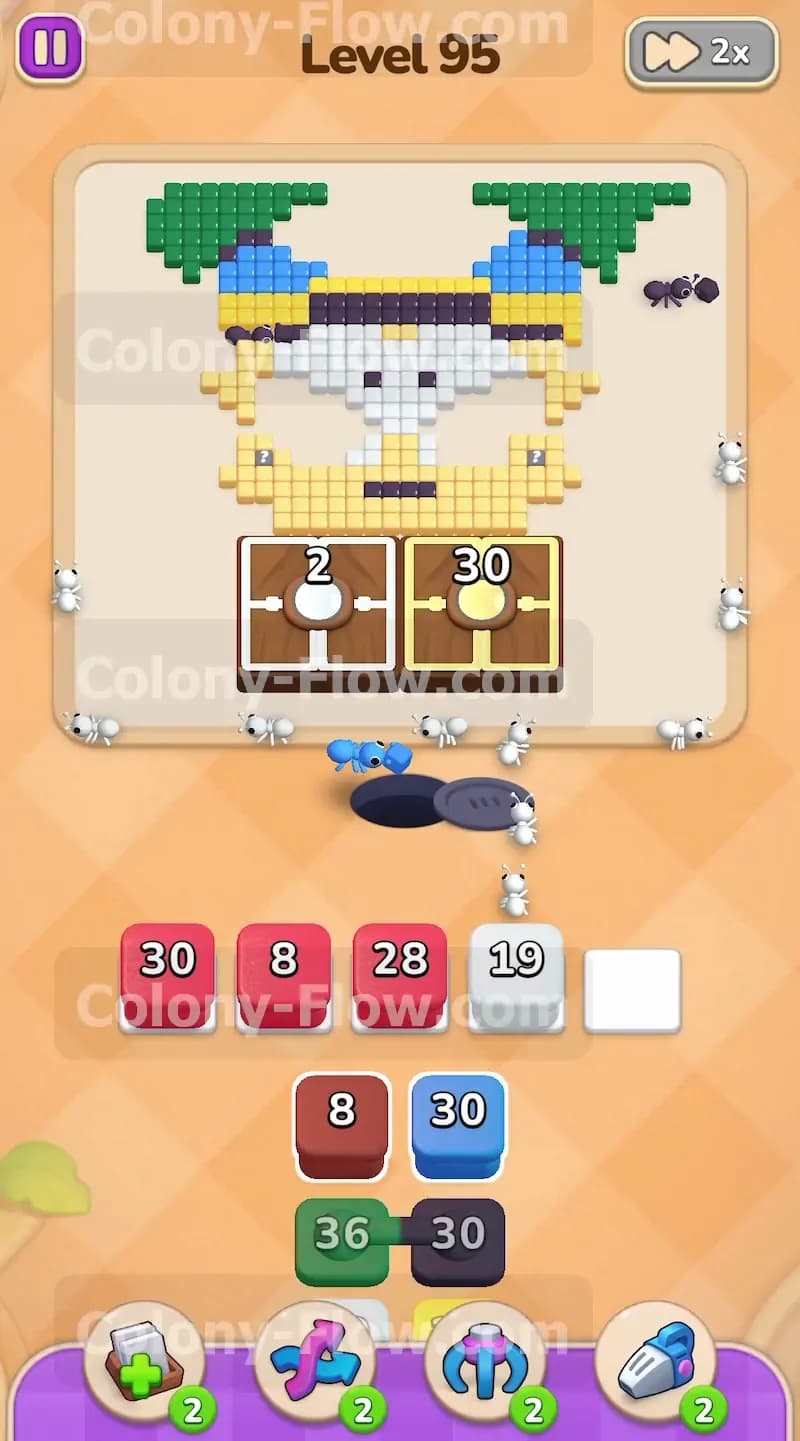
When the Hidden Food tiles finally unlock, they reveal a large chunk of red and purple tiles underneath. Now that you have a wide open path to the center of the board, pull the red and purple blocks from your tray. The ants will flood out of the nest hole and march straight into the newly opened cheek and center areas. Because you waited patiently for the Hidden Food to unlock, these ants have a direct and unobstructed path to their meal. If you had pulled these colors too early, they would have sat uselessly in your waiting slots and pushed you dangerously close to a dead end. Watching these blocks count down quickly confirms you timed the reveal perfectly and kept your slots safe.
Step 6: Deploy blue and green ants to clean up the hat
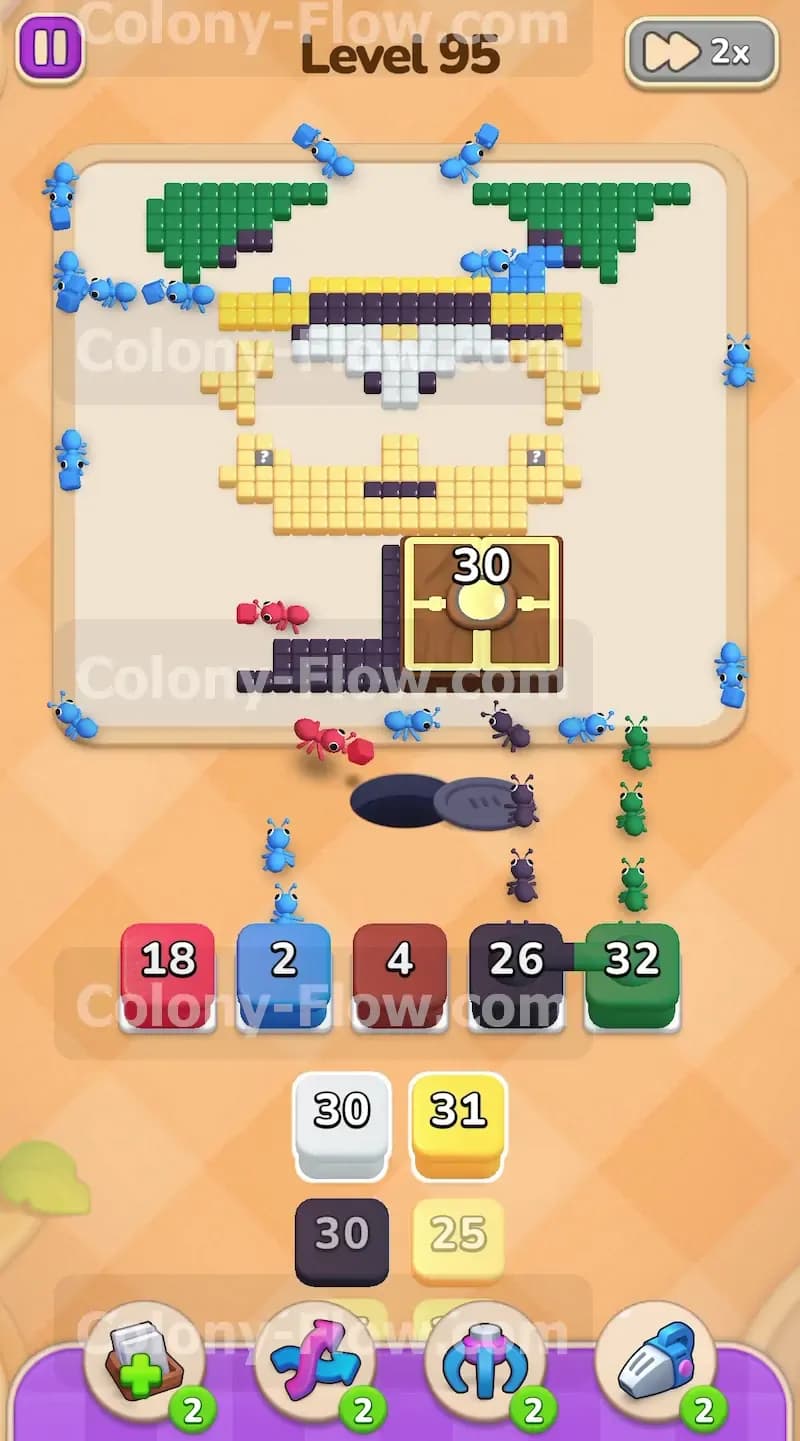
While the red and purple ants handle the center of the portrait, direct your attention back to the top of the board. The remaining sections of the hat contain scattered blue and green tiles. Pull the blue and green blocks into your open slots. The ants will march all the way up the board to eat these top sections. Since the bottom and middle of the board are mostly clear by now, the path upward is totally safe and free of obstacles. Ensure you only pull these blocks when you visibly see the blue and green tiles fully exposed. The travel distance from the nest hole to the top of the board is long. You want to make sure the ants do not get blocked by any leftover black outline tiles along the way.
Step 7: Finish the remaining chest blocks and final details
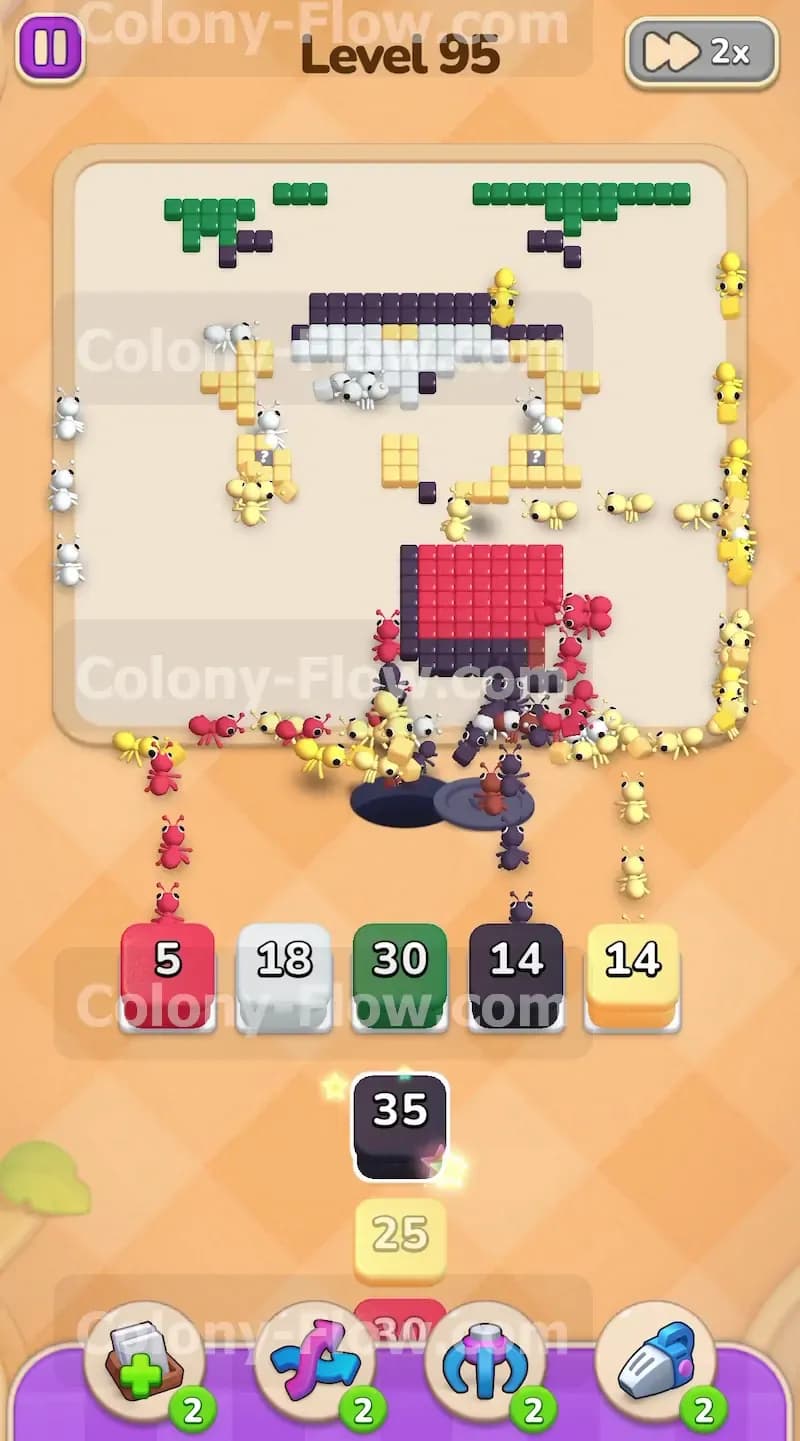
By this point, the board is mostly empty and the portrait is nearly gone. You will likely have a few counts left on the massive brown chest blocks and some scattered yellow or red tiles around the edges. Pull the remaining brown blocks to finally finish off those stubborn 60 count chests. Then bring up your last yellow or white blocks to clean up the stragglers. Because your five waiting slots are mostly empty now, you have plenty of room to bring up whatever remaining colors you need from the tray. Just match the final tray blocks to the last visible food tiles on the screen. Watch the last few ants clear the remaining pixels and finish the level completely.
Final Thought
That is exactly how you dismantle this tricky portrait without getting stuck and losing the level. Taking out the massive blocks early and carefully unlocking the hidden sections will keep your tray moving smoothly. Managing those five waiting slots is the entire key to winning. If any of these maneuvers sound confusing or hard to picture, I highly encourage you to watch the video above this article to see the exact sequence in action.