Colony Flow Level 129 Walkthrough Solution & Guides | How to solve Colony Flow 129

Guide By Liam Stone
Updated on July 11, 2026
You can follow along with the video above for the complete Level 129 solution instead of reading below.
Video doesn't match your screen?
Game updates frequently scramble layouts! Try our AI Screenshot Solver first to find your exact board instantly, or report broken guides to our team.
Welcome to Colony Flow Level 129. I am Liam Stone and I play every single level of this puzzle game to bring you exact and tested solutions. This board features a massive pixel art sandcastle and a tricky sequence in your tray. You need to keep your waiting slots completely open and clear the outer layers first to win.
Colony Flow Level 129 Overview
What You Are Working With
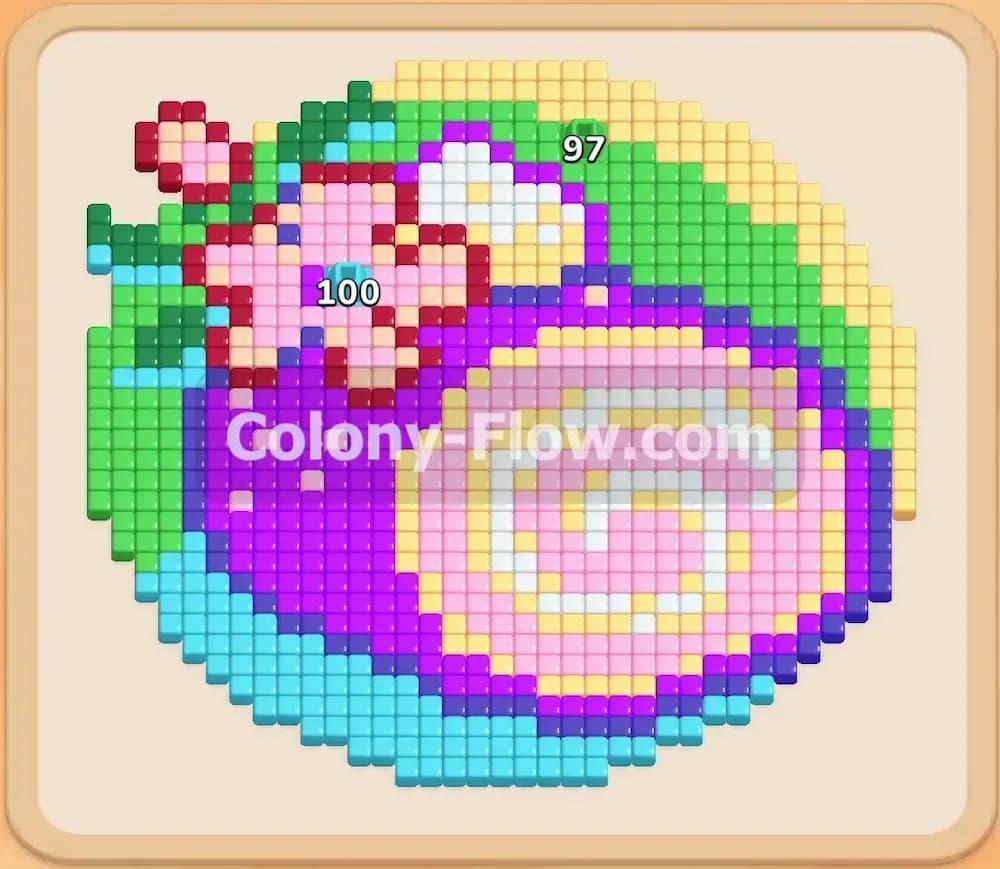
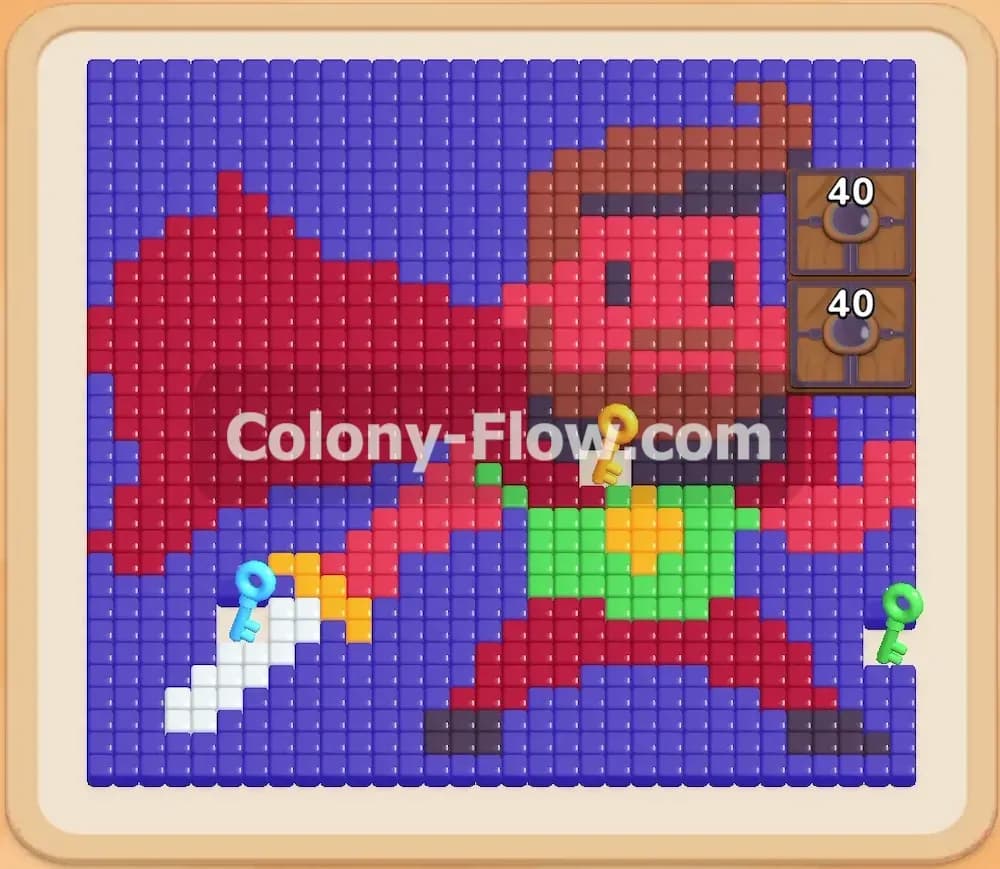
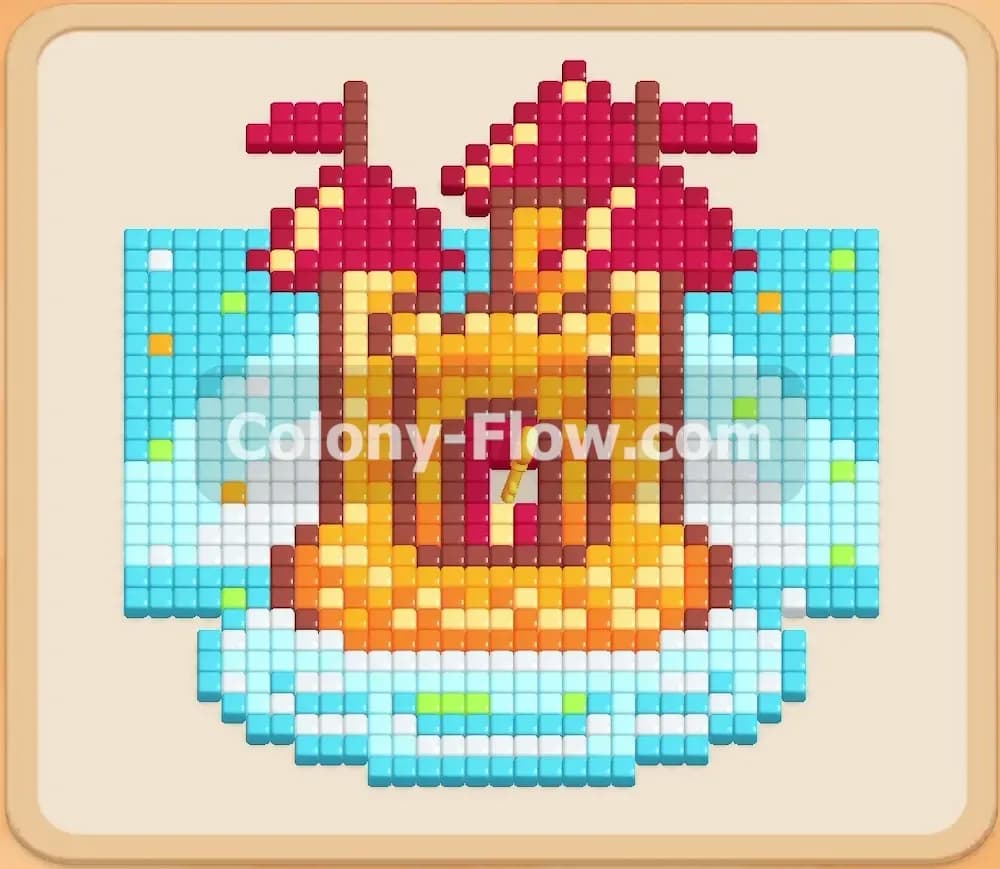
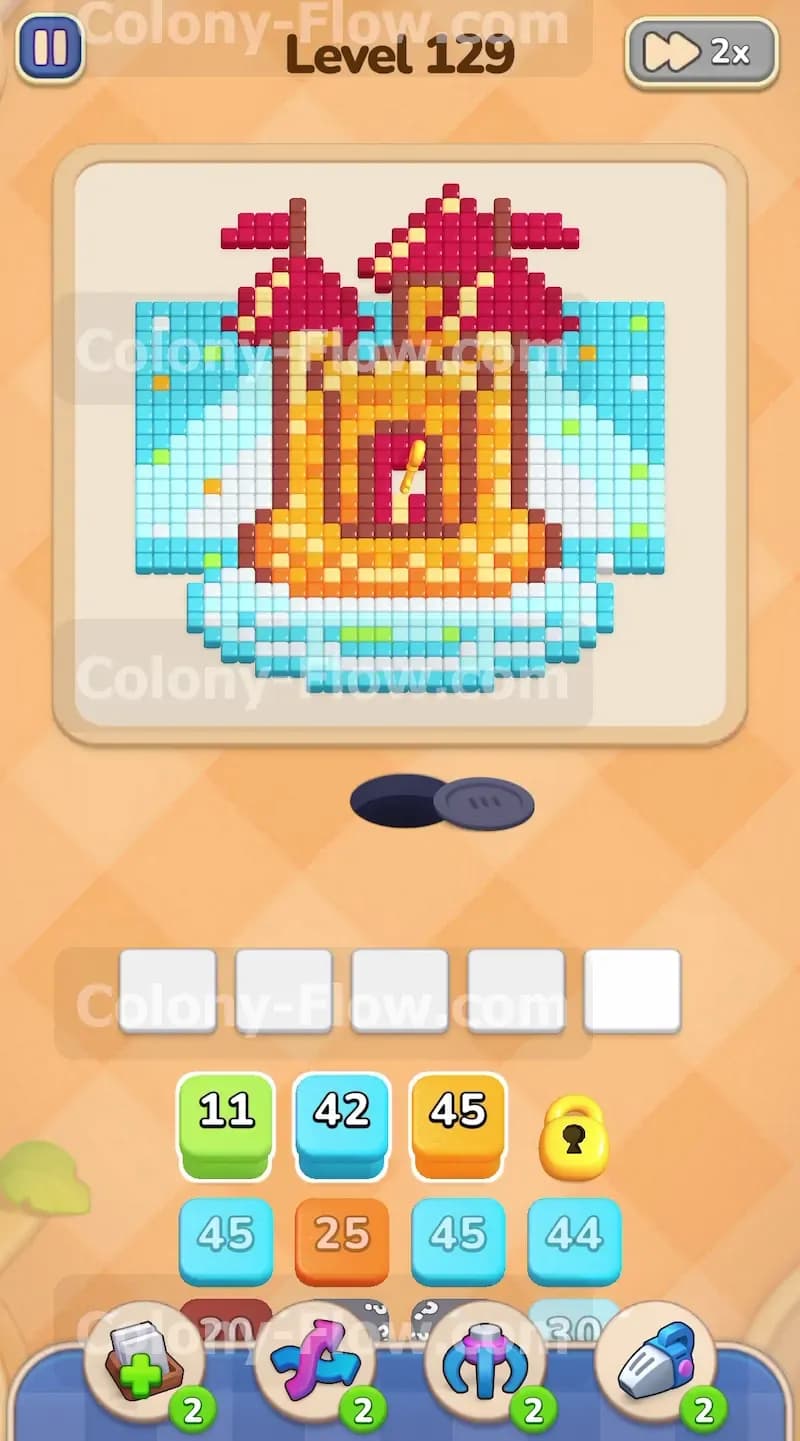
The main picture on this board is a bright sandcastle. You see bright red roofs and waving red flags at the very top. The main castle body consists of orange and yellow tiles. Dark brown tiles create a thick outline around the entire castle shape. A large section of light blue tiles forms a sky background on the left and right sides. A solid block of white tiles creates a sandy base at the bottom of the board. This level includes a Lock and Key mechanic. A single golden key rests right in the middle of the sandcastle body. Down in your tray you will spot a yellow block wearing a locked padlock. You cannot use this yellow block until your ants collect the golden key from the board. Your tray starts packed with numbers ranging from small groups of 11 up to massive blocks of 45.
What It Takes to Clear Level 129 Board
Winning this level requires a steady path to the center of the sandcastle. You lose the game instantly if you fill all five waiting slots with blocks that have no clear path to their matching tiles. Your entire strategy revolves around eating the outer layers of the picture first. You will send ants to clear the red roofs and the light blue sky early on. This completely removes the outer shell of the picture. Once the outside is gone the ants can walk straight into the center to eat the orange and yellow tiles. Eating those middle tiles uncovers the golden key. The moment the ants grab that key the padlock breaks off the yellow block in your tray. From there you just carefully pull blocks to wipe away the remaining white base and the stray outline pieces. You must leave at least one empty slot in your tray at all times to prevent a dead end.
Colony Flow Level 129 Step by Step Solution
Step 1: Start with the outer red roofs and orange castle sections to open space.
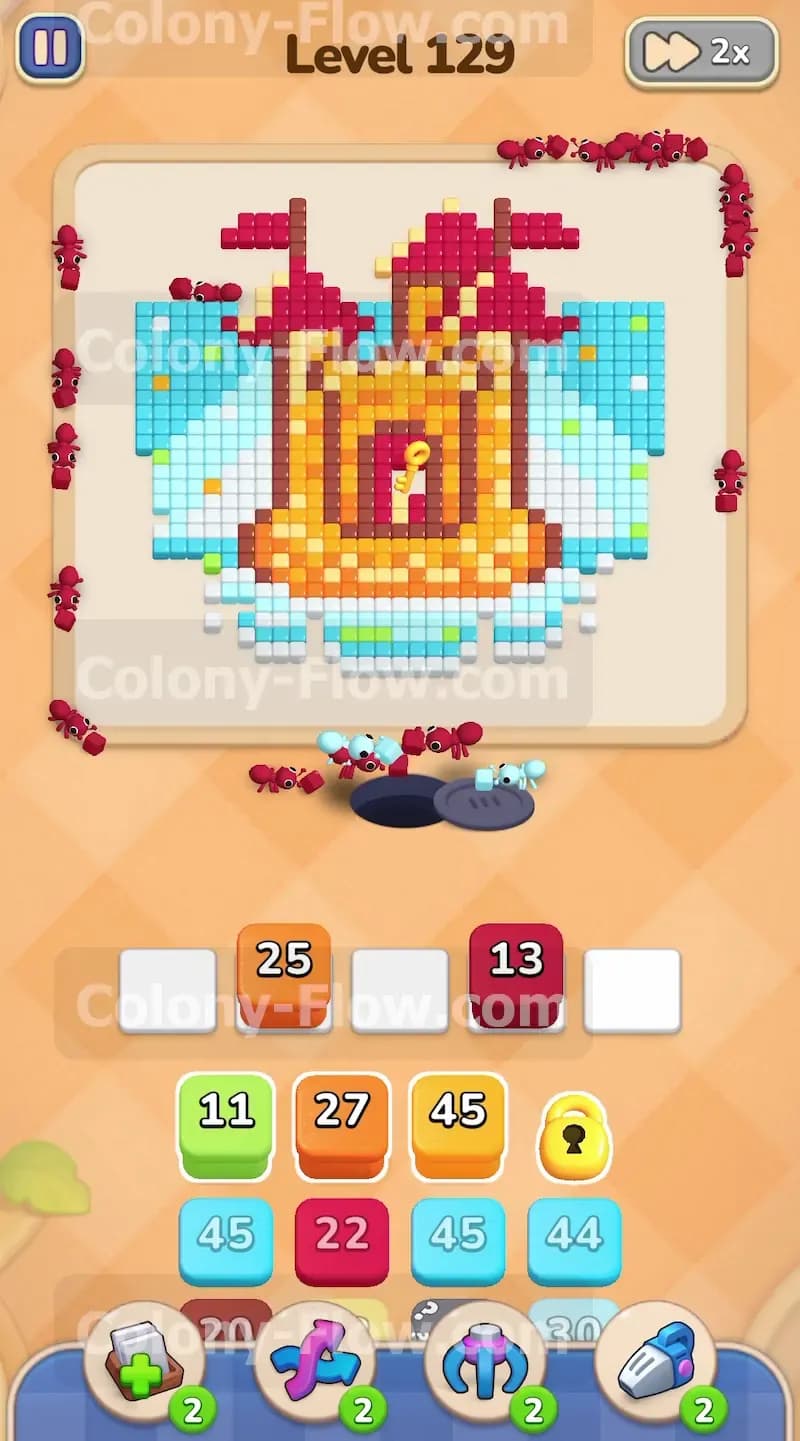
You begin the level by pulling the red 45 block from the tray into your first waiting slot. The dark red ants immediately stream out of the nest and run up the outer edges of the board. They attack the red roofs and flags sitting at the very top of the sandcastle. Next you select the orange 45 block. Orange ants march out and hit the exposed side walls of the castle structure. These two moves clear a massive amount of the outermost layers and give you room to breathe. The ants have completely open paths to these tiles so your waiting slots empty out quickly. You intentionally ignore the locked yellow block for now. Leaving three empty slots in your waiting area guarantees you never face a sudden dead end. You watch the numbers on the tray blocks count down rapidly as the ants chew through the outer boundary.
Step 2: Clear the light blue sky and brown outlines to expose the inner layers.
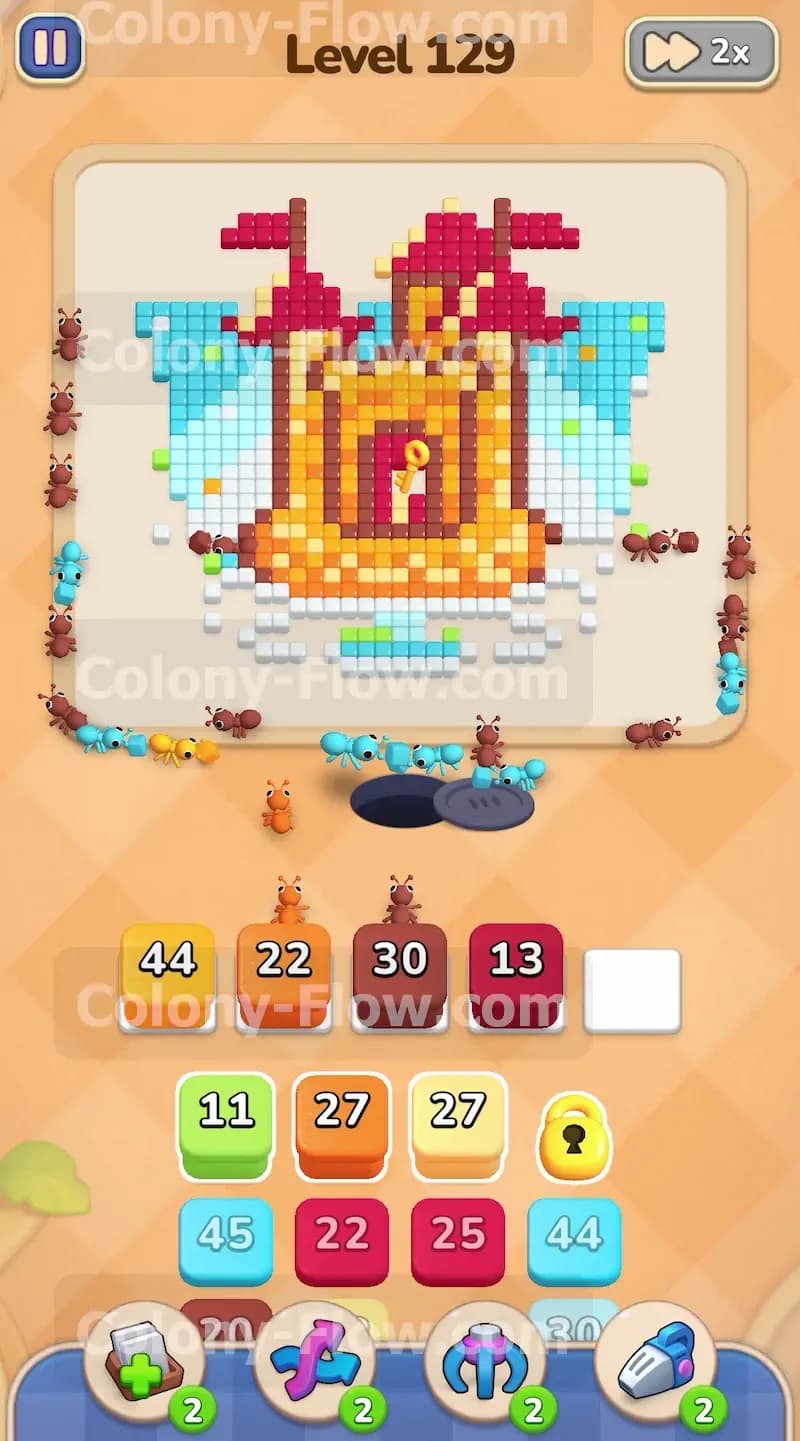
You pull a light blue 44 block into an open waiting slot. The light blue ants stream out and begin eating the large sky sections located on the far left and right sides of the castle. You then bring up the brown 20 block to target the dark brown outline details surrounding the castle walls. The ants follow the outer edges of the board to reach these dark brown border tiles easily. The brown outline is very thick and forms a barrier around the main picture. Getting rid of it early saves you from a slot jam later. Clearing the sky and outlines removes a massive wall of tiles from the board. The ants now have a straight open path to the deeper sections of the picture. Your waiting slots remain wide open because the light blue and brown ants never get stuck behind other colors.
Step 3: Access the key in the center of the sandcastle by clearing the middle walls.
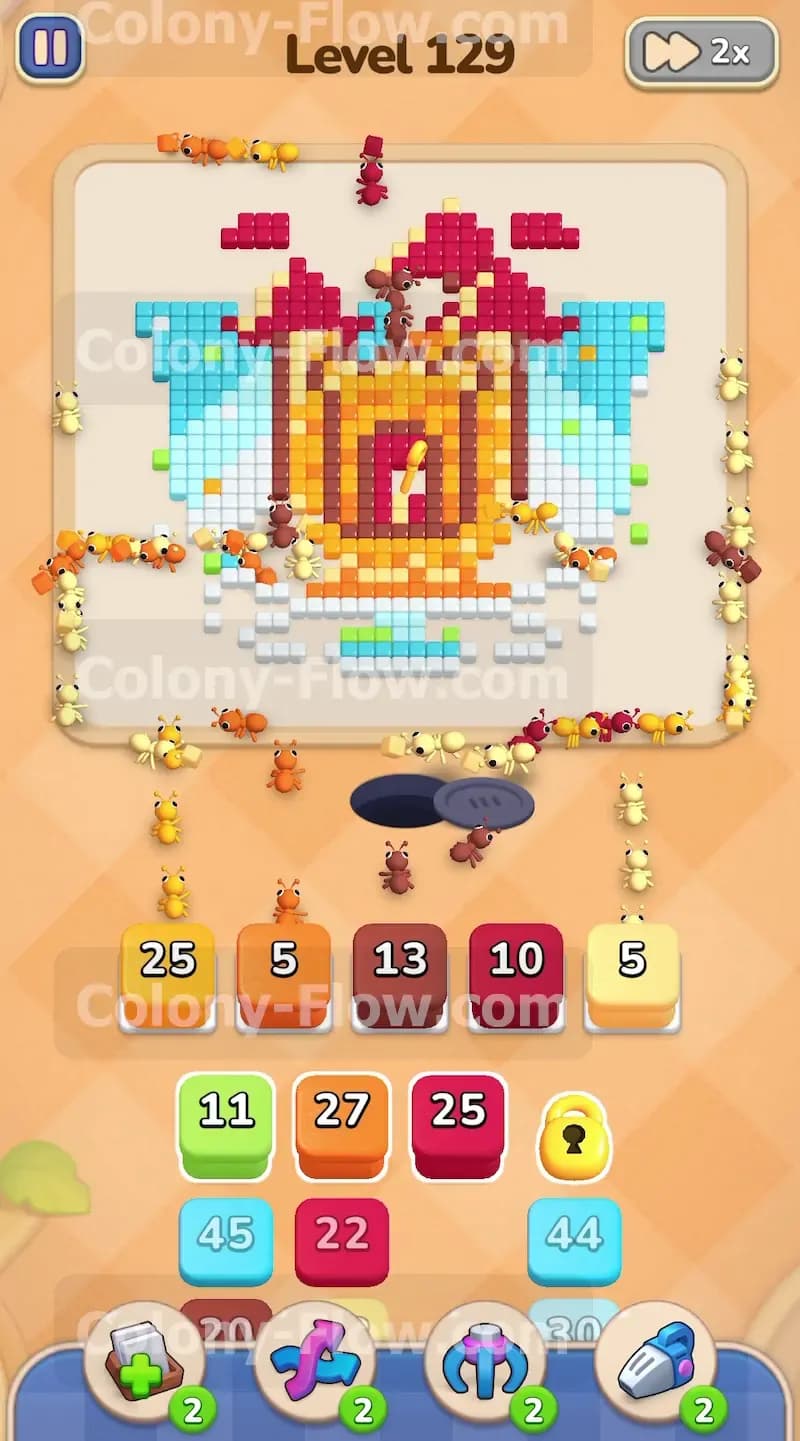
With the outer walls and sky completely gone the center of the board opens up nicely. You pull a yellow 25 block and an orange 22 block into your waiting slots. The yellow and orange ants march straight into the middle of the castle to eat the remaining inner wall tiles. This specific action naturally exposes the hidden golden key. The ants grab the key automatically the moment they clear the tile directly underneath it. Finding this key instantly unlocks the yellow block waiting at the top of your tray. The padlock vanishes and you can now use that yellow block just like any other tray item. You must never pull a block if the ants cannot reach the matching color. Waiting for the key to unlock the yellow block is the only way forward. Your waiting slots remain perfectly managed because the paths into the center of the picture are completely clear.
Step 4: Focus on the remaining red roofs and inner orange sections to shrink the picture.
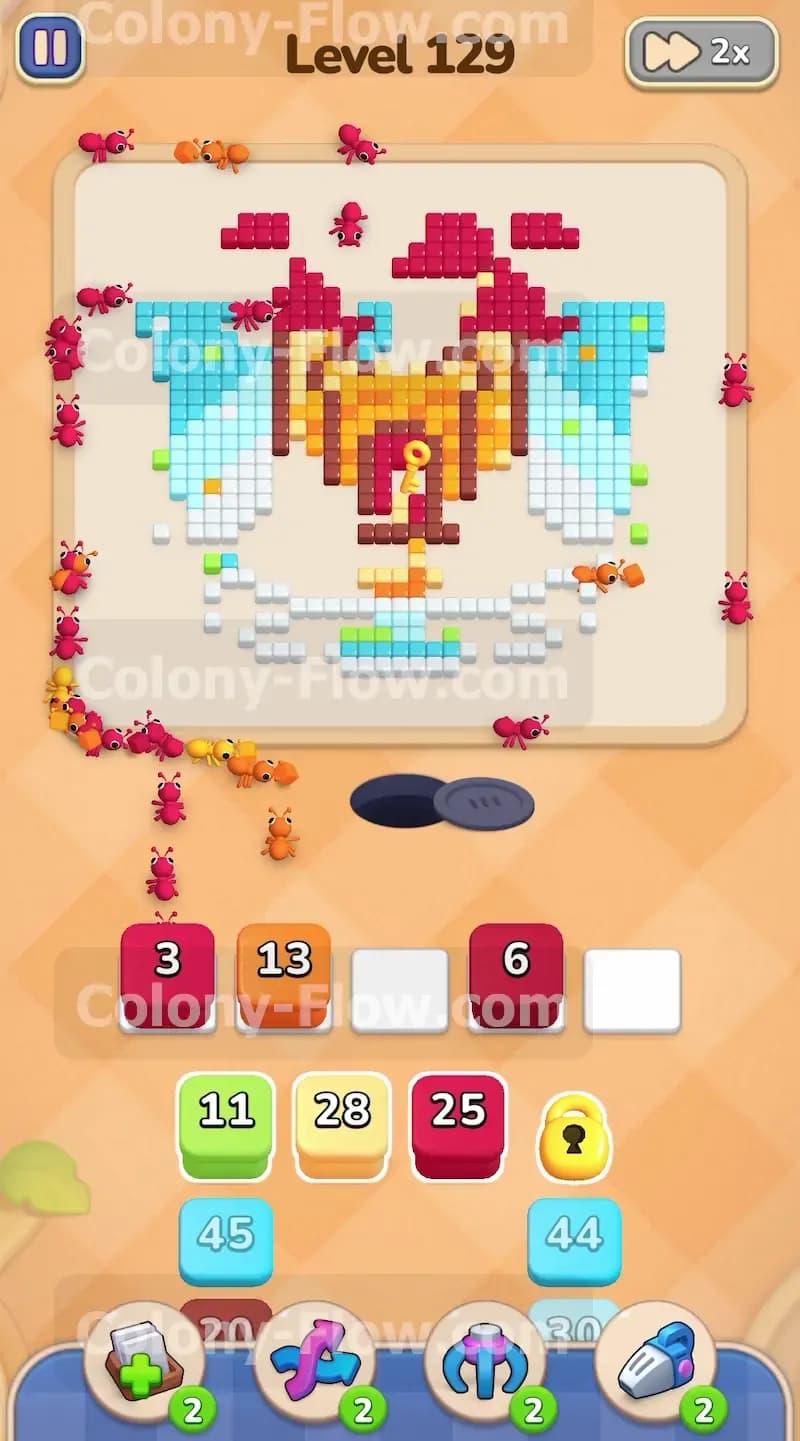
You select a dark red 13 block and an orange 25 block from the tray. The dark red ants target the darker red tiles on the lower sections of the castle roofs. The orange ants continue eating away the last chunks of the inner castle walls. You then bring up a red 10 block to finish off the remaining bright red flag pieces at the top. The sandcastle shrinks down to less than half its original size. The board feels much less crowded now and your lines of sight are clear. The numbers on your blocks drop exactly down to zero as the final tiles clear out. Your tray options narrow down to just a few remaining colors. You still have plenty of room in your waiting slots because the ants have multiple angles of attack to reach their targets.
Step 5: Tackle the remaining light blue blocks and side details to clean up the edges.
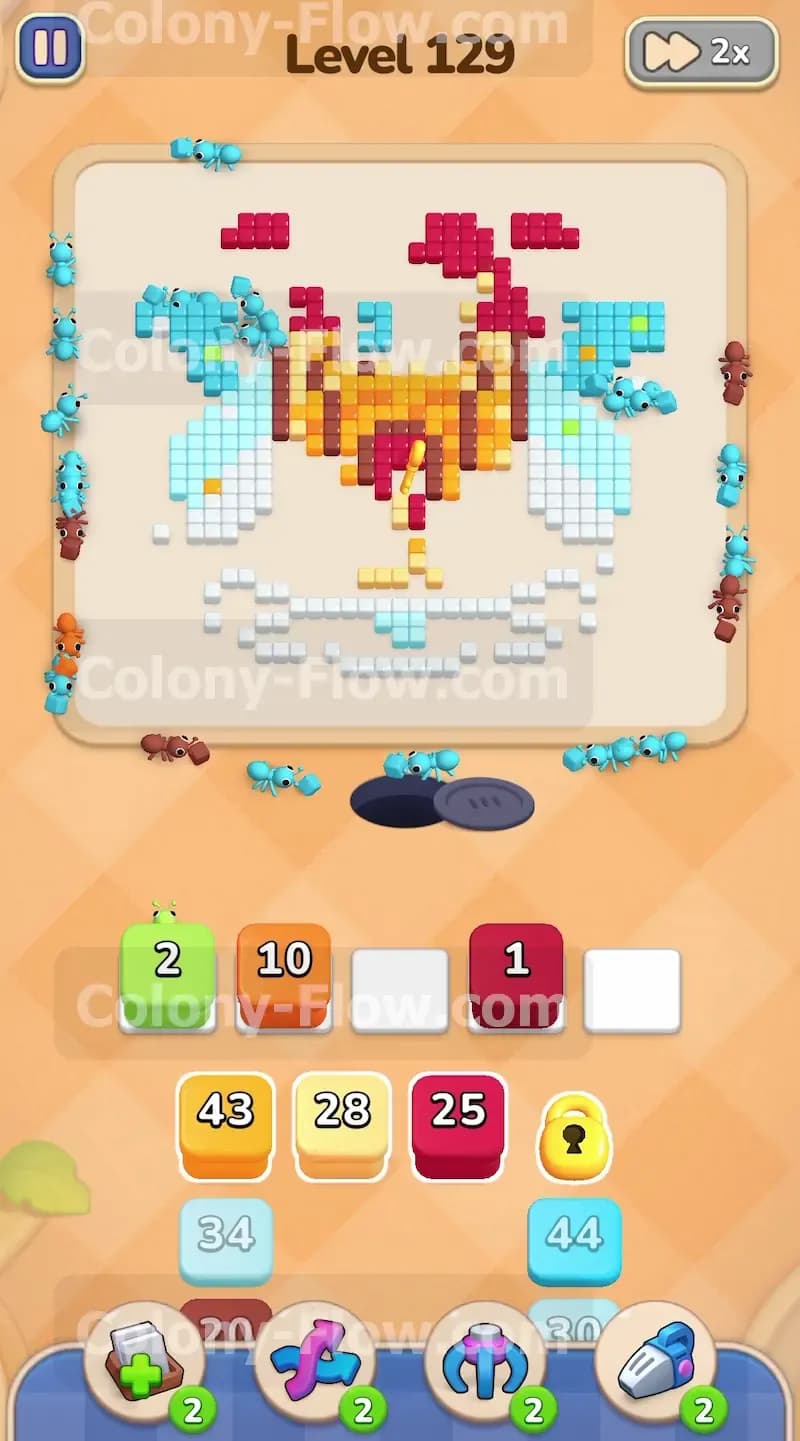
You tap the light green 11 block and watch the green ants clear small details scattered on the sides of the picture. The green tiles act like small anchors holding the side edges together. Removing them lets the light blue ants sweep the entire background clean. You follow up with another light blue 45 block. The light blue ants wipe out the rest of the sky pattern clinging to the far left and right edges. You add a dark red 3 block to finish the last few dark red roof tiles still floating in the air. Your tray empties out nicely and the top half of the board looks extremely sparse. The ants finish their jobs quickly and return to the nest. You successfully keep your tray moving without any threat of a dead end.
Step 6: Clear the lower white clouds and remaining castle body to reach the final phase.
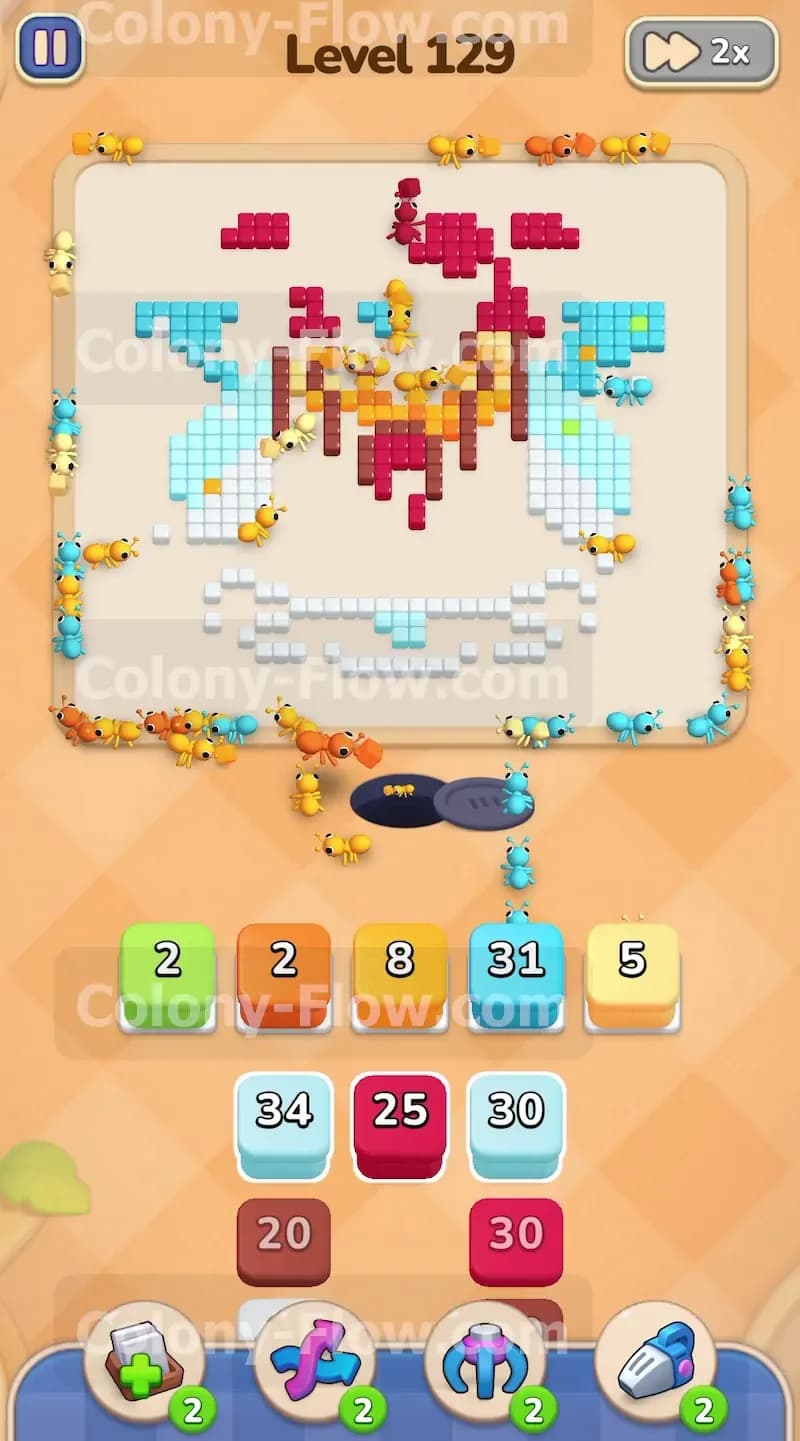
You bring up a beige 5 block and a light blue 31 block into the waiting area. The beige ants attack the small yellowish sand details resting near the bottom of the structure. The light blue ants finish off any stray sky pieces that got left behind during the earlier steps. You pull a green 2 block to clear the remaining tiny green details hiding in the bottom corners. The ants begin to swarm the thick bottom white base of the picture. The entire top half of the board is completely empty now. The board looks very unbalanced with just a heavy white base sitting at the very bottom. Your remaining tray blocks line up perfectly with these final colors. You have full control over the pace of the level because your tray has plenty of empty slots available.
Step 7: Finish the straggling dark red and brown outlines to completely clear the board.
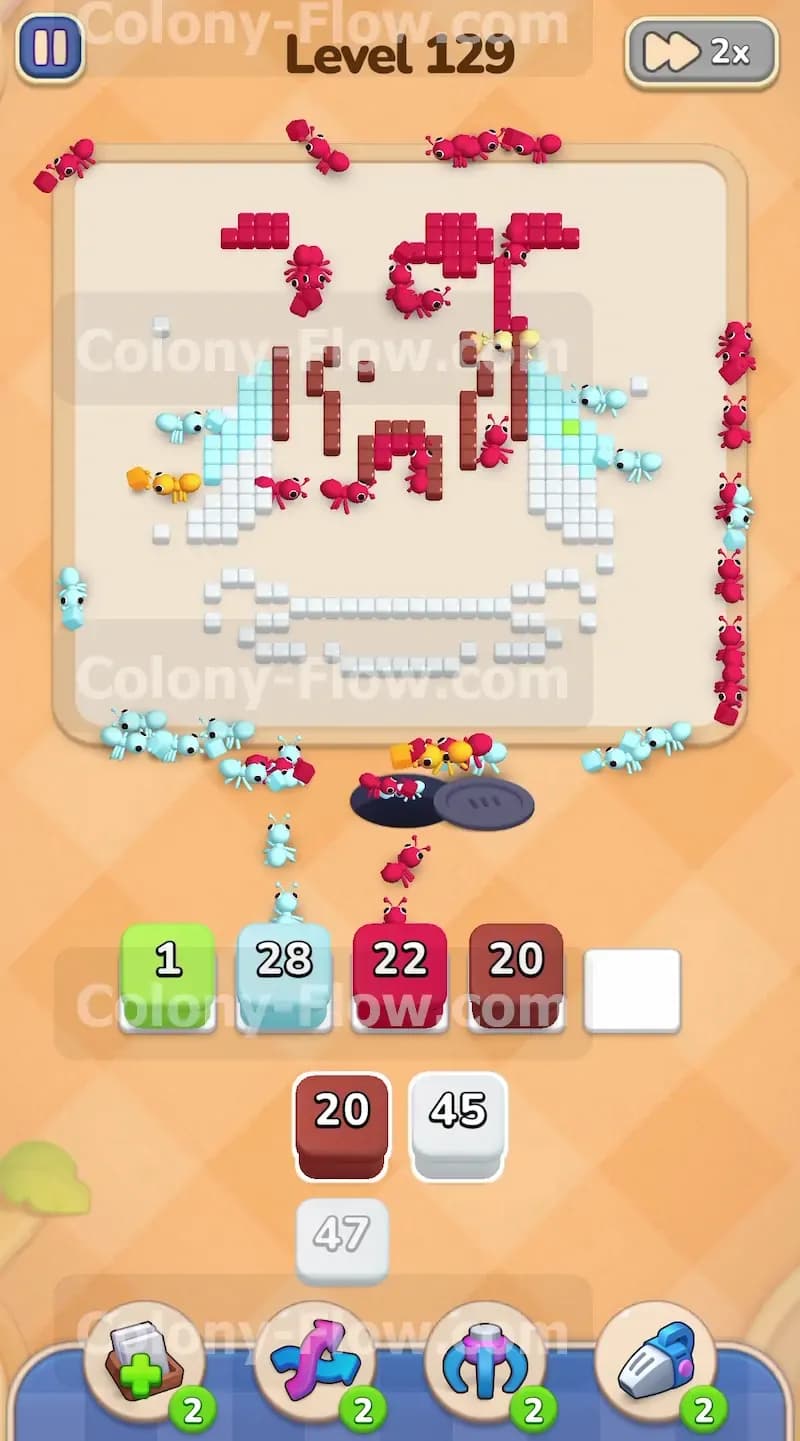
You select the final brown 20 block to clear the very last dark brown outline fragments scattered near the base. You tap a dark red 22 block to remove the very last roof pieces floating above the white base. Finally you pull the massive white 47 block into the waiting area. The white ants flood the bottom section to consume the large white base completely. Watching the massive white 47 block empty out is highly satisfying. Every single ant finds a target without getting blocked by a wrong color. The last tiles vanish from the screen and the picture goes totally blank. The ants march off the empty board and the victory screen appears. Your tray is completely empty and you win the level without ever triggering the lose condition.
Final Thought
Colony Flow Level 129 demands patience and careful slot management. You clear this board by peeling the outer colors away layer by layer until you reach that golden key hidden in the center. If any part of this written guide is hard to picture you should watch the video above this article.