Colony Flow Level 226 Walkthrough Solution & Guides | How to solve Colony Flow 226

Guide By Liam Stone
Updated on July 13, 2026
Prefer to watch rather than read? The Level 226 walkthrough video sits right above this guide.
Video doesn't match your screen?
Game updates frequently scramble layouts! Try our AI Screenshot Solver first to find your exact board instantly, or report broken guides to our team.
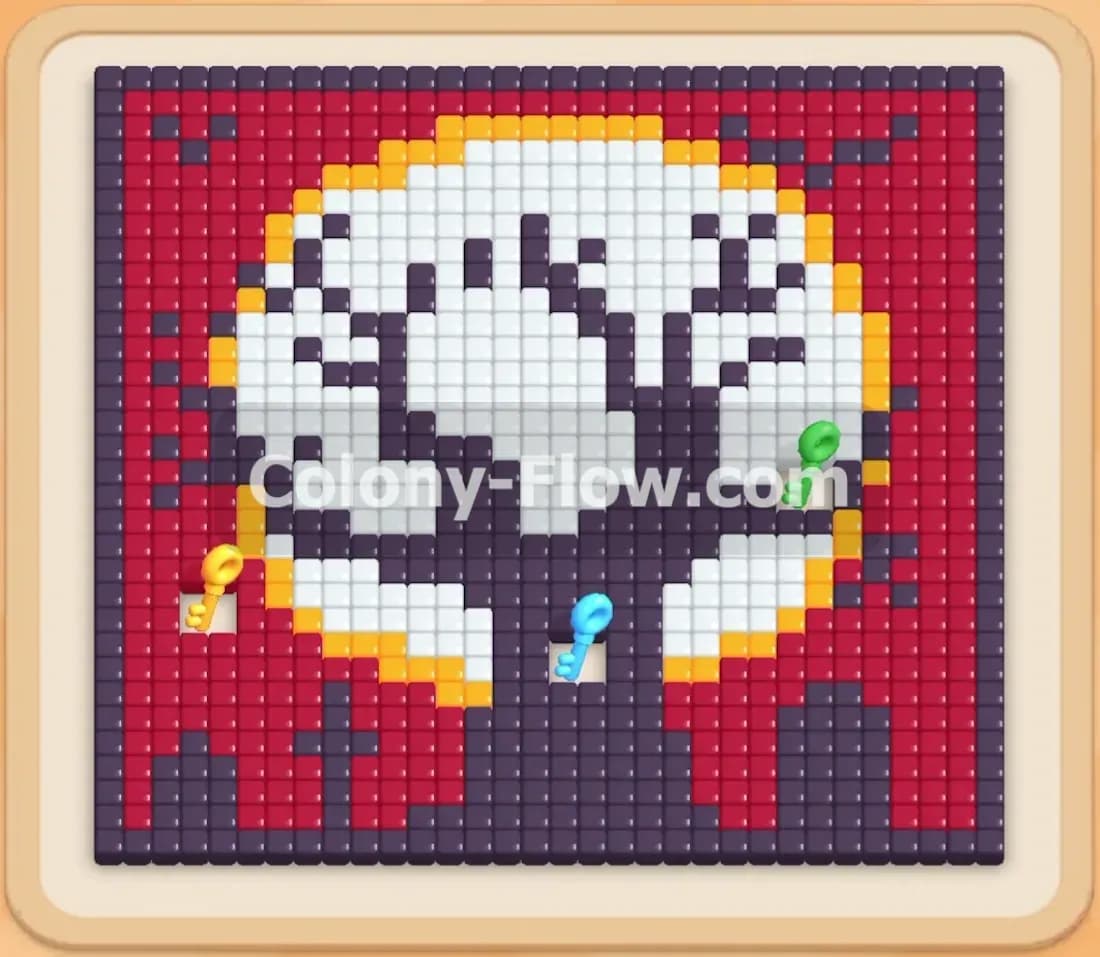
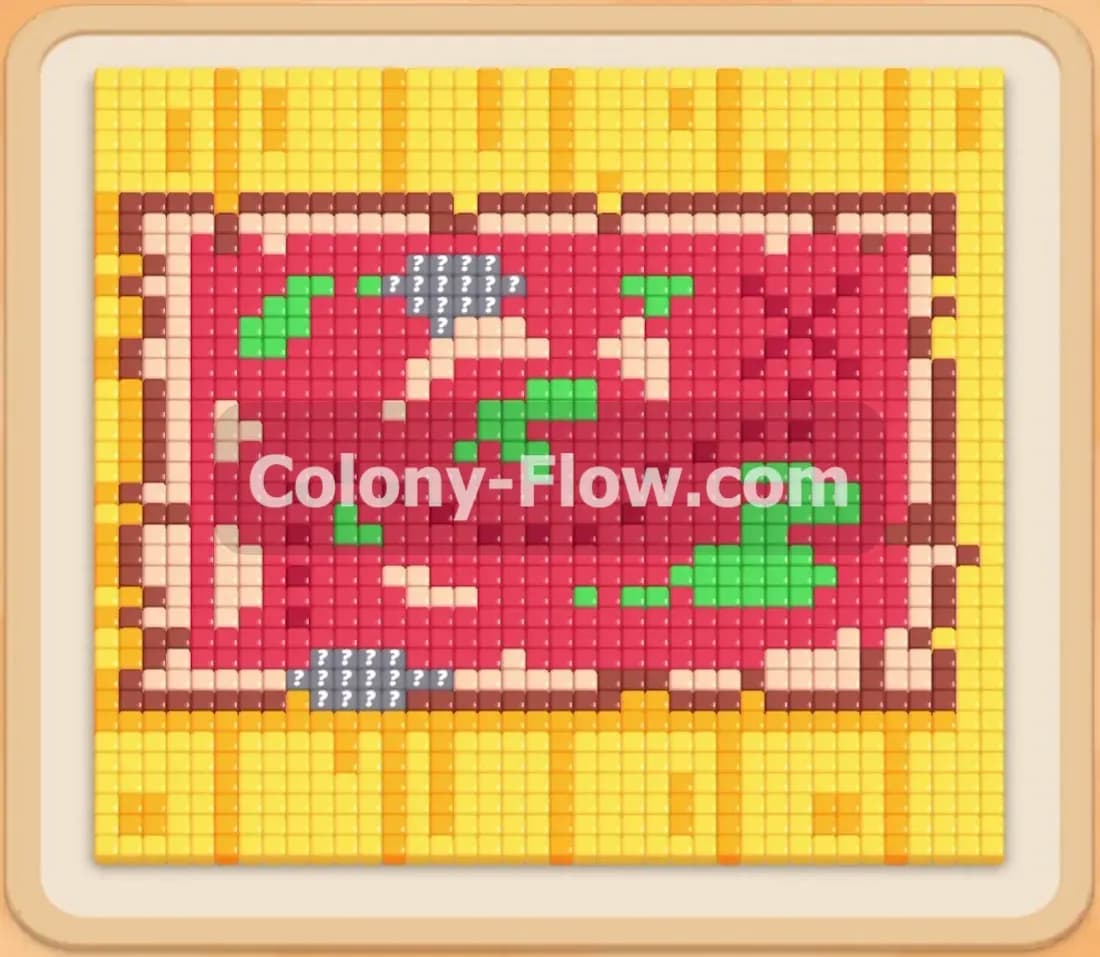
Welcome to Colony Flow Level 226 where we have a large pixel art picture to clear. The design looks quite a bit like a patterned rug with a solid yellow border and a huge red center. You need to manage your tray space carefully because the large blocks of solid color can easily jam your waiting slots if you pull them too early. I will walk you through exactly how I clear this board without ever getting stuck.
Colony Flow Level 226 Overview
What You Are Working With
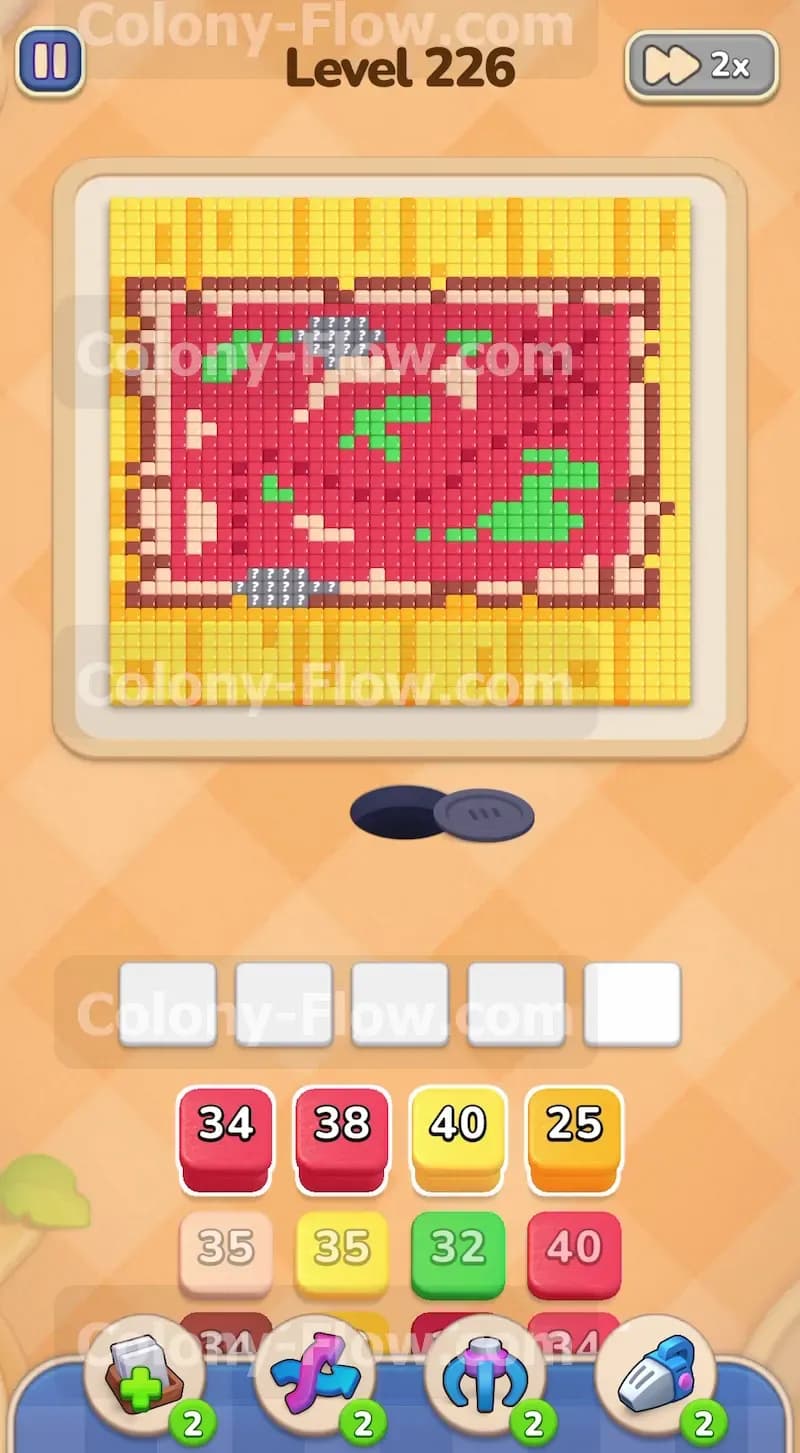
The pixel art puzzle gives you a large rectangular shape that fills most of the screen. The outermost edge is made entirely of bright yellow tiles. Just inside that yellow border is a line of dark brown tiles. The main body of the picture consists of solid red tiles. Within this red area you will see a few green curved shapes and some scattered light brown details forming a distinct pattern. Your ants spawn from the black nest hole located at the bottom center of the screen. They immediately face the bottom row of the yellow border. The tray at the bottom holds your numbered colored blocks. You will see very large numbers on the red yellow green and brown blocks. Because the numbers are high you must match them to large sections of exposed tiles. Pulling a large numbered block too early will leave it sitting in your waiting slots for a long time. You have five slots available at all times. If you fill all five slots and the ants have no matching tiles to eat you will lose the level.
What It Takes to Clear Level 226 Board
Clearing this board requires a careful approach from the bottom up. You must first break through the bottom yellow and brown borders to open a wide path into the main red section. Once inside you will alternate between feeding the ants red blocks and green blocks as new parts of the pattern become exposed. The absolute key to winning is keeping your slots free by only pulling colors that the ants can reach immediately. The final stage involves sending the ants up the left and right sides to consume the remaining yellow border tiles. You win when every single colored tile is gone and the ants finish their routes.
Colony Flow Level 226 Step by Step Solution
Step 1: Open the bottom yellow border to let the ants inside.
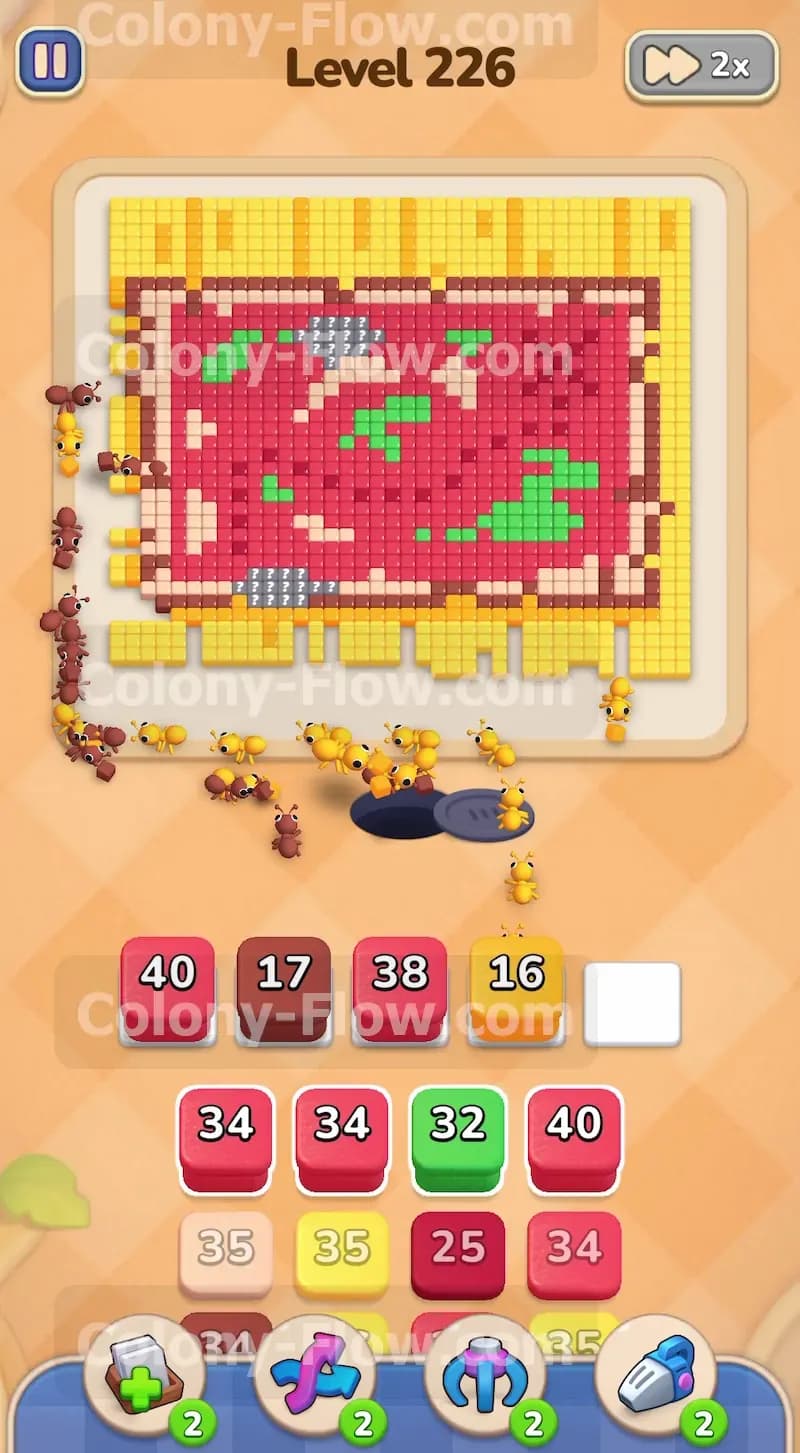
Your first move is to give the ants a way into the main picture. The nest hole sits directly beneath the bottom yellow edge. You need to pull a yellow block into your waiting slots. Choose a yellow block from your tray and watch the ants stream out. They will immediately start eating the yellow tiles directly above the nest. As they clear this initial yellow row they will expose the dark brown tiles sitting just behind it. You should pull a brown block into your tray next. The ants will spread out moving left and right along the bottom edge eating both the yellow and brown tiles. This action opens a very wide path into the large red section of the picture. Keep a close eye on your waiting slots and make sure you do not pull more yellow or brown blocks than you actually need right now. Filling your slots with extra yellow blocks will jam your tray and cause you to lose the level.
Step 2: Start clearing the large lower red section.
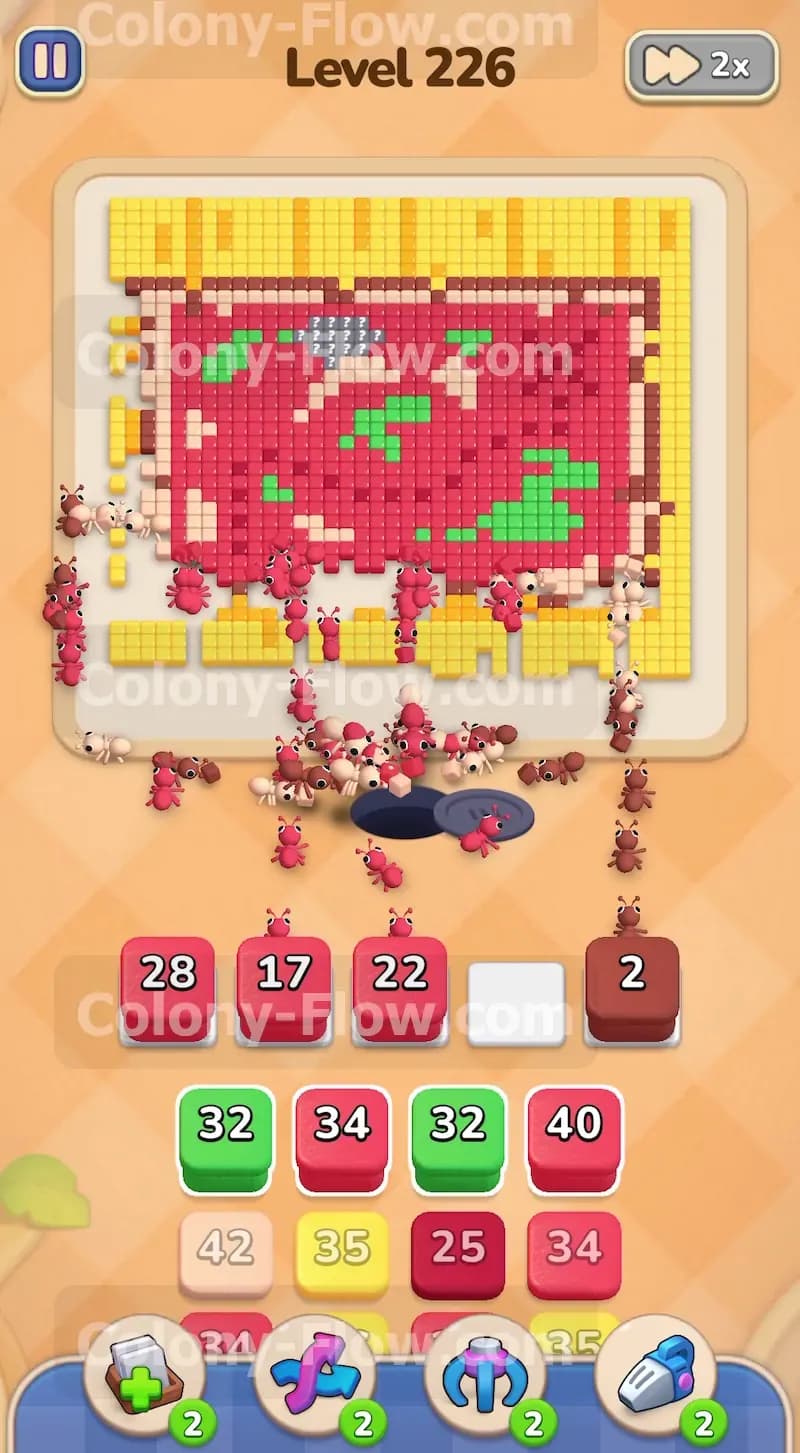
With the bottom border completely opened up the ants can now reach the red tiles. The red area is the largest part of the picture so you will need to pull large numbered red blocks. Bring a red block into your slots and watch the ants flood into the exposed red sections. They will attack the bottom left and bottom right corners of the red shape simultaneously. They will eat their way upwards and inwards carving a large hole in the picture. Pull another red block if the first one runs out and there are still exposed red tiles ready to be eaten. You might also notice some light brown tiles mixed in near the lower sections. If the ants uncover any light brown tiles pull a light brown block right away to keep the path totally clear. The goal during this phase is to carve out a massive empty space in the lower half of the board. This gives the ants multiple angles of attack for the remaining colors and prevents any dead ends.
Step 3: Clear the exposed green pattern pieces.
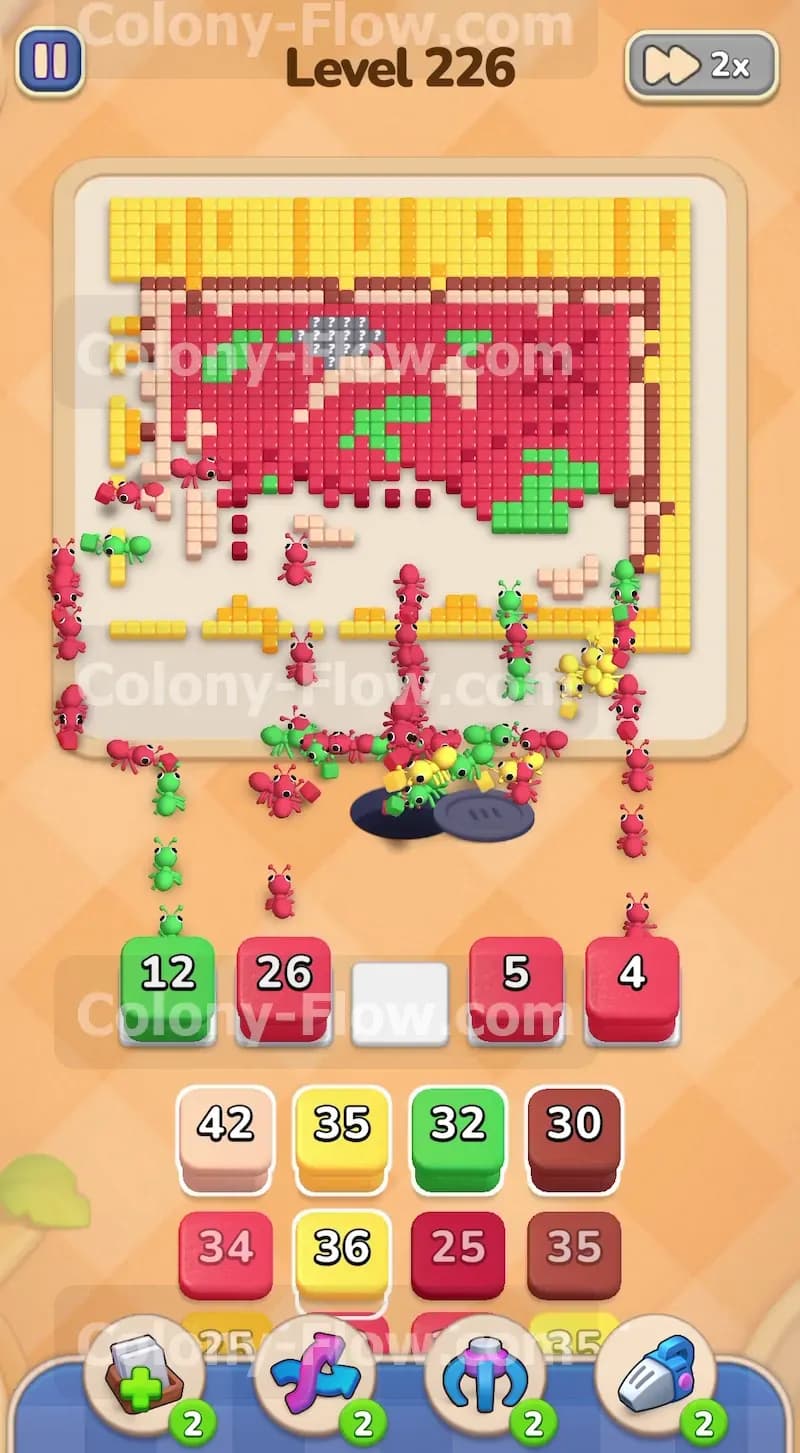
As the ants eat away the bottom red tiles they will finally uncover the first green curved shape. You must deal with this green pattern piece immediately to prevent the ants from getting stuck. Pull a green block from your tray and drop it into a waiting slot. The green numbers in your tray are fairly large so one block should cover a good portion of the green tiles. The ants will surround the green shape and completely clear it out. While they are busy working on the green tiles you can continue to pull red blocks to clear more of the surrounding red area. This alternating strategy keeps the ants moving forward and makes sure your waiting slots never fill up with unusable colors. Always prioritize pulling the colors that are physically blocking the ants from moving deeper into the center of the picture. If you clear the blocking tiles the ants will always have a valid path.
Step 4: Carve a path up the left and right sides.
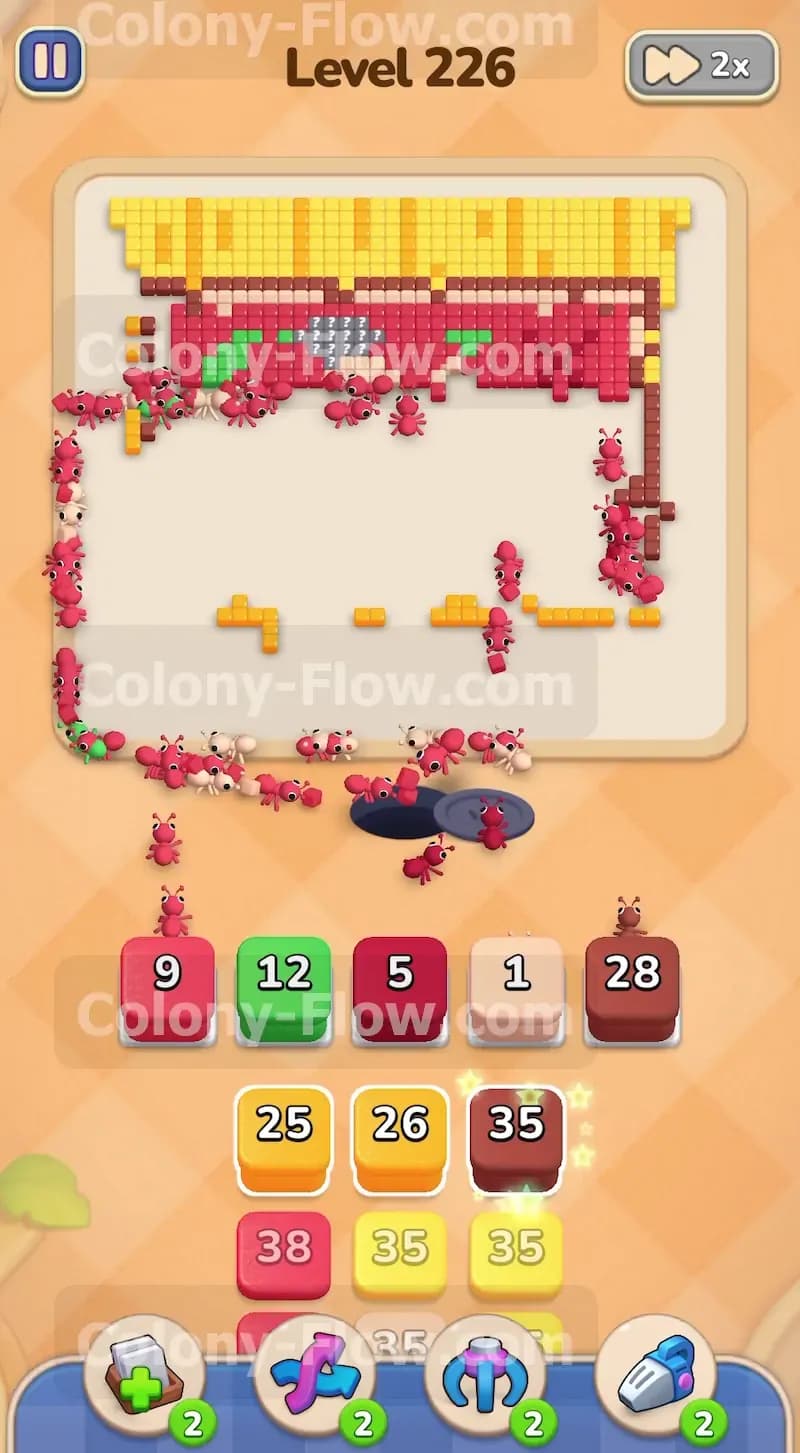
Now that the bottom half is mostly clear the ants will naturally try to move up the left and right sides. The outer edges of the picture still have solid yellow and brown border tiles. You need to pull yellow and brown blocks to let the ants travel up these side borders. At the same exact time the ants will be eating the red tiles on the sides of the main central body. Keep a red block in your slots to handle this continued red consumption. You are essentially working on three separate fronts now. You have ants on the left side the right side and the middle. Balance your block pulls based on where the majority of the ants are gathering. If they bunch up on the yellow border pull a yellow block. If they are tackling the red tiles pull a red block. This balanced approach prevents any single color from creating a dead end and keeps your slots clear.
Step 5: Tackle the top red section and remaining green parts.
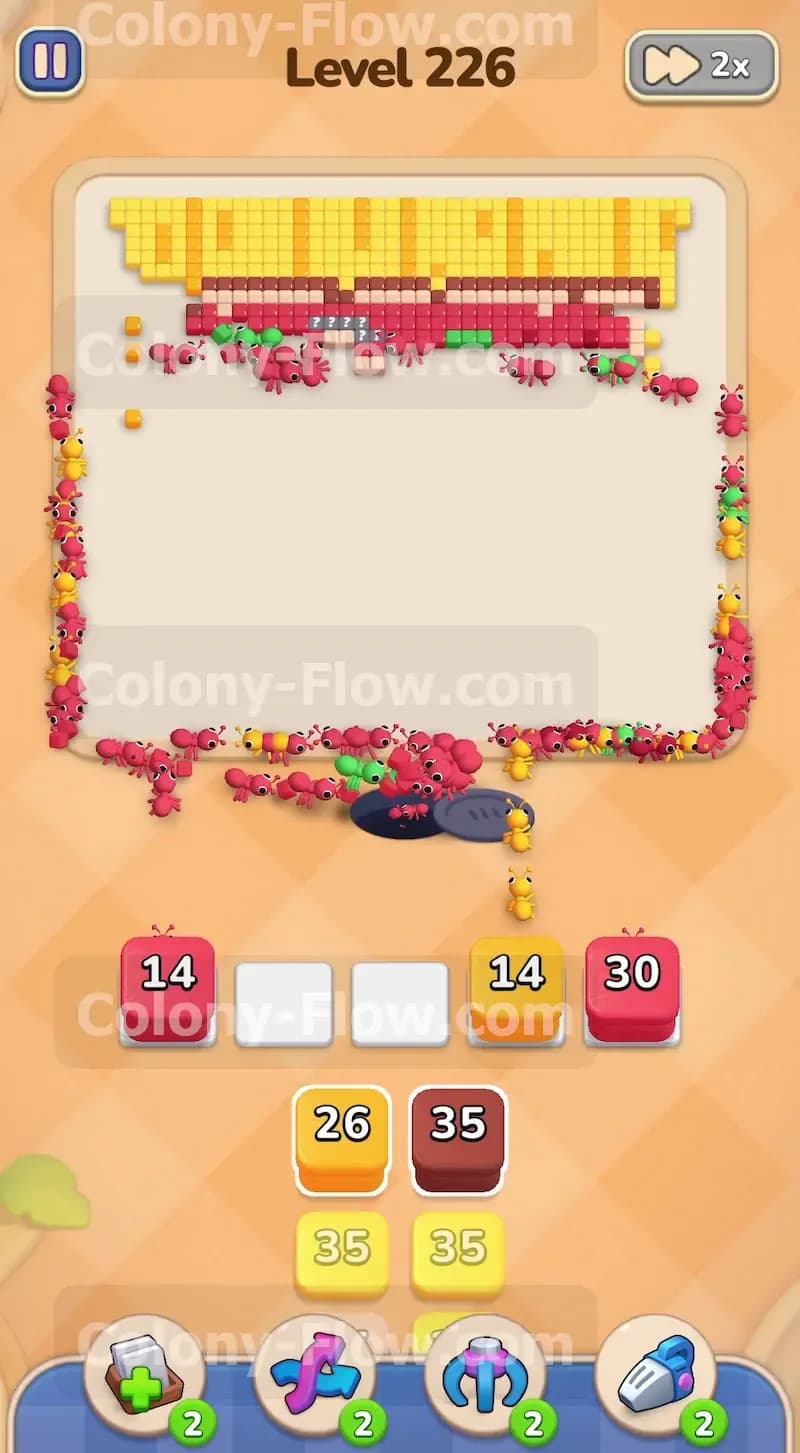
The ants will eventually reach the top half of the picture as the lower sections disappear. This upper area contains the rest of the solid red body and another green curved pattern piece. Wait until the ants have a completely clear path to the green tiles before you pull a green block. Pulling a green block too early will trap it in your slots and put you at risk of losing. Use your remaining red blocks to strip away the rest of the red body. The numbers on your red blocks will decrease as you get closer to the end of the red section. Match the block numbers to the shrinking red area to avoid leftover blocks. The ants will swarm the top section from below and from the left and right sides. This coordinated attack clears the remaining red and green tiles very quickly. Make sure you do not pull any extra yellow blocks during this phase unless the ants are actively eating the top yellow border.
Step 6: Finish off the outer yellow border to complete the level.
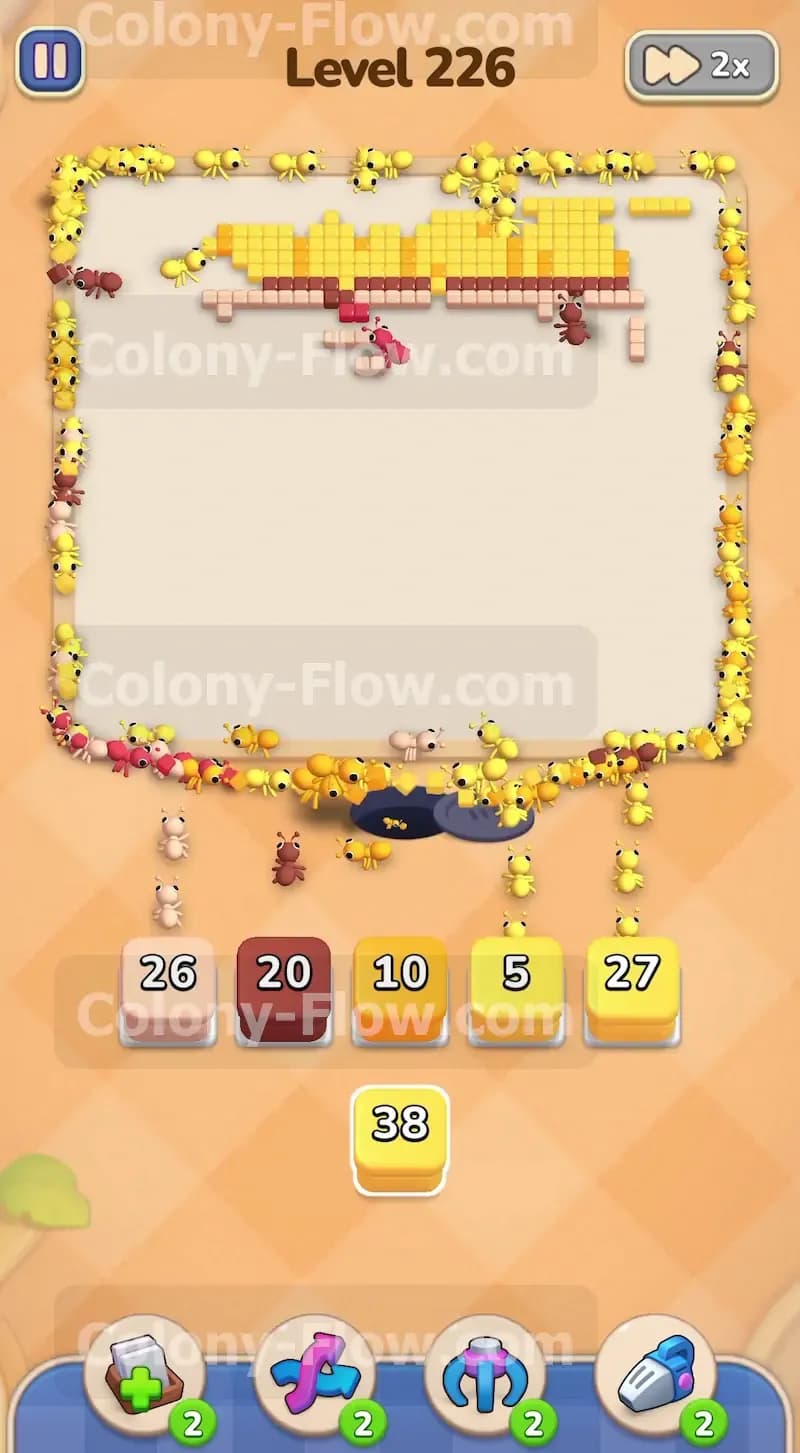
The final phase of the level is very straightforward if you managed your waiting slots correctly. The only tiles left on the board are the yellow and brown border tiles along the top edge and the upper side edges. Look at your tray at the bottom of the screen. You should have only yellow and brown blocks remaining to pull. Pull a yellow block to clear the very outer edge. Then pull a brown block to clear the inner border edge. The ants will form a long continuous line around the perimeter of the empty space. They will steadily eat the last remaining tiles on the board. Watch the numbers on your blocks count down to zero as the final tiles vanish from the screen. Once the board is completely empty the remaining ants will walk off the screen and you have won the level.
Final Thought
Level 226 tests your patience and your ability to manage large block numbers. You must resist the urge to pull blocks before the ants can actually reach the corresponding tiles. If you follow this step by step guide you will maintain a clear path and easily beat the board. Check out the video above this article if any step is hard to follow in text.