Colony Flow Level 314 Walkthrough Solution & Guides | How to solve Colony Flow 314

Guide By Liam Stone
Updated on July 17, 2026
You'll find the complete Level 314 walkthrough in the video above if reading isn't what you're after.
Video doesn't match your screen?
Game updates frequently scramble layouts! Try our AI Screenshot Solver first to find your exact board instantly, or report broken guides to our team.
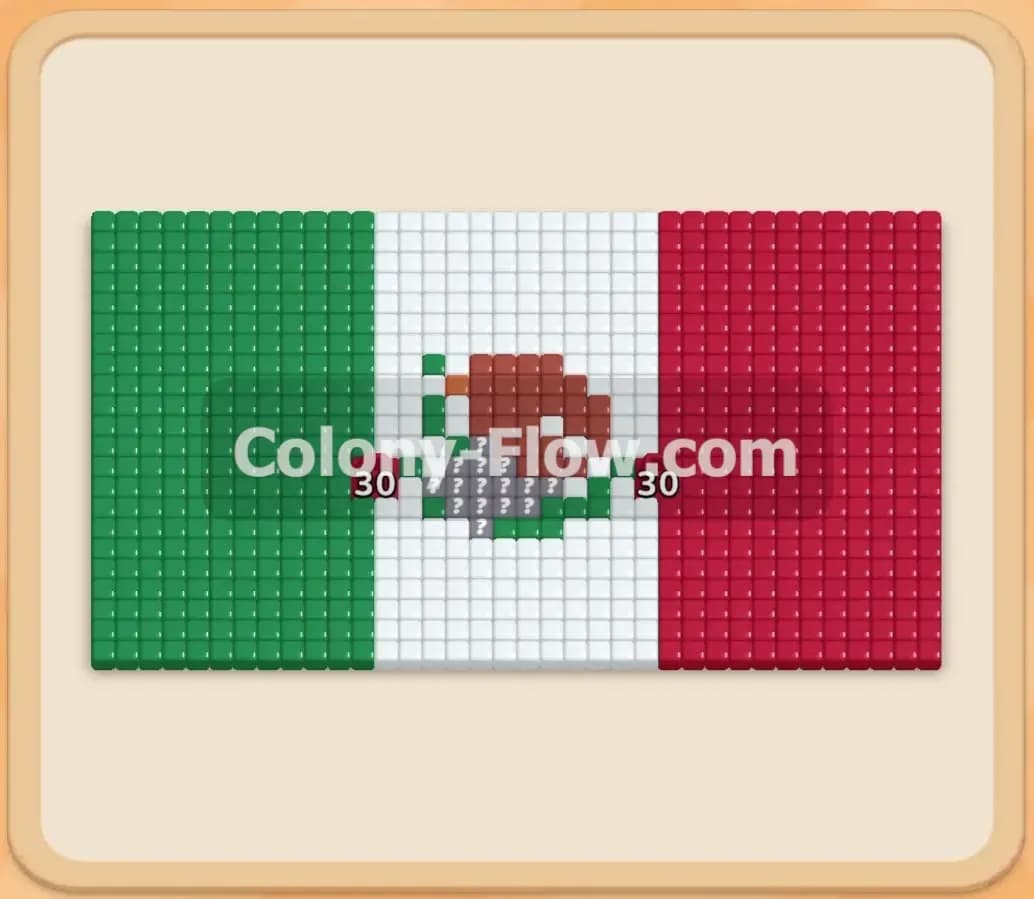
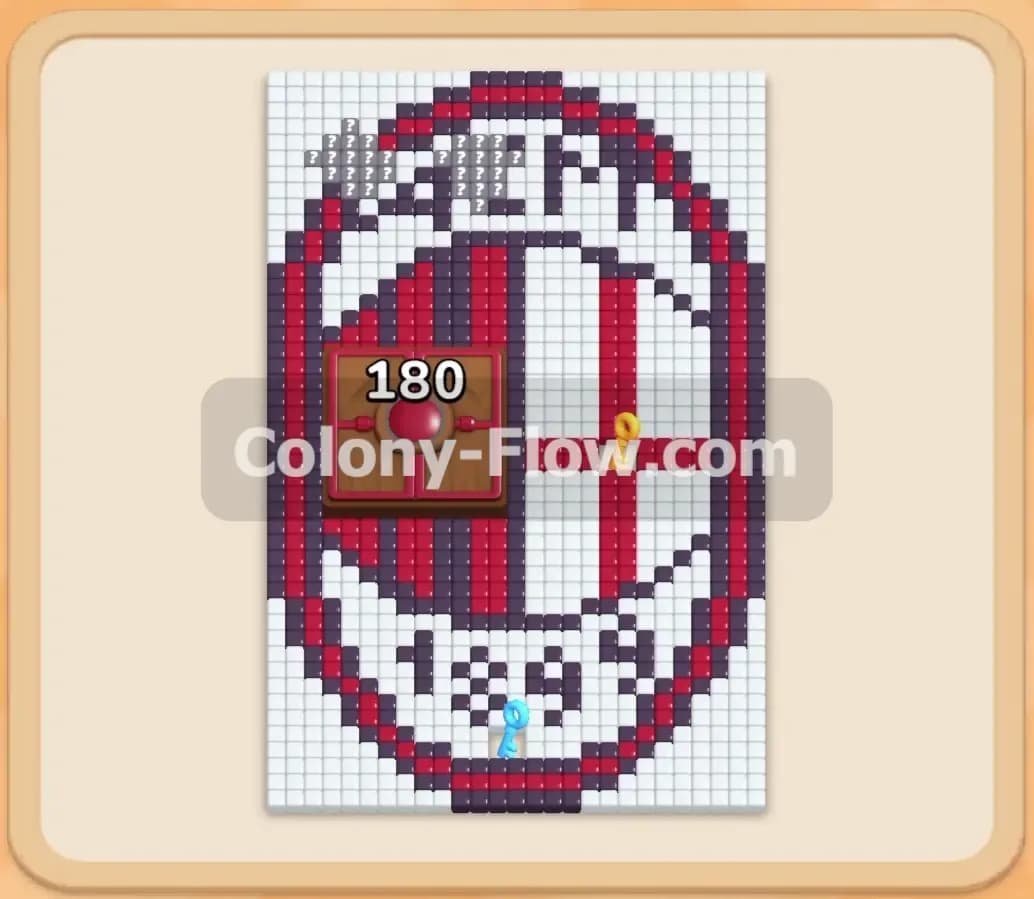
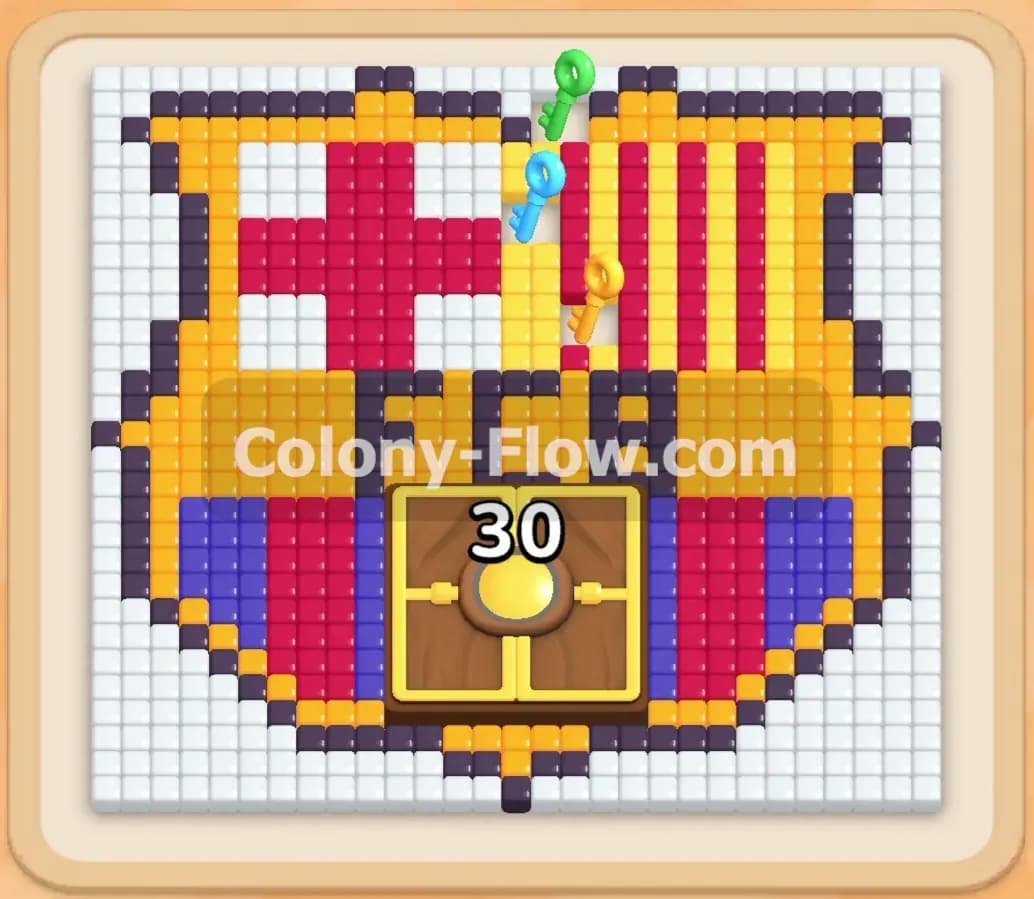
Colony Flow Level 314 presents a massive puzzle picture that resembles a classic red and green sports crest. You must guide your colony of ants to devour every single pixel art tile without jamming your five waiting slots. I play and test every level personally to give you a clear and effective solution. I know exactly how frustrating it gets when your slots fill up and the level abruptly ends. This guide walks you through the entire process from the first move to the final empty board. You will learn how to manage the tricky connected boxes and heavy chocolate tiles safely to keep your colony moving.
Colony Flow Level 314 Overview
What You Are Working With
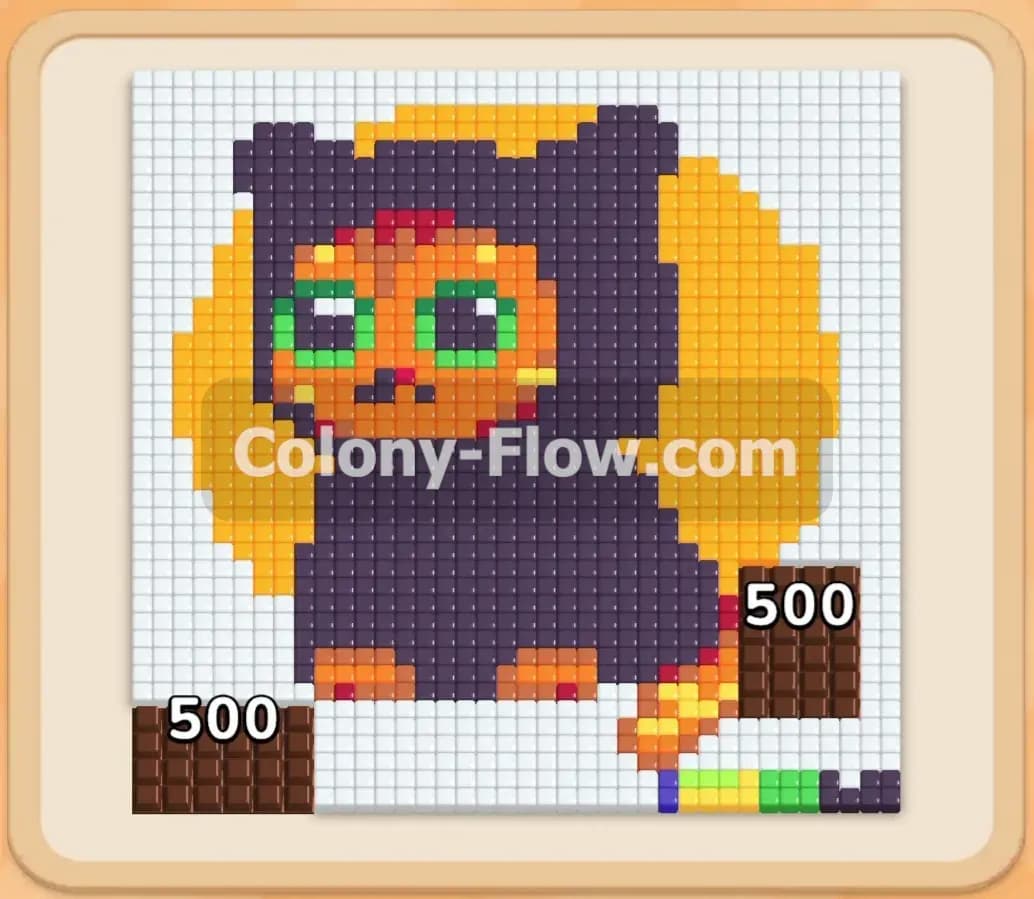
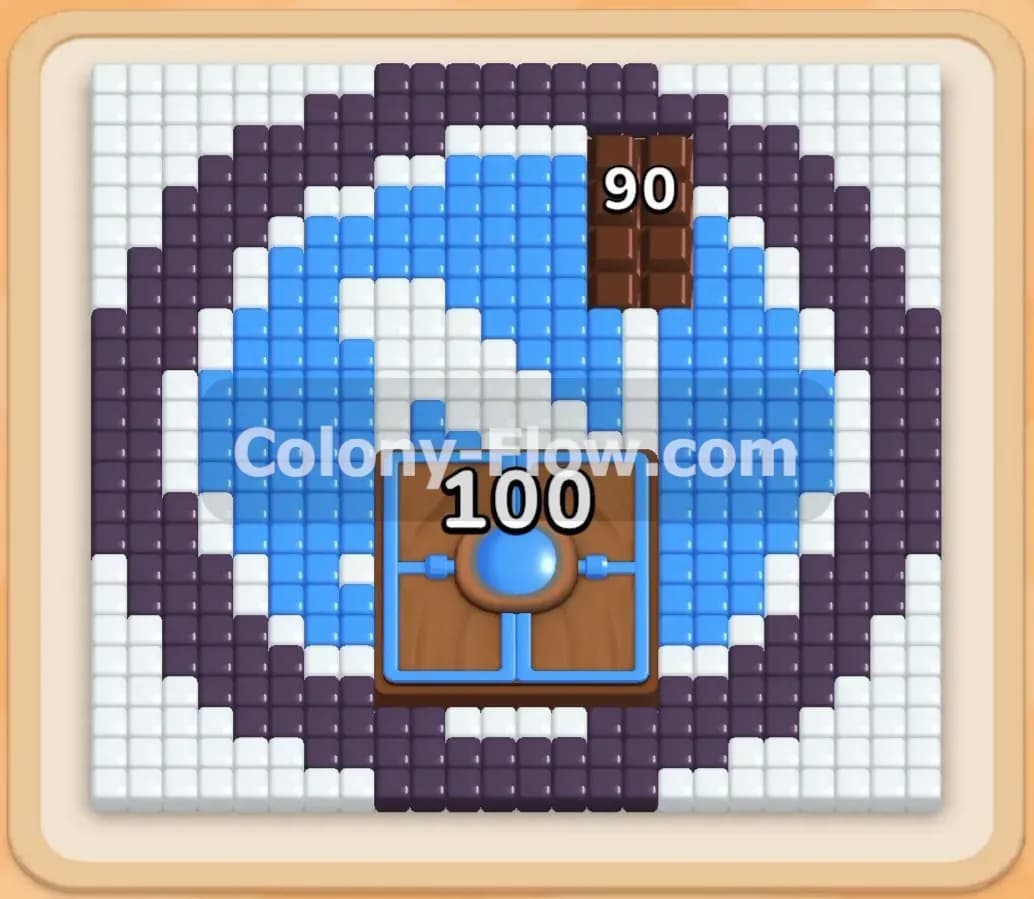
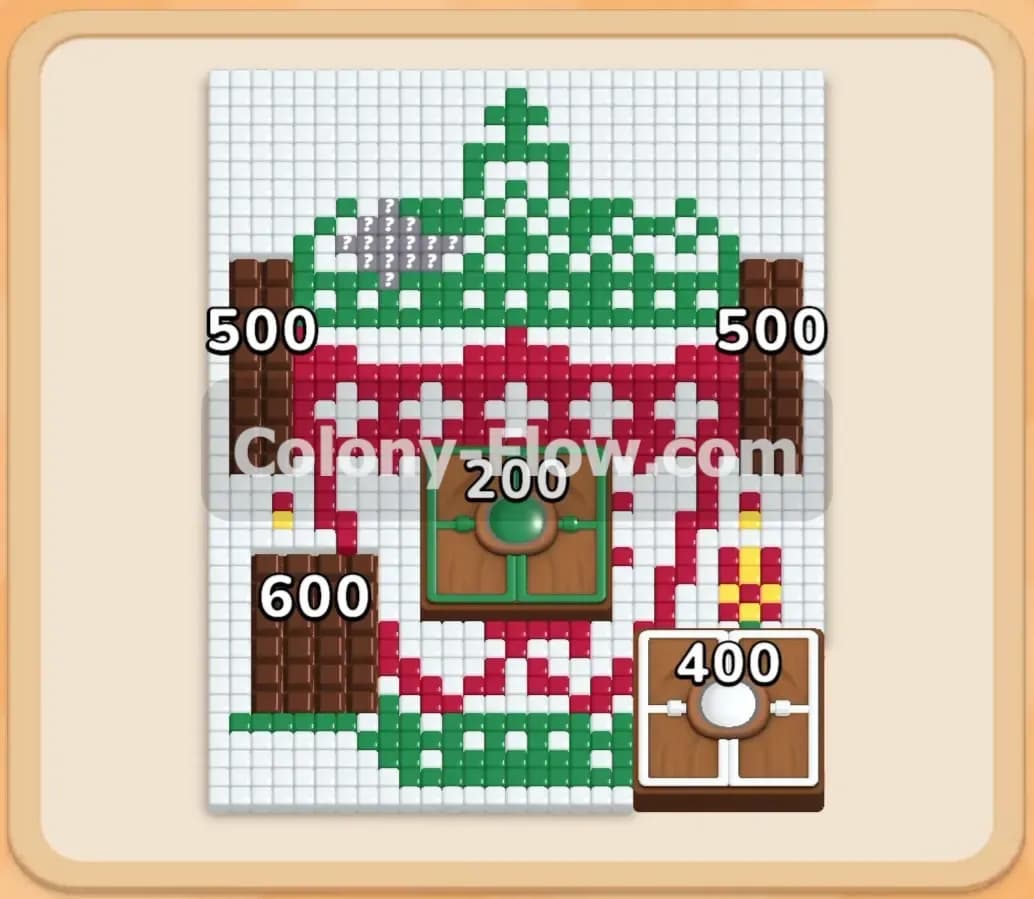
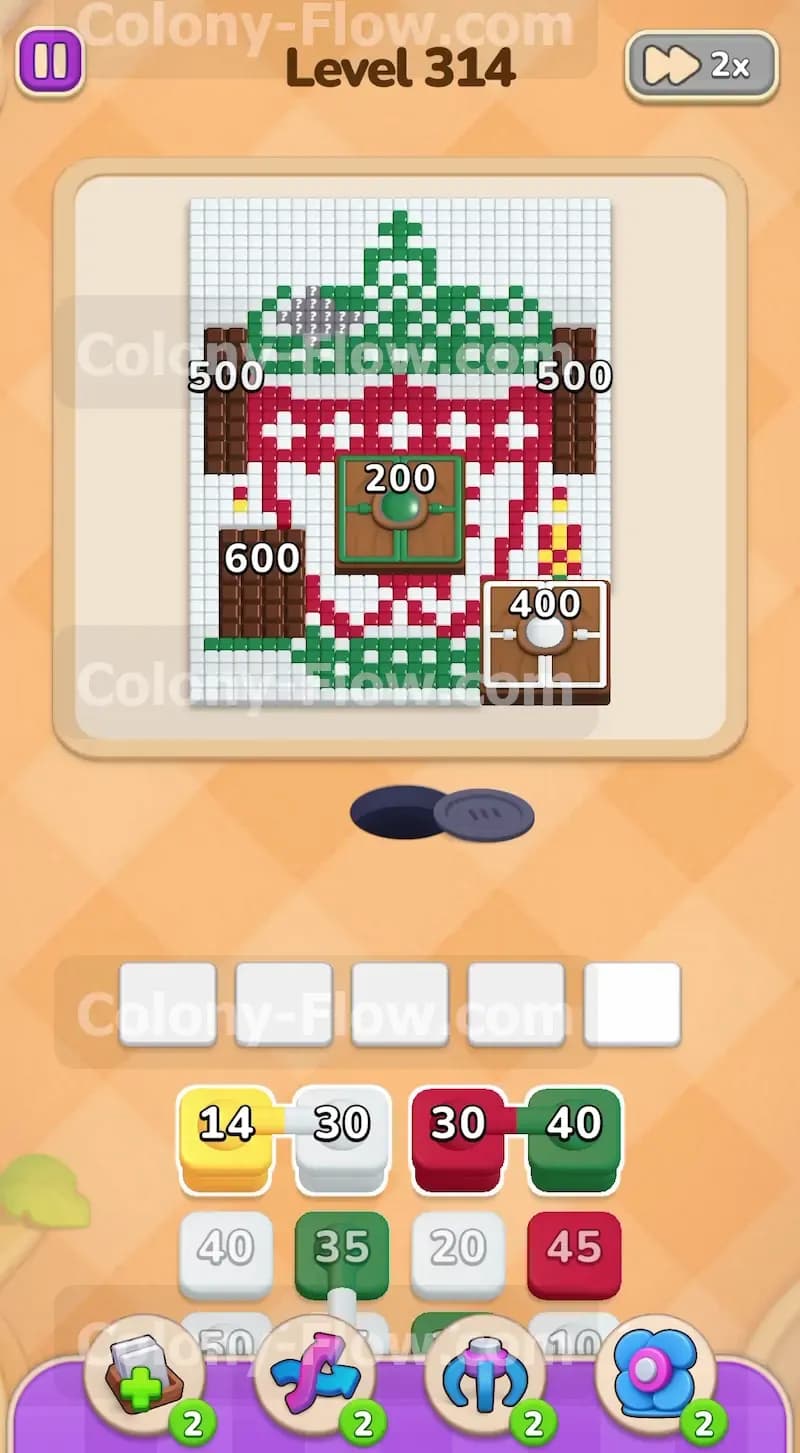
The board features a large central crest made of red and green tiles bordered by a massive white background. Four heavy chocolate blocks sit in the corners and block the underlying food tiles. The top left and top right chocolate blocks start at 500 each. The bottom left chocolate block holds a massive 600 tiles while the bottom right block holds 400 tiles. A large green block sits directly in the center of the crest and holds 200 tiles. Your tray holds high capacity blocks including connected boxes that physically link yellow and white blocks together. You must move these linked blocks at the exact same time. You will also uncover hidden boxes in the tray as you progress deeper into the level. These hidden boxes look grey and keep their color completely secret until you move them up to the waiting slots.
What It Takes to Clear Level 314 Board
You win when every tile vanishes and your ants return to the nest hole. You lose immediately if you pull five blocks into your slots and none of them have an open path to matching food. The main goal for this level involves chipping away at the heavy chocolate blocks while sending white ants around the huge outside border. Clearing the white background gives your ants plenty of room to attack the central green and red tiles from all available sides. You must manage your tray space carefully to keep the ants flowing continuously without hitting a dead end.
Colony Flow Level 314 Step by Step Solution
Step 1: Open the bottom edges and activate your red and green ants.
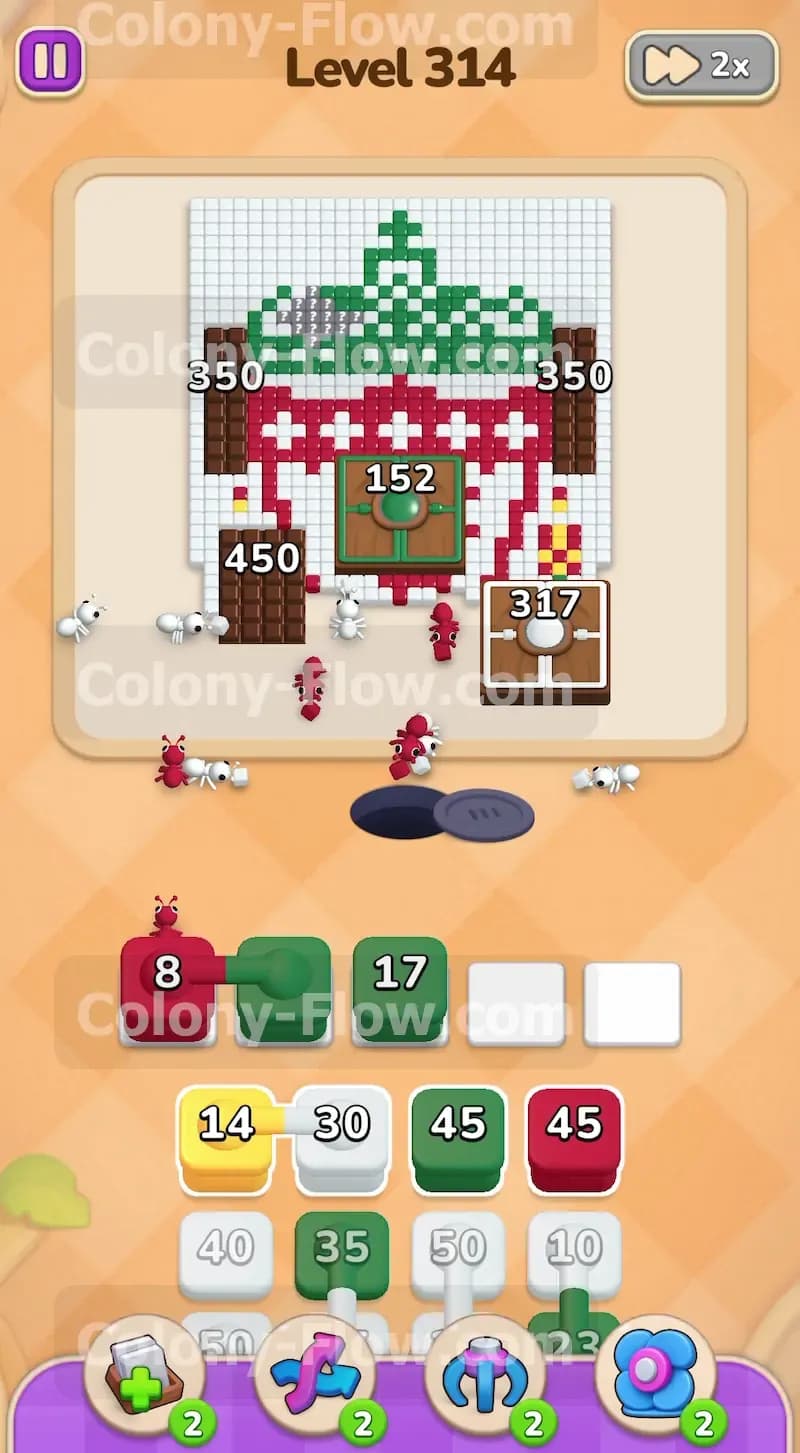
You start the level with the massive crest blocking the center of the screen and severely limiting your available paths. You must begin by pulling red and green blocks from the tray to target the lower exposed edges of the design. Start with the red 30 and green 40 blocks to get your colony moving. The red ants march straight into the bottom red pillars to carve out vertical lanes. The green ants attack the green trim on the lowest border. These initial moves start peeling away the outer tiles so your ants can reach the bottom chocolate blocks. Keep a close eye on the remaining block numbers as they count down. The green block drops to 17 and the red block drops to 8 very quickly. This clears space in your waiting area and ensures your slots never fill up completely. You must always leave one active path open.
Step 2: Deploy the connected boxes to tackle the white background.
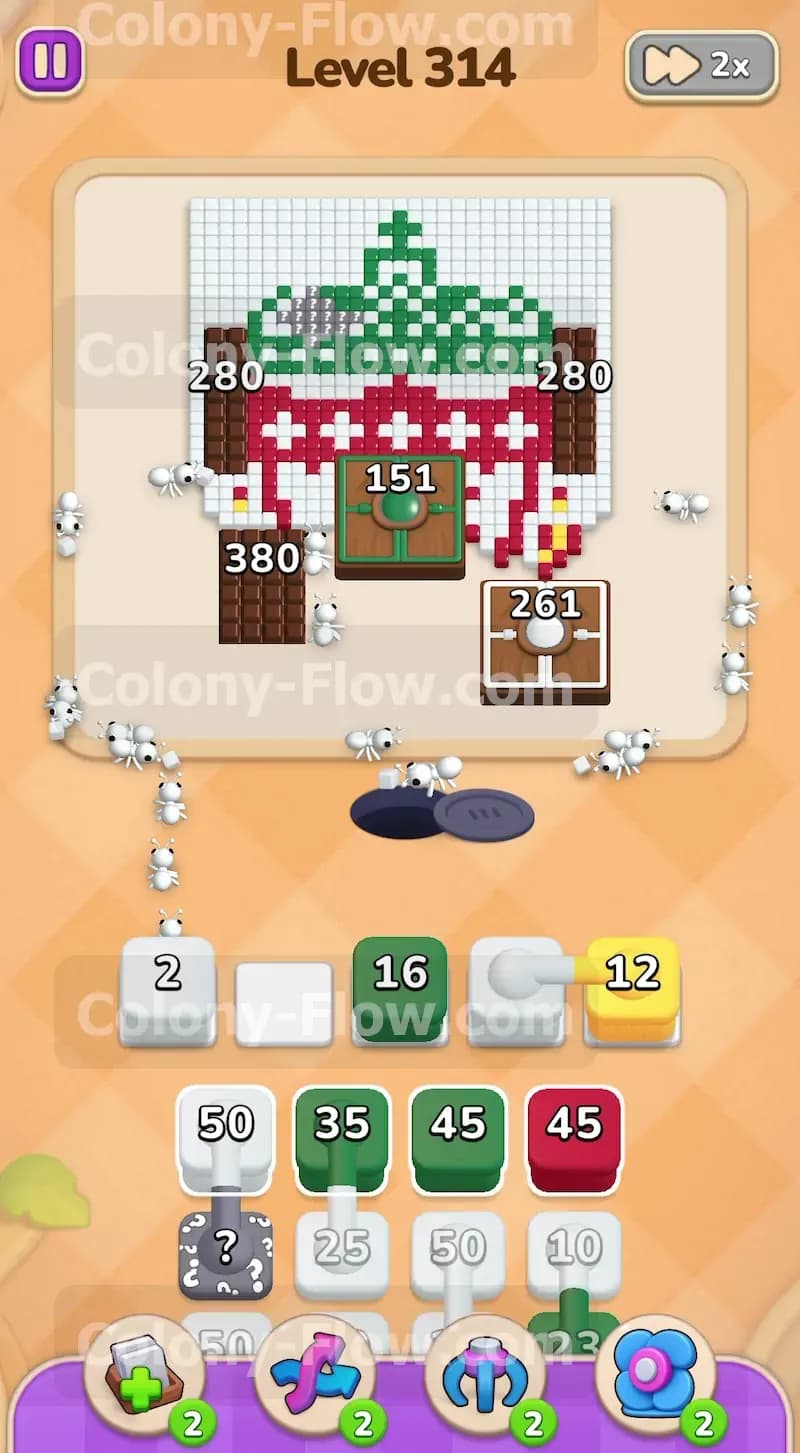
Your tray holds a yellow 14 block physically linked to a white 30 block. These connected boxes must move to the slots together and take up two spaces at once. Pull them up into your waiting area as soon as a path opens to the white tiles on the outside edge. The white ants will stream out and begin wrapping around the entire crest to eat the thick white background. The yellow ants will find their matching yellow tiles scattered in the lower section of the crest. Moving connected boxes is always risky because they consume so much slot space. However this early move creates a massive highway for your colony. The continuous flow of white ants rapidly drops the tile numbers on the outer chocolate blocks.
Step 3: Flood the main red band across the center of the crest.
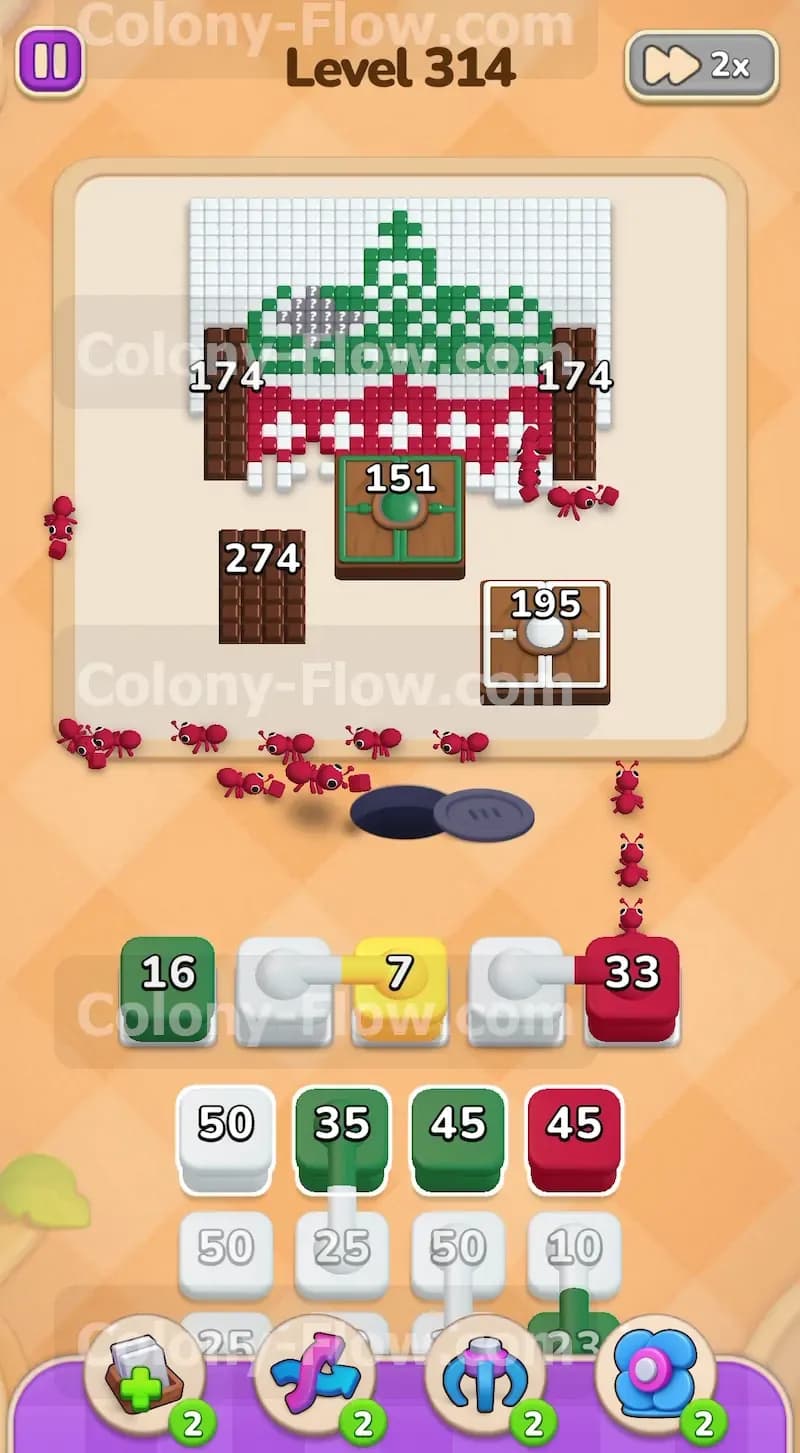
With the white ants working the outer perimeter you can finally focus on the core of the picture. Pull the large red 45 block from the tray to unleash a huge swarm of red ants. They will target the thick red band cutting straight across the middle of the crest. This red band contains small white cross shapes that become exposed as the red tiles disappear. Letting the red ants feast on the center relieves pressure on your waiting slots and creates brand new paths. The chocolate numbers on the top left and top right continue to drop as the white ants nibble on the exposed outer edges. You can see the 500 blocks drop down into the 200 range as the swarm surrounds them. Keep feeding white and green blocks into the slots to maintain the momentum.
Step 4: Demolish the remaining heavy chocolate blocks.
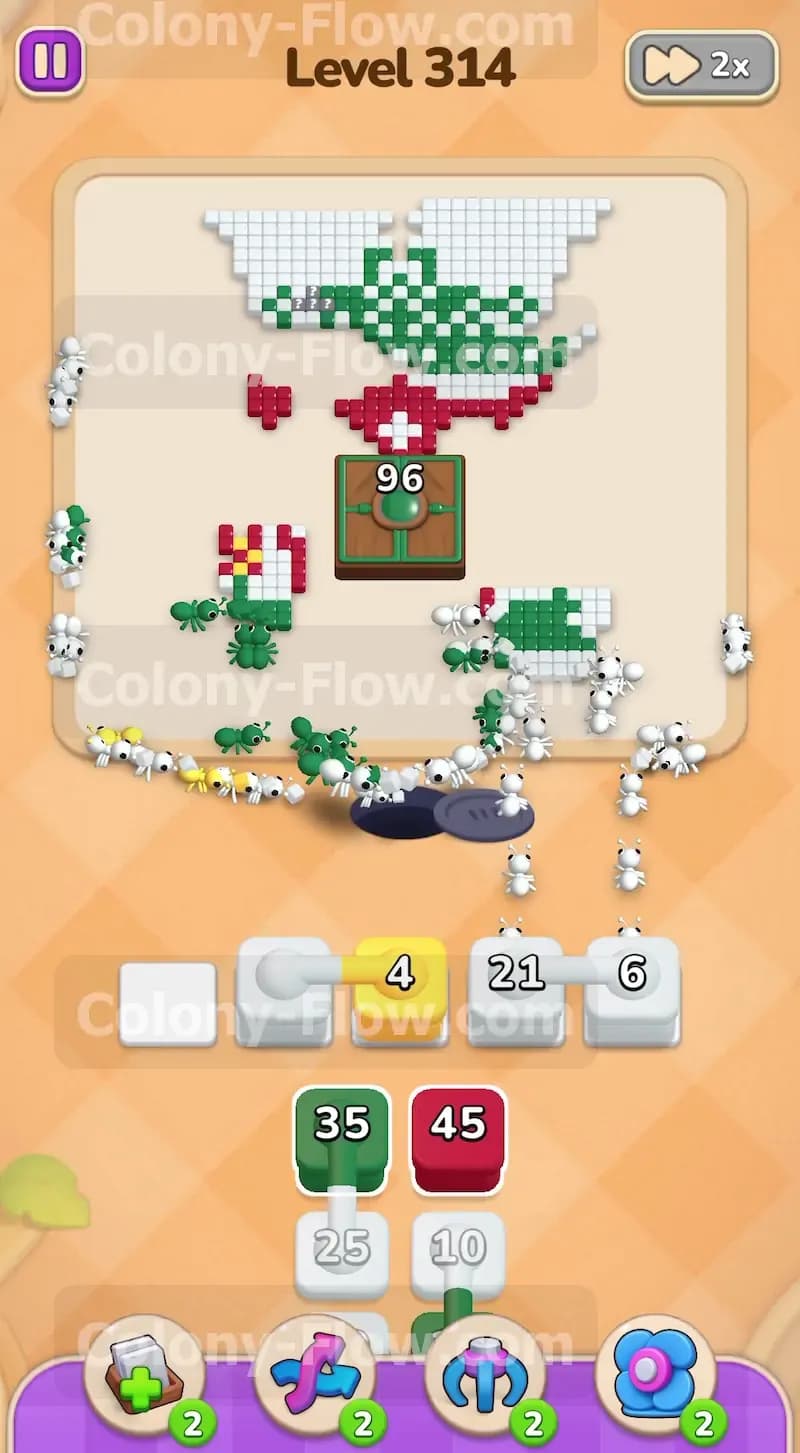
The white ants now reach the very top corners of the board. You need to keep feeding them high capacity white blocks from the tray. Pulling a white 50 block sends another massive wave of ants around the top border. This continuous attack completely overwhelms the top left and top right chocolate blocks. Watch the numbers plummet from the hundreds down to double digits like 70 and 170. Once the outer white shell vanishes the chocolate blocks melt away completely. The ants break through the heavy brown crust and eat the hidden food underneath. This clears the entire outer perimeter and leaves the central green structure totally exposed on all sides. You now have massive open lanes for any remaining colors in your tray.
Step 5: Unleash the green ants on the main center block.
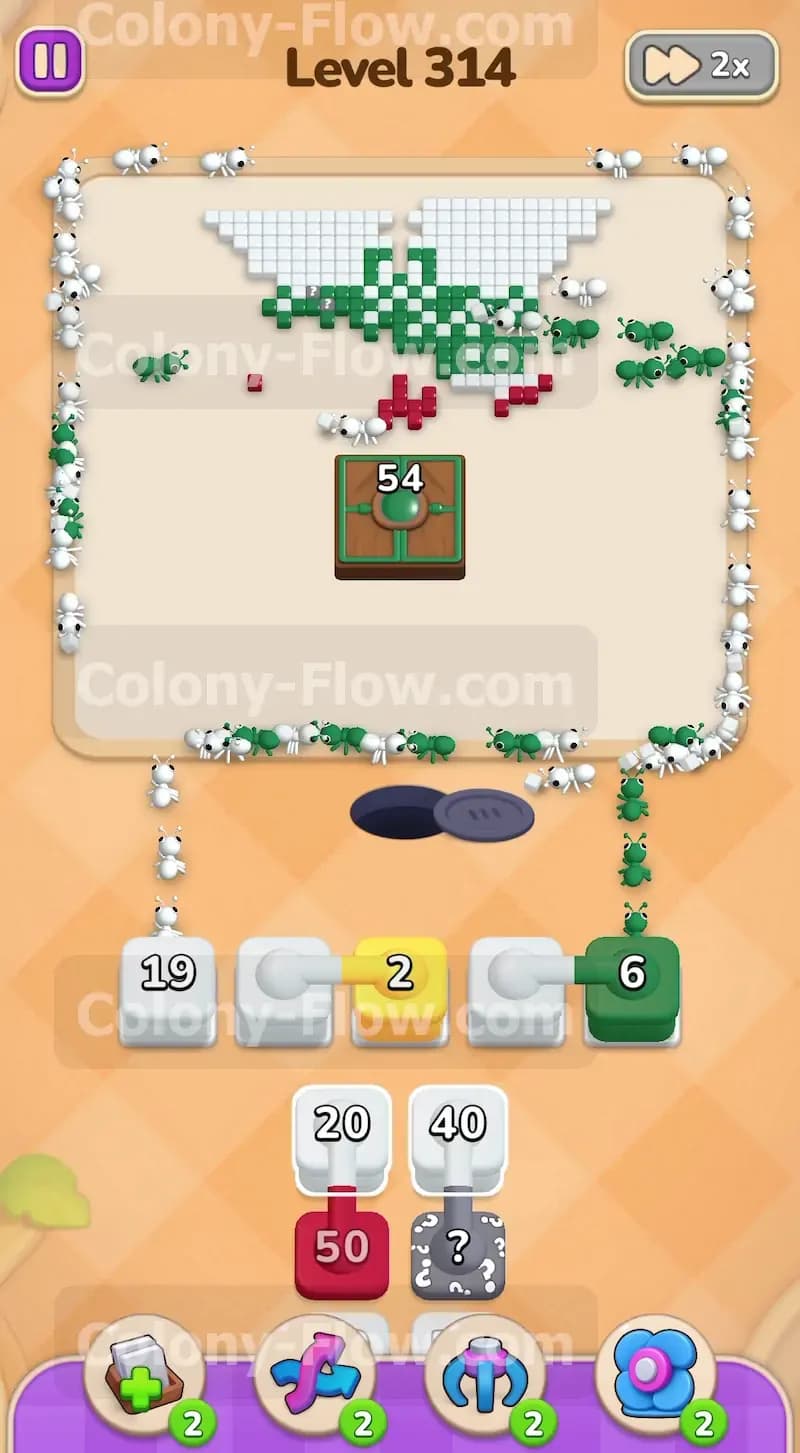
The large green block in the middle of the crest is now entirely vulnerable. It started at 200 but you can now hit it with everything you have from the tray. Pull the green 35 and green 45 blocks into your waiting slots. The green ants will swarm the center block from the left and right sides simultaneously. At this exact time you also reveal grey hidden boxes in your tray. Tap these hidden boxes to bring them into the slots. They reveal their true color instantly and send ants to any matching available tiles. The central green block shrinks rapidly from 96 down to 54 and then vanishes completely. Use the hidden boxes carefully and only when you know you have open paths for multiple colors to avoid a tray jam.
Step 6: Clean up the final red and white scattered tiles.
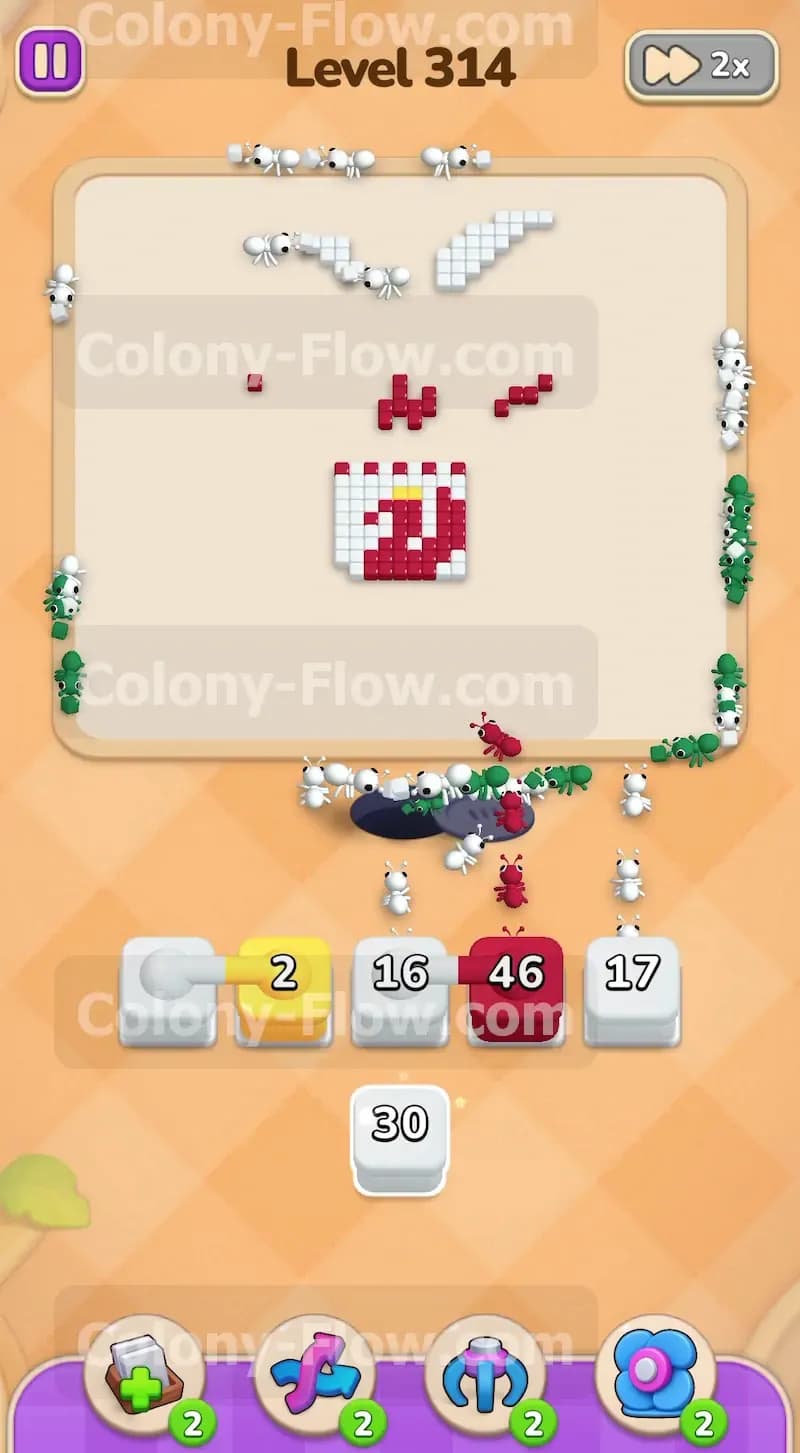
The massive crest now consists of just a few scattered red pieces and a tiny bit of white outline at the top. Check your tray and pull the final yellow and red blocks into your slots. Bring up the red 46 and the white 17 blocks to finish the job. The remaining ants rush to the top and center sections to clean up the last few isolated pixels. Since the board is wide open you do not have to worry about blocked paths or dead ends. The ants quickly devour the final red cross patterns and the lingering white background tiles. Keep your slots rotating smoothly as the final numbers count down to zero. Watch the colony clear the board entirely and march back into the nest to secure your victory.
Final Thought
Clearing this massive crest picture requires patience and careful path management. You must focus heavily on keeping the white ants moving around the outer border so the heavy chocolate blocks slowly melt away over time. Do not rush the connected boxes into your slots until you know the white ants have an open vertical lane. Managing your tray space provides the only safe way to survive the high tile counts. If you find yourself stuck on a particular sequence I highly encourage you to watch the video above this article. Seeing the ants move in real time helps you master the exact timing for the hidden boxes and connected tray blocks.