Colony Flow Level 154 Walkthrough Solution & Guides | How to solve Colony Flow 154

Guide By Liam Stone
Updated on July 12, 2026
Want the shortcut? Watch the video above for the full Level 154 solution.
Video doesn't match your screen?
Game updates frequently scramble layouts! Try our AI Screenshot Solver first to find your exact board instantly, or report broken guides to our team.
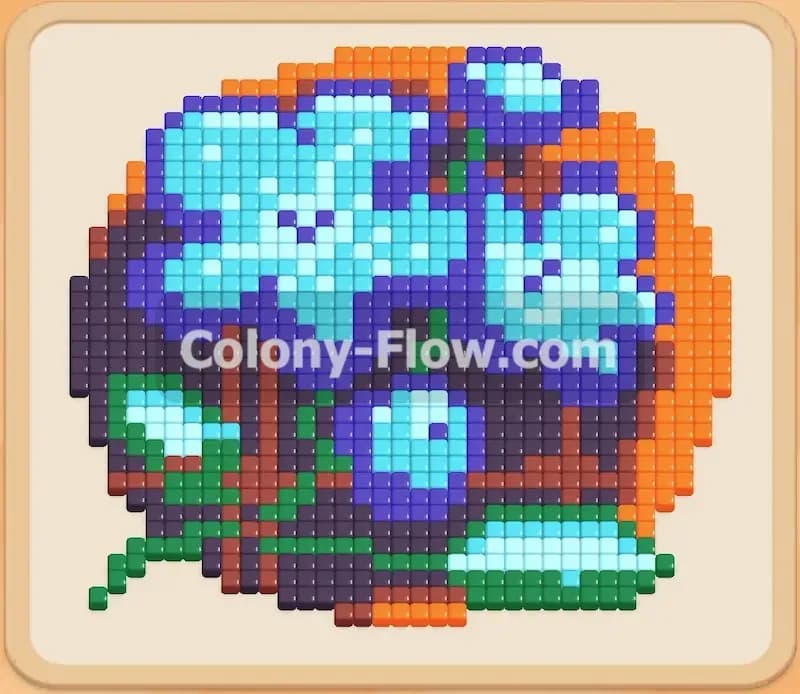
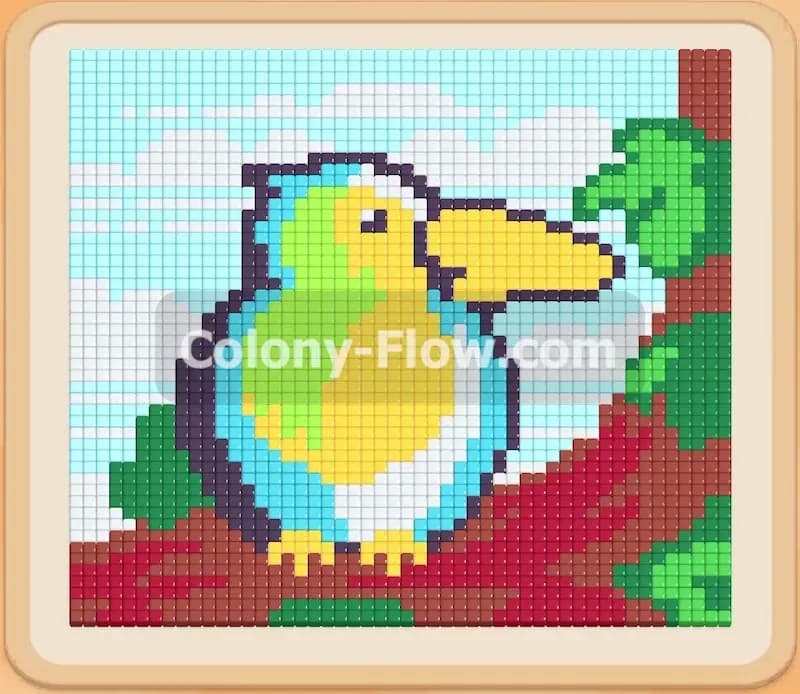
Welcome to Colony Flow Level 154 where we tackle a colorful bird resting on a tree branch. You will see a vibrant toucan surrounded by a bright sky and green leaves. This puzzle requires careful tray management because the outer paths wrap around the entire picture. You need to open specific sections of the canvas before pulling too many blocks into your waiting slots.
Colony Flow Level 154 Overview
What You Are Working With
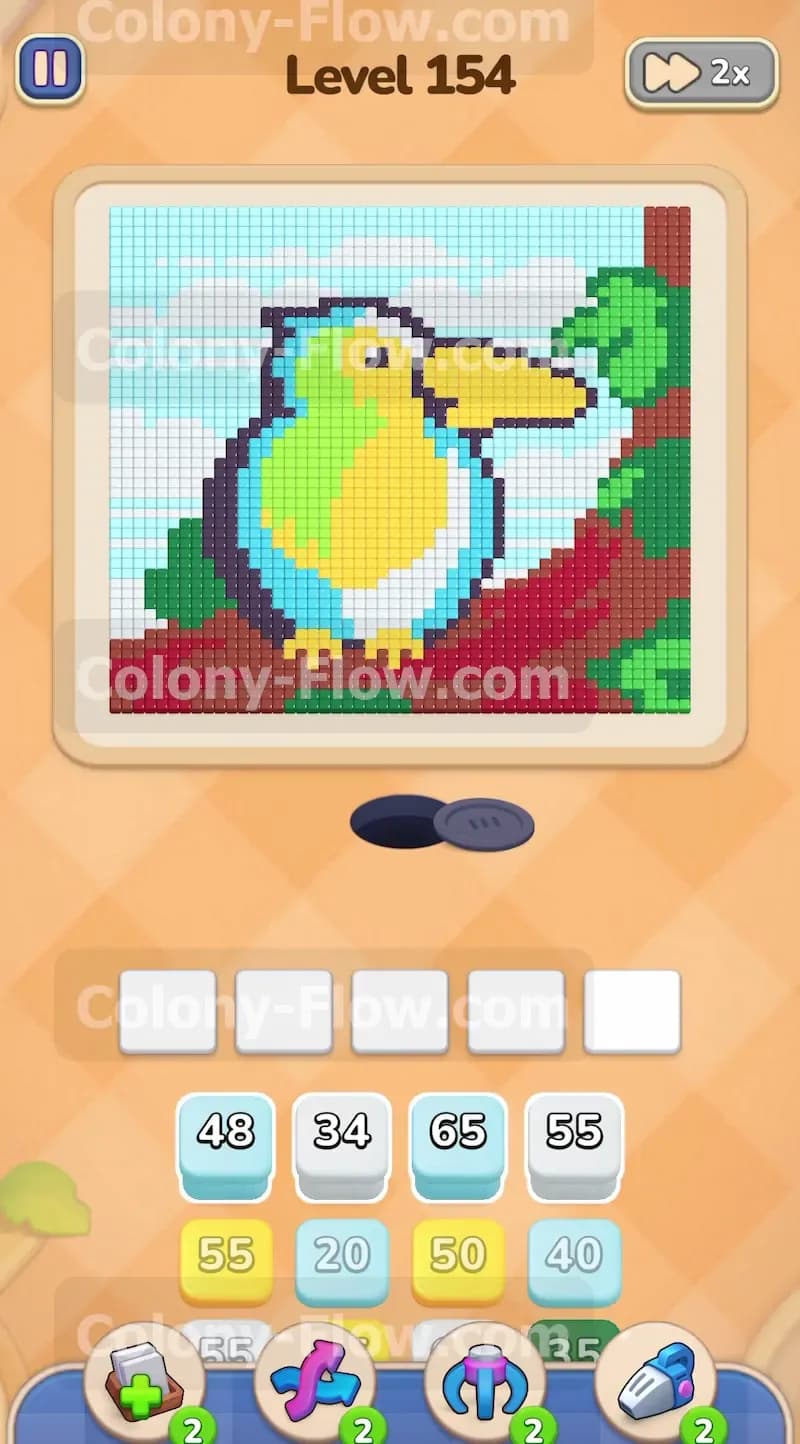
The board presents a colorful pixel art picture of a toucan. The puzzle colors include dark red for the tree branch and dark green for the leaves on the right. The bird features a large yellow belly and a bright green back. You will also see dark blue wing outlines and a huge yellow beak. The background sky consists of white tiles and light blue tiles. Your tray holds corresponding numbered blocks that match these exact colors. You start the puzzle with the bottom branch completely blocking direct access to the belly of the bird. The outer path allows your ants to run all the way around the border of the picture from the central nest hole.
What It Takes to Clear Level 154 Board
You win the game by clearing every single colored tile from the board. You must pull colored blocks from the bottom tray to match the colors of the food tiles above. The ants carry these matching colors up to the tiles and eat them away. You lose the level if you fill all five waiting slots in your tray with blocks that cannot reach their target tiles. You keep the slots open by always ensuring at least one active block has a clear path to the remaining picture.
Colony Flow Level 154 Step by Step Solution
Step 1: Clear the dark red tree branch to open the bottom access
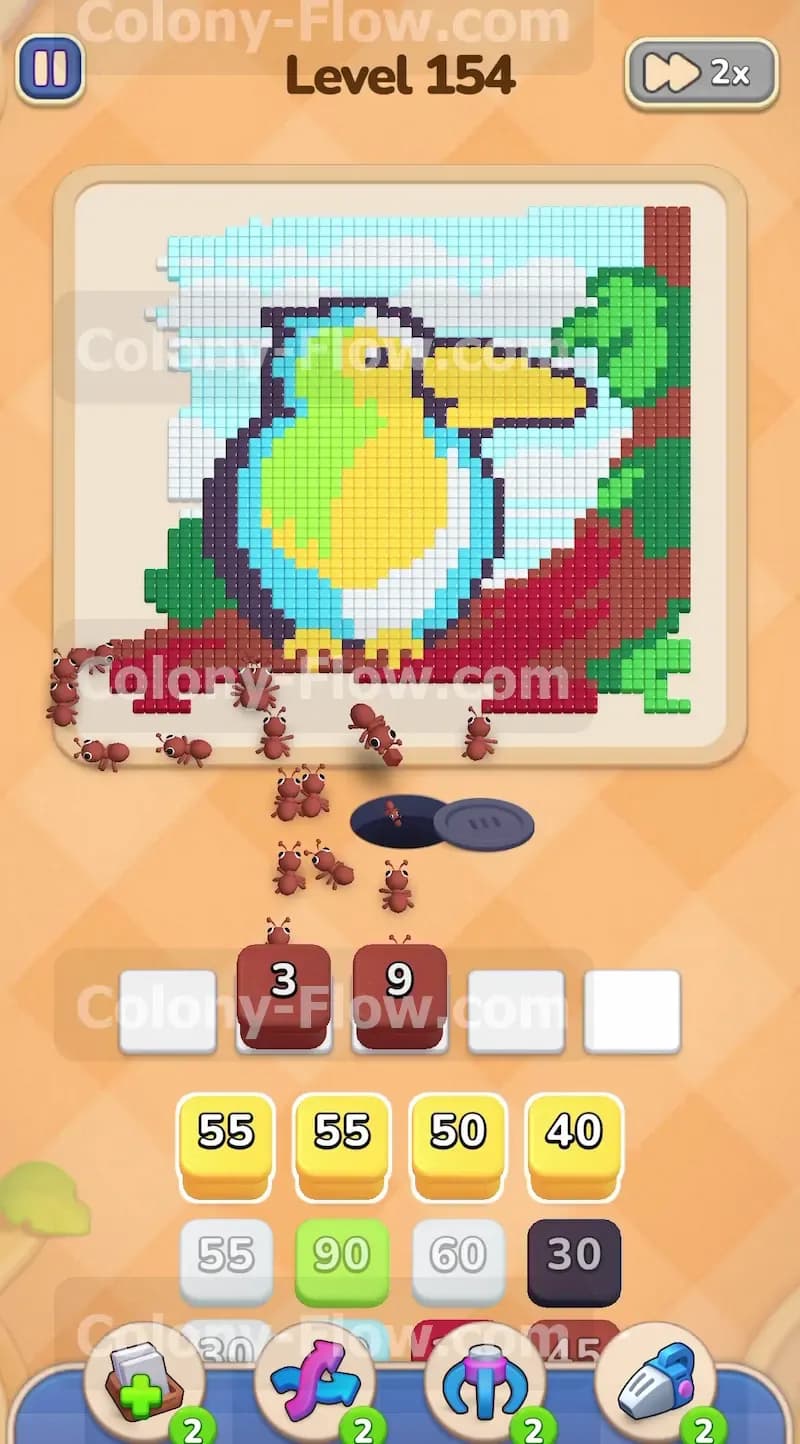
You start the level by focusing on the dark red tree branch at the very bottom of the picture. Pull the dark red blocks from your tray down into the waiting slots. You will see a dark red 3 block and a dark red 9 block in your starting options. The dark red ants stream out of the nest and march straight up to the lowest part of the branch. The numbers on your tray blocks drop to zero as the ants consume the branch. This branch acts as a physical barrier blocking the yellow bird belly and the light blue bird outline. Eating away this bottom section opens a large central path for your ants to use later. You only pull a couple of dark red blocks at first so you leave plenty of room in your five tray slots.
Step 2: Clear the left sky border to reach the wing outlines
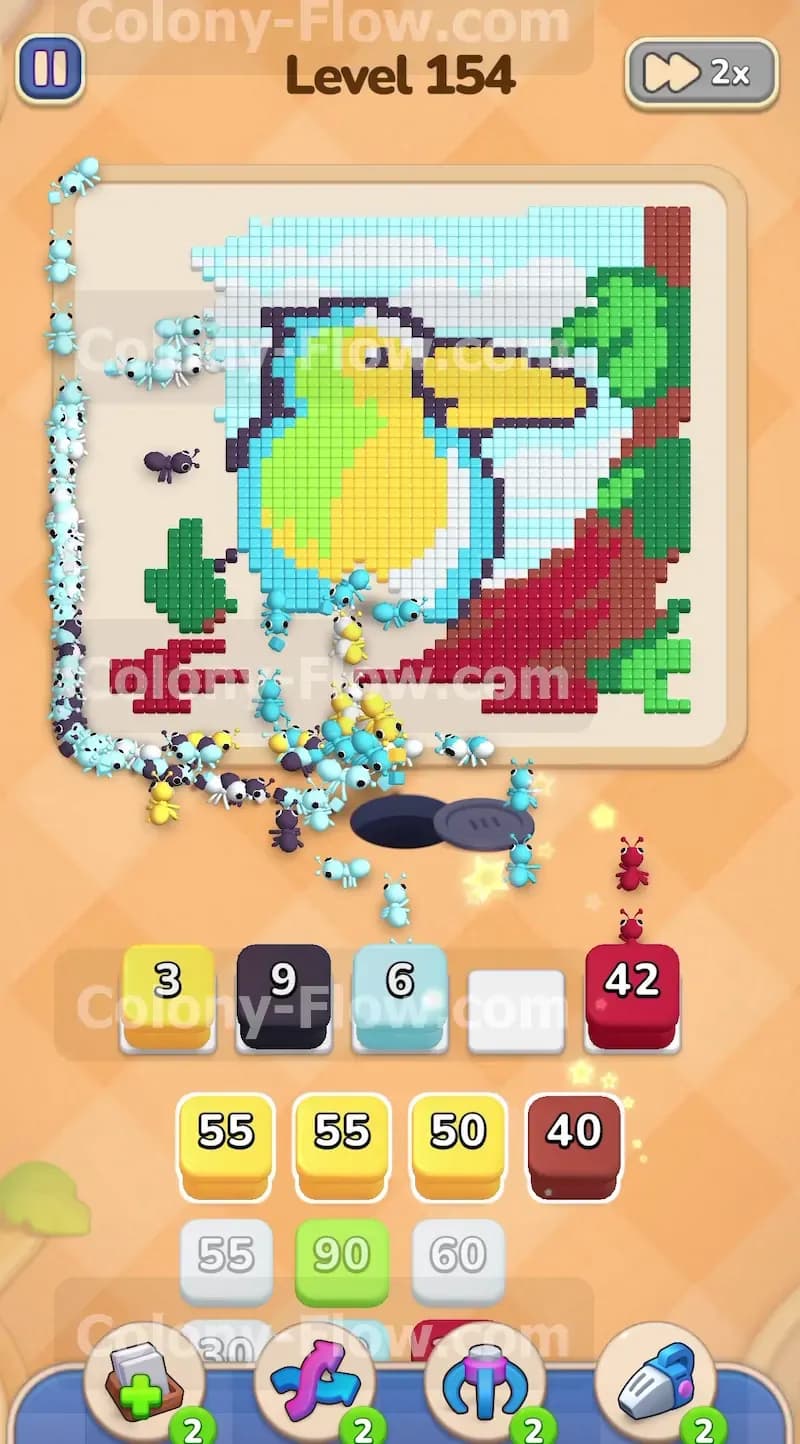
With the bottom area open you want to start working on the outer edges to create more travel routes. Select the light blue blocks and white blocks from the tray. You can pull a light blue 6 block and a white block to get things moving. The ants travel along the far left path and begin eating the sky tiles starting from the bottom corner. This action peels away the outer boundary of the picture. Clearing the left sky border gives your ants direct access to the dark blue wing outlines and the back of the bird head. Watch the numbers on your blocks count down as the ants successfully clear these edge tiles. Do not pull too many white blocks at once or you risk filling your slots before the light blue tiles finish clearing.
Step 3: Tackle the yellow belly of the bird to open the center
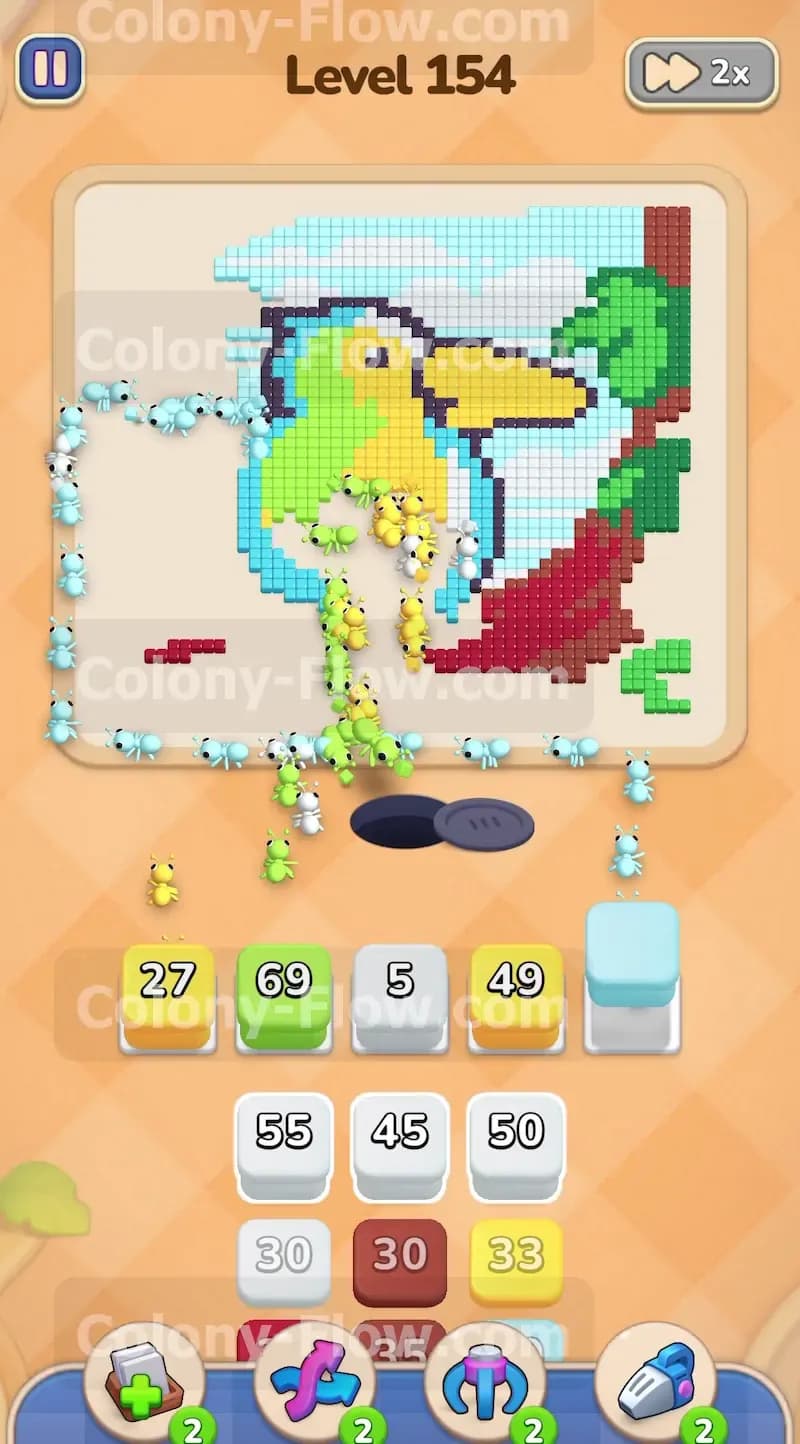
Now that the bottom branch is gone you have a clear path to the bright yellow belly. Pull a large yellow block into your tray. You might use a yellow 27 block or a yellow 49 block here. The yellow ants rush up the middle path and spread out across the lower half of the bird. The belly contains a huge cluster of yellow tiles so a high numbered block works perfectly. The number on the block steadily drops as the ants eat the yellow belly. This clears a large chunk of the center board and opens up the inner sides of the dark blue wing outlines. Keep a close eye on your remaining tray slots. You always want at least one empty slot to maintain flexibility for your next moves.
Step 4: Break down the dark blue wing outlines to connect both sides
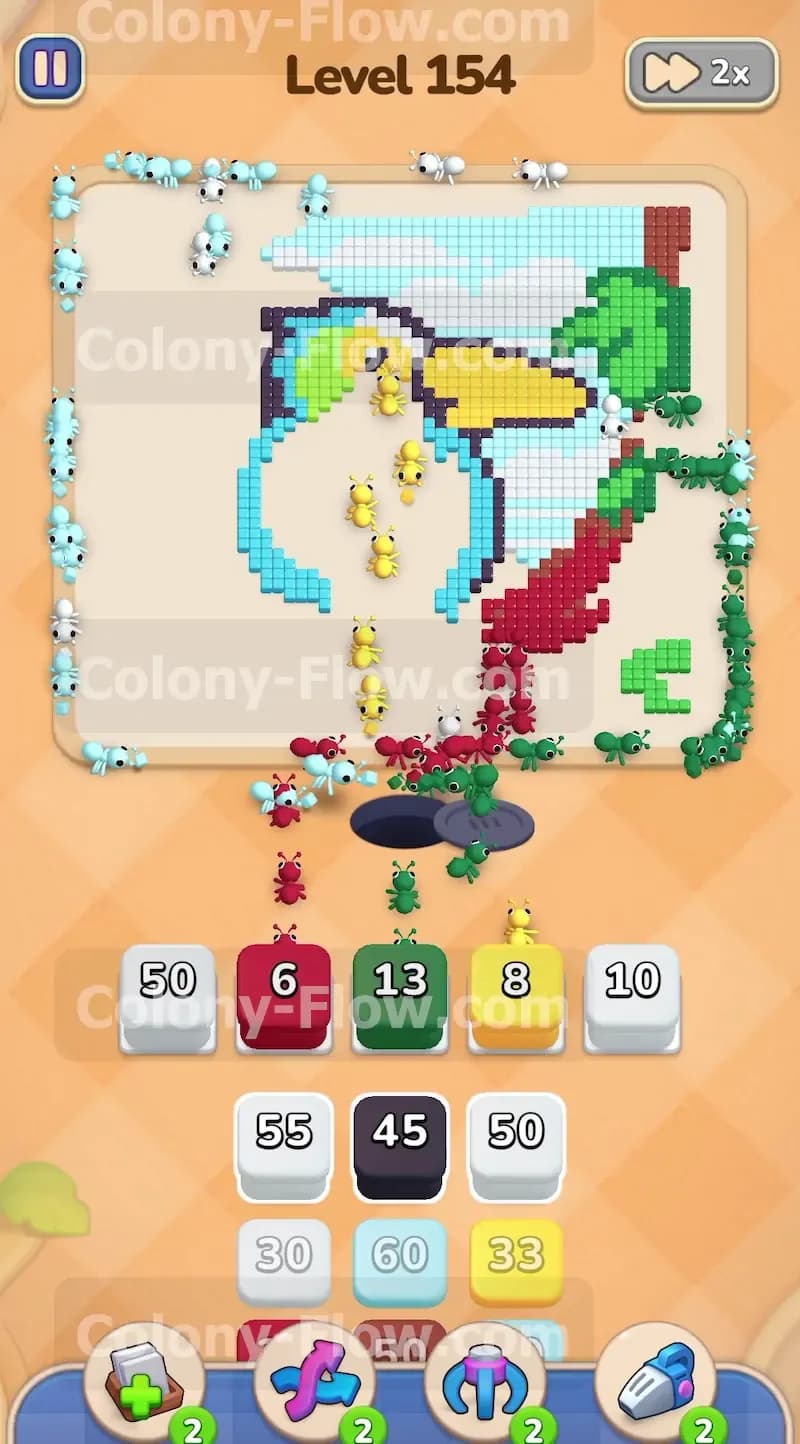
The dark blue tiles form thick boundary lines separating the yellow belly from the green back. You now have access to these dark blue lines from the inside and the outside. Bring down a dark blue block into your empty tray slot. A dark blue 9 block helps start this process. The dark blue ants march in and dismantle these border lines. The numbers on the block count down as the ants break apart the thick lines. Clearing these dark blue tiles connects the left side and the right side of the bird. Once the dark blue lines fall away your ants freely move between the yellow belly area and the green back area.
Step 5: Eat away the green back of the bird from multiple angles
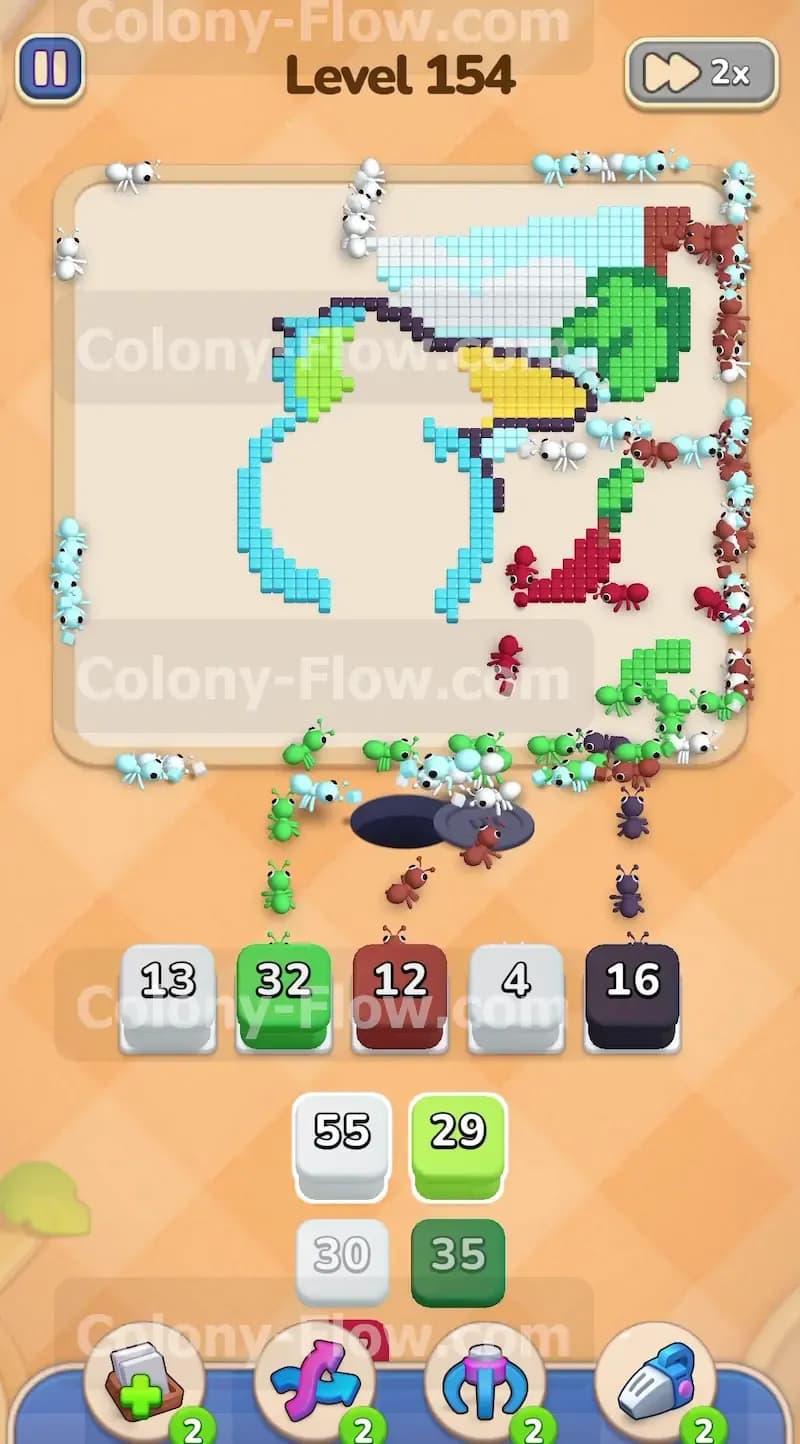
Pull a green block into your tray to start clearing the back of the bird. A green 69 block provides plenty of ants for this large section. The green tiles sit tightly between the wing outlines and the right side tree branch. The ants now have a straight shot into this area thanks to your previous moves. The green section shrinks quickly as the ants swarm the tiles from multiple angles and the block number drops to zero. This step requires a large green block to handle the volume of food tiles. Make sure your previous dark blue block finishes completely before you queue up multiple green blocks to avoid a sudden tray jam.
Step 6: Attack the right side tree branch to expose the green leaves
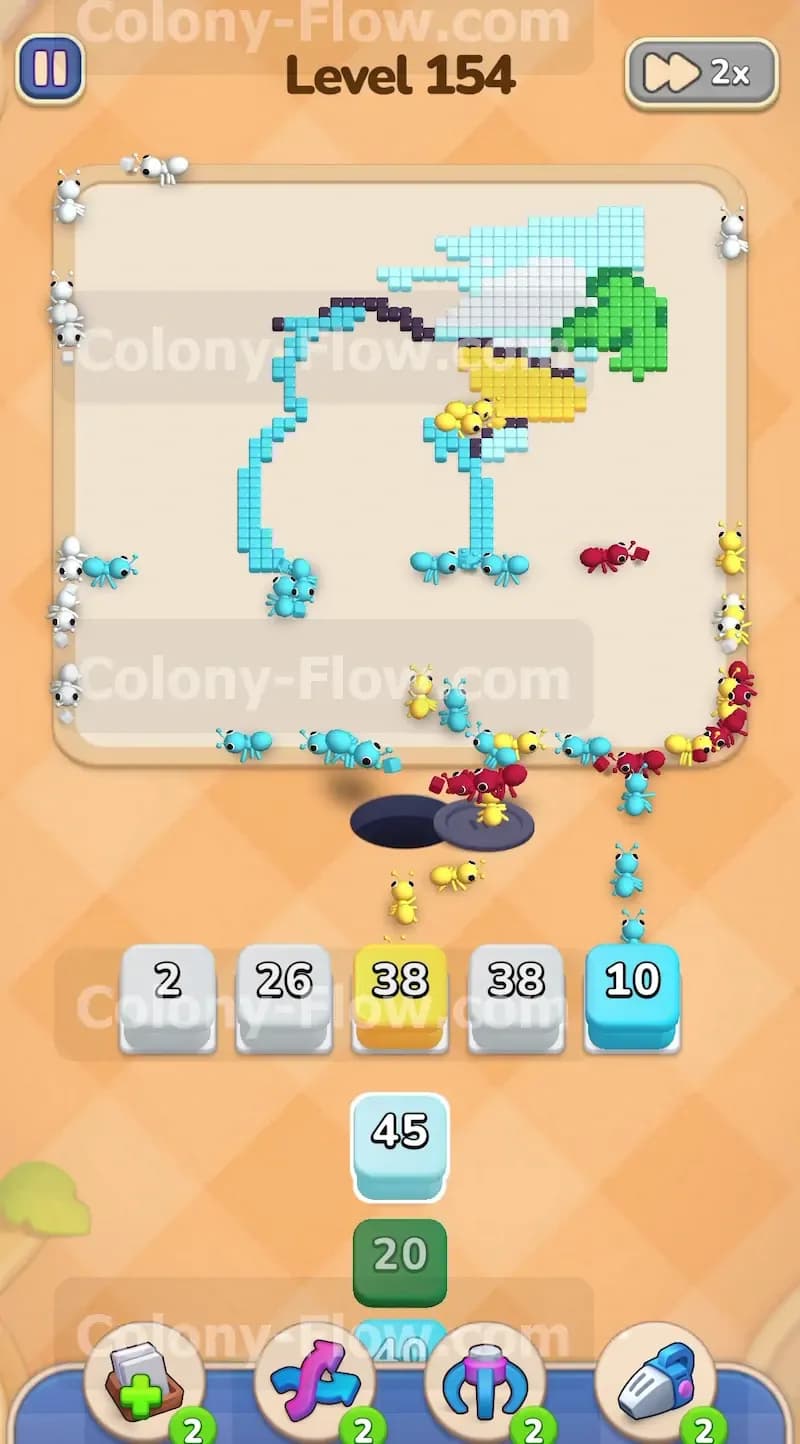
The dark red tree branch continues up the right side of the picture. You need to clear this vertical section to reach the dark green leaves. Bring down another dark red block from the selection area. A dark red 42 block works well. The dark red ants travel along the right outer path and eat away the vertical branch tiles. The block numbers decrease as the ants climb higher up the branch. This opens a clear path to the leaves and also exposes the right side of the yellow beak. Monitor your five waiting slots very closely here. The travel distance for the ants is getting longer so blocks stay in your tray for a greater amount of time before emptying out.
Step 7: Clear the dark green tree leaves to open the right edge
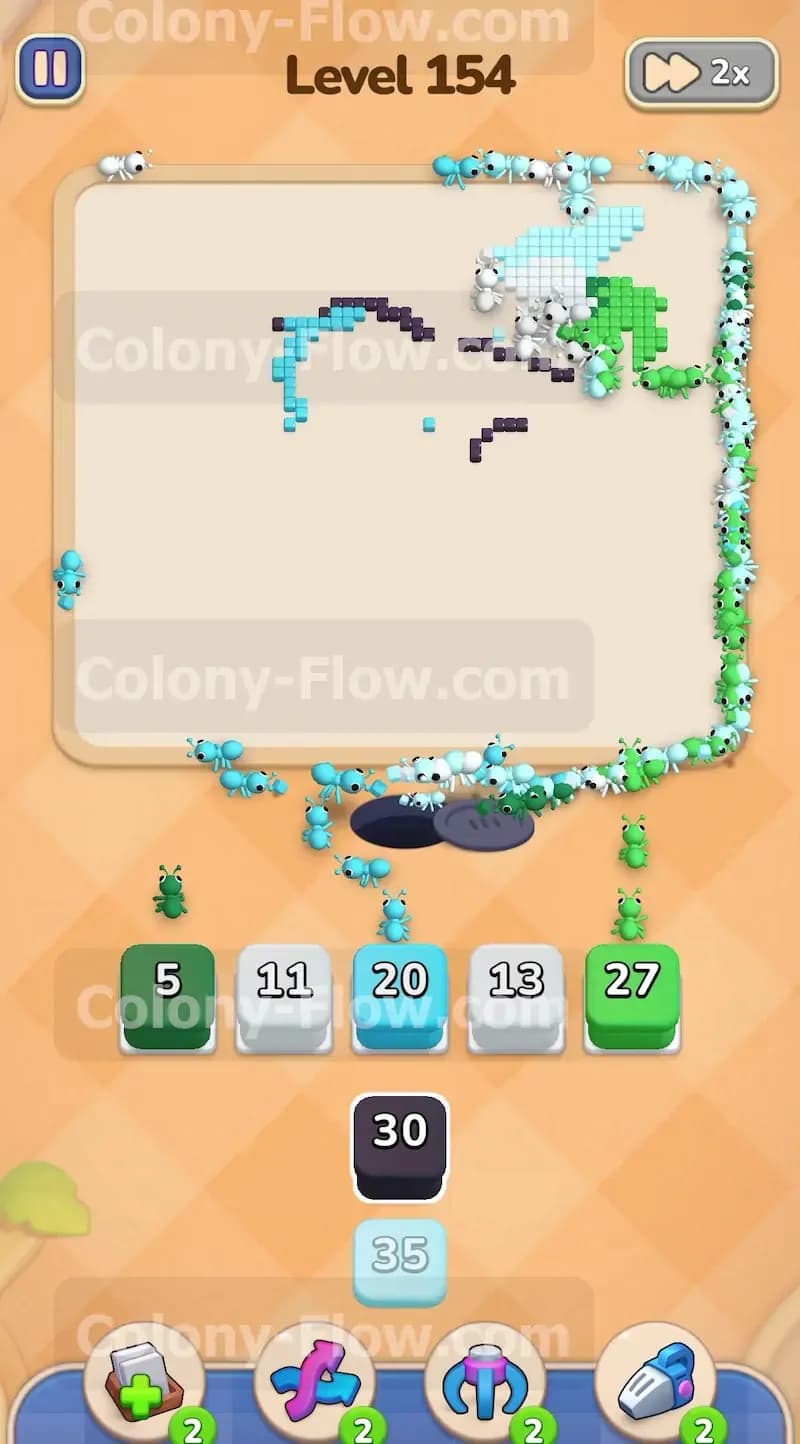
The dark green leaves sit on the far right edge of the board. They block the right side of the sky from being reached easily. Pull the dark green blocks into your tray. You can use a dark green 13 block to start clearing the foliage. The dark green ants run up the right edge path and consume the entire leaf cluster. You will notice the numbers on your tray blocks drop rapidly as the ants find multiple points of attack on the leaves. Clearing this dark green section finally gives your ants total access to the entire right side background and the upper corners of the puzzle.
Step 8: Work on the top white and light blue sky sections
The top half of the board mostly consists of white sky tiles and light blue sky tiles. You can now attack this massive section from both the left side and the right side simultaneously. Pull alternating white blocks and light blue blocks into your tray. Blocks like a white 50 block or a white 26 block provide massive clearing power. The ants stream up both sides of the board and eat away the sky row by row causing the block numbers to quickly count down. You must pace your block selection carefully during this phase. Pull one white block and wait for the ants to establish a path before pulling a light blue block. This prevents your tray from jamming up with waiting blocks that have nowhere to go.
Step 9: Finish the yellow bird beak and upper outlines
The large yellow beak stretches across the upper right portion of the picture. With the sky clearing around it the beak becomes completely exposed to your ants. Pull your remaining yellow blocks into the bottom tray. A yellow 38 block provides plenty of ants. The yellow ants march all the way up and devour the beak tiles as the block number drains down. You might also have a few light blue outline tiles around the head to clear at the exact same time. The beak uses up a significant portion of your remaining yellow numbers. The board looks very empty now with just scattered remnants of the picture left to clear.
Step 10: Complete the final cleanup of the remaining top tiles
The final phase of the level involves clearing the last few scattered tiles across the top edge. You will likely have small patches of white sky or a few dark blue outline tiles remaining near the top center. Pull the exact matching blocks for these final pieces. Small blocks like a dark green 5 block or a light blue 11 block finish the job. The ants take the longest possible paths to reach these high corners. Watch the block numbers tick down to zero as the ants finish their routes and eat the last remaining food tiles. The picture completely disappears and you win the level.
Final Thought
Level 154 tests your ability to systematically open up a large solid picture. You succeed by stripping away the outer borders and working your way inward without clogging your tray. Keep your paths clear and always leave one slot open for emergencies. Please watch the video above this article if any step is hard to follow in text.