Colony Flow Level 305 Walkthrough Solution & Guides | How to solve Colony Flow 305

Guide By Liam Stone
Updated on July 17, 2026
The video above covers the entire Level 305 solution. Watch it if you want to skip the article and jump straight to the answer.
Video doesn't match your screen?
Game updates frequently scramble layouts! Try our AI Screenshot Solver first to find your exact board instantly, or report broken guides to our team.
Welcome to Colony Flow Level 305. You are stepping into a massive and highly detailed pixel art challenge today. I play every single level myself and test different methods to find the absolute safest path to victory. I wrote this guide directly from my own gameplay experience to help you beat this board without any frustration. We are going to break down every color pull and every tray decision so you never lock up your board.
Colony Flow Level 305 Overview
What You Are Working With
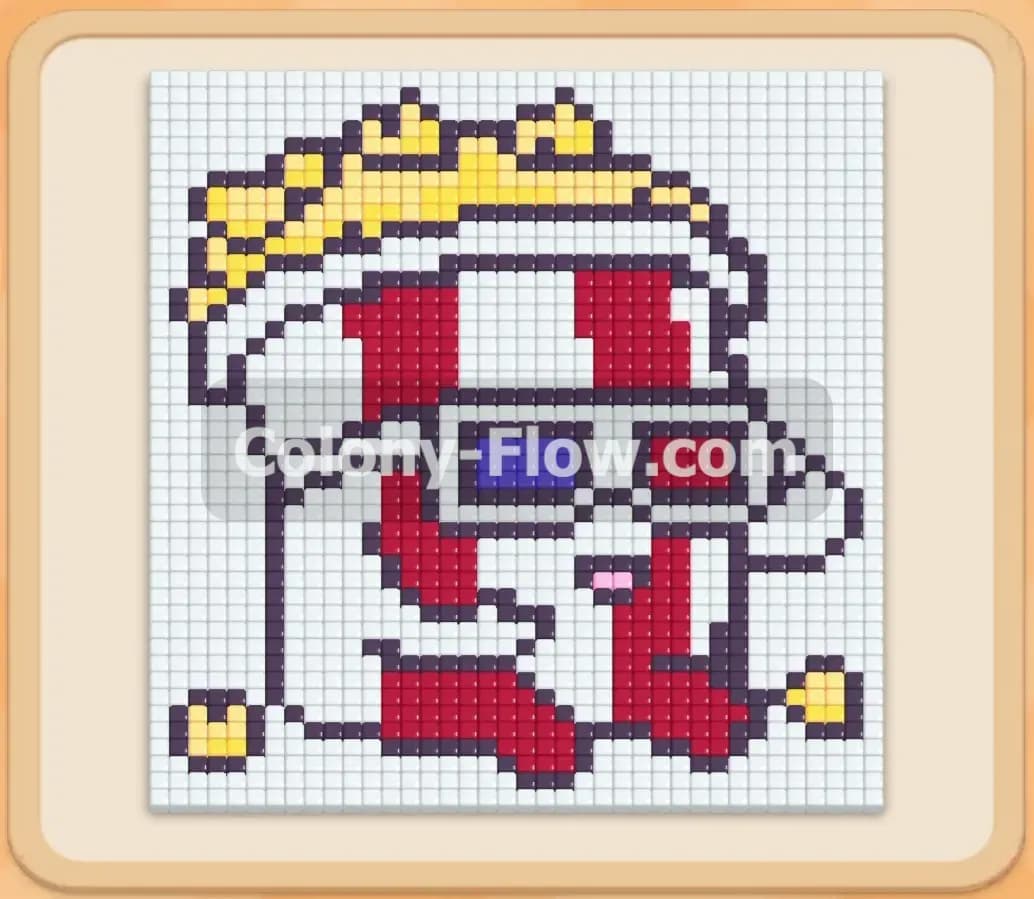
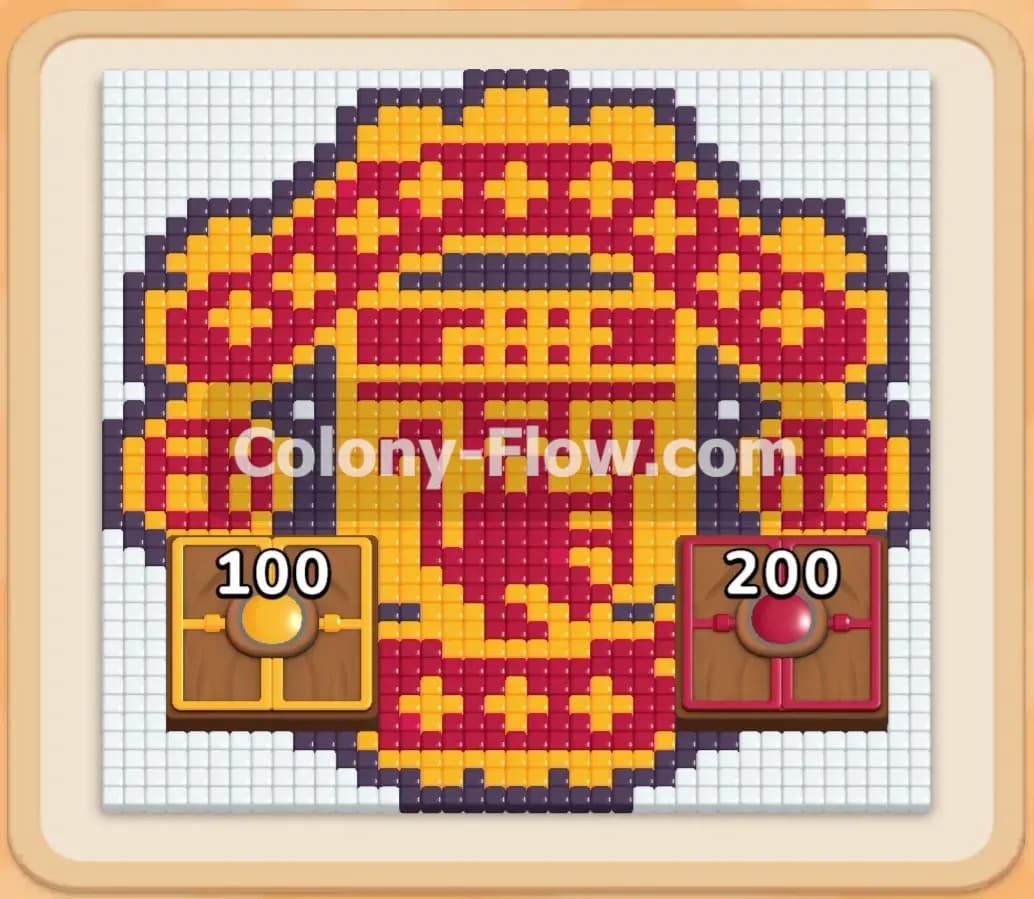
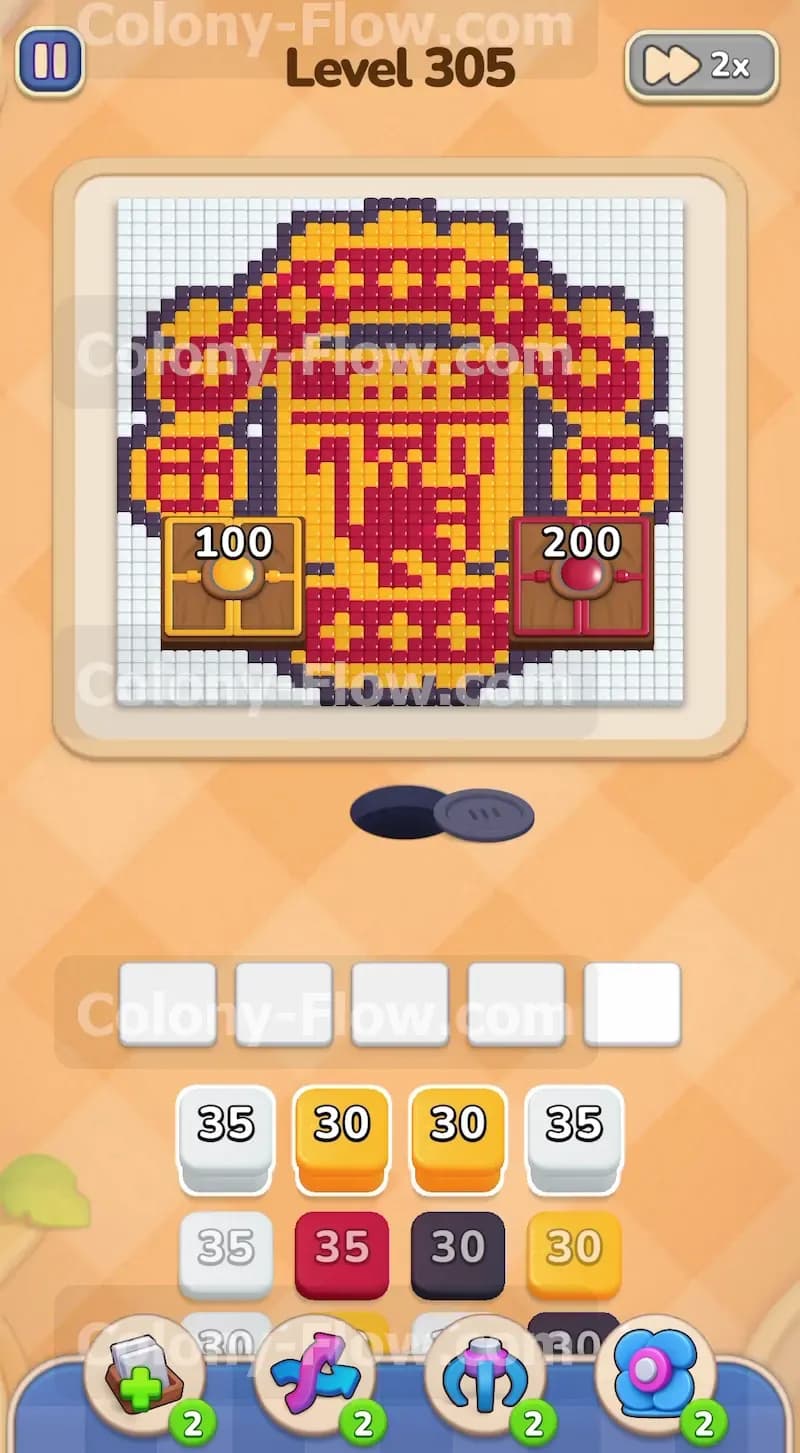
The board features a spectacular piece of pixel art that looks like an ornate festive lantern or a traditional holiday emblem. The entire central design consists of alternating red and bright yellow pixel squares. A thick border of dark purple blocks outlines the entire shape. Surrounding the top and sides of the emblem is a massive layer of solid white background tiles.
You also face two special obstacles positioned directly over the bottom sections of the pixel art. These are the Hungry Doors. They look like large wooden crates with a red button and a white number printed on them. The left Hungry Door starts with a massive requirement of one hundred hits. The right Hungry Door is even tougher and demands two hundred hits. These doors completely hide and protect the food tiles trapped underneath them.
Down in your tray at the bottom of the screen you have several rows of numbered color blocks waiting to be used. You will see white blocks and yellow blocks mixed with dark purple and red blocks. The numbers on these blocks range from small single digits all the way up to thirty five. You will also encounter a pair of Connected Boxes later in the level. These are two blocks physically linked together by a solid bar.
What It Takes to Clear Level 305 Board
You achieve victory when every single colored pixel disappears from the board and your entire ant colony marches back into the nest hole. To make this happen you must match the colored blocks in your tray to the exposed tiles on the screen. The ants will stream out of the dark circular nest at the bottom and walk along open paths to eat the matching colors.
Your biggest danger is filling your five waiting slots with blocks the ants cannot currently reach. If you jam all five slots and the colony has nowhere to go you lose the level instantly. You have to carefully peel back the outer white layer first. Once you create enough marching room you can start attacking the dark purple borders and the central red and yellow tiles. Doing this will naturally cause your ants to bump into the Hungry Doors. You must grind the door counters all the way down to zero to access the hidden sections. Properly managing your tray space and timing the deployment of the Connected Boxes will ensure your paths always stay open.
Colony Flow Level 305 Step by Step Solution
Step 1: Clear the white background edge first.
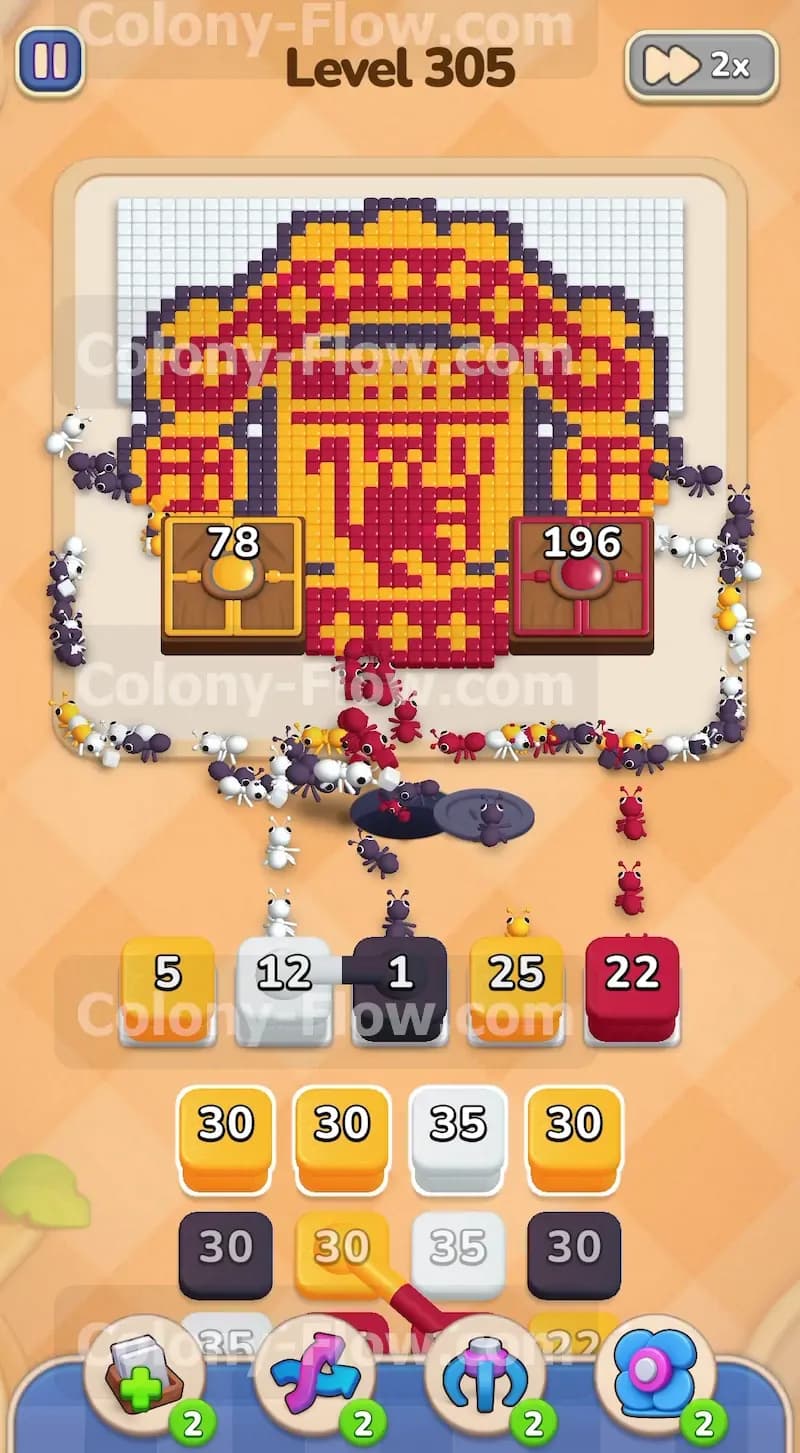
Your absolute first priority is removing the thick white outer perimeter that surrounds the top half of the pixel art. Look at your tray and locate the white blocks sitting on the top row. Tap a white block with a value of thirty five to move it into your waiting area. You will immediately see the ants pour out of the nest hole and form a long winding trail toward the exposed white tiles. You should also bring up a yellow block with a value of thirty to activate the ants targeting the yellow edges near the bottom. Keep your eyes on the five waiting slots and only pull a new white block when the current one runs out of charges and vanishes. This disciplined approach prevents your slots from jamming early on.
Step 2: Send dark and red blocks to the active paths.
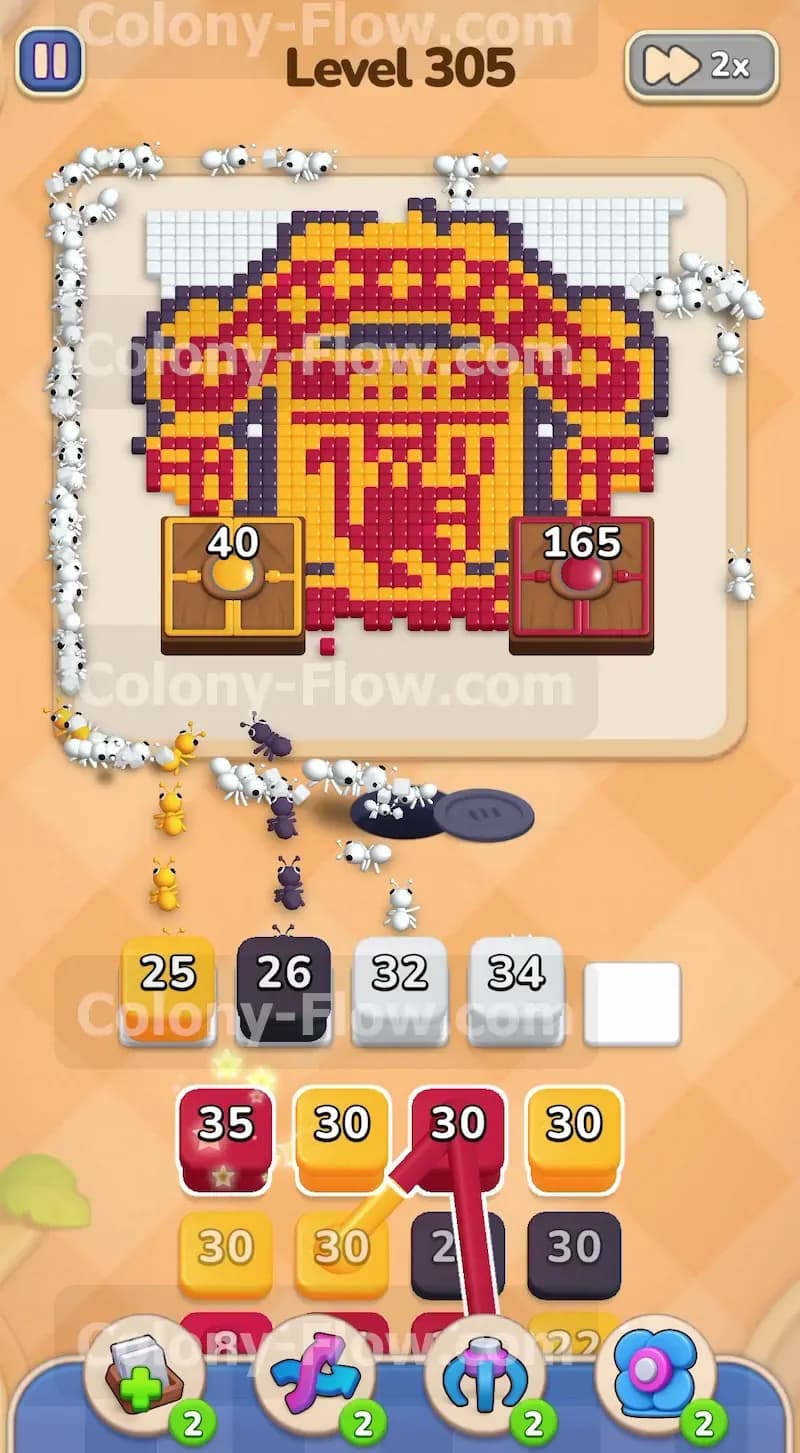
With the white border rapidly thinning out your colony now has clear access to the dark purple outline. Scan your tray and tap a dark block holding thirty five charges. You can also deploy a red block with a value of twenty two or twenty five. The ants will divide their forces perfectly. One group will march up the sides to consume the dark purple border while another group starts eating the red sections near the bottom center. As the ants work on these bottom sections they will naturally begin striking the two massive wooden crates. Every time the colony clears a tile adjacent to the Hungry Doors the white countdown numbers will drop. You want to maintain a steady flow of red and dark blocks to keep this pressure high.
Step 3: Break the left Hungry Door completely.
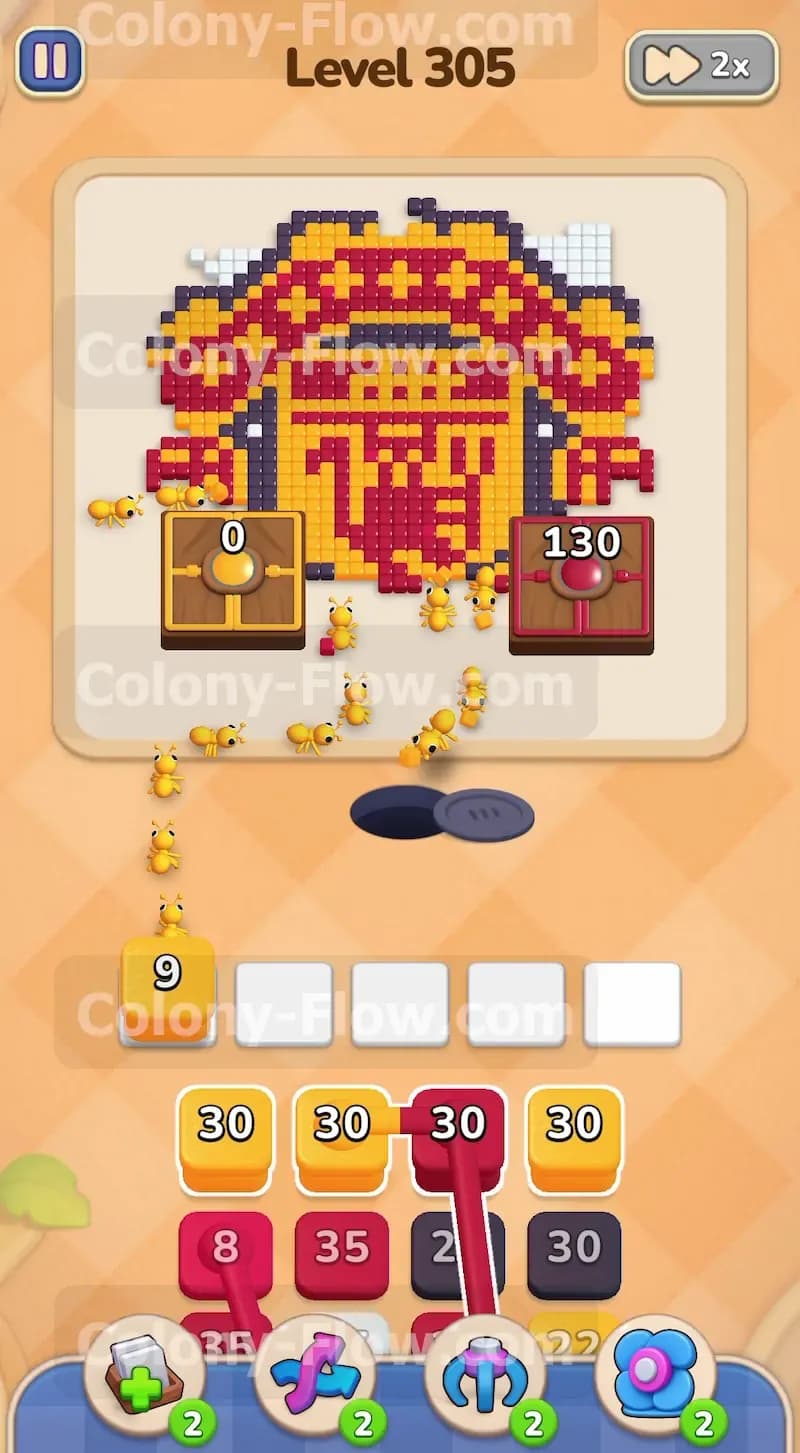
Your next major objective is shattering the left Hungry Door. It started at one hundred and the counter drops quickly as you continuously feed the ants red and yellow blocks. Keep pulling fresh red blocks from your tray into the waiting area to replace the empty ones. The ants will swarm the bottom left territory and the number on the wooden crate will fall into the double digits. You will see it drop past forty and quickly hit zero. Once the counter empties the giant box shatters into pieces. This destruction exposes a large fresh cluster of red and yellow pixel blocks that were buried underneath. You must have active red and yellow blocks ready in your slots so the colony can immediately surge into this newly opened space.
Step 4: Manage the Connected Boxes in your waiting slots.
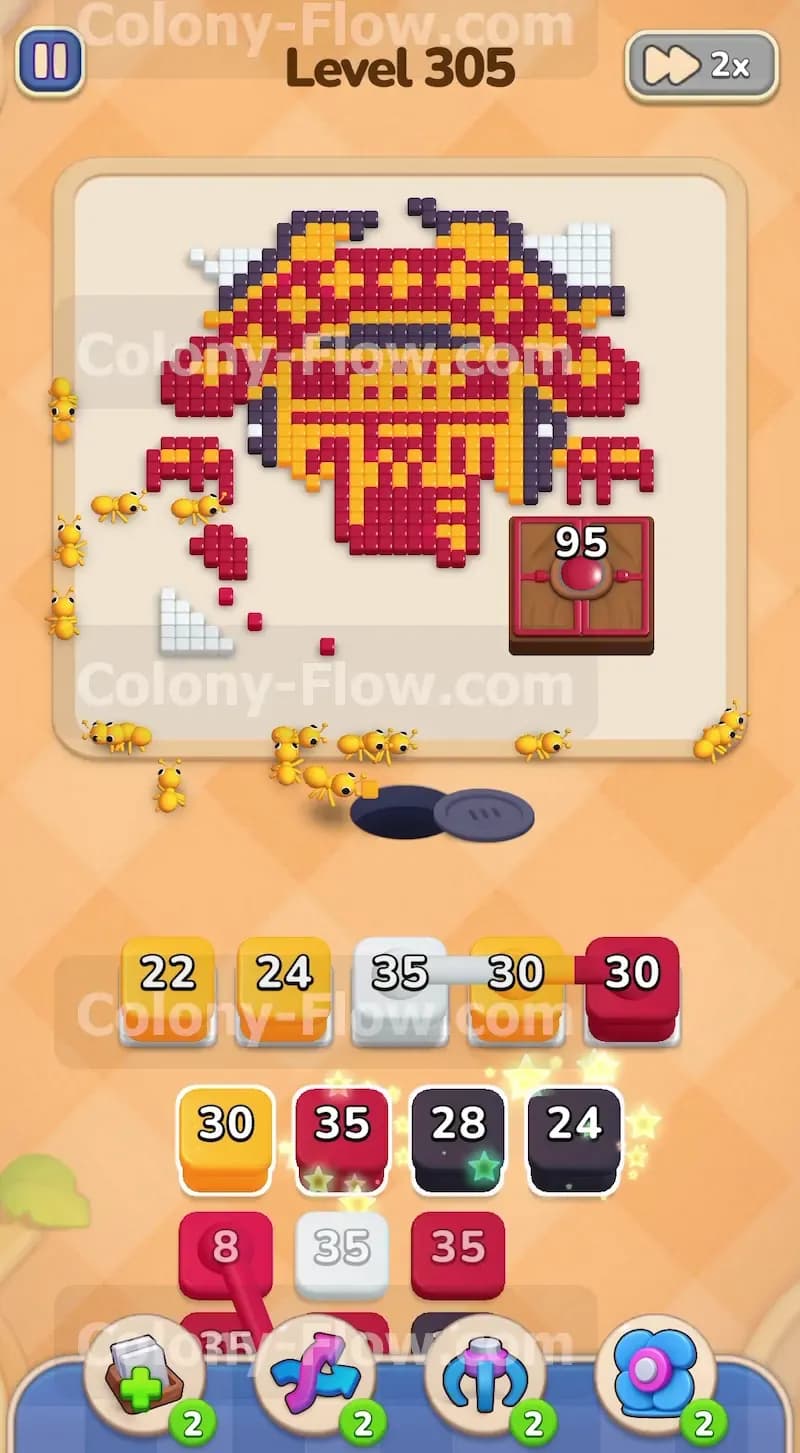
As you dig deeper into your tray you will uncover a special mechanic called Connected Boxes. You will recognize them easily because they are a white block and a yellow block permanently joined together by a visible link. When you tap them they fly up into your waiting area and consume two of your five precious slots at the exact same time. You have to be very careful here. Both the white half and the yellow half require open paths to their matching colors on the board. Thankfully you still have white tiles lingering near the top corners and plenty of exposed yellow tiles in the middle. The ants will drain both halves of the linked pair simultaneously. Never pull Connected Boxes if you only have one empty slot left.
Step 5: Demolish the right Hungry Door.
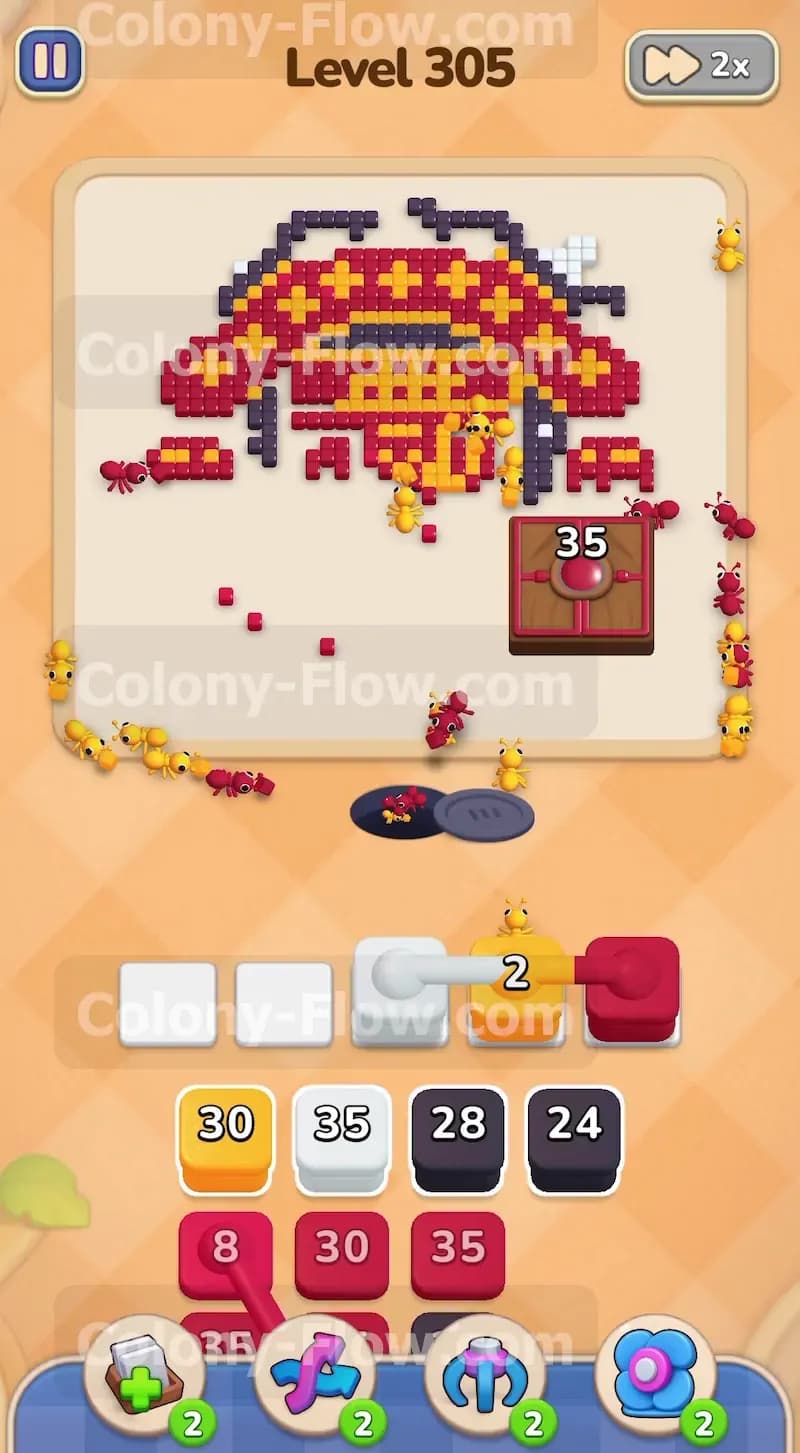
You now need to focus your entire strategy on the right side of the screen. The right Hungry Door is a massive roadblock because it started at two hundred. Breaking it demands a sustained attack over a long period. Keep your active slots filled with dark purple blocks and red blocks. You can pull a dark block with twenty four charges and a red block holding thirty five charges. The colony will aggressively clear the dark borders on the right and relentlessly strike the wooden crate. Watch the white number drop from the one hundreds all the way down through the double digits. Once the counter reaches zero the second door shatters completely. The entire right side of the festive emblem is now exposed and vulnerable.
Step 6: Consume the central red and yellow core.
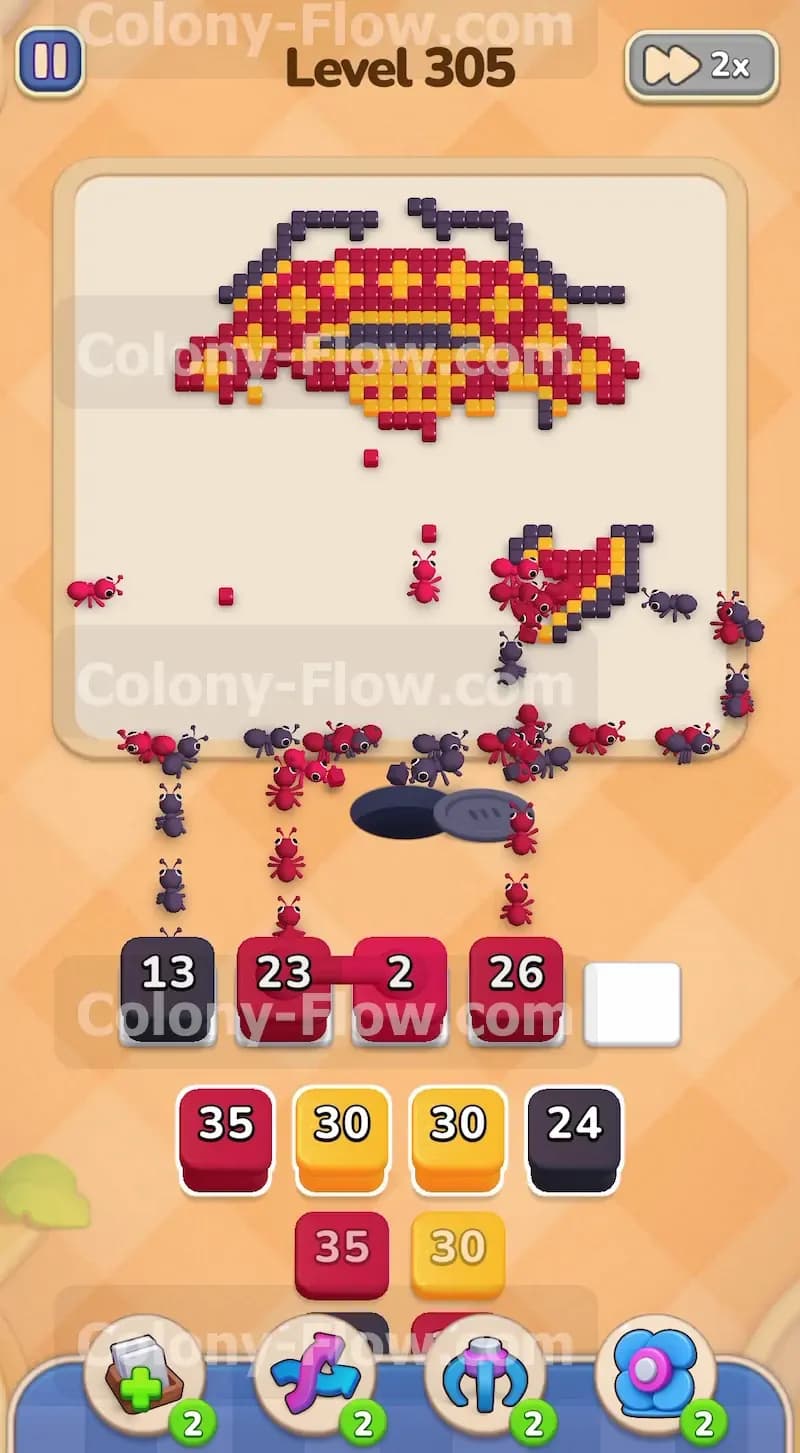
Both of the giant wooden obstacles are entirely gone. The board is now stripped down to the dense inner core of the pixel art. This central structure is a heavy and complex weave of red blocks and yellow blocks. Your tray is fully loaded with high value red and yellow supplies. Pull a red block with thirty five charges and a yellow block with thirty charges to keep the momentum going. The ants now have massive wide open paths directly from the nest straight into the heart of the design. Let the colony hollow out the entire middle section. You just need to tap a new red or yellow block the very second an active one expires. Keep a smooth rhythm and never let your waiting area sit empty when there is so much open food available.
Step 7: Mopping up the final dark purple borders.
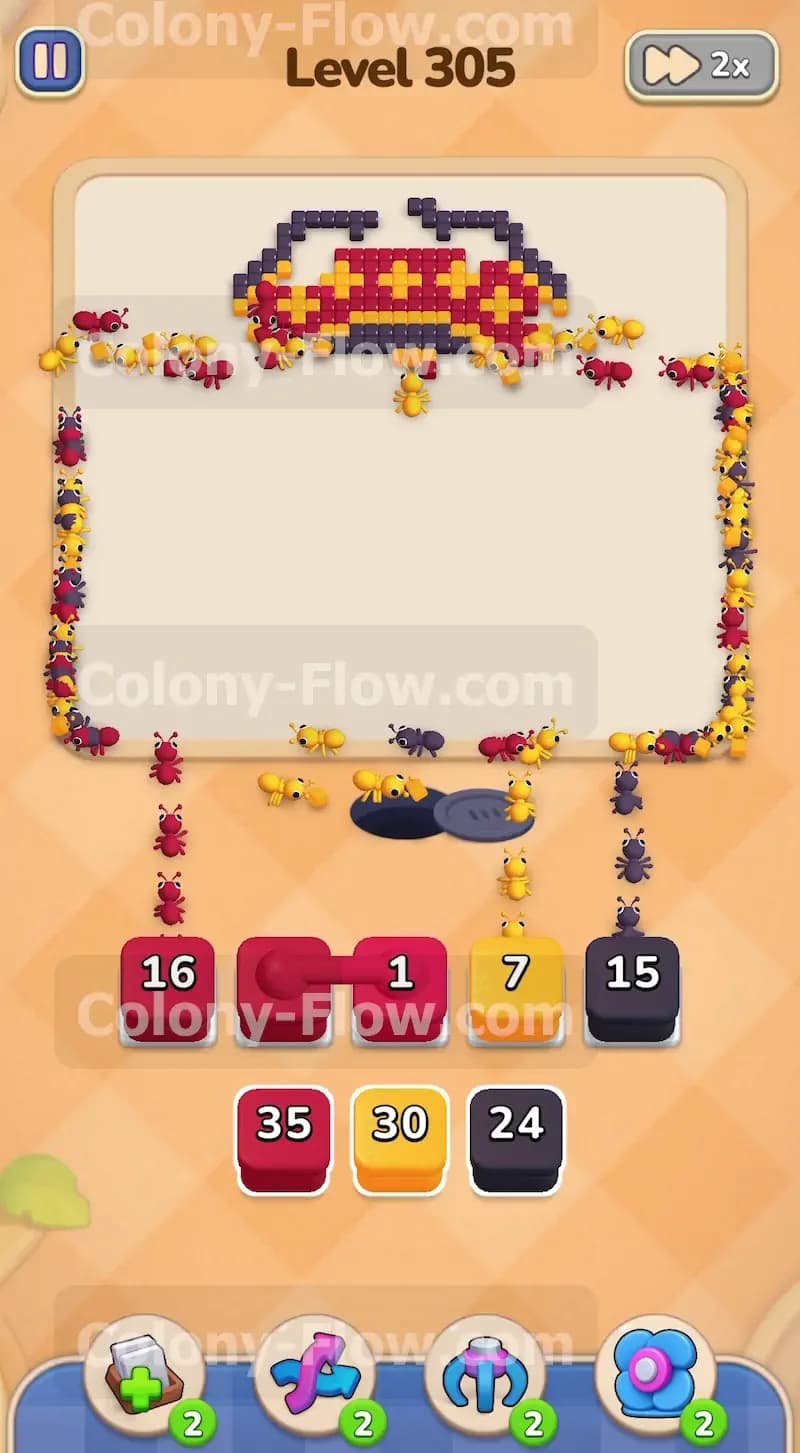
The main body of the pixel art is completely gone and only a few scattered fragments remain. The very last remnants are a thin line of dark purple pixels tracing the extreme upper right edges of the board. Look at the bottom of your tray and you will find your final dark purple blocks waiting for you. They carry smaller values like thirteen and fifteen. Tap these dark blocks to fill your slots. The remaining ants will form a long thin trail marching all the way up to the top corners of the screen to consume these final dark purple tiles. The exact moment the final purple pixel disappears the level concludes. The board flashes clear and you secure your victory safely.
Final Thought
This stage really tests your patience with those massive numbered crates and your spatial awareness with the chained blocks. Take your time feeding the exact colors needed to slowly peel back the outer white layers before attacking the dense red core. Managing your tray space is the only way to survive. If you find your slots jamming or you lose track of the exact block order you should definitely watch the video above this article. The video displays the entire gameplay sequence from start to finish so you can study the timing and pathing for yourself.