Colony Flow Level 469 Walkthrough Solution & Guides | How to solve Colony Flow 469

Guide By Liam Stone
Updated on July 29, 2026
If reading isn't your thing, the video above walks you through Level 469 from start to finish.
Video doesn't match your screen?
Game updates frequently scramble layouts! Try our AI Screenshot Solver first to find your exact board instantly, or report broken guides to our team.
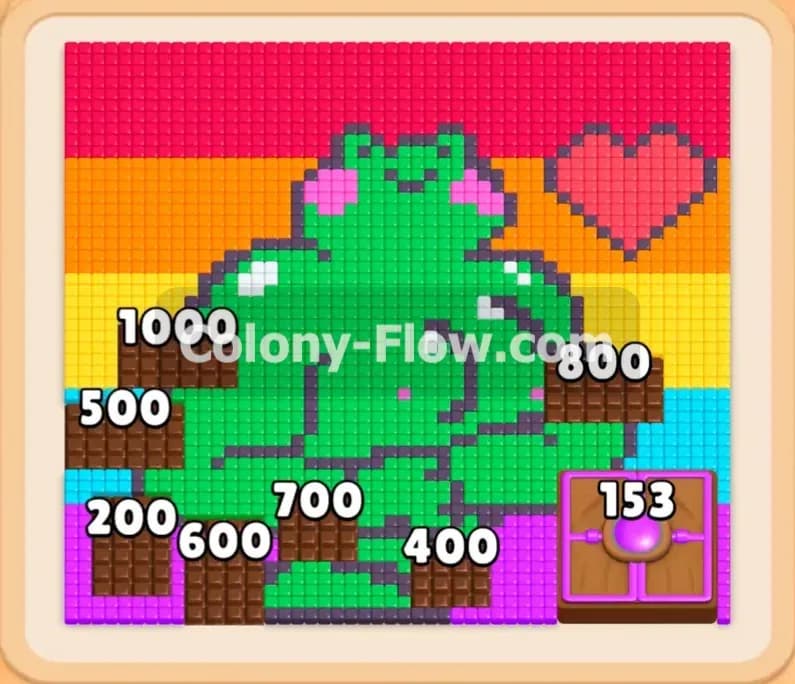
Welcome to Colony Flow Level 469. This puzzle presents a massive green pixel art frog sitting against a bright rainbow background. You will face thick chocolate blocks covering the picture and connected boxes sitting in your block tray. Your goal is to guide your ant colony to eat every single colored tile without jamming your waiting slots.
Colony Flow Level 469 Overview
What You Are Working With
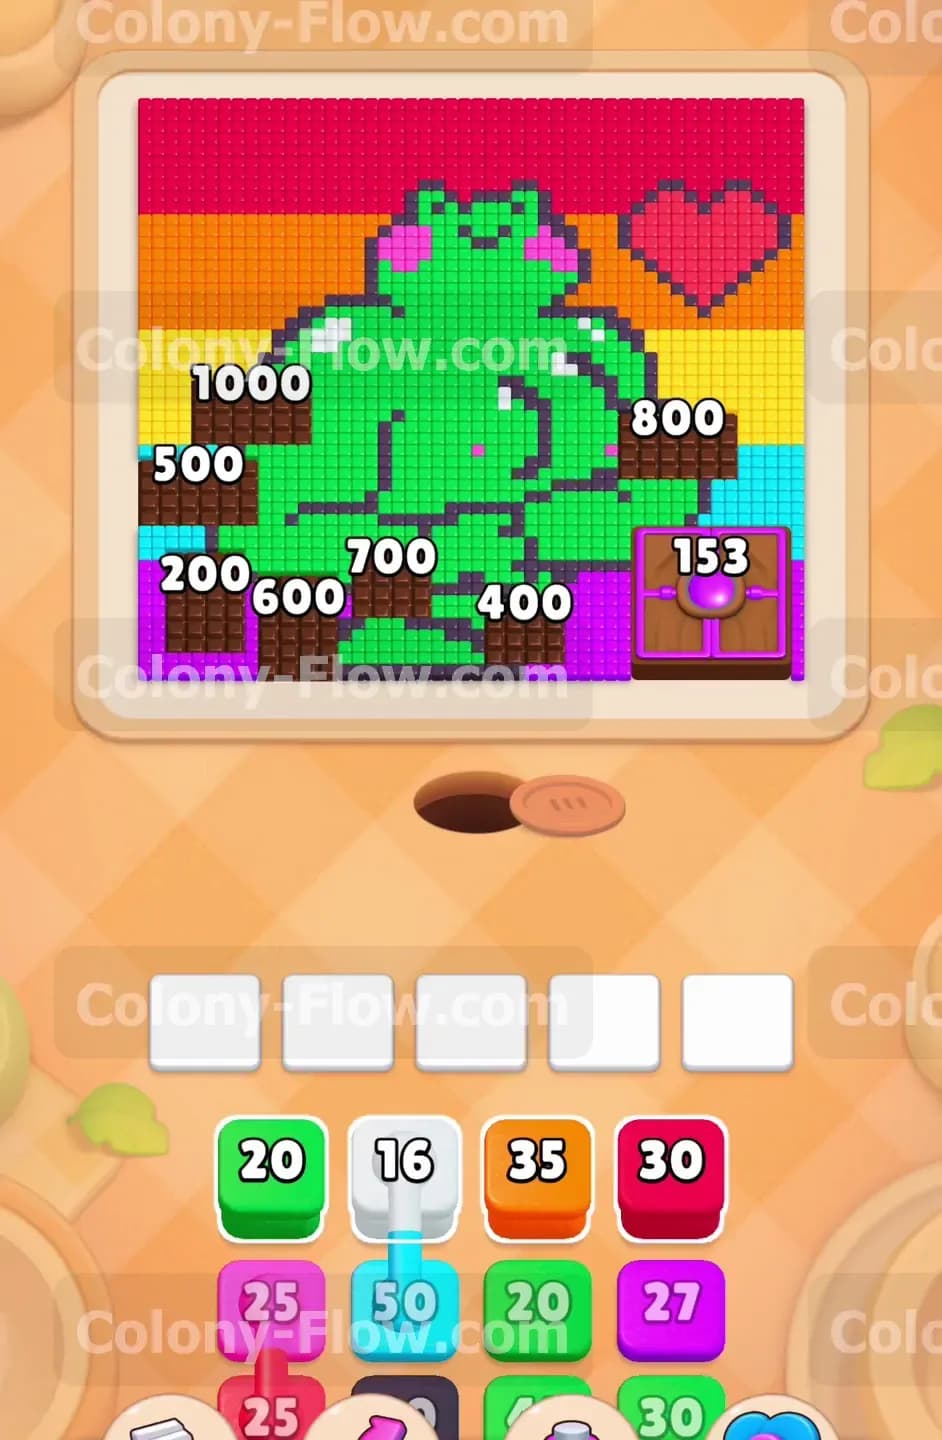
The board displays a green frog with a dark outline and pink cheeks. The frog sits in the center of the screen in front of a layered rainbow background. The top background layer is a solid red stripe. A large red heart rests on the right side of the red stripe. An orange stripe sits below the red layer. A yellow stripe sits below the orange layer. A purple stripe fills the bottom left and bottom right corners. Heavy brown chocolate blocks cover major portions of the frog and the rainbow. These chocolate pieces display huge numbers like 1000 and 800 and 500. A massive purple crate blocks the bottom right corner. Your block tray holds single color blocks and tricky connected boxes. Connected boxes link two colors together with a visible line.
What It Takes to Clear Level 469 Board
You clear this board by matching colored blocks from your tray to the open food tiles on the screen. The ants stream out from the nest hole and follow the paths to eat the food. You melt the chocolate blocks by clearing the colored tiles right next to them. The numbers on the chocolate drop as the adjacent food disappears. The absolute main rule is managing your five waiting slots. If you pull a block that has no open path to its matching color the block sits in a waiting slot. You lose the level immediately if all five slots fill up with trapped blocks. You must sequence your moves carefully to keep paths clear and melt the chocolate.
Colony Flow Level 469 Step by Step Solution
Step 1: Send orange and green ants to attack the outer edges.
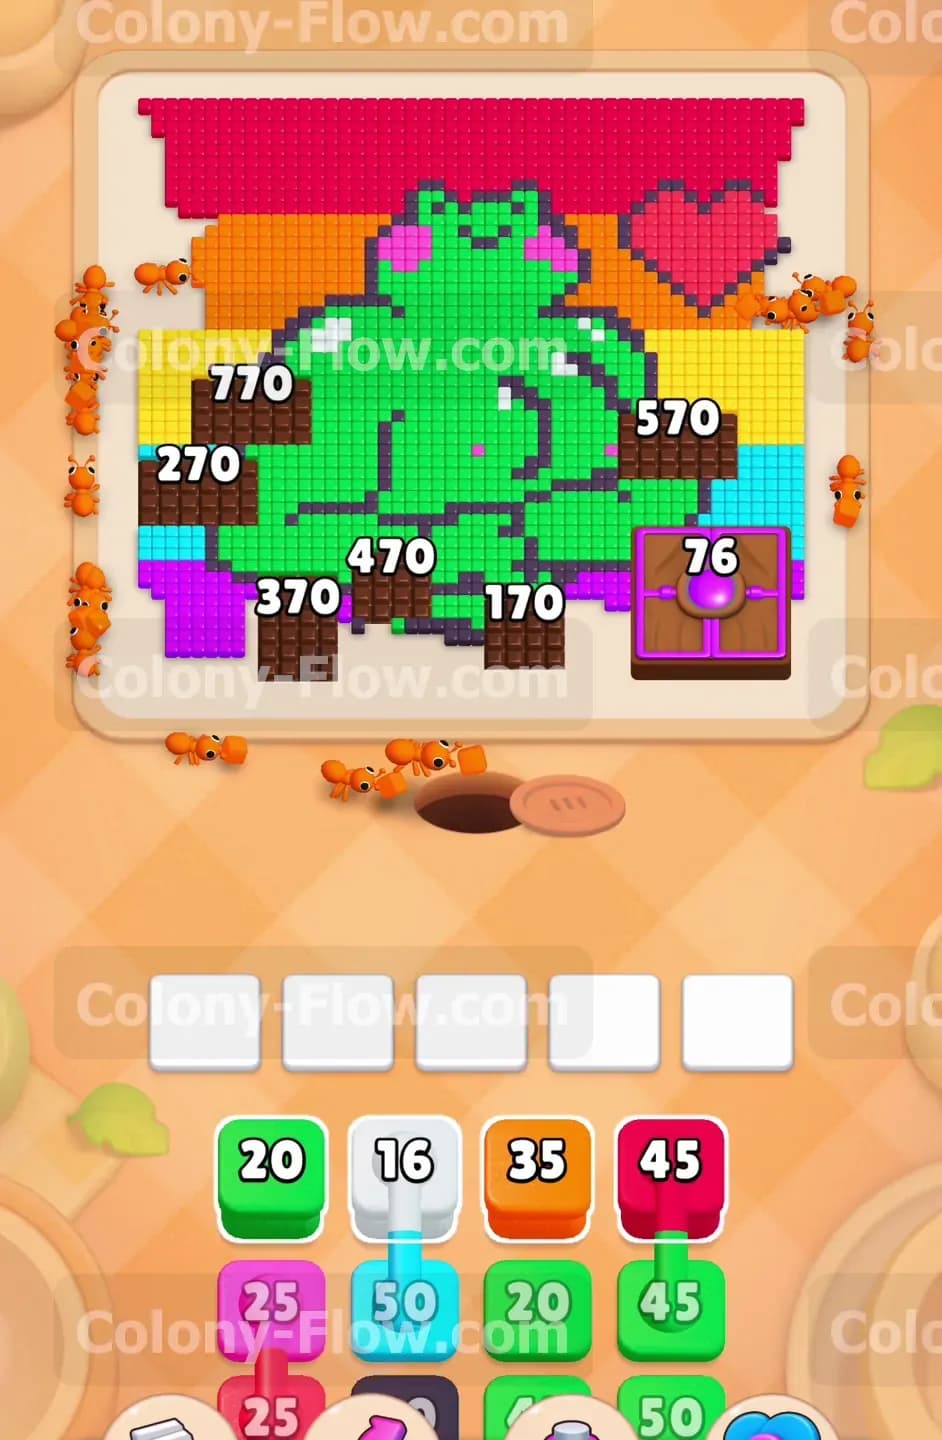
You begin by targeting the exposed tiles around the heavy chocolate blocks. Pull a green block and an orange block from the top row of your tray. The green ants will march up to eat the exposed parts of the frog body. The orange ants will stream toward the orange background stripe on the left and right sides. This initial attack is vital for wearing down the chocolate blocks. Eating the adjacent colored tiles causes the chocolate numbers to plummet. You will see the top left chocolate block drop from 1000 down to the 700 range quickly. You must maintain this steady pressure. Always confirm an open path exists before pulling a block so your waiting slots stay completely empty early on.
Step 2: Use the connected boxes carefully to avoid a slot jam.
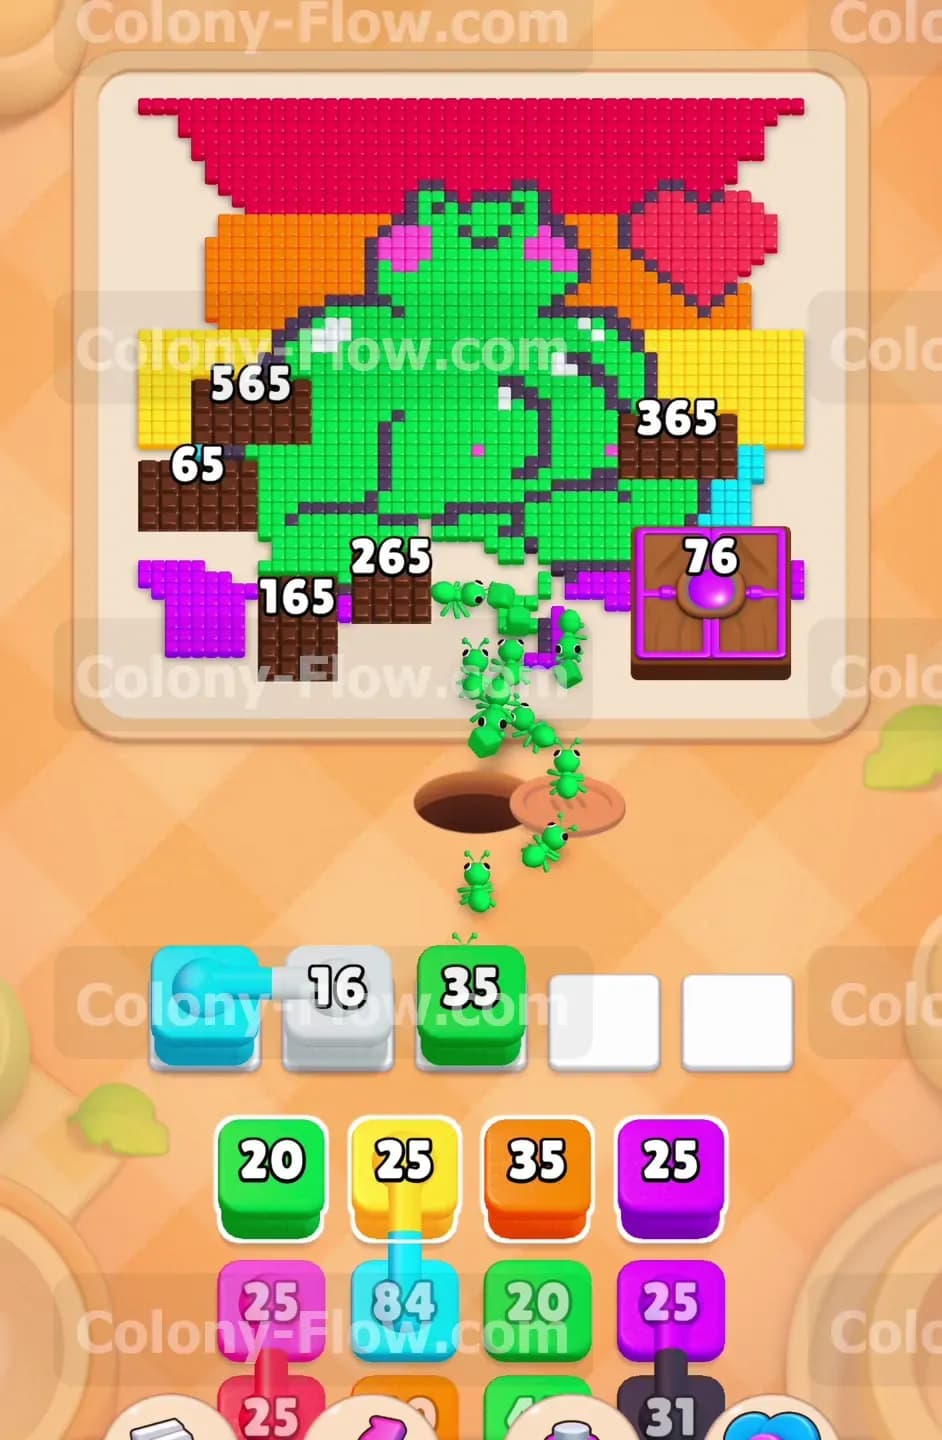
Your tray presents a tricky set of connected boxes linking a light blue block to a green block. You cannot pull one without pulling the other. Wait until the green frog body opens up significantly before touching this connected pair. When you pull the connected boxes the green block will immediately send ants to the frog. The light blue block will sit in your waiting slot because the light blue tiles are still blocked. This move is a calculated risk. You must leave your other four slots open so the trapped light blue block does not ruin your game. Feeding these green ants drops the left side chocolate numbers even further. You open up massive new paths by taking this careful step.
Step 3: Clear the upper background layers using red and orange blocks.
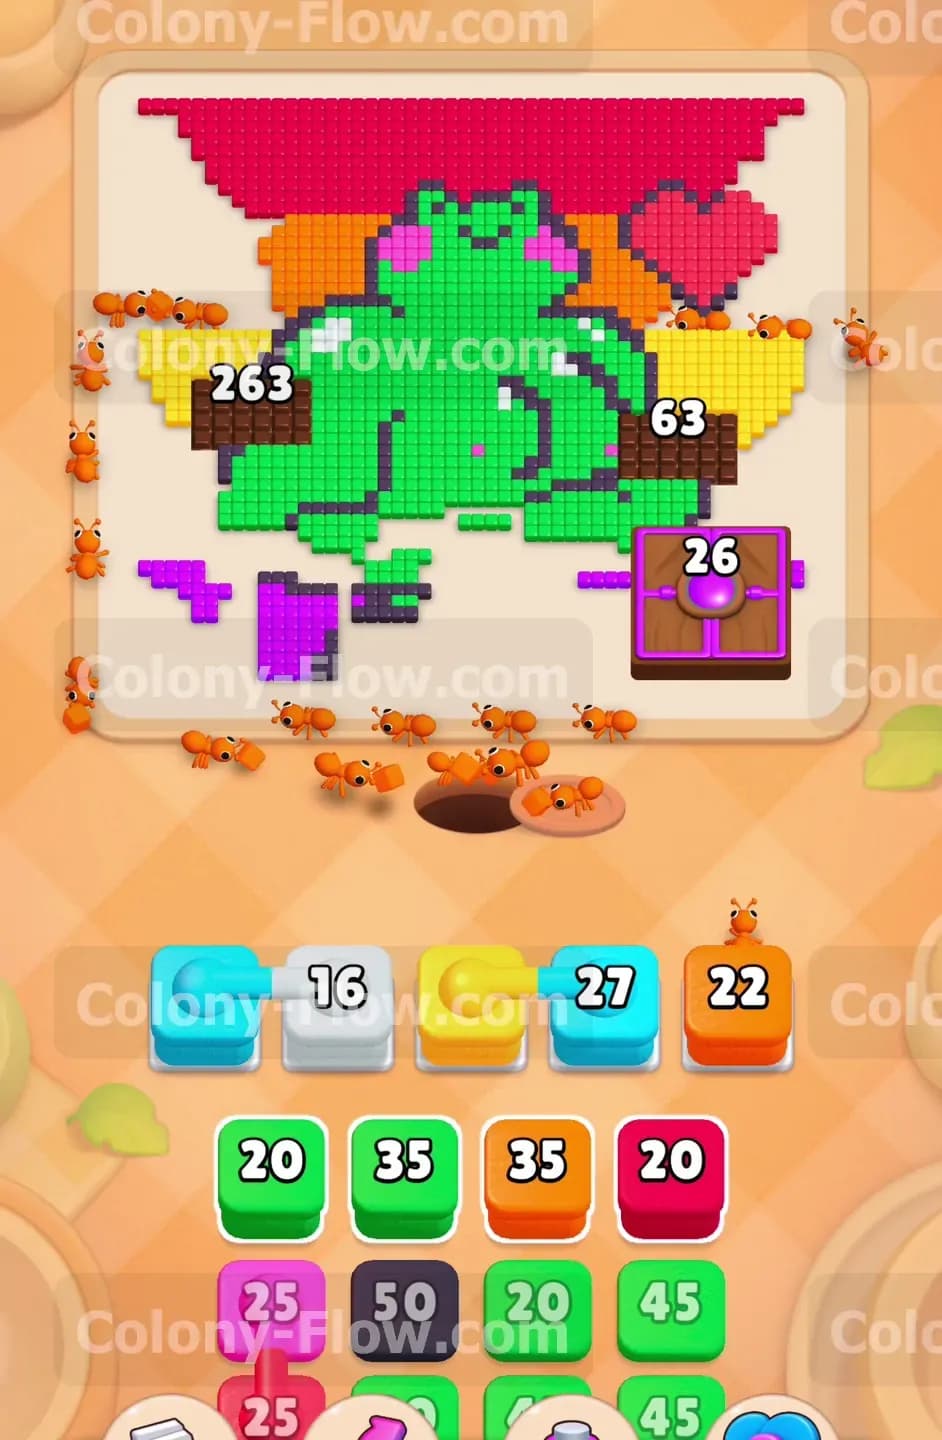
The ants continue to clear the green frog skin and the chocolate melts away from the top area. This action reveals the solid red stripe across the top and the bright red heart on the right side. Pull a red block from your tray to send a massive swarm of red ants upward. They will quickly devour the red background and the red heart. The orange stripe below the red is also fully exposed now. Pull another orange block to finish off the remaining orange tiles. Clearing these top layers removes the upper chocolate pieces entirely. Your waiting slots remain perfectly safe because these top layers provide huge open paths for the ants to travel.
Step 4: Break down the purple crate in the bottom right corner.
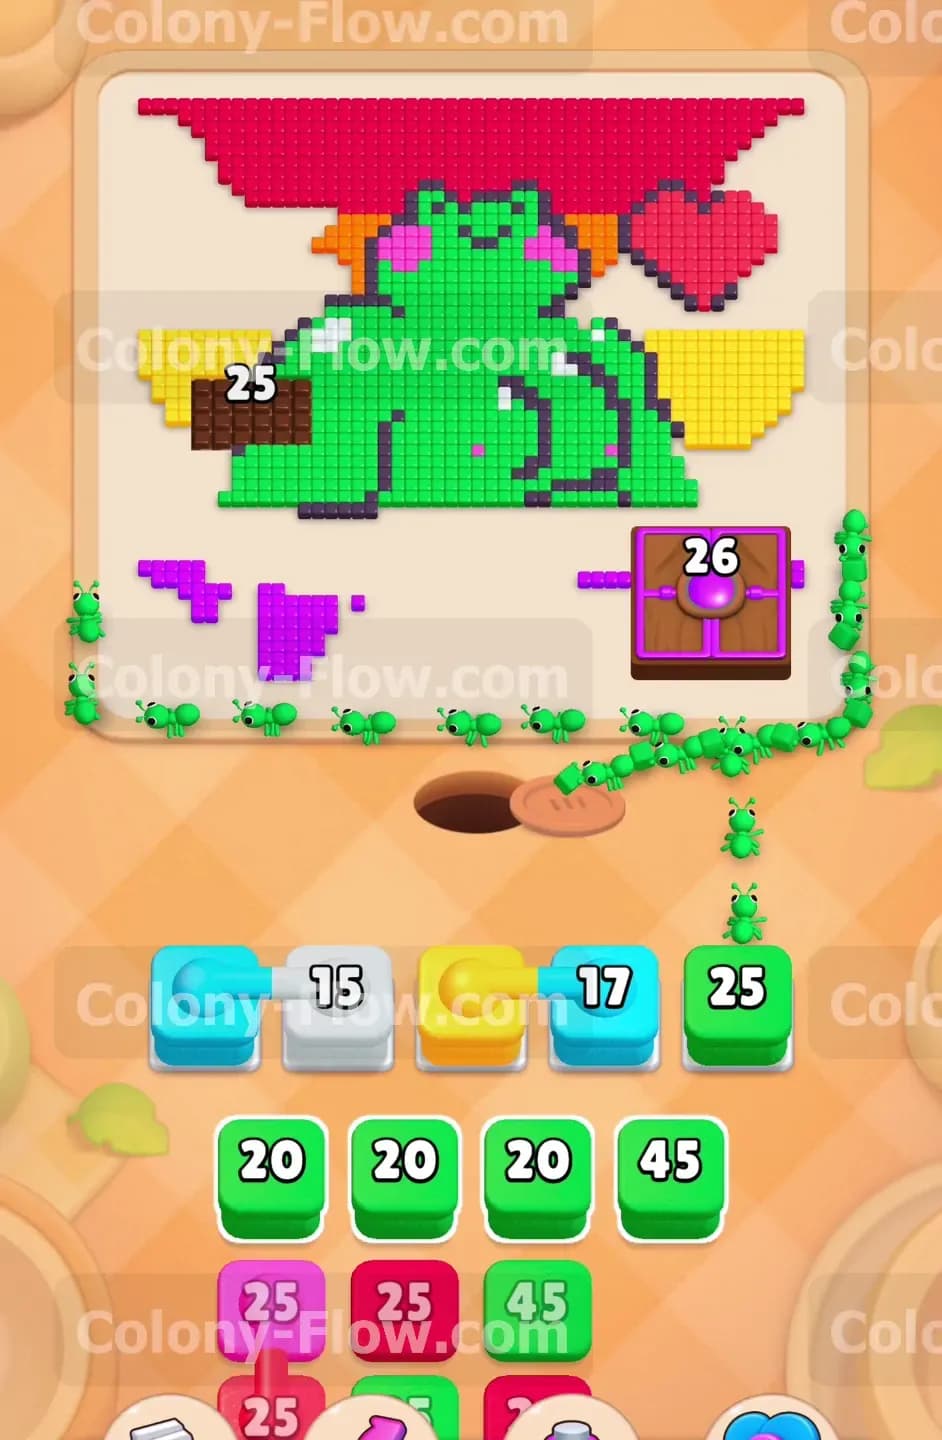
A stubborn purple crate sits on the bottom right edge of the board. This crate starts with a high number and blocks access to the purple background tiles behind it. You must pull purple blocks from your tray to send ants straight into the crate. The constant stream of purple ants chips away at the crate number. You need to keep an eye on your available paths while attacking the crate. Let the first group of purple ants finish their job before you pull another purple block. Patience here prevents your waiting slots from backing up. The crate will eventually shatter and expose a beautiful purple stripe underneath.
Step 5: Flood the middle area with yellow ants.
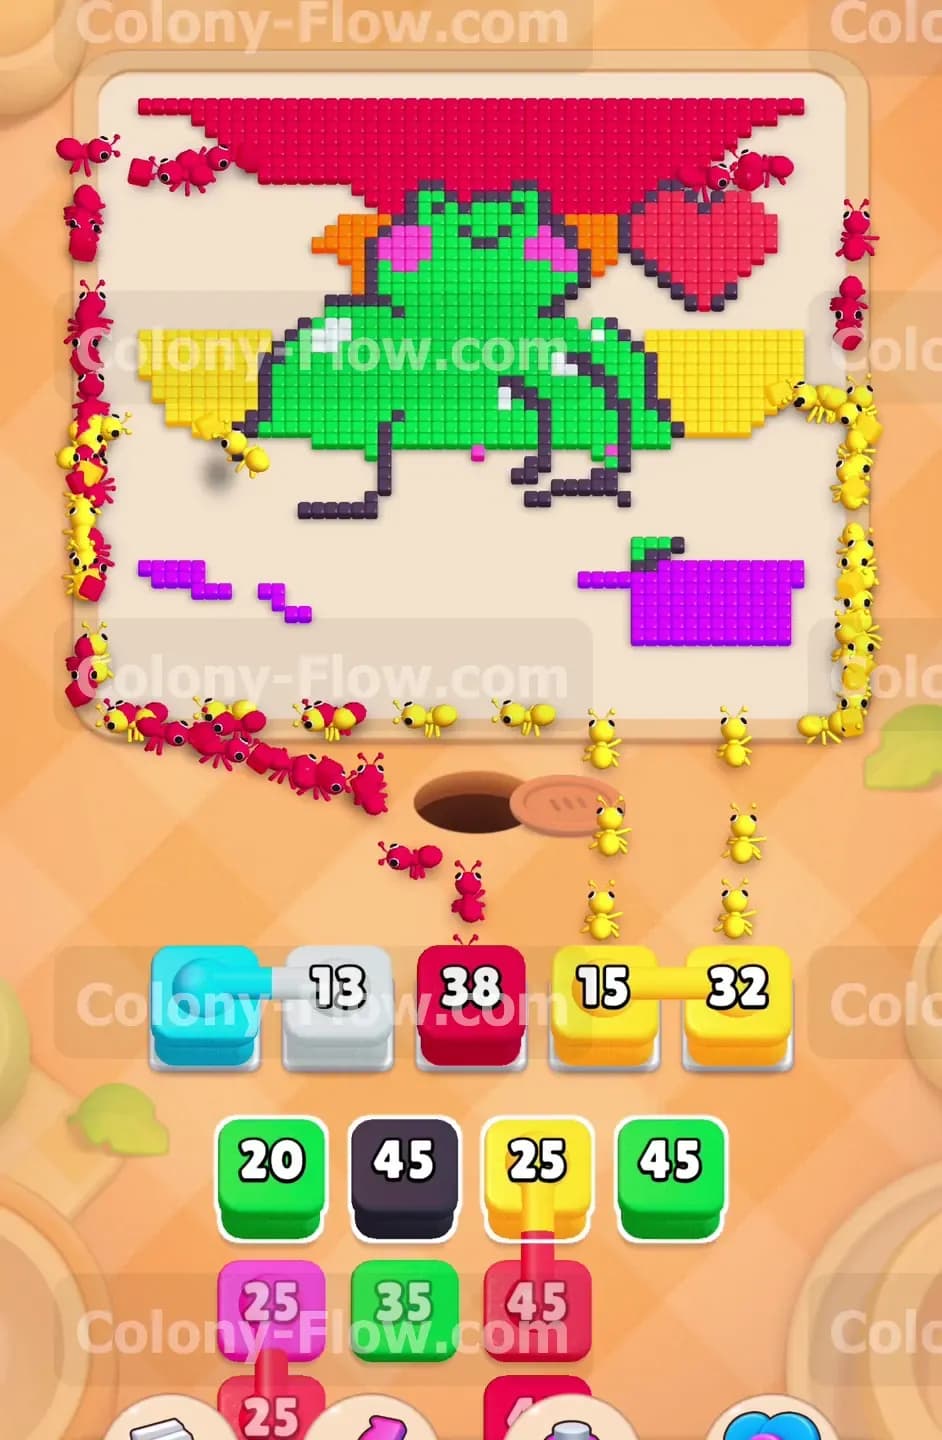
The middle of the screen features a bright yellow background stripe that is now completely free of chocolate. Your tray holds several high number yellow blocks ready for action. Pull a yellow block to send a swarm across the middle section. The yellow ants will spread out to the left and right sides of the frog. This massive feast removes a huge chunk of the remaining picture. The board becomes incredibly open after this move. Having an open board means you can pull almost any block from your tray without fear of jamming your slots. You are now in complete control of the level pace.
Step 6: Activate the trapped light blue block to clear the tiny details.
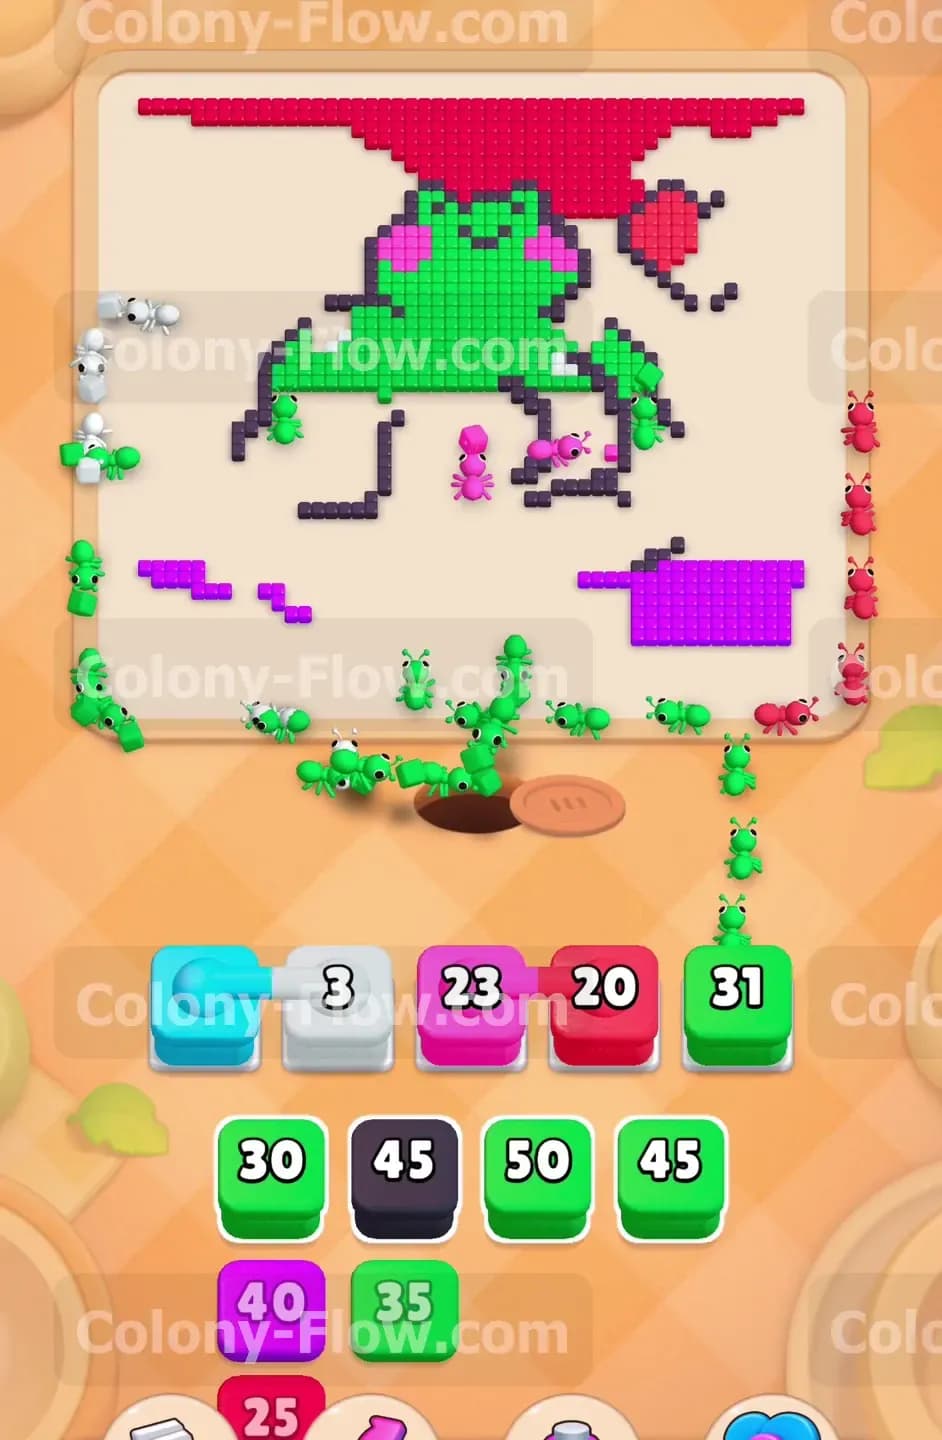
The light blue block from your connected boxes has been sitting in your waiting slot for a long time. The ants have finally eaten enough of the green frog to expose the tiny light blue details on the body. The trapped block will automatically activate and send light blue ants to the board. This action clears up your waiting slot and gives you full capacity again. You will also uncover small white accent spots on the frog. Pull a white block from the tray to handle these tiny white pixels. Clearing the minor details requires precise timing to ensure the ants do not get stuck behind other colors.
Step 7: Send pink and green ants to clear the cheeks and legs.
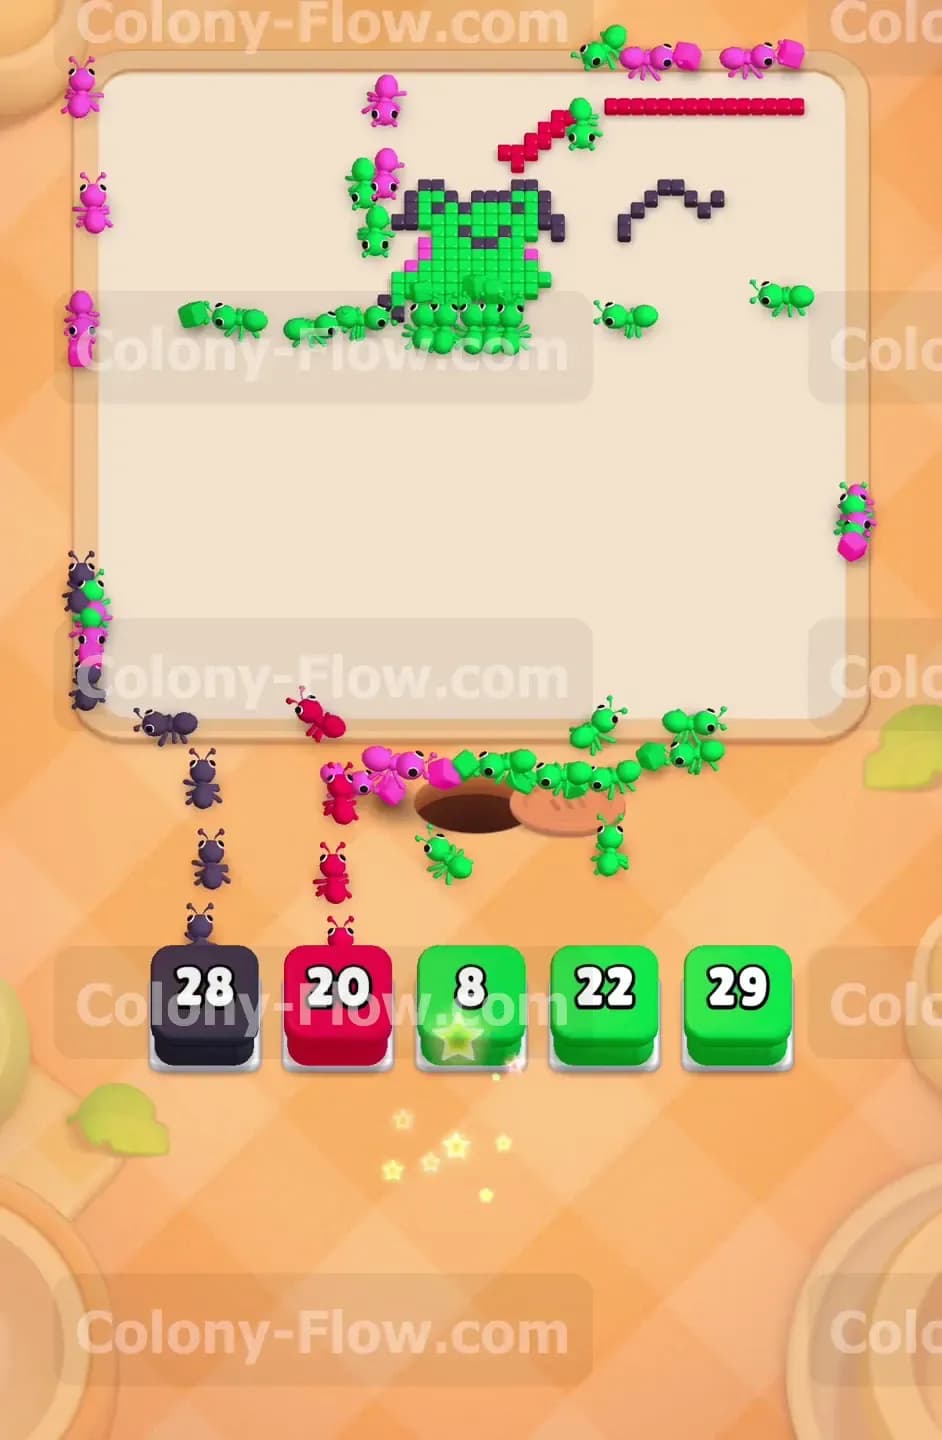
The frog features two bright pink cheeks that become visible as the main green body disappears. Pull a pink block from your tray to send ants straight to the cheeks. The pink ants will quickly clear those small sections. You also need to focus on the remaining legs of the frog. Pull another green block to clear the lower legs and feet. The chocolate blocks are completely gone at this point. You simply need to match the colors to the remaining food tiles. Keep feeding the board with green blocks to sweep away the last major sections of the frog.
Step 8: Finish the dark outlines and the final green pixels.
Only a few random pixels and the dark outlines of the frog remain on the screen. Your tray is full of green blocks and a single black block. Pull the black block to send ants directly to the dark outline separating the frog from the background. The black ants will trace the shape of the frog and eat the borders. Pull the remaining green blocks to clear the final patches of green skin. The massive swarm of green ants will quickly devour the last remaining food. The screen will clear completely. You beat the level because you carefully managed your waiting slots and never let the paths close.
Final Thought
Colony Flow Level 469 is a fantastic test of your ability to manage connected boxes and melt heavy chocolate blocks. You will win if you remain patient and constantly target the food tiles touching the chocolate. Keeping your waiting slots empty is the absolute key to victory in every puzzle. Always ensure a clear path exists before you pull a new block from the tray. I highly encourage you to watch the video above this article if any step is hard to follow in text. Watching the recorded gameplay makes understanding the timing and the exact block choices incredibly simple.