Colony Flow Level 484 Walkthrough Solution & Guides | How to solve Colony Flow 484

Guide By Liam Stone
Updated on July 30, 2026
The article below breaks down Level 484 in detail, but the video above shows the whole thing if you'd rather watch.
Video doesn't match your screen?
Game updates frequently scramble layouts! Try our AI Screenshot Solver first to find your exact board instantly, or report broken guides to our team.
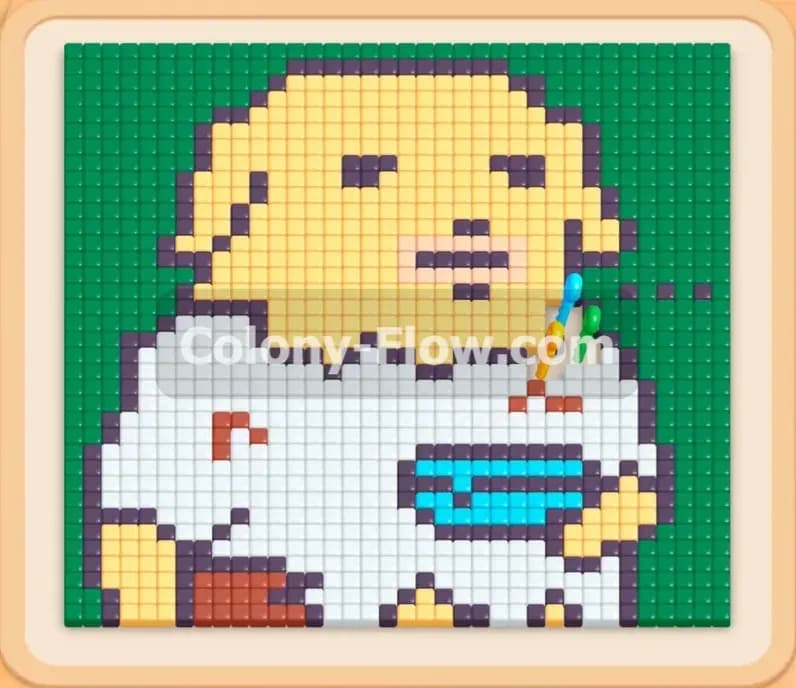
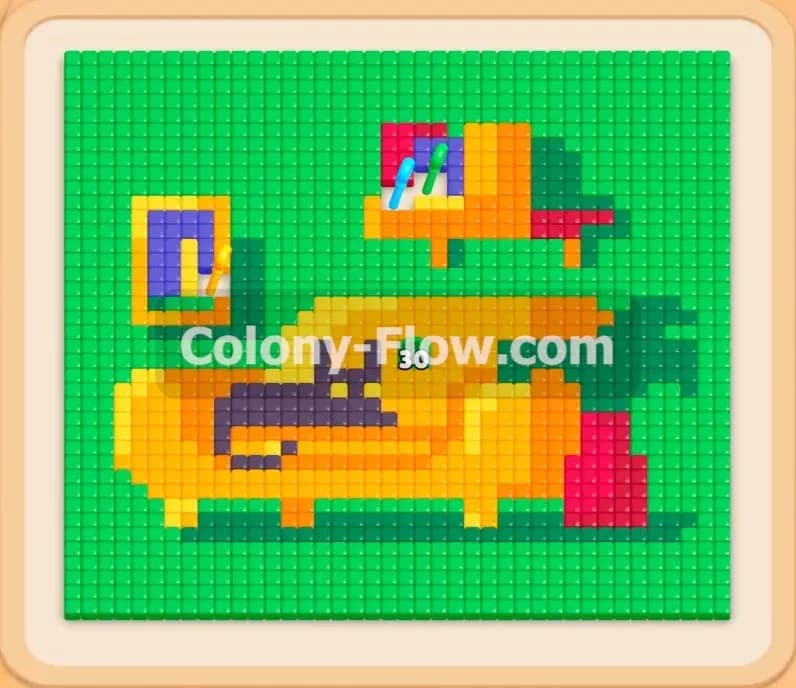
Colony Flow Level 484 presents a highly entertaining pixel art challenge featuring a cozy living room scene. As a puzzle game content creator I play every single level firsthand to figure out the absolute best approach. This board gives you a bright yellow couch sitting proudly in the center with a resting black cat on top. A tall green potted plant stands on the right side while a framed picture decorates the wall on the left. Everything is surrounded by a massive solid green background wall. Clearing this board requires careful management of your waiting slots because your tray is packed full of connected pairs and hidden question mark boxes. You need to carve strategic paths through the massive green background to reach the smaller interior details without causing a board jam.
Colony Flow Level 484 Overview
What You Are Working With
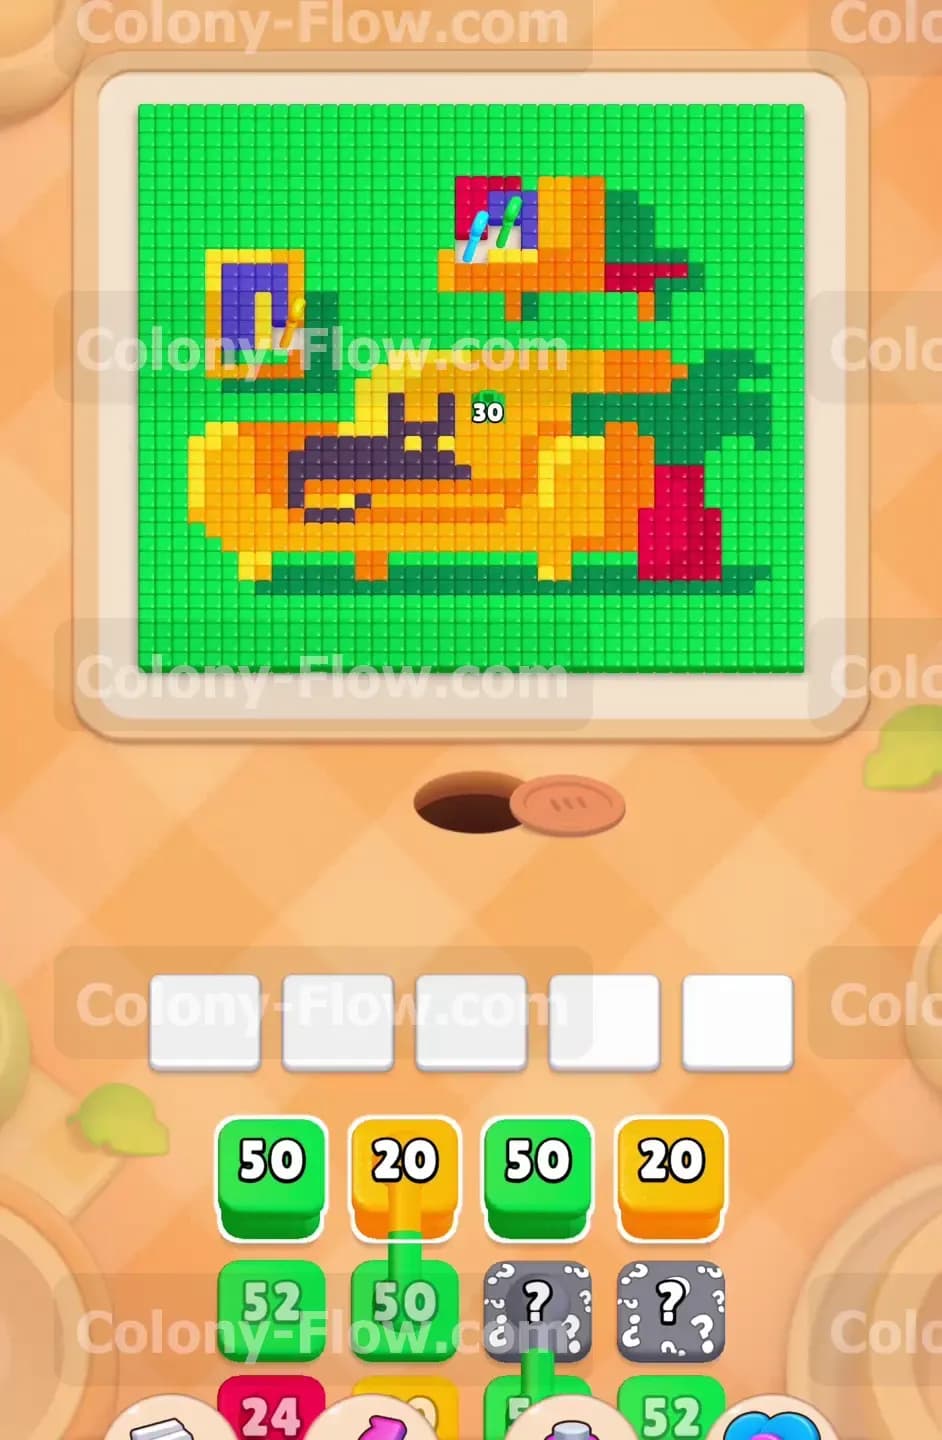
Let us take a closer look at the board layout and your available tools. The central image is a large yellow couch holding a resting black cat. To the right sits a green leafy plant inside a red pot. To the left hangs an orange and blue picture frame containing a small dark interior detail. The entire background consists of hundreds of green tiles. The tray at the bottom of your screen holds several tricky mechanics designed to test your planning skills. You have horizontally connected boxes where pulling one block permanently drags another along with it. You also face vertically connected boxes that drop into your slots together. Hidden boxes sit in the bottom row hiding their true colors behind gray question marks. Finally a bright yellow lock blocks one of your crucial tray items and you must clear the correct board sections to collect the hidden keys to pop that lock open.
What It Takes to Clear Level 484 Board
Winning requires you to clear every single colored tile from the screen. Your ants emerge from the dark nest hole at the bottom and follow open paths to eat the food tiles. They will only eat tiles that match the color of the blocks you pull into the five waiting slots at the bottom. The core challenge of this puzzle is the strict lose condition. If you pull too many blocks that do not have an open path to their matching tiles your five waiting slots will quickly fill up. Once all five slots are completely full and no ants can reach a valid color you lose the level instantly. You must constantly ensure that at least one block in your waiting slots has an active path so the numbers keep counting down and the slots remain clear.
Colony Flow Level 484 Step by Step Solution
Step 1: Pull the first connected green and yellow pair to open the bottom edge
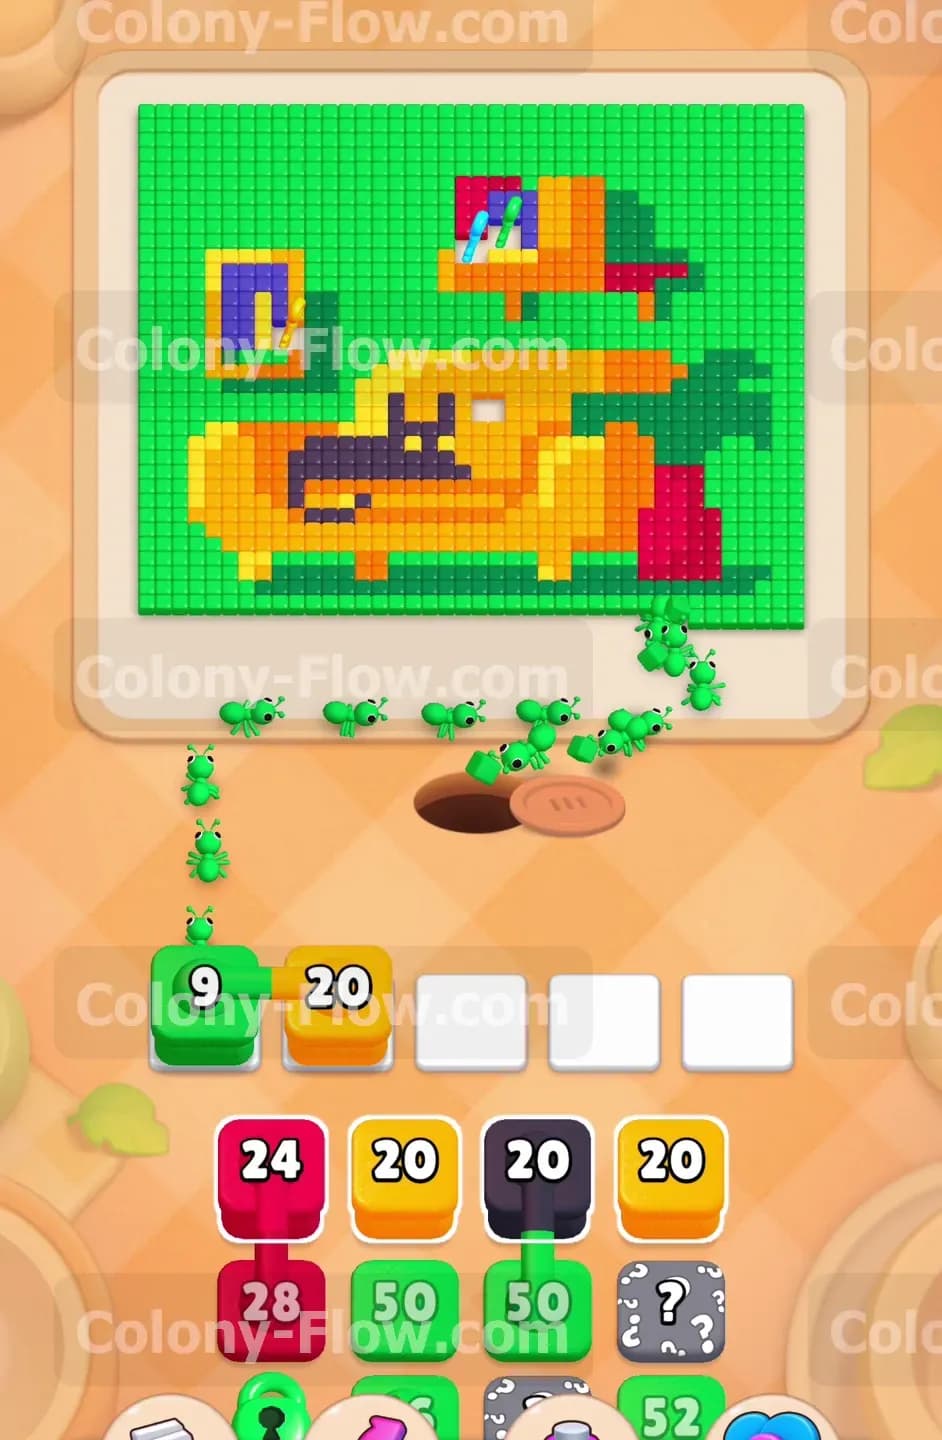
Begin the level by targeting the massive green background holding the picture together. Look at your tray and pull the first horizontally connected pair containing a green block and a yellow block. The green block activates immediately upon hitting the slot because the green tiles run all the way down to the bottom edge where the ants enter the board. The ants swarm out of the nest hole and fan out toward the bottom left and bottom right corners of the green background. The yellow block sits idle in your waiting slot. This is perfectly safe right now because you have four empty slots remaining. The green block steadily counts down to zero as the ants chew away the green wall and floor area surrounding the couch.
Step 2: Bring out the black and yellow connected pair to clear the resting cat
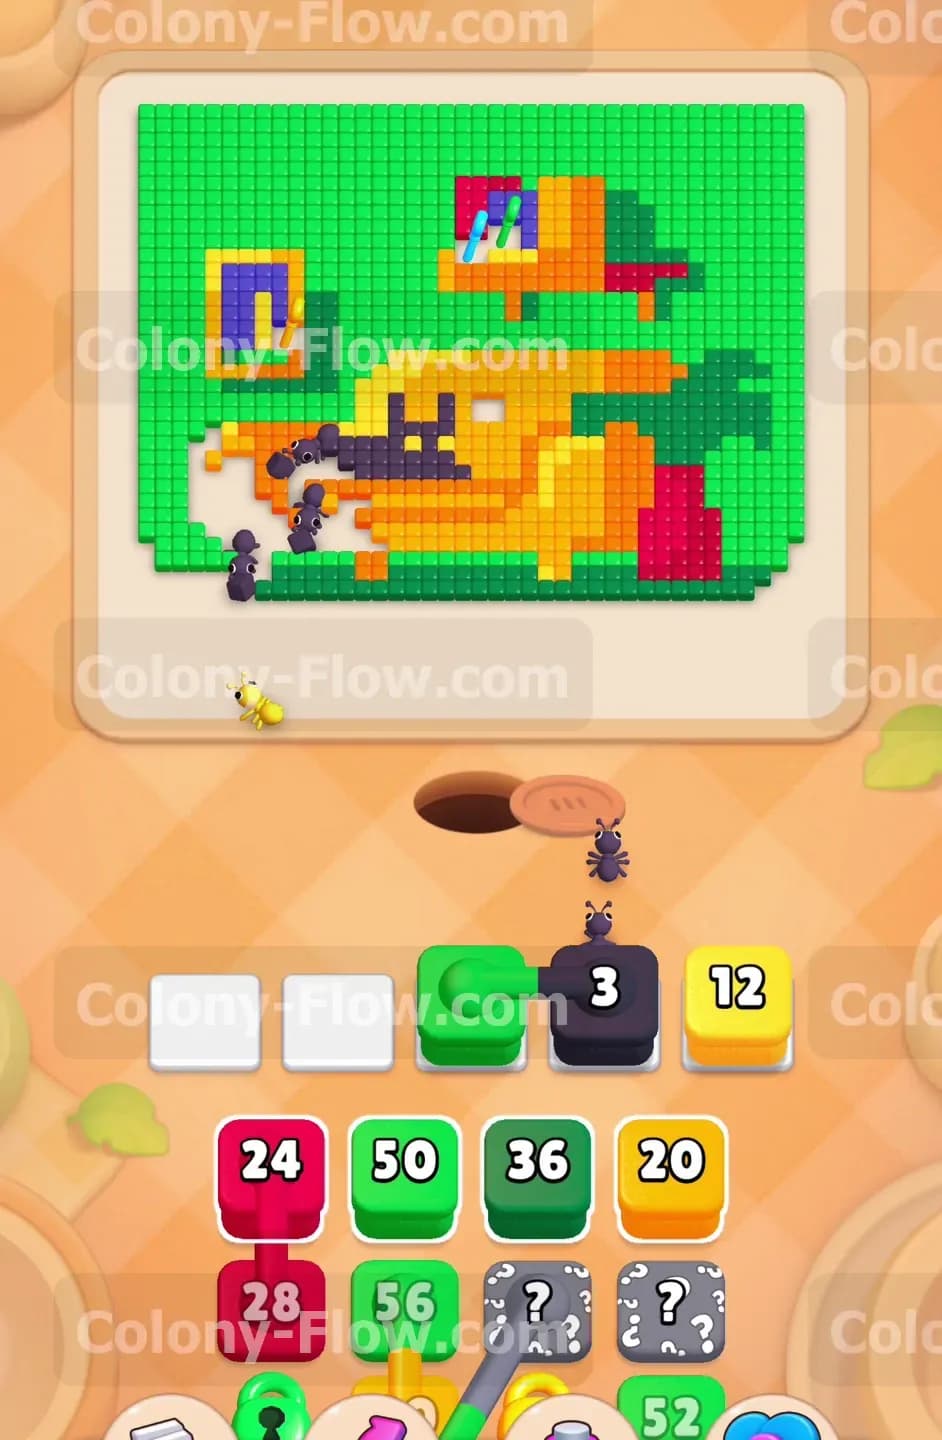
Once the green ants eat away enough of the lower background they expose the edges of the yellow couch and the black cat resting on top of it. Now you can safely pull the connected pair featuring the dark black block and another yellow block. The ants rush straight from the nest hole to the center of the couch to devour the black cat tiles. Your waiting slots now hold two yellow blocks waiting for action. This requires careful attention so you do not overfill the tray with useless colors. Wait for the black block to finish its countdown entirely. Carving out the black tiles from the center of the couch creates multiple new angles of attack for your ants to reach the yellow tiles next.
Step 3: Deploy a large green block to carve out the upper background sections
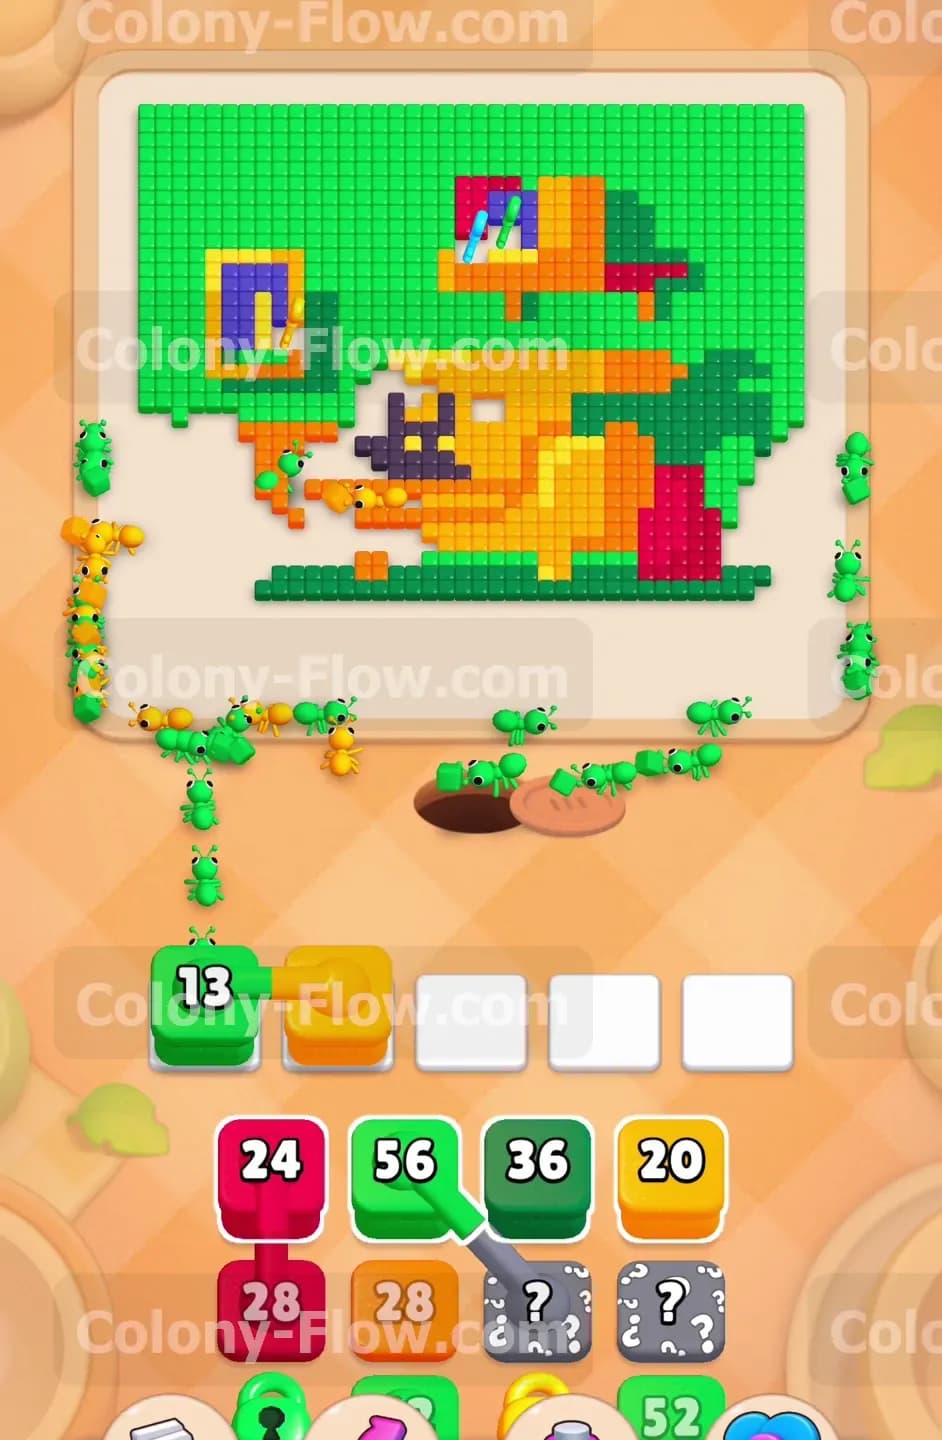
You need to open up the top half of the board to find the hidden keys. Pull a standalone large green block from the tray into an empty slot. Your ants will split up and travel up both the left and right sides of the picture to start eating the thick top green wall. This action is extremely crucial because it clears the exact tiles resting on top of the hidden keys. You must collect all the scattered keys to remove the yellow lock currently blocking an important orange item in your tray. Keep your eyes on the paths as the ants move. The ants clear the green tiles from the outside in ensuring you never create any isolated islands of tiles that cause a dead end later.
Step 4: Use the next green and yellow pair to break down the main yellow couch
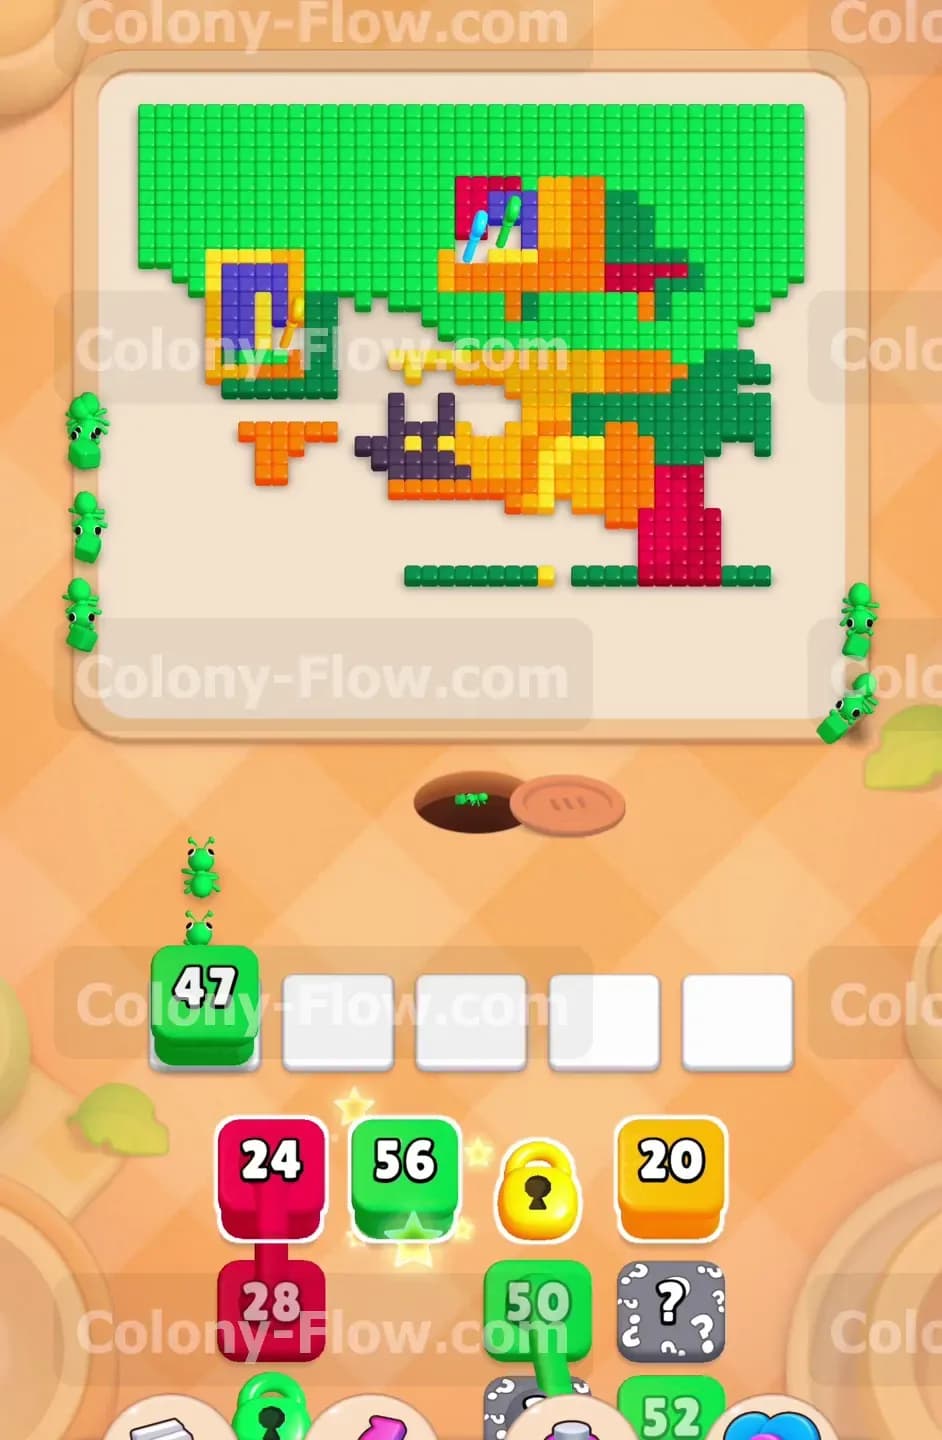
The yellow couch is incredibly large and requires multiple blocks to fully clear away. Pull the next horizontally connected pair of green and yellow blocks into your slots. The green block continues the heavy work on the upper background wall reducing its numbers quickly. Meanwhile the new yellow block alongside your previous waiting yellow blocks finally have a wide open path to the couch. The ants flood into the yellow sections from multiple directions and rapidly drop the numbers on your yellow blocks. This relieves the heavy pressure on your waiting slots and frees up vital space. Clearing the main body of the couch completely exposes the red plant pot on the right and the orange picture frame on the left.
Step 5: Pull the massive green block to eliminate the potted plant leaves
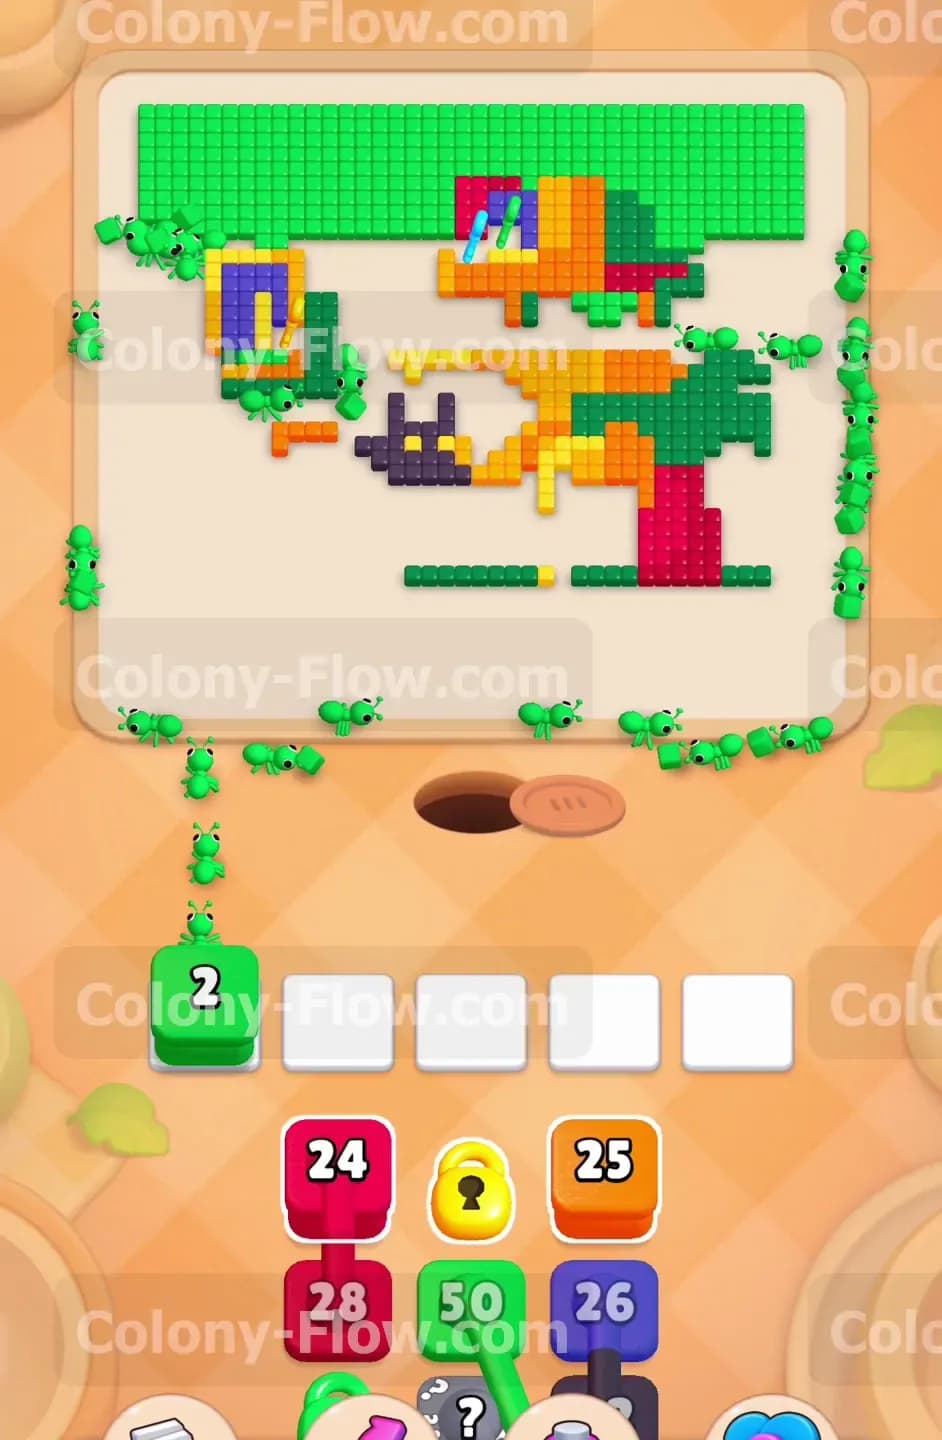
Your tray contains a huge green block loaded with fifty six points. Pull this massive block into your waiting slot. The ants surge across the empty floor space to the right side of the board and aggressively consume the green leaves of the tall potted plant. Clearing this plant is a mandatory step before you can attempt to process the red pot sitting directly beneath it. You never want to pull a red block while the green plant leaves still block the top access path. By completely clearing the green leaves first you guarantee the red tiles are fully exposed and ready for your ants to eat in the next move.
Step 6: Activate the vertically connected red blocks for the pot and picture frame
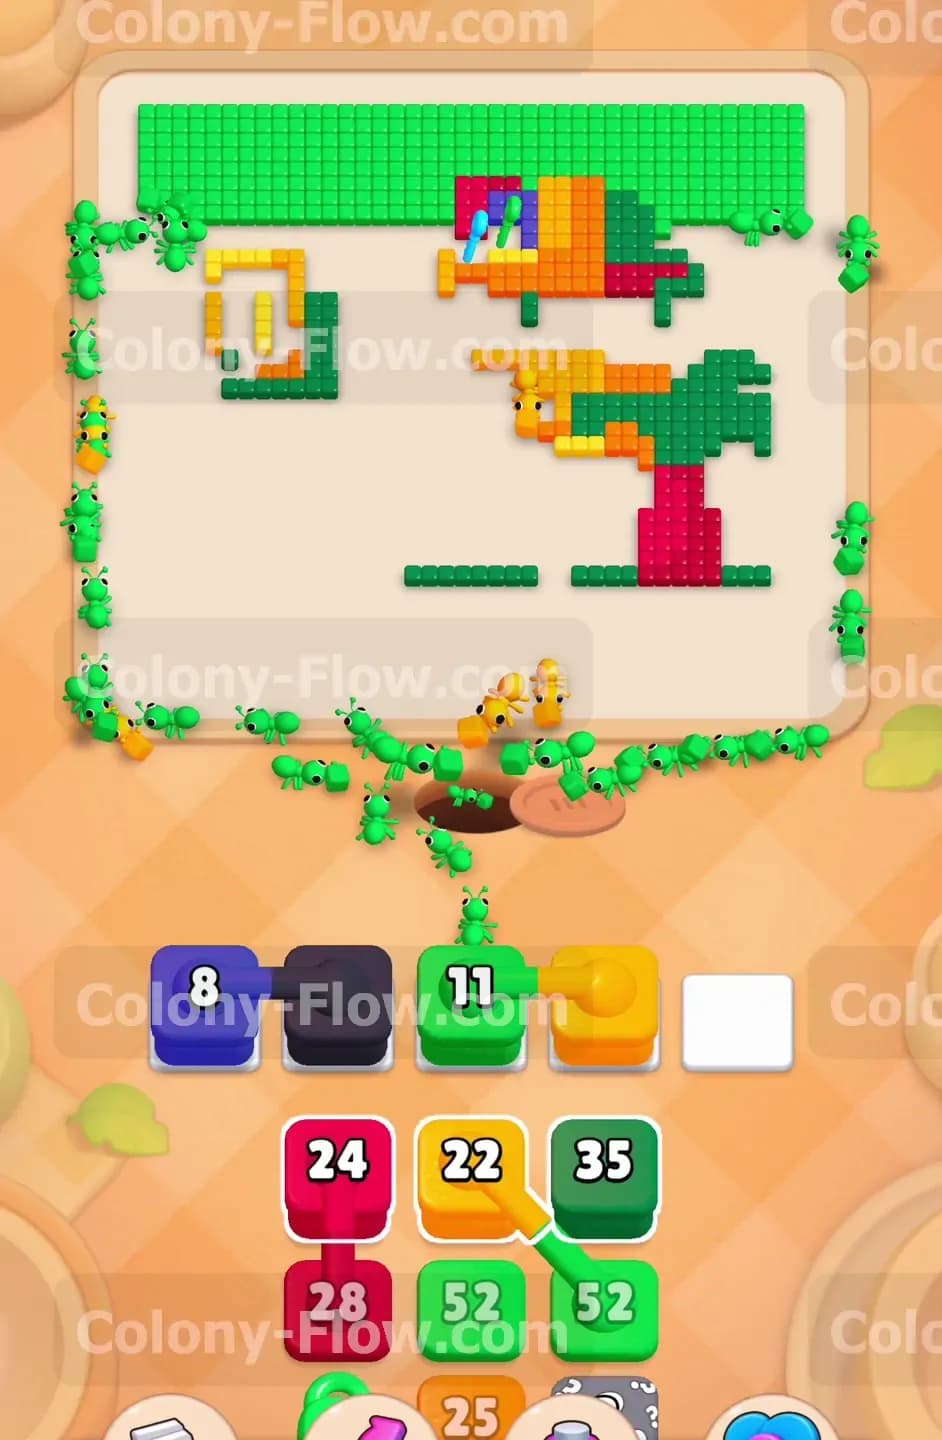
Now that the red tiles are completely accessible you can safely use the vertically connected red blocks. When you tap the top red block the bottom red block drops into the waiting slot right beside it. The ants divide their attention evenly between the two red sections left on the board. One group heads to the right side to eat the solid red plant pot. The other group heads all the way to the left side to clear the small red details hidden inside the picture frame. Vertical pairs take up two of your waiting slots immediately. You only execute this move when you know the red paths are completely clear so the blocks process rapidly and leave your slots empty again.
Step 7: Clear the orange borders with the newly unlocked orange block
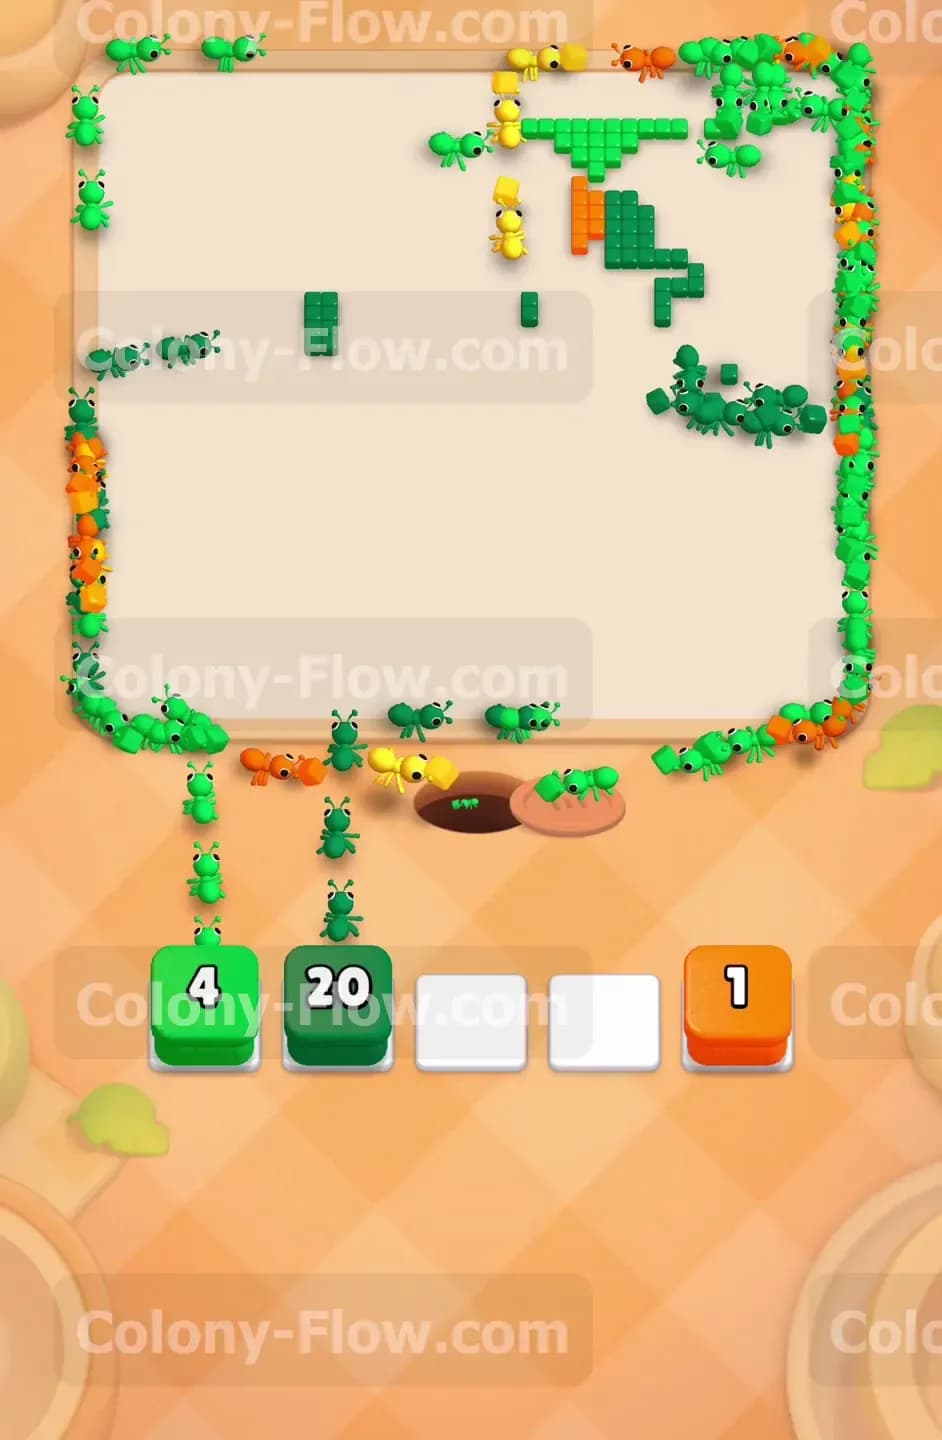
By this stage of the puzzle your ants have eaten enough tiles to automatically collect the hidden keys and unlock the bright yellow lock in your tray. This successfully frees up the orange block for use. Pull the orange block into an empty waiting slot. The ants march straight to the left side and rapidly eat the thick orange borders of the picture frame hanging on the wall. They also clean up the remaining orange legs and trim scattered around the bottom of the couch area. Removing these orange tiles changes the layout of the board entirely. The screen is now mostly empty white space with just a few scattered pixel details left to handle.
Step 8: Deploy the final hidden blue and green blocks to finish the cleanup
The massive progress you made on the board finally allows the hidden question mark boxes in the bottom of your tray to reveal their true colors. One hidden box reveals itself as a blue block connected horizontally to a dark purple block. Pull this specific pair to clear the small blue sky section and the dark purple art details inside the small picture frame on the left wall. Pull your final green block to mop up the very last few green background pixels lingering around the extreme top edges. Finish off the entire level by pulling the last small orange block. The ants sweep across the empty board and eat the final orange tiles leaving you with a completely clear screen and a well earned victory.
Final Thought
Level 484 heavily tests your patience and your ability to manage waiting slots while dealing with tricky connected blocks. Always clear the outer background first to expose the inner picture details safely. Keep your slots empty enough to handle the mandatory vertical and horizontal pairs without dead ending your board. Please watch the video above this article if any step is hard to follow in text. The visual guide will always help you master the exact timing of every single block.