Colony Flow Level 496 Walkthrough Solution & Guides | How to solve Colony Flow 496

Guide By Liam Stone
Updated on July 30, 2026
Watch the video above first if you want to see Level 496 solved before reading the written steps.
Video doesn't match your screen?
Game updates frequently scramble layouts! Try our AI Screenshot Solver first to find your exact board instantly, or report broken guides to our team.
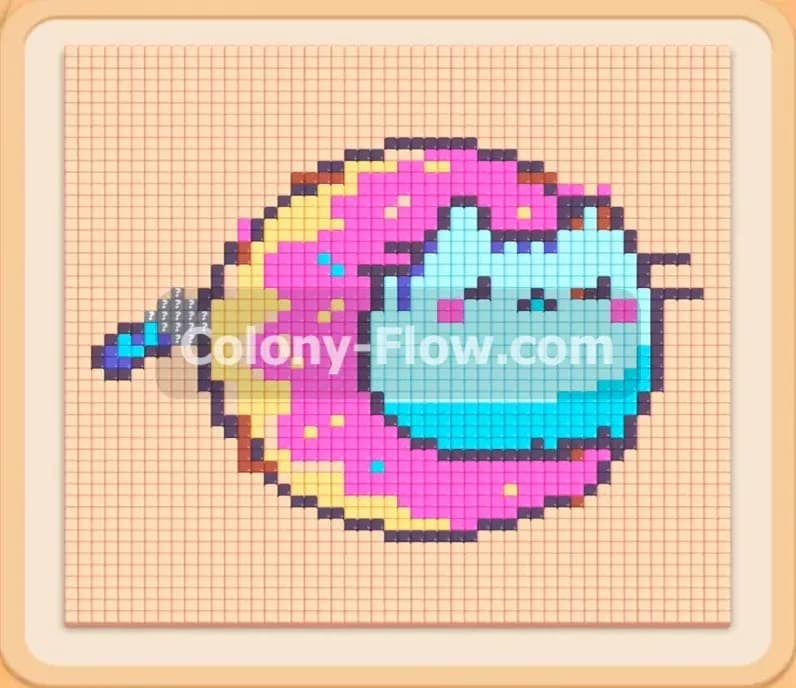
Colony Flow Level 496 presents a large pixel art picture that looks exactly like a blue cat resting inside a bright pink donut. I found this level very interesting because the actual background forms part of the puzzle. Every single square on the grid contains a food tile that your ants must clear away. You need careful block management to finish this board without getting stuck.
Colony Flow Level 496 Overview
What You Are Working With
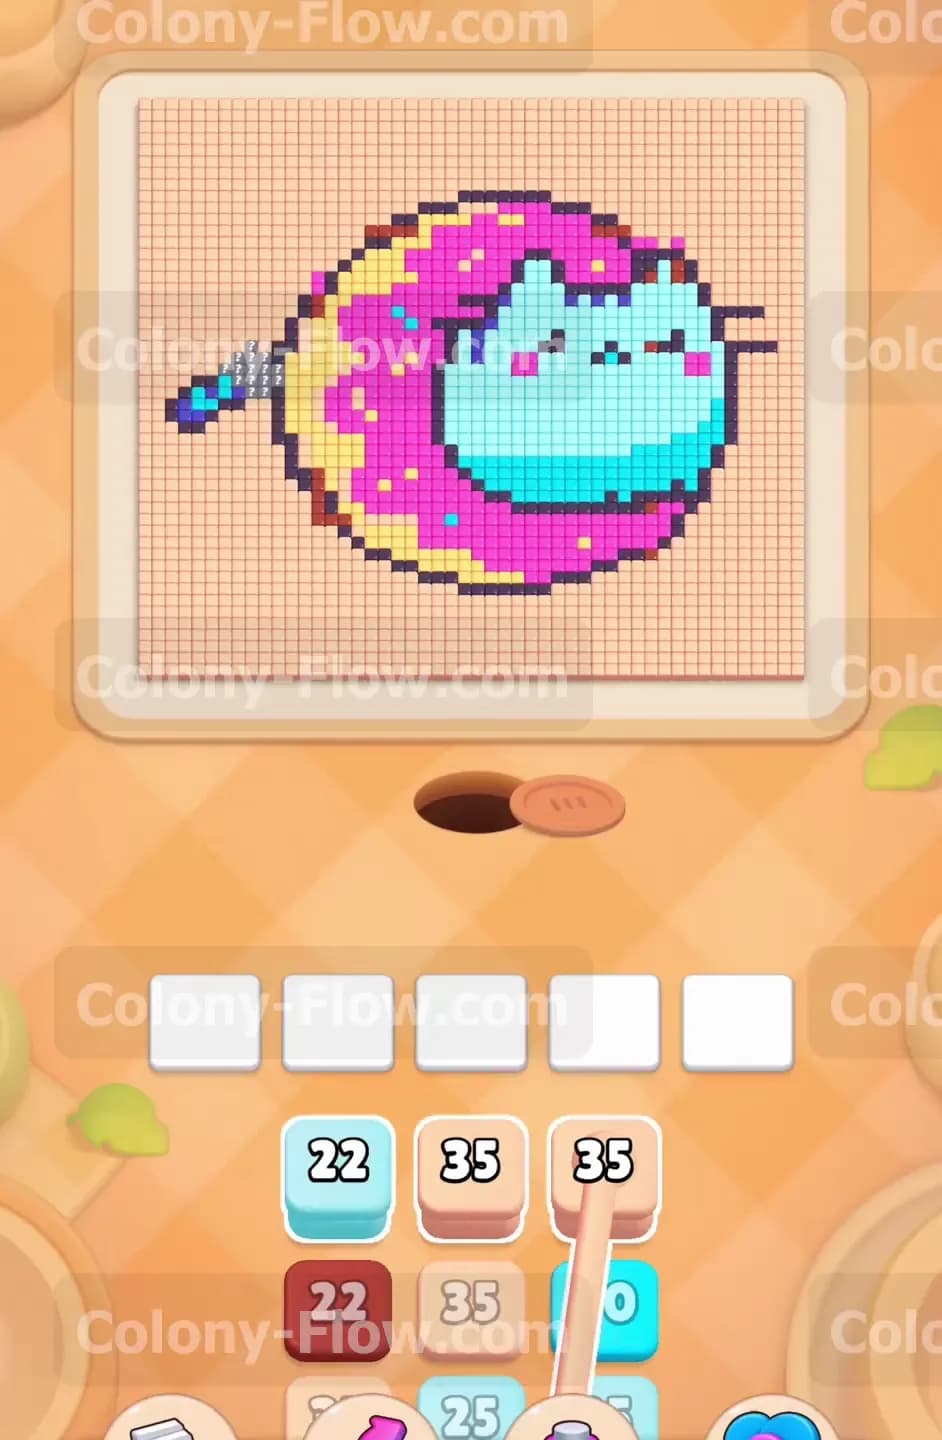
The board displays a solid rectangular block of tiles. The background consists entirely of beige food tiles. Inside this beige background sits the main design of the cat and donut. The donut features a large ring of pink frosting and a yellow dough base. Small dark red tiles act as sprinkles scattered across the frosting. The cat body is made of bright cyan tiles. Dark blue tiles create the thick outlines around the shapes and form the small whiskers on the cat. Your tray holds numbered blocks matching all these specific colors. The ants live in a single nest hole at the bottom center of the screen. They require an unobstructed path to reach the matching colored tiles on the board above them.
What It Takes to Clear Level 496 Board
Clearing this board requires eating every single tile to reveal the blank canvas underneath. You achieve victory when the massive grid is completely empty and your entire ant colony returns to the nest. You will lose the game if you pull five blocks into your waiting slots and your ants cannot reach their matching colors. The main challenge involves working from the bottom upward while managing the massive number of beige background tiles. You must always maintain an open path for at least one active color. Keeping a steady flow prevents your waiting slots from jamming and ending your run prematurely.
Colony Flow Level 496 Step by Step Solution
Step 1: Open the bottom boundary to carve out physical space for your colony
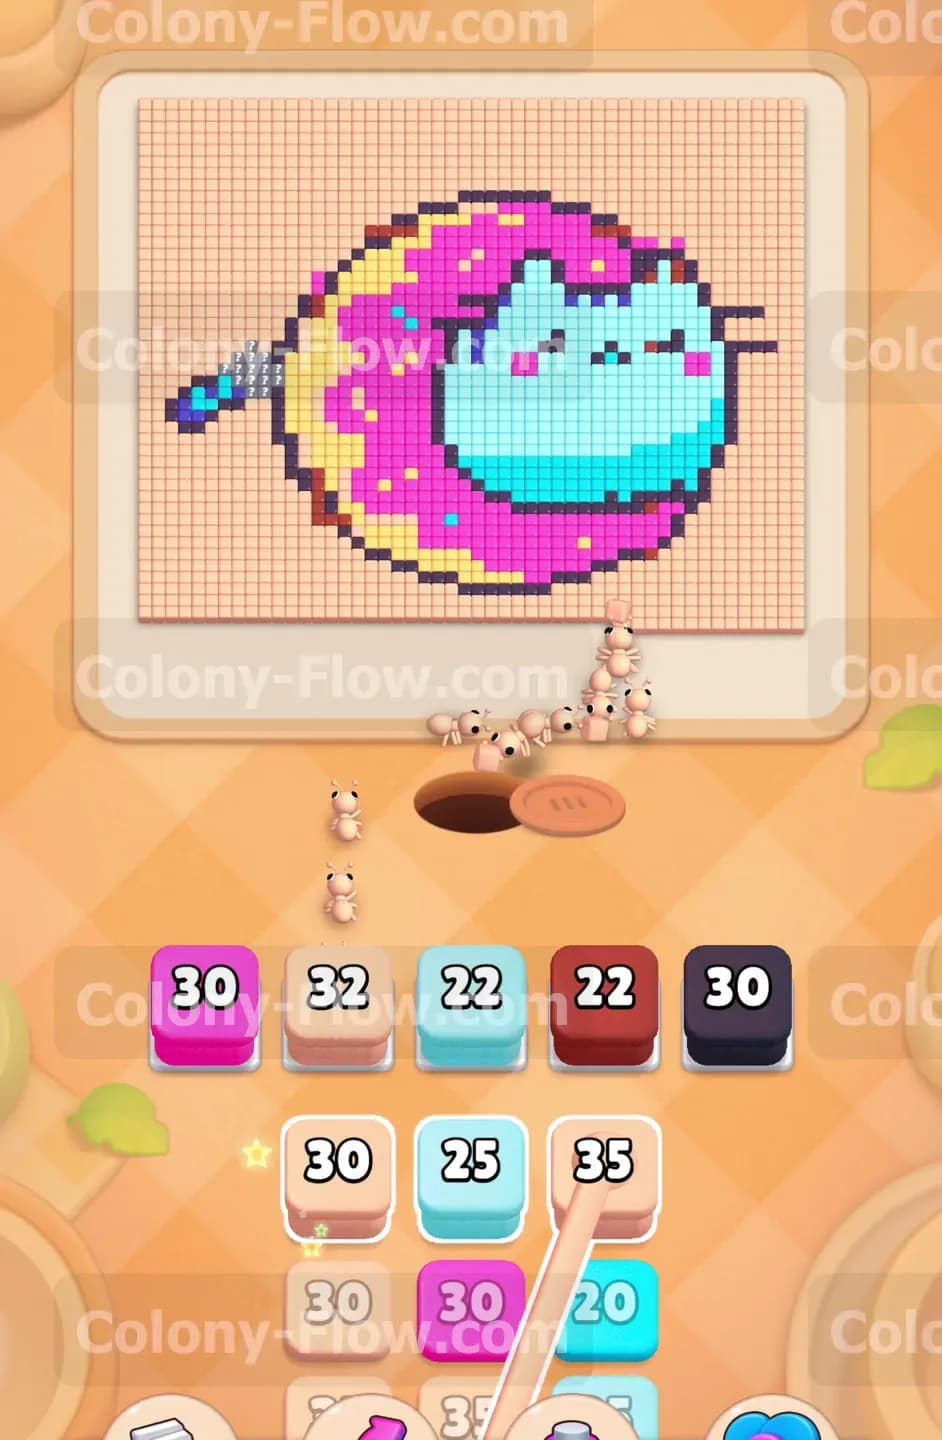
Start your game by focusing on the lowest exposed sections of the picture. The pink frosting and the beige background tiles sit right above the nest hole. Pull a pink block and a beige block into your waiting slots. The ants will stream out of the nest and start carrying away the bottom rows of the grid. Every single square on this board holds a tile. The beige background is completely solid. You have absolutely no empty space when the level begins. Your ants barely have room to stand outside the nest hole. Pulling that first pink block and first beige block gives them their first targets. You will see the bottom layer slowly disappear as the ants transport the food downwards. This initial action is highly critical because you need to carve out physical space on the board. Creating a wide opening allows your ants to maneuver easily as they reach higher sections of the donut. Keep your eyes on the waiting slots at all times. Avoid pulling too many different colors right at the start. Stick with pink and beige until the bottom boundary visibly recedes.
Step 2: Break through the dark blue outlines to access the inner shapes
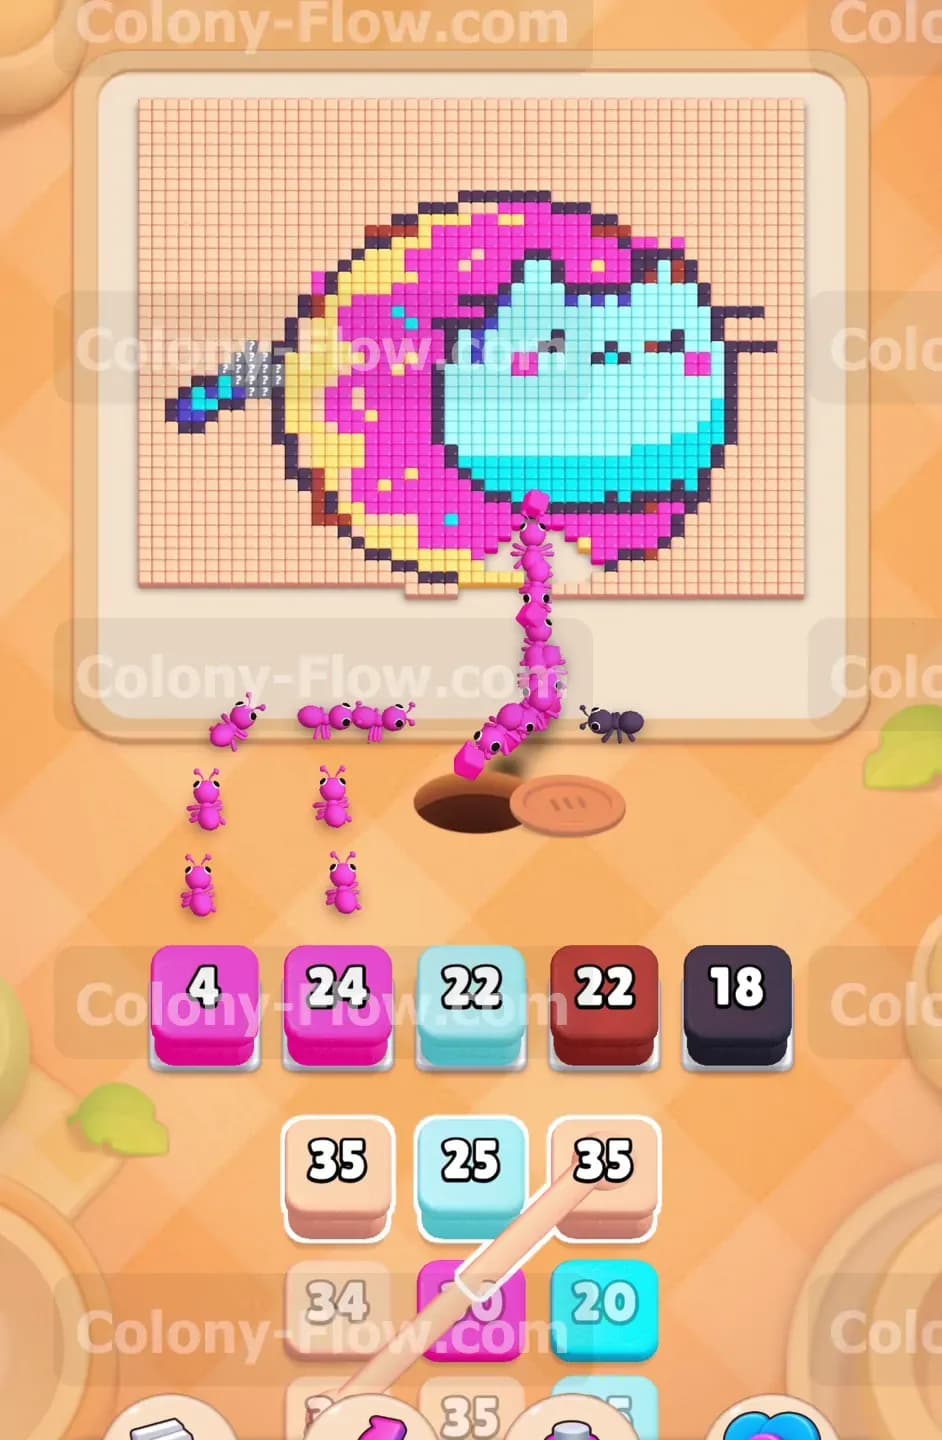
Once the pink and beige layers begin to vanish, the dark blue outline tiles become fully accessible. Pull a dark blue block into your tray to let your ants attack these borders. The dark blue tiles form the bottom edge of the donut and act like a protective wall. The shape of the donut starts to reveal itself once the bottom layers vanish. The dark blue tiles stand out sharply against the bright colors. Pulling the dark blue block sends a specialized team of ants to handle that tough border. You will notice the paths branching out in different directions. Some ants go left while others go right following the blue curve. This branching clears multiple choke points at the exact same time. Removing these dark blue lines opens up several brand new pathways into the center of the picture. Breaking this wall prevents the outlines from trapping the inner colors. If you leave the dark blue tiles untouched, they will permanently block your ants from reaching the yellow donut dough resting higher up. You must provide your ants with the right colors the exact moment a new path opens up. Never pull a yellow block until you see a clear gap through the dark blue wall.
Step 3: Clear the yellow dough and dark red sprinkles from the lower half
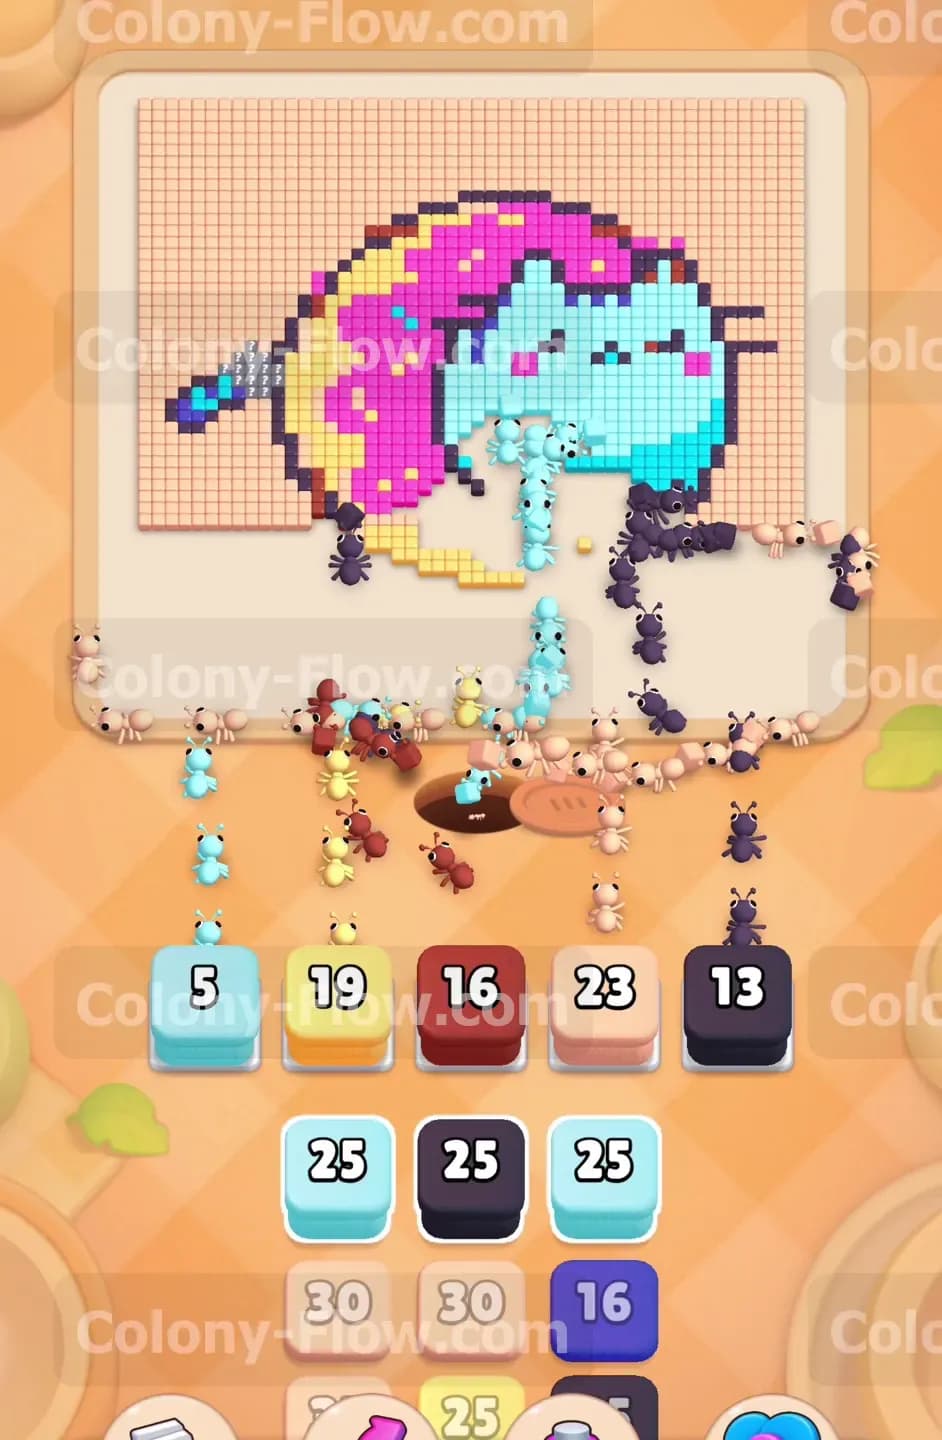
With the dark blue outlines broken apart, the inner layers of the picture are now ready for your ants. The yellow donut dough and the dark red sprinkles sit completely exposed on the lower half of the screen. Pull a yellow block and a dark red block into your active slots to continue your progress. Your tray has five waiting slots. If you pull the yellow and dark red blocks too early, they will just sit there taking up valuable real estate. You must wait until the dark blue border falls away. The moment the path opens, drag the yellow block down. You will see the numbers on the yellow block count down quickly because a massive cluster of dough is available. Watching those numbers drop fast means you are playing safely and effectively. The ants will walk straight past the cleared empty areas and swarm the yellow and dark red sections. This aggressive push clears out a massive chunk of the lower picture. Your waiting slots will become crowded here if you get impatient and pull extra blocks. You must let the ants finish their current assignments before loading the tray with more colors. The empty space at the bottom of the screen will expand significantly.
Step 4: Unleash the cyan blocks to devour the large cat body in the center
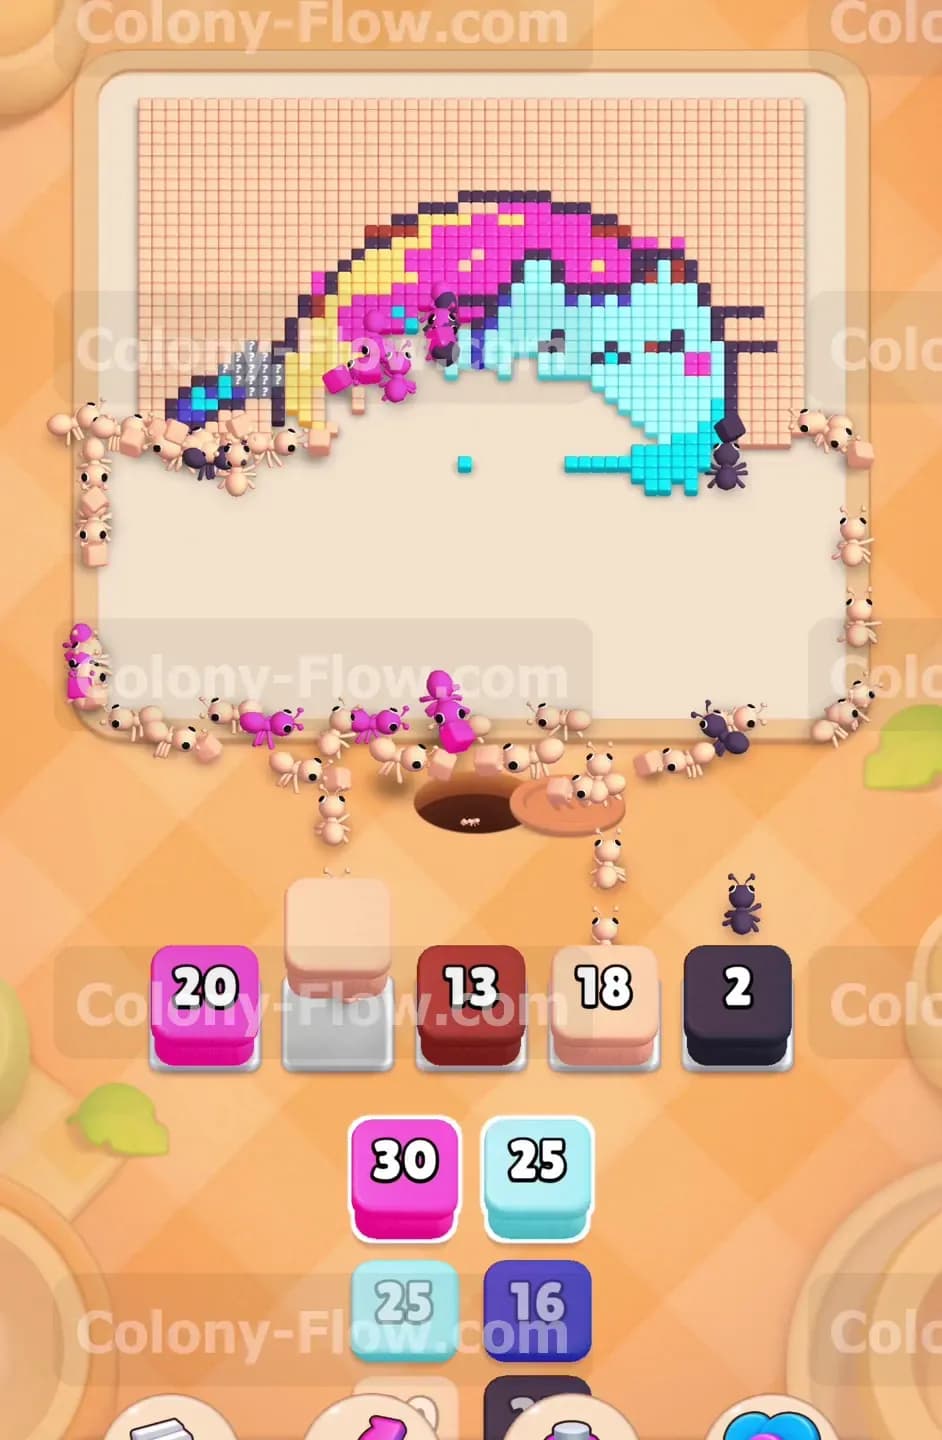
The cat rests right in the middle of the picture and consists mostly of cyan tiles. Now that the lower sections of the donut are totally gone, your ants have a clear path straight up the middle. Pull a large cyan block into your tray to activate your colony. The cyan cat is the largest single color object on the board. Sending your ants into this massive cyan cluster is the most satisfying part of the level. The block numbers plummet as hundreds of ants grab a cyan pixel and march home. You want to prioritize the cyan blocks whenever they appear in your lower tray. Clearing the cat body creates a massive void right in the center of the puzzle grid. You now have a wide open arena for your ants to travel through. You will witness a massive swarm of ants rush upward toward the cyan pixels. Fast draining blocks keep your waiting slots empty and keep you safe from a game over screen. Watch your ants chew away the bottom half of the cat as they work their way upward layer by layer.
Step 5: Hollow out the middle background and upper side borders simultaneously
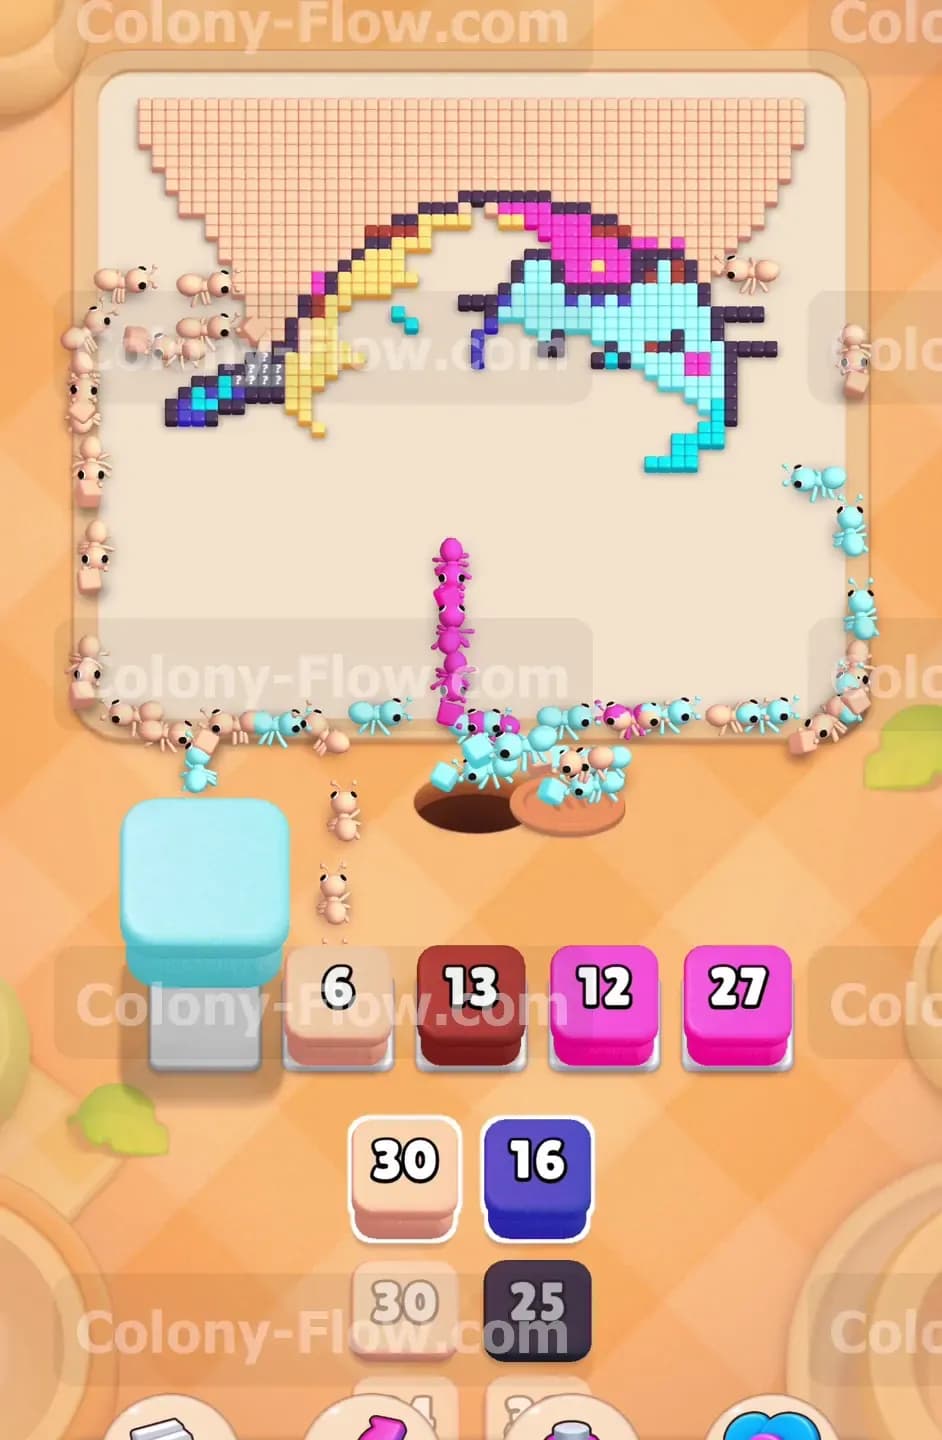
As the cyan cat shrinks in size, new sections of the beige background and dark blue outlines open up on both sides. You need to clear these outer edges right now to prevent them from getting isolated later. Pull another beige block and a dark blue block into your tray. Many players forget about the beige background tiles on the far left and far right. If you tunnel straight up the middle to finish the cat, those side pieces become isolated. An isolated tile means no direct path exists. To avoid this trap, pull a beige block while the ants are eating the cat. Let your colony spread out and chew the walls away. Keeping the sides level with the center prevents your waiting slots from jamming permanently. The ants will split their attention beautifully. Half of the colony will head left to clear the background tiles. The other half will head right to eat the remaining whiskers and side borders. Managing the outer edges of the board is a very vital habit for this puzzle game. Always alternate between clearing the center tiles and clearing the outer tiles.
Step 6: Tackle the top arch of the pink frosting and the remaining cat head
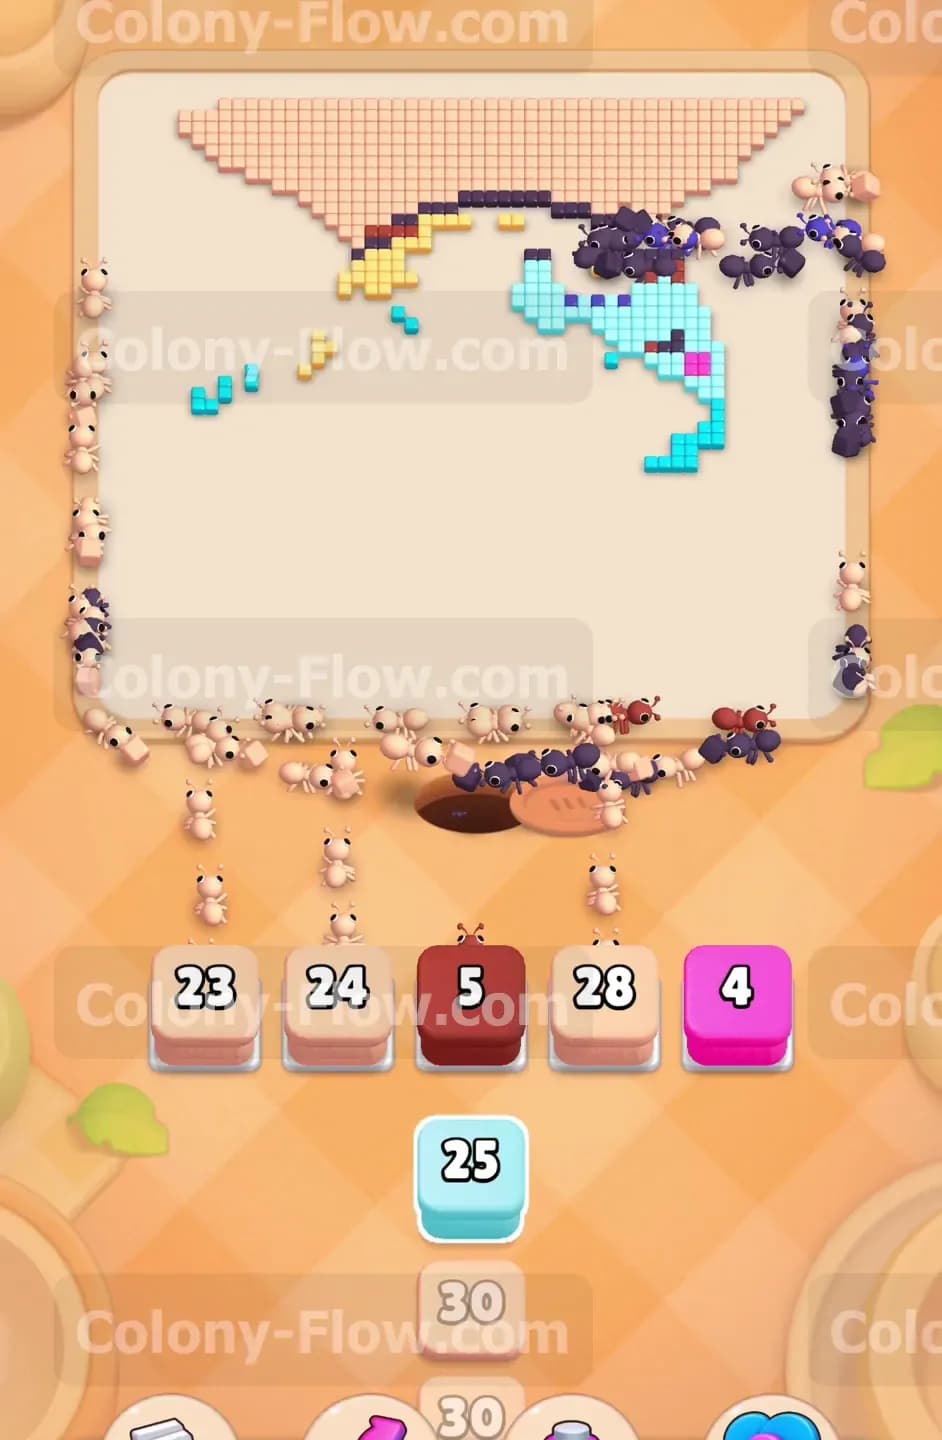
The remaining tiles now form a thin arch right at the top of the screen. This arch includes the top section of the pink frosting and the very top of the cyan cat head. Pull the corresponding pink and cyan blocks into your tray to send your ants upward. Distance plays a huge role in the late game. The top arch of pink frosting sits far away from the nest hole. The ants must walk all the way up the empty screen and walk all the way back down. This long travel time slows the game down considerably. A block that took three seconds to empty earlier will now take ten seconds to empty. You must exercise immense patience here. Keep your hand away from the screen until a slot completely frees up. You must be incredibly careful not to fill your fifth slot here. Only pull a new block when you are absolutely positive your ants have a direct path to that matching color. Wait for a block to completely hit zero and vanish before pulling another one.
Step 7: Sweep up the final beige corners and scattered details to finish the board
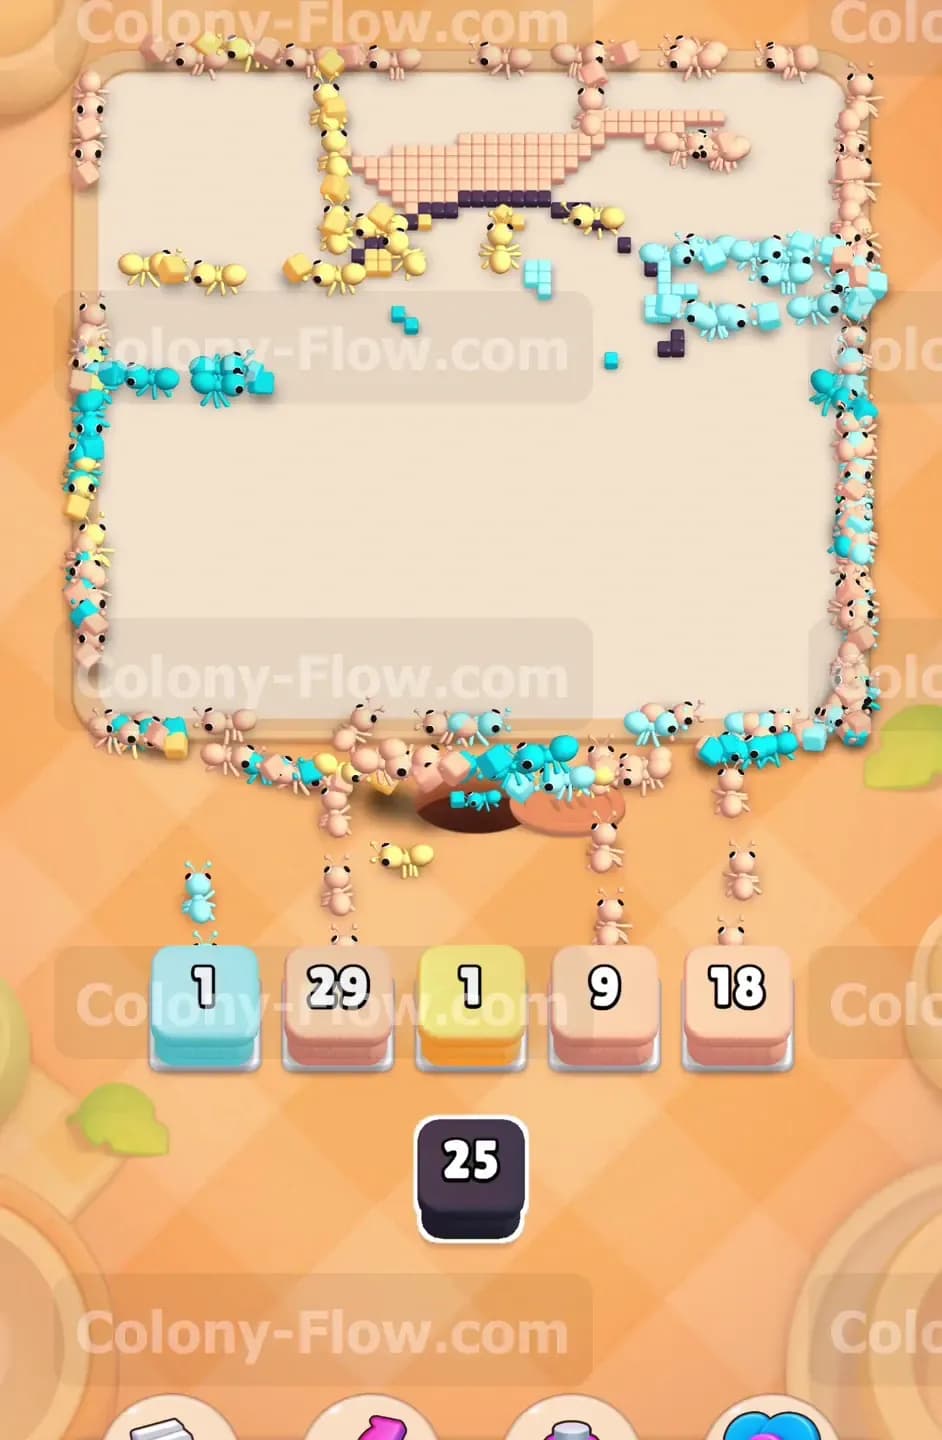
The last stage of the level leaves only a few scattered beige background tiles and maybe a couple of dark red sprinkles hiding in the corners. Look directly at your tray and find the exact blocks you need to finish the job. The finish line is in sight when only the top corners remain. These last few beige tiles and dark blue whiskers require precision. Check your tray carefully. Find the exact matching blocks and pull them down. You will watch a small group of ants make the final long trek across the screen. Pull a beige block to clear out the very top left and top right corners of the grid. If any stray dark red or dark blue tiles remain, pull those matching blocks next. Watching them grab those last few pixels is incredibly satisfying. Once they eat the very last tile, the entire grid will sit completely empty. Your colony will march back down the screen and disappear into their hole. Managing your tray slots properly throughout this long process ensures a very smooth victory.
Final Thought
Taking your time and keeping an eye on open paths makes all the difference on this board. Always prioritize the tiles that block other colors from being reached. I highly encourage you to watch the video above this article if any step sounds a little hard to follow in text. Seeing the ants move in real time helps you understand exactly when to pull each block from the tray.