Colony Flow Level 238 Walkthrough Solution & Guides | How to solve Colony Flow 238

Guide By Liam Stone
Updated on July 13, 2026
The Level 238 walkthrough plays out in full in the video above, so skip the article if that works better for you.
Video doesn't match your screen?
Game updates frequently scramble layouts! Try our AI Screenshot Solver first to find your exact board instantly, or report broken guides to our team.
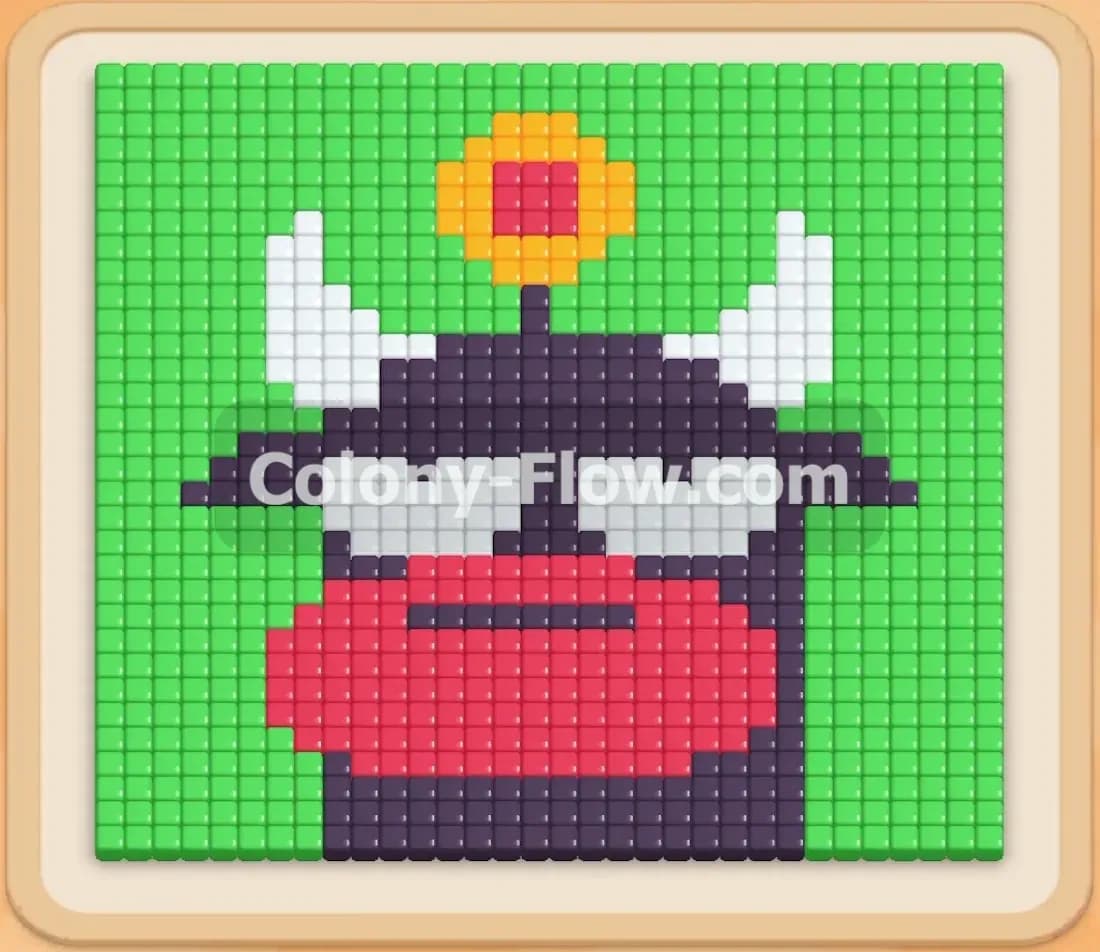
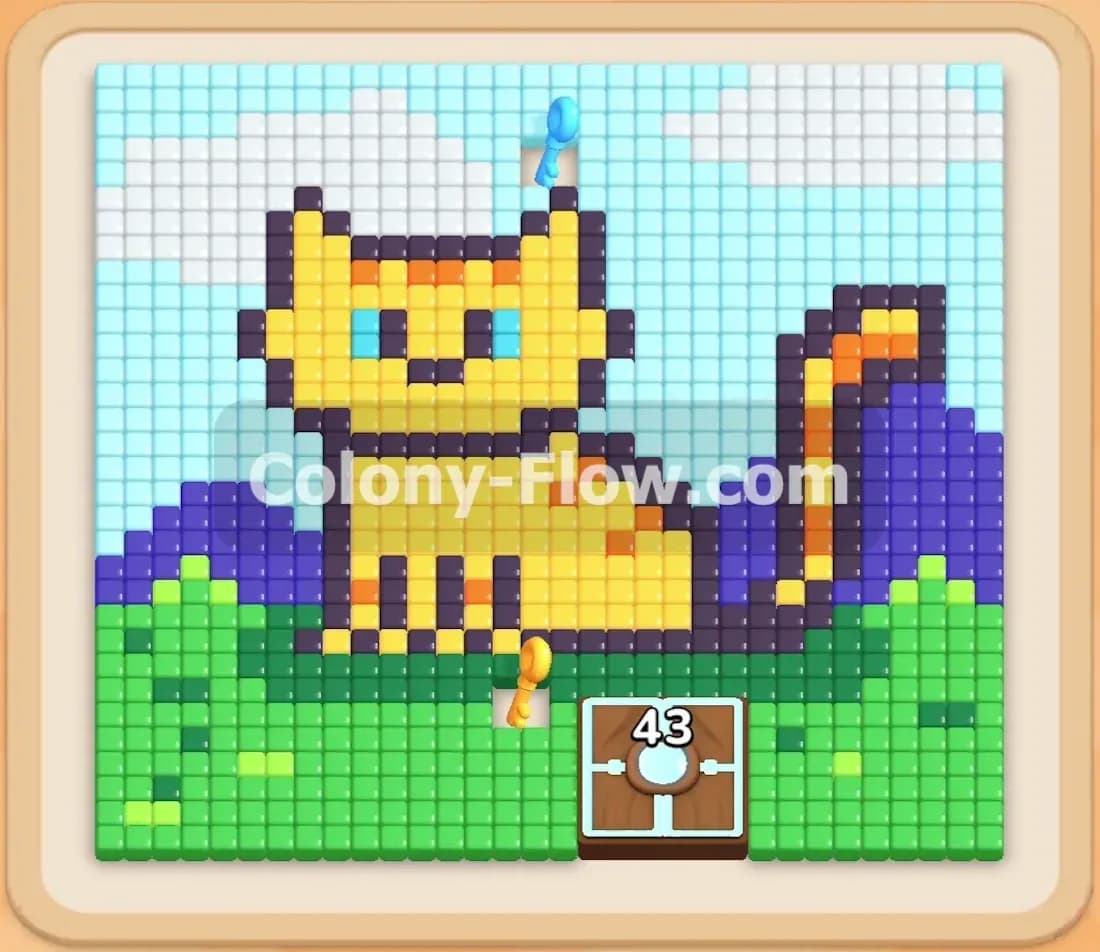
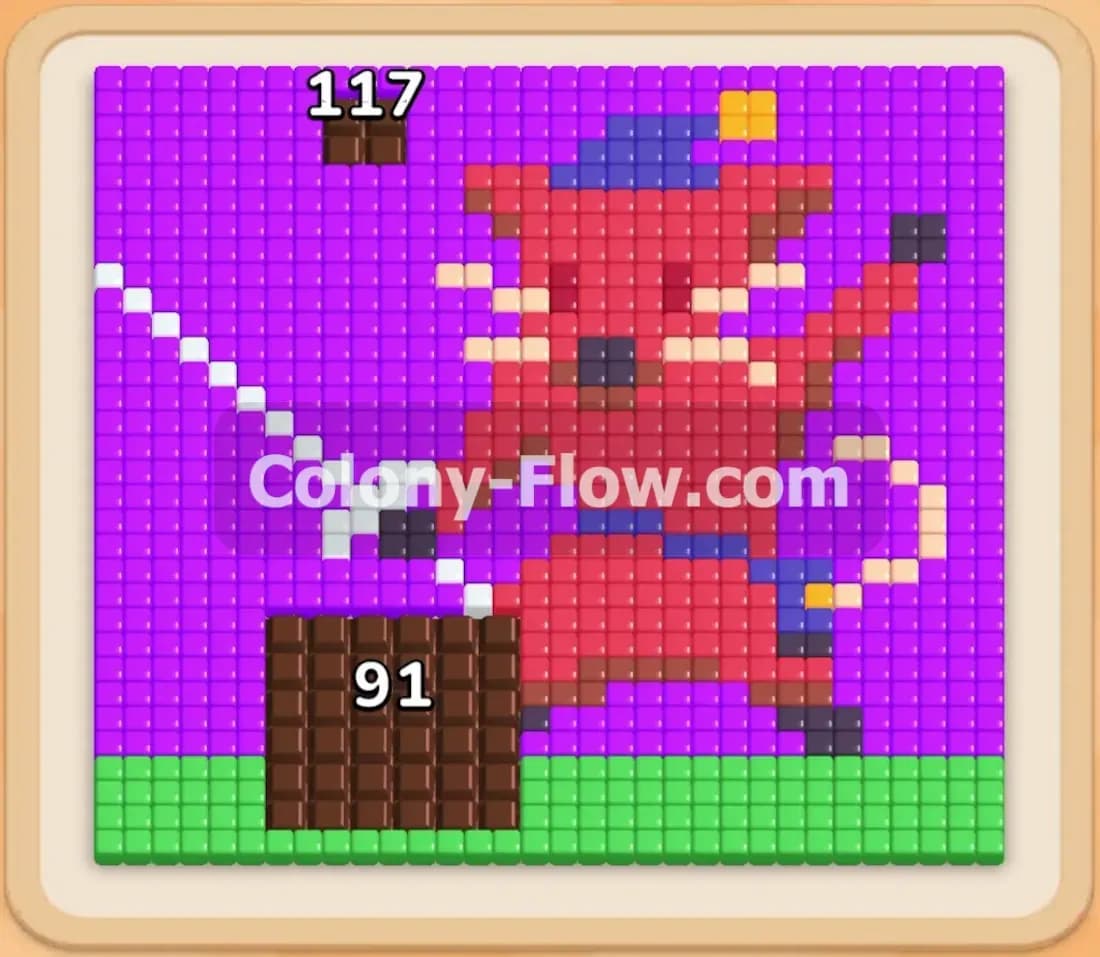
Colony Flow Level 238 throws a massive pixel art cat holding a sword right in your path. You need to dismantle this detailed picture tile by tile while carefully managing your limited tray space. The sheer volume of purple background tiles is intimidating but entirely manageable if you plan your block pulls. I played through this exact board multiple times to figure out the safest route to victory. Let me show you how to beat it without ever clogging your waiting slots.
Colony Flow Level 238 Overview
What You Are Working With
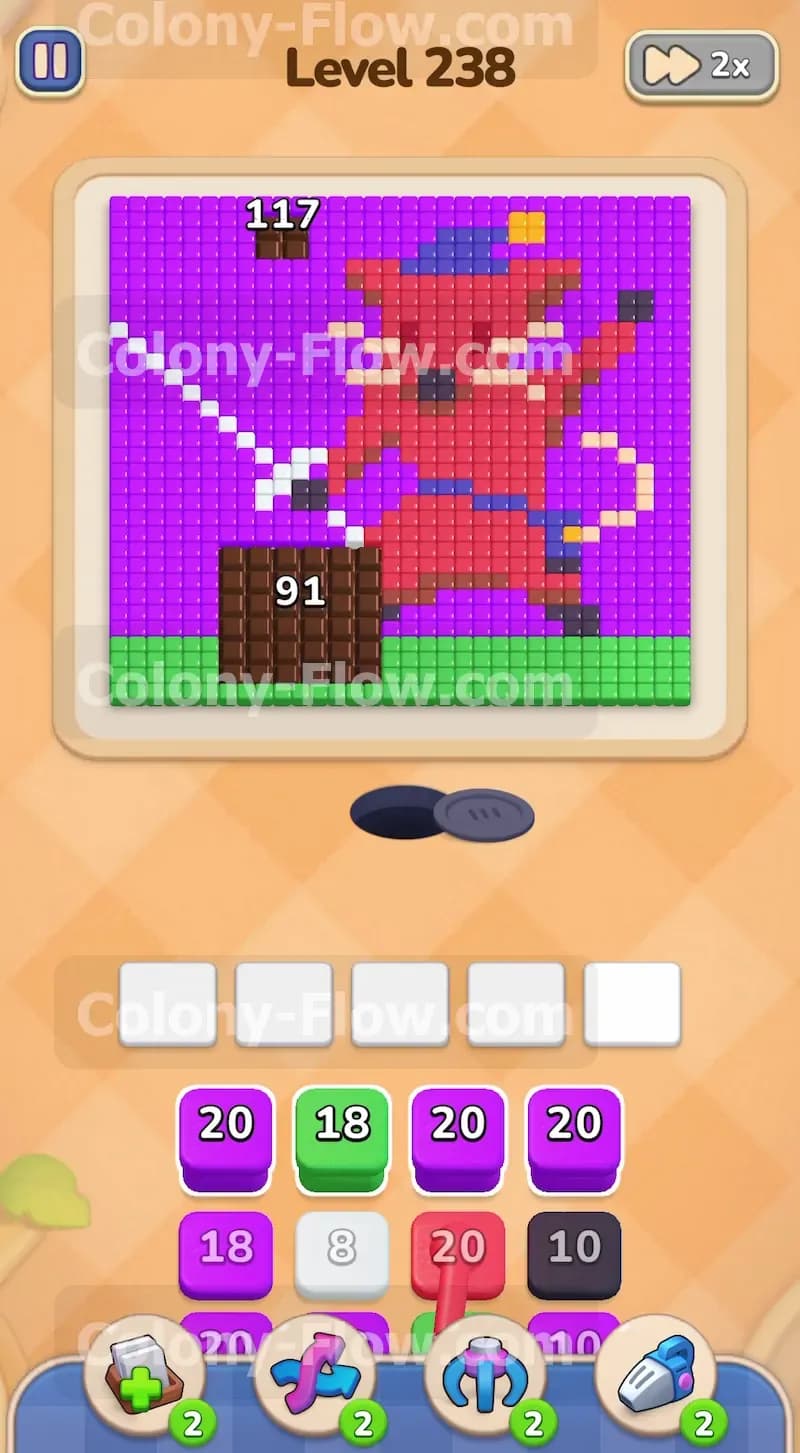
The pixel art picture at the top of your screen is packed with different colors. You will see a large red cat or mouse character standing in the center. The character wears a blue hat with a yellow pompom and a blue belt around its waist. The cat holds a white sword featuring a yellow hilt in its left hand. A prominent beige tail curls out on the right side. The character has black tiles making up the eyes nose and whiskers. Down at the bottom the cat stands behind a large brown box resting on a thick layer of green grass. A massive sea of purple tiles completely surrounds the character forming the background. Your block tray at the bottom holds a heavy stack of colored blocks carrying large numbers. You will need to process a huge amount of purple red and brown blocks to chip away at the main shapes.
What It Takes to Clear Level 238 Board
Winning this level requires you to clear every single colored tile from the board before you run out of moves. The primary challenge is managing your five waiting slots at the bottom of the screen. When you tap a block in the tray it moves up into one of these five slots. The ants then spawn from the nest hole and consume the matching colored tiles on the board. The number on the block counts down as the ants leave. The block only disappears from the slot when the number reaches zero. If you pull a color that has no open path to the board the block will sit there permanently. If you fill all five slots with blocked colors the ants cannot move and you lose the level instantly. You must strip away the outer layers of the picture first. This opens clear paths to the inner details so your slots never jam up with trapped blocks.
Colony Flow Level 238 Step by Step Solution
Step 1: Flood the board with purple ants to clear the massive outer background.
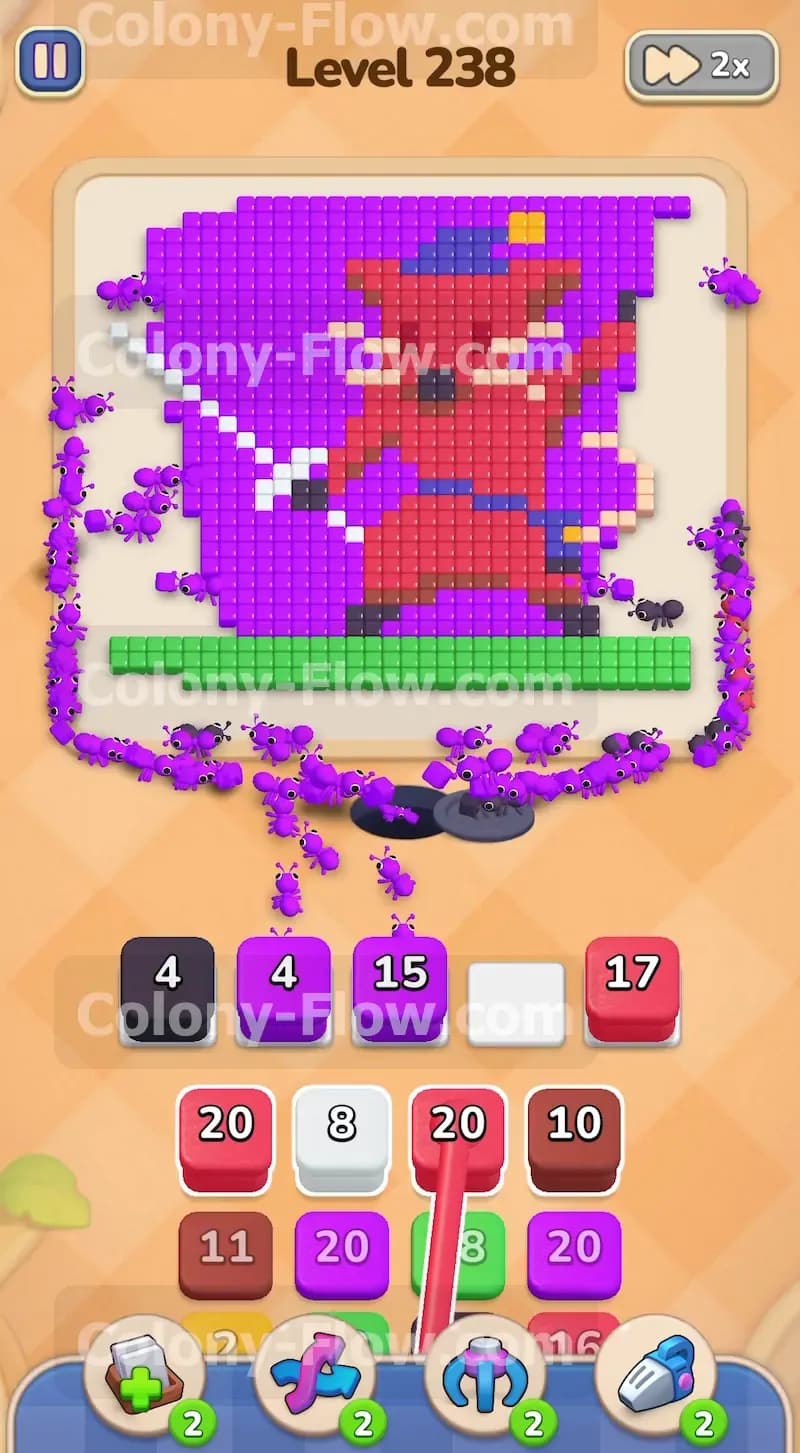
The purple tiles form a huge wall around the entire picture. You can see a massive number printed right on the top section of the purple background. This means you need an enormous amount of purple ants to clear this outer layer. Start your game by tapping a purple block from your tray. The block will jump into your waiting slot and purple ants will swarm out of the nest hole. They will naturally flow up the left and right sides of the board to eat the exposed edges. Keep your eyes on the purple block number as it counts down. When the number gets low you can pull a second purple block into the next slot. Do not touch any other colors right now. You want to maintain a steady stream of purple ants wrapping around the picture. This gradually shrinks the outer boundary and makes room for your other colors to eventually move.
Step 2: Remove the green grass along the bottom edge of the board.
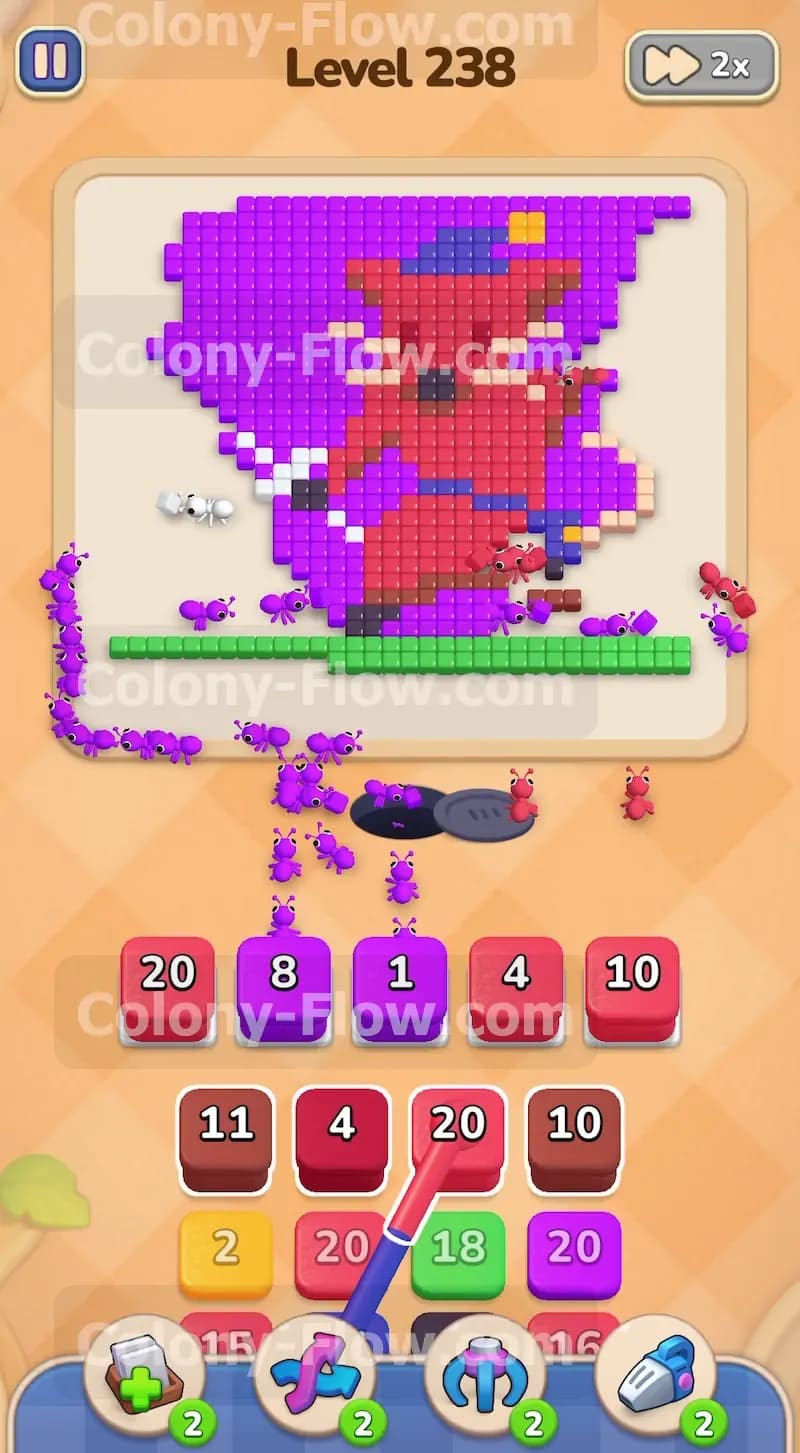
While your purple ants are busy working their way up the sides you will notice the bottom of the picture is totally exposed. The green grass forms a solid flat line directly above the nest hole. This is the perfect time to introduce your second color. Tap a green block from the tray to bring it up to your active slots. Green ants will rush straight up and start munching away at the grass tiles. The green grass acts as a barrier blocking access to the brown box and the feet of the red character. Clearing it early is absolutely critical for your future moves. Make sure you only pull one green block at a time. You must leave your remaining three slots open for more purple blocks or to act as a safety buffer.
Step 3: Send brown ants to dismantle the large box sitting in the foreground.
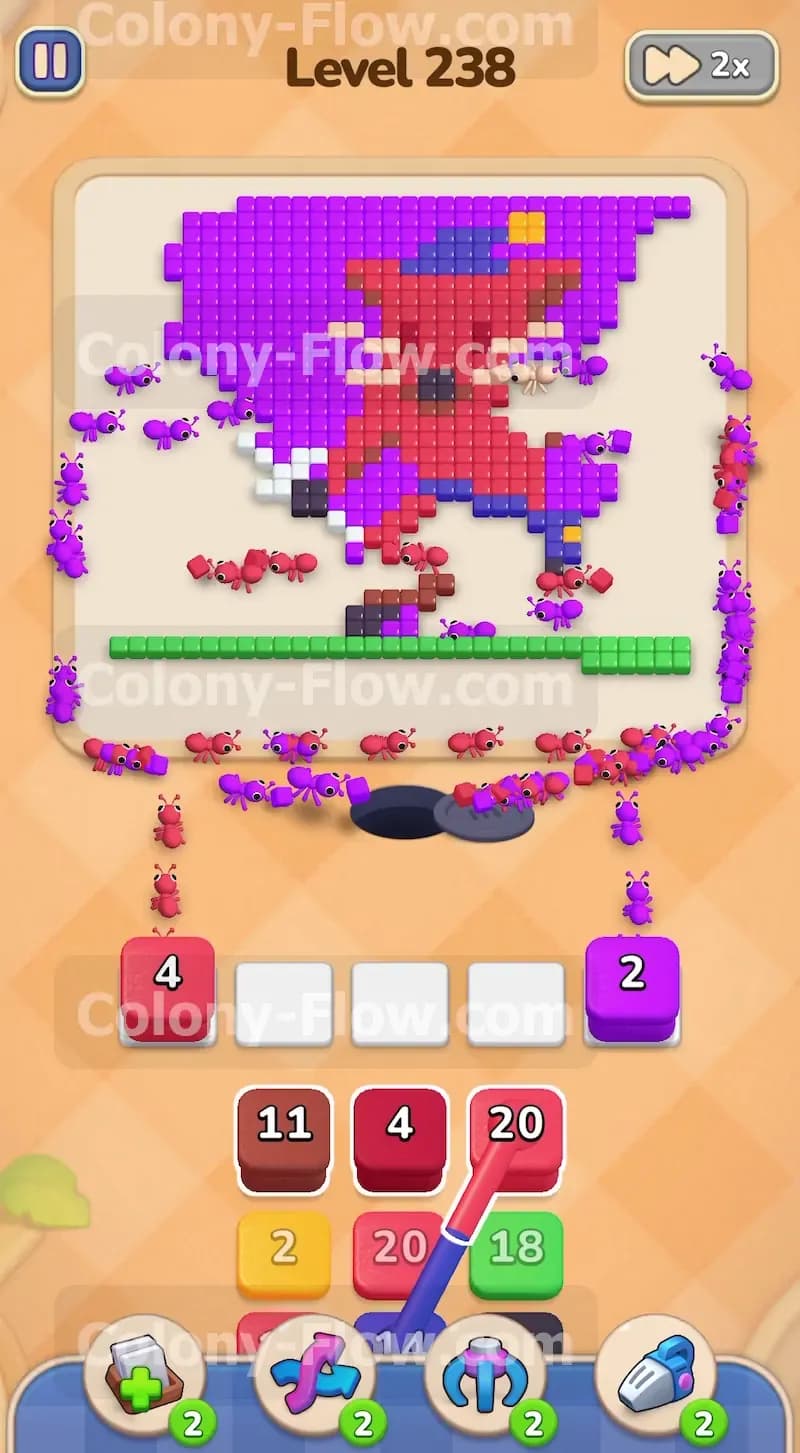
Once the green ants clear away the grass the path to the brown box opens up completely. The box is huge and requires a lot of ants to destroy. Look for a high number brown block in your tray and tap it. The brown ants will march straight into the center of the board and start tearing down the box. Taking out this box is a mandatory step before you can access the lower half of the red cat. At this stage you will have a very active board. Purple ants will still be clearing the top and side background areas while your brown ants handle the center front. Check your waiting slots constantly. You should always aim to have at least one or two slots completely empty. If your slots start filling up just wait a few seconds and let the current blocks empty out before making your next move.
Step 4: Begin chipping away at the main red body of the character.
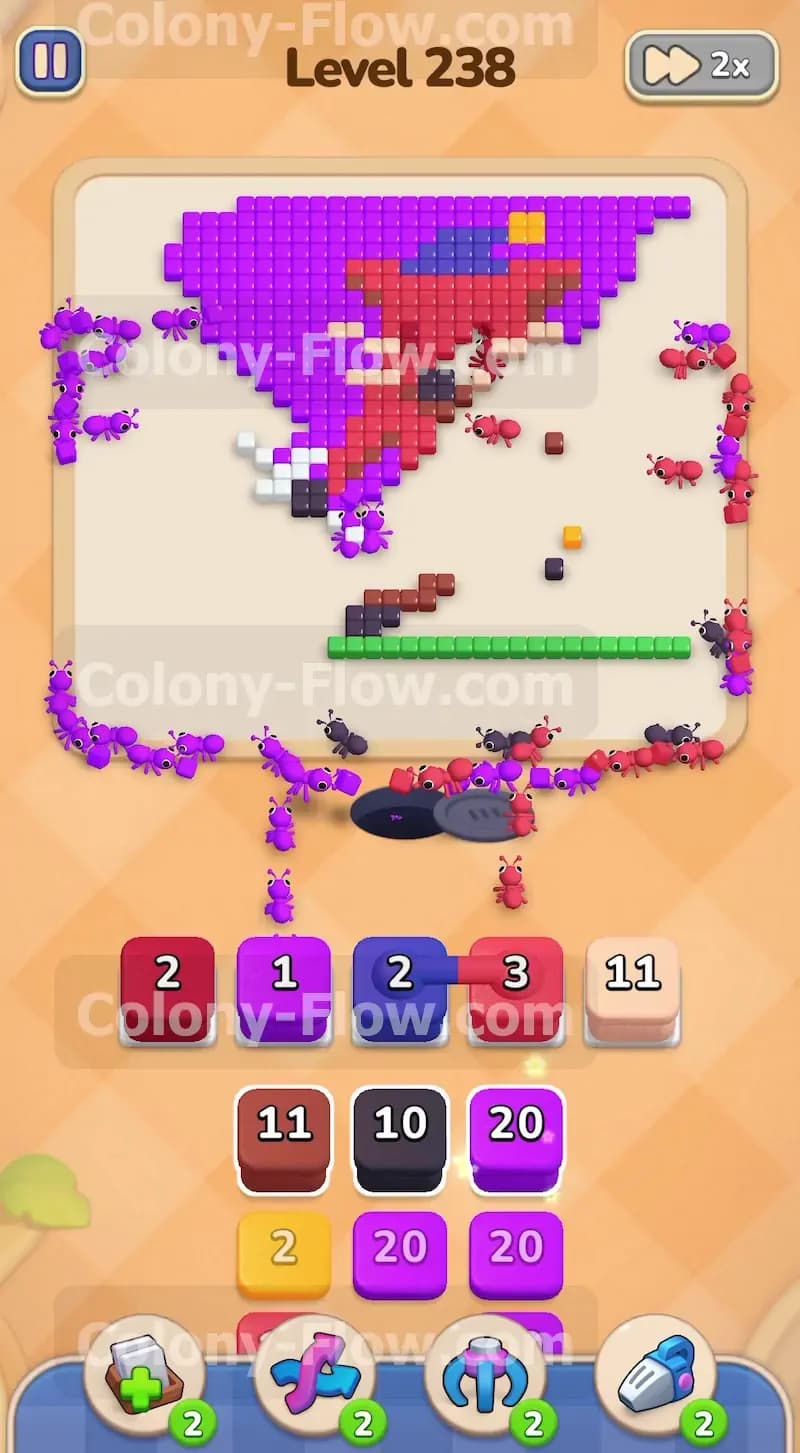
The brown box is gone and the outer purple layer is significantly thinner. The red legs and lower torso of the cat are now fully exposed to the nest hole. It is finally safe to start pulling red blocks from your tray. Bring up a high value red block and watch the red ants flow upward. They will start at the feet and systematically eat their way up the body. The red section is massive so this process takes several pulls. You must sequence your red blocks carefully. Pull one let it count down halfway and then pull another to keep the swarm moving. Avoid pulling five red blocks all at once. The ants can only travel so fast and you never want to accidentally gridlock your waiting area if they hit a bottleneck.
Step 5: Clear the white sword on the left and the beige tail on the right.
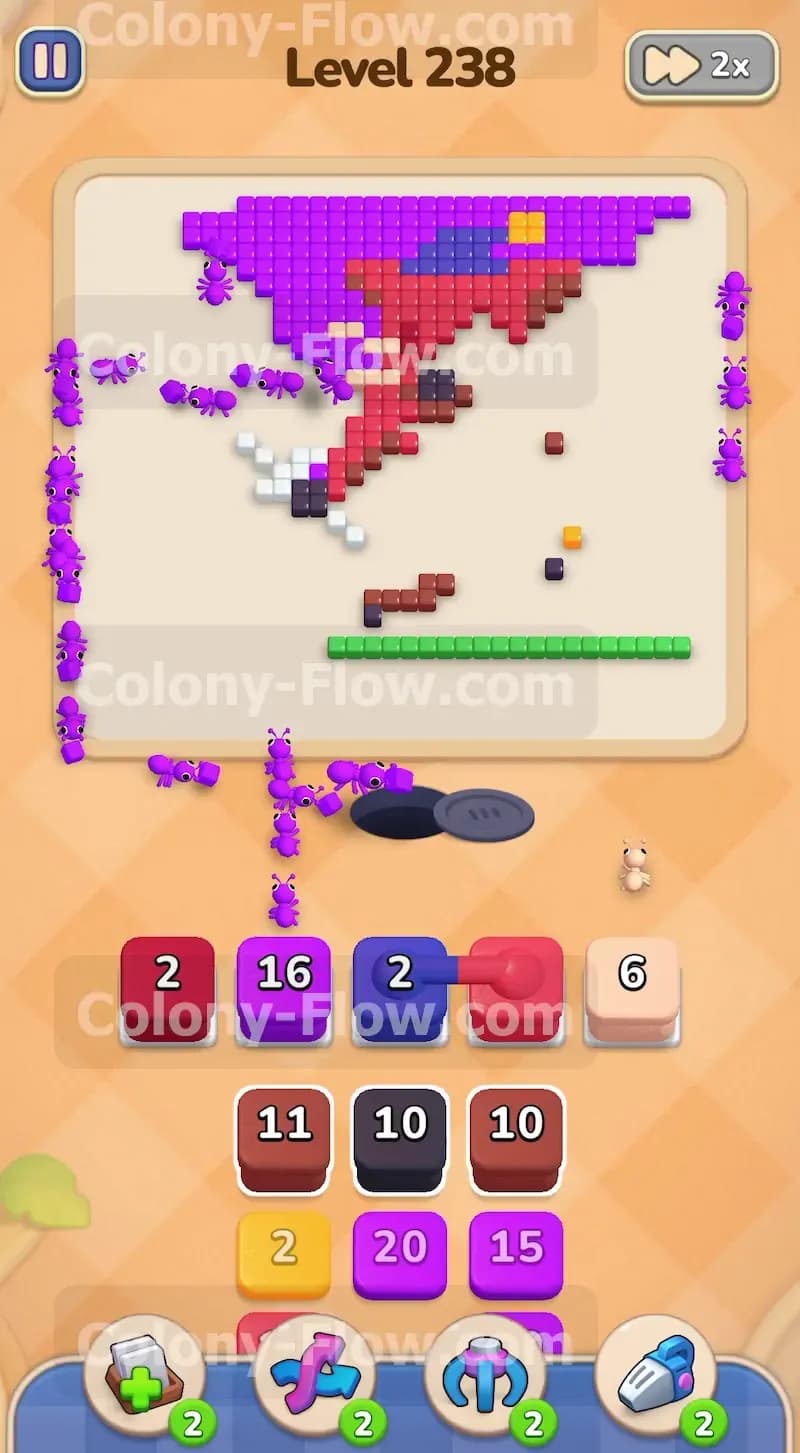
As the red body shrinks the inner details become accessible. The purple ants have done their job on the left side completely exposing the white sword. The right side is also open revealing the beige tail. You can now tap a white block and a beige block to bring them into your active area. The white ants will travel up the left flank to strip away the sword blade. The beige ants will move up the right flank to eat the tail. Attacking the left and right sides simultaneously is a fantastic way to spread out the traffic on the board. The ants will take different paths from the nest hole preventing any single route from getting too crowded. This keeps your blocks counting down rapidly and frees up your slots much faster.
Step 6: Target the blue belt and the blue hat at the top of the picture.
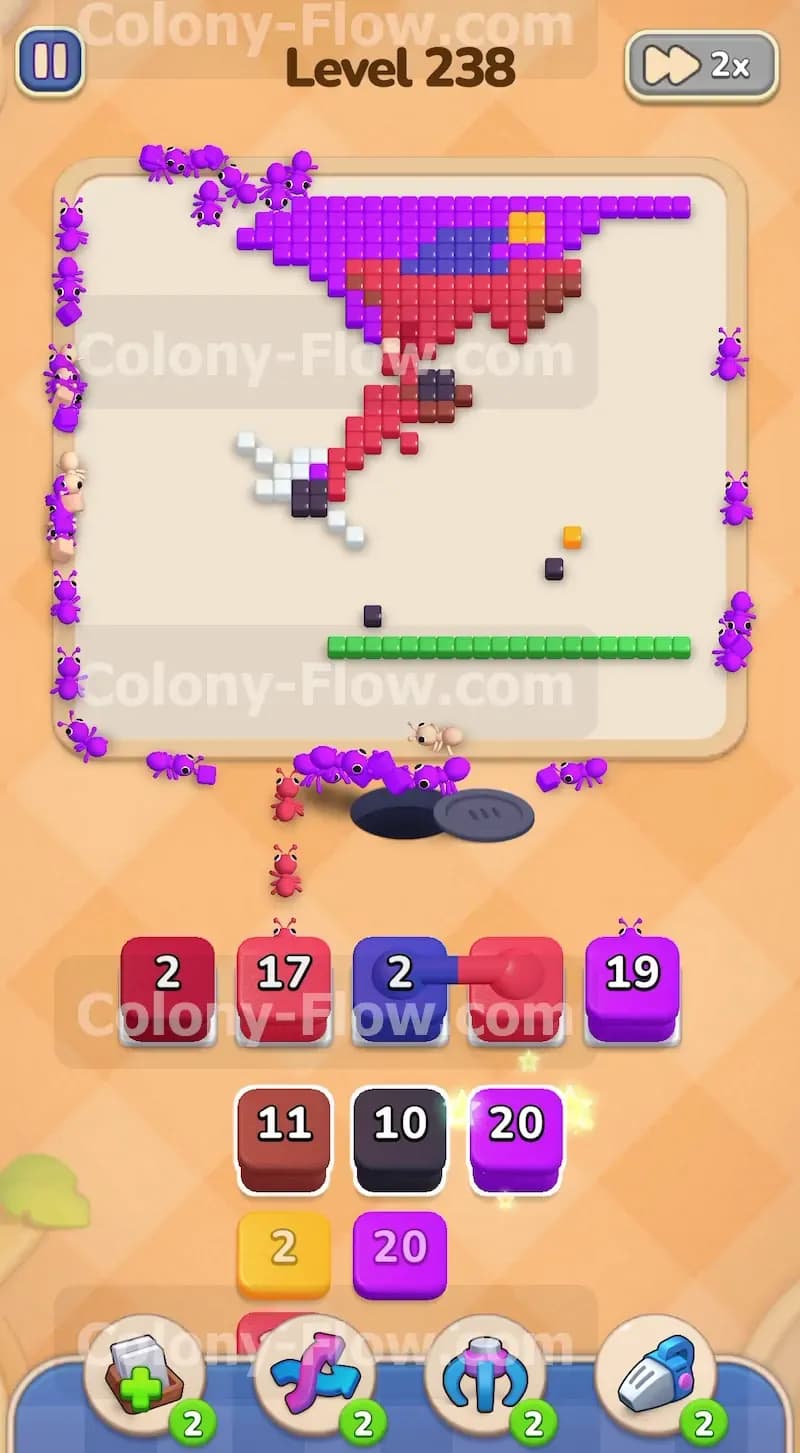
The red ants have eaten enough of the lower body to expose the blue belt crossing the waist. The purple background at the very top is mostly gone which leaves the blue hat unprotected. Bring a blue block up into your slots. The blue ants are smart and will divide their forces. Some will march up to eat the belt while others will climb all the way to the top of the head to consume the hat. This dual targeting is very efficient but it means you must wait until both areas are exposed before pulling a large blue block. If you pull the blue block while the hat is still covered in purple the block will sit in your slot waiting for the top to open. Always verify the path is clear before making a move.
Step 7: Send black ants to clean up the facial features.
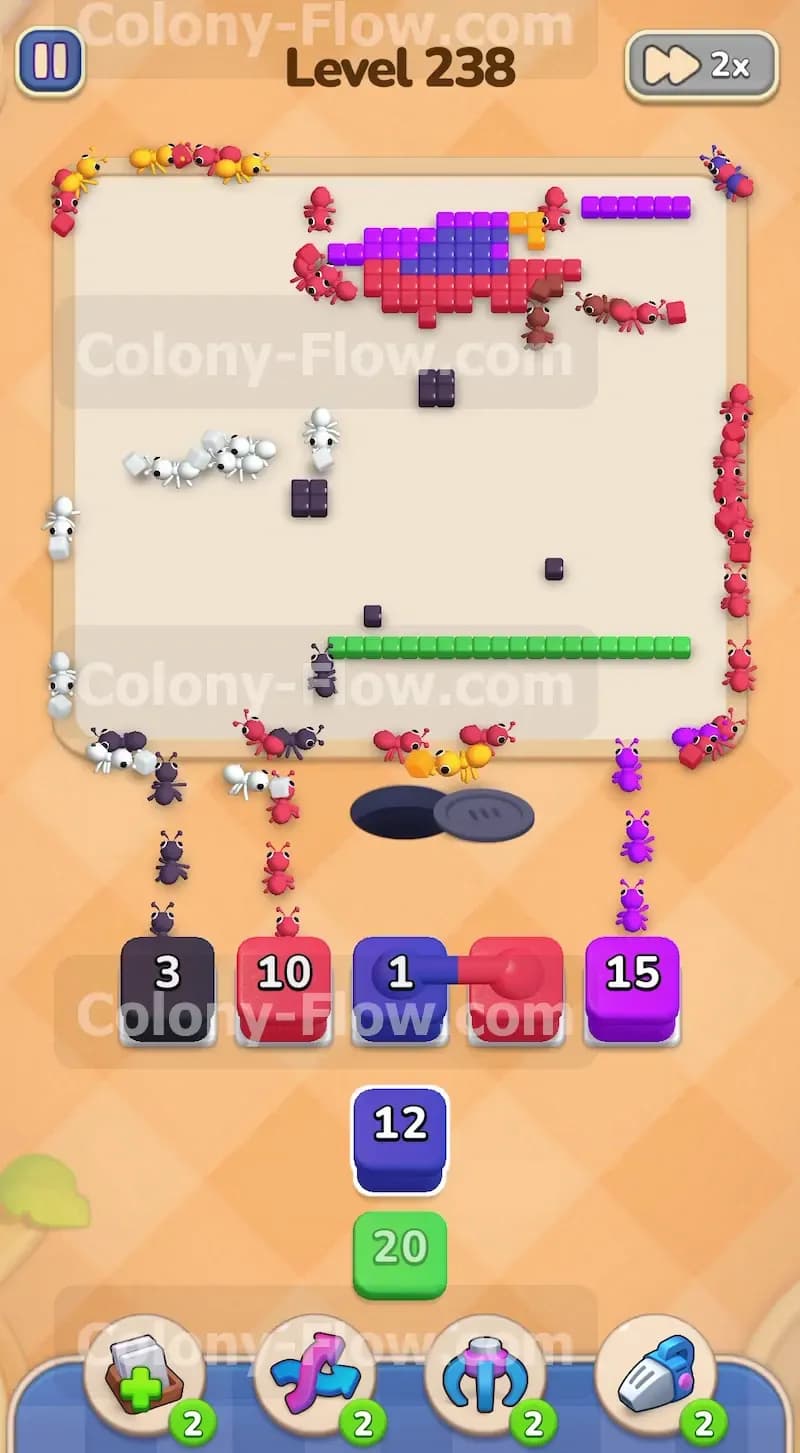
The black eyes nose and whiskers are tiny scattered tiles embedded in the red face. These are the most dangerous tiles on the entire board. If you pull a black block too early it will permanently occupy one of your five slots until the surrounding red tiles are gone. You must show absolute restraint. Wait until the red ants have completely finished eating the face area. Once the black tiles are left floating on their own you can finally tap your black block. The black ants will zip up the board and snatch the remaining face pieces. Because there are only a few black tiles the block counts down to zero almost instantly and disappears from your tray leaving your slot perfectly clean.
Step 8: Sweep up the final yellow details and any leftover edge tiles.
You are now in the final stretch of the level. The board is mostly empty. The only distinct pieces remaining are the yellow hilt on the sword and the yellow pompom on top of the hat. Pull your yellow block to let the ants take care of these last two details. Look around the edges of the board for any lingering red or purple tiles that were left behind. You will have a few low number blocks sitting in your tray. Tap whatever colors are left to send out a final wave of ants. They will run up and eat the last few pieces of the picture. The board will go completely blank and you will win the level.
Final Thought
Colony Flow is a game of patience and pathfinding. Level 238 tests your ability to hold back your moves until the right layers are exposed. Always remember the golden rule of never filling all five waiting slots unless you are absolutely sure the ants have a clear run. If you find yourself getting stuck or a specific sequence is hard to follow in text I encourage you to watch the video above this article. Seeing the ants move in real time will help you master the timing needed to clear this massive board.