Colony Flow Level 15 Walkthrough Solution & Guides | How to solve Colony Flow 15

Guide By Liam Stone
Updated on July 10, 2026
If you'd rather see it than read it, the video above walks through Level 15 from start to finish.
Video doesn't match your screen?
Game updates frequently scramble layouts! Try our AI Screenshot Solver first to find your exact board instantly, or report broken guides to our team.
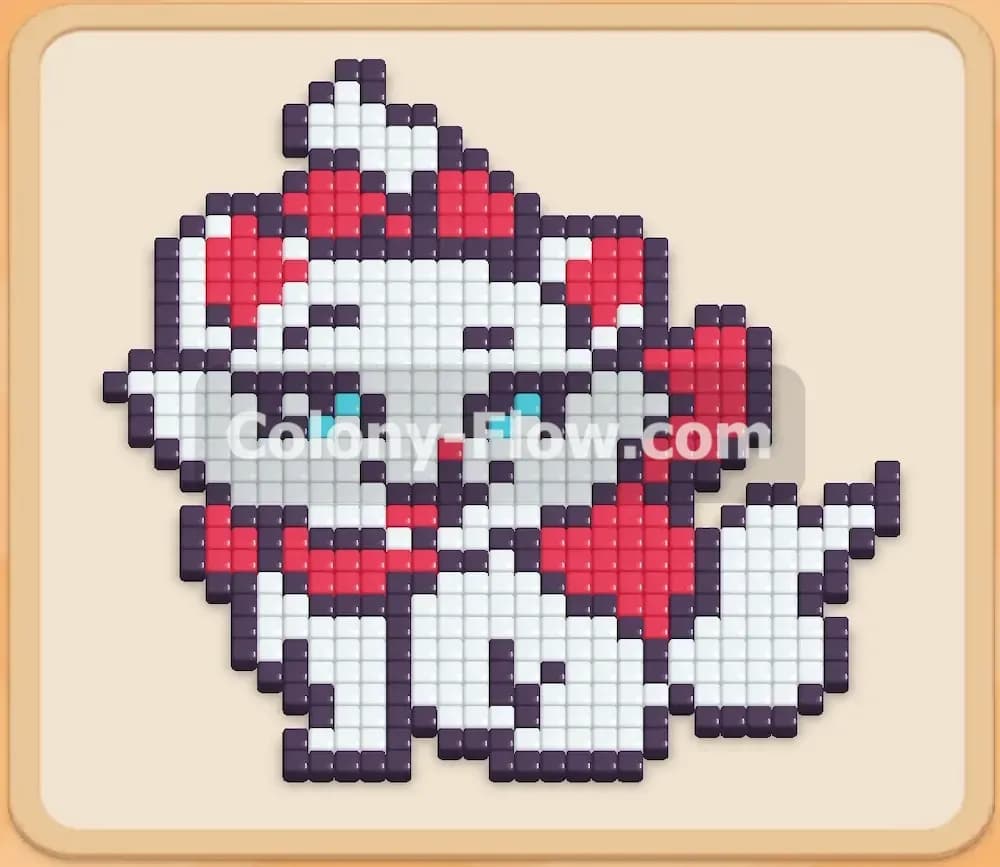
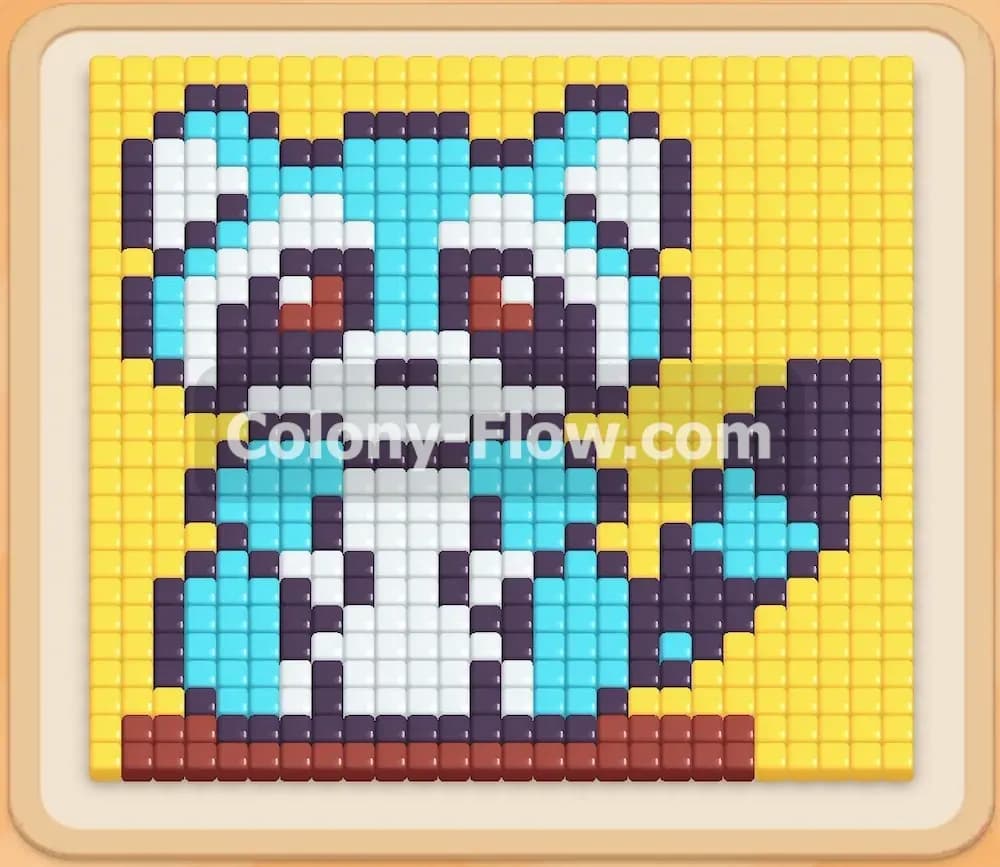
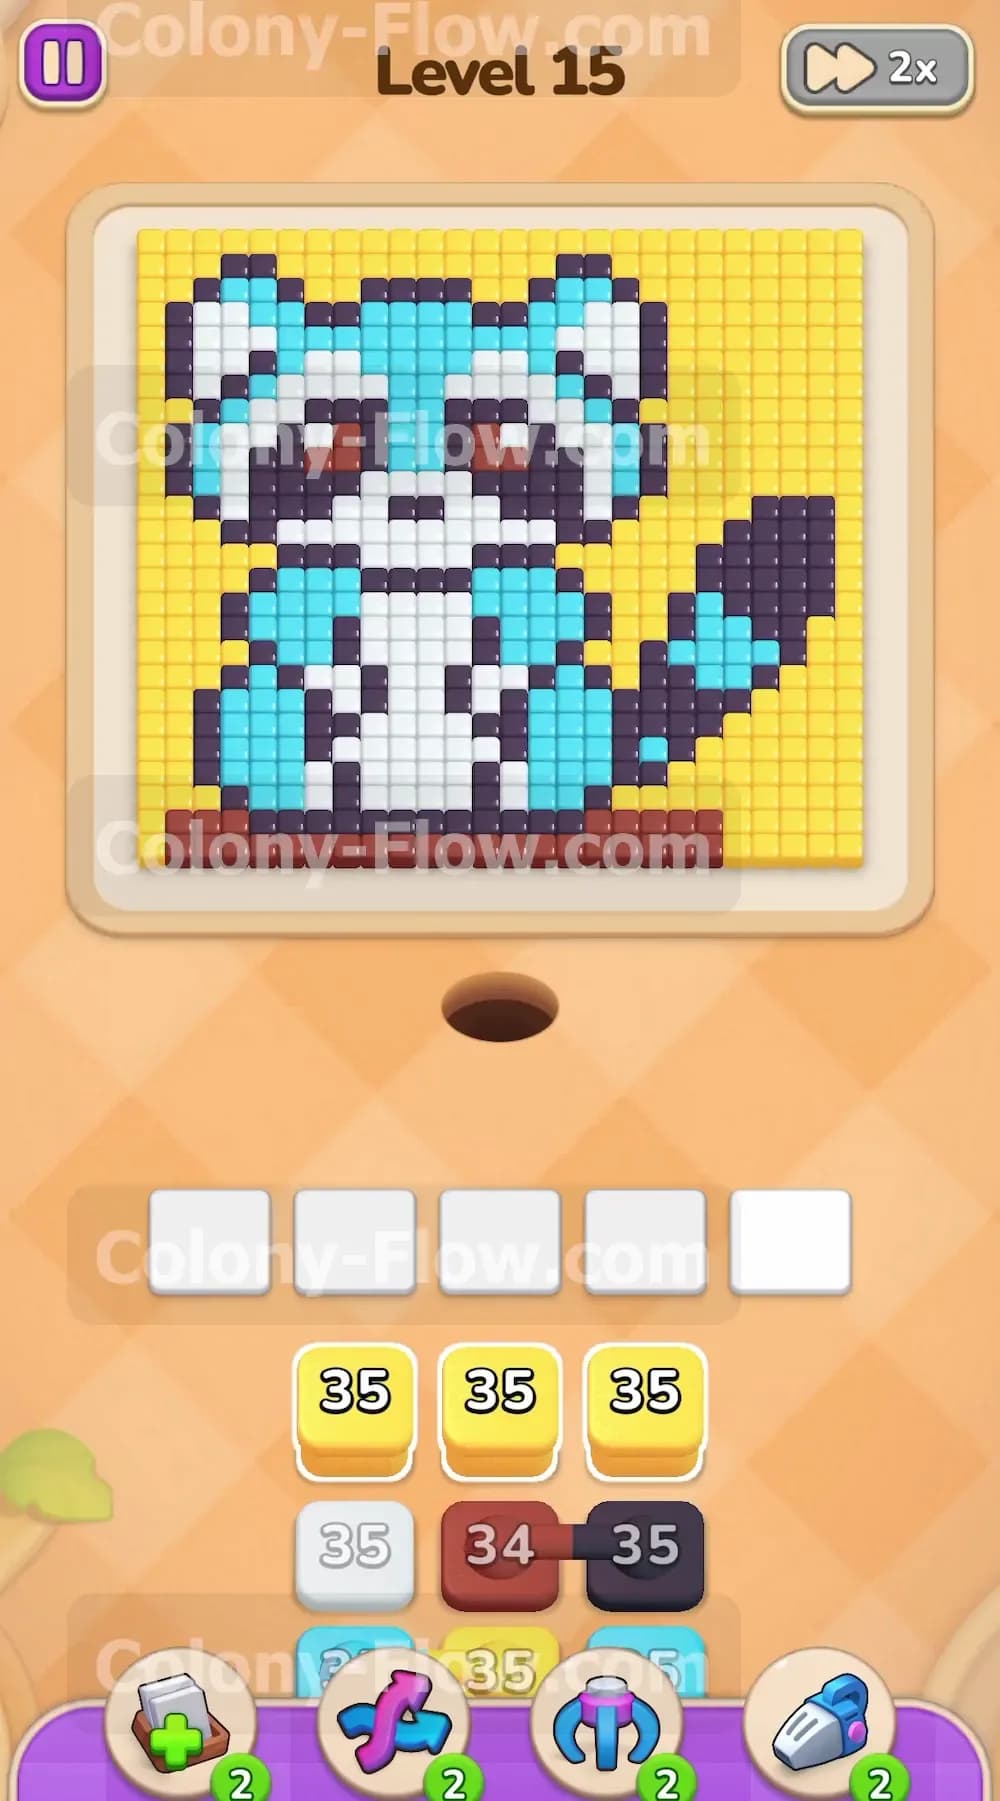
Colony Flow Level 15 drops you right into a vibrant puzzle featuring a pixel art raccoon sitting on a log. You must guide your ants to clear every tile of this picture without clogging your waiting area. You need a careful approach to keep the ants moving and prevent the block slots from filling up with nowhere to go.
Colony Flow Level 15 Overview
What You Are Working With
The picture displays a raccoon formed by cyan and white tiles surrounded by a thick dark grey outline. The raccoon sits on a solid brown log against a large yellow background. The tray at the bottom provides blocks matching these exact colors. Most blocks hold a value of 35 or 40. This level introduces a few twists to your tray. You face a hidden box marked with a question mark that conceals its color until it can move. You also encounter multiple connected boxes. These linked blocks must be pulled together into the waiting slots.
Level 15 Objective
Your goal is to clear the entire raccoon picture and the background without dead ending the board. You have five waiting slots available for your colored blocks. You lose the level if you fill all five slots with colors that the ants cannot reach on the board. You win when every single tile is eaten by the ants and the board is completely empty.
Colony Flow Level 15 Step by Step Solution
Step 1: Open the bottom and left edges to create flow
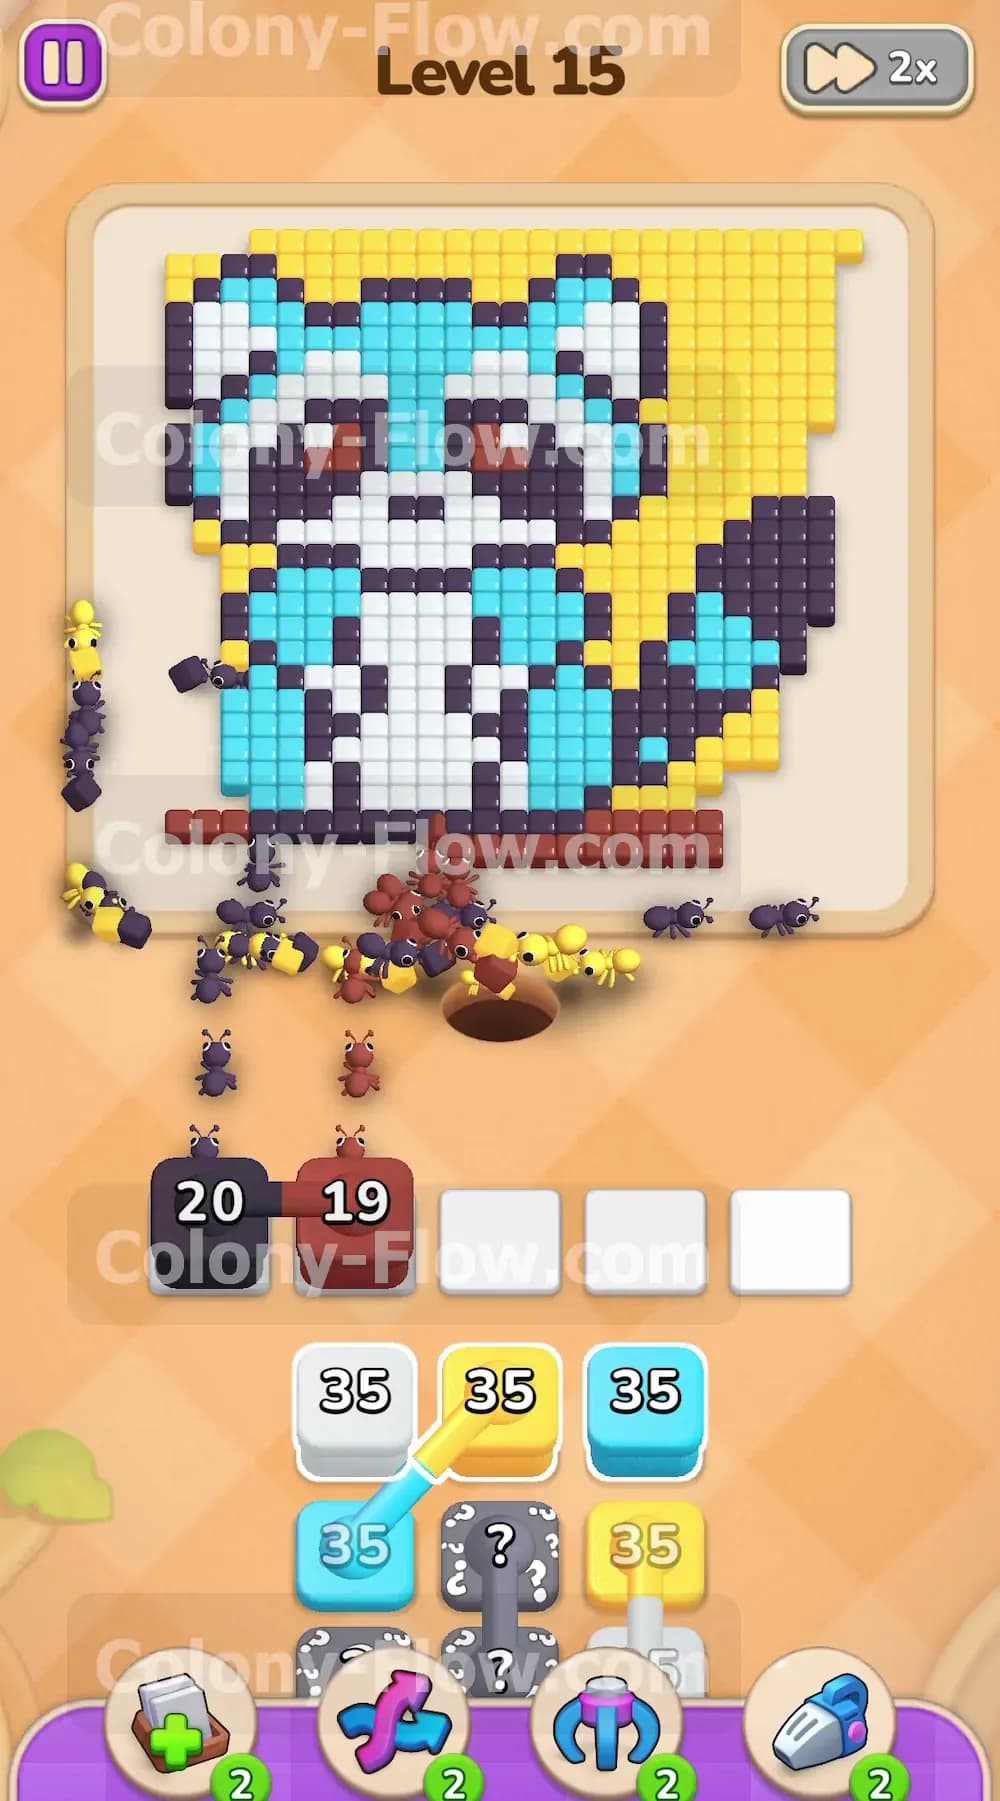
The ants emerge from the nest hole at the bottom of the screen and need an immediate path to start working. Pull the brown block with a value of 34 into your waiting slots to target the log. Pull a dark grey block into the slots to target the thick outline on the left edge. The ants immediately flood the lower section and start eating away the brown log and the lower left dark grey borders. This move breaks the solid bottom barrier and opens access to the interior colors of the raccoon body.
Step 2: Expand the outer paths into the yellow background
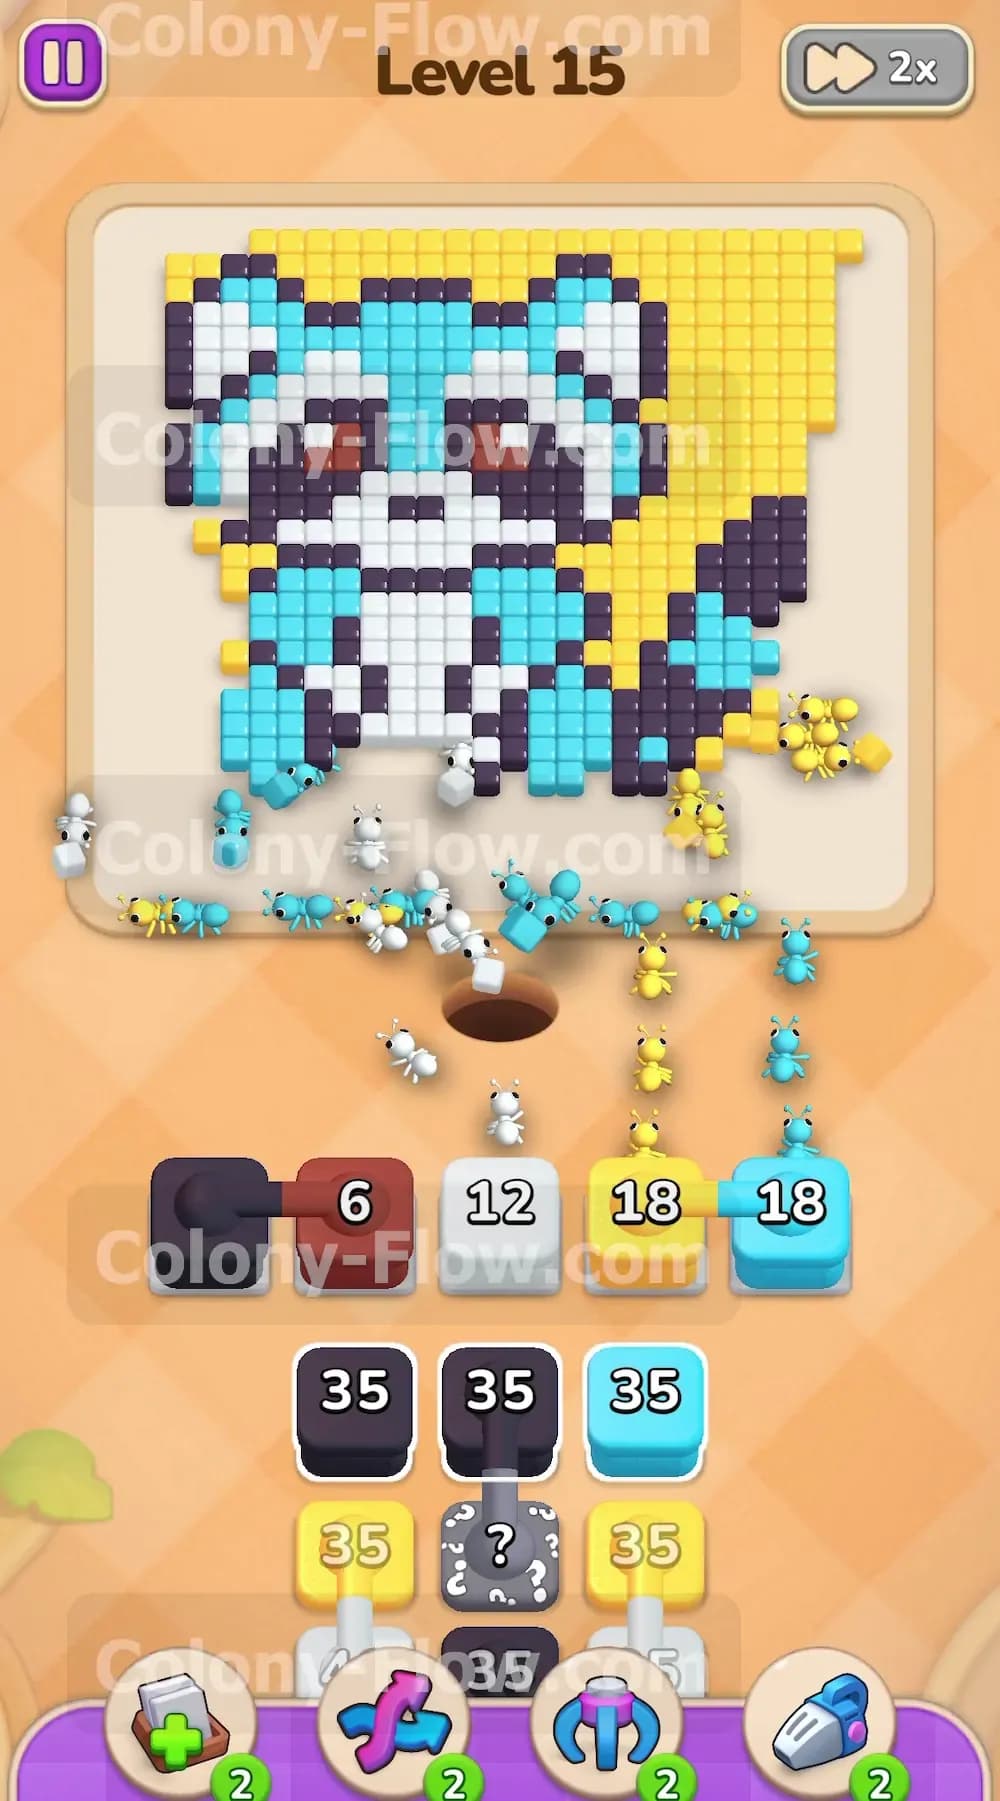
With the bottom edges broken open the ants can now reach the yellow background tiles on both sides of the raccoon. Pull two of the yellow blocks from your tray into the waiting area. The yellow blocks carry a count of 35 each. The ants will stream up the left and right sides of the board to eat the yellow background. Keeping the ants busy on the large yellow perimeter gives you breathing room in your waiting slots. You can now pull a cyan block into the slots to start clearing the lower cyan body tiles of the raccoon while the yellow blocks slowly count down.
Step 3: Activate the hidden box to reach the white belly
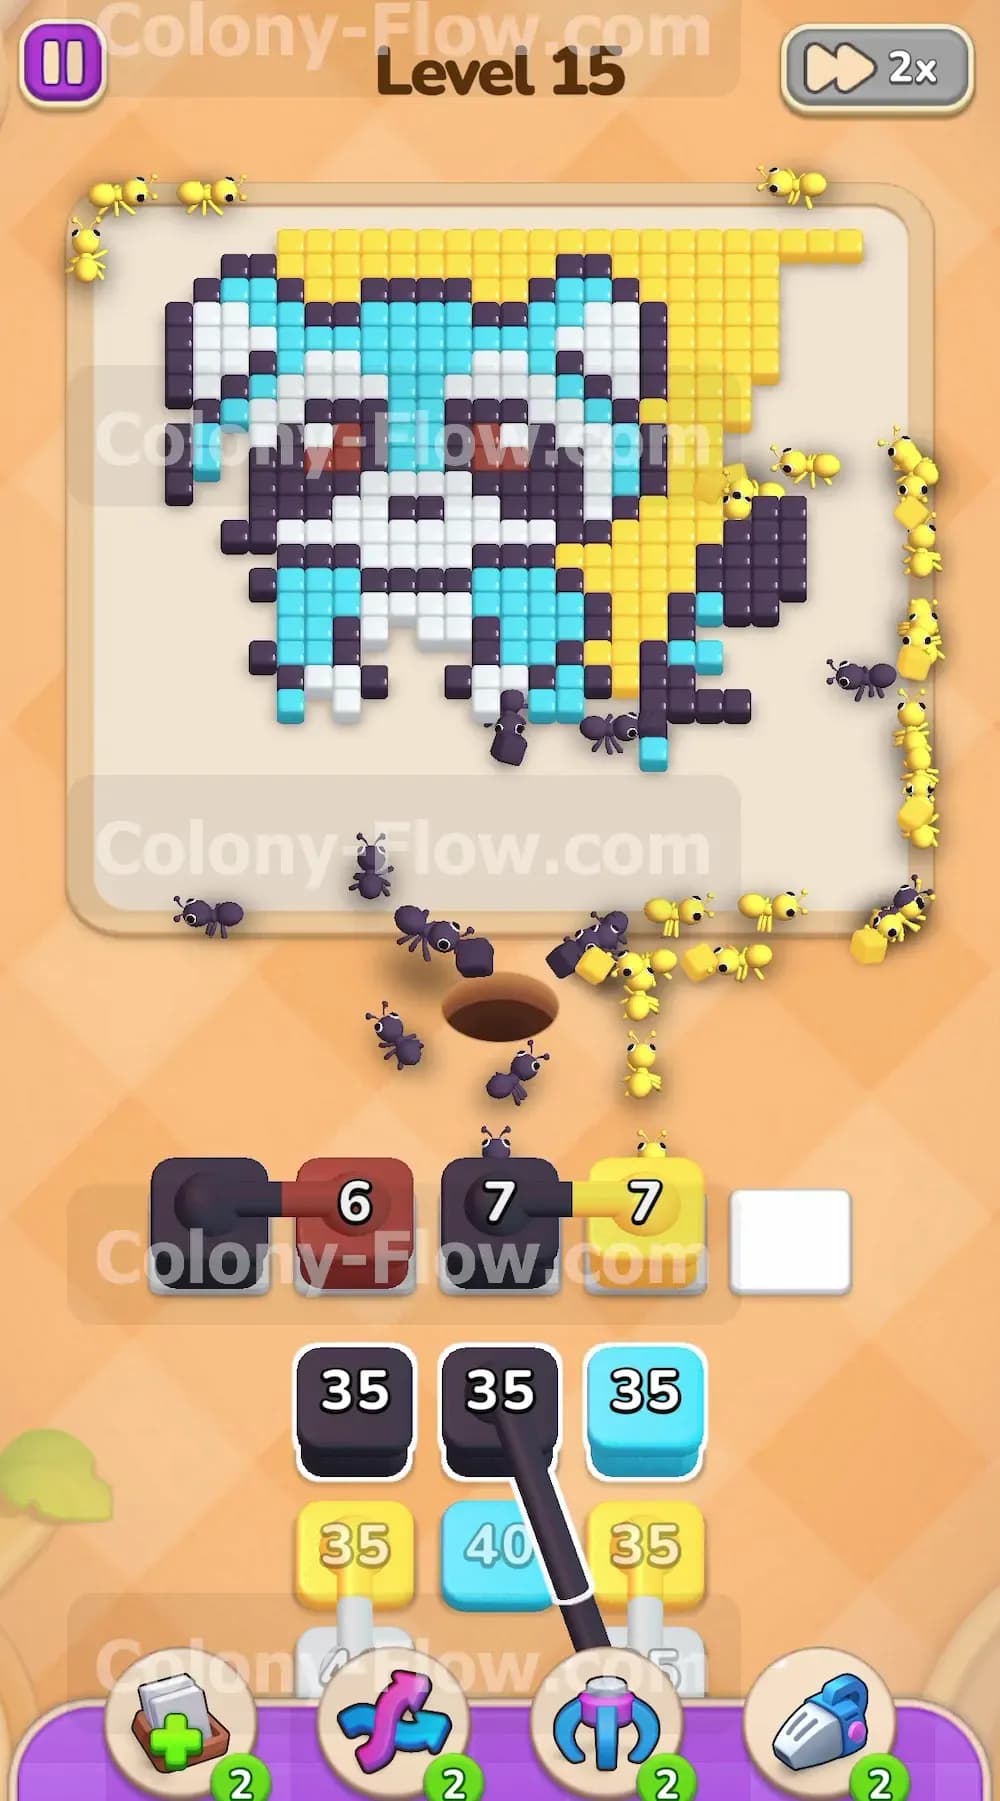
A grey block with a question mark sits in your tray waiting for a valid path. This hidden box conceals a white block. Now that the outer cyan body is partially cleared the ants have a direct path to the white belly tiles. Pull the hidden box up into the waiting slots. It reveals its white color and the ants immediately swarm the center of the board to clear the raccoon belly. Pulling this block clears a massive path straight up the middle of the figure and exposes the inner dark grey lines of the raccoon mask.
Step 4: Manage the dark grey connected boxes
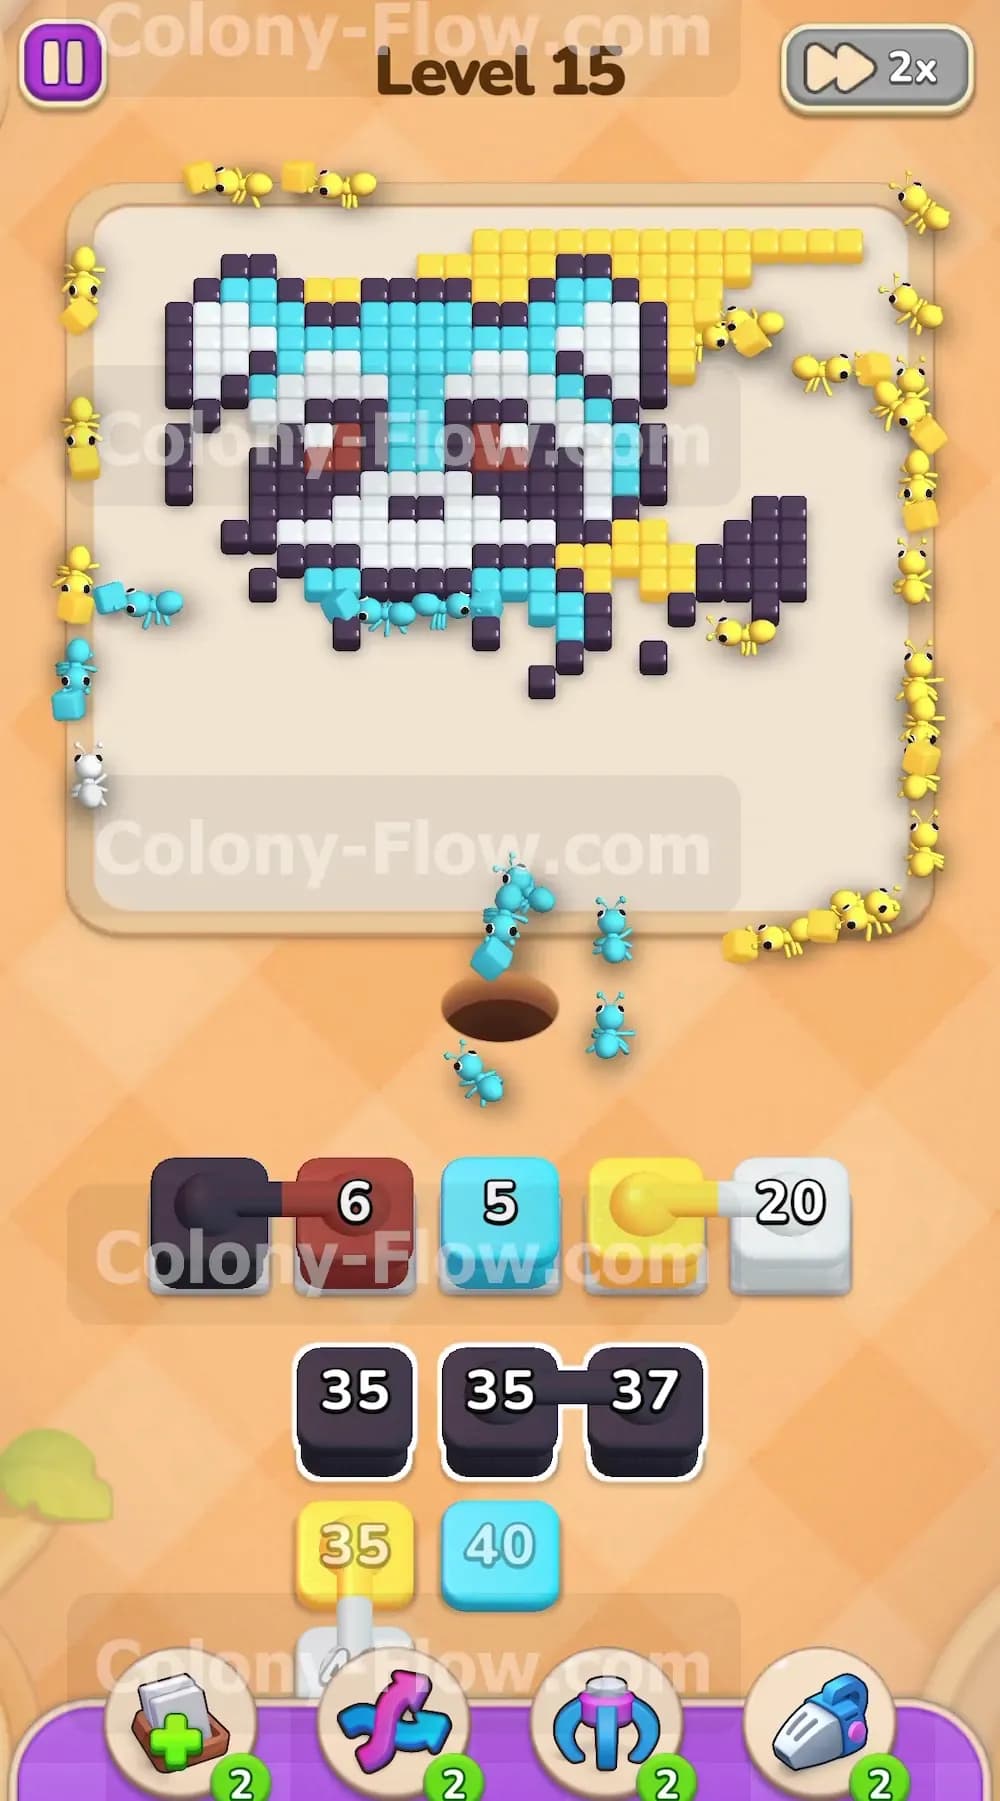
You will notice two dark grey blocks linked together in your tray. Connected boxes pull as a single unit and take up two waiting slots instantly. You must make sure the ants have plenty of dark grey tiles exposed before you pull this pair. The inner raccoon mask and the upper outlines provide the perfect target. Pull the connected dark grey blocks into your waiting area. Because you opened the center and the sides earlier the ants can easily reach multiple sections of the dark grey outline at once. The numbers on both dark grey blocks will count down quickly without jamming your board.
Step 5: Tear down the large cyan body sections and mask
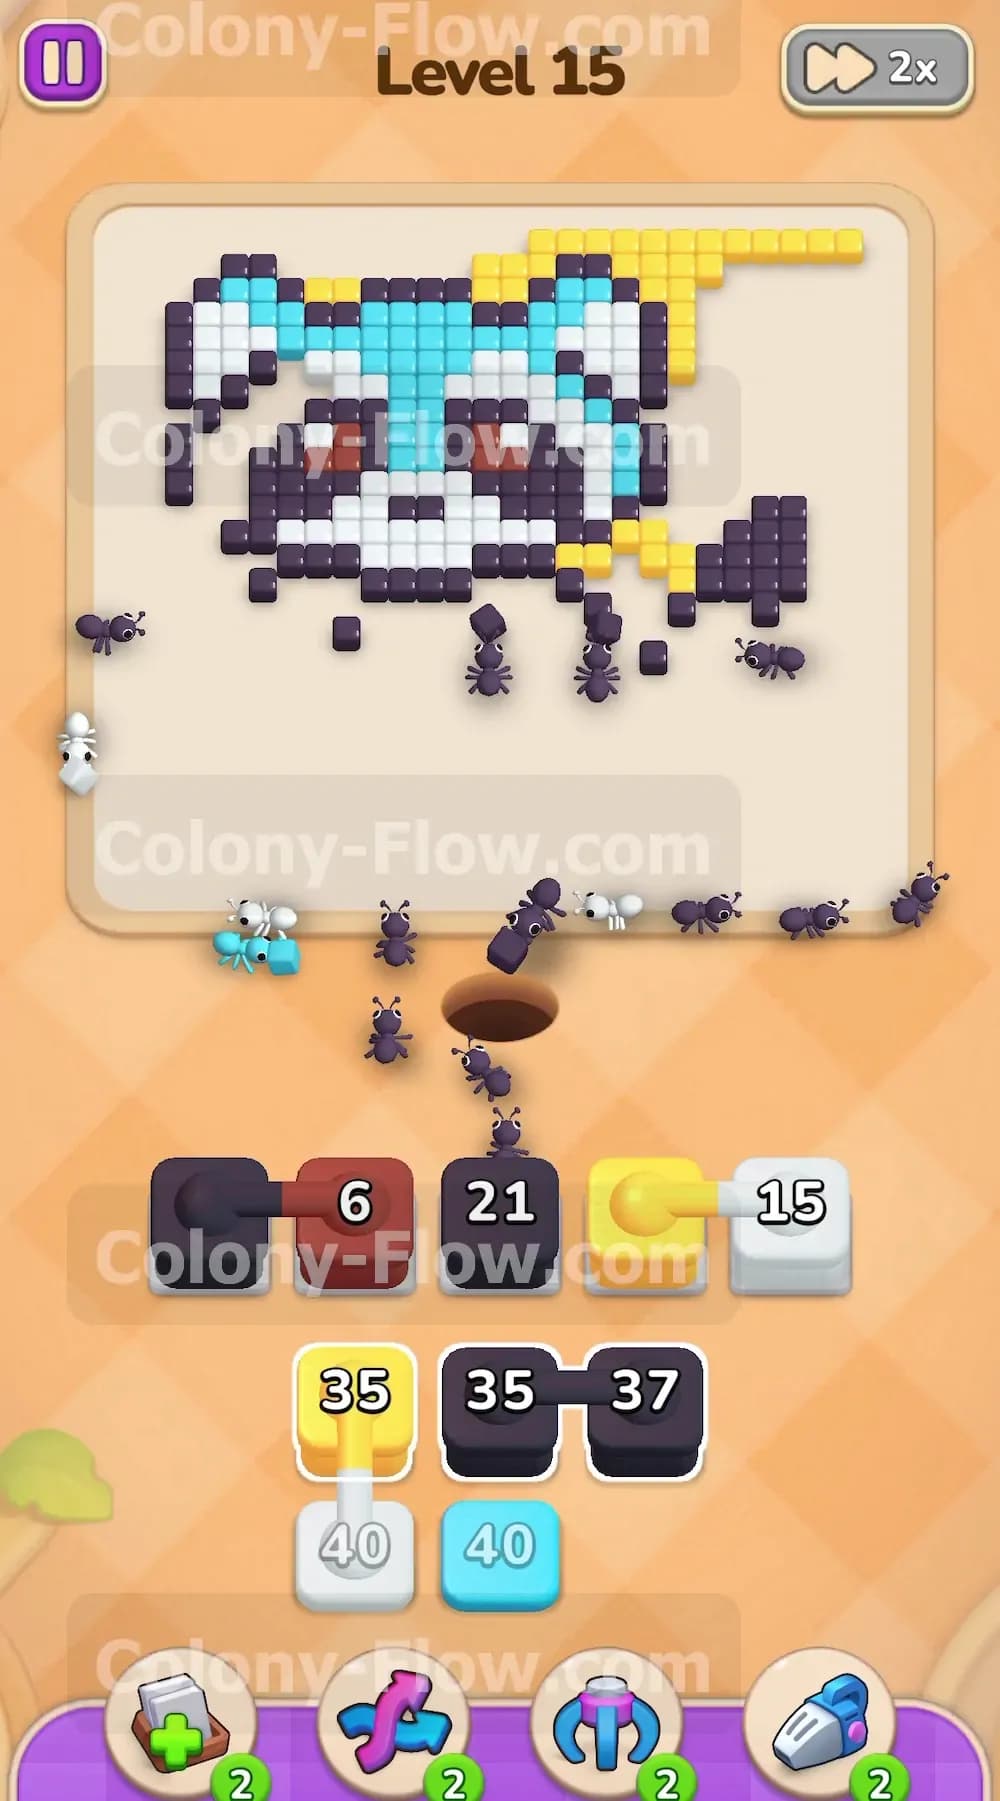
The board is now mostly stripped of its outer lines and lower body. The remaining picture consists of the large cyan head the white face and the top corners of the yellow background. The tray provides high capacity blocks holding a value of 40 for both cyan and white. Pull a cyan block and a white block to tackle the thickest parts of the head. The ants will divide their attention between the blue cyan fur and the white sections around the eyes. Leave at least one empty slot in your waiting area to ensure you have an emergency space if a path temporarily blocks.
Step 6: Use mixed connected boxes for the upper background
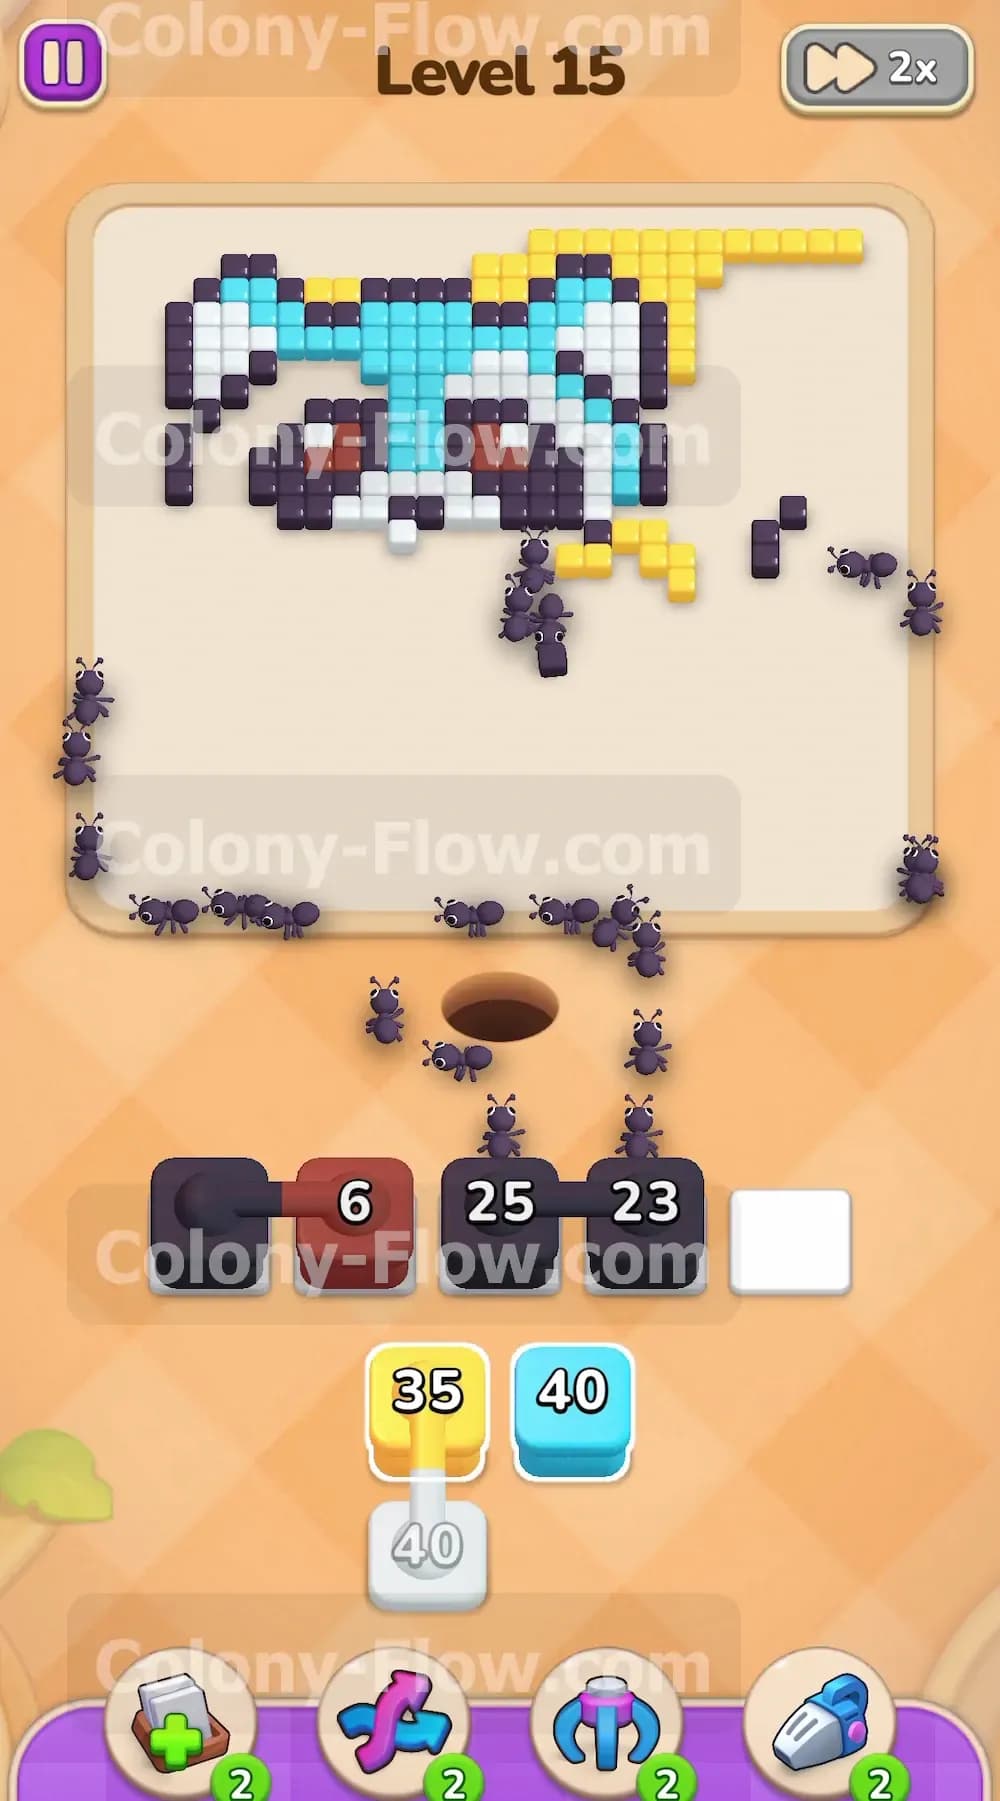
A new set of connected boxes appears in the tray featuring a yellow block linked to a cyan block. You need to pull this pair to clear the final yellow background tiles in the top right corner and the remaining cyan fur on the top of the head. Wait until the ants finish eating the current cyan tiles before pulling this mixed pair. Once the board paths are clear pull the connected pair up. The ants will rush the top right corner to finish the yellow tiles while another group targets the top of the head.
Step 7: Finish the top of the head to complete the puzzle
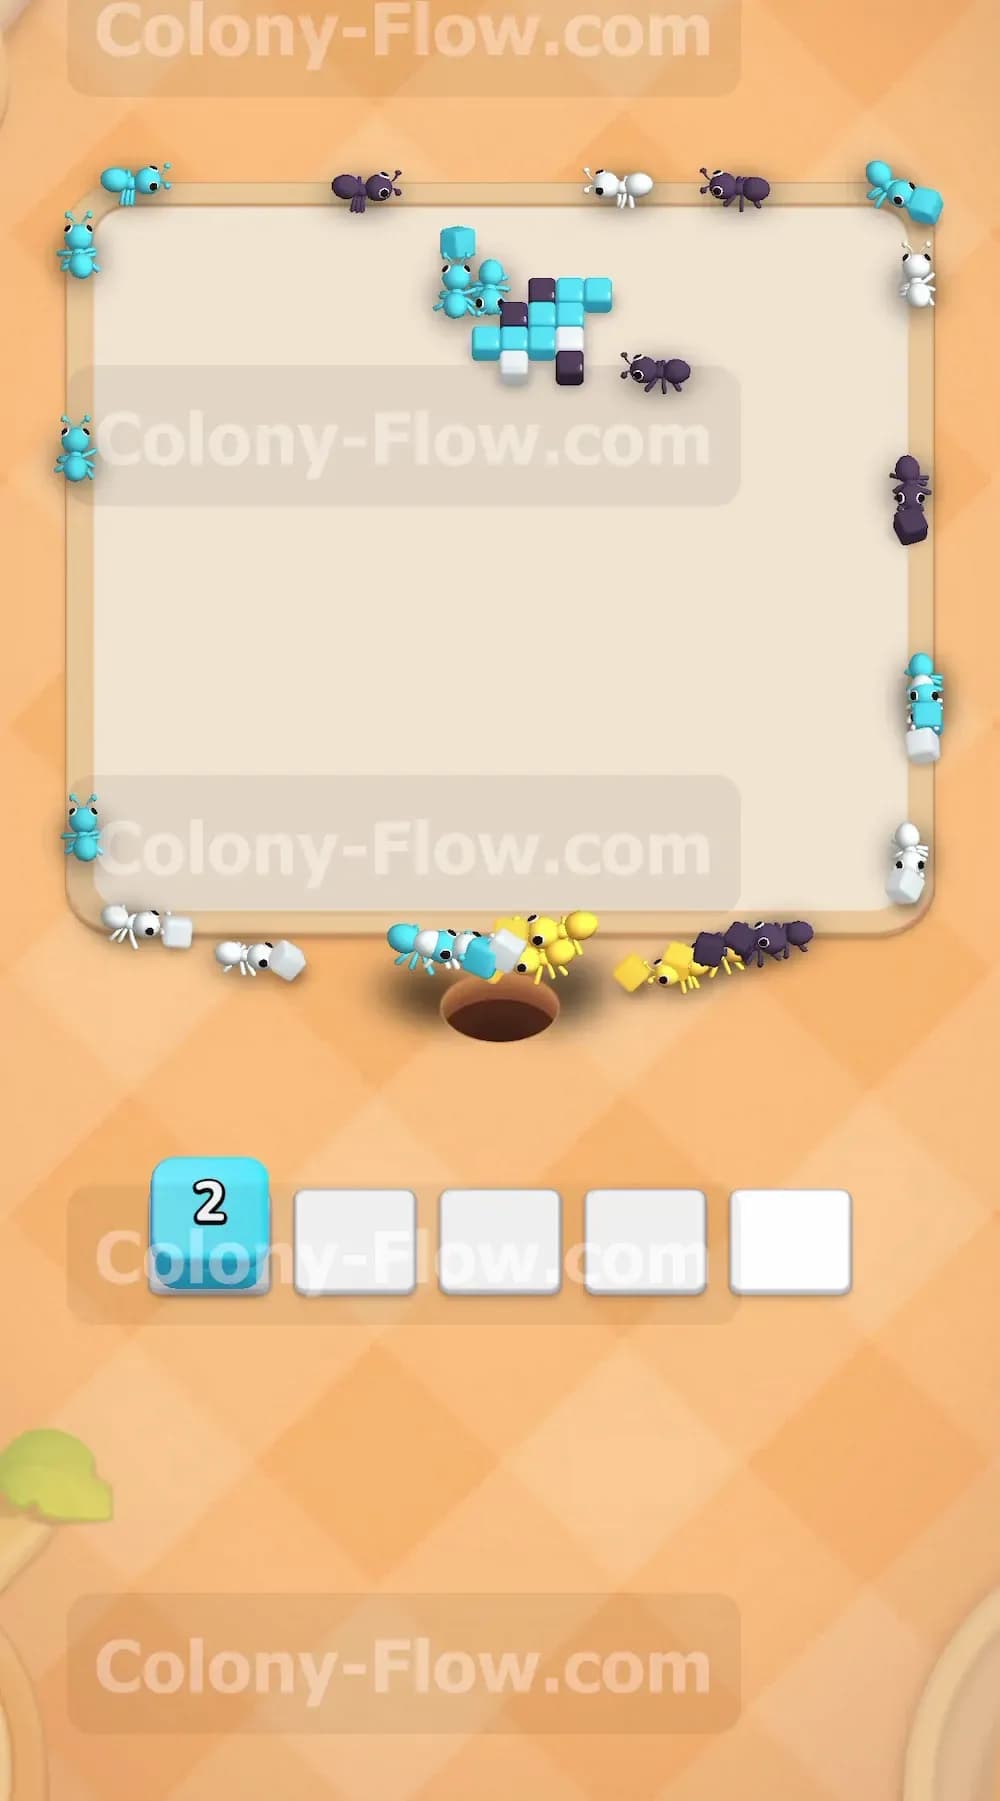
Only a few straggling cyan and white tiles remain at the very top of the board. Your waiting slots should be nearly empty at this point. Pull the final cyan and white blocks from the tray. The last remaining ants will climb all the way to the top edge and eat the final pixels. The level ends in a win as the final block count hits zero and the board clears completely.
Overall Strategy to Clear Level 15 Board
- Break the bottom barrier first. You cannot reach the yellow background or the internal body colors until you remove the brown log and the bottom dark grey outlines. Prioritize these colors immediately to let the ants spread out.
- Manage connected pairs carefully. Pulling linked blocks takes up multiple waiting slots at the same time. Never pull connected dark grey blocks unless you visibly see a long path of dark grey tiles ready to be eaten.
- Keep the perimeter active. The yellow background is massive. Always keep at least one yellow block active in your waiting slots during the early and middle stages. This ensures a steady stream of ants is always working and keeps your slots from jamming.
- Expose hidden blocks early. The question mark block turns out to be a white block needed for the belly. You want to get this block into play as soon as the belly is exposed so you can reach the upper face.
- Watch block capacity values. Pay attention to the blocks carrying a count of 40 later in the level. Make sure you have enough tiles of that color left on the board before pulling them so they do not get stuck in a slot permanently.
Final Thought
Beating this puzzle requires strict attention to the order of operations and good management of your limited waiting slots. The connected blocks and hidden box try to trick you into filling your slots too early. Keep the ants flowing along the edges and you will easily break down the picture. Watch the video above this article if you want to see exactly how these moves play out in real time.