Colony Flow Level 264 Walkthrough Solution & Guides | How to solve Colony Flow 264

Guide By Liam Stone
Updated on July 15, 2026
The video above has the full Level 264 walkthrough, so skip the reading if you just want to watch.
Video doesn't match your screen?
Game updates frequently scramble layouts! Try our AI Screenshot Solver first to find your exact board instantly, or report broken guides to our team.
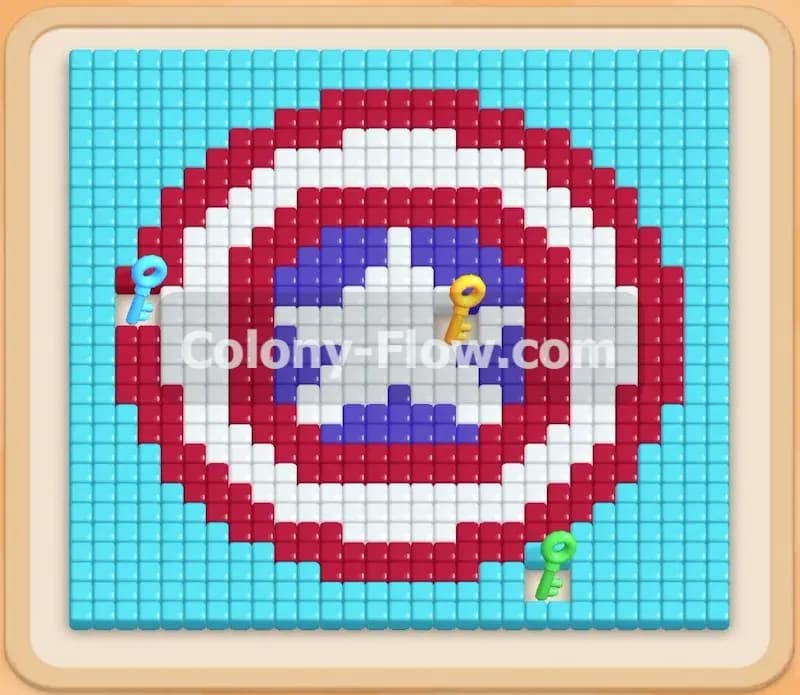
Welcome back to another puzzle solving guide. Today we are taking on Colony Flow Level 264 together. This specific board features a really cool pixel art design that looks just like a classic superhero shield. You will see vibrant red white and blue rings surrounding a center star all set against a large light blue background. While the art looks fantastic this level brings a solid challenge because the pathways are tight and several of your crucial blocks are locked up behind padlocks. I play every single level I write about so I know exactly where the tricky parts are. I will walk you through my exact method to clear this board safely.
Colony Flow Level 264 Overview
What You Are Working With
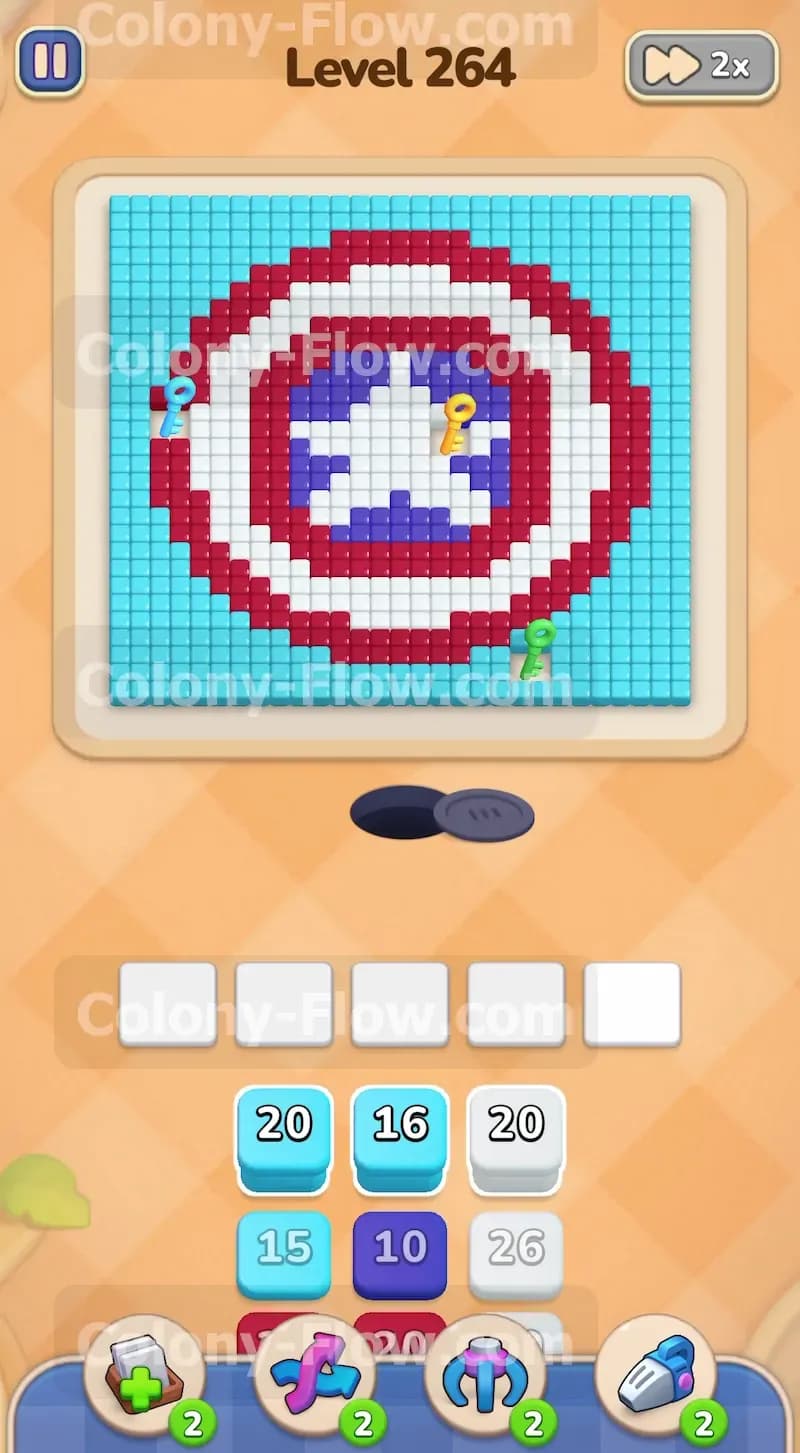
Take a good look at the board layout before you make your first move. The massive shield dominates the center of your screen. The design includes an outer red ring a middle white ring an inner red ring a dark blue circle and finally a bright white star right in the very center. A thick layer of light blue background tiles surrounds the entire shield shape. You will also notice three separate colored keys resting on top of the tiles. There is a green key near the bottom right area a yellow key near the right side of the center star and a blue key positioned on the middle left outer edge.
Look down at your tray at the bottom of the screen. You have multiple stacks of numbered blocks waiting for you. These blocks come in light blue cyan red dark blue and white colors to match the picture above. The numbers on these blocks tell you exactly how many ants will spawn when you play them. You will see some large numbers like twenty and twenty six mixed with smaller numbers like ten. You will also spot green yellow and blue padlocks sitting on top of several blocks deep in the tray. You cannot use those locked blocks until you collect the matching keys from the board above.
What It Takes to Clear Level 264 Board
Winning this level requires you to consume every single colored tile on the screen so your ant colony can finish their meal and return to the nest. You must collect the green yellow and blue keys in the correct sequence to unlock the restricted blocks holding you back. Your biggest threat is the row of five waiting slots located just above your tray. You lose the level immediately if you fill all five slots with blocks that have no open path to their matching colors. If you pull a dark blue block before you open a path to the dark blue center that block will sit dead in your slot. Do that five times and your game is over. Every single move you make must keep at least one active path open so your blocks can count down to zero and vanish from the slots.
Colony Flow Level 264 Step by Step Solution
Step 1: Clear the bottom background to grab the green key
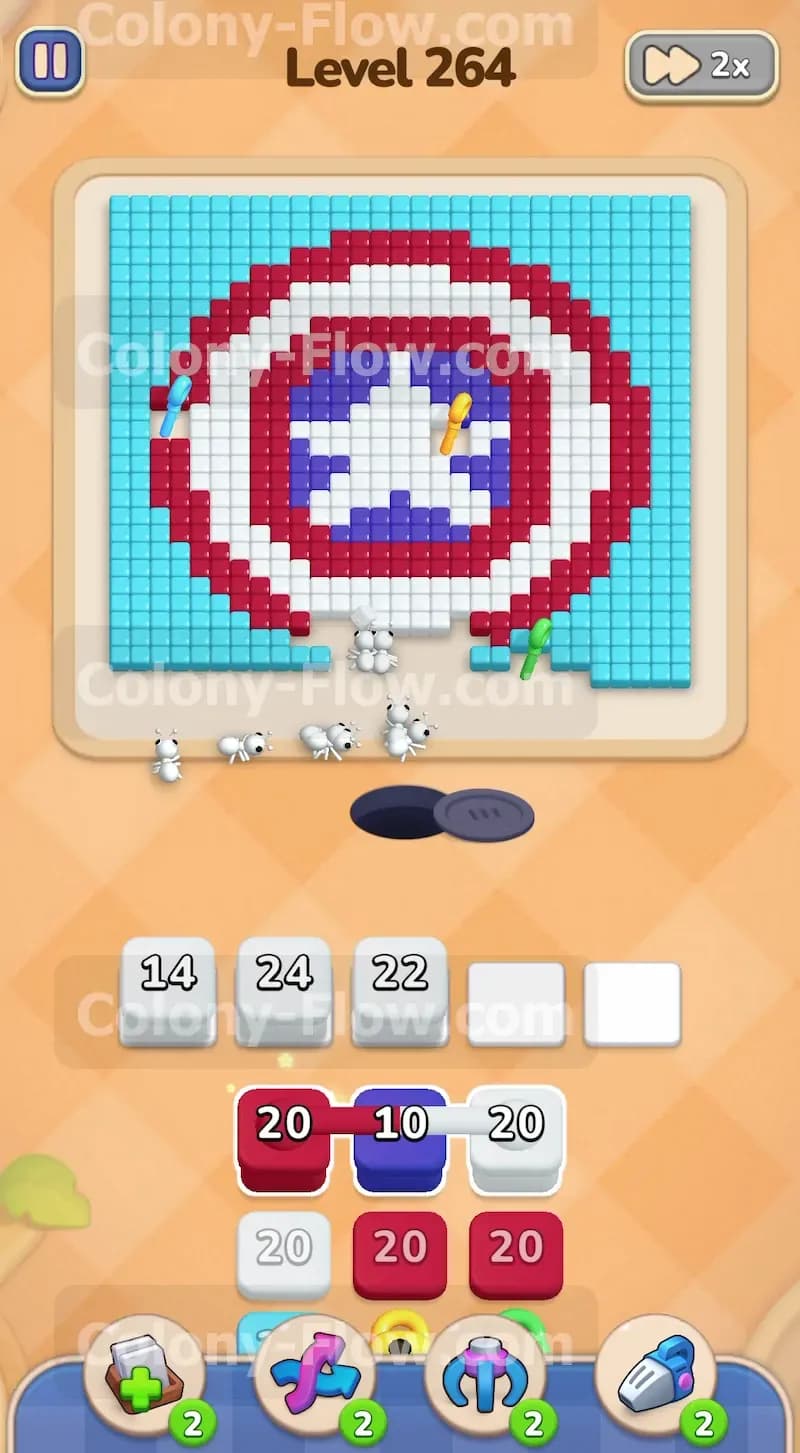
Your first priority is making room at the bottom of the board so your ants can actually reach the shield. Look at your available tray blocks and locate the light blue ones. Tap a couple of these light blue blocks into your waiting slots. A large stream of cyan colored ants will emerge from the nest hole and march straight up to attack the light blue background tiles directly below the shield. The green key is sitting right on top of these bottom right tiles. As the ants clear away this bottom section they will automatically run over and collect the green key for you. Securing this first key removes the green padlock from the tray and frees up new blocks. Always monitor your five slots closely and only pull enough light blue blocks to finish the bottom area.
Step 2: Break through the bottom red and white rings
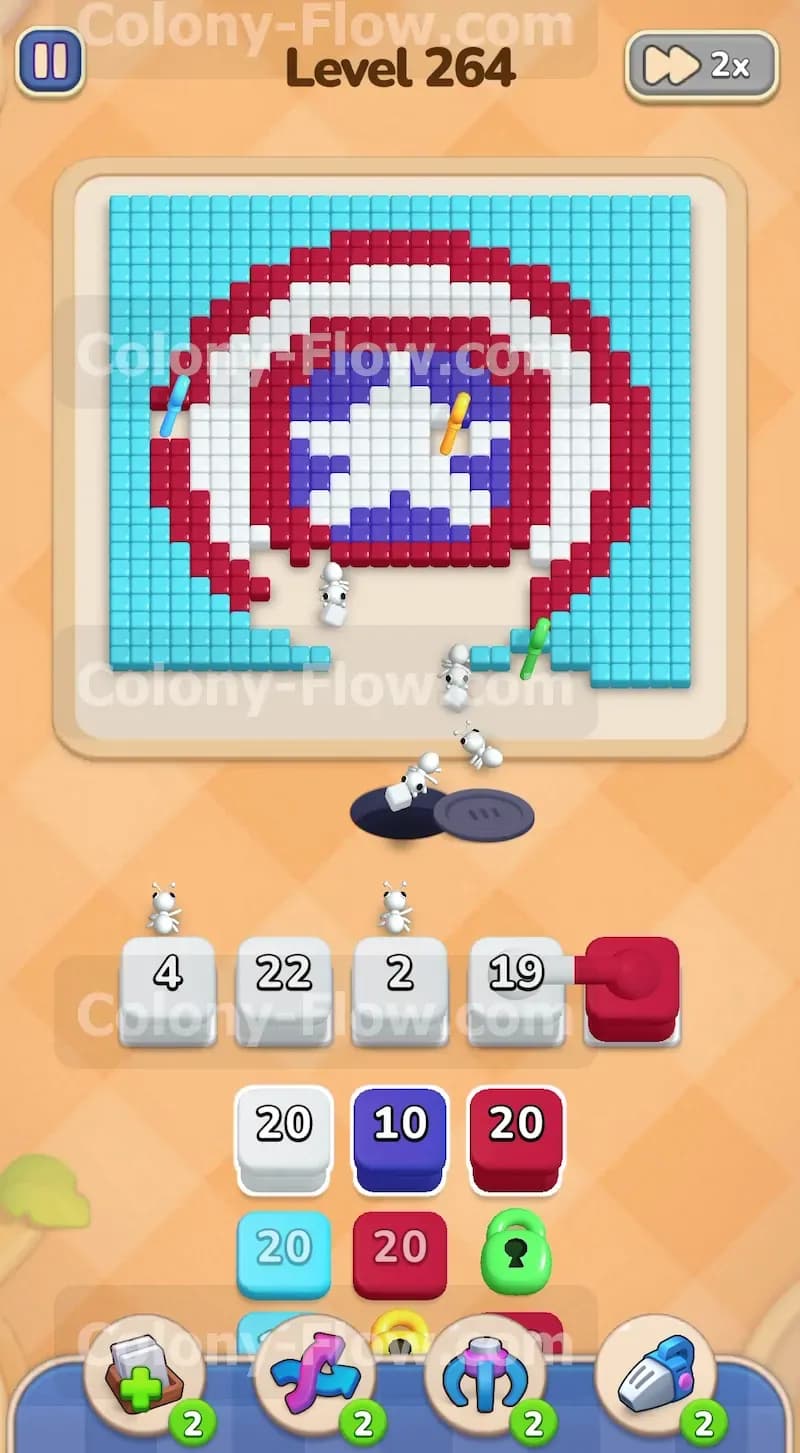
Now that the bottom background is out of the way your ants have a clear path right to the outer edge of the shield. You can see the bottom arcs of the red ring and the white ring are fully exposed to the nest. Bring some red and white blocks up into your active waiting slots. Send your ants up to chew through these bottom ring layers. This action creates a vital break in the circular wall and opens your first entry point into the deeper sections of the art. Do not touch any dark blue blocks yet. The dark blue center remains blocked by the inner rings. If you pull dark blue blocks now they will sit in your slots and put you at massive risk of a jam. Wait patiently and let your red and white ants clear the breach.
Step 3: Push up the right side to secure the yellow key
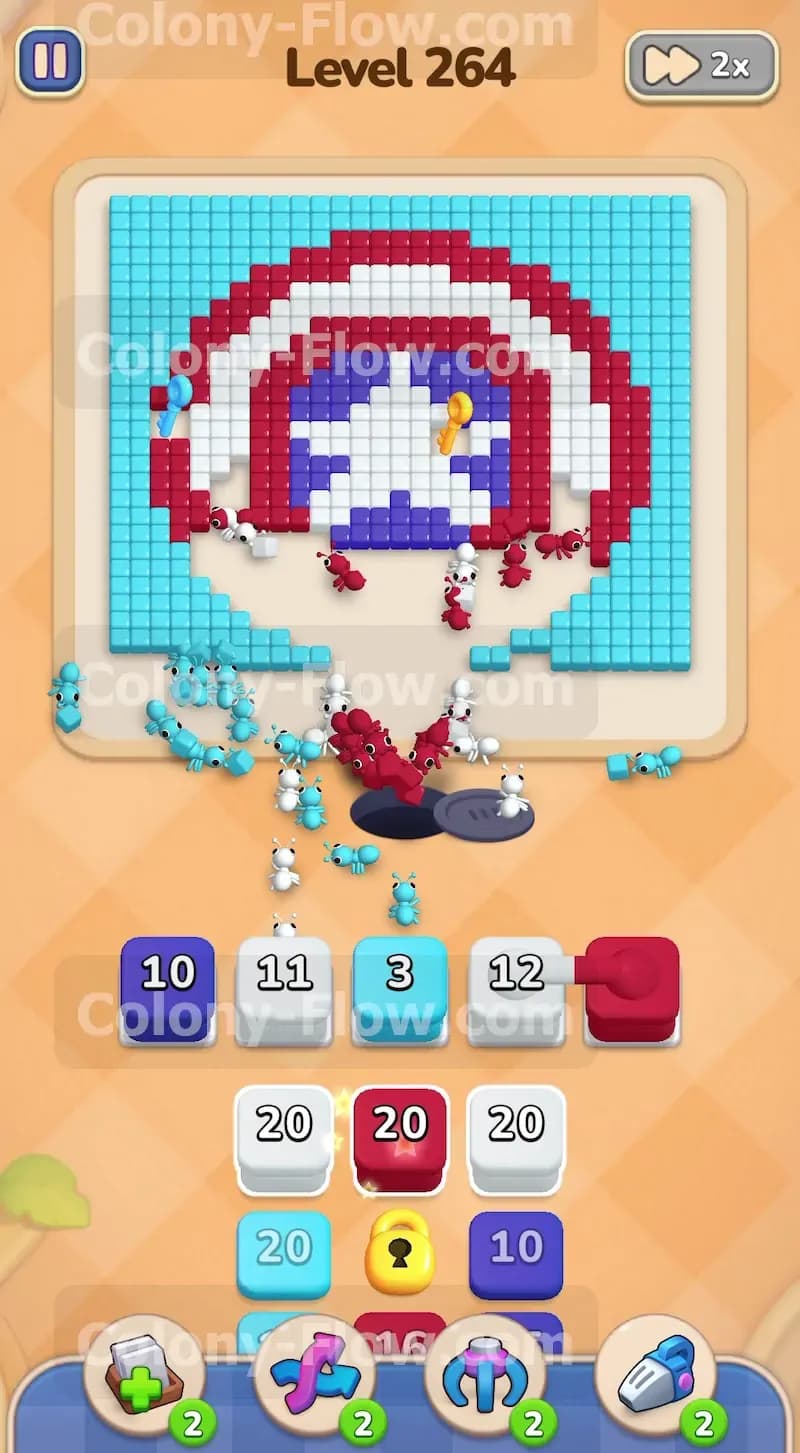
With a solid hole opened at the bottom of the shield you want to direct your attention over to the right side. The yellow key rests exactly where the inner red ring meets the center white star on the right half of the board. Tap more red and white blocks from your tray into the slots to feed the ants working their way up that right curve. The ants will naturally follow the open paths along the exposed rings. Once they eat enough of the red and white tiles on the right side they will reach the yellow key and grab it. Getting this yellow key is a huge relief because it shatters the yellow padlock down in your tray. This action releases another crucial stack of blocks you will need to finish the center.
Step 4: Move up the left edge to collect the blue key
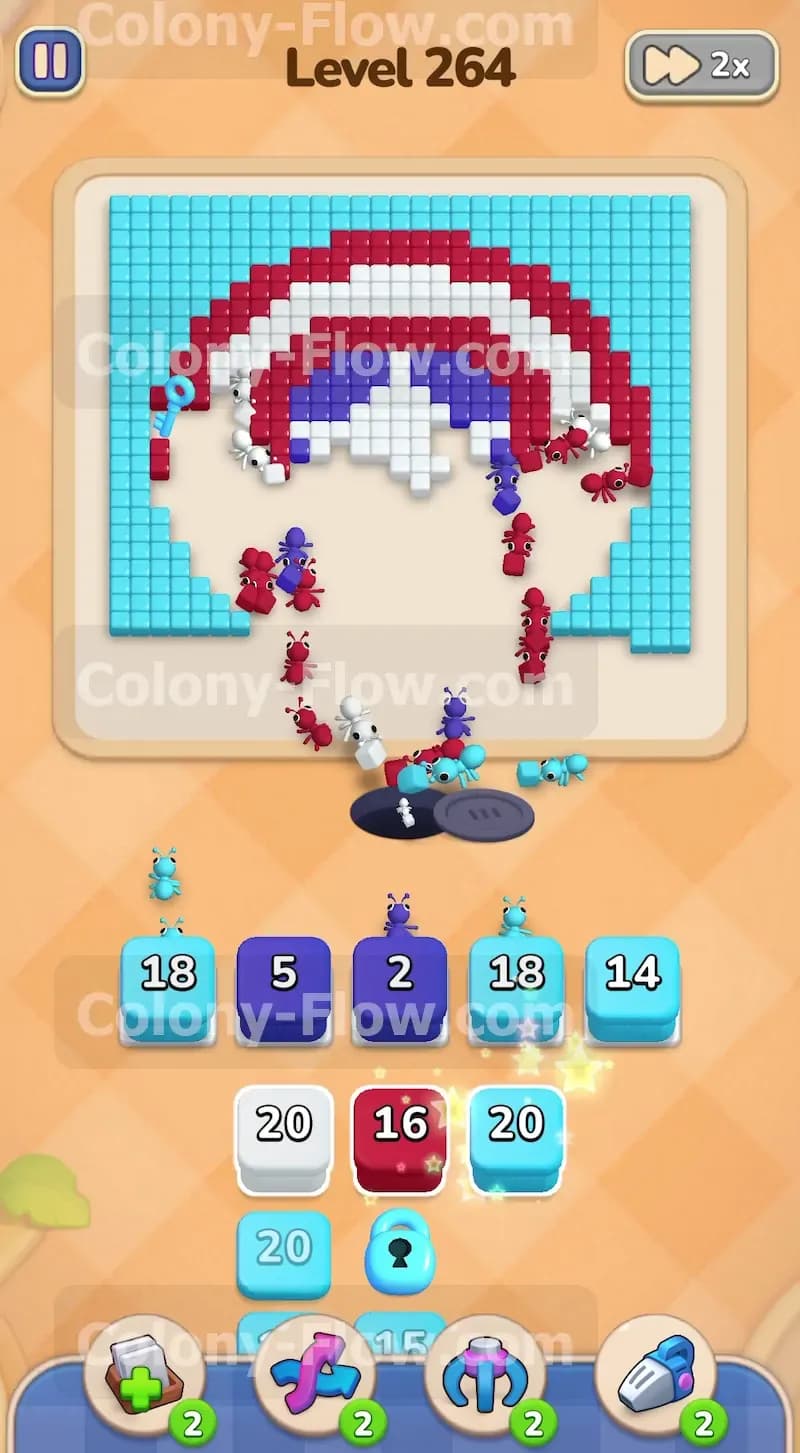
You have two keys down and only one left to go. The final blue key sits on the middle left edge where the outer red ring touches the light blue background tiles. Start pulling a mix of light blue blocks and red blocks to send a fresh swarm up the left side of the board. The cyan ants will work on the background tiles while the red ants eat their way up the outer ring. They will eventually clear the middle left section and collect that final blue key. This drops the last blue padlock in your tray. You finally have complete access to every single block you need to finish the level. Your waiting slots are completely safe as long as you keep matching your block colors to the open paths you just made.
Step 5: Hollow out the dark blue center and the white star
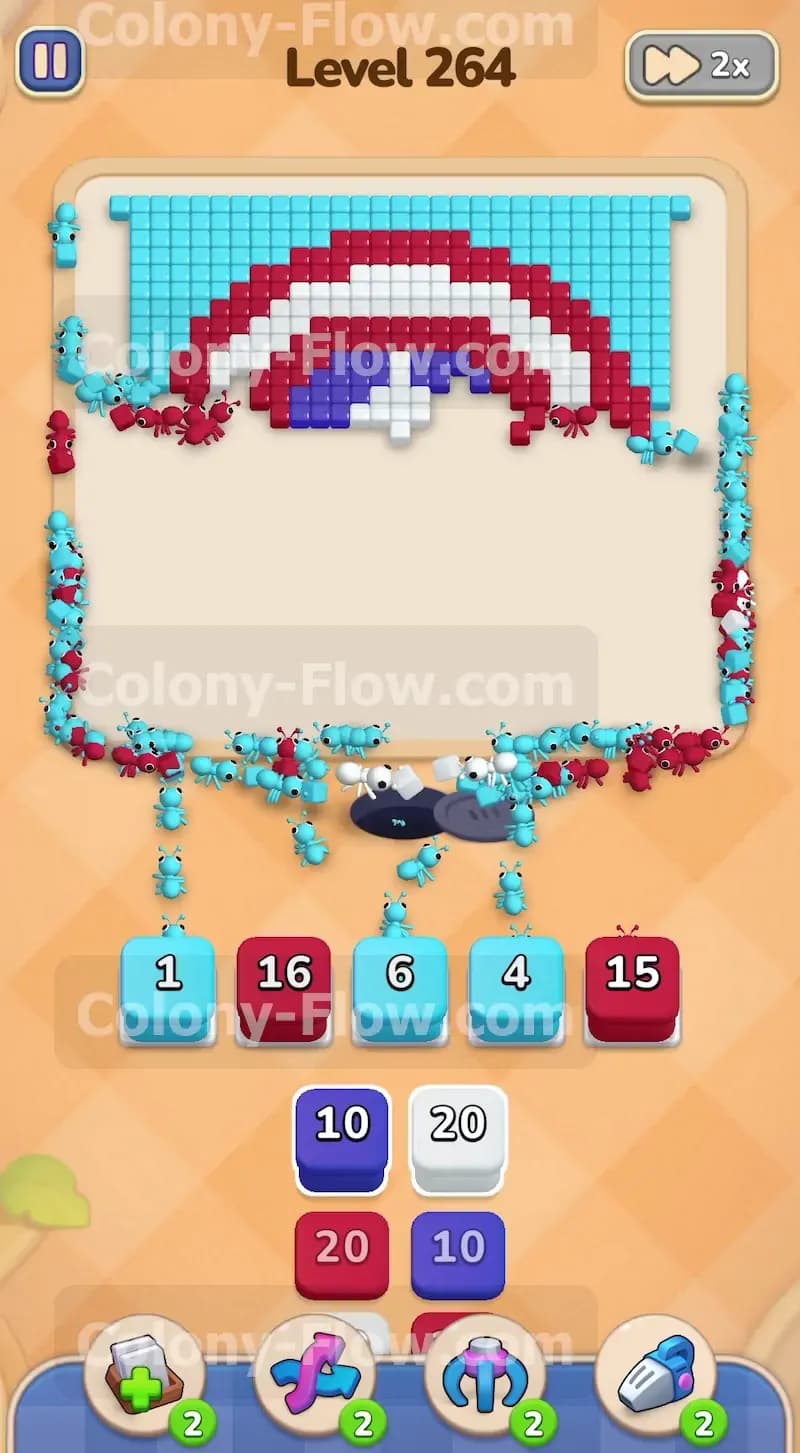
The entry wound you made at the bottom of the shield is now wide open and the surrounding rings are mostly gone. The path leads straight into the dark blue circle and the white star located in the very center of the board. Now is the perfect time to pull those dark blue blocks into your waiting slots. Go ahead and add the remaining white blocks as well. The ants will pour straight through the bottom gap and flood the center of the shield. They will quickly devour the white star and all the surrounding dark blue tiles. This effectively hollows out the entire core of the shield leaving a giant empty space in the middle of your screen. Your board will start to look like a large empty bowl with pieces of the top rings still hanging high above.
Step 6: Eat the top rings from the inside out
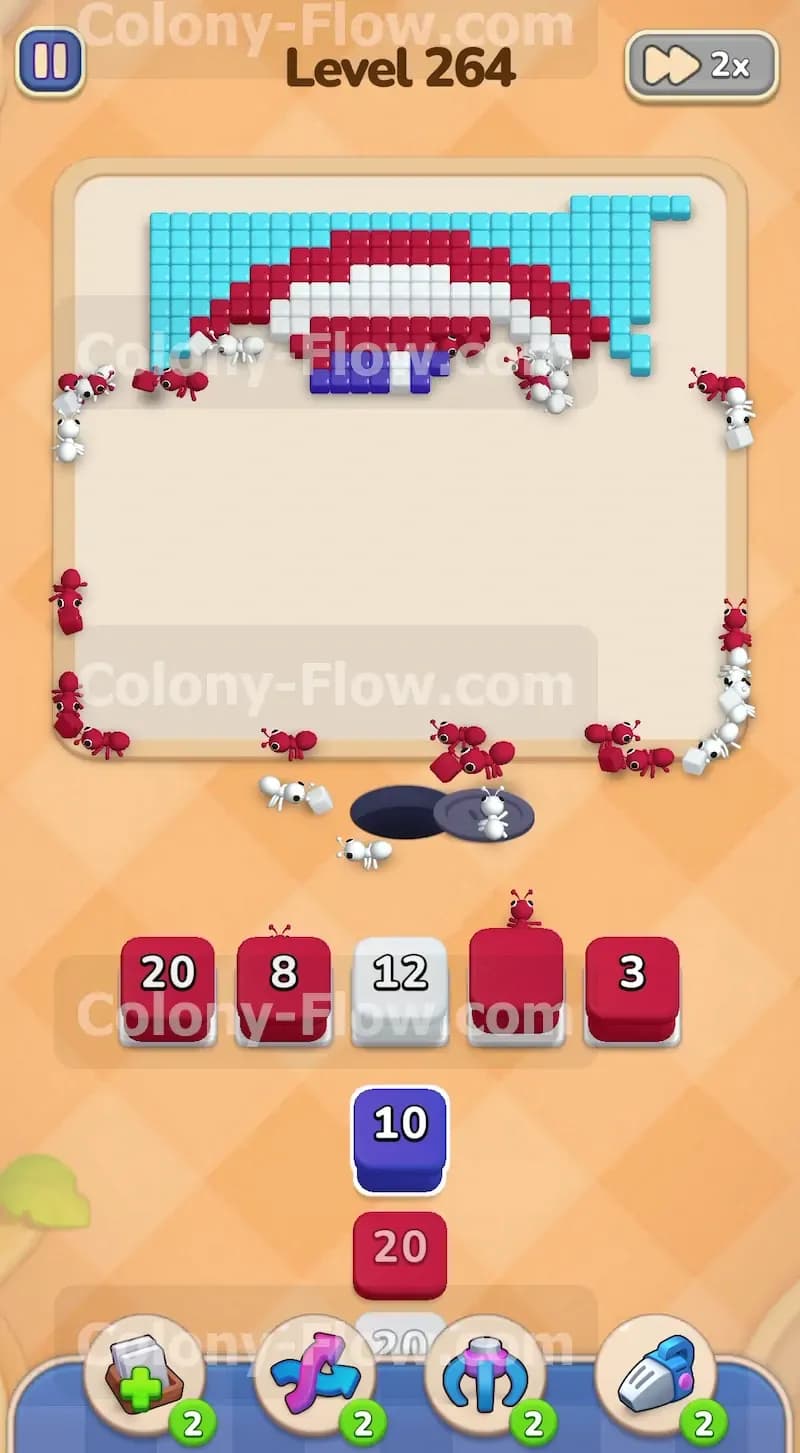
Only the top halves of the red and white rings remain suspended above the empty center area. Because you hollowed out the middle your ants now have a massive open space to travel freely through. Pull your next set of red and white blocks from the bottom tray. The ants will rush up through the empty middle space and attack the remaining rings from the inside. They will spread out to the left and right along the top arcs. This is a very satisfying part of the level because you get to sit back and watch the ants efficiently dismantle the rest of the main picture. Keep supplying those red and white blocks until the shield rings are completely erased from the board.
Step 7: Mop up the final background tiles at the top
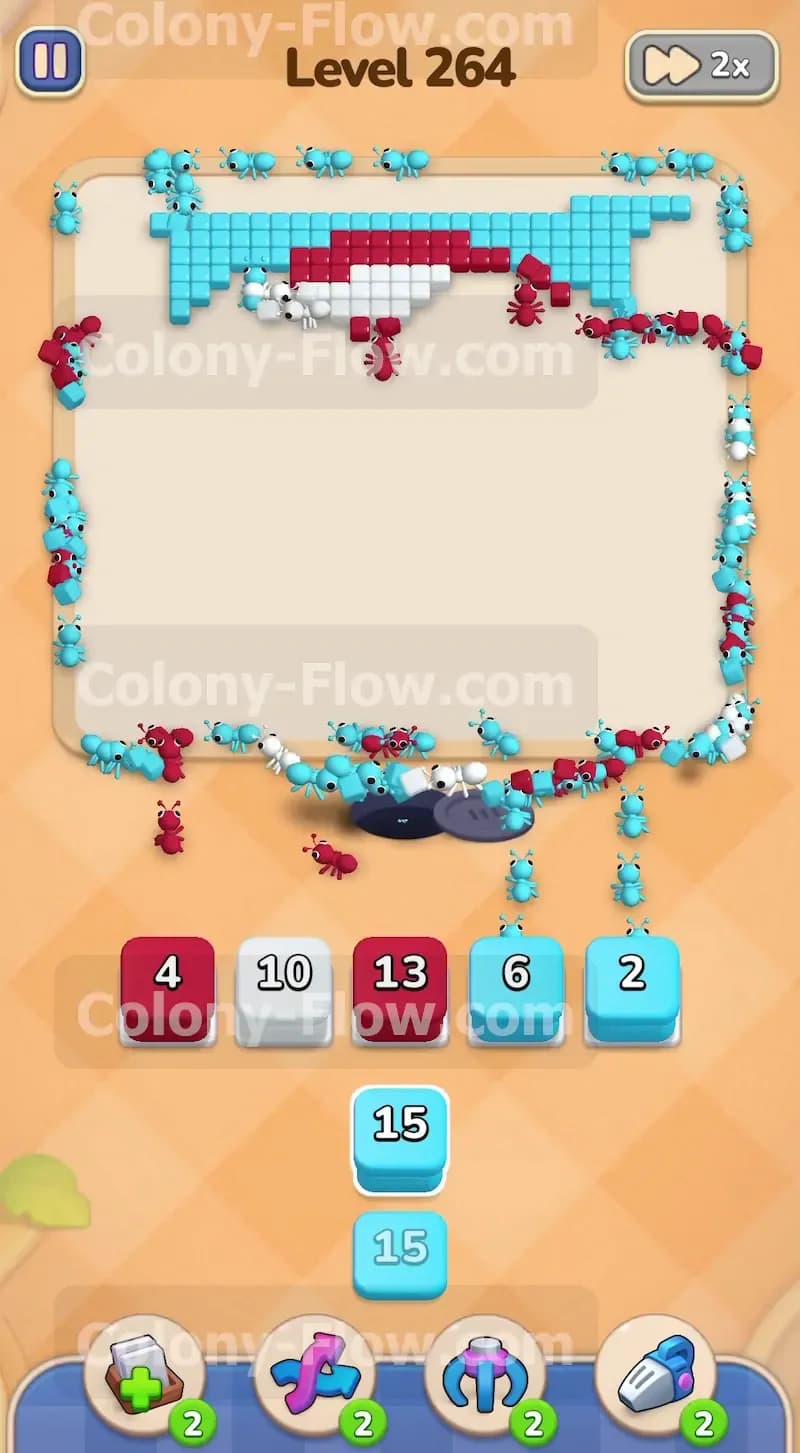
The only things left on your screen right now are the light blue background tiles framing the top corners and the very top edge. Check your tray for the final light blue blocks and pull them into your slots. A huge final wave of cyan ants will surge out of the nest and run all the way to the top of the board. They will sweep across the upper edge and clear away the final remaining pixels. Once the last light blue tile disappears the victory screen will pop up. You successfully managed your waiting slots collected all three keys and cleared the entire board without hitting a dead end.
Final Thought
Clearing this superhero shield requires careful slot management and a strict focus on collecting those three keys in order. If you take your time opening the bottom path before you rush into the center you will keep your slots totally clear. Check out the video above this article if you want to see exactly how the ants move through the tight spaces during any of these steps.