Colony Flow Level 116 Walkthrough Solution & Guides | How to solve Colony Flow 116

Guide By Liam Stone
Updated on July 11, 2026
If you want the fast route, watch the video above. It covers Level 116 from the first move to the last.
Video doesn't match your screen?
Game updates frequently scramble layouts! Try our AI Screenshot Solver first to find your exact board instantly, or report broken guides to our team.
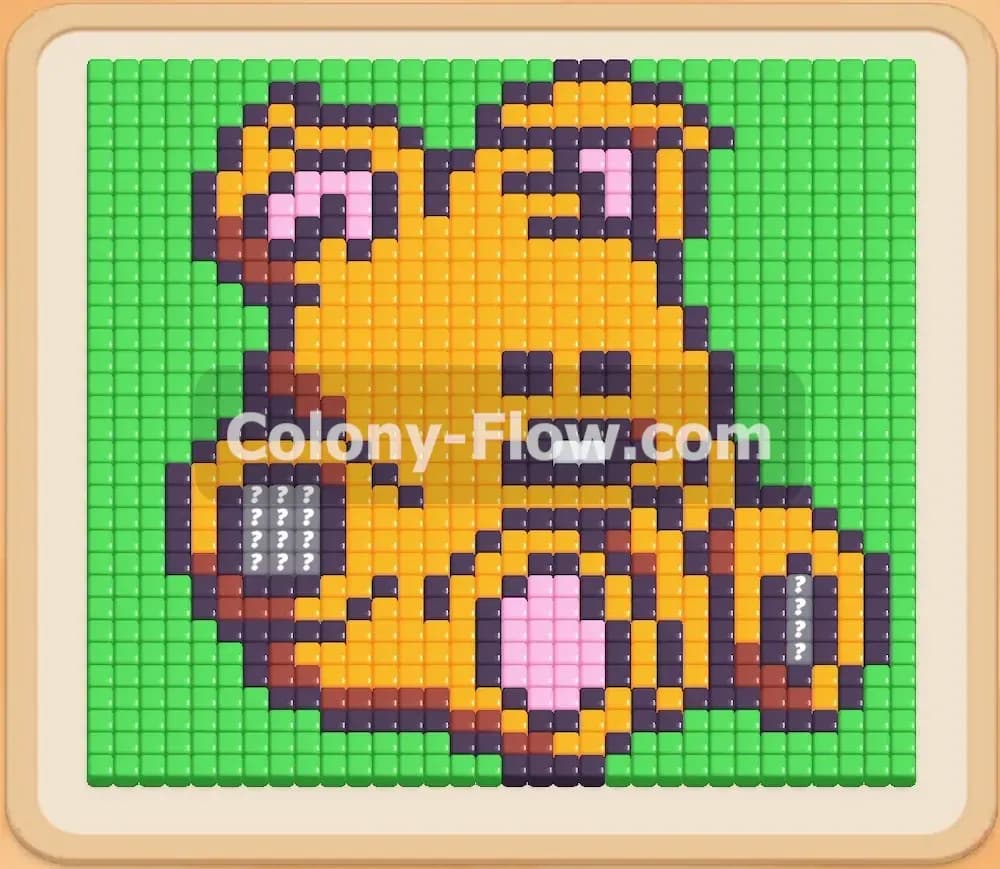
Welcome to Colony Flow Level 116. This puzzle presents a massive pixel art teddy bear sitting against a thick solid green background. You need careful block management to clear the bottom layers and open paths to the rest of the picture without filling up your waiting slots. I walk you through exactly how to manage your tray and keep your ant paths open from the first move to the very end.
Colony Flow Level 116 Overview
What You Are Working With
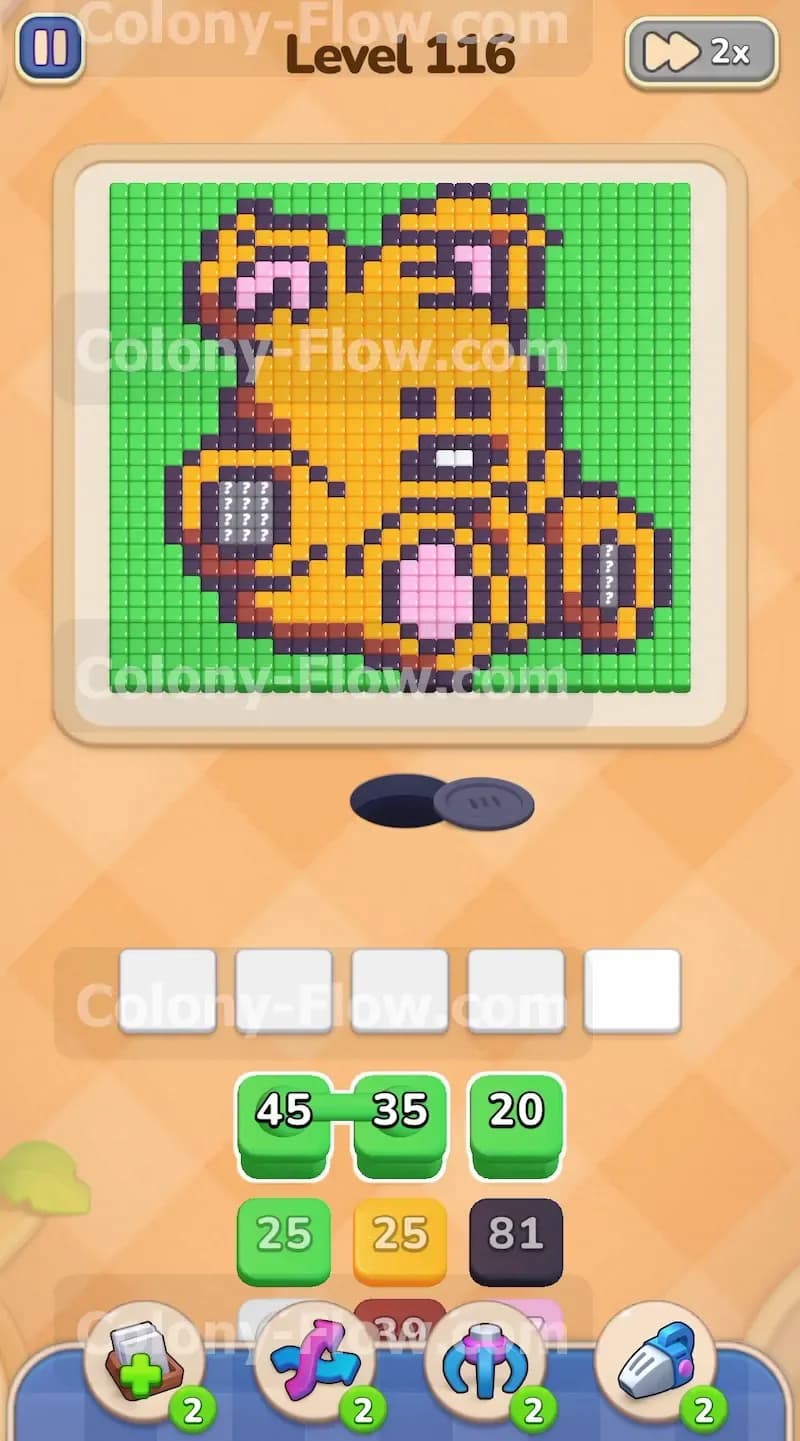
The puzzle board displays a large bear figure made of bright orange and yellow fur pixels. Thick black outline blocks form the shape of the bear and separate the limbs from the main body. Pink pixels create the details for the paw pads and the inner ears at the top of the design. A few white pixels sit near the nose area to create a small snout highlight. Dark brown pixels add heavy shading under the legs and belly. The entire background surrounding the bear is a solid green wall of pixels. The block tray at the bottom holds a dense stack of high value blocks. You see large numbers like a black 81 and multiple green 55 blocks waiting for you. The board features five waiting slots at the top of the tray. These five slots dictate your entire sequence of moves.
What It Takes to Clear Level 116 Board
To clear this board you must never let those five waiting slots fill up completely with blocks the ants cannot reach. The ants spawn from a nest hole at the very bottom center of the screen. They need an immediate open route to food tiles that match the blocks sitting in your slots. You start from the bottom edge of the bear and work your way directly upward. Success requires pacing your block pulls so the ants always have matching colors to eat nearby. You pull a few outer background colors early just to access the tray layers below them. You then work systematically up the bear from the feet to the head. You finish the level by consuming the massive green frame left behind.
Colony Flow Level 116 Step by Step Solution
Step 1: Pull the initial green blocks to clear the bottom corners and open the tray
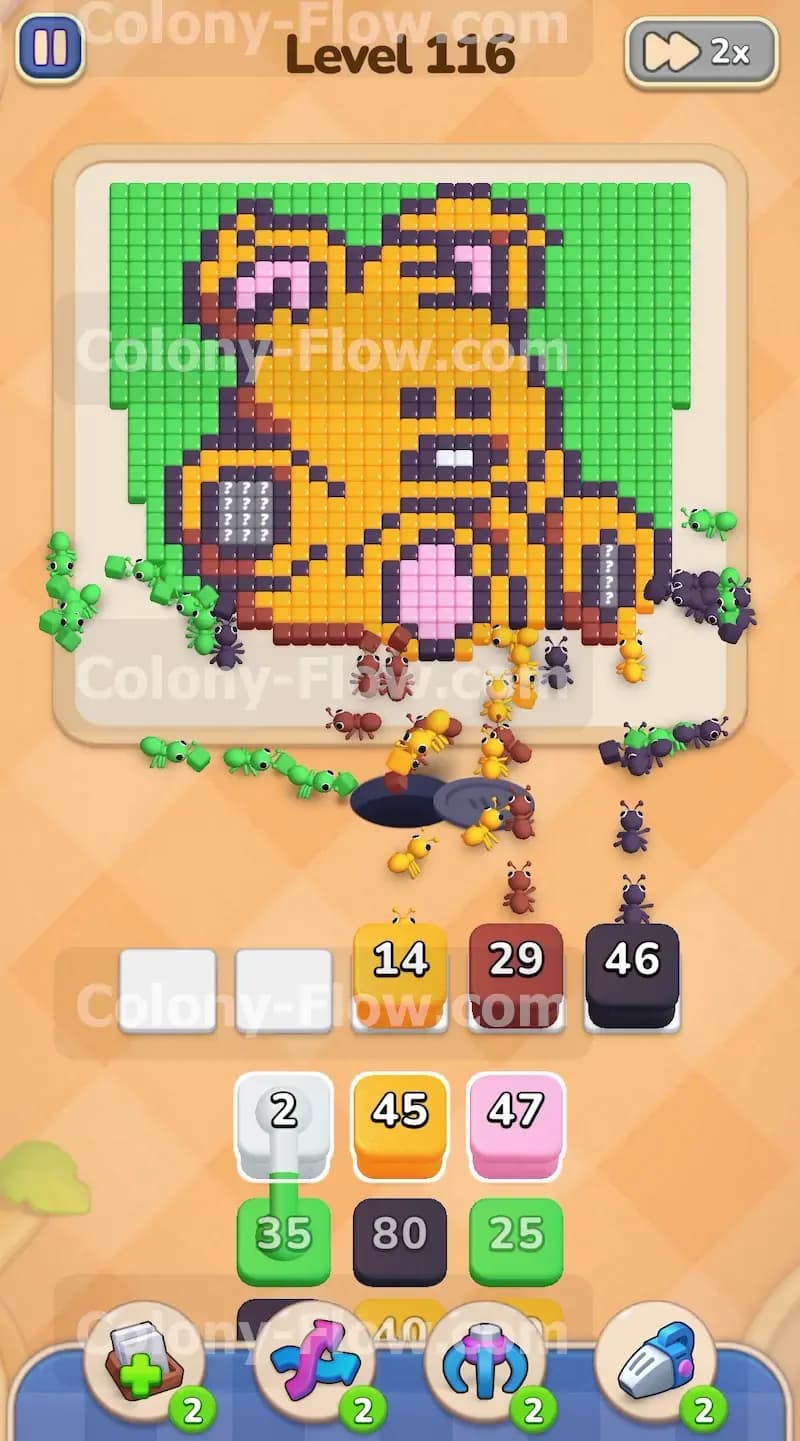
You begin the level staring at a top tray row full of green blocks including a 45 and a 35. The ants cannot reach the main green background at the top but they have open paths to the bottom left and bottom right corners of the green border. Pull these early green blocks into your waiting slots to get the colony moving out of the nest. The ants split to the sides and begin eating those lower corner pixels immediately. This action removes the top layer of the tray and reveals the black and orange blocks you need for the bottom of the bear. Keep a close eye on your waiting slots during this opening phase. You leave at least two spaces empty so you can pull the next required colors without causing a dead end.
Step 2: Send ants into the black outlines and orange feet
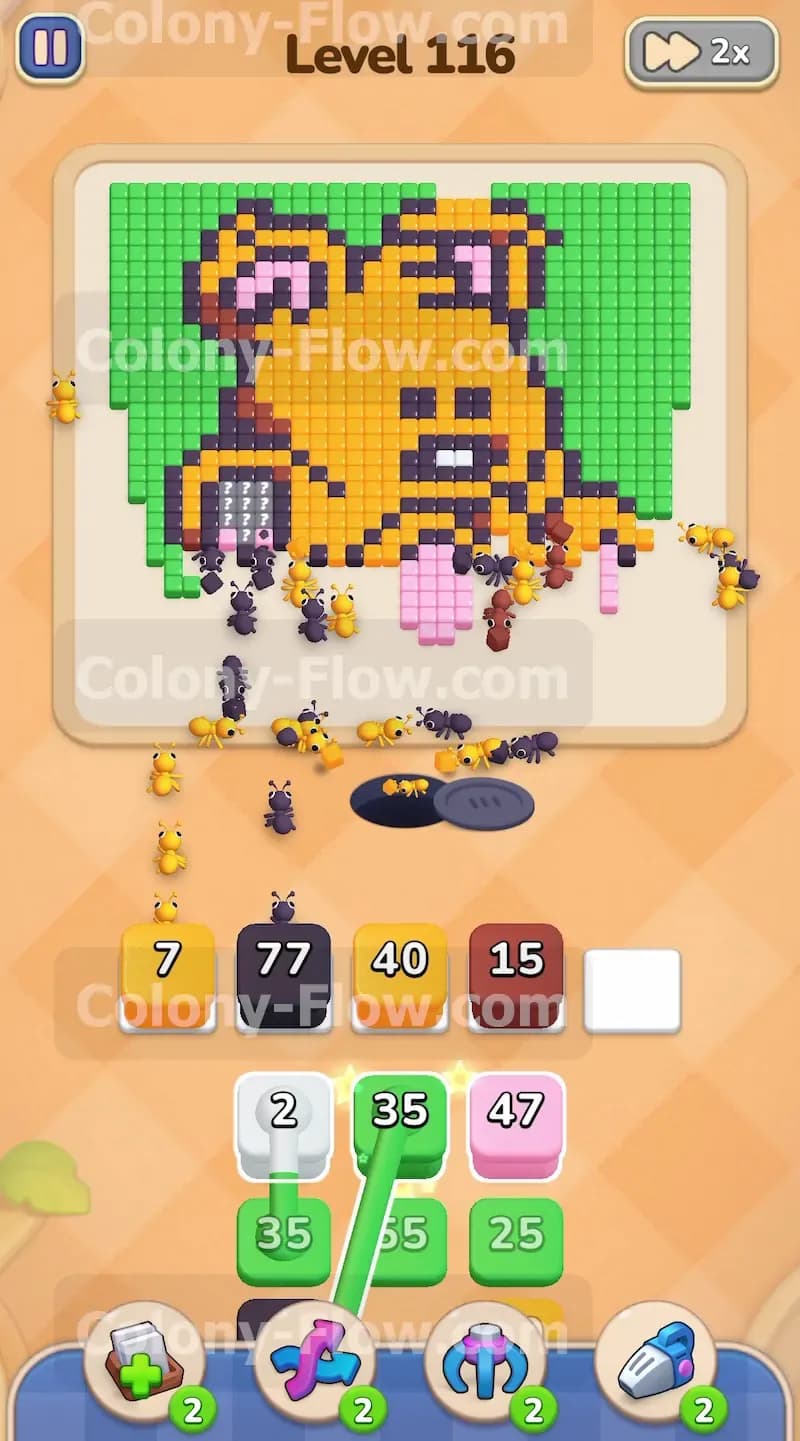
Now that the green blocks are working on the outer edges you pull the black and orange blocks from the newly revealed tray layer. The bottom edge of the bear is entirely outlined in thick black pixels. Pulling a black block sends the ants straight into these lower boundaries to break the perimeter. Once the black barrier breaks you pull an orange block to let the ants eat the bottom paws and lower body fur. The numbers on these blocks are high so they sit in your waiting slots for quite a while. You only pull what the ants have a direct path to reach. If you pull a yellow block too early the ants have no way to reach the yellow belly and your slots jam up completely.
Step 3: Clear the pink paw pads and brown shading
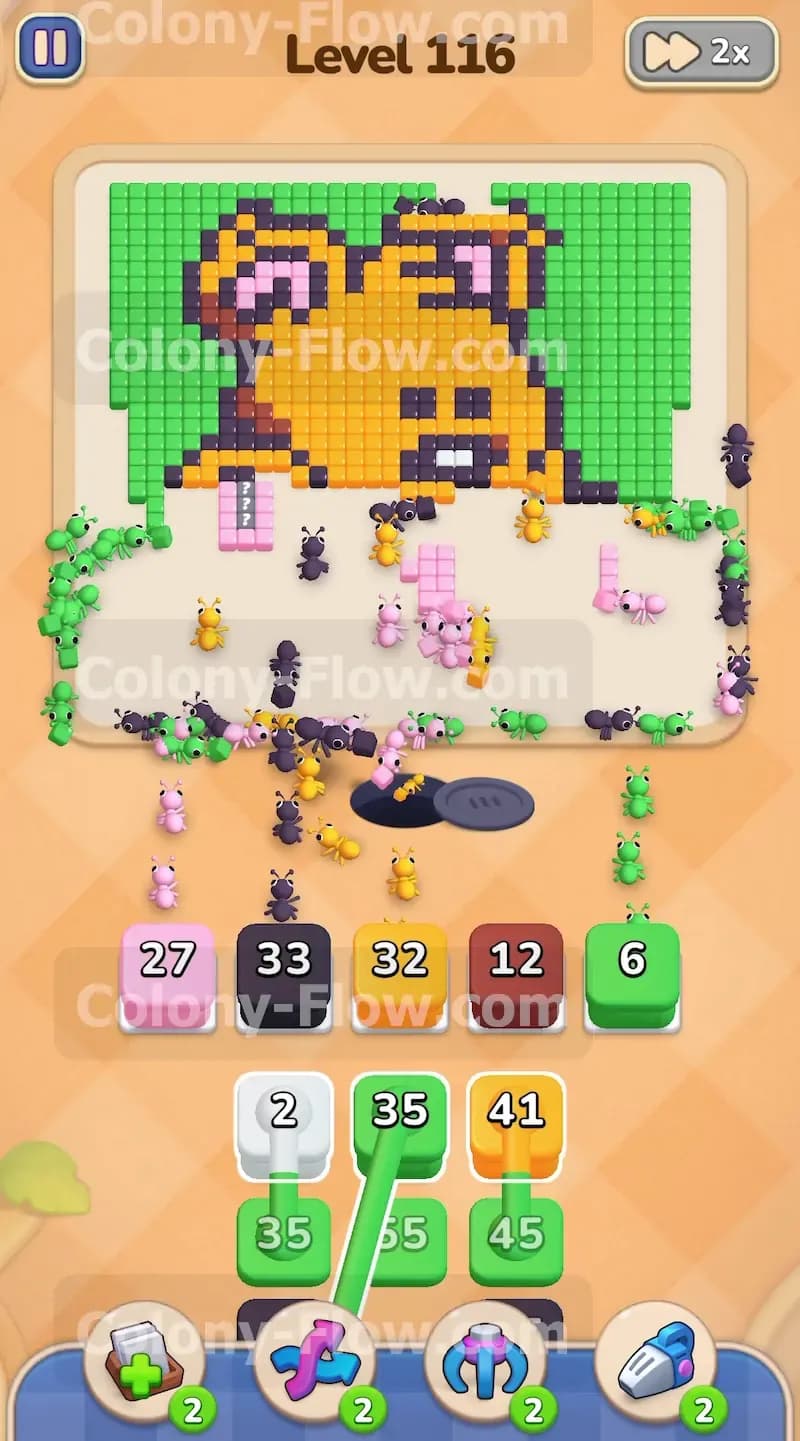
As the orange pixels disappear the pink paw pads become completely accessible to your colony. Look at your tray and pull the pink blocks to clear these small sections. The ants swarm the pink pixels and free up that slot very quickly because the numbers are relatively low compared to the fur colors. You also see dark brown shading pixels along the bottom of the legs. Pull a brown block to clear this shading and open a wider path to the belly of the bear. By clearing the paws and the shading you create multiple angles for the ants to move upward into the chest cavity. This wide path prevents bottlenecking at the bottom of the board.
Step 4: Manage the massive black blocks to eat the inner outlines
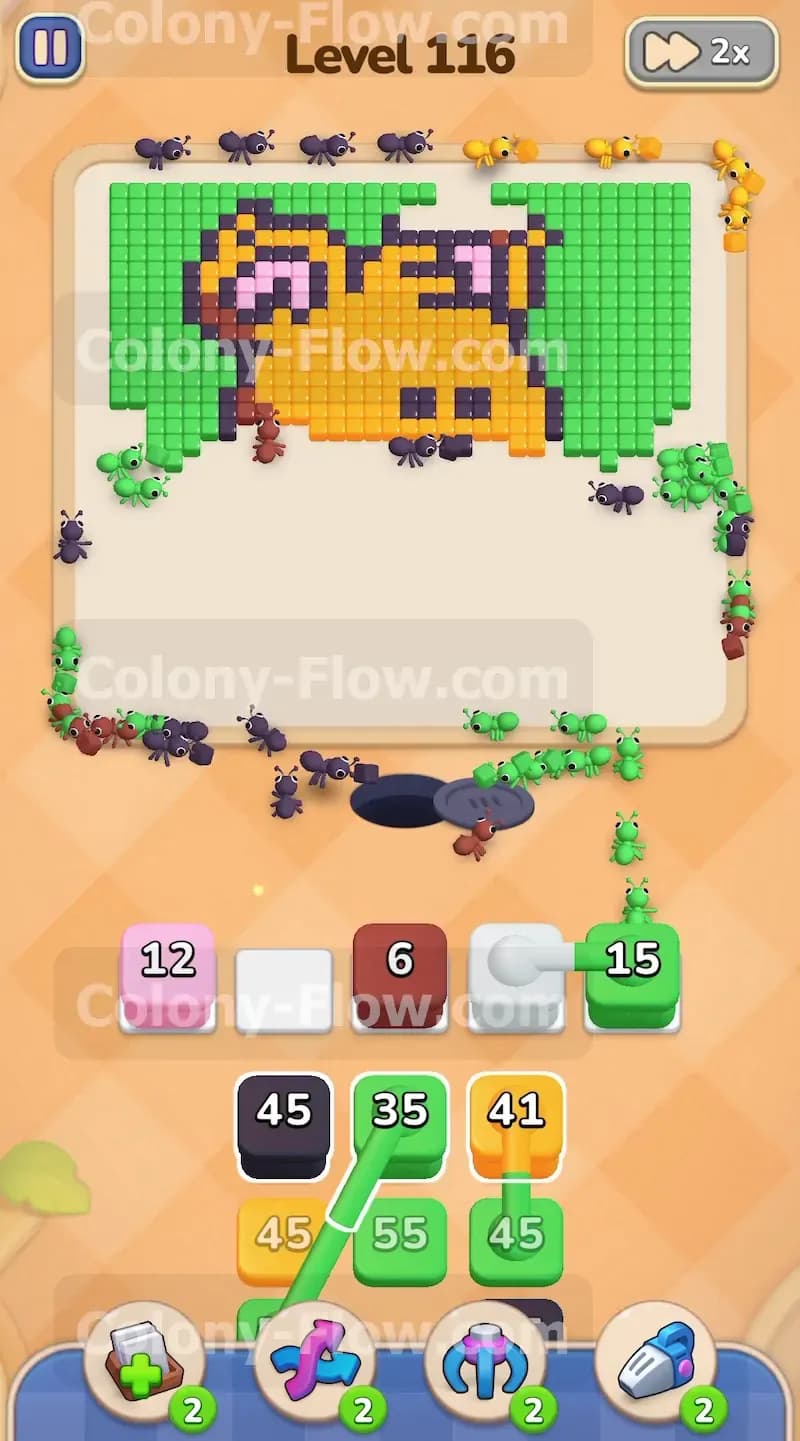
The black outline snakes up through the entire bear design and separates the arms from the belly. You uncover a massive black block in your tray with a number over 70. Pulling this specific block is a major commitment because it occupies one of your five slots for a very long time. You only move it up when the ants have fully exposed the inner black lines of the arms and torso. The ants continuously chip away at this large number while you use your remaining four slots to cycle through other colors. You keep the rest of the board moving so the ants always have a backup target. This keeps the colony flowing and prevents a board lock.
Step 5: Hollow out the belly and chest with yellow and orange blocks
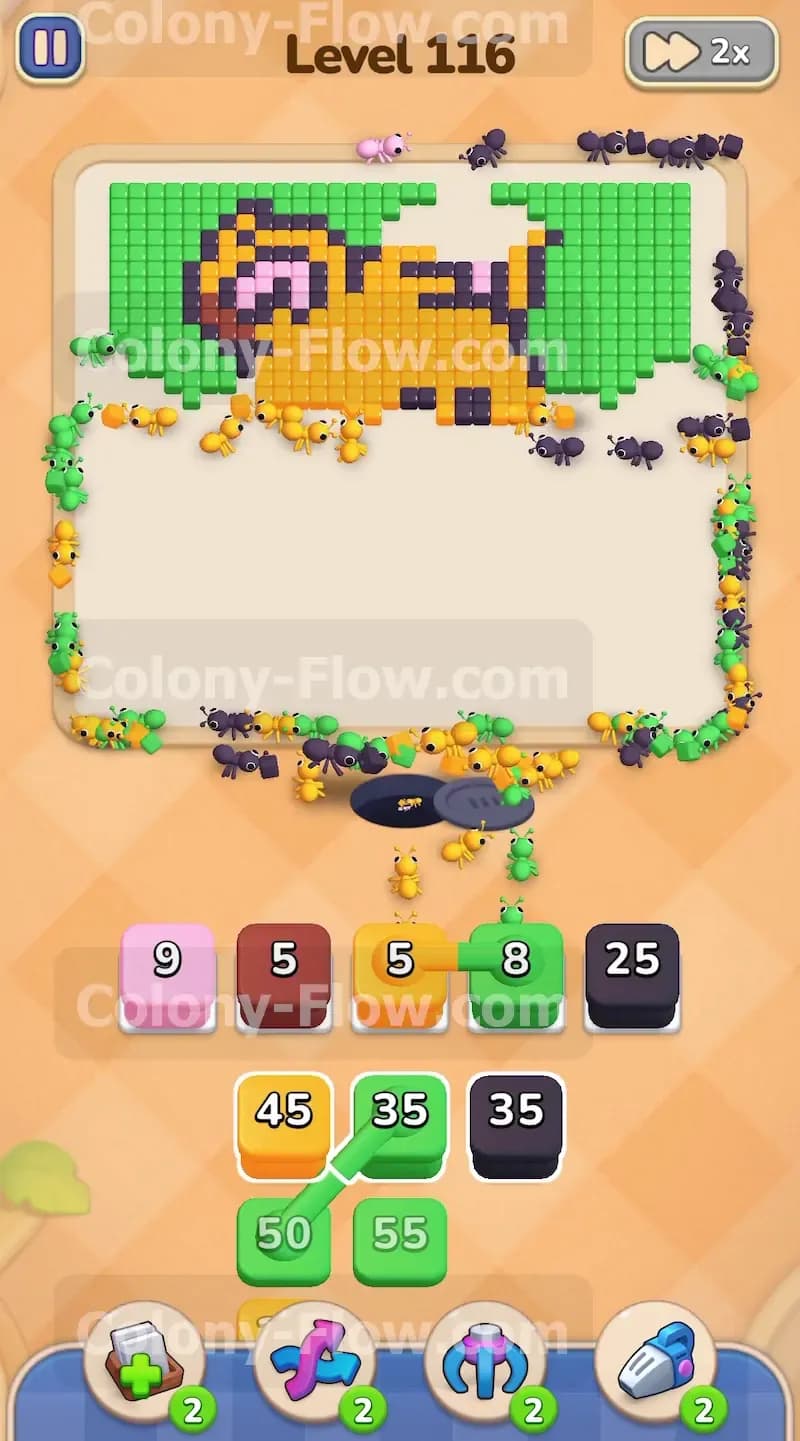
The core of the bear is a thick mix of yellow and orange pixels. You keep pulling these warm colors in a steady rhythm to carve out the center of the board. The trick is to alternate between yellow and orange blocks to keep the ants moving without causing a traffic jam at the nest hole. As the ants hollow out the belly they also reach a tiny white section near the snout. Pull the white block from the tray to quickly delete those few pixels. The white block is only a two so it vanishes in a second. This frees up a slot right away and keeps your upward momentum going strong.
Step 6: Consume the pink ears and the rest of the head
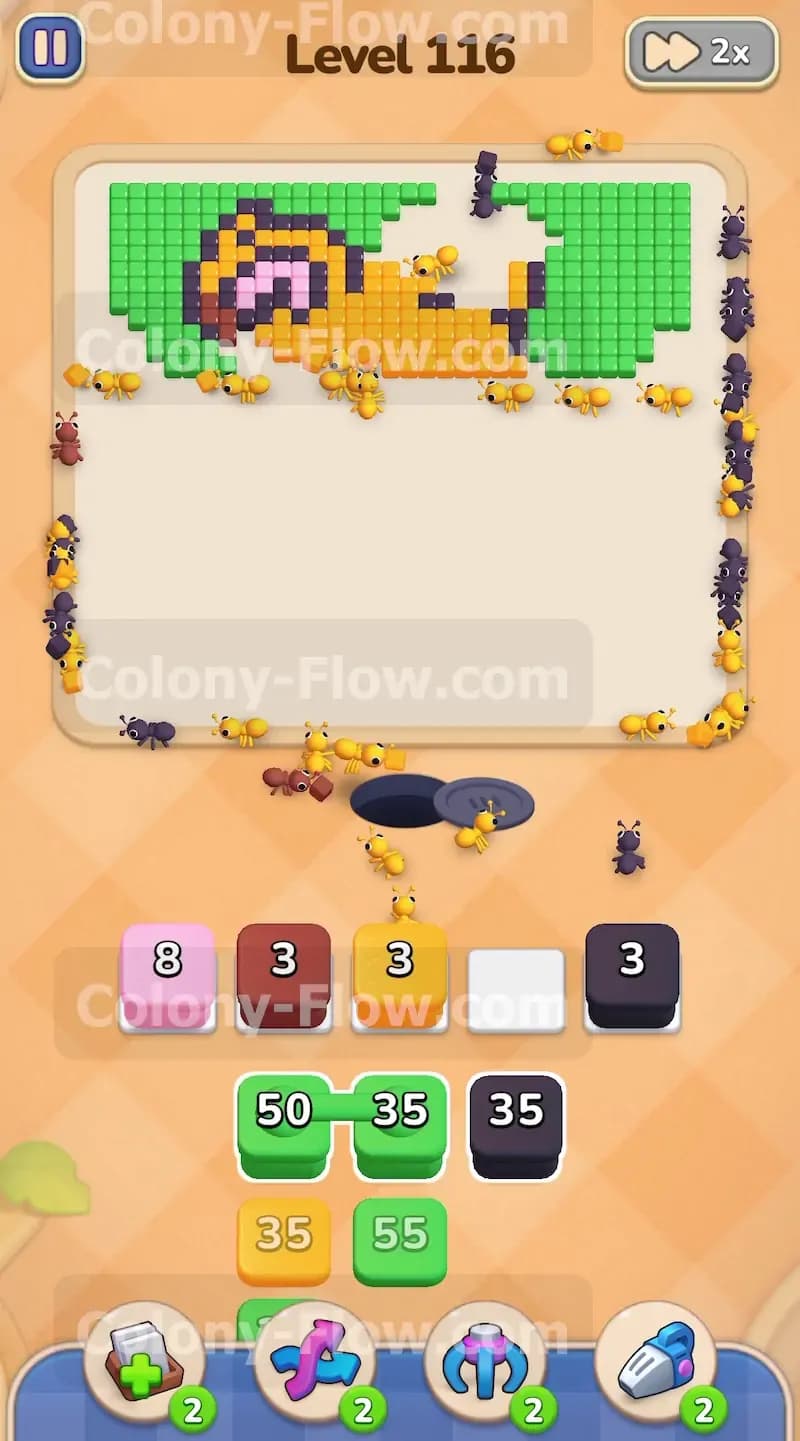
The ants soon breach the top of the head and reach the upper details. Pull the remaining pink block to clear out the inner ear pixels. This action removes the final complex color from the bear figure entirely. You then pull the last black block to finish off the head outline. The ants easily clean up the top curve of the head because you kept the paths wide open from the bottom up. You leave the large green blocks alone during this phase because the ants are fully occupied with finishing the bear itself. Pulling green now fills your slots and causes you to lose the level right before the end.
Step 7: Flood the remaining green background to finish the board
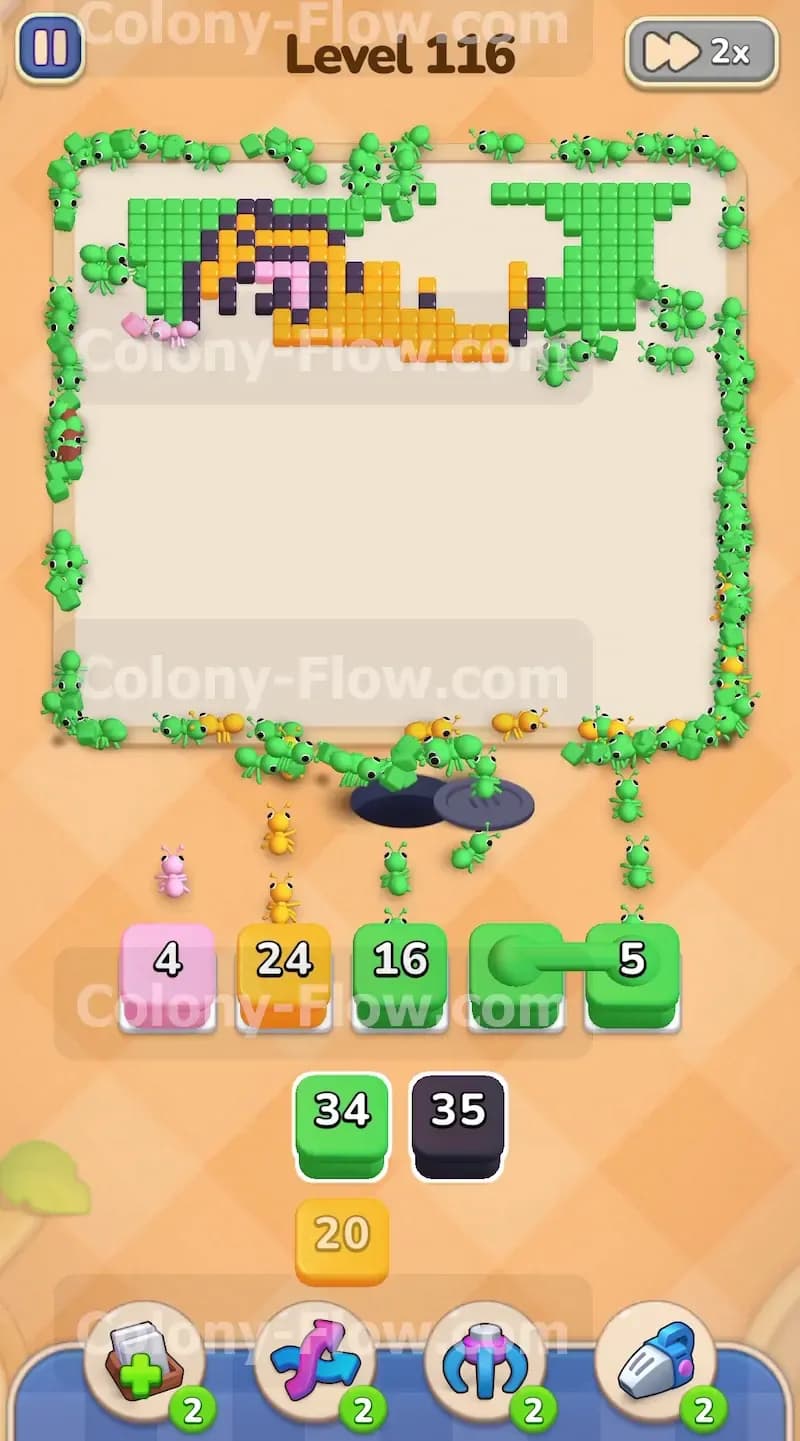
With the bear entirely gone you are left with a massive green border surrounding empty space. Your tray is now full of high value green blocks including a 50 and a 55. You finally pull them into your waiting slots without fear of jamming because the ants have complete access to the entire green shape. The ants flood out from the nest and spread across the remaining pixels in all directions. You watch the green numbers count down rapidly as the swarm consumes the final border. The level ends the moment the last green pixel disappears from the top corner.
Final Thought
This level tests your patience and your ability to sequence large blocks safely. If you pace your pulls and always verify that the ants have a direct route to their target you avoid jamming your waiting slots. Please watch the video above this article if any step is hard to follow in text.