Colony Flow Level 545 Walkthrough Solution & Guides | How to solve Colony Flow 545

Guide By Liam Stone
Updated on July 30, 2026
If skimming isn't enough, watch the video above for the full Level 545 walkthrough.
Video doesn't match your screen?
Game updates frequently scramble layouts! Try our AI Screenshot Solver first to find your exact board instantly, or report broken guides to our team.
Welcome to another puzzle guide. Today we are looking at Colony Flow Level 545. This level presents a beautiful pixel art ship floating on bright water. The board looks straightforward but requires careful tray management because of how the colors layer over each other. I played through this one and found the exact sequence to keep the ants moving without jamming the waiting slots. Let me show you how to break down this picture safely.
Colony Flow Level 545 Overview
What You Are Working With
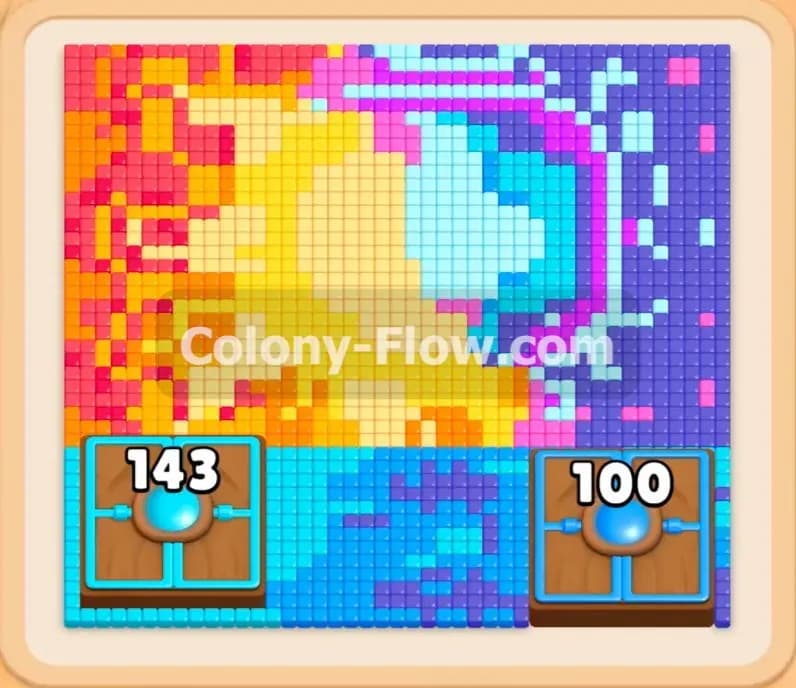
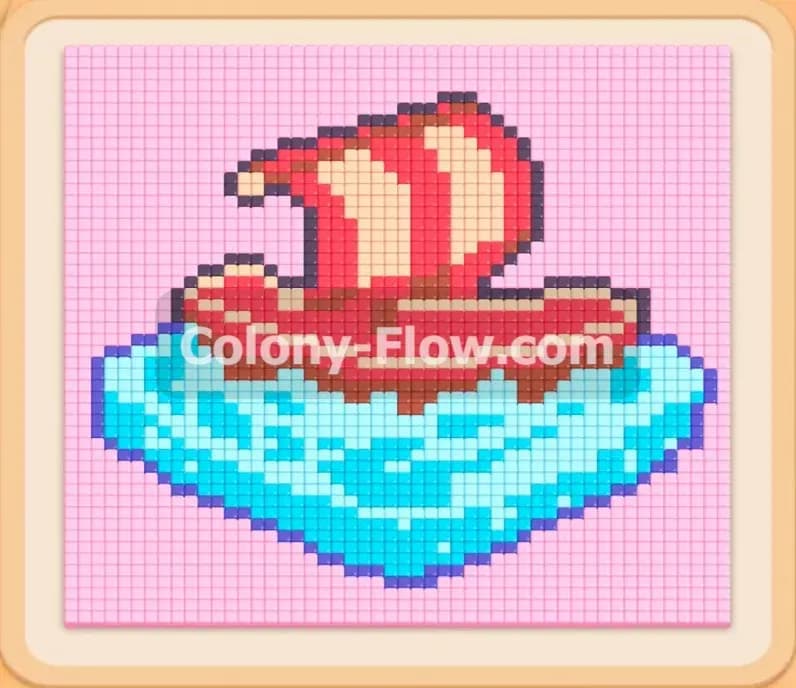
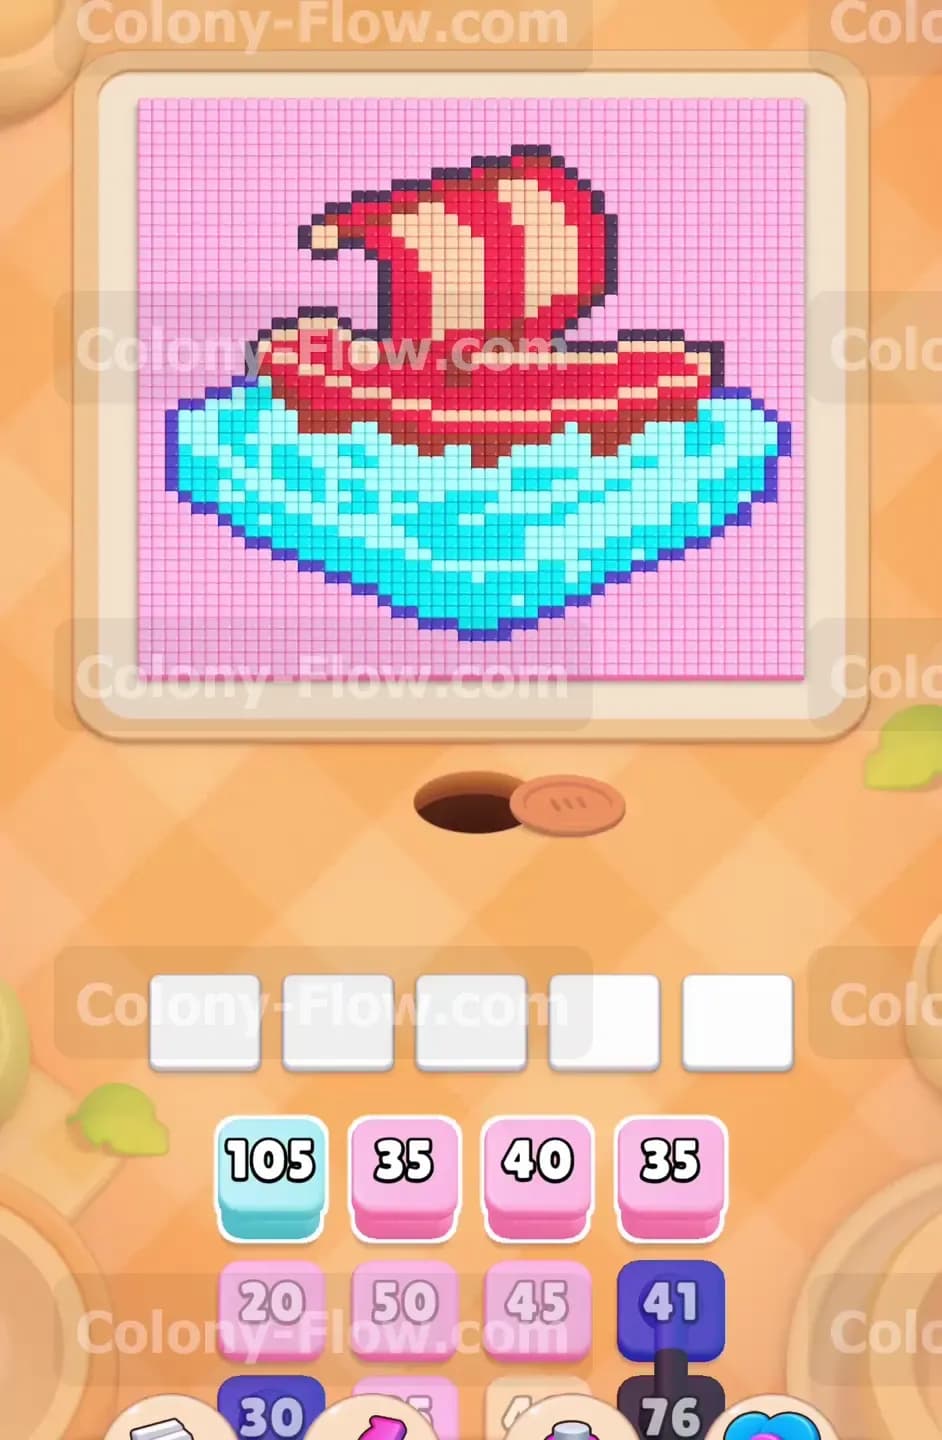
When you load up the board you see a pixel art picture of a classic sailing ship riding on bright water. The background is entirely pink. The water at the bottom consists of cyan pixels. The ship features a red hull and alternating red and beige stripes on the large sails. A thick dark blue outline separates the ship from the background and the water. Down in the tray you have a stack of numbered blocks in pink cyan dark blue red and beige. You also have connected boxes in this level. These connected blocks link together by a thick black bar. When you tap one connected block the whole group moves into your waiting slots together.
What It Takes to Clear Level 545 Board
To win this level you must completely remove every pixel from the picture above. You achieve this by matching the colored blocks in your tray to the accessible pixels on the board. The ants emerge from the nest hole and follow open paths to eat the pixels. The main challenge comes from the order of operations. The pink background blocks the top part of the ship. The dark blue outline blocks the red and beige interior of the ship. You must peel the picture away layer by layer. If you pull a color that the ants cannot reach the block sits uselessly in your waiting slots. If all five slots fill up with unreachable colors you lose the game immediately. You must carefully manage your tray pulls to ensure the ants always have an active target.
Colony Flow Level 545 Step by Step Solution
Step 1: Clear the outer pink background to open access to the water and ship
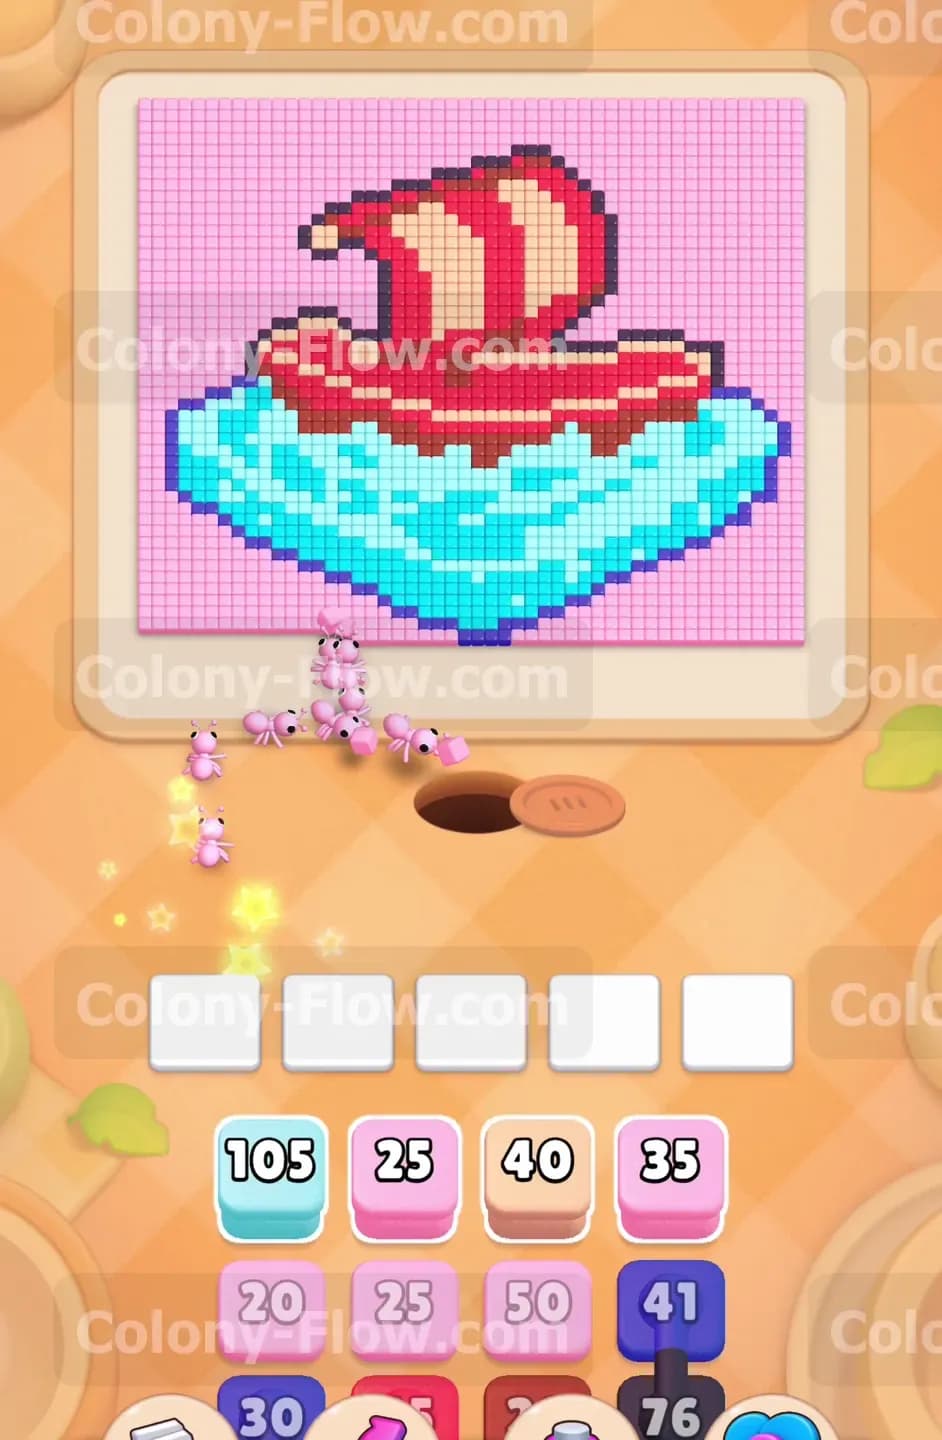
The massive pink background is the first obstacle you must tackle. It wraps around the entire upper half of the board and touches the edges of the water at the bottom. Start by looking at the top row of your tray. You will see several pink blocks with high numbers. Tap a pink block to move it into your waiting slots. The ants will pour out of the nest hole and head straight for the bottom corners of the pink background. Watch them eat away the bottom left and bottom right sections of the pink mass. This initial clearing is essential because you cannot reach the dark blue outline or the upper red sails until the pink pixels recede. Pull another pink block to keep the ants working. Do not pull too many at once. You want to maintain a steady stream of ants without filling your five waiting slots. Allow the numbers on your pink blocks to tick down as the ants consume the background. Once the lower edges of the pink area disappear you will see clear paths forming toward the cyan water and the dark blue ship outline.
Step 2: Introduce dark blue to break the outline and cyan for the water
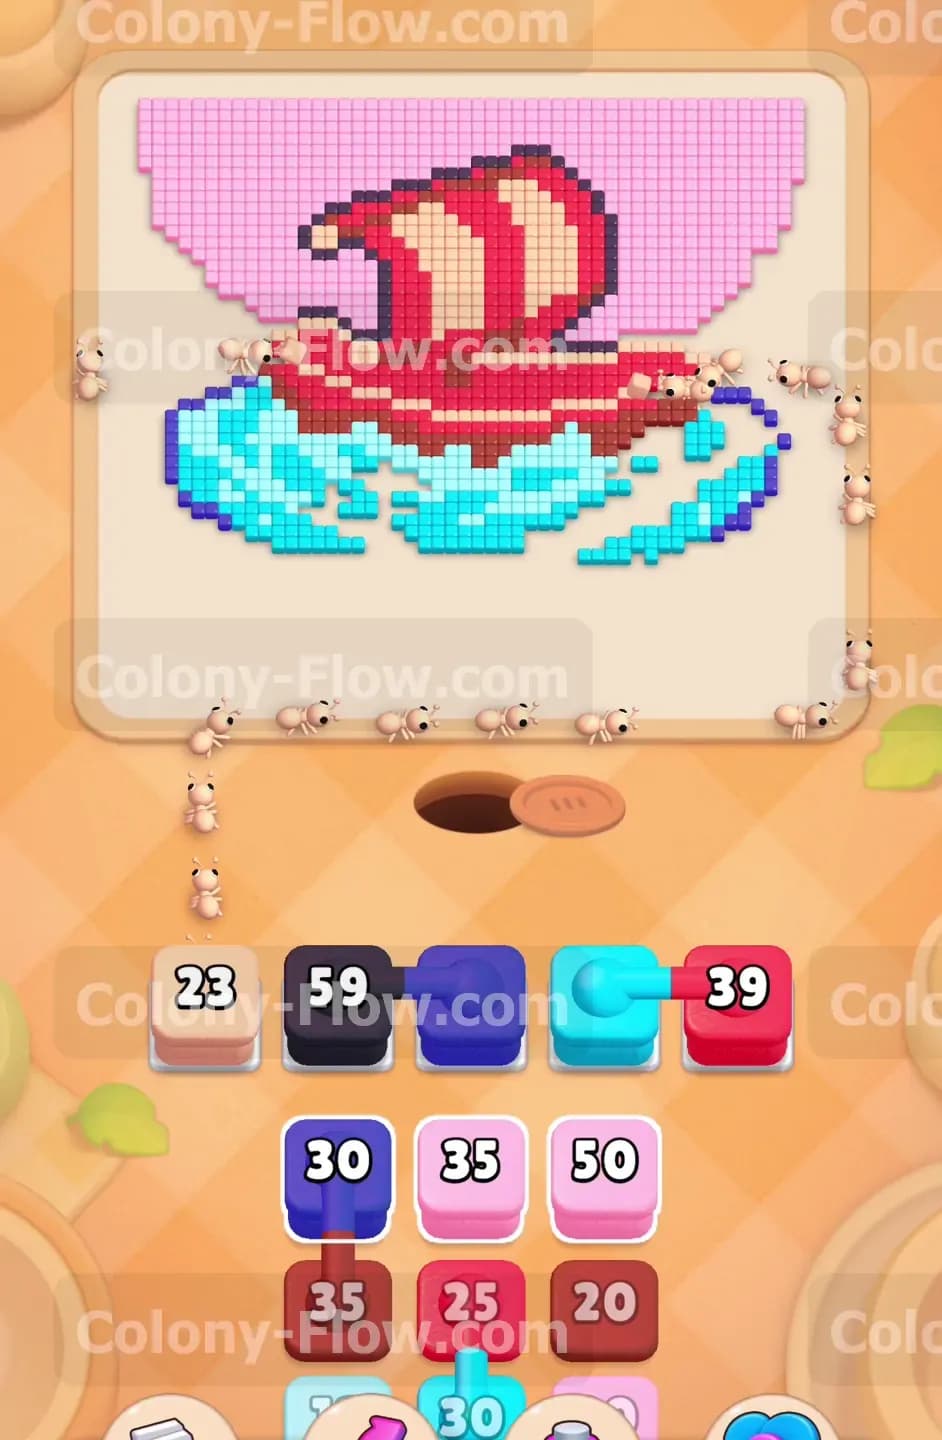
With the bottom corners open you can begin attacking the main subject of the picture. The water is made of cyan pixels and the ship is wrapped in a dark blue outline. Pull a cyan block from your tray to send a group of ants into the water. They will start carving into the bottom ripples of the picture. Next you must deal with the dark blue outline. This outline acts like a shell around the red and beige ship interior. In your tray you will find dark blue blocks that function as connected boxes. You can identify them by the thick black bar linking them together. When you tap one of these connected dark blue blocks both blocks move into your waiting slots simultaneously. This action consumes two of your five available slots in a single move. You must verify that you have at least two empty slots before you tap a connected box. Once the connected dark blue blocks sit in the slots the ants will run up the sides of the board and begin dismantling the ship outline. Let the ants work on the cyan water and the dark blue outline for a while. You need that dark blue shell to break apart before you can reach the red pixels inside.
Step 3: Bring in the red blocks to dismantle the ship hull and sails
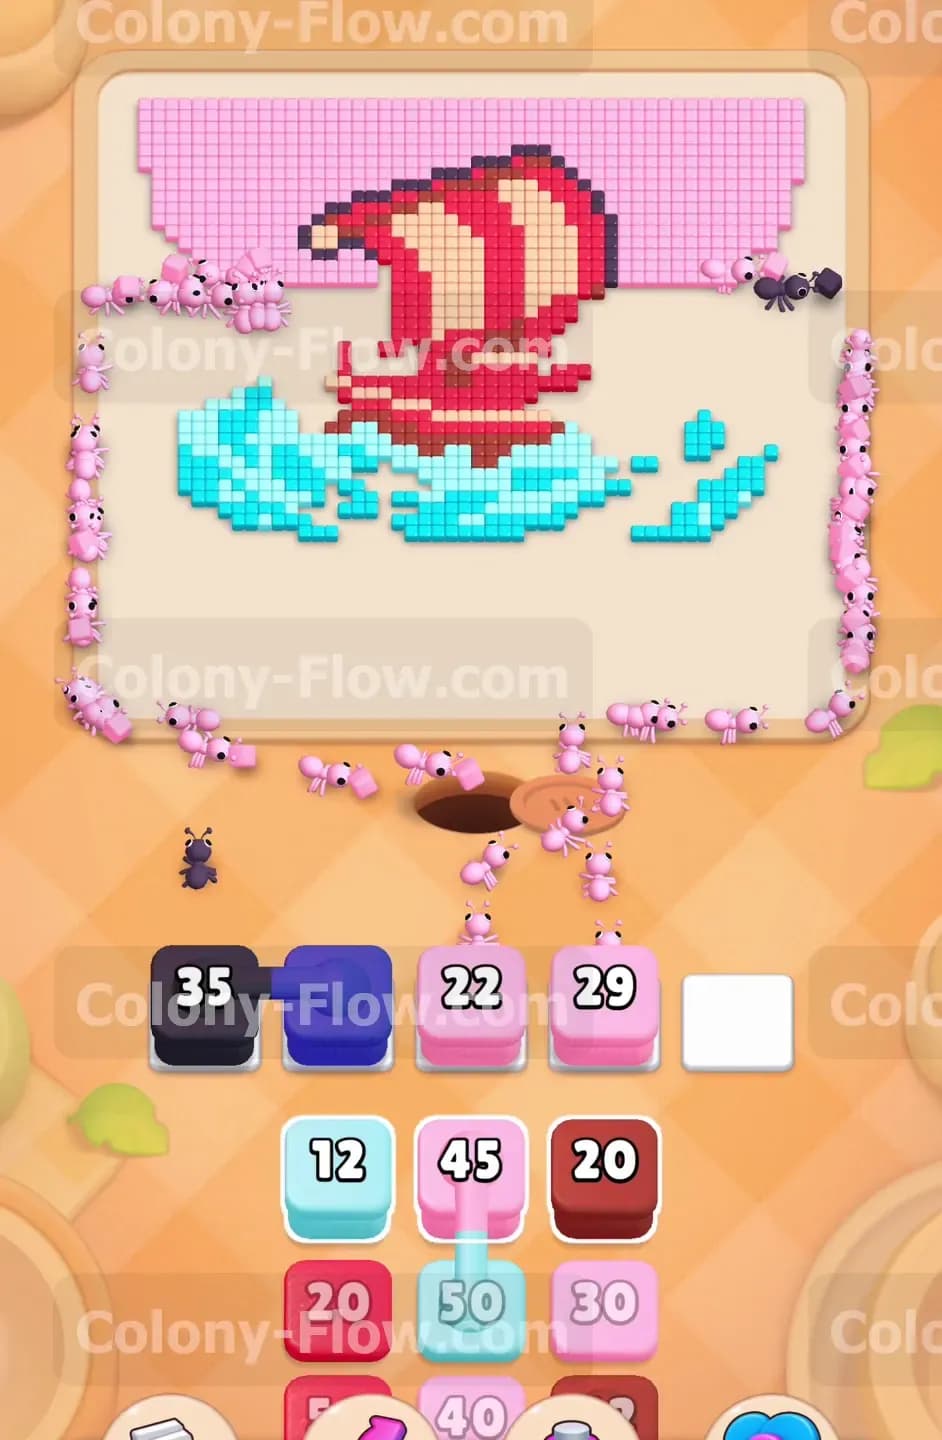
The ants will eventually chew through enough of the dark blue outline to expose the red pixels of the ship. The ship features a solid red hull and thick red stripes on the sails. Now is the perfect time to pull red blocks from your tray into the waiting slots. The ants will march up the middle of the board and start eating the red hull. While they do this you cannot ignore the rest of the board. The pink background still covers a massive area at the top of the picture. You must continue to manage the top pink section by pulling an occasional pink block. Balancing the colors in your waiting slots is the key to surviving this middle phase. You might have one slot processing pink one slot processing cyan and two slots holding connected dark blue blocks. This leaves you with only one empty slot for a red block. Always ensure the ants are actively reducing the numbers on the blocks in your slots. If a number stalls it means the ants cannot reach that color anymore. The red blocks will gradually clear the hull and open up paths to the beige sections of the sails.
Step 4: Manage connected cyan blocks to clear the dense water
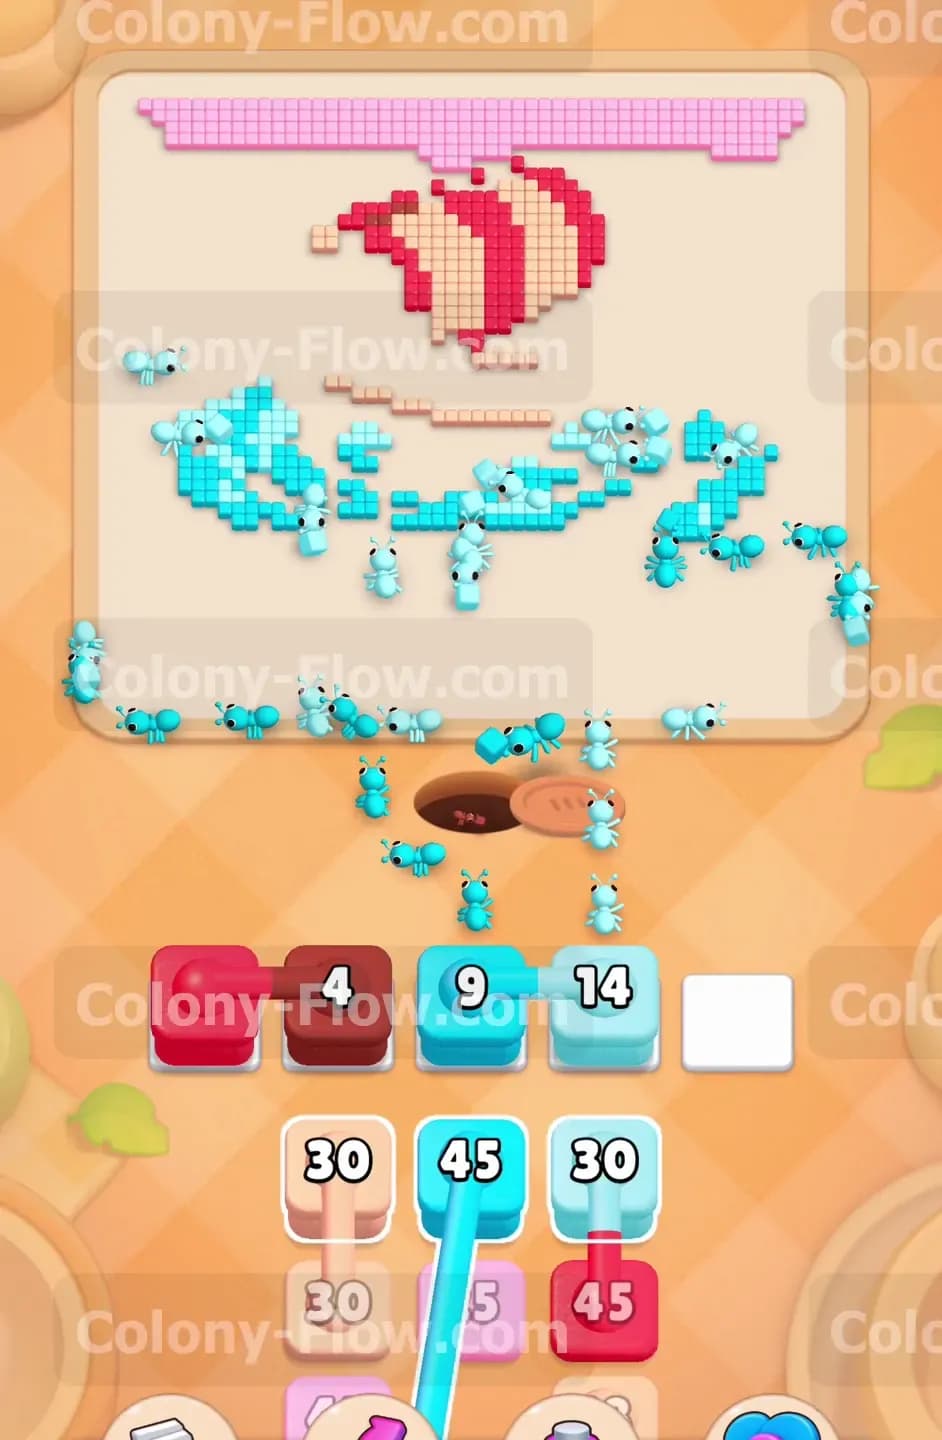
The cyan water covers a large portion of the bottom board and requires heavy numbers to clear completely. As you dig deeper into your tray you will uncover connected cyan blocks. Just like the dark blue ones earlier these connected cyan boxes join together by a black bar and move as a single unit. They will take up two waiting slots the moment you tap them. Look at your board and confirm that the ants have a wide open path to the cyan pixels. If the path is clear tap the connected cyan blocks. The ants will swarm the water section and quickly reduce the large numbers. Around this time the beige parts of the sails will become fully exposed. Pull a beige block into your tray to let the ants attack the mast and the lighter sail stripes. You are juggling multiple moving parts in this phase. You have ants finishing the red hull ants tackling the heavy cyan water and ants climbing up to the beige sails. Keep a close eye on your available slots. Never pull a connected block if your slots are mostly full. Wait for an active block to finish completely and disappear from the slot before you commit to another large pull.
Step 5: Clean up the final pink rows and finish the remaining colors
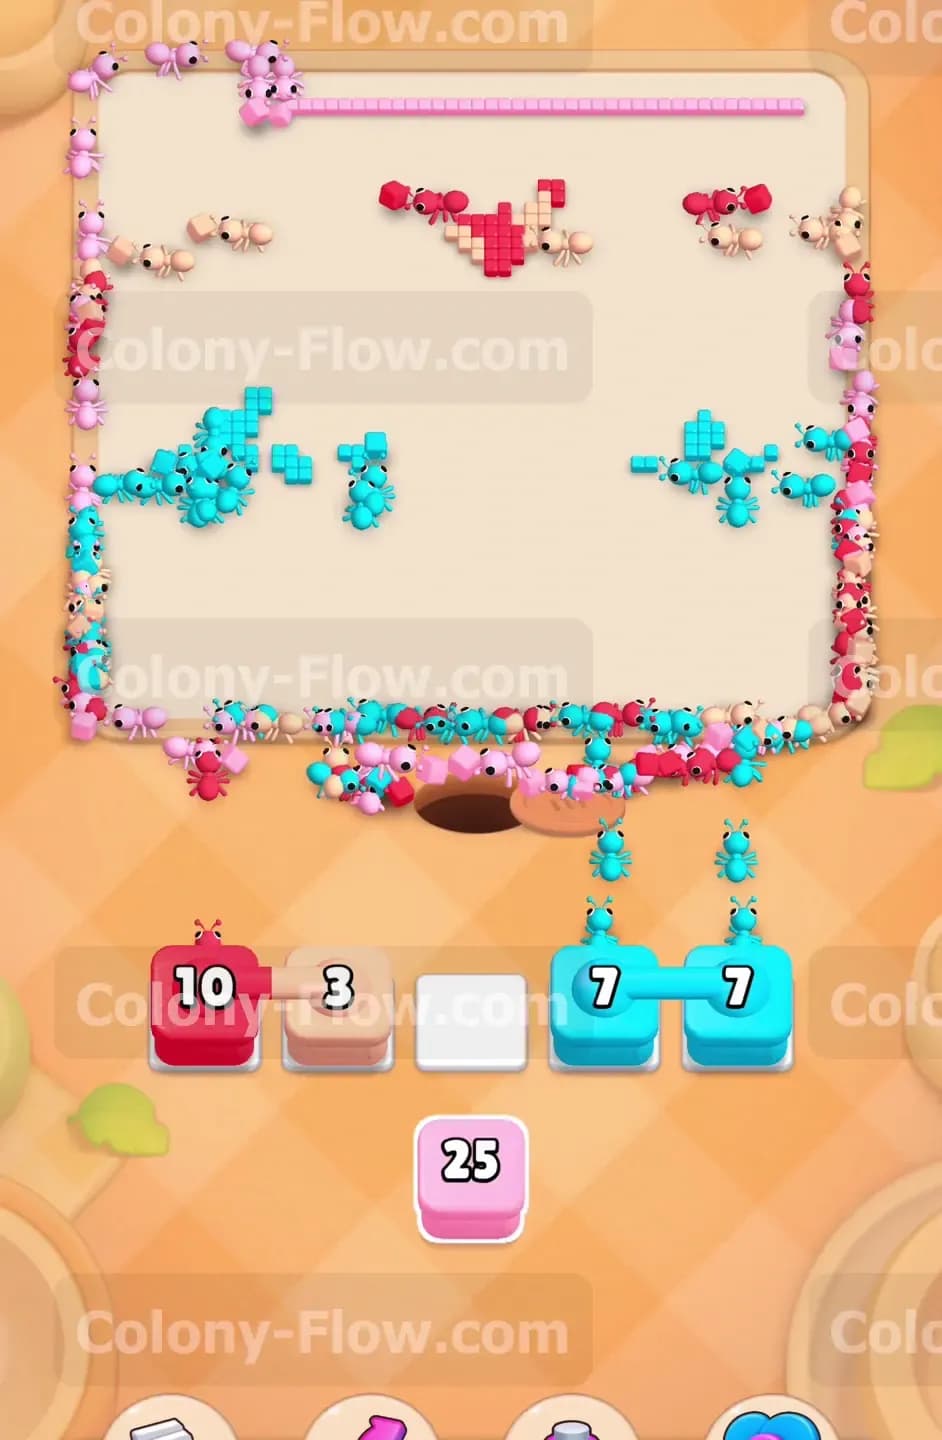
You are now approaching the end of the level. The board looks much emptier now. Only a straight strip of pink background remains at the very top edge of the picture. The water is mostly gone leaving only a few scattered cyan pixels. The sails are broken into small disconnected chunks of red and beige. Pull the final pink blocks from your tray. The ants will travel all the way up the sides of the empty board to consume the last top rows of the sky. Then focus on the remaining details of the ship. Pull the small numbered red and beige blocks to clean up the last pieces of the sails. Finally tap the remaining cyan blocks to finish off the very last water pixels. Because the board is mostly empty the ants will cover large distances very quickly. Watch the final blocks in your waiting slots tick down to zero. The last pixel disappears the picture completely clears and the ants march off the board to trigger the victory screen.
Final Thought
This level requires patience and a strict eye on your waiting slots. The connected boxes can easily trap you if you pull them at the wrong time. Take the colors layer by layer and always keep an open path for your ants. If any step is hard to follow in text I encourage you to watch the video above this article to see the exact timing in action.