Colony Flow Level 84 Walkthrough Solution & Guides | How to solve Colony Flow 84

Guide By Liam Stone
Updated on July 11, 2026
If you're short on time, the video above covers the entire Level 84 solution in a few minutes.
Video doesn't match your screen?
Game updates frequently scramble layouts! Try our AI Screenshot Solver first to find your exact board instantly, or report broken guides to our team.
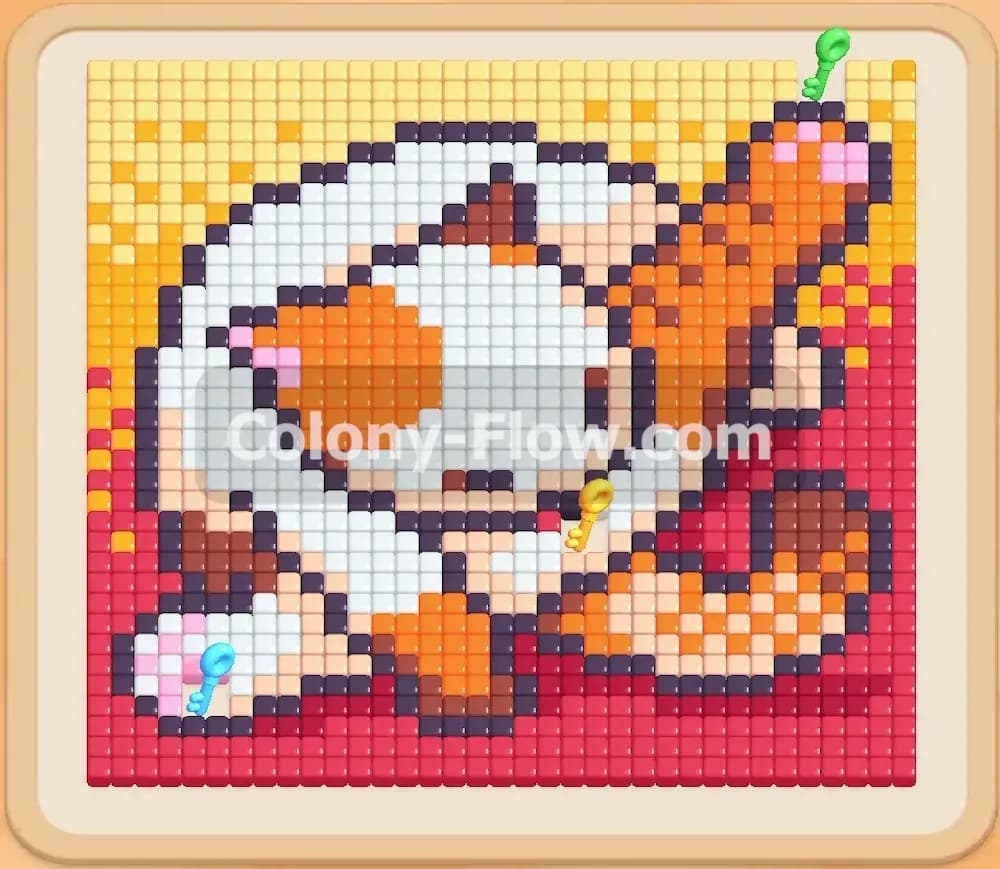
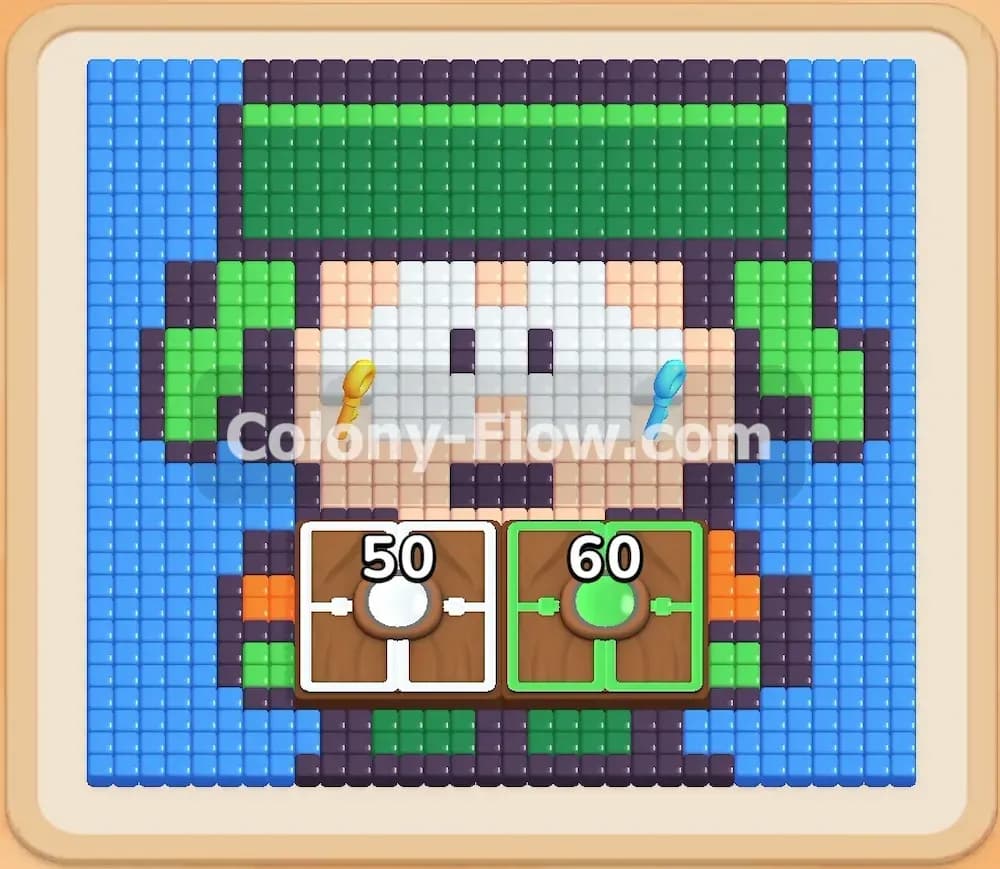
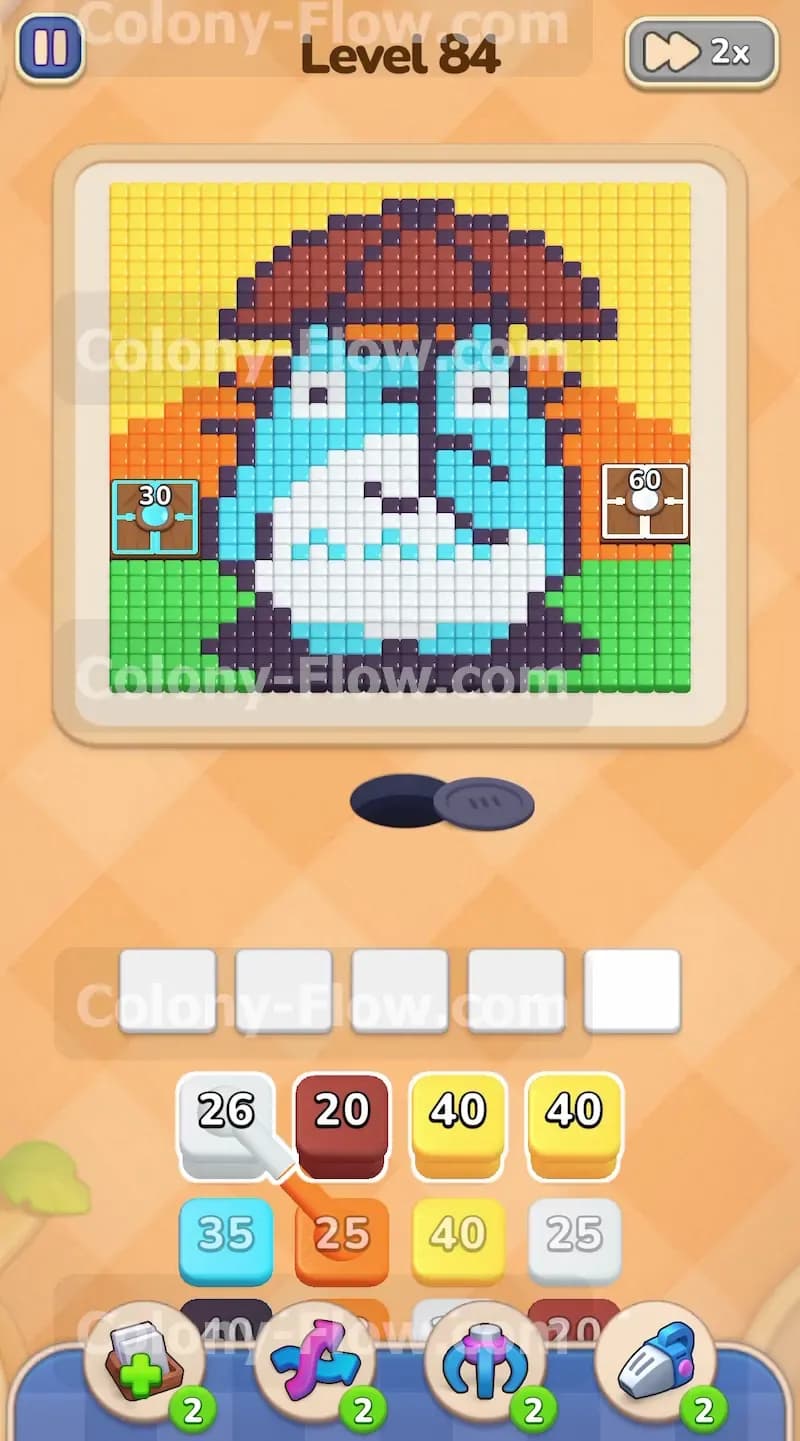
Colony Flow Level 84 presents a beautiful pixel art challenge right on your screen. You face a large round woodland creature wearing a wide brown hat. The character sits against a bright yellow and orange sky with thick green grass at the bottom. This board tests your block management skills because you must peel away the outer environment before you can reach the core of the picture. The space in your tray is extremely tight. You will need a solid plan to guide your ants from the nest hole to their exact targets without causing a fatal traffic jam in your limited waiting slots.
Colony Flow Level 84 Overview
What You Are Working With
The main pixel art picture features several distinct color zones. You have a massive light blue body in the center with a bright white belly. A dark blue outline wraps around the entire creature and adds internal details like eyes and arms. The background consists of yellow tiles at the top, orange tiles in the middle, and green grass patches flanking the nest hole at the very bottom.
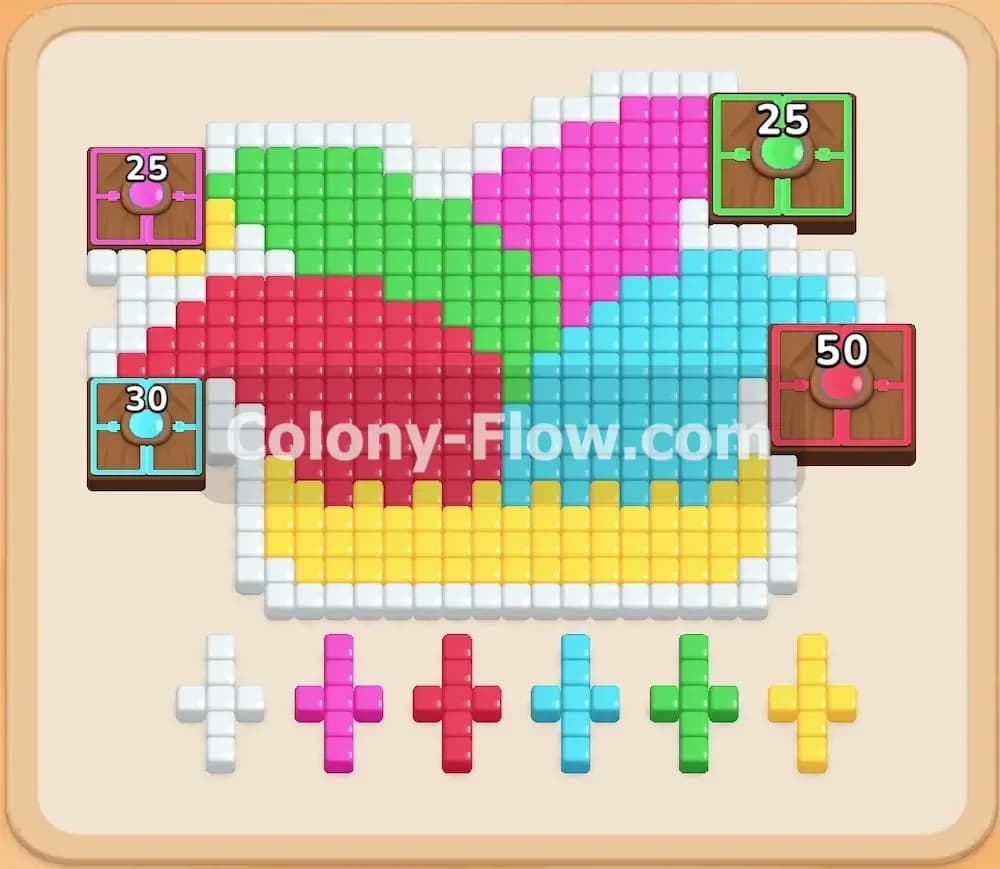
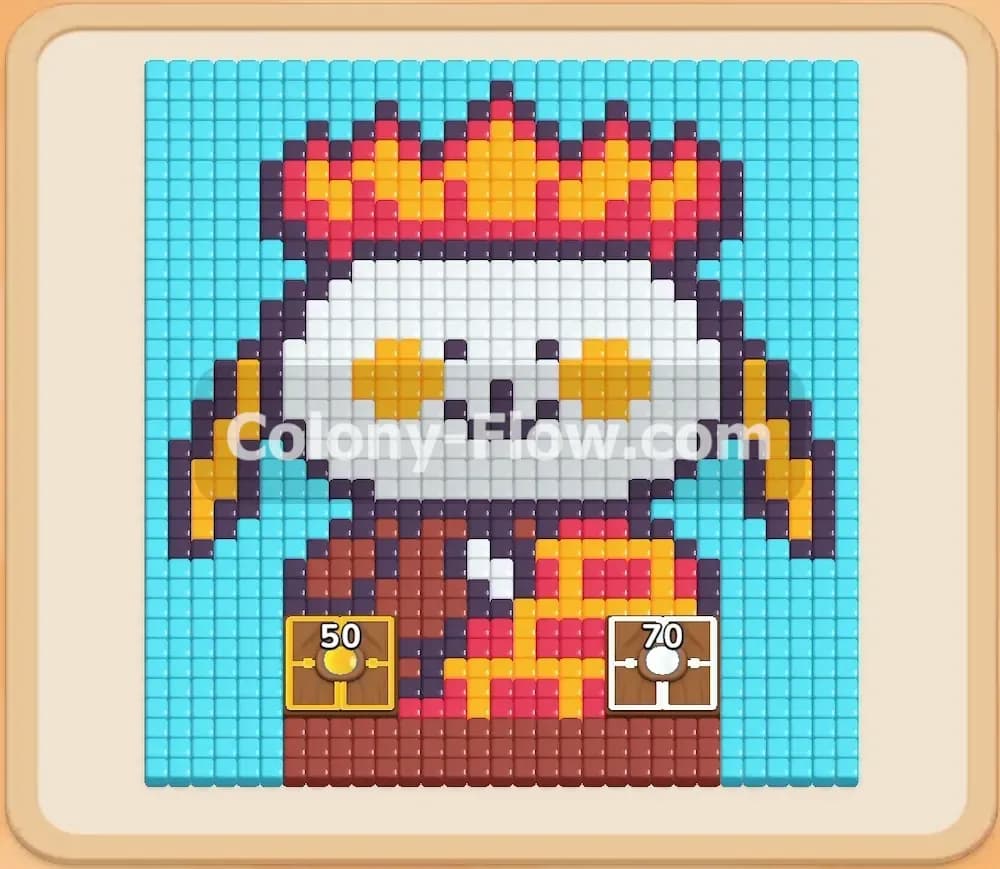
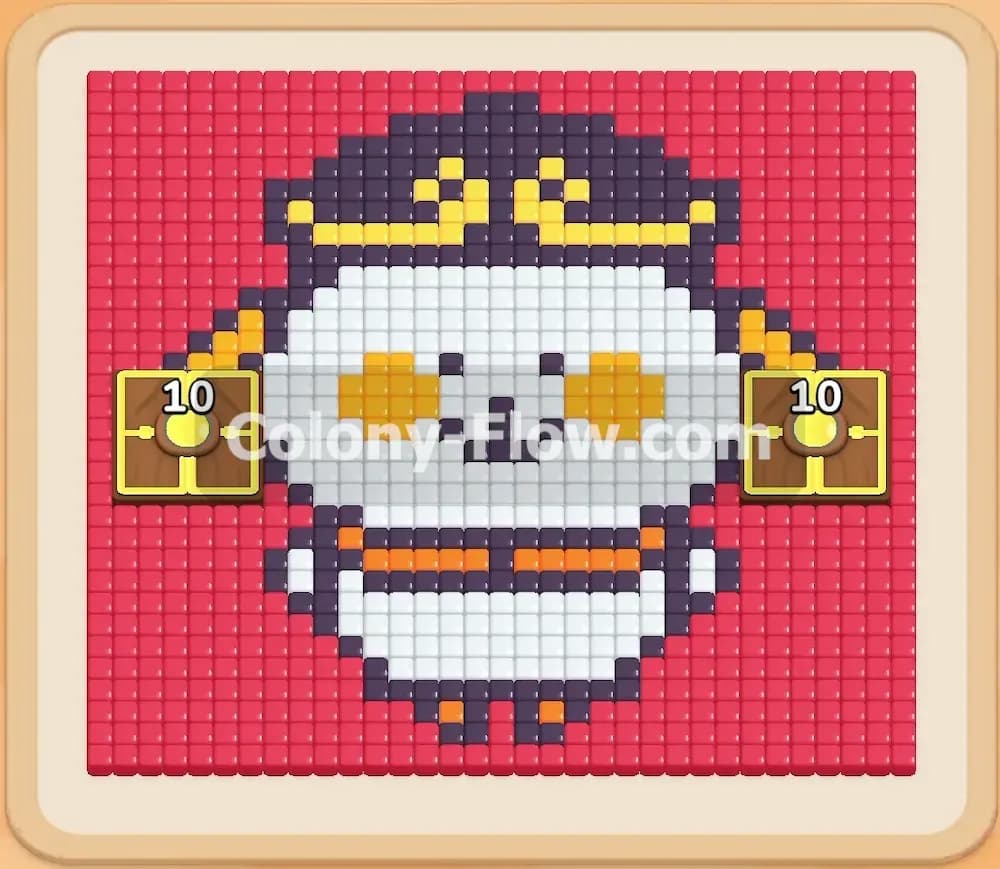
The tray at the bottom of your screen introduces a major hurdle called Connected Boxes. Many of the colored number blocks are physically linked together by solid lines. When you pull one block from the tray, its linked partner comes up into the waiting slots at the exact same time. Your waiting area only holds a total of five blocks. Pulling just one linked pair instantly takes up two of your five available slots.
The nest hole sits at the bottom center of the board. From the very beginning of the level, your ants have open paths leading left and right around the outside edge of the picture. They also have direct access to the bottom green grass tiles and the lowest part of the dark blue outline.
What It Takes to Clear Level 84 Board
Clearing this level means consuming every single colored tile on the board until the screen is perfectly blank. You will lose the game if you fill all five waiting slots with blocks that have no open paths to their matching colors. Dead ending the board happens quickly when you pull colors for the inner body before breaching the outer boundaries.
To win, you must carefully sequence your moves from the outside in. You have to open the board by sending ants around the exterior to eat the sky. Then you must break the thick dark blue outline at the bottom to grant your colony access to the white belly and the light blue body. You must constantly monitor your five waiting slots. If you pull a linked pair that includes a brown block for the top hat, you must understand that the brown block will sit completely stuck in your waiting area until the very end of the level. You must keep the other slots flowing with active colors so the ants never stop moving.
Colony Flow Level 84 Step by Step Solution
Step 1: Open the outer edges by pulling the linked yellow blocks
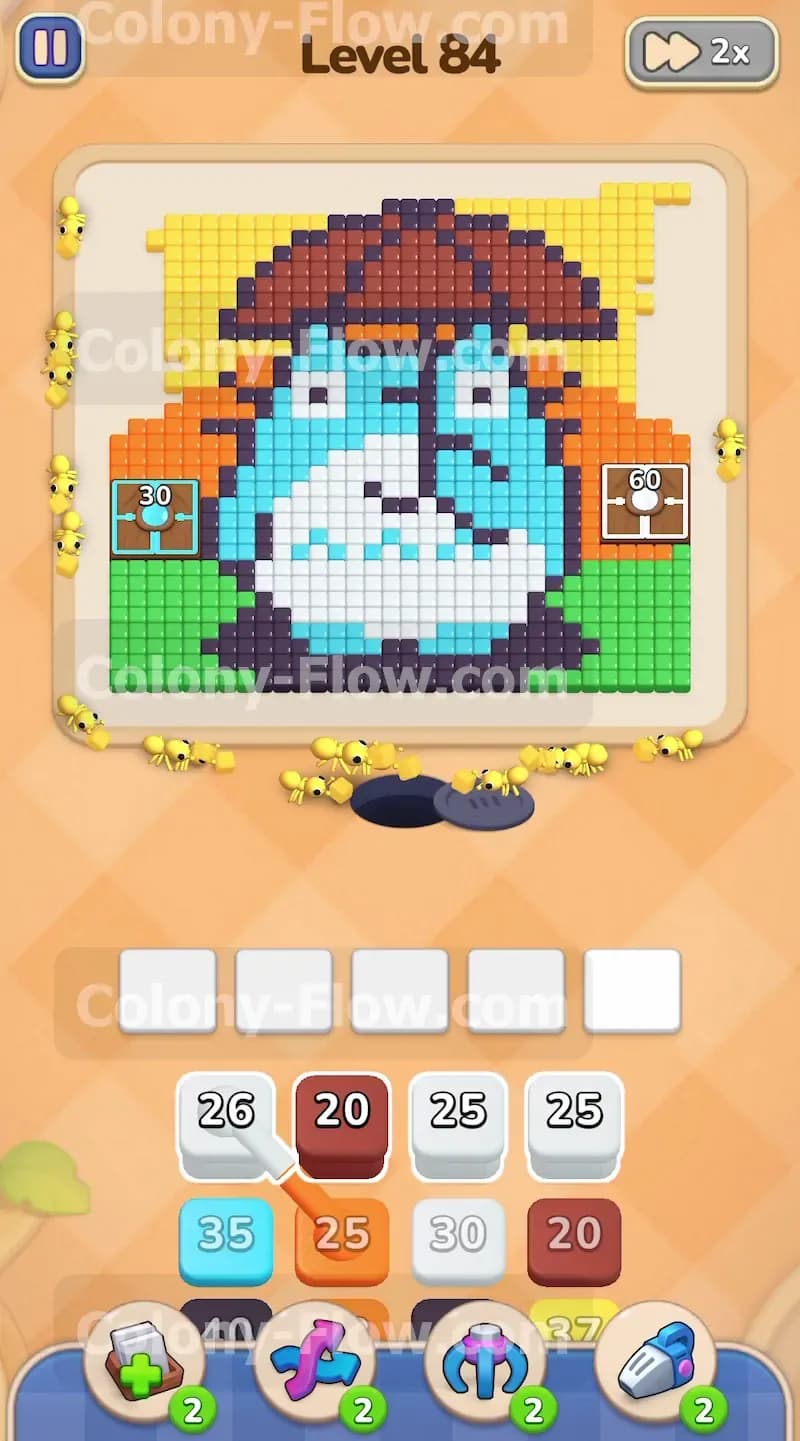
Start your strategy by targeting the yellow sky tiles at the very top of the board. Look at your tray and find the yellow block carrying the number 40 linked to another yellow block carrying the number 40. Pull this pair into your waiting slots. Since both blocks match the top background, the yellow ants will immediately stream out of the nest hole. They will travel all the way up the extreme left and right sides of the board, completely bypassing the central character, and begin eating the yellow sky. The numbers on both yellow blocks will drop steadily as the top of the board begins to clear. This massive wave of 80 ants keeps your waiting slots moving and prevents early jams. You need this open space to cycle through the heavy blocks waiting at the bottom of your screen.
Step 2: Break the bottom barrier using the dark blue blocks
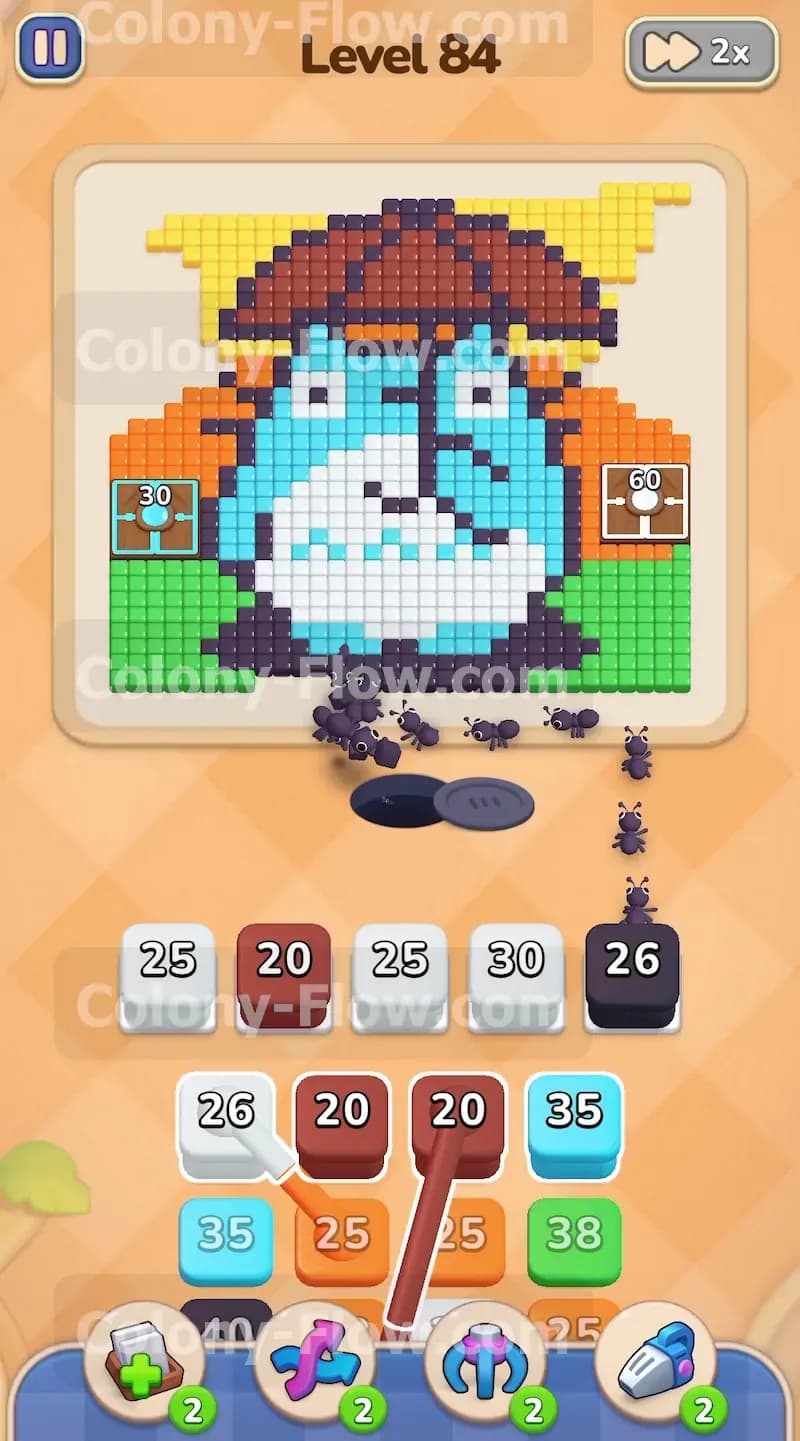
Your colony cannot reach the center of the creature until you destroy the protective border. The dark blue outline forms a solid wall directly above the nest hole. Pull the dark blue block showing the number 26. The dark blue ants will march straight up from the hole and start chewing into that bottom border. As they clear these boundary tiles, they create a physical opening that leads directly into the white belly of the character. You must ensure this path is open before you attempt to pull any interior colors. If you pull inner colors too early, the ants will just bump into this dark blue wall and your waiting slots will freeze.
Step 3: Hollow out the white belly with a linked pair
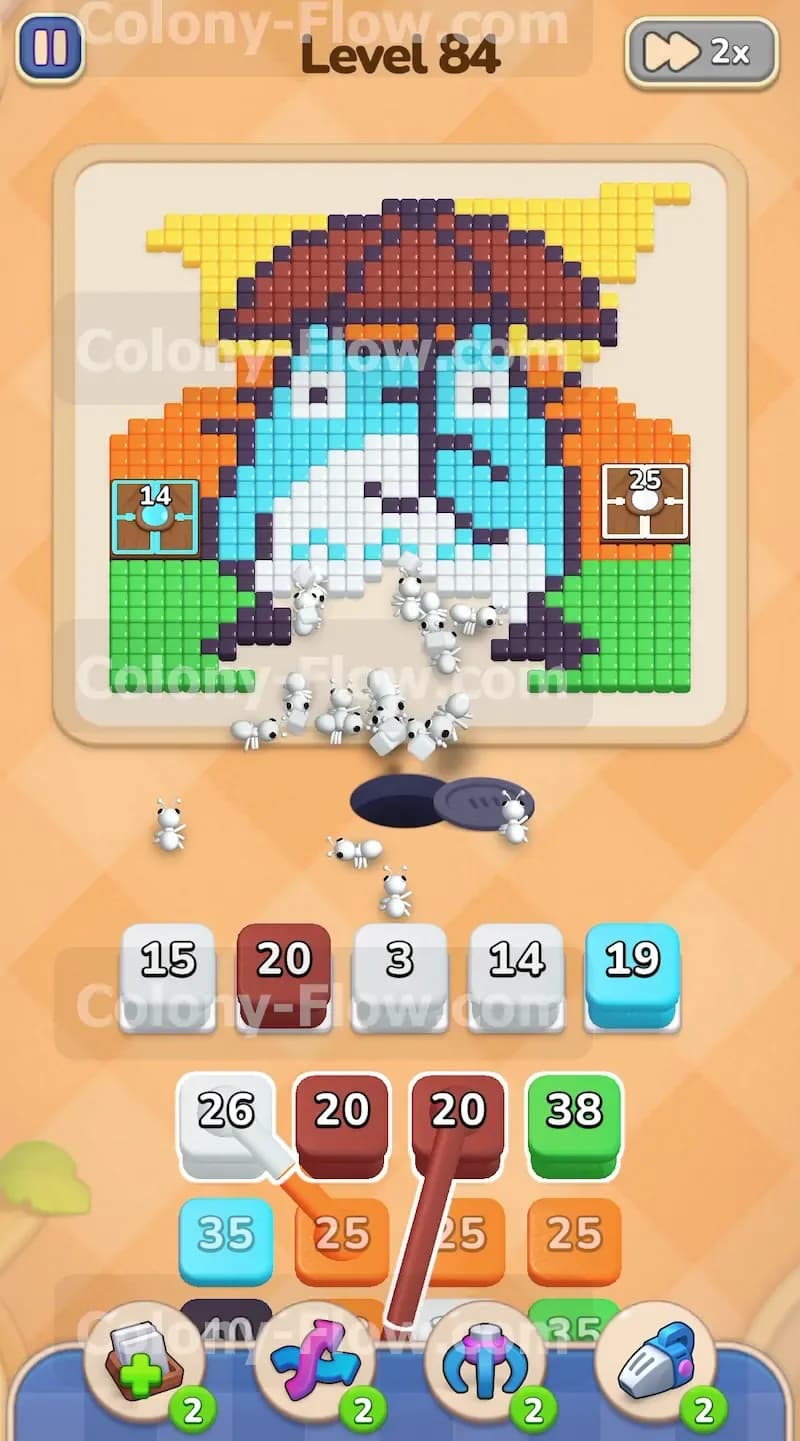
With the bottom barrier broken, the white tiles are completely exposed. Search your tray for the white block showing the number 26 that is linked to a brown block showing the number 20. Pull this pair into your waiting slots. The white ants will flood through the new gap and swarm the belly area. The number on the white block will count down rapidly. However, the brown block for the hat cannot be reached yet. It will sit in your waiting slot and take up permanent space for quite a while. You now only have three usable slots left for the rest of the board. You must be extremely careful with your next pulls to keep the remaining slots active.
Step 4: Clear the green grass from the bottom corners
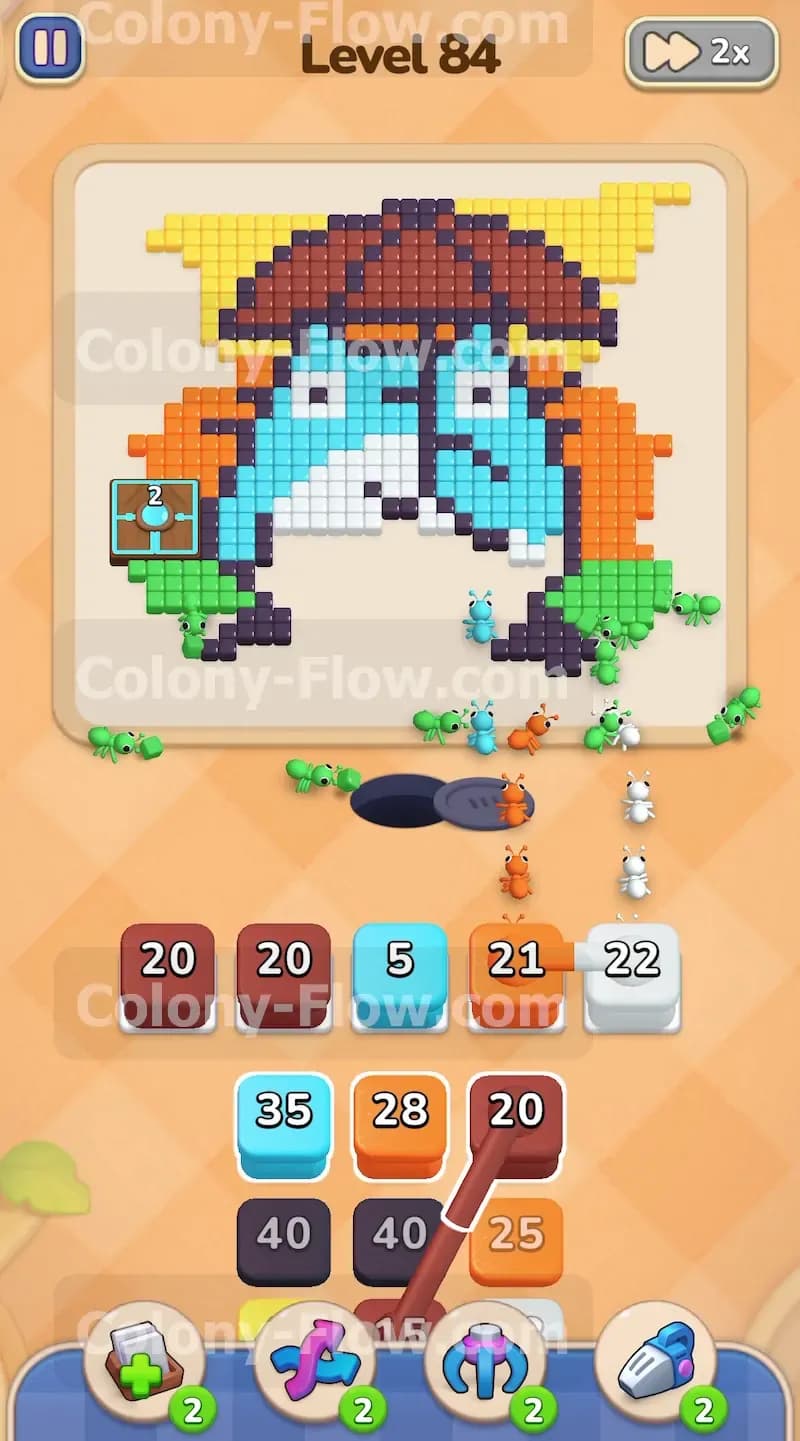
The lower left and right sections of the board feature large patches of green grass. These patches block your shortest paths to the middle sides of the screen. Pull the green blocks into your available waiting slots. The green ants will split into two distinct groups upon leaving the nest hole. One group will veer left, and the other will veer right, consuming the grass entirely. Getting rid of these green tiles removes a major obstacle and creates a much wider highway for your ants to reach the upper sections of the picture. Your waiting slots remain safe because the green tiles are wide open from the very first second of the game.
Step 5: Consume the massive light blue body
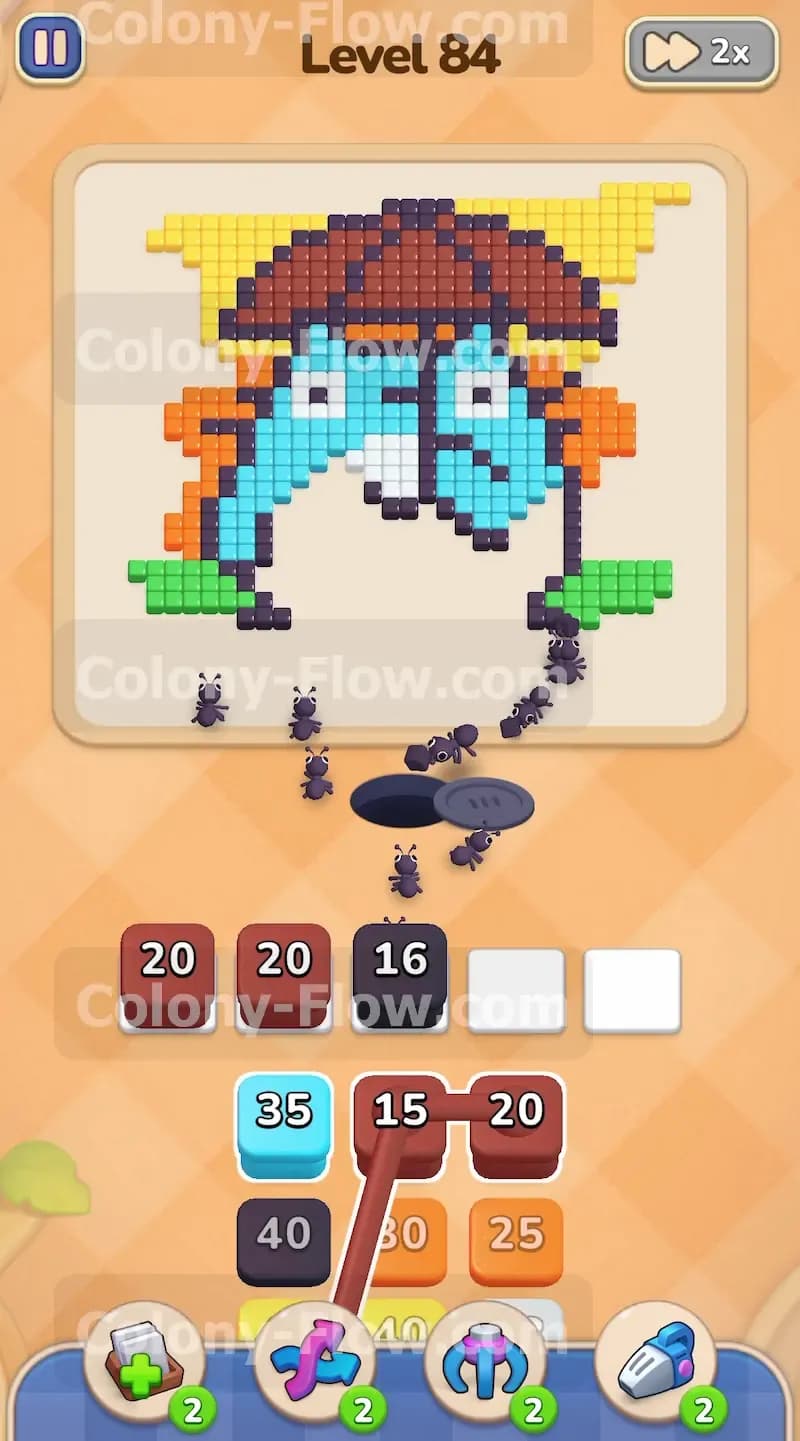
The light blue tiles make up the largest remaining portion of the screen. Look for the light blue block showing the number 35 that is linked to an orange block showing the number 25. Pull this pair up. The light blue ants will charge up the middle of the board, filling the space where the white belly used to be, and eat their way out through the body. The orange block will remain stuck in your waiting area temporarily because the orange sky tiles are blocked by the remaining character tiles. Your slot space is now critically tight. You must rely on the light blue block emptying out quickly to free up room for your next move.
Step 6: Activate the stuck orange block by clearing a path
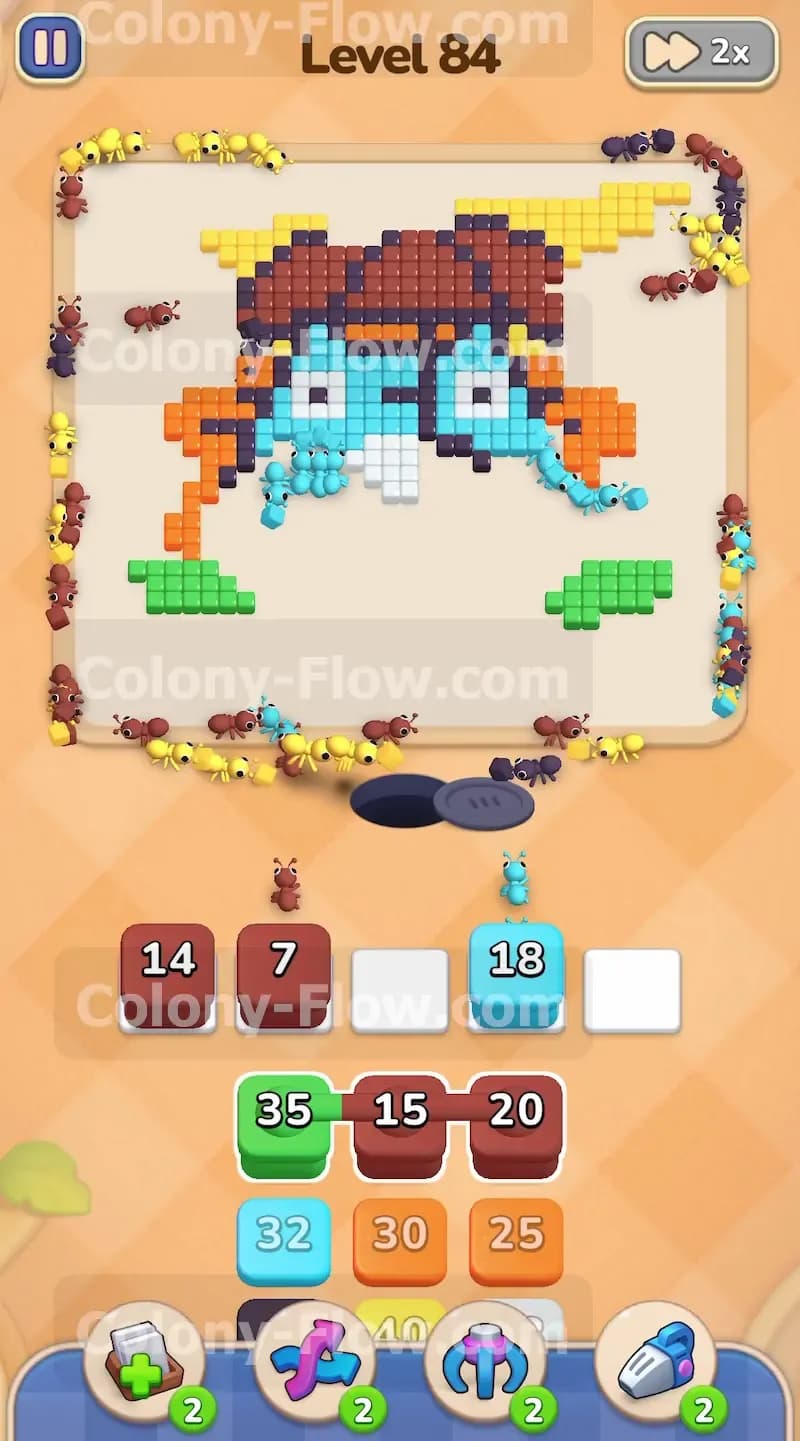
As the light blue body disappears, the orange sky tiles on the sides of the board finally become accessible. The orange block that has been sitting dormant in your waiting slot will suddenly activate without any extra effort on your part. Orange ants will pour out of the nest, run up the newly cleared side paths, and eat the middle background. To speed this process up, you can pull additional orange blocks from the tray. The orange numbers will count down to zero rapidly. This leaves the character completely isolated in the center of the empty screen and frees up precious slot space for the final stretch of the puzzle.
Step 7: Clean up the inner dark blue facial details
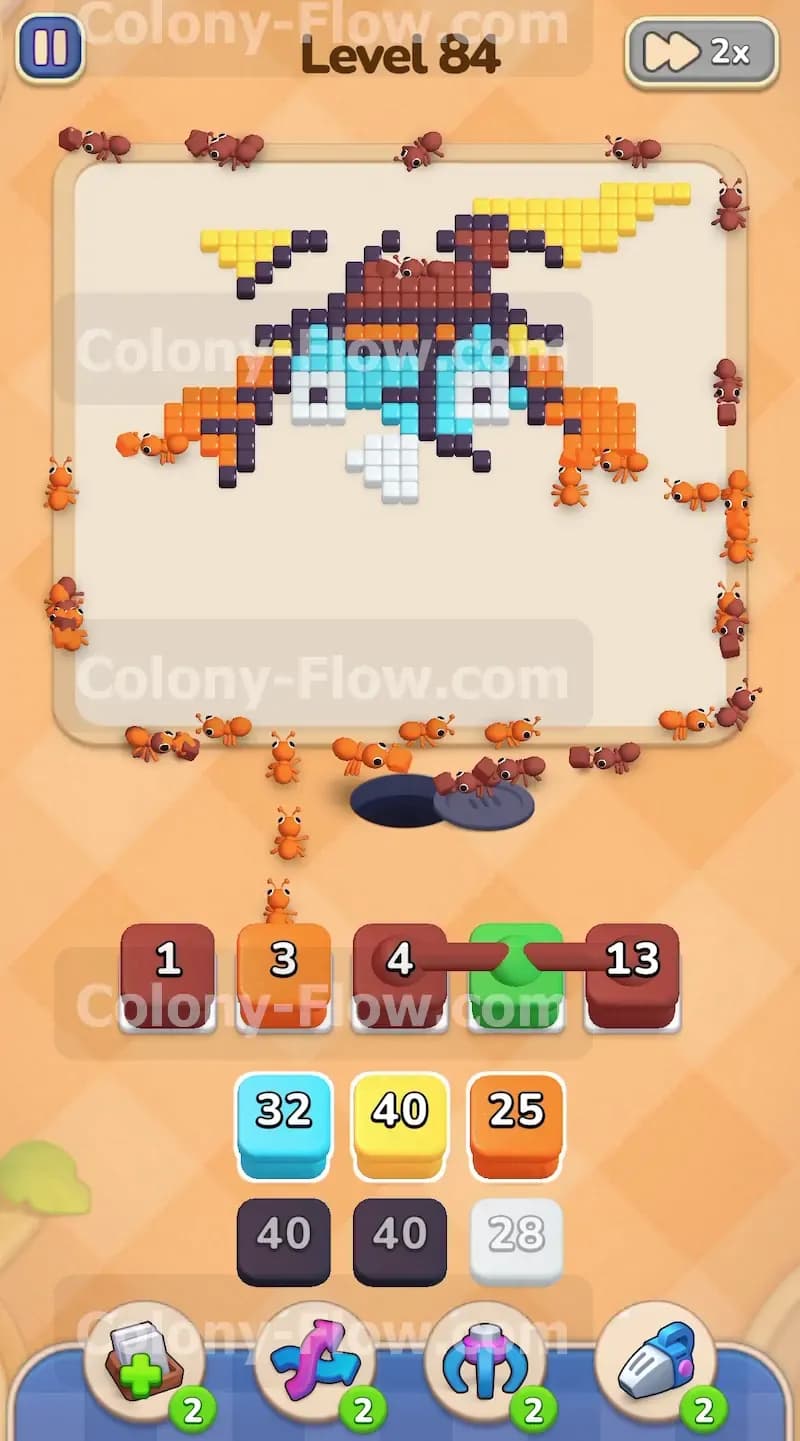
The character still has thick dark blue lines forming the eyes, the arms, and the dividing line just below the hat. Pull your remaining dark blue blocks into your active slots. The dark blue ants will march straight through the empty lower sections of the board and target these specific details. Clearing these final internal lines is absolutely necessary because they block direct access to the brown hat. Once the last dark blue tile vanishes, the hat is completely exposed to the nest.
Step 8: Clear the brown hat and finish the board
The only part of the pixel art left is the wide brown hat at the top. The brown block that you pulled way back in step three will finally spring to life. Brown ants will rush straight up the center of the completely empty board and begin devouring the hat. You can now safely pull any remaining brown blocks from the tray to finish the job. The numbers will quickly drop to zero. The final piece of the picture clears, the ants retreat back to their nest, and you secure your victory on this difficult board.
Final Thought
Managing your limited slot space is the real secret to conquering this puzzle. Pulling Connected Boxes always forces you to plan ahead and predict which colors will become trapped. If you get stuck on the timing of the linked blocks or lose track of which path opens next, I highly recommend you watch the video above this article. Keep your outer paths open, break the bottom barrier early, and you will lead your colony to success.