Colony Flow Level 450 Walkthrough Solution & Guides | How to solve Colony Flow 450

Guide By Liam Stone
Updated on August 1, 2026
Not in the mood to read? The video above solves Level 450 for you from beginning to end.
Video doesn't match your screen?
Game updates frequently scramble layouts! Try our AI Screenshot Solver first to find your exact board instantly, or report broken guides to our team.
Colony Flow Level 450 brings a cozy holiday theme to your screen with a genuinely challenging twist. You will face a massive green obstacle and a locked tray block that demands careful sequence planning from your very first move. I play every single level myself to find the absolute best route through the puzzle and avoid any dead ends. Follow my exact moves to keep your ants moving, manage your waiting slots, and beat this board on your first try.
Colony Flow Level 450 Overview
What You Are Working With
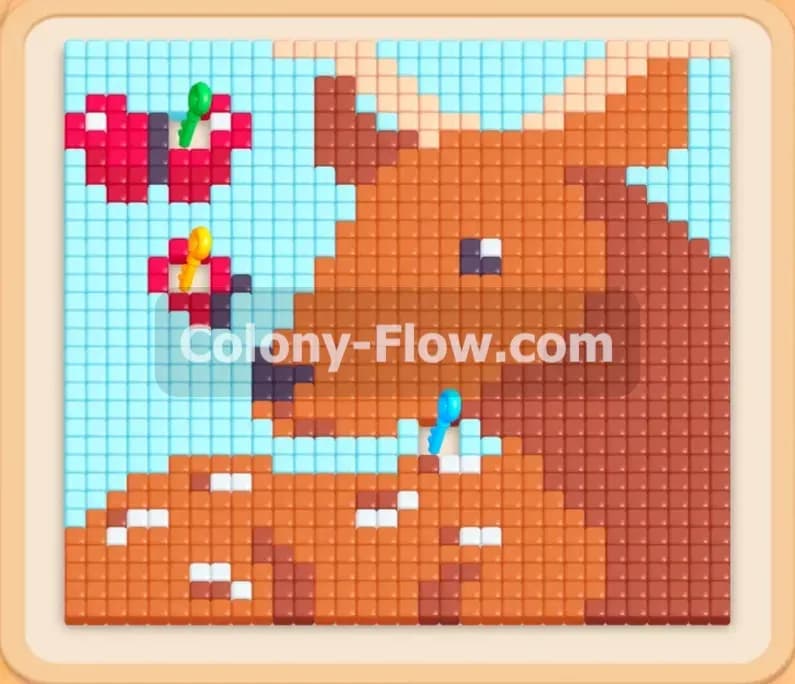
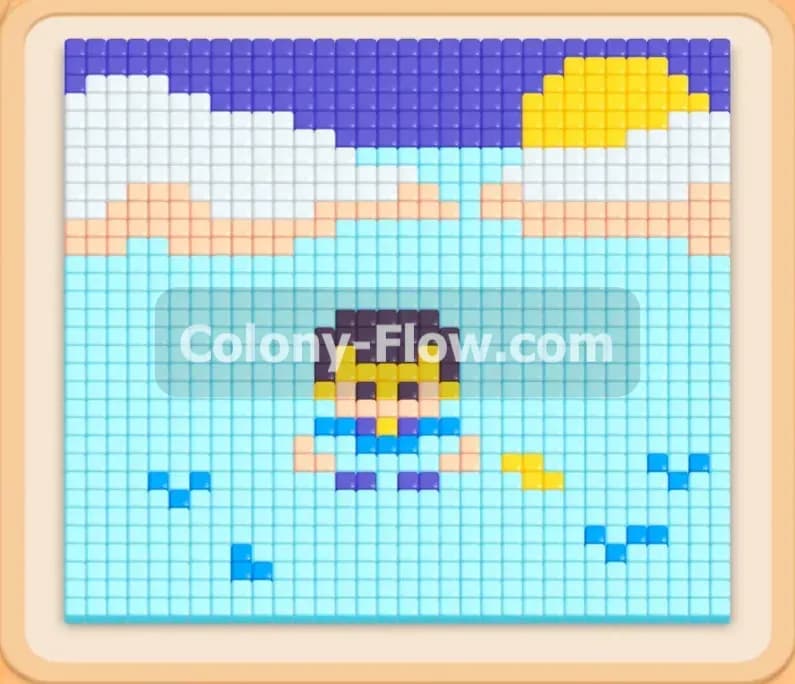
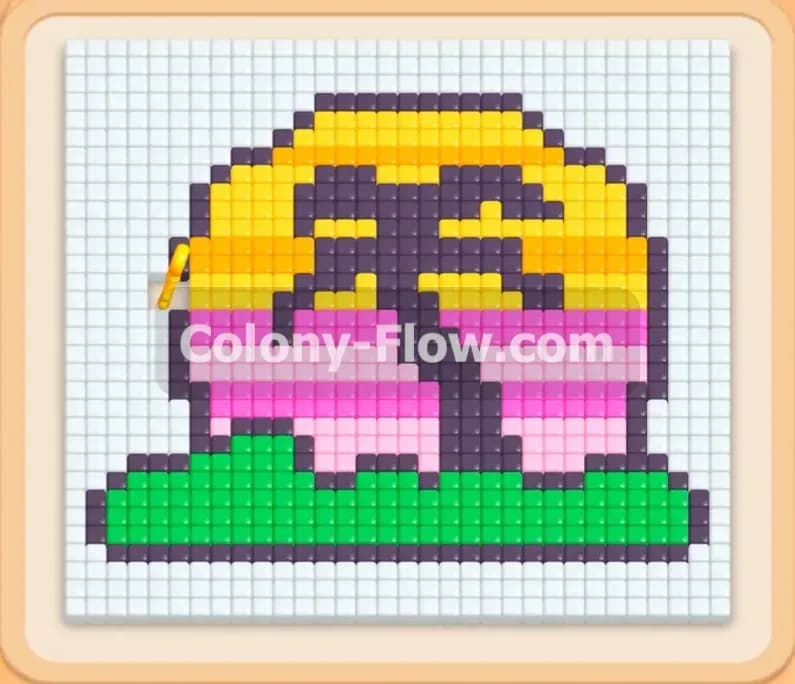
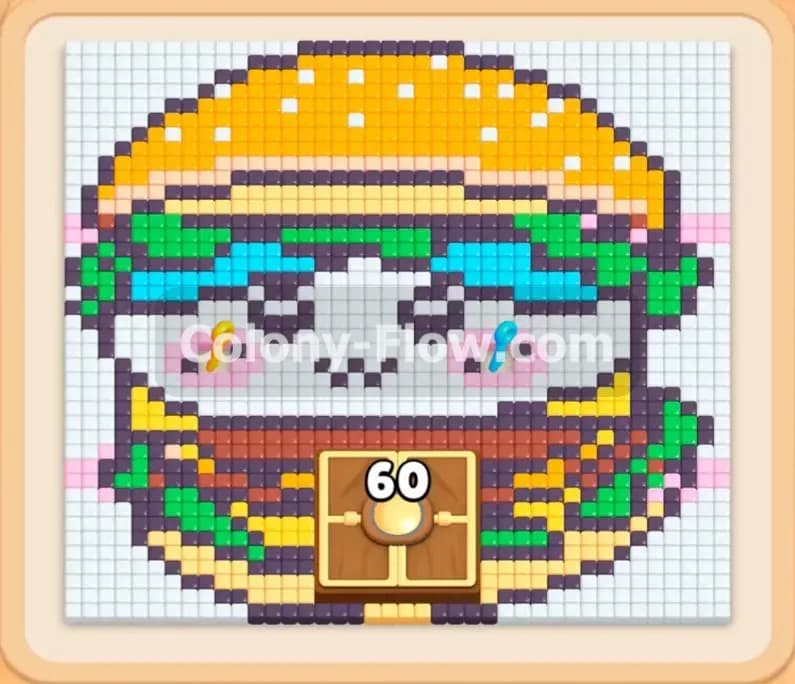
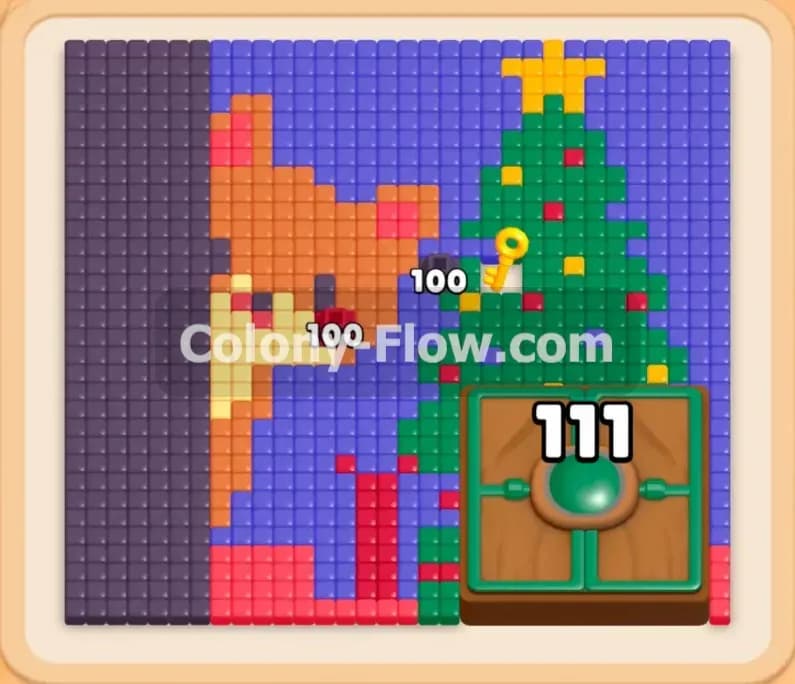
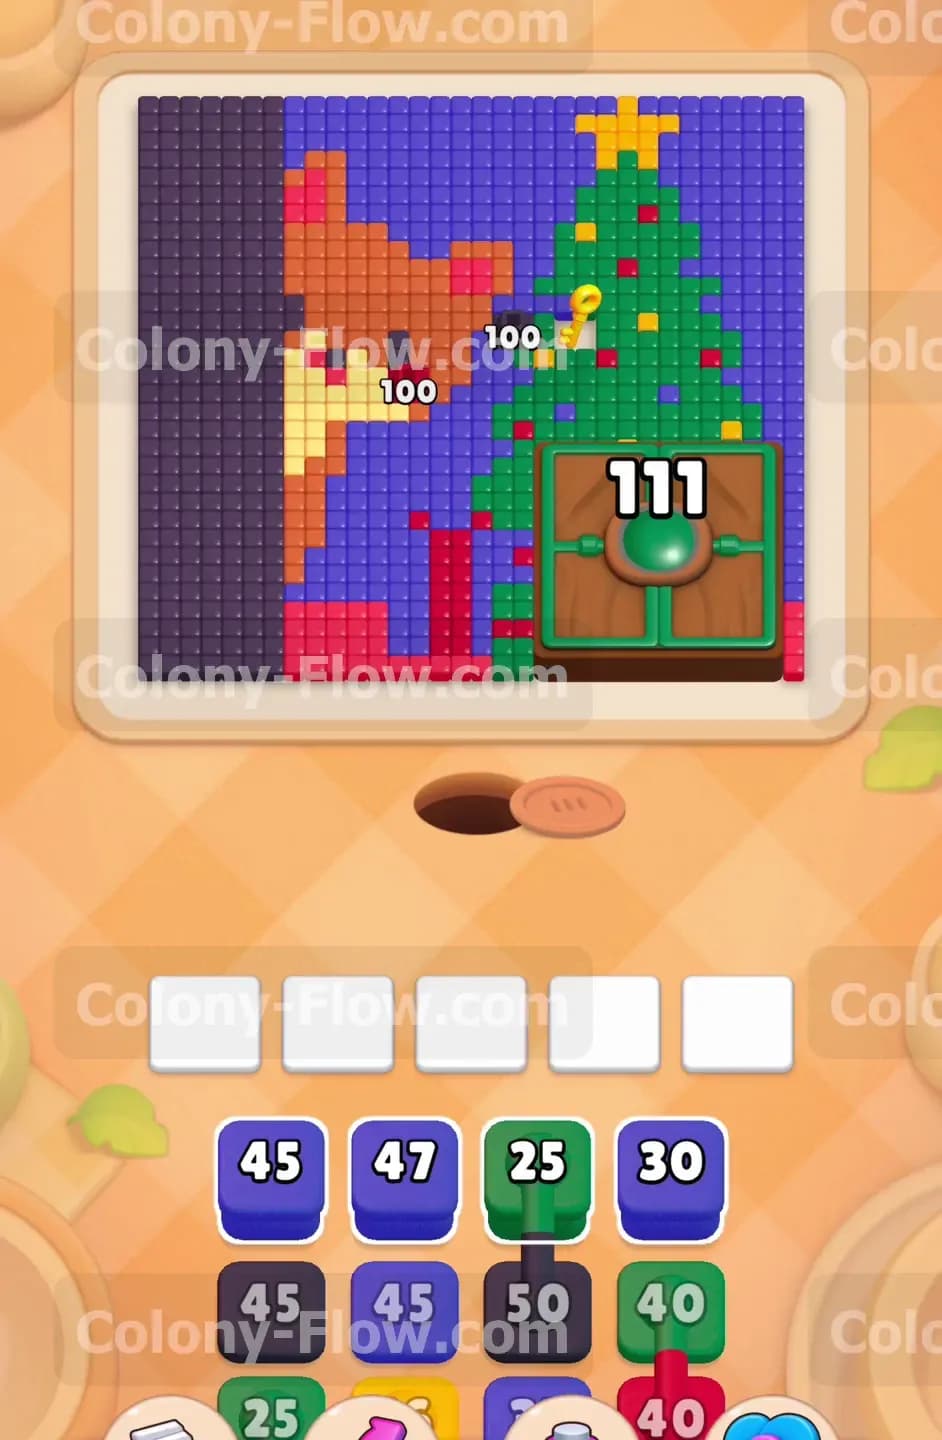
The picture on this board features a beautiful pixel art scene of a brown and light yellow bear standing right next to a green holiday tree topped with a bright yellow star. The background behind the scene splits into a wide deep blue section in the center and a thick vertical wall of dark purple on the left edge. A red border runs horizontally along the bottom of the board. The most intimidating feature sits on the bottom right side. A massive green and brown Hungry Door dominates that corner. The door displays a steep requirement of 111 green ants to open. You will also spot a small yellow key resting on the green tree. Your starting tray holds blue, dark purple, and green blocks. You will quickly notice a yellow padlock protecting one of the blue blocks in your lower tray.
What It Takes to Clear Level 450 Board
You win this level when you feed every single colored tile to your ants and clear the board completely without jamming your waiting slots. To make this happen, you must break down the massive 111 green requirement on the Hungry Door to reveal the Hidden Food tiles underneath. You also need to direct ants to the green tree to collect the yellow key and unlock your tray. The core rule remains in full effect throughout this entire process. You have five waiting slots for your blocks at the bottom of the screen. If you pull blocks too fast and fill all five slots without an open path to the board, you lose immediately. Every move must focus on keeping your paths wide open so the ants can reach their target colors.
Colony Flow Level 450 Step by Step Solution
Step 1: Clear the wide background sections first to establish safe paths.
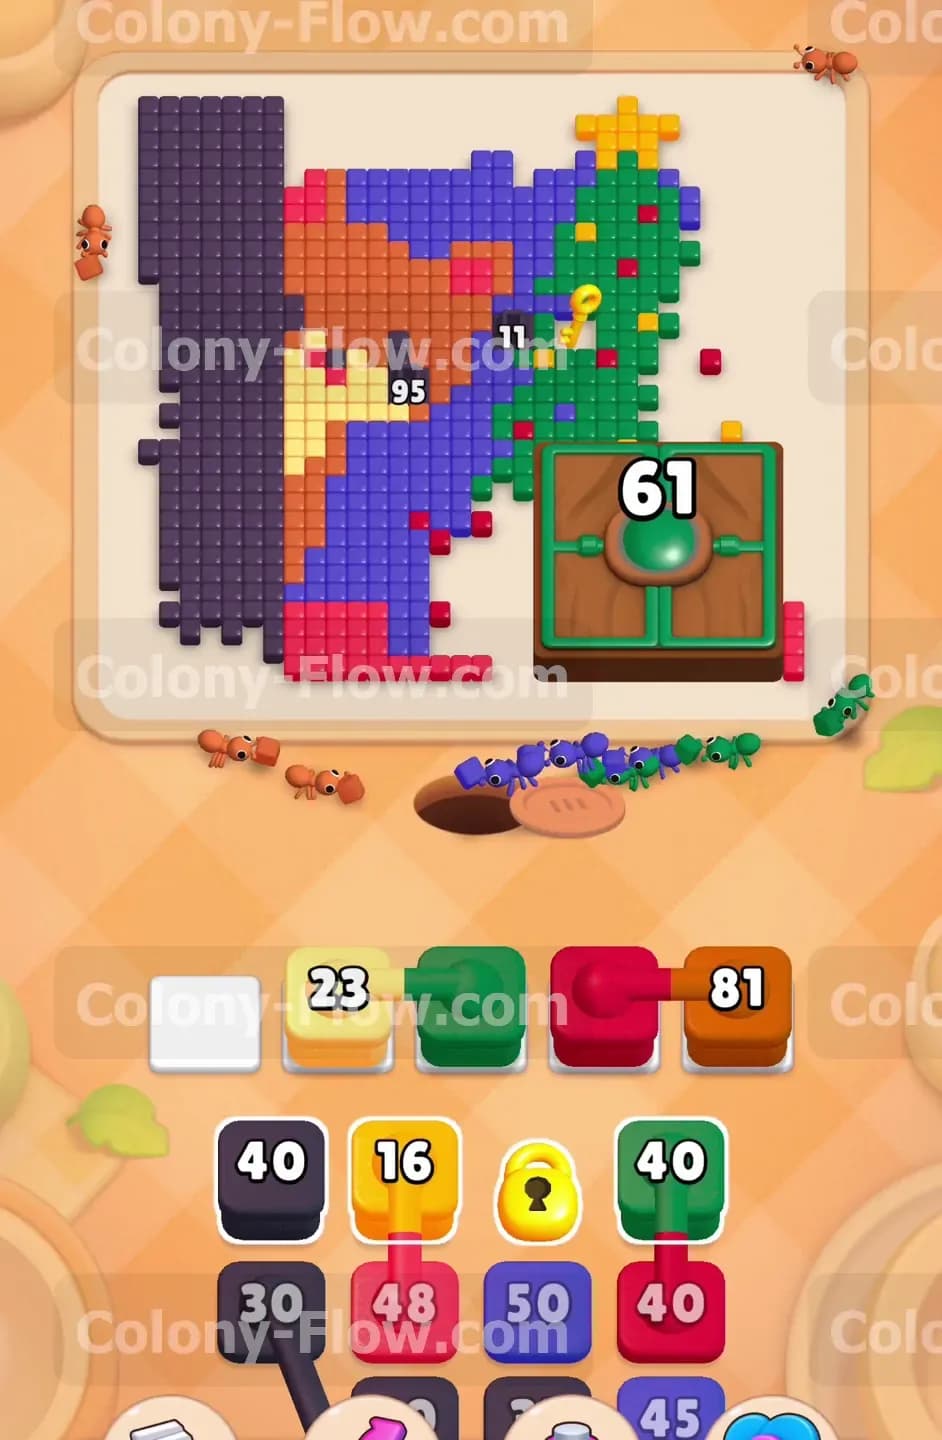
You begin the level by targeting the easily accessible dark purple and blue background tiles. Pull the 45 dark purple block and the 47 blue block from your starting tray. The ants stream out of the central nest hole and head toward the top left and middle sections of the board. This creates massive open spaces right away. By clearing these outer edges first, you guarantee that your waiting slots will not jam early in the game. The ants have plenty of exposed surface area to eat, and the blocks will count down quickly and leave your slots empty.
Step 2: Direct green ants toward the tree and the massive Hungry Door.
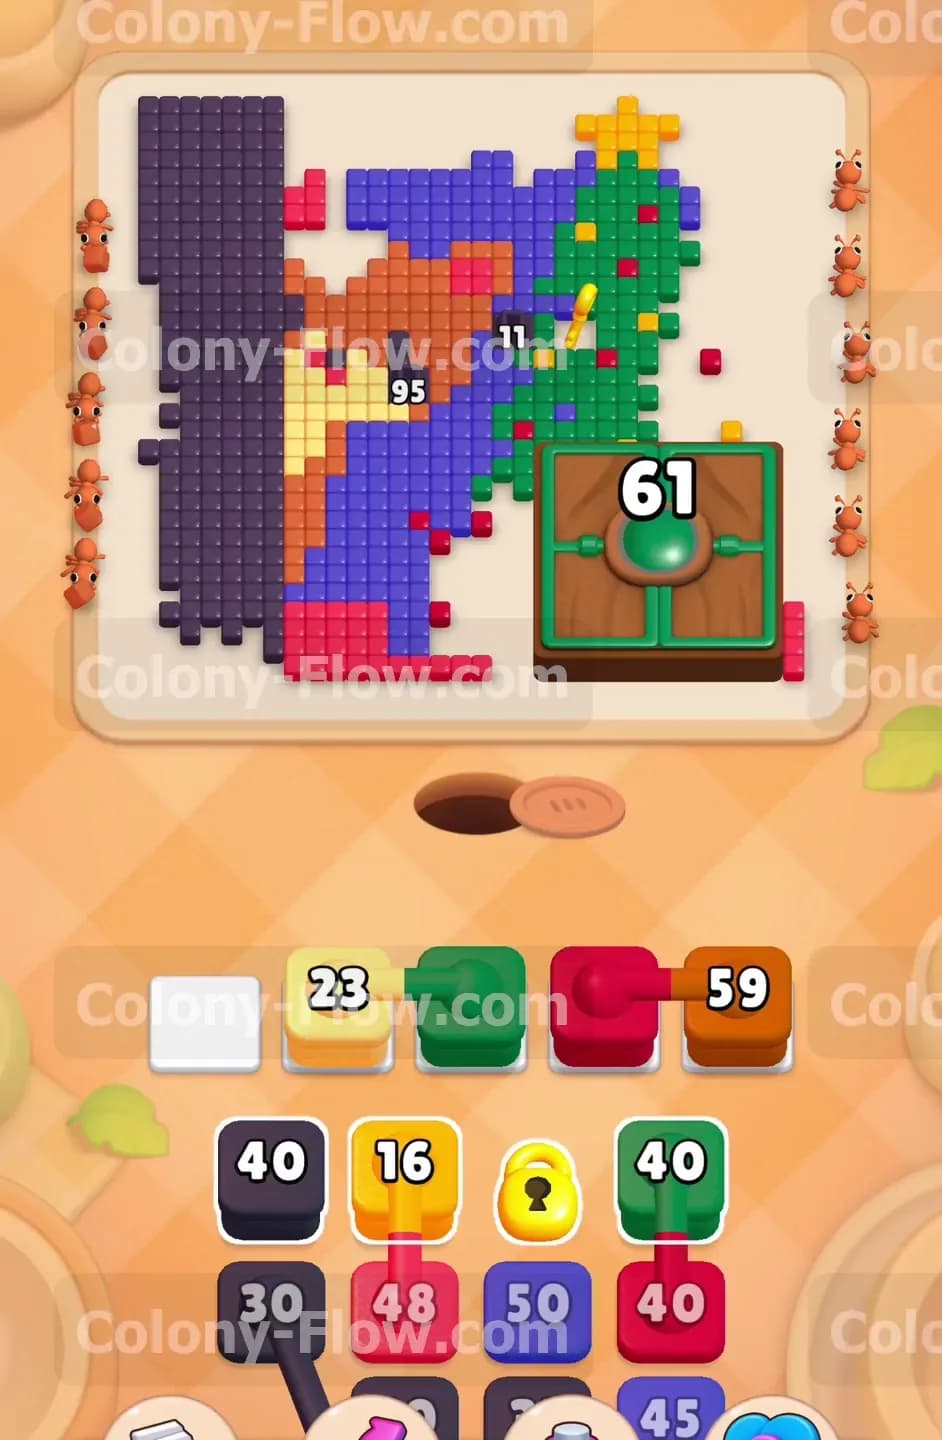
You pull a 25 green block next to start working on your main obstacles. The green ants march out of the hole and immediately split their attention into two distinct groups. One group marches up toward the green holiday tree to start chipping away at the branches. The other group heads straight for the massive Hungry Door on the bottom right. You will watch the requirement number on the door drop from 111 down to 86. Feeding the door early is a mandatory move because you need to cycle through many green blocks to fully open it before the end of the level.
Step 3: Deploy red and yellow blocks to dismantle the bear and the bottom border.
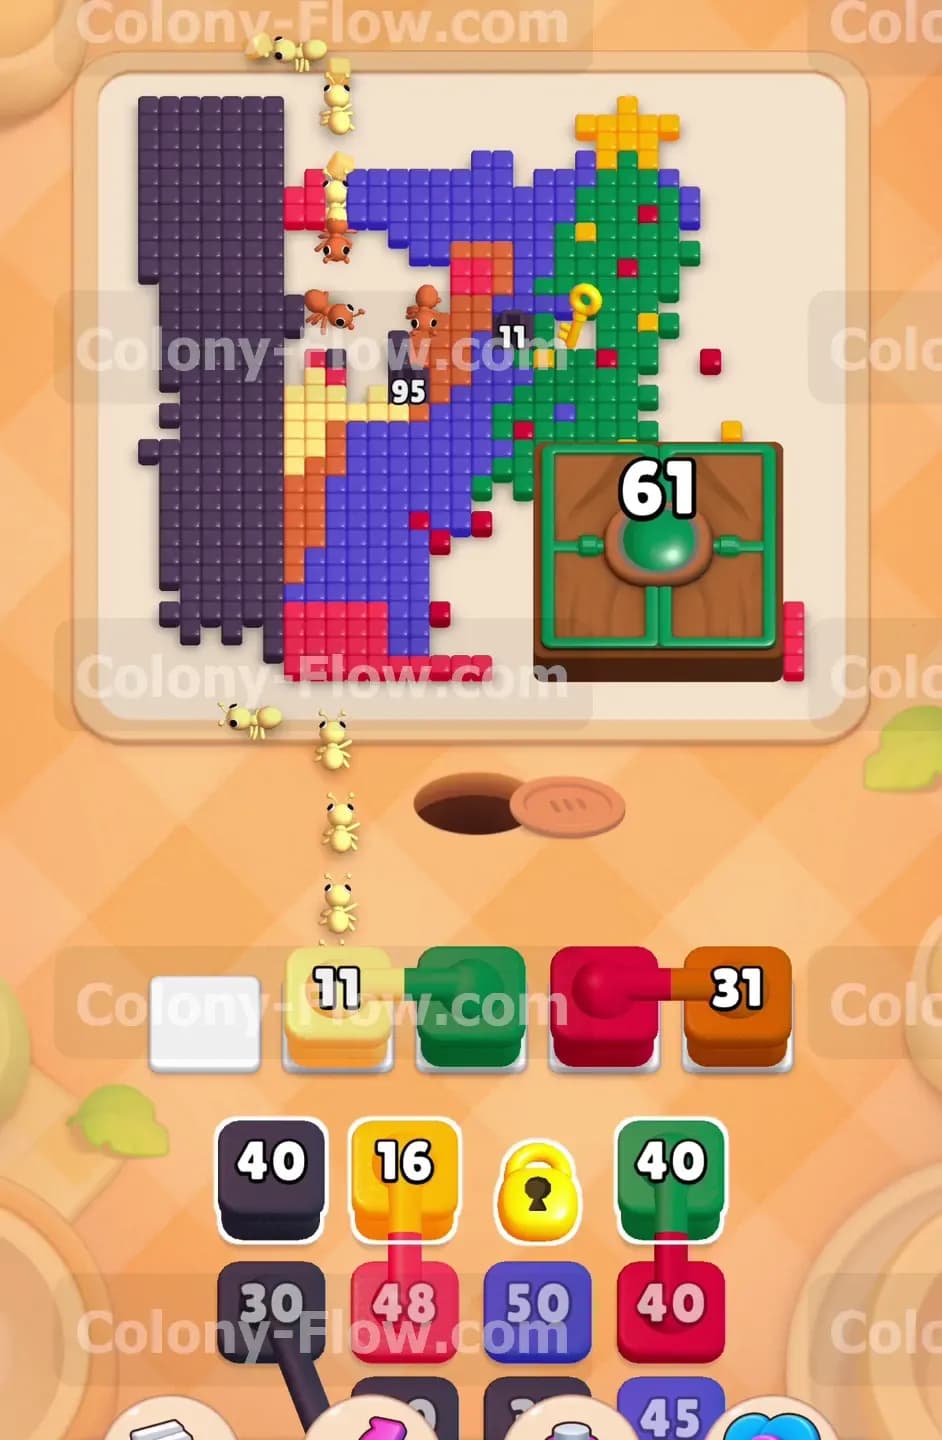
You need to keep the board shrinking to make room for future moves and keep your paths clear. Pull the 48 red block and a 16 yellow block from your fresh tray. The red ants quickly march down to the bottom border and clear a long horizontal strip. The yellow ants head straight up for the light yellow bear face and the bright star sitting on top of the tree. This action clears a large chunk of the lower and middle board. Your waiting slots remain completely safe because these tiles are fully exposed and ready for the ants to eat.
Step 4: Collect the yellow key from the tree to unlock your tray.
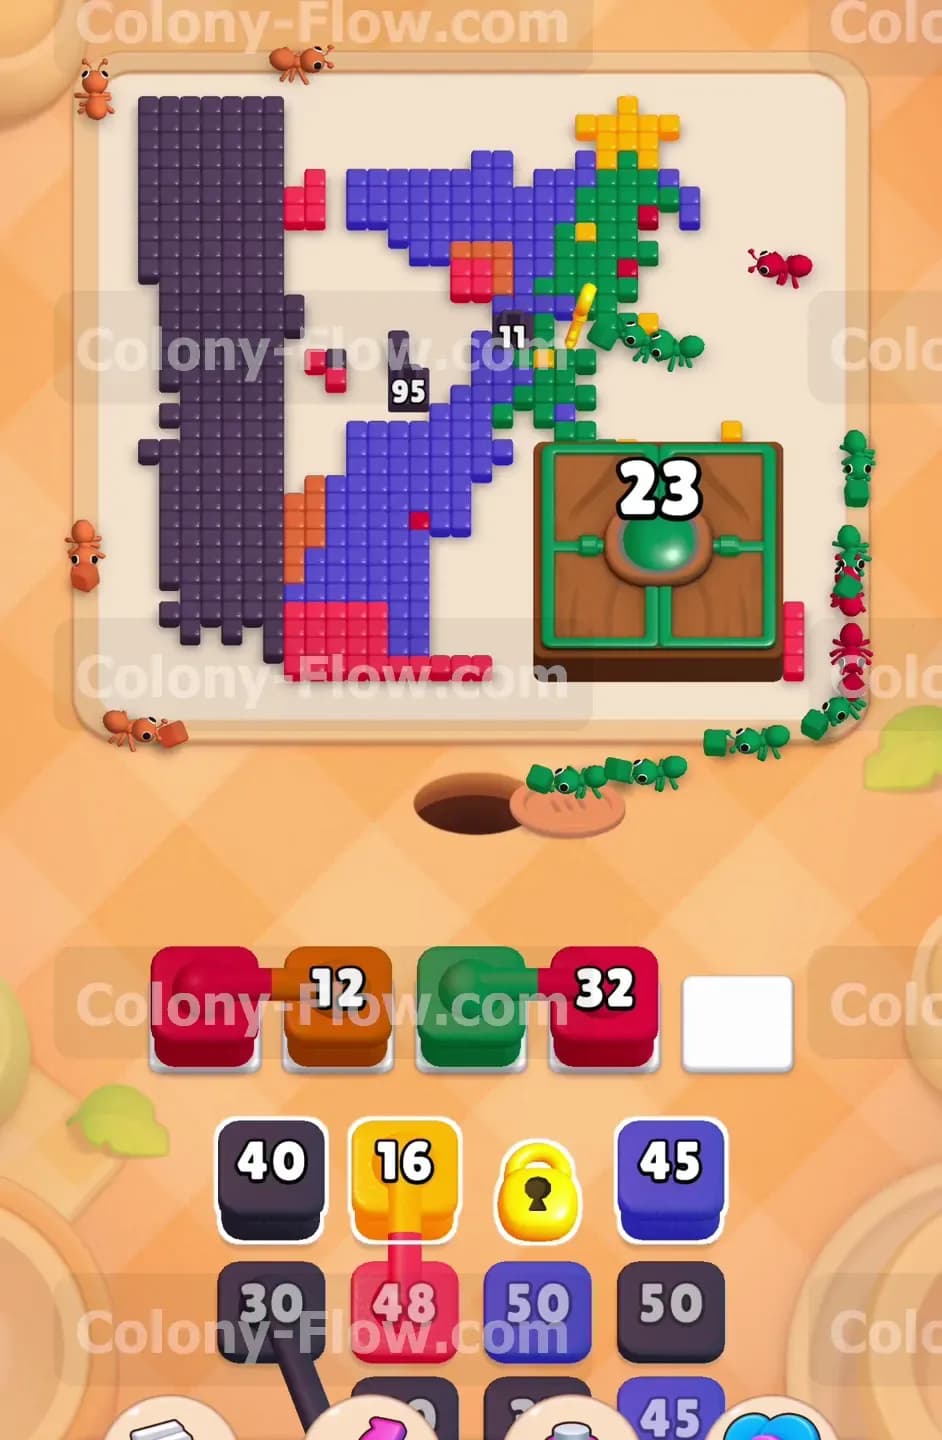
You continue sending green blocks to finish off the remaining pieces of the tree. Pull a 40 green block from your tray. The ants climb up the right side of the board and finally reach the specific green tile holding the small yellow key. Once the ants eat that specific tile, the yellow key flies down from the board directly to your tray. This action instantly breaks the yellow padlock. Breaking the lock frees up a massive 50 blue block that you desperately need to finish the large blue background section.
Step 5: Eliminate the thick dark purple wall on the left side of the board.
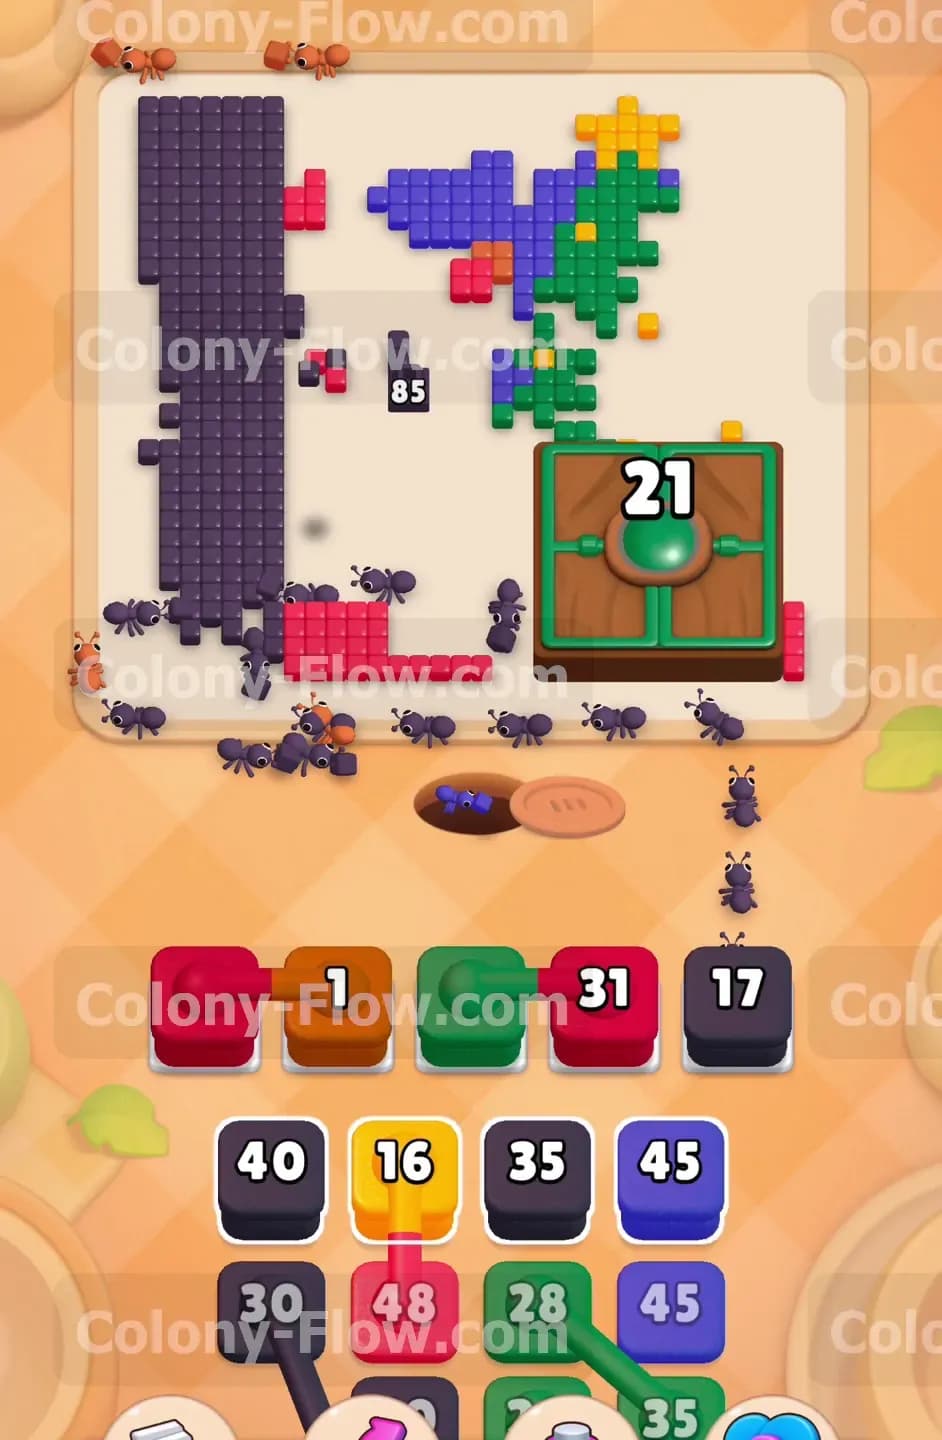
The left side of the board consists of a massive vertical strip of dark purple tiles that reaches from the very top to the bottom. You pull a 40 dark purple block and a 30 dark purple block to tackle this huge area. The ants march out and form a long line straight up the left edge. They chew through the entire block of color in one continuous wave. This completely removes the purple wall and leaves the left half of the board entirely empty. You now have huge open paths for the final stages of the puzzle.
Step 6: Satisfy the Hungry Door to reveal the Hidden Food tiles underneath.
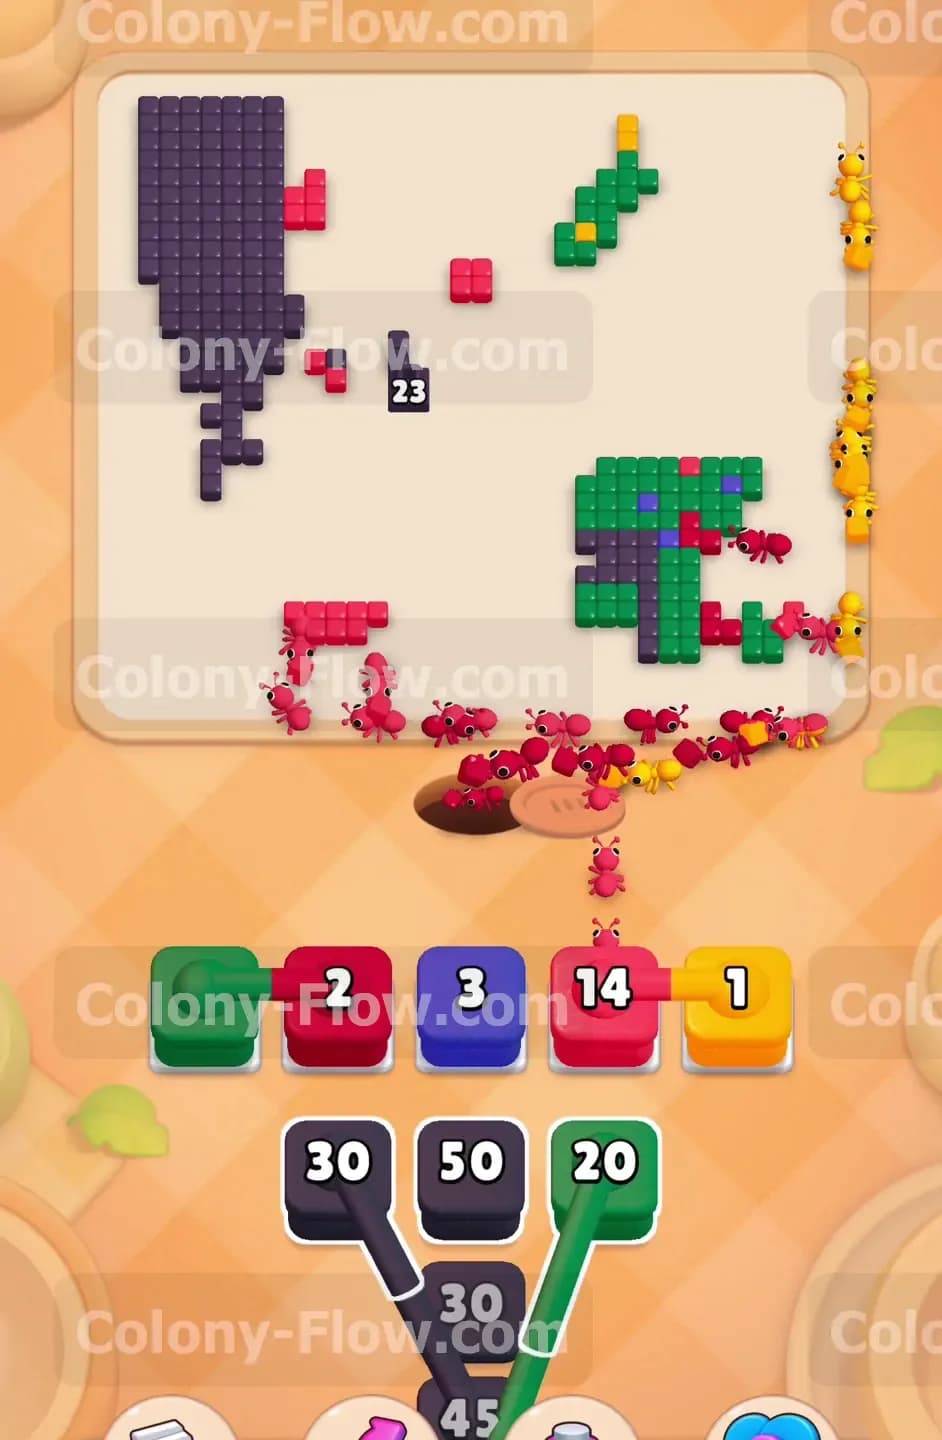
The Hungry Door is currently sitting at a drastically reduced requirement of 21. You pull a 31 green block from your tray to finish the job. The green ants rush the door and count the requirement down to zero. The door shakes and completely vanishes from the board. A dense new cluster of red, blue, green, and pink Hidden Food tiles immediately appears exactly where the door used to sit. This hidden cluster is your final major obstacle in the level.
Step 7: Clear the newly revealed cluster of tiles with precision pulls.
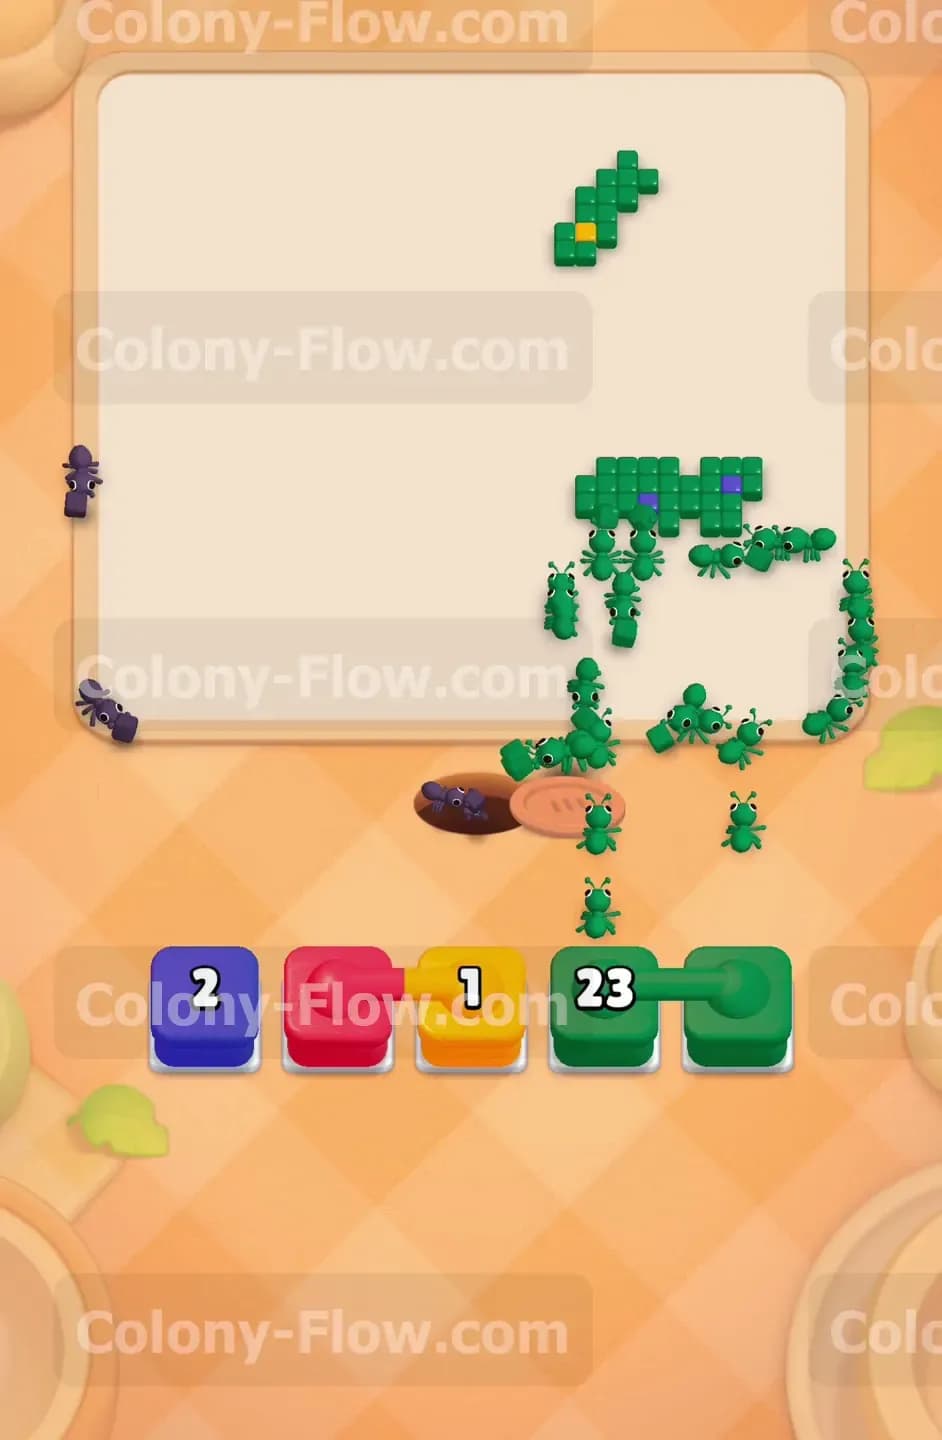
This newly exposed area acts like a small puzzle at the very end of the level. You pull a 14 pink block, a 3 blue block, and a 2 red block to clear the small colored patches. You must pull these blocks one by one to ensure your waiting slots stay clear while the ants navigate this tight new space. The ants weave into the bottom right corner and quickly consume the magenta pink, vibrant blue, and bright red pieces. Watching your slots here is critical so you do not accidentally block yourself right at the finish line.
Step 8: Send the final green wave to finish the board completely.
The only tiles left on the entire board are a small patch of green located inside the hidden cluster area. You pull your final 23 green block from the tray. The green ants march straight to the bottom right corner and eat the remaining green tiles. The final ant clears the final tile and the board is perfectly clean. Your tray is completely empty and your waiting slots are clear. You clear the level successfully and can move on to the next challenge.
Final Thought
This level tests your ability to balance a massive door requirement against a locked tray while managing limited board space. Just remember to feed the green door early and prioritize reaching the yellow key on the tree. Play methodically and keep your waiting slots open. Watch the video above this article if any step gives you trouble or if you want to see the exact ant routing in motion.