Colony Flow Level 184 Walkthrough Solution & Guides | How to solve Colony Flow 184

Guide By Liam Stone
Updated on July 13, 2026
Watch the video above for a faster look at how Level 184 gets solved.
Video doesn't match your screen?
Game updates frequently scramble layouts! Try our AI Screenshot Solver first to find your exact board instantly, or report broken guides to our team.
Colony Flow Level 184 brings a highly detailed submarine picture to your screen and requires a lot of careful planning. I play through every level of this game to find the safest routes to victory and this one is a classic example of layer management. This puzzle features thick outer layers and a tricky core that you must peel back slowly. If you rush and pull the wrong colors too early, your waiting slots will fill up and you will lose. I will show you exactly how to navigate these obstacles, manage your board space, and beat the level without breaking a sweat.
Colony Flow Level 184 Overview
What You Are Working With
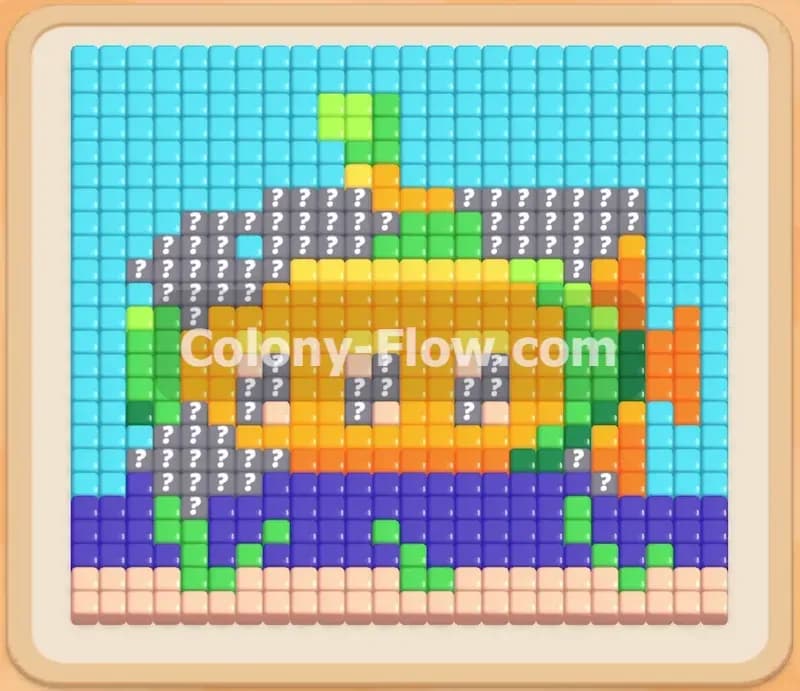
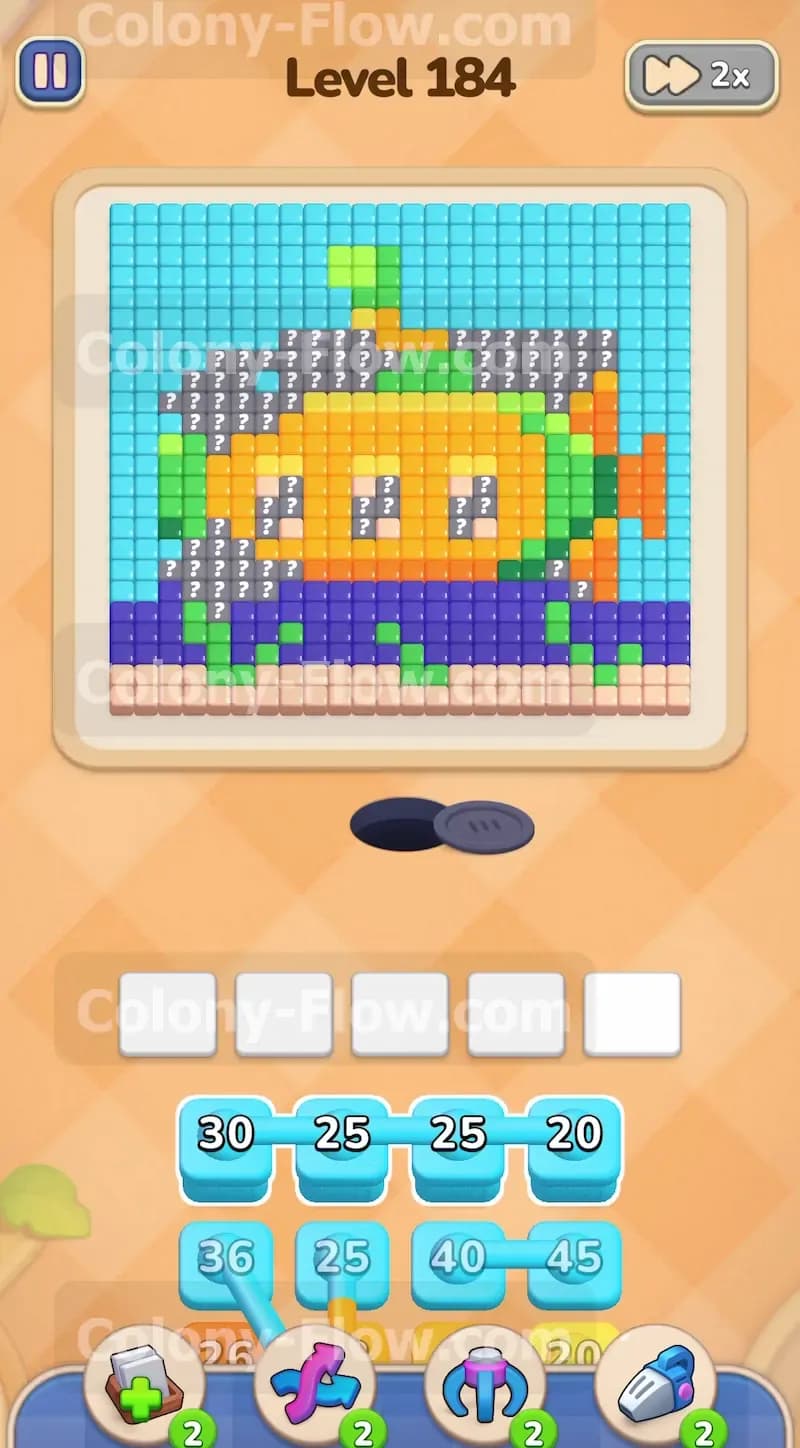
The picture at the top of your screen is a bright yellow submarine floating in the ocean. The submarine features a green periscope on top and an orange propeller fin on the back. It rests above dark blue deep water and a bottom layer of tan sand. Green seaweed grows right above the sand. The entire central design is wrapped in a massive layer of light blue water.
The tray at the bottom holds a large variety of colored blocks with numbers. You will notice that some of the light blue blocks in the tray are linked together by lines. These are connected boxes. They operate as a group and take up multiple spaces in your waiting slots when you pull them.
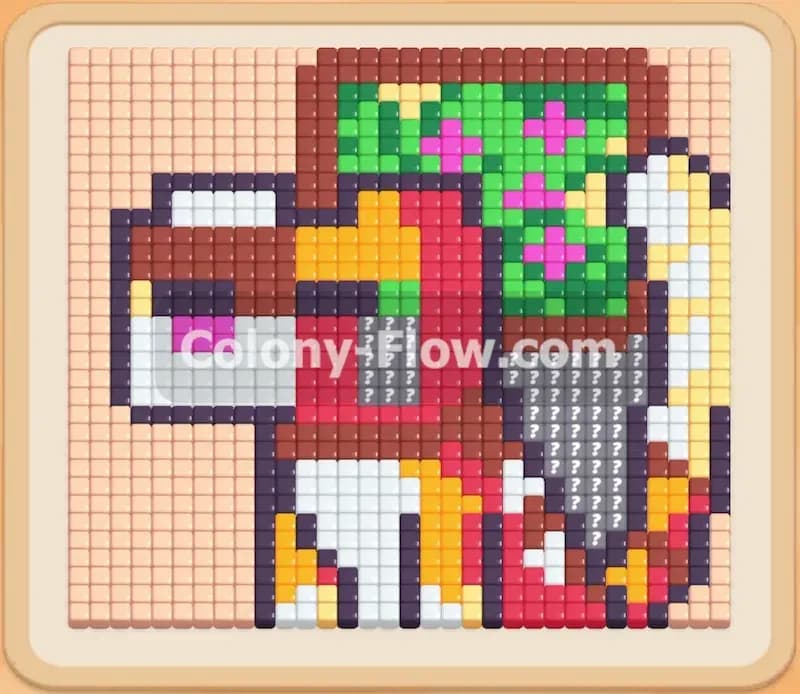
The central submarine hull also contains several grey tiles marked with question marks. These are hidden food tiles. You cannot interact with them right away. They keep their true colors hidden until you clear the regular tiles directly adjacent to them.
What It Takes to Clear Level 184 Board
Winning this level requires you to work strictly from the outside in. The light blue water completely blocks access to the submarine body. You must clear the water first to open paths to the periscope, the fin, and the sand. Your biggest challenge is managing your five waiting slots. If you tap blocks that have no open paths on the board, those blocks will just sit in the slots. If all five slots fill up and no ants can move, you suffer a dead end and fail the level. Every move you make must keep at least one active route open. You also need to unlock the hidden food tiles by clearing the surrounding areas before you can finally tackle the main yellow hull.
Colony Flow Level 184 Step by Step Solution
Step 1: Tap the connected light blue blocks to begin clearing the outer ocean layer
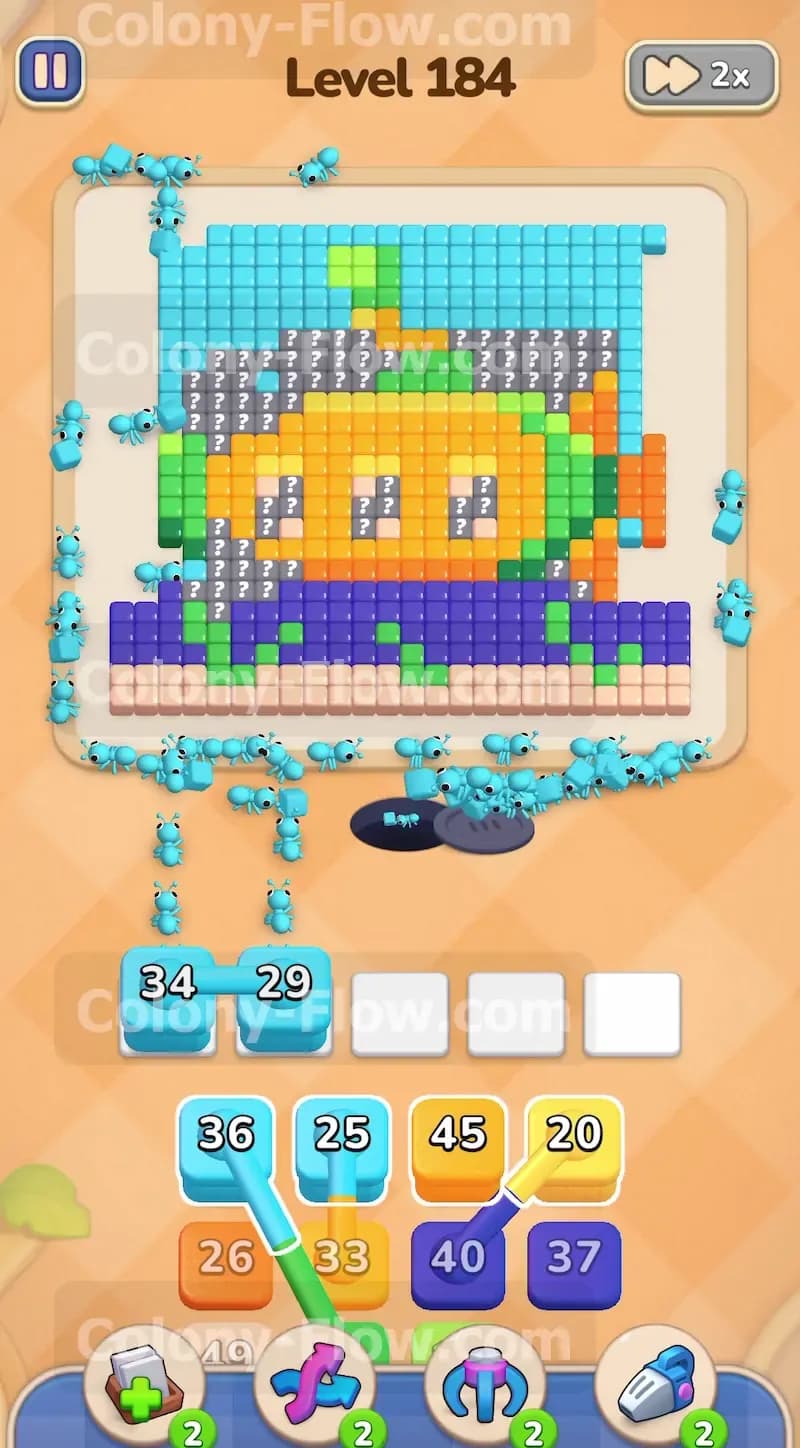
The entire outer border of the picture consists of light blue water tiles. This gives you a massive open path right from the very first second of the level. Look at your tray and locate the connected light blue boxes. Tap them to send them up into your waiting slots. Connected boxes can be dangerous because pulling one forces all the linked boxes into your slots. You must ensure you have enough open space on the board to accommodate all those ants. Fortunately, the outer water is massive enough to handle the rush. The light blue ants will stream out of the nest hole and begin eating away the top corners and side edges of the water. Your waiting slots will remain safe because the ants will continuously pour out and process the numbers on the blocks.
Step 2: Bring up additional light blue blocks to carve deeper into the water
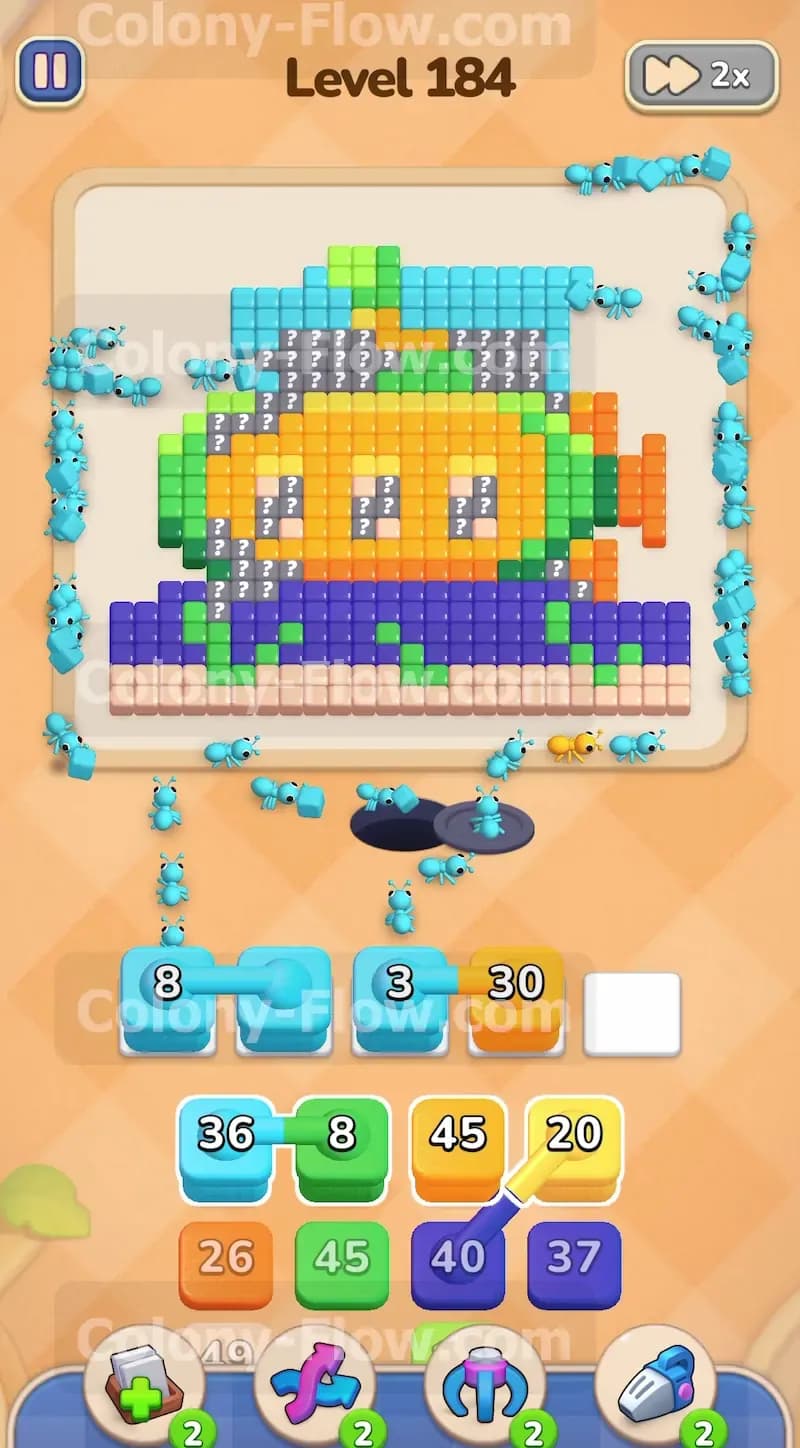
The connected boxes will clear a good portion of the outer border but you still have plenty of light blue water left to manage. Once your slots have some free space, tap the next set of light blue blocks in your tray. The new light blue ants will march out and eat deeper into the remaining water layer. You will see them moving down the sides of the submarine and clearing the areas directly next to the green periscope and the orange fin. Let these ants work until the light blue blocks count down and empty completely from your slots. Watching the numbers drop is your best indicator of progress. Never load a new color if your current blocks are dropping slowly.
Step 3: Load green and orange blocks to clear the periscope and back fin
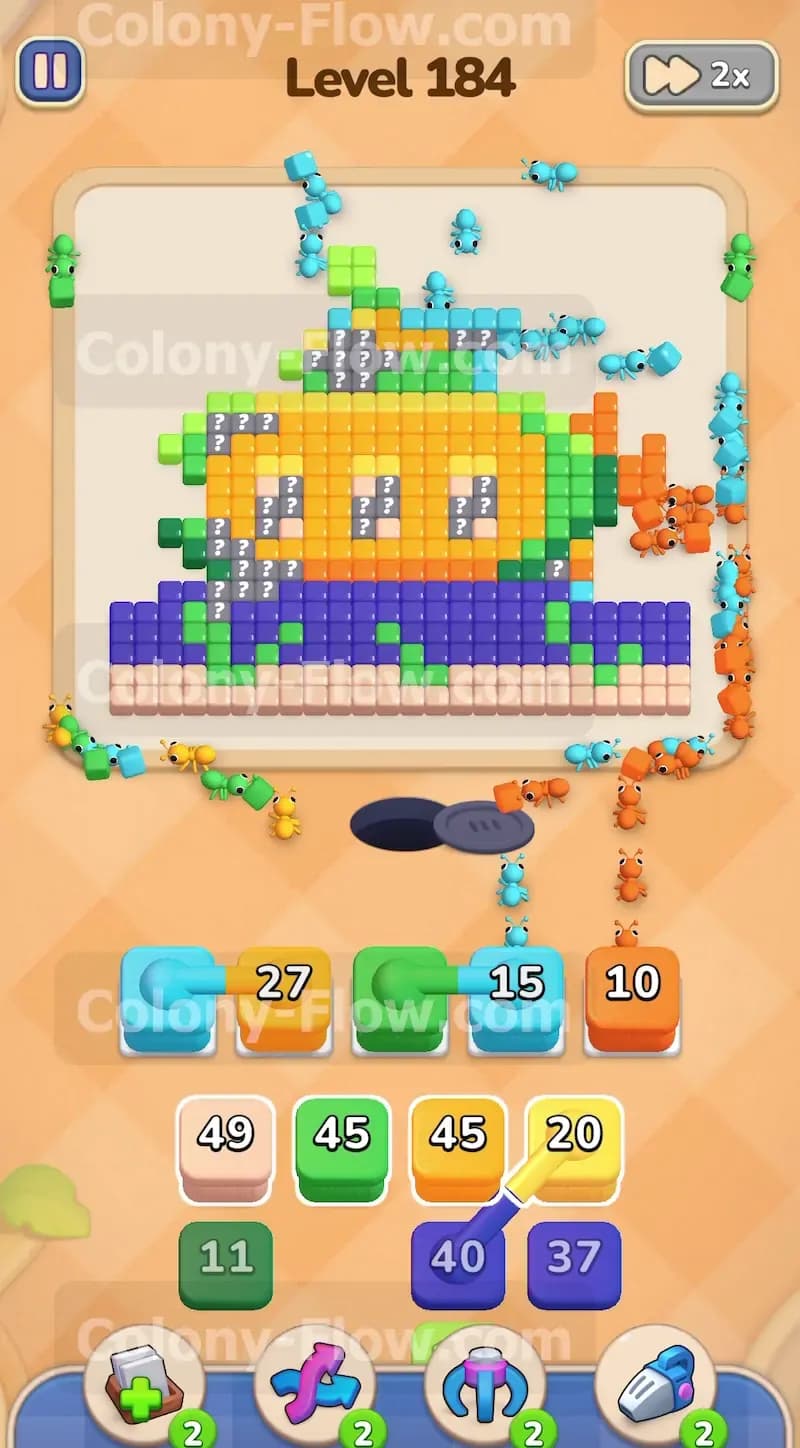
Clearing the side water opens direct paths to the protruding parts of the submarine. The top periscope is made of green tiles and the back fin is made of orange tiles. Bring one green block and one orange block up into your waiting slots. The green ants will travel up to the top and eat the periscope. The orange ants will head to the right side and clear the fin. Doing this at the same time is highly efficient. The green and orange ants will split up the moment they leave the nest. This natural division of labor clears two separate sections at once while keeping the flow moving perfectly so your slots never jam.
Step 4: Pull the tan blocks to clear the bottom layer of sand
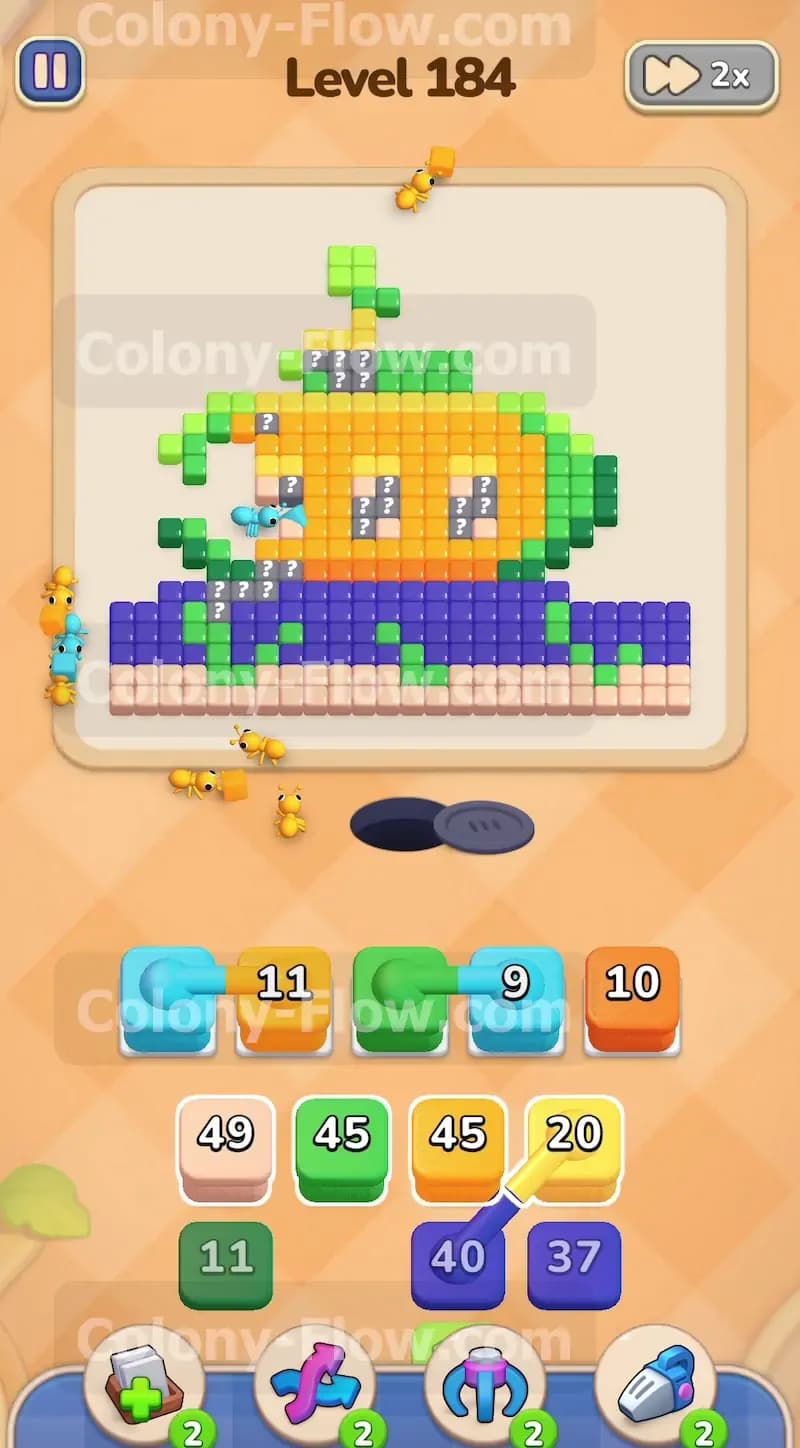
Look at the very bottom edge of the picture. There is a straight horizontal line of tan sand tiles resting under the dark blue water. The previous light blue ants cleared the side barriers and now the ants have a clear run to the bottom. Tap the large tan block in your tray to load it into an empty waiting slot. The tan ants will march all the way down and eat horizontally across the sand. This action is perfectly safe because the entire bottom edge is exposed. The tan block will count down steadily and disappear from your tray. The picture will start to look much cleaner once this heavy sand border is gone.
Step 5: Send in more green ants to consume the seaweed patches
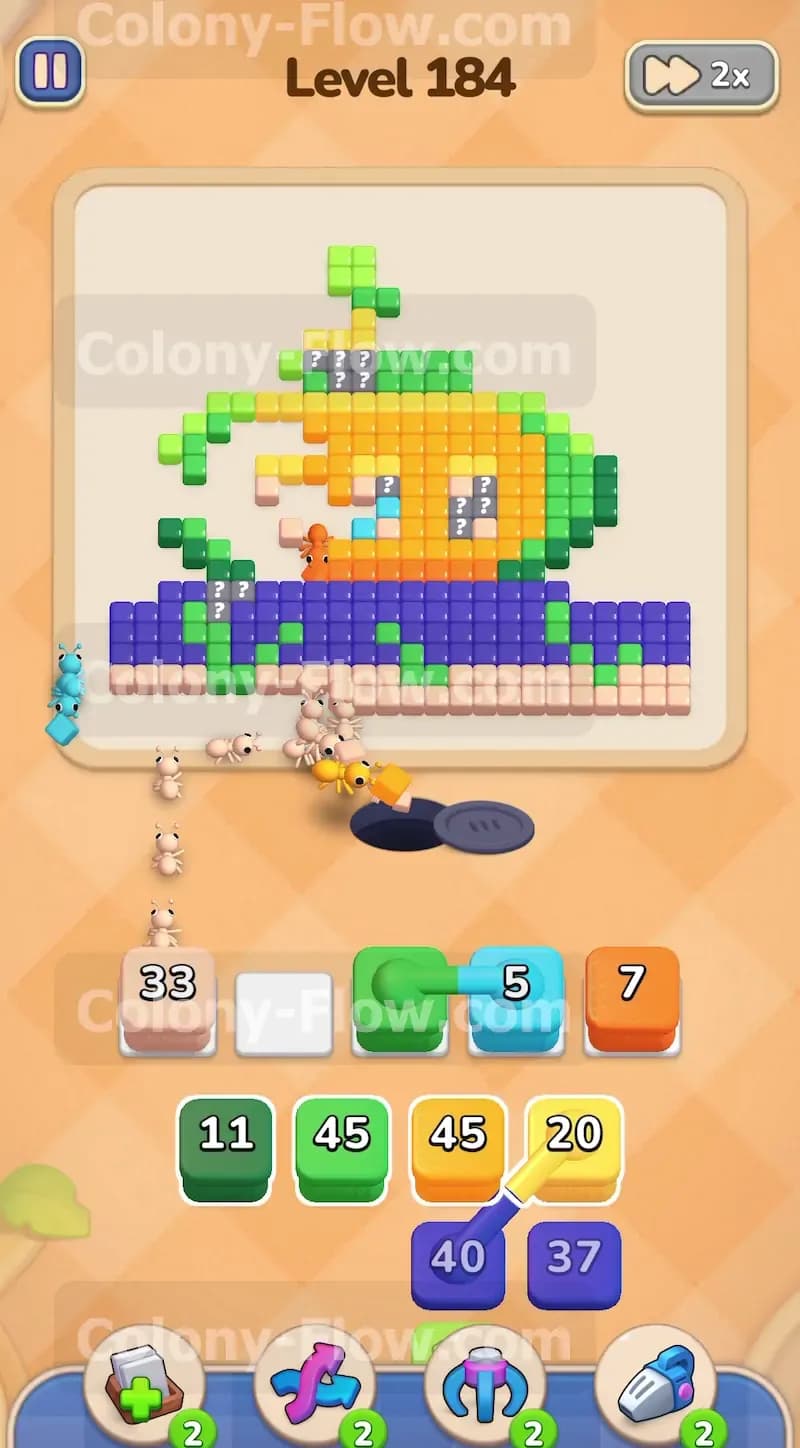
Getting rid of the tan sand exposes the bottom half of the picture completely. You will see several patches of green seaweed sitting right on top of the dark blue water. With the sand gone, the ants can reach the seaweed from underneath. Tap another green block to bring it up from the tray. The green ants will travel down and clear the seaweed patches. This step is crucial because the seaweed blocks access to the bottom edges of the submarine. Always prioritize tiles that block other important sections. Once the green ants finish their meal, the lower boundary of the yellow hull becomes accessible.
Step 6: Wait for the hidden food tiles to reveal their true colors
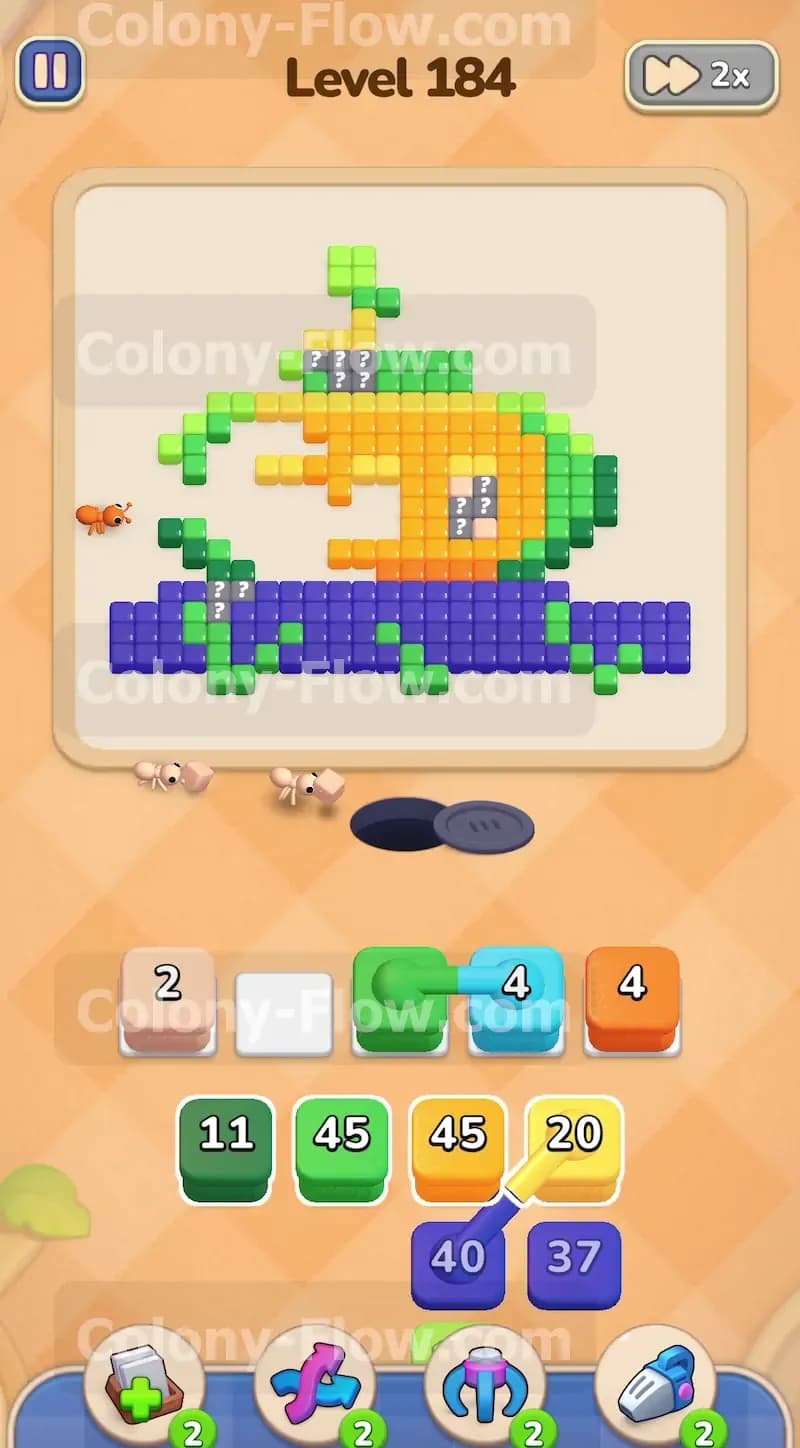
This is a pivotal moment in the level. The submarine body contains multiple hidden food tiles covered in question marks. These tiles operate under a strict rule. They only unlock when the tiles directly touching them are cleared away. By removing the surrounding light blue water, the green periscope, the orange fin, and the green seaweed, you have effectively stripped away the armor around the submarine. Watch the board closely. It looks like a wave passing over the submarine. The grey tiles with question marks will vanish one by one. The hidden food tiles will turn into yellow hull pieces and light blue window pieces. Do not pull any new blocks until the unlocking sequence finishes completely.
Step 7: Clear the remaining light blue windows on the submarine body
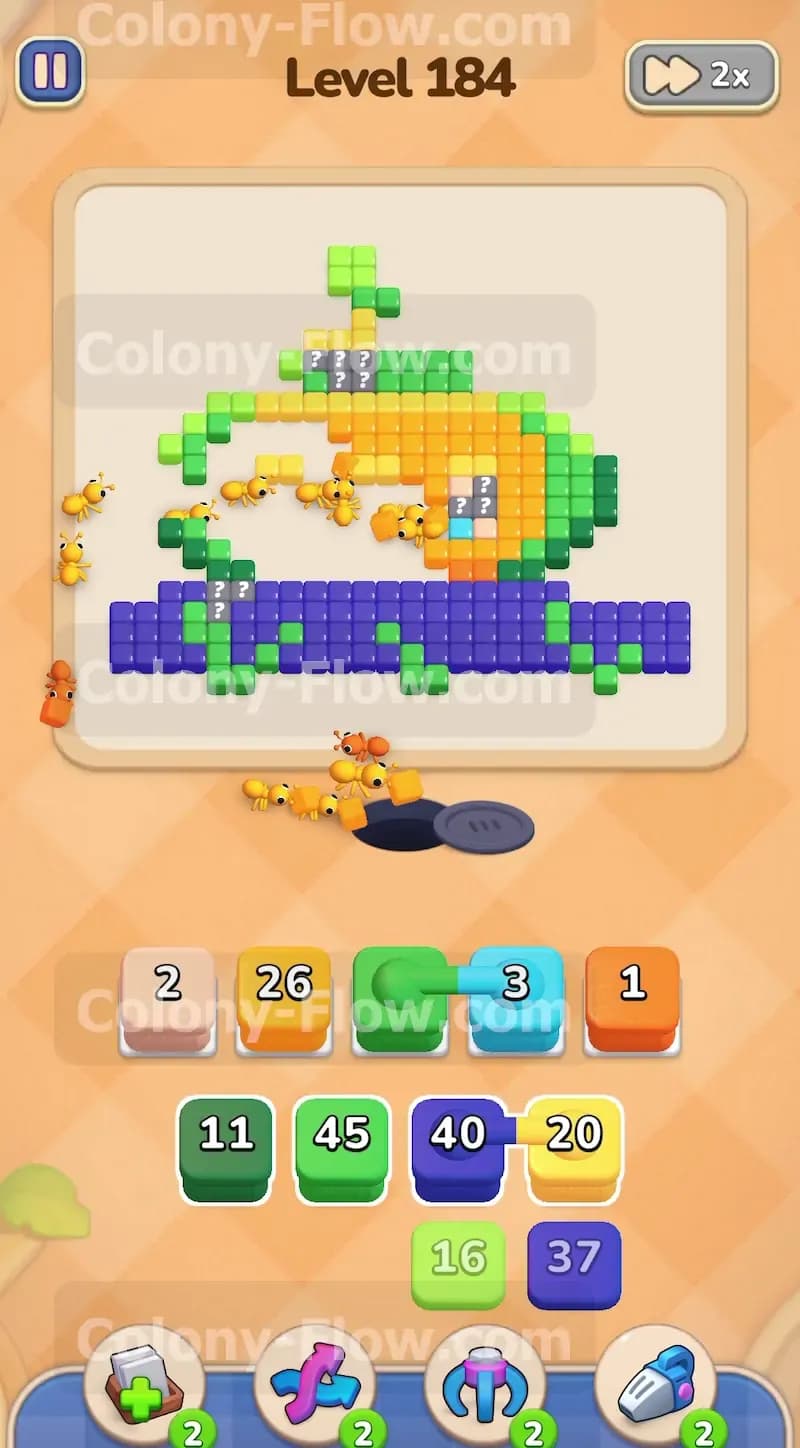
The unlocking process turns several of the inner hidden tiles into light blue windows. You need to clear these before you focus on the main yellow hull. Window pieces are small but they block the core layers. Tap a light blue block from your tray to send it into the slots. The light blue ants will march straight into the center of the submarine and eat the window tiles. Since the outer barriers are completely gone, the ants have a direct and clear path right into the middle of the board. Wait for the light blue block to clear out of your waiting slots so you have maximum room for the heavy lifting ahead.
Step 8: Load yellow blocks to demolish the main hull of the submarine
The picture is now mostly reduced to a large solid chunk of yellow tiles. The yellow hull makes up the largest single color mass in the picture. The entire submarine body is exposed and waiting for your ants. Tap your heavy yellow blocks to bring them up into the waiting slots. The yellow ants will swarm the center of the board and rapidly eat away the hull. This is a very satisfying part of the puzzle because the path is incredibly wide. The ants will attack the yellow tiles from all sides. The large numbers on your yellow blocks will count down quickly. Keep loading yellow blocks as space permits until the entire submarine body disappears.
Step 9: Use dark blue blocks to clear the deep water and finish the level
The only part of the picture remaining is the dark blue deep water at the bottom. Everything else is completely gone. The dark blue blocks in your tray are finally ready for action. Bring up your dark blue blocks into the empty waiting slots. The ants will stream out and head straight for the dark blue tiles. There are absolutely no obstacles left on the board. The ants will clear the final pieces of water effortlessly. Once the last dark blue tile is eaten, the picture is fully cleared and you win the level.
Final Thought
Patience is your best tool when taking on this puzzle. The thick outer layers of water can tempt you to pull too many blocks at once but staying disciplined will keep your slots safe. Managing the connected boxes early on sets the stage for a smooth victory. The hidden food tiles are intimidating at first but they naturally resolve themselves as you clear the surrounding borders. If you find yourself struggling with any specific sequence or if the hidden tiles confuse you, feel free to watch the video above this article. Seeing the ants move in real time will help you master the flow and beat the board.