Colony Flow Level 142 Walkthrough Solution & Guides | How to solve Colony Flow 142

Guide By Liam Stone
Updated on July 11, 2026
You can watch the full Level 142 walkthrough in the video above if you'd rather not read through every step.
Video doesn't match your screen?
Game updates frequently scramble layouts! Try our AI Screenshot Solver first to find your exact board instantly, or report broken guides to our team.
Welcome to Colony Flow Level 142. This level features a massive pixel art star with a thick white border. You need to manage a lot of yellow core tiles and heavy white background tiles without clogging your waiting slots. I play every level myself to find the safest route to the end. I will show you exactly how to clear this board.
Colony Flow Level 142 Overview
What You Are Working With
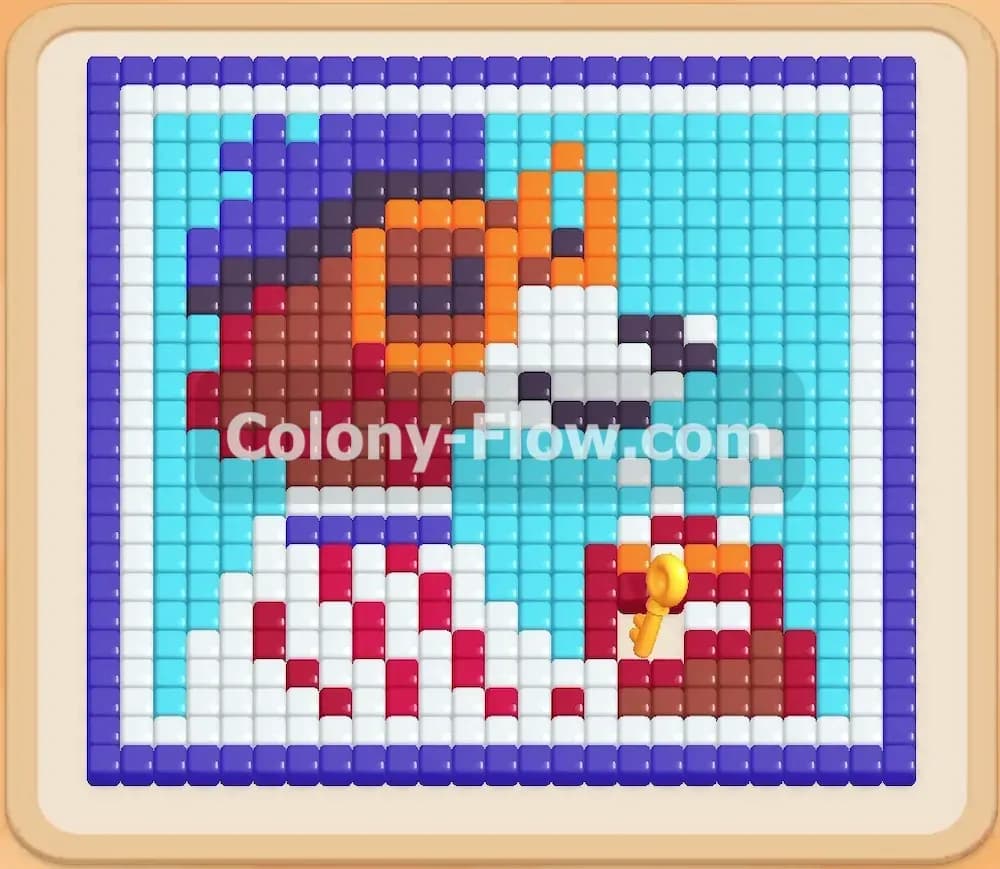
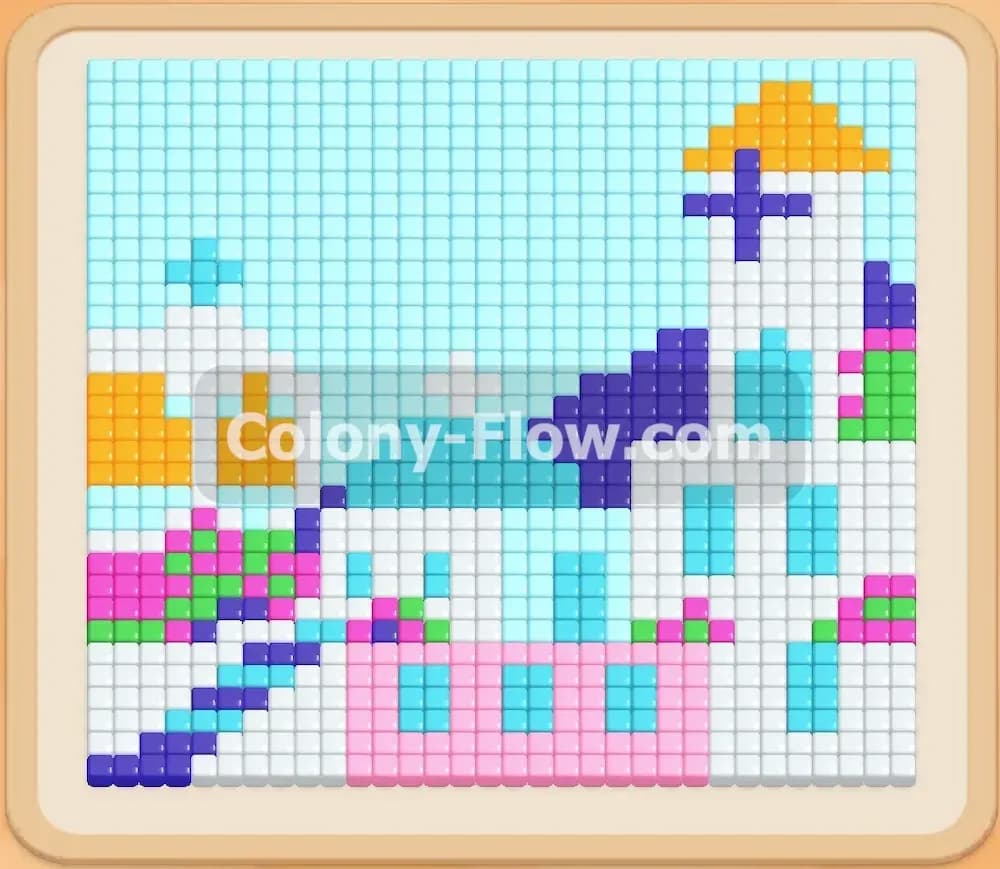
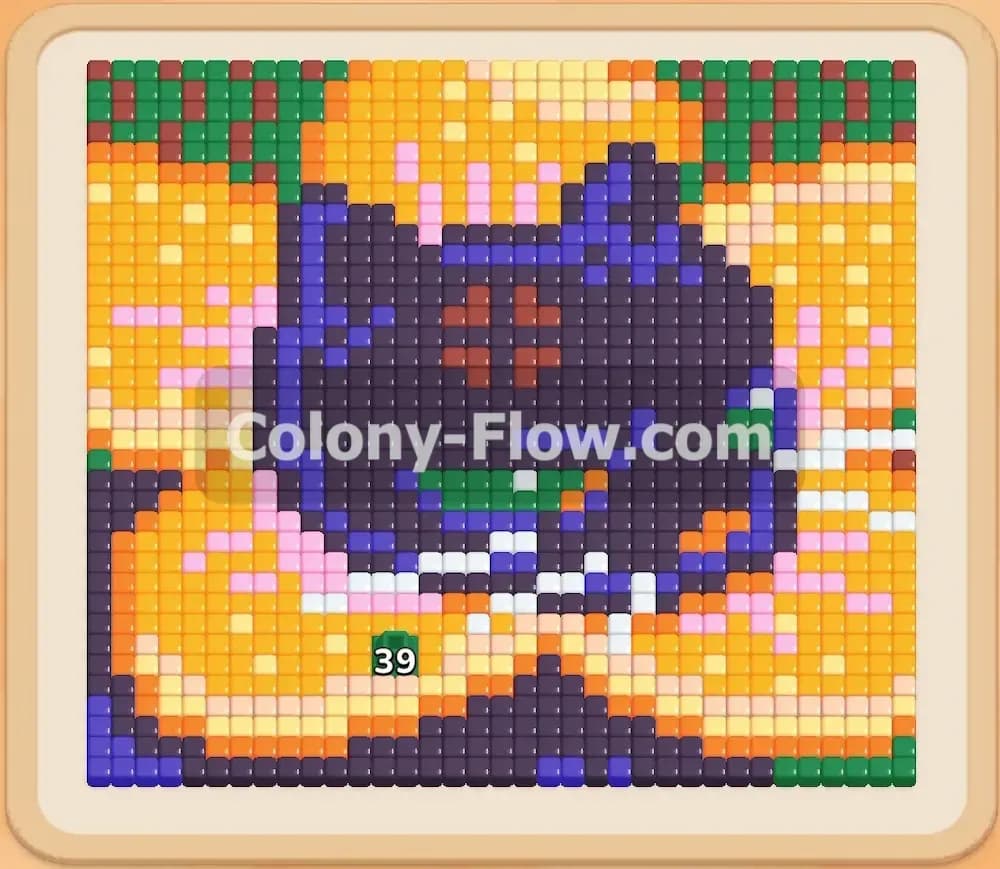
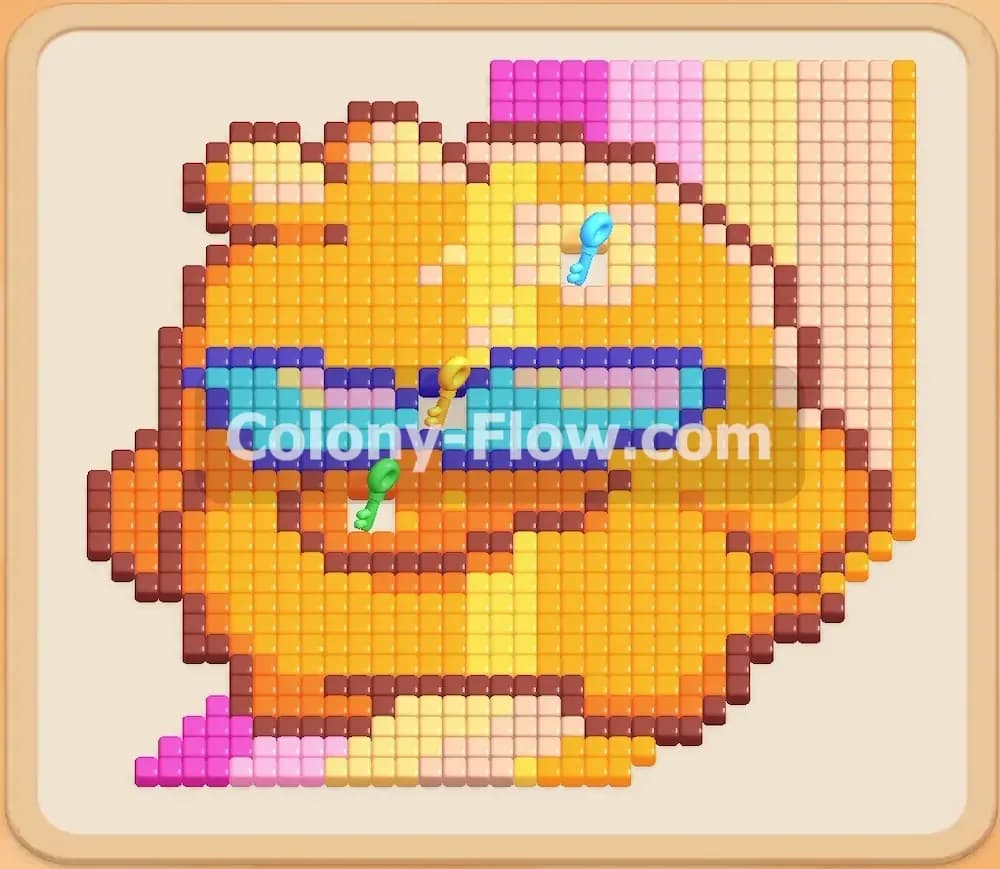
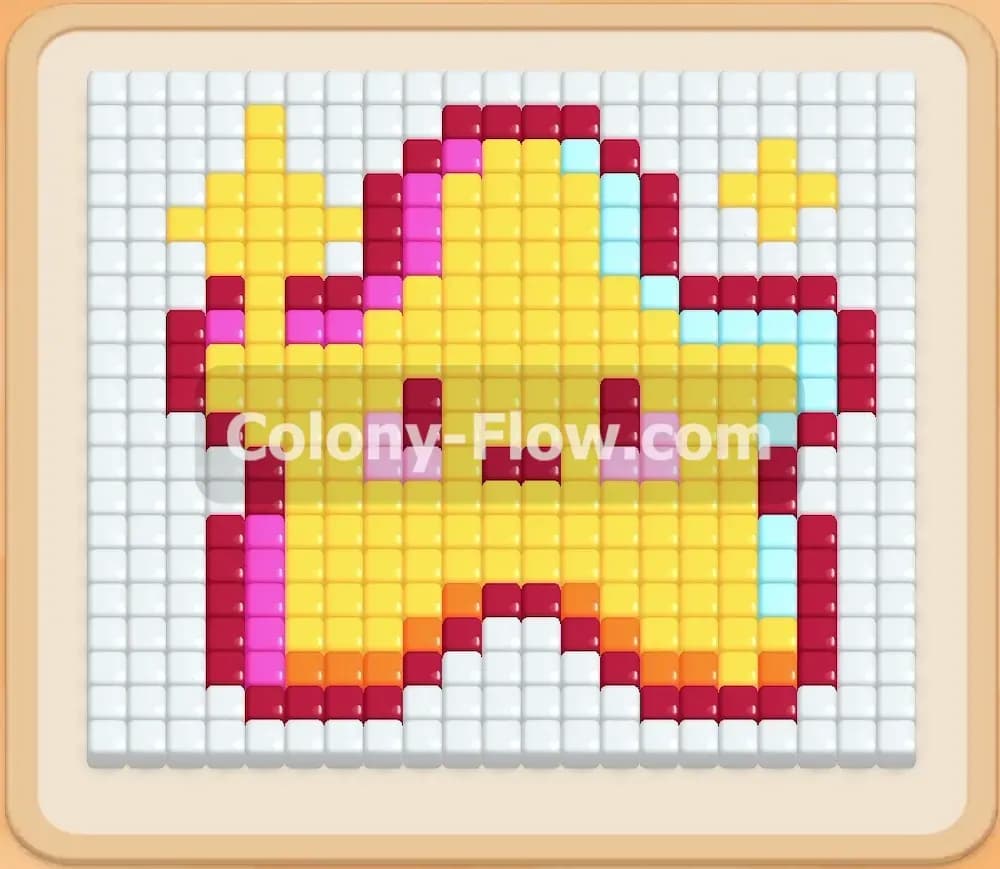
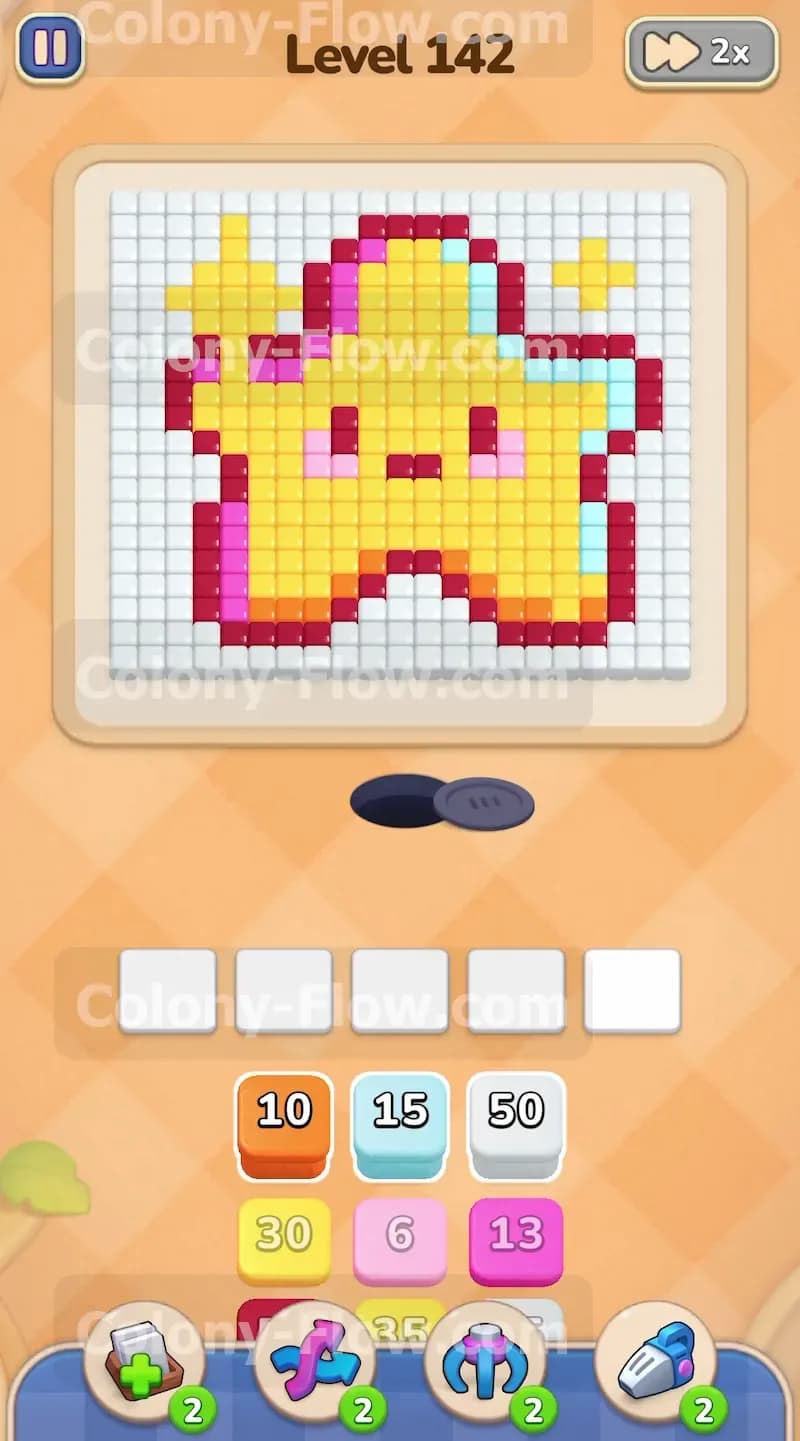
The board shows a bright star pixel art picture. It has a massive yellow core and two pink cheek details right in the middle. A thick dark red outline wraps around the entire star shape to give it a bold look. You also see some light blue accent blocks tucked along the sides of the star points. A large white background border surrounds the entire shape and fills the empty space at the top and bottom. The tray at the bottom is packed with big numbered blocks stacked on top of each other. You see an orange ten block, a light blue fifteen block, and a huge white fifty block sitting right on top. Beneath them sit a yellow thirty block and several pink blocks waiting for their turn. You have five waiting slots to hold these blocks while the ants work. The nest hole sits directly below the picture ready for the colony to emerge.
What It Takes to Clear Level 142 Board
You win this level by clearing every single tile from the picture before you run out of moves. The ants must eat their way through the white background border first to reach the colored center of the star. You lose if you fill all five waiting slots with blocks that have no open path on the board. Your main goal is peeling away the bottom white border completely before you pull too many inner colors into your tray. You must always leave an open lane for the ants to march so your waiting slots never jam. I will show you exactly how to manage the huge white and yellow blocks to beat this board.
Colony Flow Level 142 Step by Step Solution
Step 1: Start by pulling the large white block and the orange block to open the bottom paths.
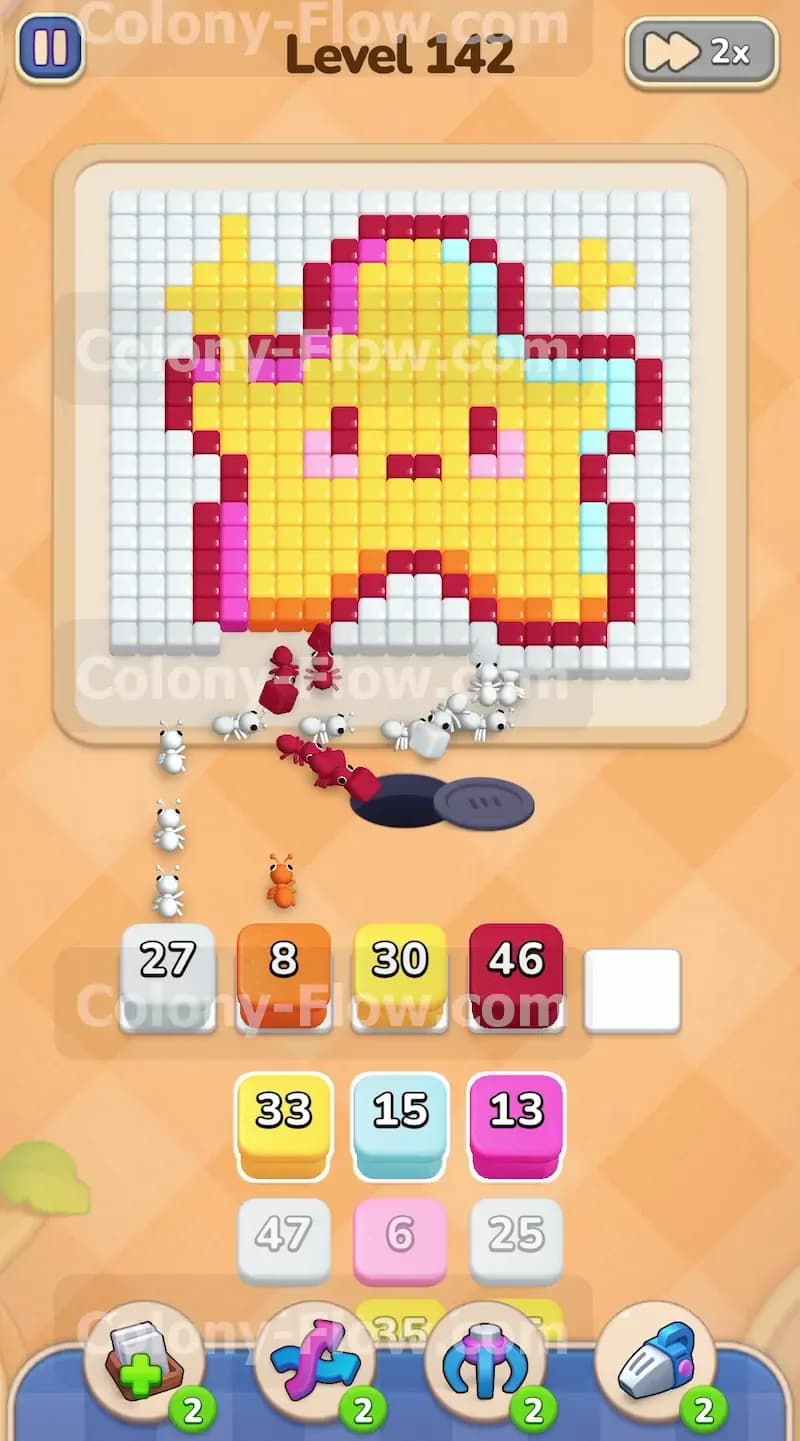
You need to break into the bottom edge of the picture right away to give the ants room to work. The bottom layer blocks the entire star shape from the nest hole. Pull the white fifty block and the orange ten block down into your waiting slots. The ants immediately stream out of the nest hole at the bottom of the screen. They split up into two distinct groups. One group marches left to eat the bottom row of white tiles. The other group marches right to tackle the lowest orange section of the star shape. The numbers on your blocks start counting down fast as the ants grab the food and carry it away. The white block drops from fifty down to the twenties in just a few seconds. This initial move clears a wide opening at the base of the board. The ants now have a clear path to reach the inner colored layers of the star without causing a jam in your slots.
Step 2: Bring the large dark red block and the first yellow block into play.
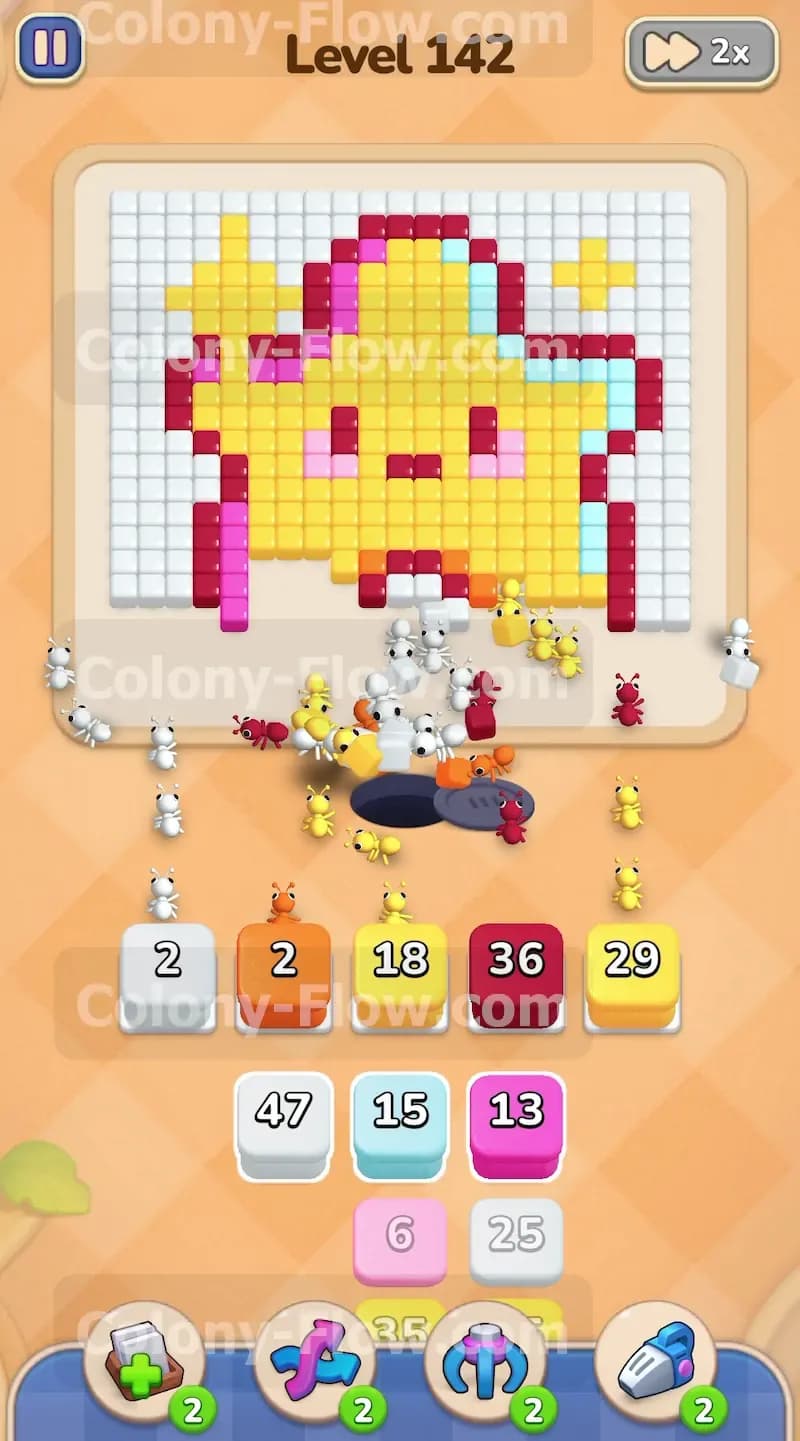
The bottom path is open so you can safely bring in the next colors. Pull the dark red forty six block and the yellow thirty block from the tray. The dark red outline is incredibly thick and wraps all the way around the shape. It takes a long time to clear that much color. Activating the dark red forty six block early gives the ants plenty of time to chew through that tough outer border. The ants march straight up the middle gap you created in step one. They bypass the empty space and begin eating the bottom edge of the massive yellow core. You now have four of your five waiting slots filled. You hold a white block, an orange block, a dark red block, and a yellow block. This is totally safe because all four blocks have active paths and the ants are busy clearing tiles. You still have one empty slot left as a safety buffer.
Step 3: Replace the empty slots with more yellow blocks to hollow out the core.
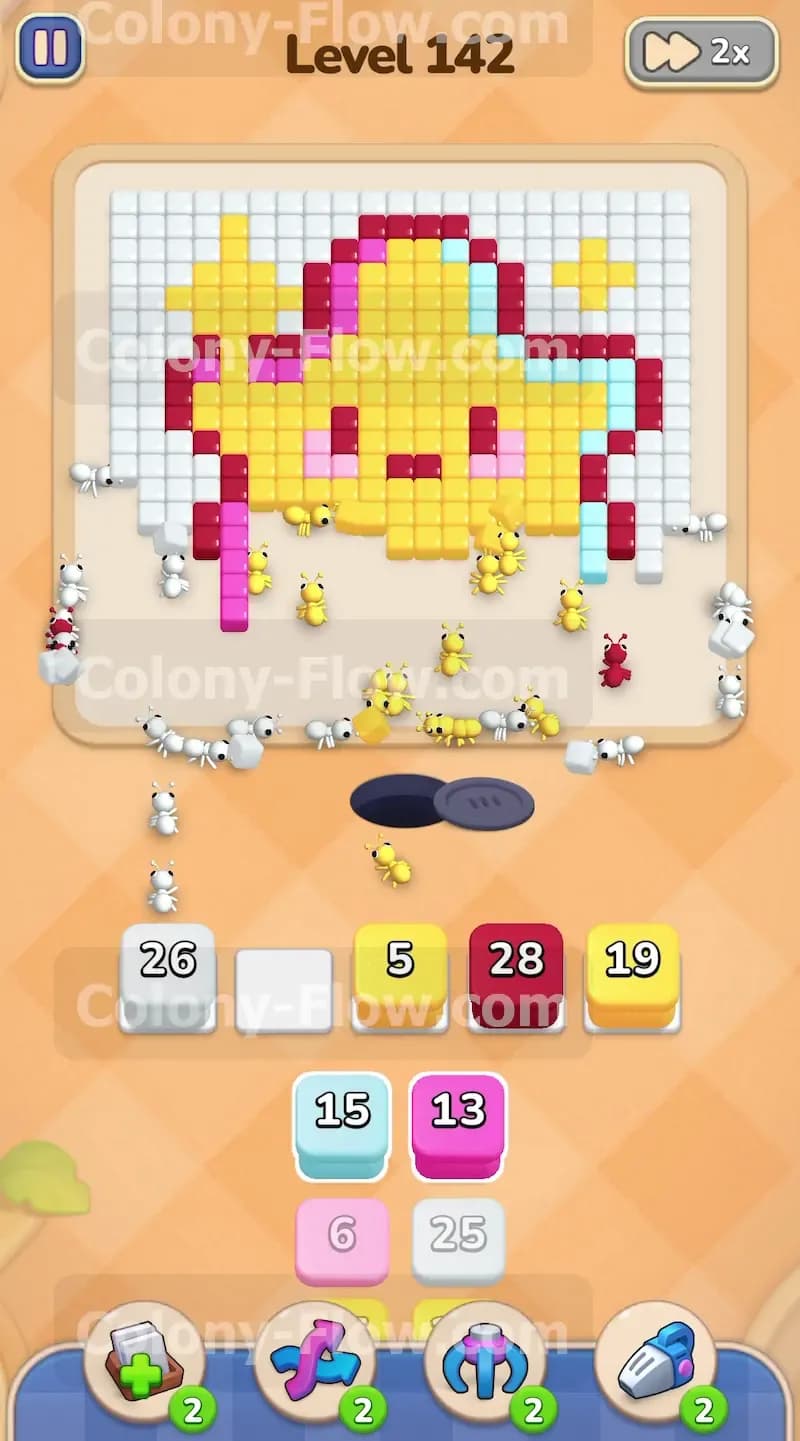
The orange ten block reaches zero and disappears from your waiting slots. The first white block also finishes its job and frees up another slot for you to use. You need to keep the pressure on that huge yellow center. The yellow core stretches all the way to the top of the screen. Pull the next yellow block from the tray into your active slots. The ants continue swarming the bottom half of the star body. They hollow out the entire lower middle section piece by piece. The yellow number drops fast as dozens of ants grab the bright yellow tiles. Keeping a yellow block active at all times is the main strategy for this level. The yellow core holds the most tiles on the entire board by a wide margin. If you neglect the yellow blocks you will run out of space later when the tray forces you to pull them.
Step 4: Pull a new white block to clear the left side of the background.
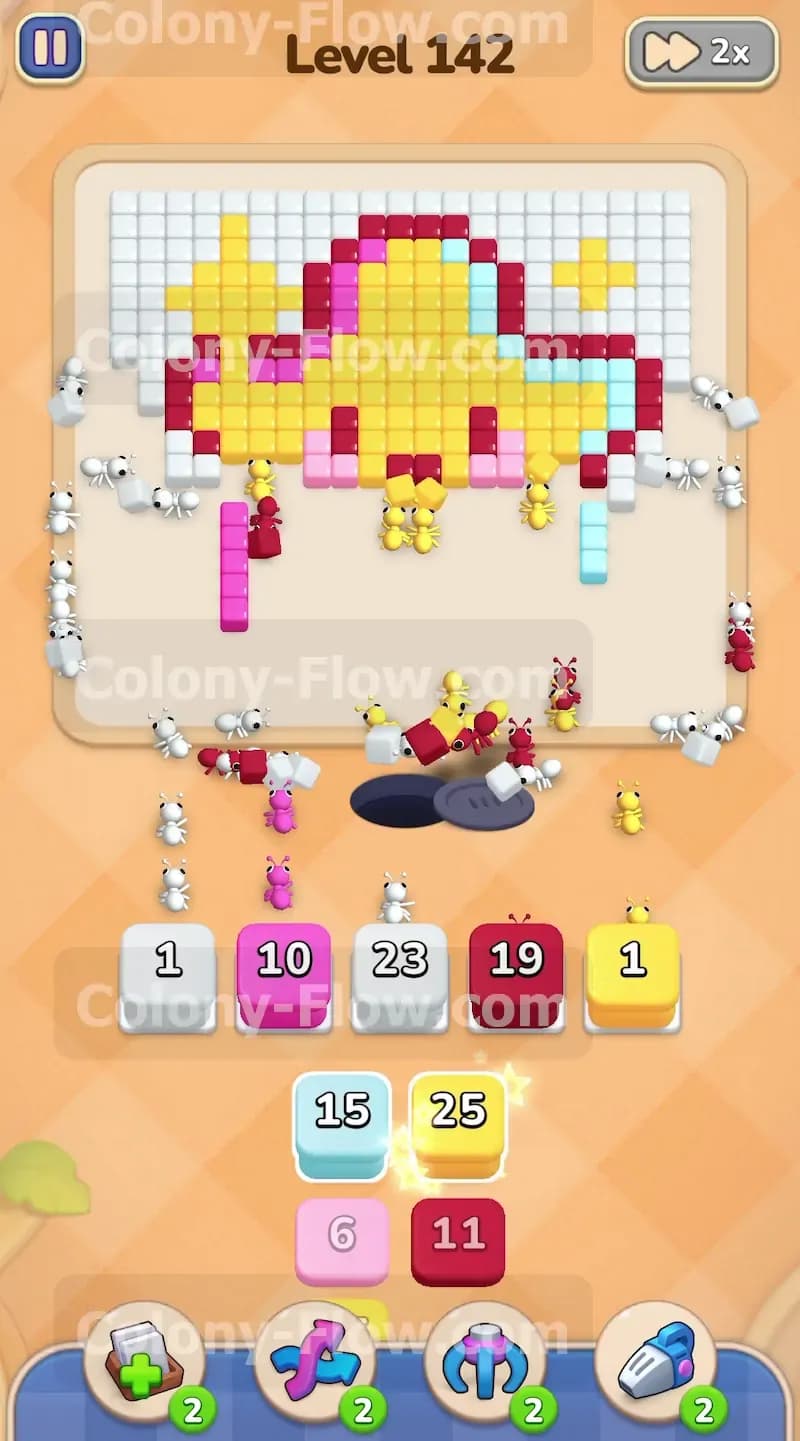
The star shape gets wider in the middle and touches the white border on the left side. You need to remove those white tiles before you can reach the outer edge of the star itself. Pull a new white twenty three block into an empty waiting slot. The ants change direction and run up the far left side of the board. They start munching on the white background pieces stacked along the wall. This action opens up a fresh path to the pink and dark red tiles on the upper left flank. If you ignore the white tiles on the edges you will eventually trap the inner colors. Your waiting slots stay perfectly balanced because you let the ants finish their current paths first. The dark red forty six block is still slowly ticking down in the background as the ants chip away at the tough border. You also pull a new yellow block to keep the center active.
Step 5: Activate the pink blocks to clear the star cheeks and inner details.
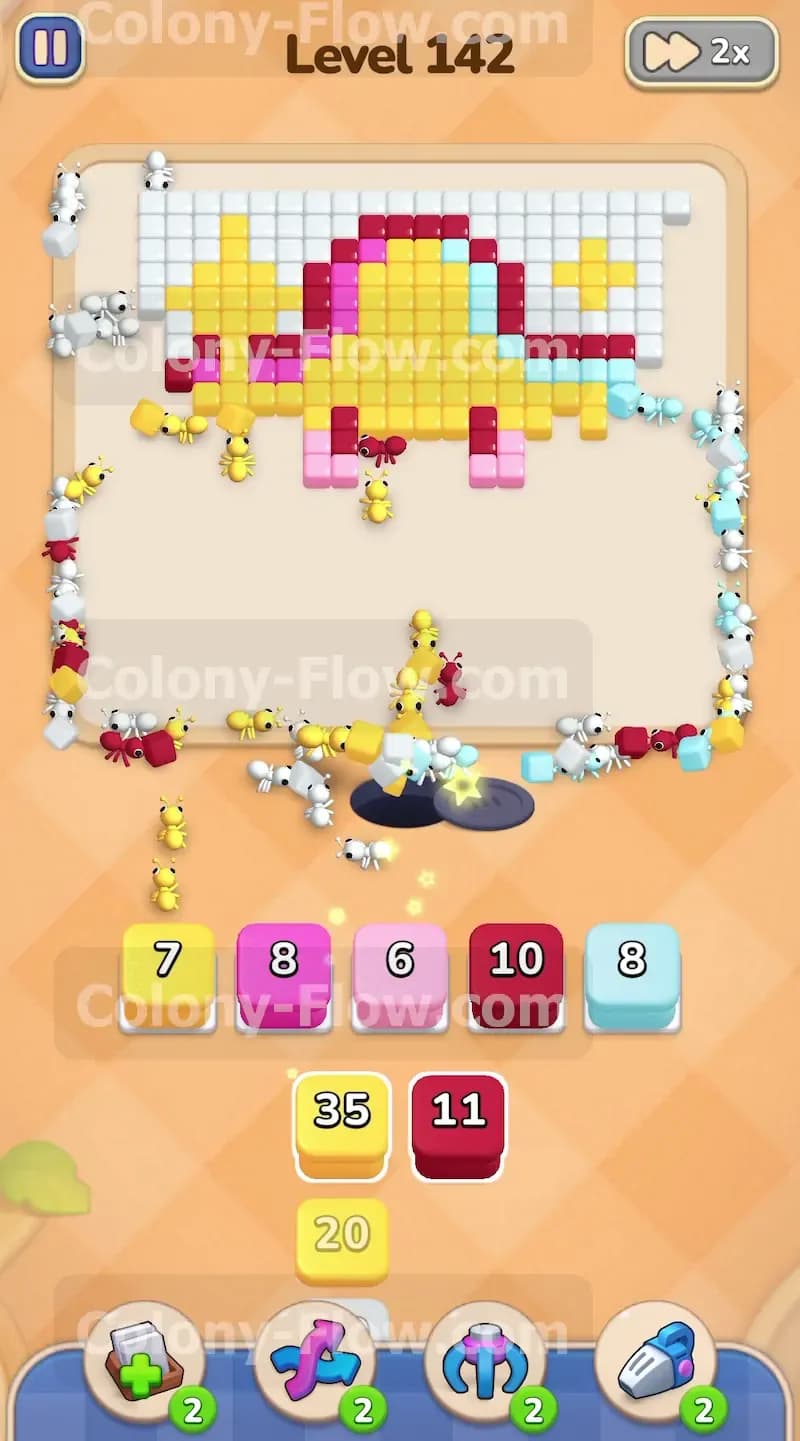
The ants have eaten enough of the yellow core and the left border to expose the delicate pink sections. You can see two cute pink cheeks right in the middle of the star face. You also uncover a pink inner layer near the bottom left corner. Pull the pink ten block and the pink six block into your tray. The ants target these new pink sections immediately. The pink blocks count down very quickly because the tiles are grouped close together. The ants wipe out the bottom left corner of the star and the cheeks in one fast sweep. They swarm the pink areas and completely remove them from the picture. This removes a huge chunk of the center board and exposes the upper half of the yellow star body.
Step 6: Open the right side path with the light blue block.
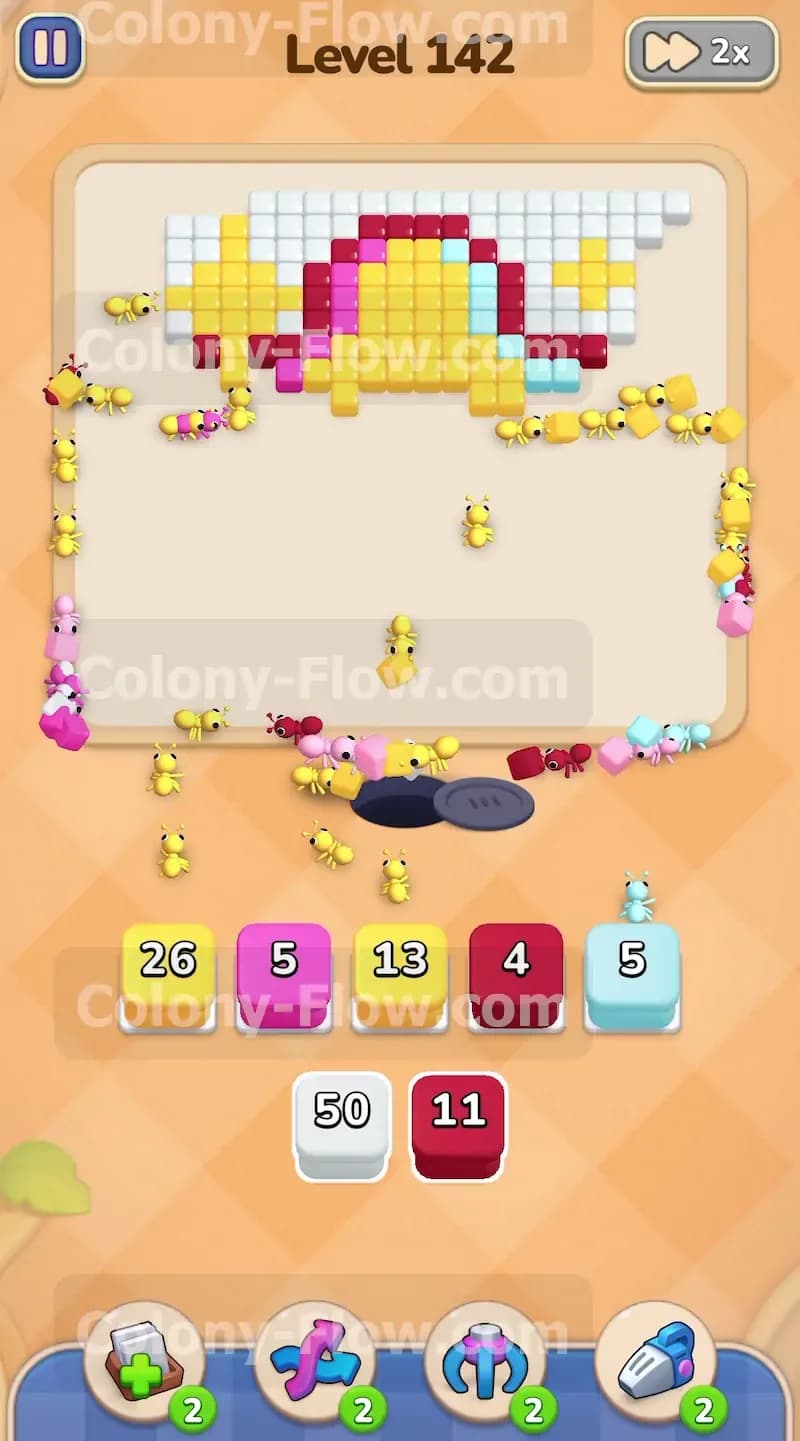
The ants finally clear enough white tiles on the right side to expose the light blue border accents. You can see these light blue tiles tucked between the yellow star points. Pull the light blue block into your waiting slots. The ants march all the way up the right side of the screen. They eat through the light blue sections tucked against the right wall. At this point your waiting slots are completely full. You have yellow, pink, dark red, and light blue blocks active at the same time. You do not need to worry about a game over screen because every single color has an open path. The ants constantly stream out of the nest and keep the board from jamming. They handle the traffic perfectly as long as you provide valid targets. The numbers on all your blocks tick down in harmony.
Step 7: Flood the center with the final yellow blocks to clear the upper core.
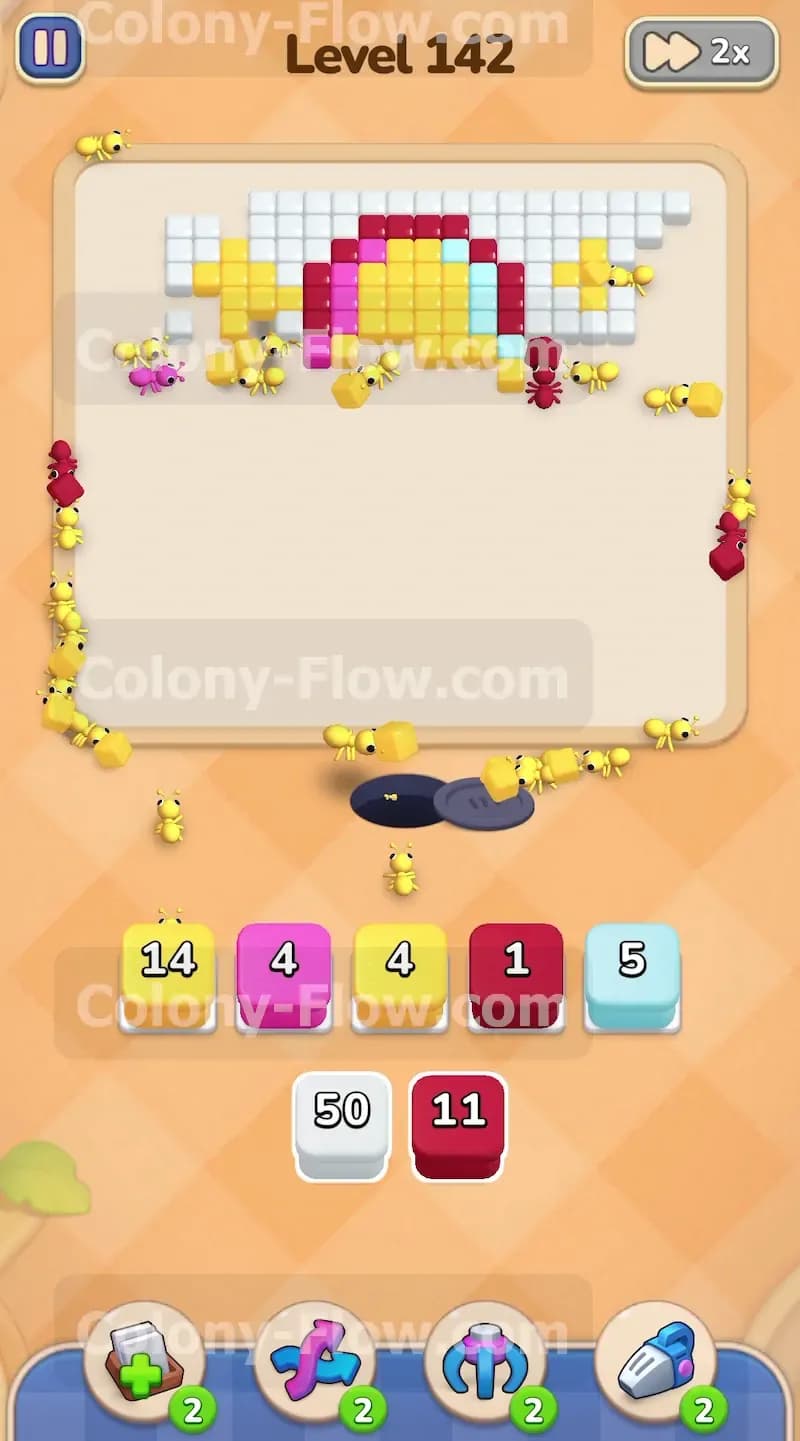
The bottom half of the star is totally gone now. The ants are working entirely on the top point and the upper arms of the star shape. Bring in another large yellow block from the tray. The ants chew through the middle and push upward into the remaining yellow core. The pink blocks finish their work and vanish from your waiting slots. This gives you breathing room to pull any remaining dark red blocks. The ants form a massive line straight up the center of the screen to eat the remaining yellow tiles. The tray is getting very empty now. You only have a few blocks left to play.
Step 8: Finish the top point of the star and complete the level.
Only a few dark red, yellow, and white tiles remain at the very top of the board. The top point of the star is isolated at the top edge of the screen. Pull the last remaining blocks from the tray into your waiting slots. You bring up a final white fifty block and a dark red eleven block to clear the remaining corners. The ants stream straight up the center and both sides to eat the final pieces. You watch the final numbers tick down to zero as the ants grab the last dark red border tiles. The board clears completely and you win the level. Your careful management of the waiting slots kept the ants moving the entire time.
Final Thought
This star shape requires you to manage a massive yellow core while constantly peeling back the white border. As long as you never trap your blocks in the waiting slots you will reach the end. I hope this walkthrough helped you master the board. Watch the video above this article if any step is hard to follow in text. Keep the ants moving and I will see you in the next level.