Colony Flow Level 89 Walkthrough Solution & Guides | How to solve Colony Flow 89

Guide By Liam Stone
Updated on July 11, 2026
Watch the video above first if you want to see Level 89 solved before reading the written steps.
Video doesn't match your screen?
Game updates frequently scramble layouts! Try our AI Screenshot Solver first to find your exact board instantly, or report broken guides to our team.
Colony Flow Level 89 presents a fun but tricky pixel art challenge that tests your puzzle solving patience. You need to clear a large colorful panda portrait while managing a tight tray of numbered blocks. The board features a few special obstacles that require careful timing and strict attention to your limited space. I played through this level and figured out the exact sequence to keep the ants moving without jamming the active area.
Colony Flow Level 89 Overview
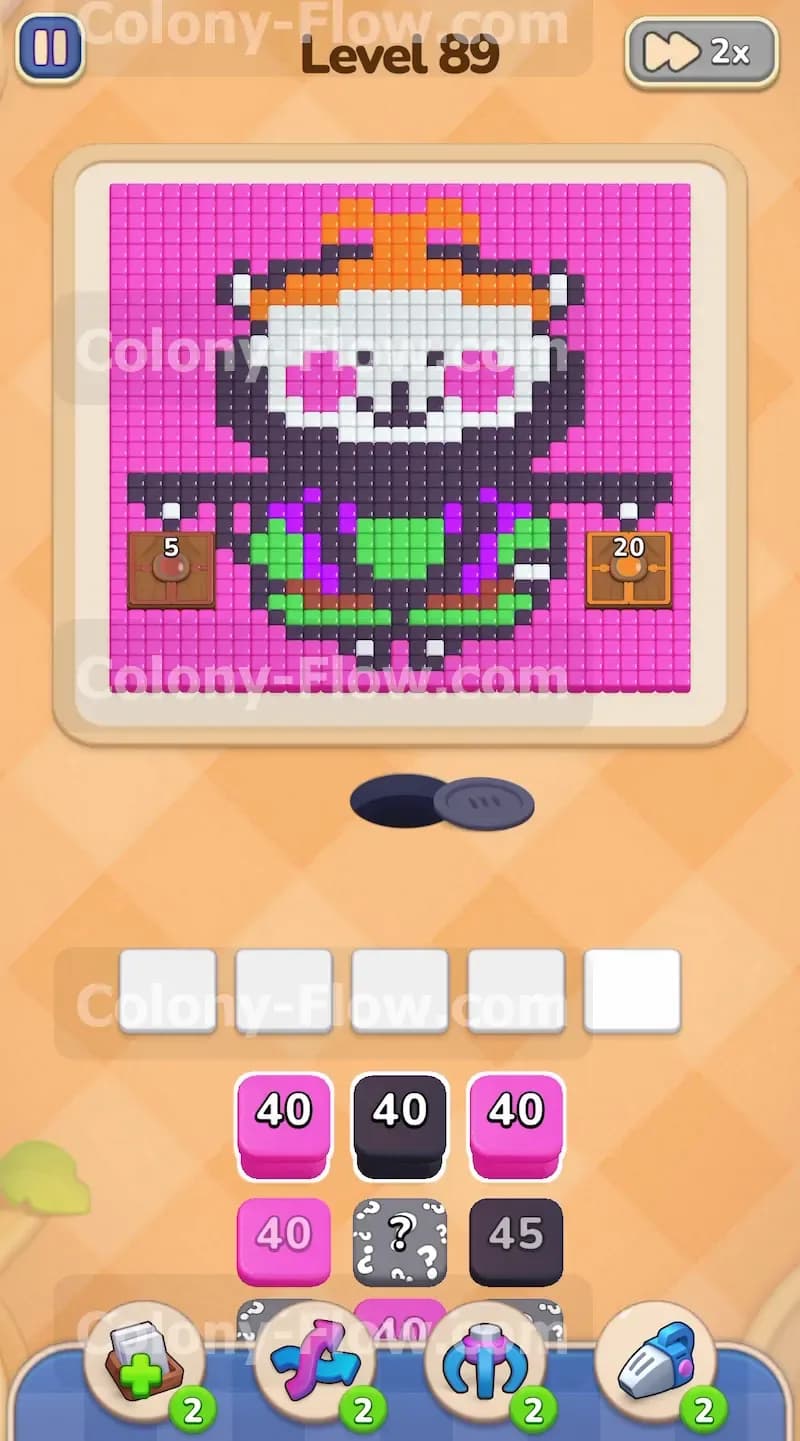
What You Are Working With
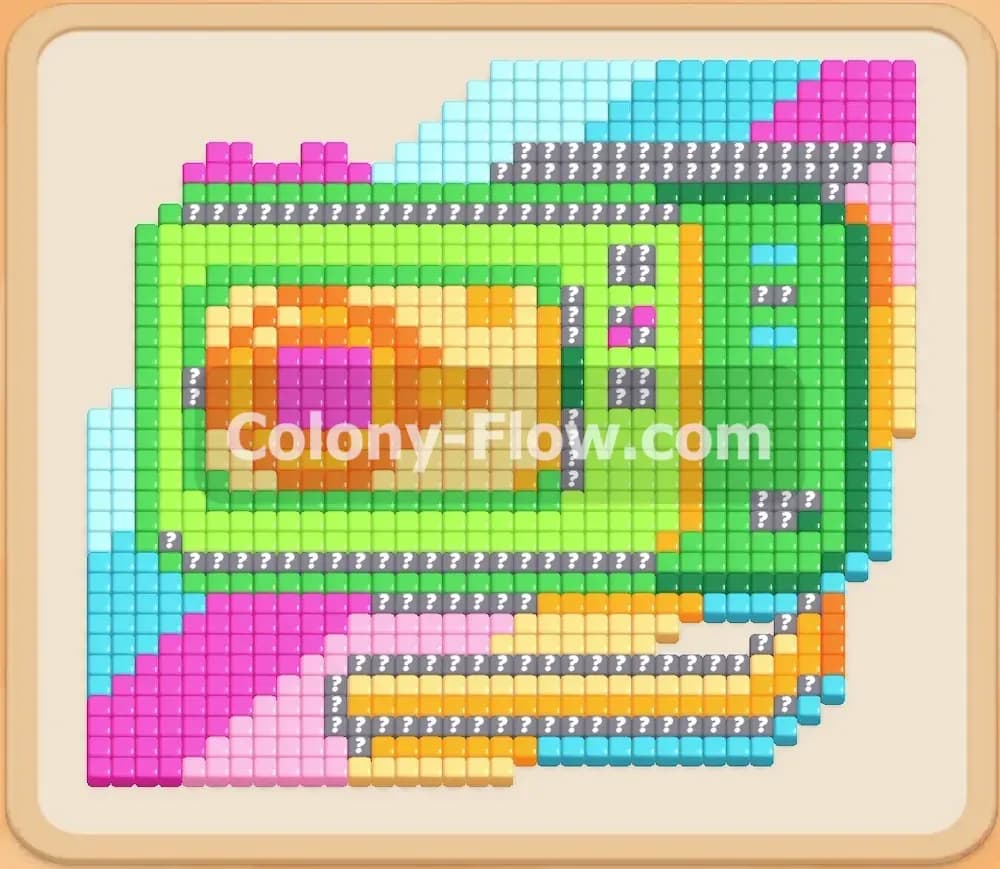
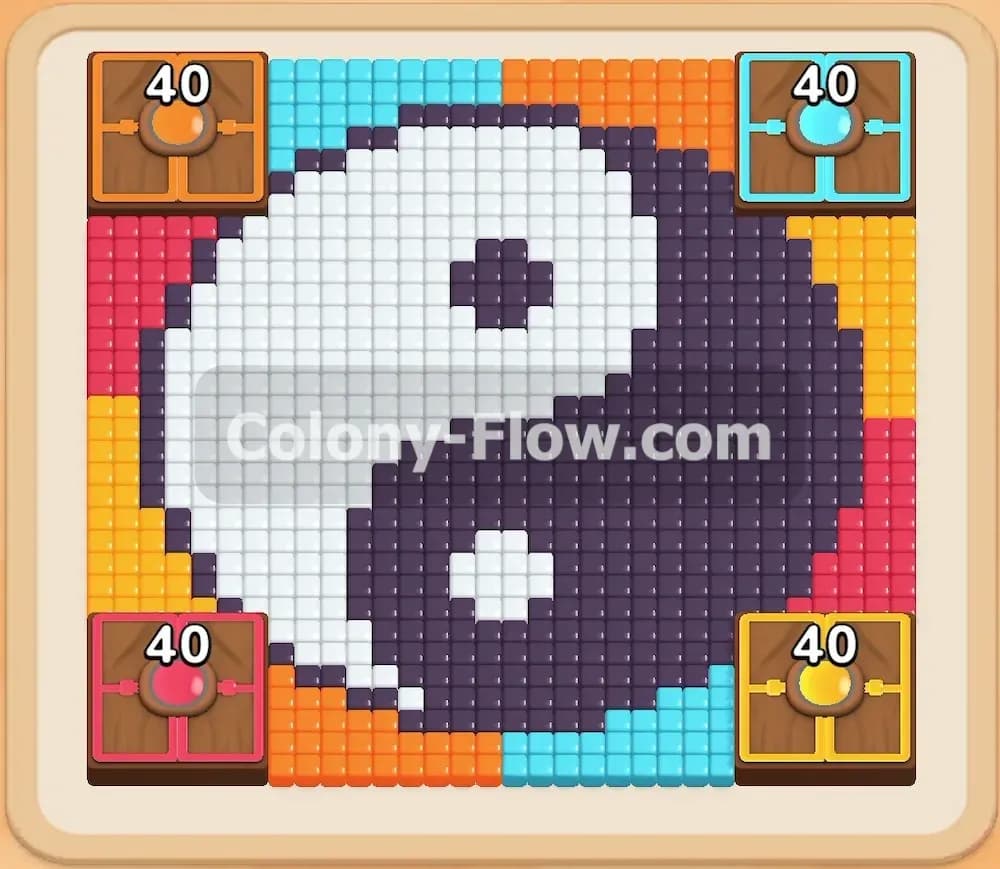
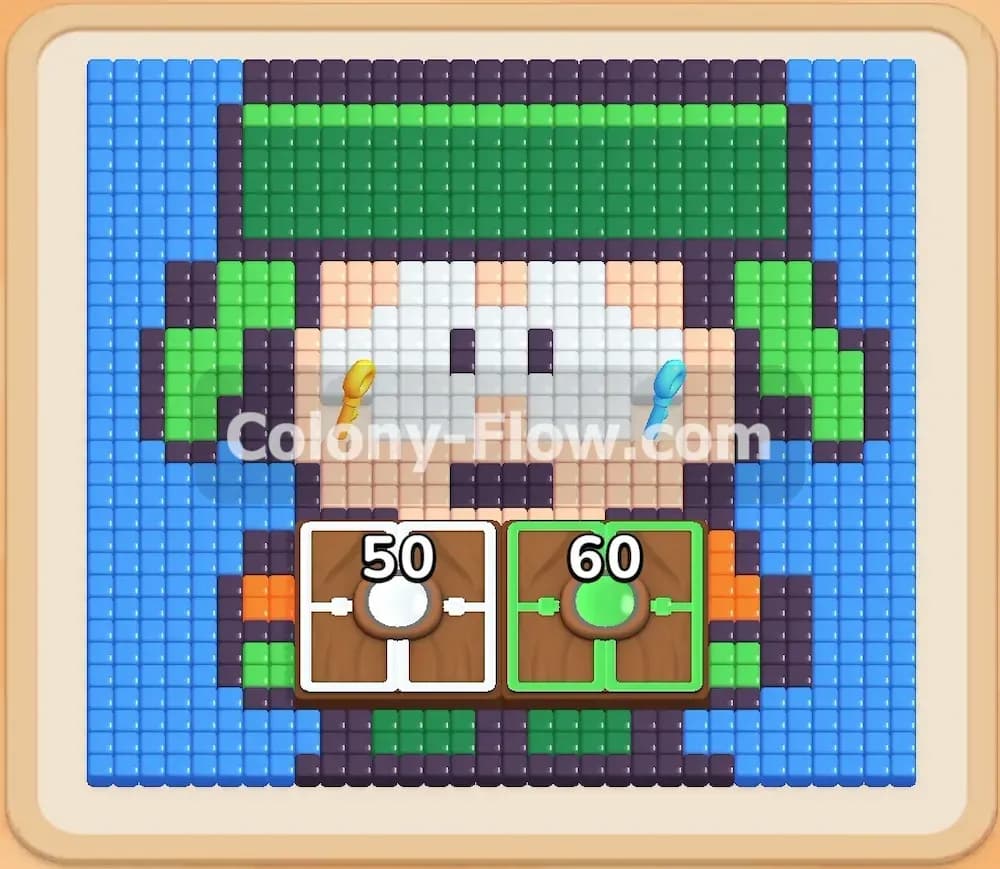
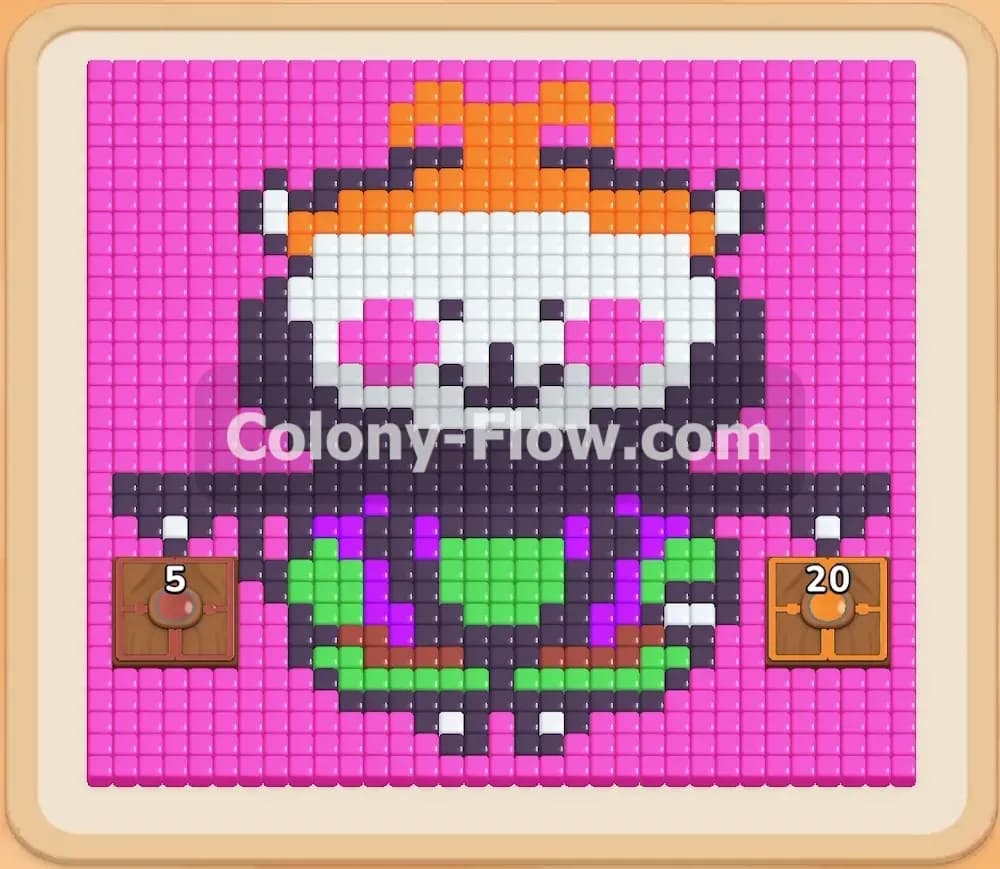
The board displays a large pixel art panda figure right in the center of the screen. The panda wears a bright orange hat and a checkered green and purple outfit. The entire background behind the panda is a solid wall of bright pink pixels. You will see two brown square sections on the far left and right sides of the panda clothes. These brown sections display the numbers 5 and 20 directly on them. Your tray at the bottom holds the numbered colored blocks you need to feed the ants. You have standard colored blocks like pink, black, green, purple, white, yellow, brown, and orange.
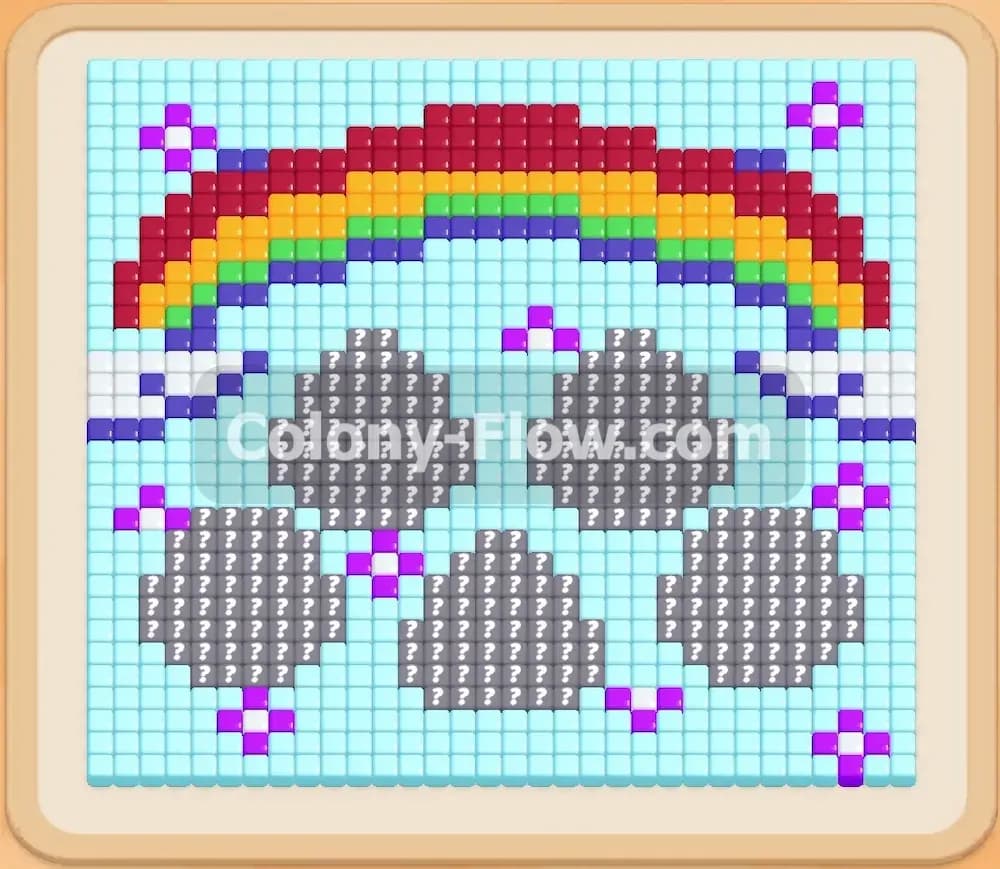
You also face two special tile types in the tray on this level. First, you have a Hidden Box showing a large question mark. This block hides its true color until you pull the blocks blocking it in the tray. Second, you encounter Connected Boxes later in the level. These are two separate blocks joined together by a diagonal brown rod. When you select one of these linked blocks, both blocks move into your active slots at the exact same time.
What It Takes to Clear Level 89 Board
You start with exactly five waiting slots at the bottom of the screen located just above your block tray. If you fill all five slots with blocks and the ants cannot reach the matching colors on the board, the board dead ends and you lose the level immediately. You must always maintain at least one completely open path for your active blocks.
Clearing Level 89 requires you to strip away the outer pink background and the bottom black outline first. Breaking this bottom shell exposes the inner green and purple outfit. From there, you work your way up into the white panda face, the brown side sections, the black ears, and finally the orange hat at the very top. You win the level when the ants eat every single pixel on the board and return to their hole.
Colony Flow Level 89 Step by Step Solution
Step 1: Start by pulling pink and black blocks to clear the bottom edges
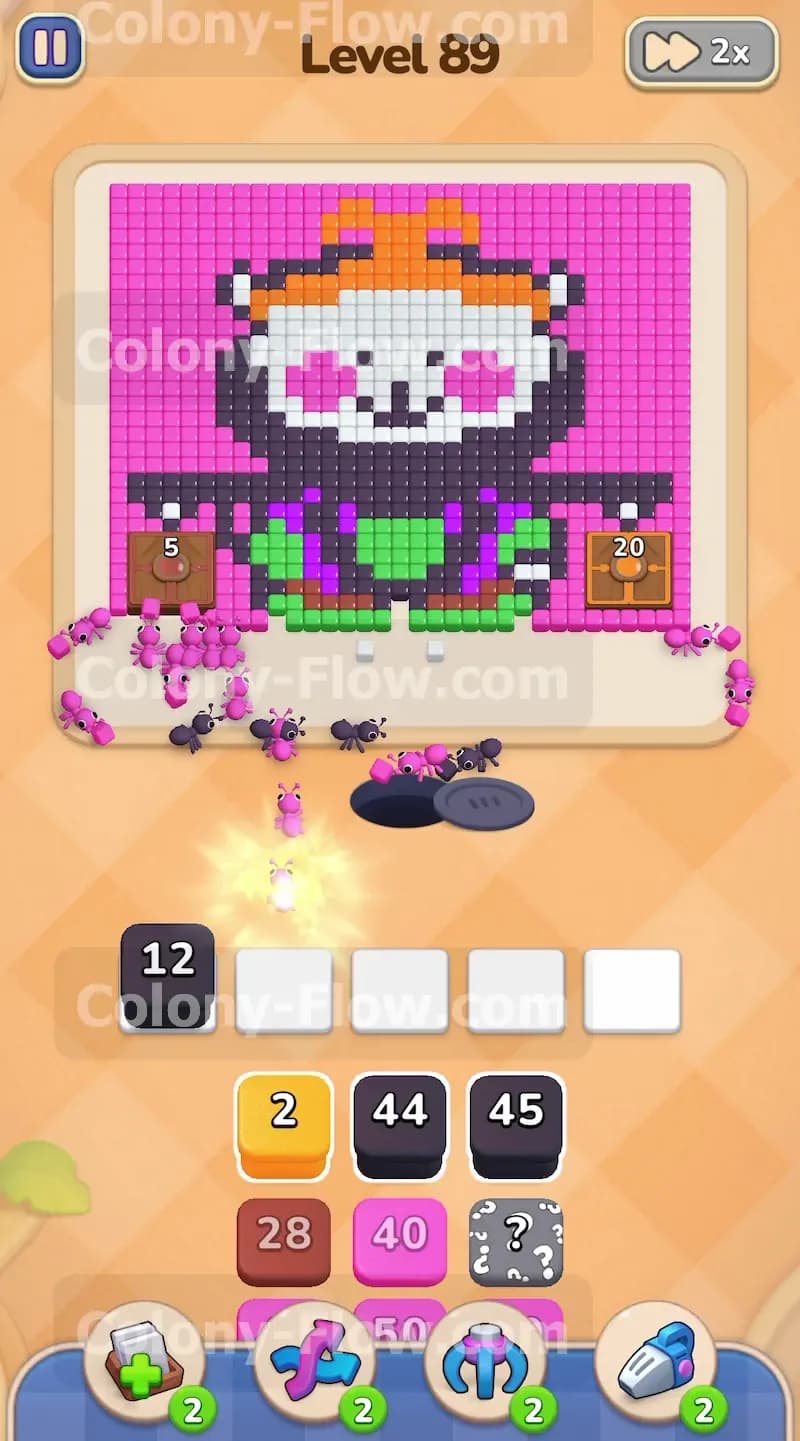
You begin the level with a solid wall of pink background surrounding the entire upper half of the panda. The panda also has a thick black outline at the very bottom that blocks all access to the inner green and purple clothes. You need to pull the large pink blocks from your tray to send ants up the extreme left and right margins of the board. These ants will start chewing away the lower corners of the pink background. You also need to pull the black blocks to start clearing that bottom black border. Keep a very close eye on your five waiting slots during this opening phase. Do not pull green or purple blocks yet because the black outline completely blocks the ants from reaching those inner colors. Let the black ants finish their job first.
Step 2: Reveal the Hidden Box and open the lower middle section
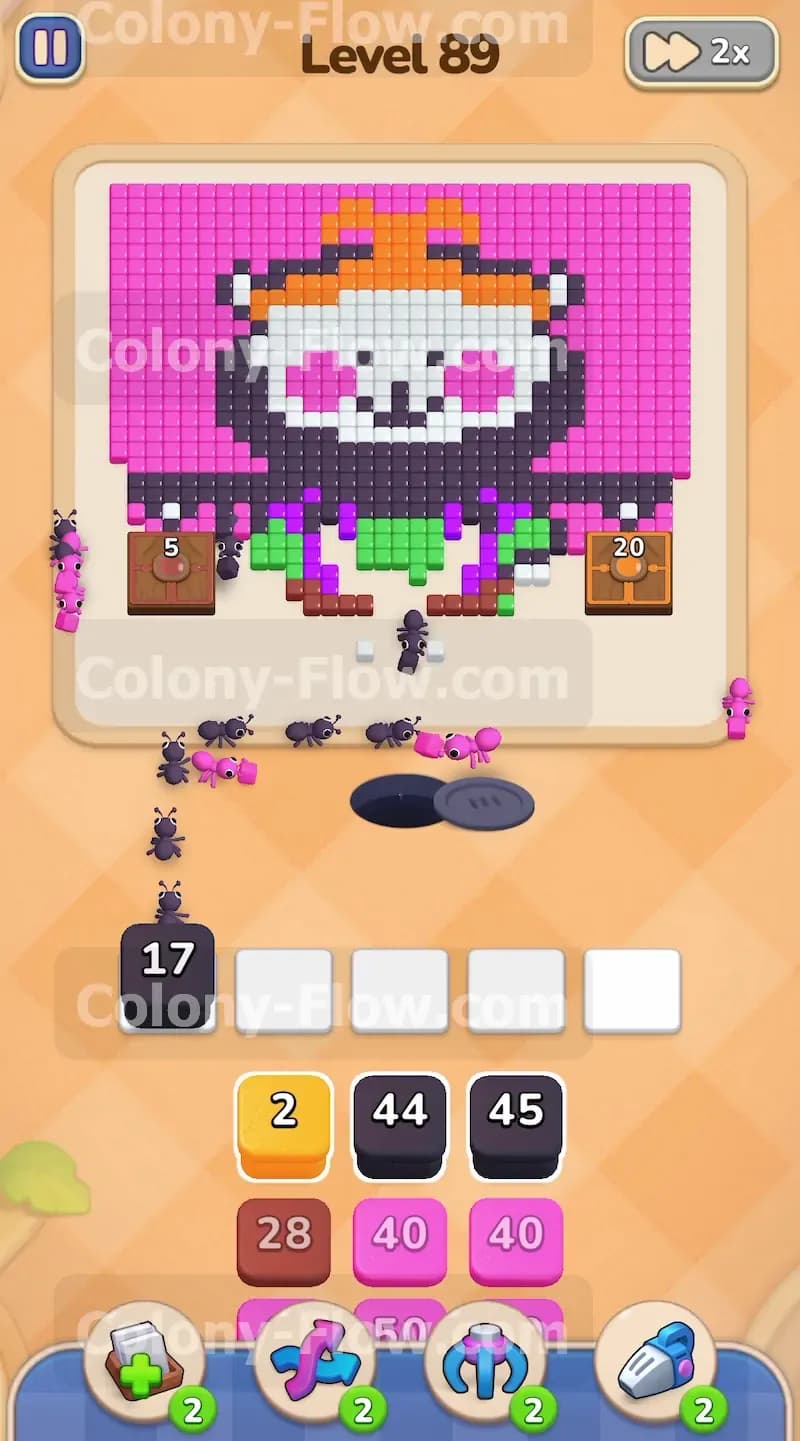
As the first wave of pink and black blocks counts down, the Hidden Box with the question mark becomes active in your tray. You can now see what color it holds and safely move it into your waiting slots when you have an open space. Pull the next black blocks that appear in your tray to finish eating the bottom outline. Once the bottom black border vanishes entirely, you have a clear open path to the green and purple outfit. The ants now have plenty of room to flow upward into the exact center of the board. You keep your waiting slots flowing smoothly by only pulling colors that have a direct open path from the nest hole.
Step 3: Feed the ants purple and green blocks to clear the panda clothes
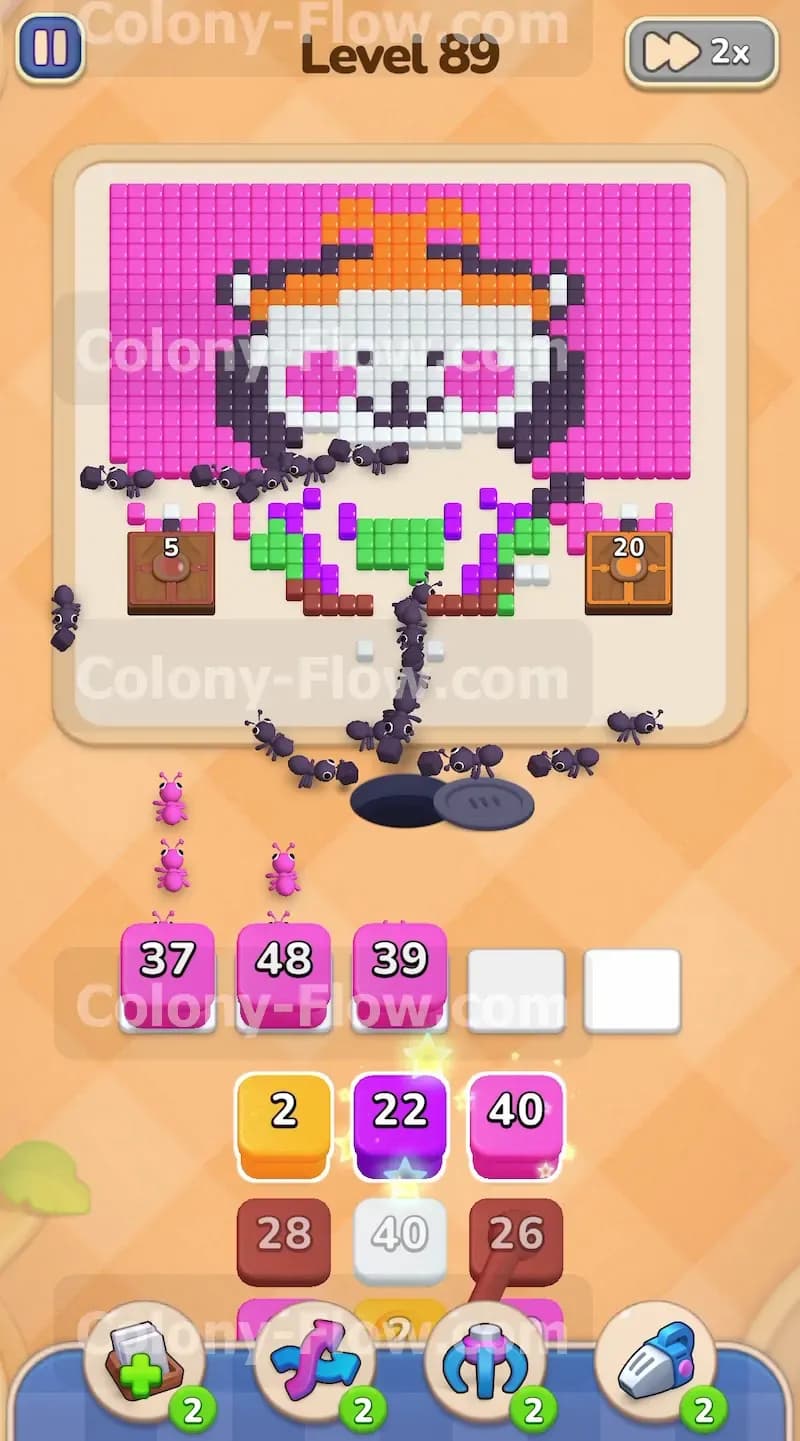
With the bottom barrier completely gone, you can safely pull the purple and green blocks from your tray. Pull the purple blocks and the green blocks as they surface in the queue. The ants will stream out of the hole and march straight up into the center to eat the checkered outfit. You also start seeing yellow blocks in your tray for the small yellow details on the clothing. Pull the yellow blocks to clear those tiny spots quickly. You must clear these lower sections completely to open the paths to the white face and the brown side boxes higher up the board. Always watch the numbers on your active blocks count down to zero to ensure you have empty space before pulling the next color.
Step 4: Manage the Connected Boxes and clear the brown side sections
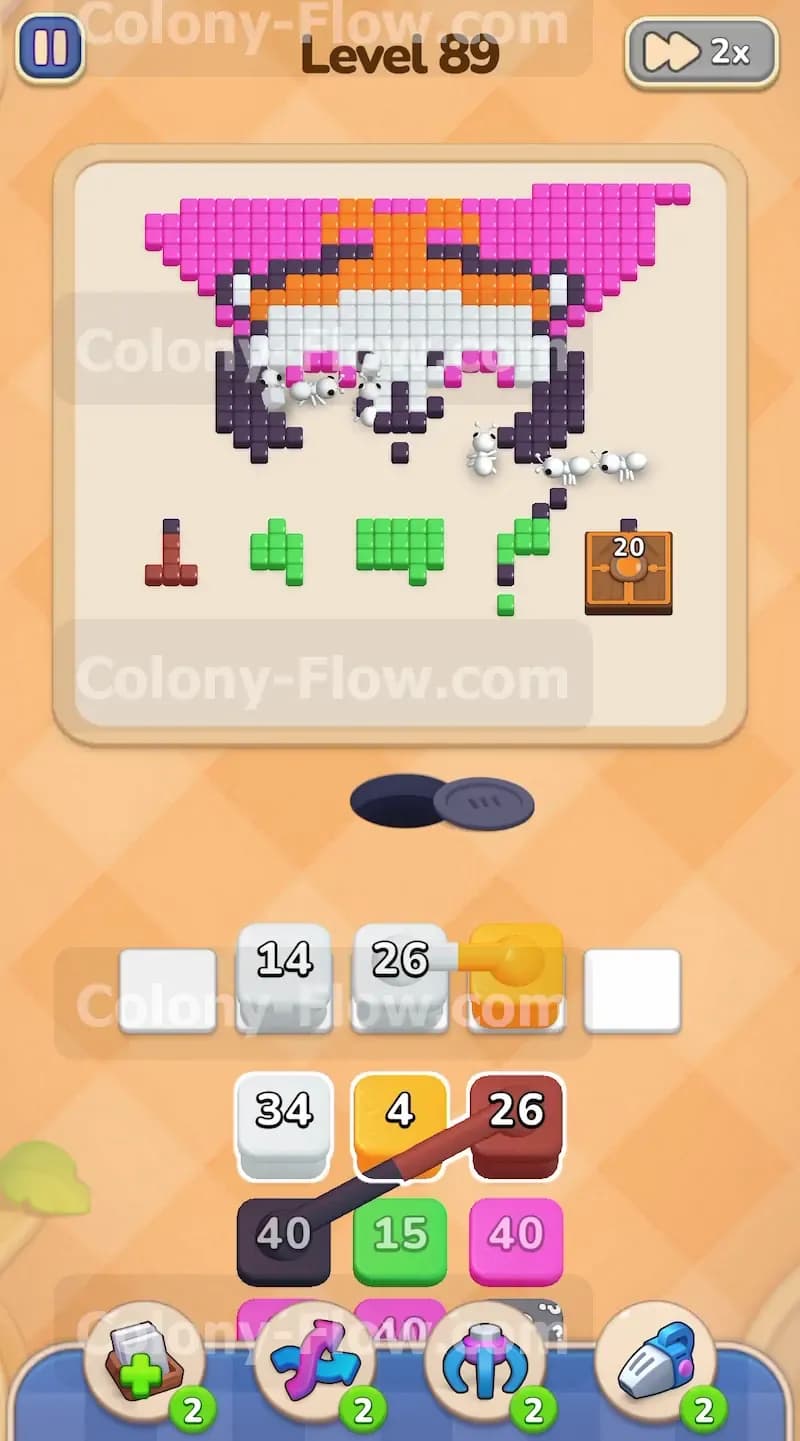
This part of the level introduces the Connected Boxes in your tray. You will see a diagonal rod linking two different colored blocks together. When you tap one of these blocks, both of them snap into your waiting slots simultaneously. This action immediately consumes two of your five precious slots. You must be absolutely sure that the ants can reach both colors on the board before you pull them. If one color is blocked, that block will sit in your slot and clog your tray. Pull the Connected Boxes containing the brown blocks when the sides of the panda are open. Send the brown ants to the left side to eat the brown square marked 5. Send another wave of brown ants to the right side to eat the brown square marked 20. Clearing these brown sections opens up the sides of the panda head.
Step 5: Pull white and black blocks to clear the panda face and ears
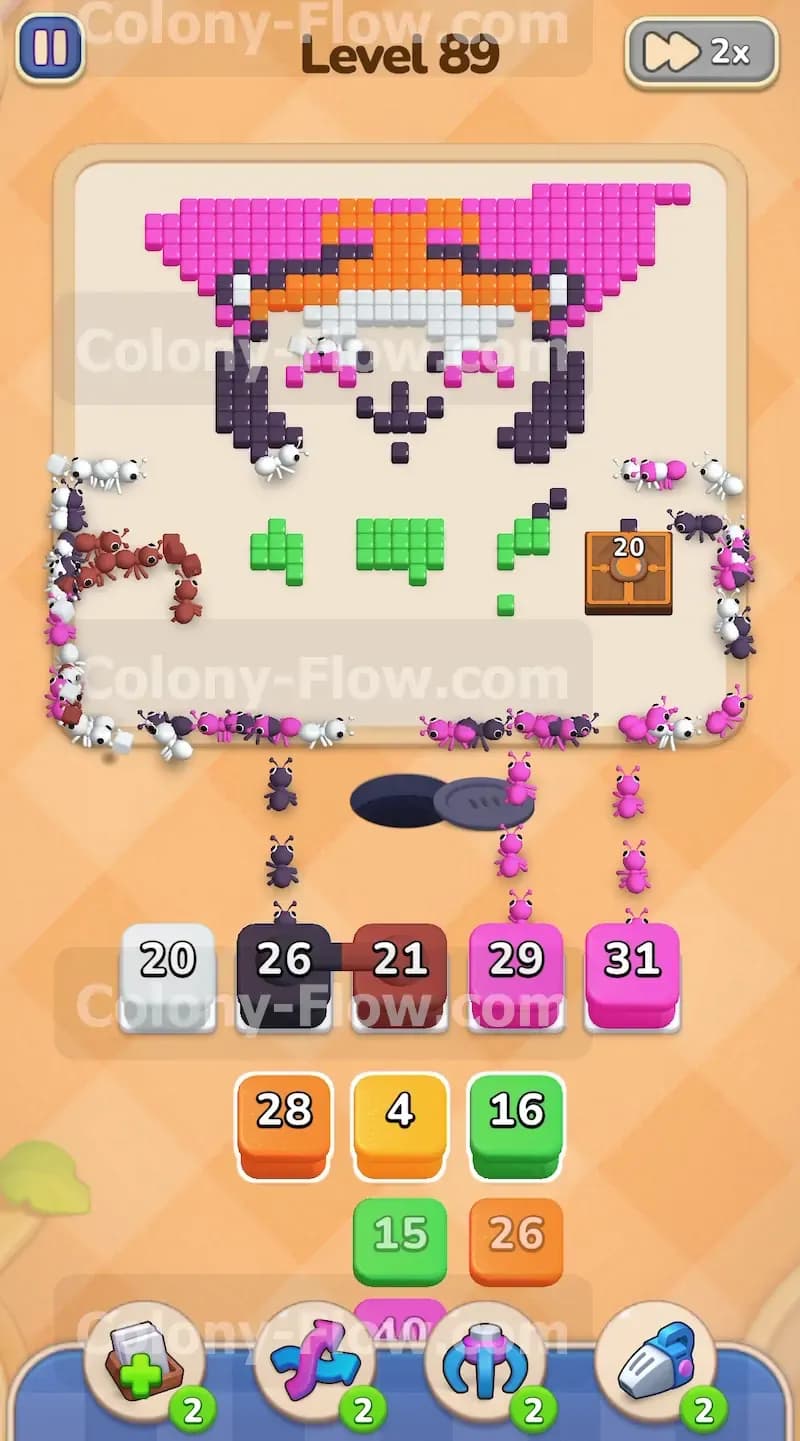
The inner board is now wide open and the ants have a direct path to the head. You can pull the large white blocks to send ants into the main face of the panda. The white ants will flood the middle of the board and clear the large white pixel sections rapidly. You also need to pull the remaining black blocks to clear the panda eyes and the large black ears on the sides of the head. Make sure you alternate between white and black blocks to keep the ants moving efficiently without causing a traffic jam in your waiting slots. Do not pull the orange blocks yet because the hat is still partially blocked by the ears and the top pink background.
Step 6: Clear the top pink background and the orange hat to finish the board
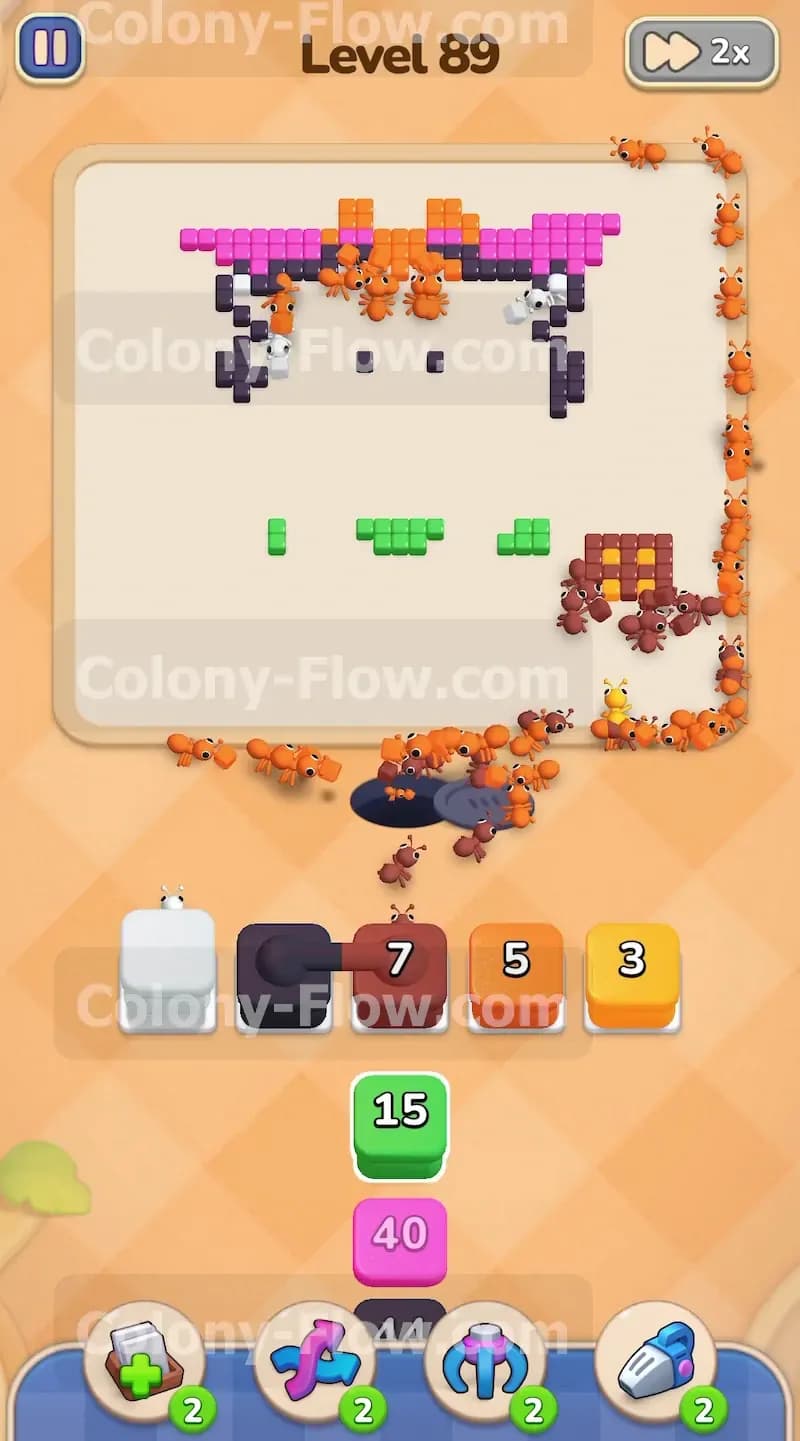
The only remaining parts of the picture are the orange hat at the top center and the top corners of the pink background. You can now safely pull the orange blocks to send ants all the way to the very top of the head. Pull the orange blocks from your tray and watch the orange ants march up and eat the hat. Finally, pull the last remaining pink blocks to clear the top left and top right corners of the background. The pink ants will finish eating the very last pixels on the screen. Once the board is completely clear of all colors, the remaining ants return to the nest hole and the level ends in a victory.
Final Thought
Level 89 requires you to be very patient with the bottom black outline before you try to rush the inner colors. The Connected Boxes will easily end your game if you pull them without having two open paths ready on the board. Take your time and always keep track of how many open slots you have available. Watch the video above this article if any step is hard to follow in text.