Colony Flow Level 169 Walkthrough Solution & Guides | How to solve Colony Flow 169

Guide By Liam Stone
Updated on July 12, 2026
The written guide below covers Level 169 in depth, but you can watch the video above for the same solution.
Video doesn't match your screen?
Game updates frequently scramble layouts! Try our AI Screenshot Solver first to find your exact board instantly, or report broken guides to our team.
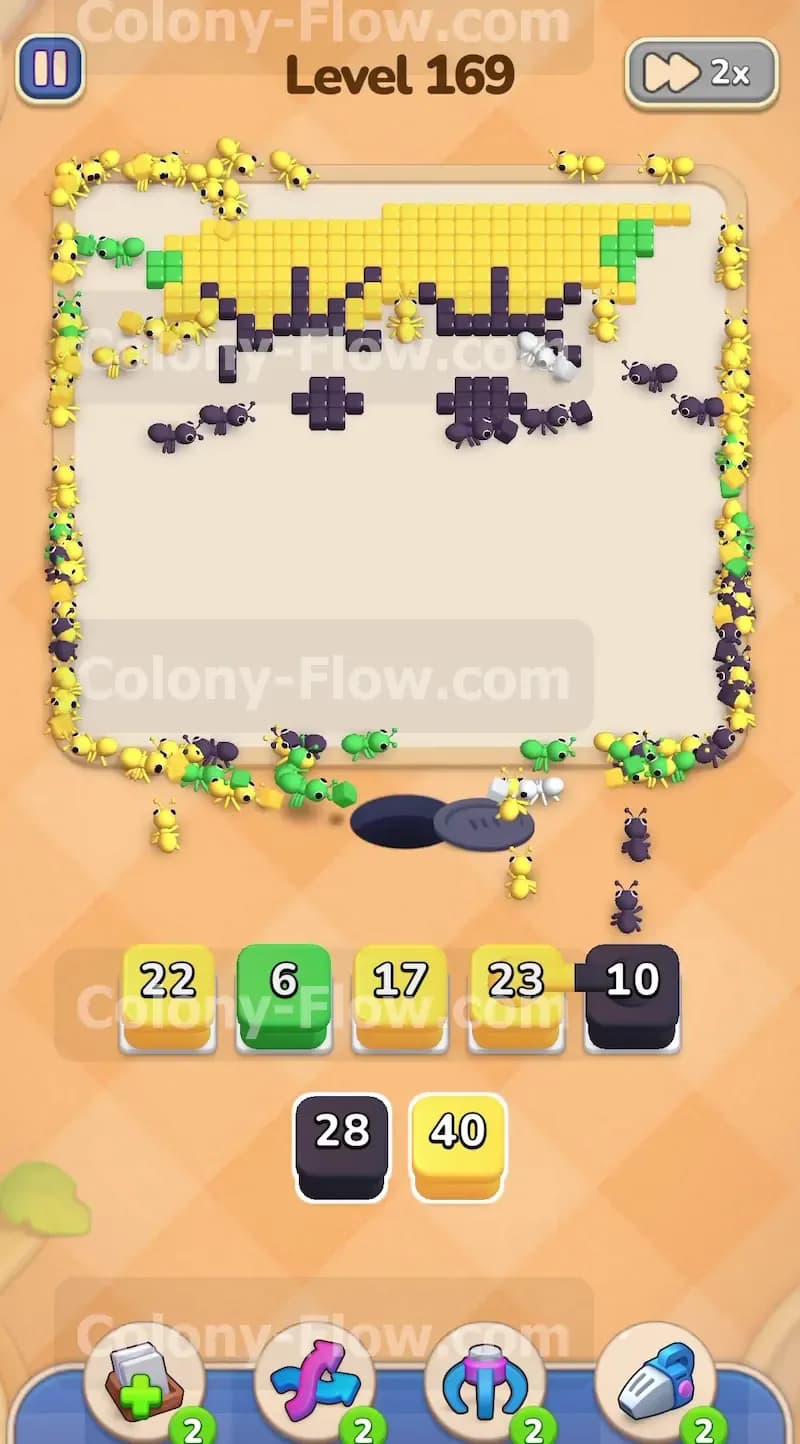
Colony Flow Level 169 presents a large pixel art face that resembles a very famous yellow sponge character. You will need to tear down this huge picture carefully so your ants always have an open route to their food. Managing the massive swarms of yellow and black ants is your main challenge here.
Colony Flow Level 169 Overview
What You Are Working With
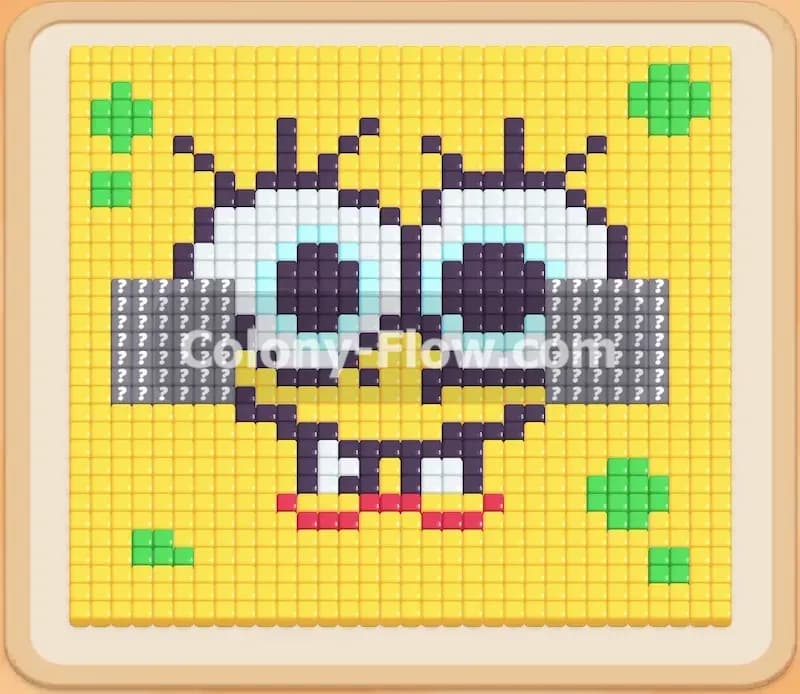
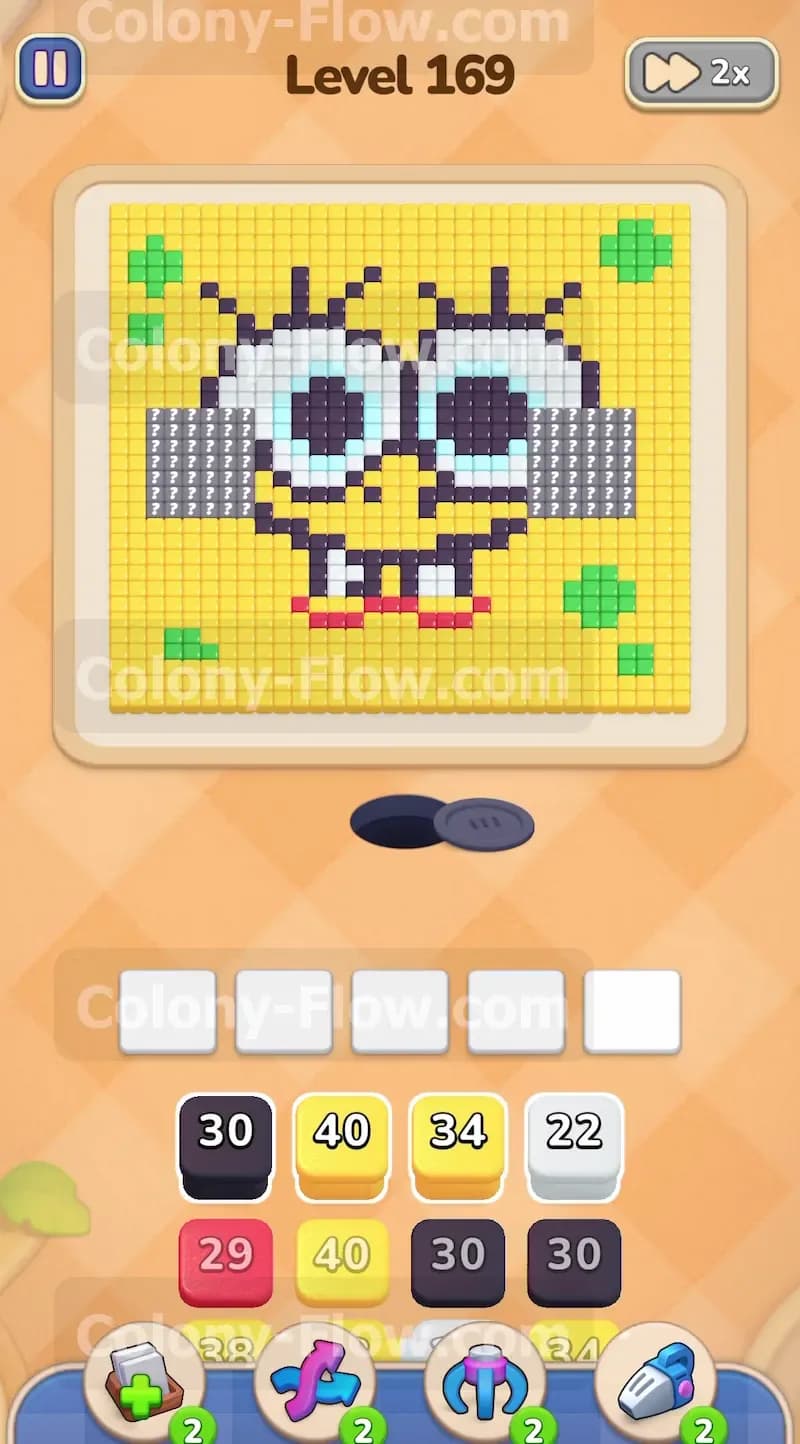
The board features a giant square yellow face with large white eyes right in the middle. The eyes have blue irises and thick black outlines. You will also see grey rectangular cheek blocks on the sides and a small red tie at the very bottom center. A few green spots are scattered around the yellow background. The tray at the bottom gives you access to a huge supply of yellow blocks along with black, grey, white, red, and blue blocks. Some of these blocks carry massive numbers like 40 and 38. You will also encounter a hidden box in the tray later in the level. This box hides its color under a question mark until you pull the blocks sitting in front of it.
What It Takes to Clear Level 169 Board
Winning this level requires you to consume every single colored tile on the board without jamming your five waiting slots. The ants emerge from the dark nest hole at the bottom center of the screen. They travel upward to reach the picture. If you pull a block from the tray and the ants cannot physically reach a matching colored tile, that block sits in one of your five slots. If all five slots fill up with stuck blocks, you lose the level instantly. You clear the board by working from the bottom up and carving open paths around the outside edges. This ensures your ants can always flow freely to the top of the picture.
Colony Flow Level 169 Step by Step Solution
Step 1: Open the bottom edge by clearing the red tie and lower yellow tiles.
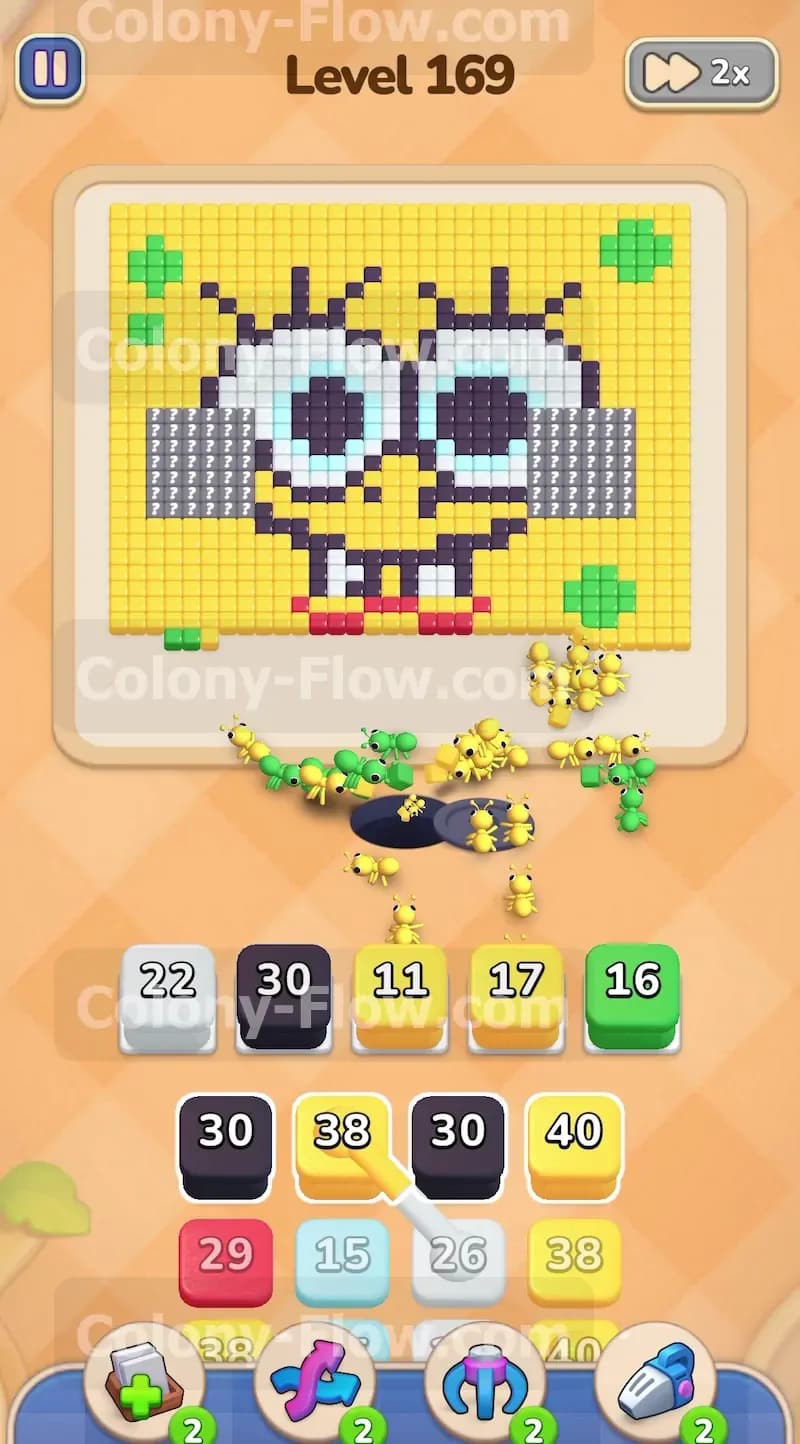
You need to create a staging area for your ants right above the nest hole. Start by pulling the red block to clear the red tie tiles located at the very bottom center of the face. Then pull the first available yellow block from the tray. The ants will stream out and eat the bottom row of yellow tiles. This action breaks open the flat bottom edge of the picture. Your ants now have room to walk left and right along the bottom boundary. Doing this early prevents your starting path from becoming a narrow bottleneck.
Step 2: Clear the lower green spots to widen your side paths.
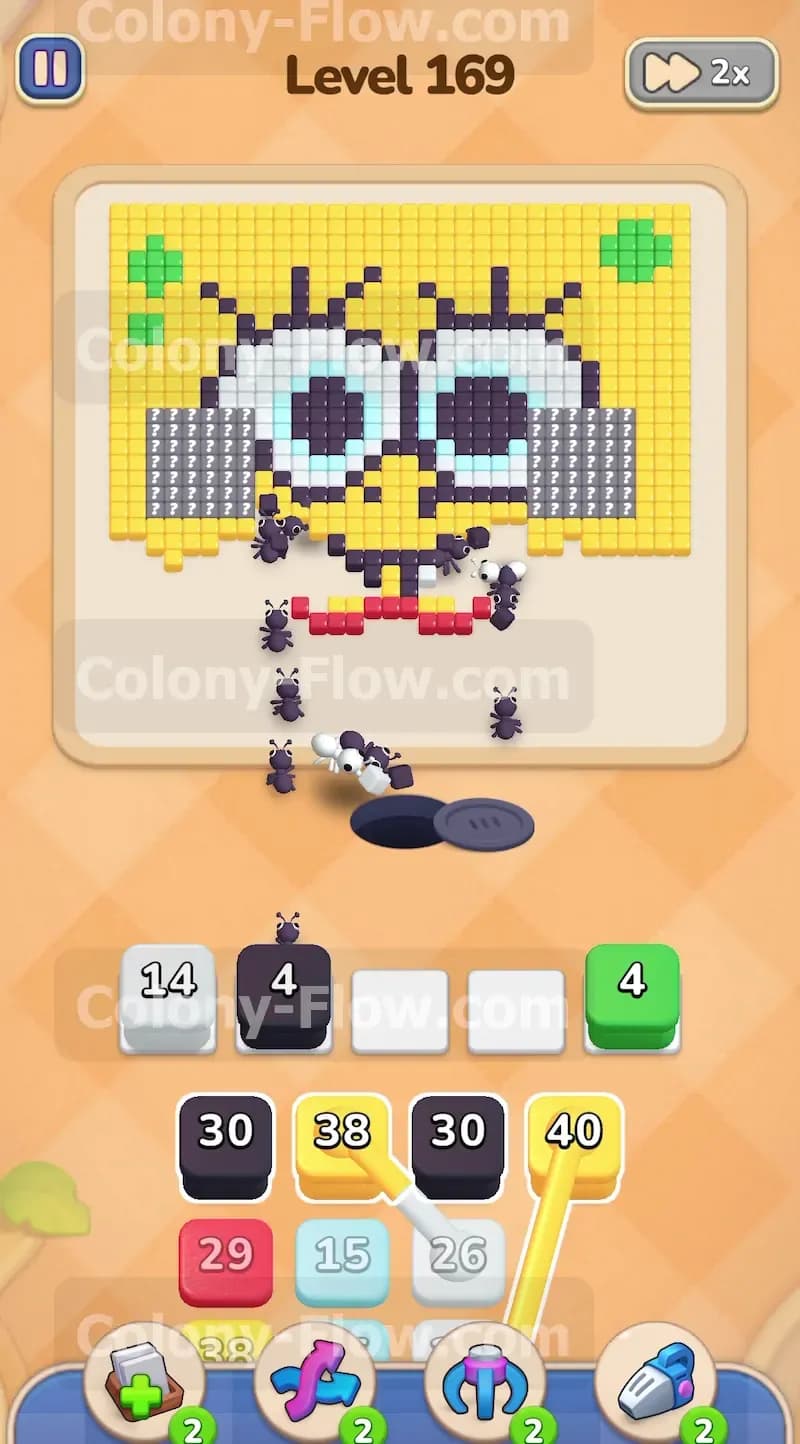
With the bottom center open you should now target the green spots scattered near the lower corners. Pull a green block from your tray. The green ants will march up from the hole and split off toward the lower left and lower right areas of the board. Eating these green spots breaks up the solid blocks of color and gives your future swarms shortcuts to move higher up the board. Always make sure a path is physically open before pulling the green block so it does not get stuck in your waiting slots.
Step 3: Begin eating the black mouth outlines.
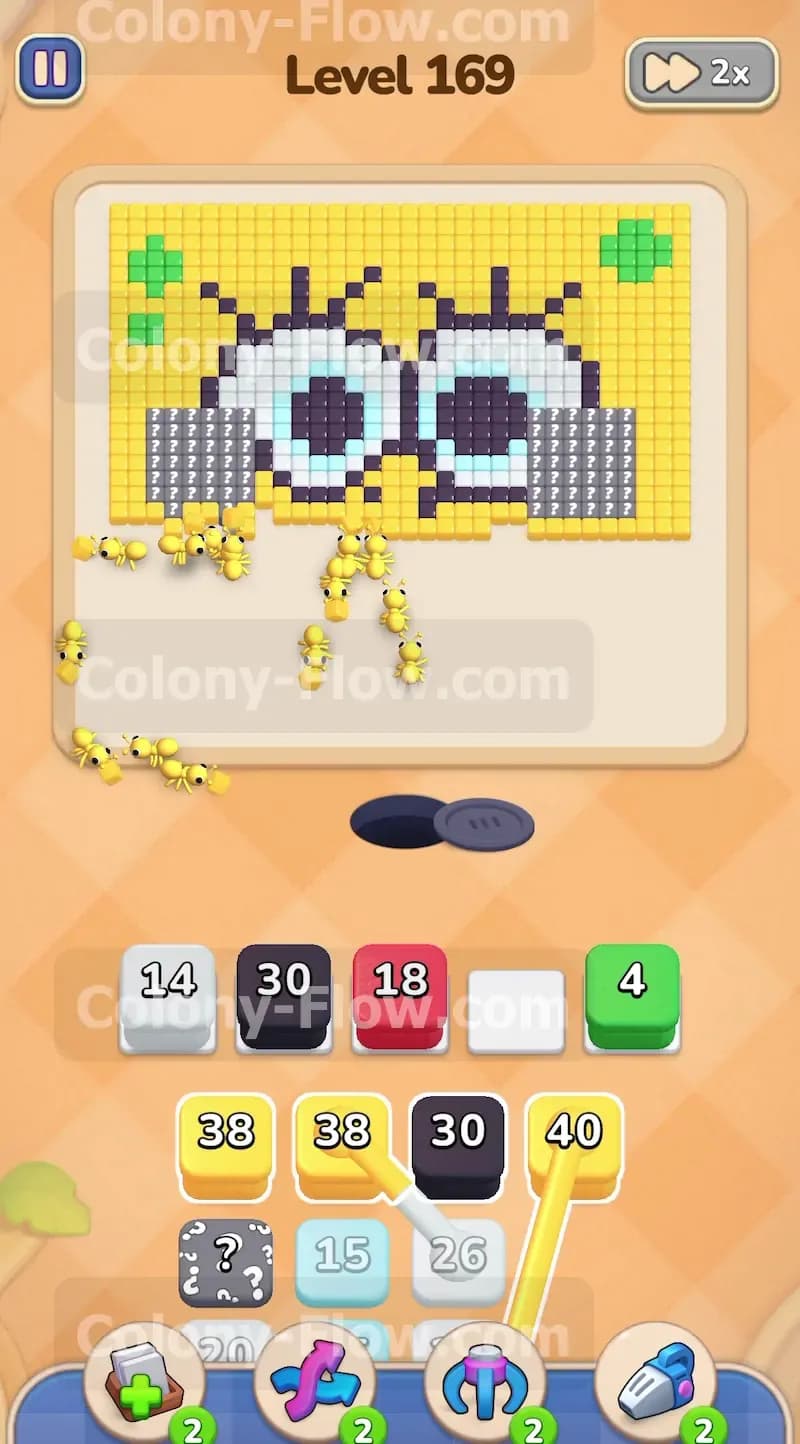
The character has a large mouth drawn with thick black tiles right above the tie area. Pull a large black block to send a swarm of black ants into this section. The black tiles form a wide barrier across the lower third of the face. Consuming them opens up a massive physical space in the center of the board. This move allows your ants to walk straight up into the middle of the face instead of forcing them to walk all the way around the outside edges. Watch your waiting slots closely while the black ants do their work.
Step 4: Break down the grey cheek rectangles on the sides.
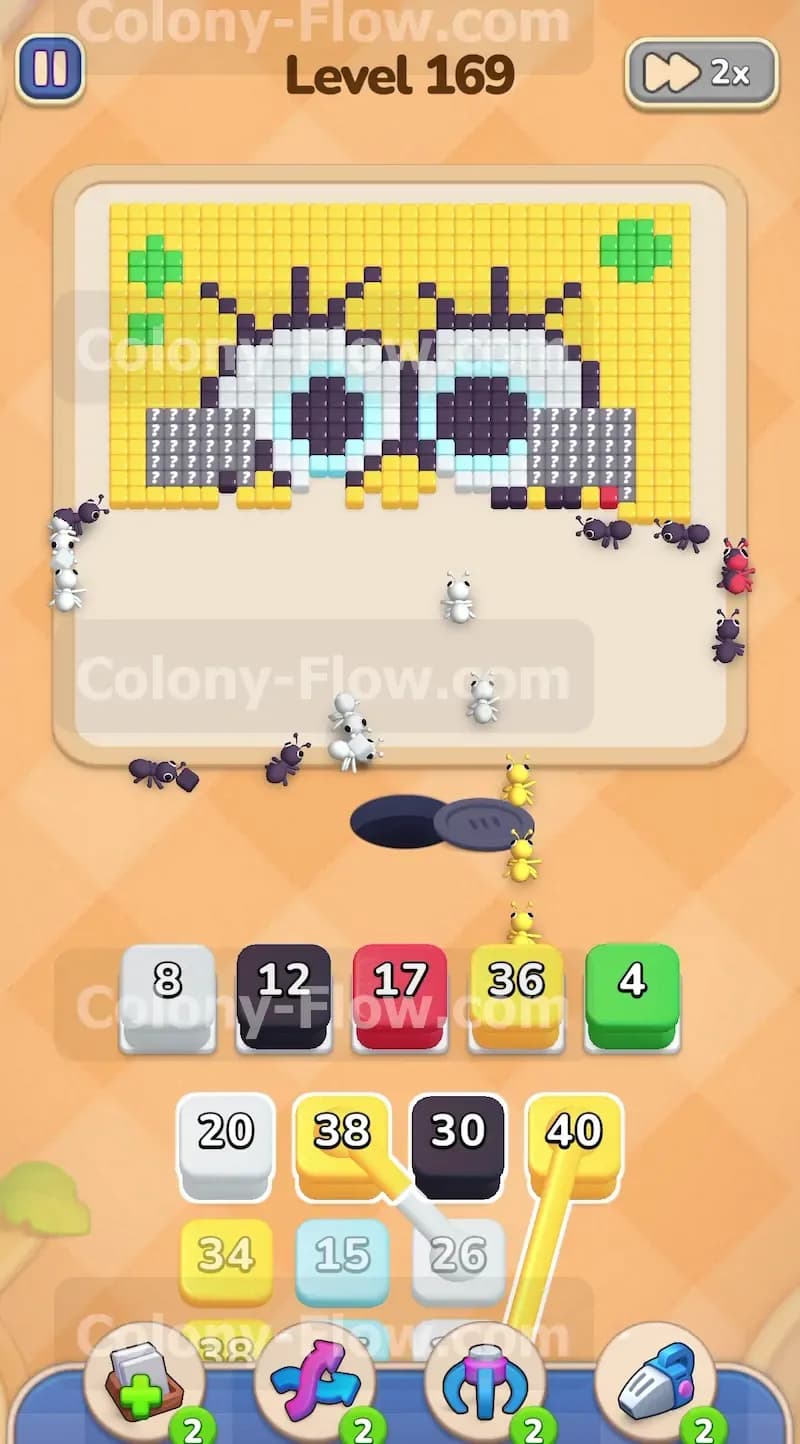
You will notice large blocks of grey tiles on the left and right sides of the face. These act like walls that stop your ants from reaching the upper corners. Pull the grey blocks from your tray to clear these cheeks. The grey ants will travel outward from the center and start eating these rectangular barriers. Clearing the grey tiles is a mandatory move if you want to push large yellow swarms up the sides later on. It takes a few different grey blocks to eat the whole left and right cheek sections.
Step 5: Reveal and use the hidden box in the tray.
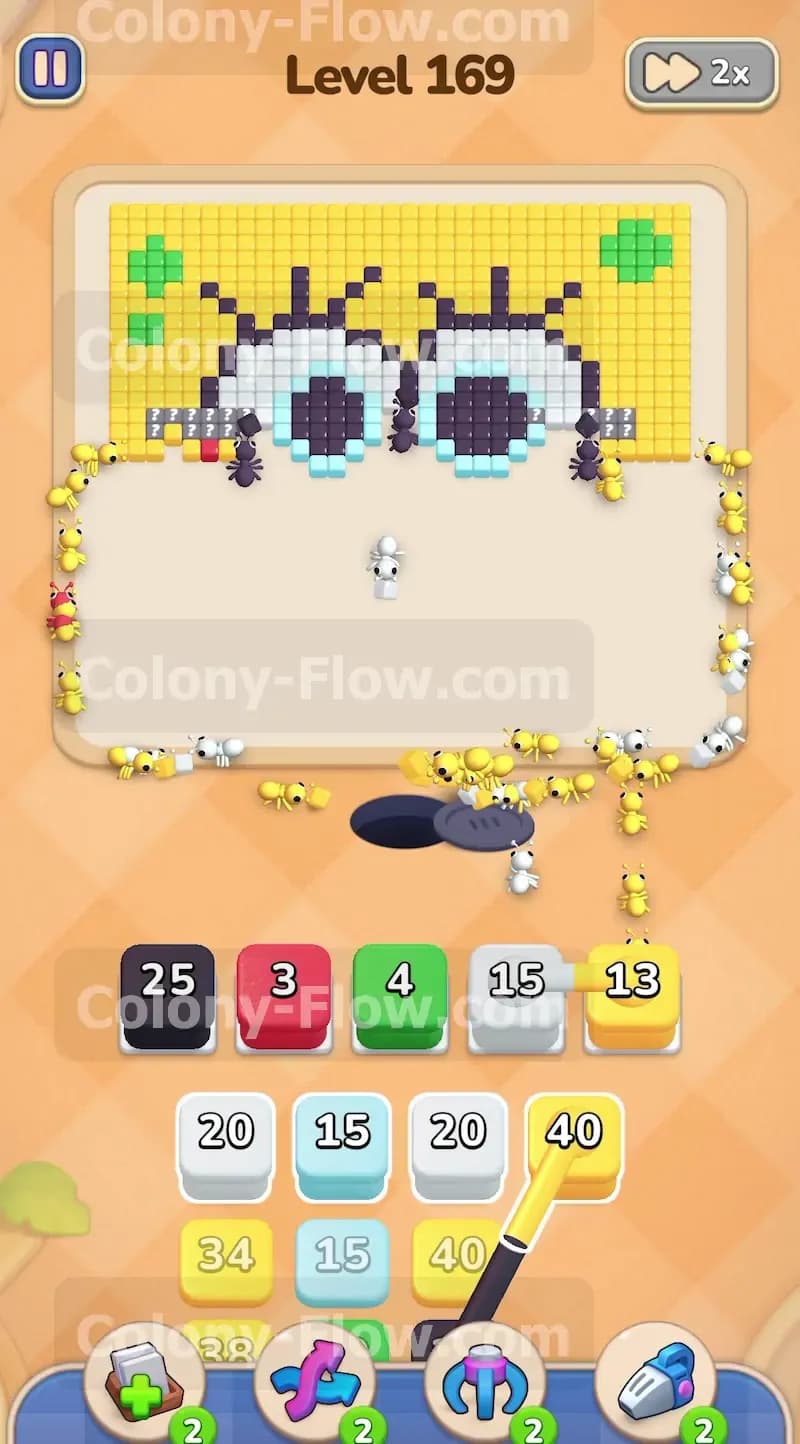
As you pull blocks to clear the bottom half of the face you will expose a hidden box in your tray marked with a question mark. You cannot use this block until you know what color it holds. Continue pulling the normal colored blocks in front of it. Once the hidden box reaches the front of the tray it will reveal its true color. Wait until the board has an open path to that specific color before you tap it. Forcing it into a waiting slot too early is a very easy way to lose the level.
Step 6: Flood the large white eyes with ants.
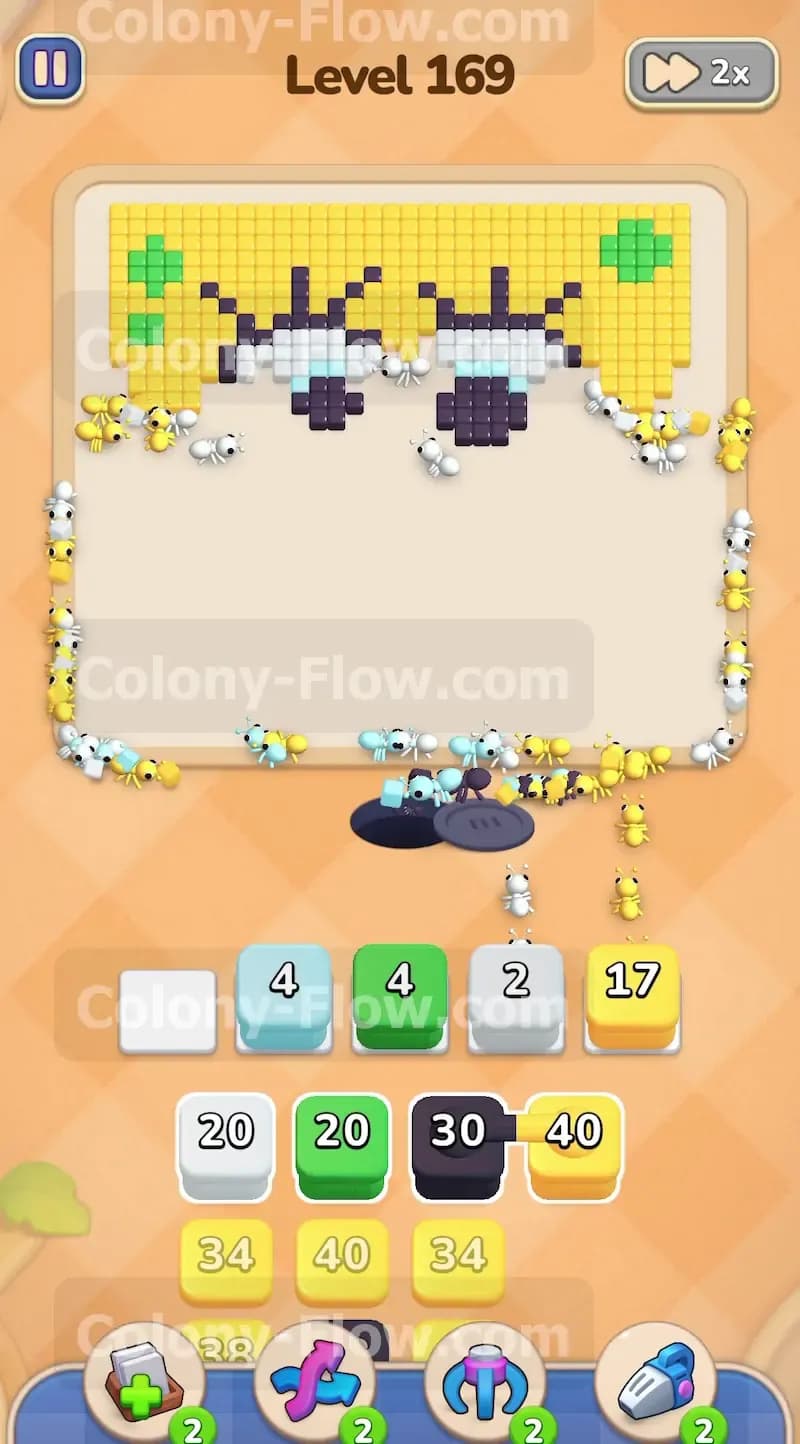
The eyes make up a huge portion of the middle board. Now that the mouth and lower cheeks are gone your ants have direct access to the bottom of the eyes. Pull a white block from the tray. A massive swarm of white ants will pour into the eye sections and start eating the thick white background. The eyes are so large that you will likely need to pull multiple white blocks to clear them completely. Allow the first white block to empty its ants before pulling the next one so you do not crowd the board.
Step 7: Clear the blue irises inside the eyes.
Inside the white eyes are smaller circles made of light blue and dark blue tiles. You must clear the surrounding white tiles first so the blue tiles become accessible. Once the white ants have eaten a path to the center of the eyes you can pull the light blue and dark blue blocks. The blue ants will march straight up the middle of the board and consume the irises. Getting these center details out of the way keeps your board clean and prevents leftover tiles from blocking your final moves.
Step 8: Push massive yellow swarms up the outer edges.
The bulk of the remaining picture is solid yellow on the top half of the head. You will find blocks with huge numbers like 38 and 40 in your tray. Pull one of these giant yellow blocks now. Because you cleared the grey cheeks earlier the yellow ants will split into two massive columns. One column will march up the far left side and the other will march up the far right side. They will wrap around the cleared eyes and start eating the top corners of the square head.
Step 9: Eat the upper black outlines and eyelashes.
While the yellow ants are working on the outer edges you can clean up the remaining black tiles. The top of the eyes feature curved black outlines and small black eyelash tiles. Pull your remaining black blocks to send ants into this area. The black ants will walk right through the empty space left by the white eyes and consume the outlines. Make sure you only pull these black blocks when you clearly see an open path to the upper eye area.
Step 10: Consume the final green spots and yellow forehead.
Only a thin strip of yellow tiles and a few top green spots remain at the very top of the board. Pull your last green block to eat the high spots. Then pull your final giant yellow block. The yellow ants will swarm entirely around the empty center and devour the top edge of the head. The picture will vanish completely and the remaining ants will exit the screen. Your waiting slots will remain clear and you will successfully beat the level.
Final Thought
Level 169 demands patience because you have to wait for massive swarms of yellow ants to travel long distances around the board. Do not rush to pull every block in your tray at once. Let the paths clear out physically before you send the next color up the board. If you find yourself getting stuck on the exact order of the eye outlines or the cheek blocks please watch the video above this article to see the exact moves in motion.