Colony Flow Level 176 Walkthrough Solution & Guides | How to solve Colony Flow 176

Guide By Liam Stone
Updated on July 12, 2026
If skimming isn't enough, watch the video above for the full Level 176 walkthrough.
Video doesn't match your screen?
Game updates frequently scramble layouts! Try our AI Screenshot Solver first to find your exact board instantly, or report broken guides to our team.
Welcome back to another puzzle guide. Colony Flow Level 176 throws a massive obstacle right in the middle of your board from the very first second. You need to clear away a huge barrier before you can even see the main picture underneath. I will walk you through exactly how I beat this stage without clogging up the waiting area.
Colony Flow Level 176 Overview
What You Are Working With
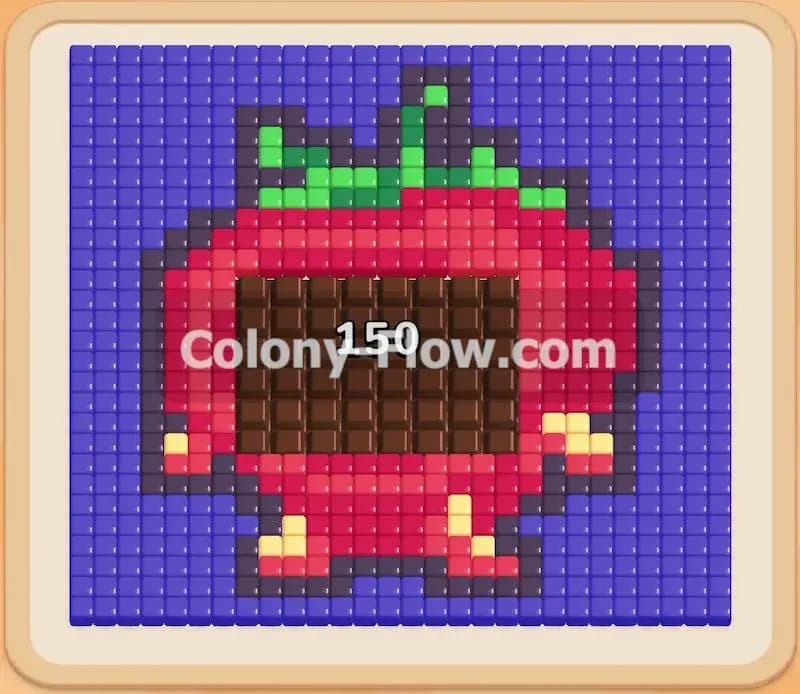
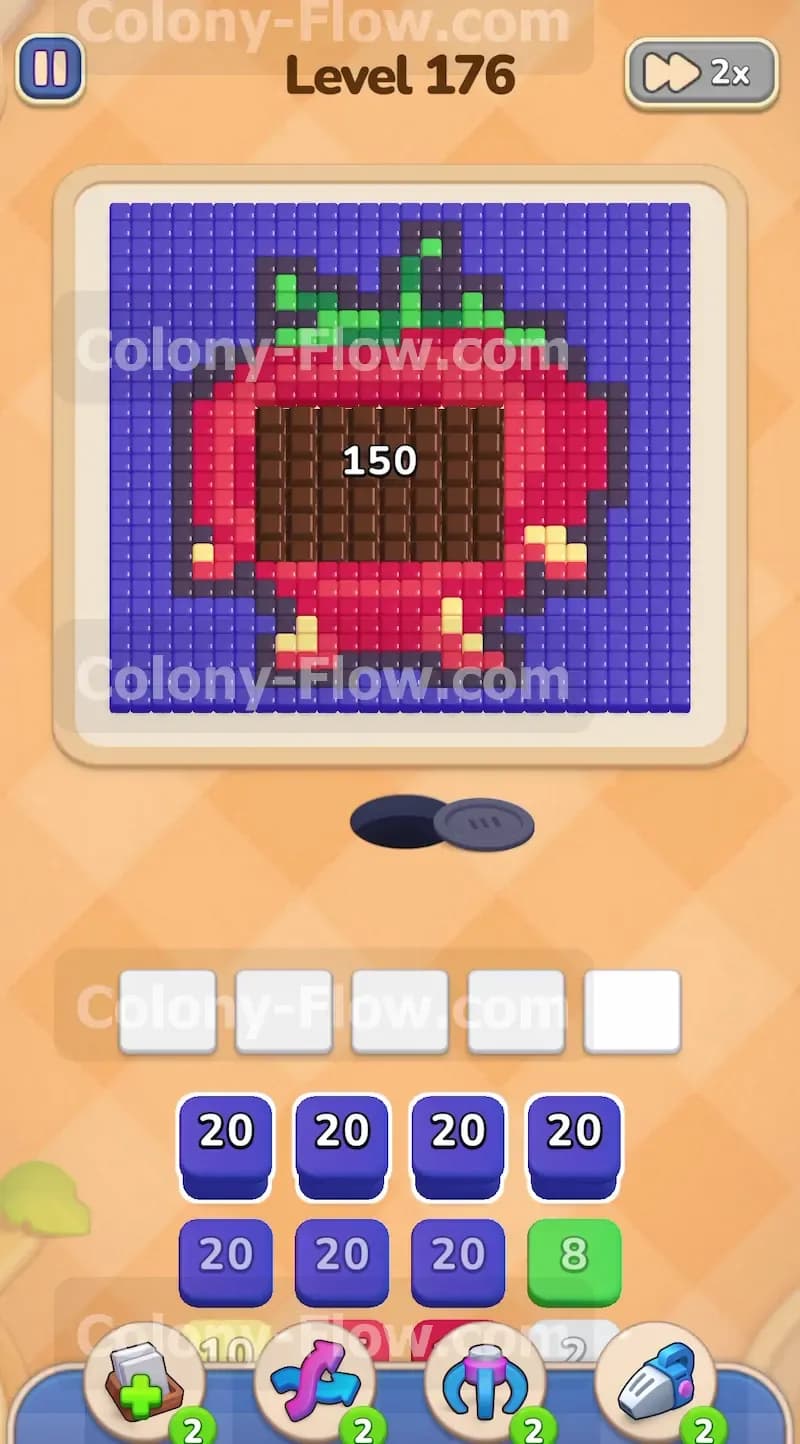
You start out facing a huge dark blue background that surrounds a gigantic central block. This center piece is a massive chocolate block carrying a 150 point requirement to break. Your starting tray provides several dark blue blocks holding 20 points each. Deeper down in the tray you will find red, yellow, green, black, and pink blocks waiting for their turn. You will also encounter hidden boxes that display a question mark instead of a standard color.
What It Takes to Clear Level 176 Board
You win this stage by clearing every single tile on the board and sending all your ants successfully home. The main challenge here is breaking that central chocolate block early so you can access the food tiles hidden underneath. You must pull blocks from the tray in the correct order to keep your ants moving smoothly. If you fill your five waiting slots with colors that have no open path, the ants jam up and you lose the game entirely. You have to constantly balance opening new paths with chipping away at the heavy chocolate barrier.
Colony Flow Level 176 Step by Step Solution
Step 1: Pull the dark blue blocks to chew through the chocolate
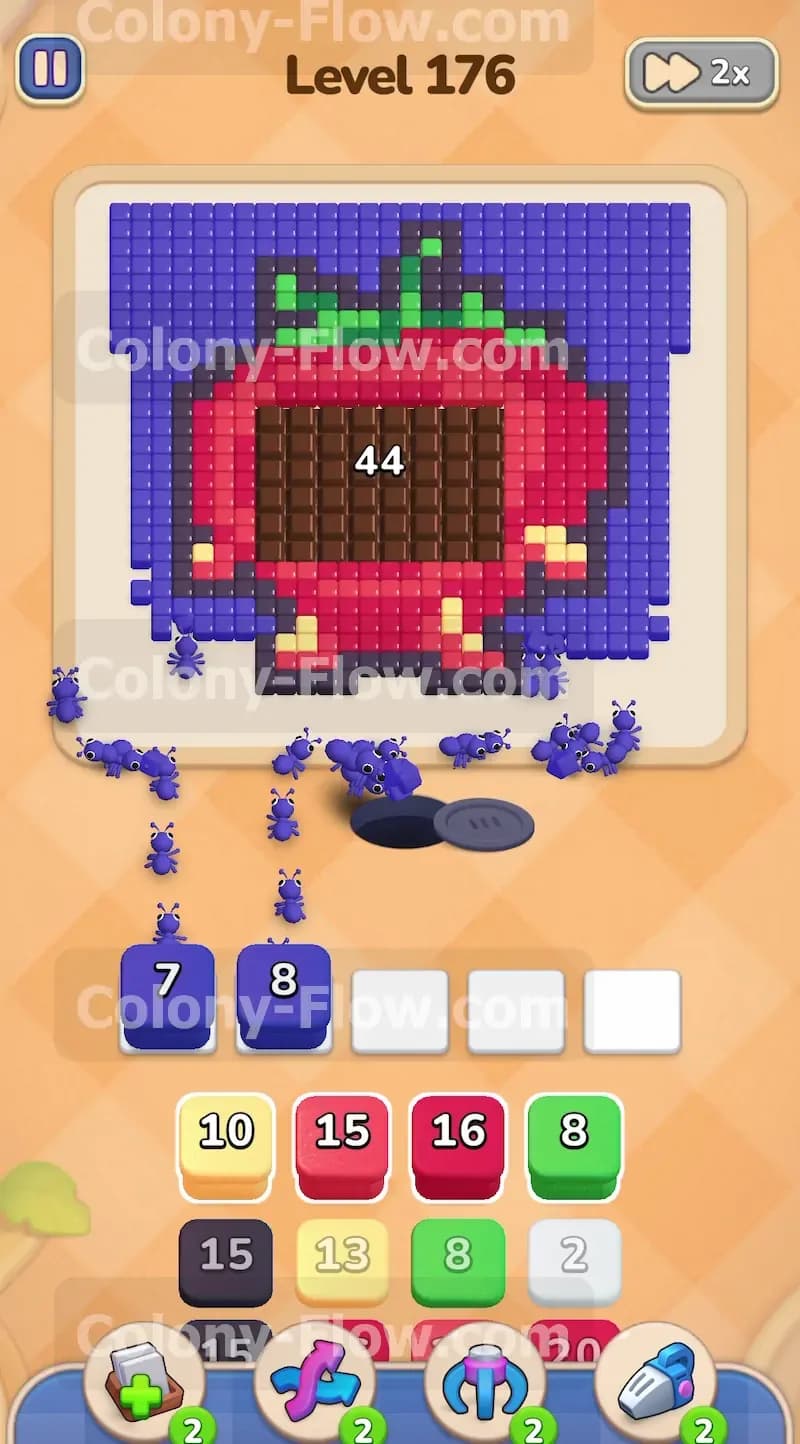
The level begins with that imposing 150 point chocolate block dominating the center of the screen. You cannot access the main picture until this chocolate is completely gone. Start your game by pulling the dark blue 20 point blocks from your tray into the empty waiting slots. The dark blue ants will stream out of the nest hole and start eating the dark blue background tiles. As they clear the background they naturally bump into the edges of the chocolate block. Every dark blue ant that touches the chocolate reduces its heavy number. Keep pulling dark blue blocks as they appear in your tray. You will see the chocolate drop from 150 down to double digits and eventually reach zero. This method keeps your slots clear because the dark blue path remains wide open from the very beginning.
Step 2: Clear the revealed red berry and yellow face tiles
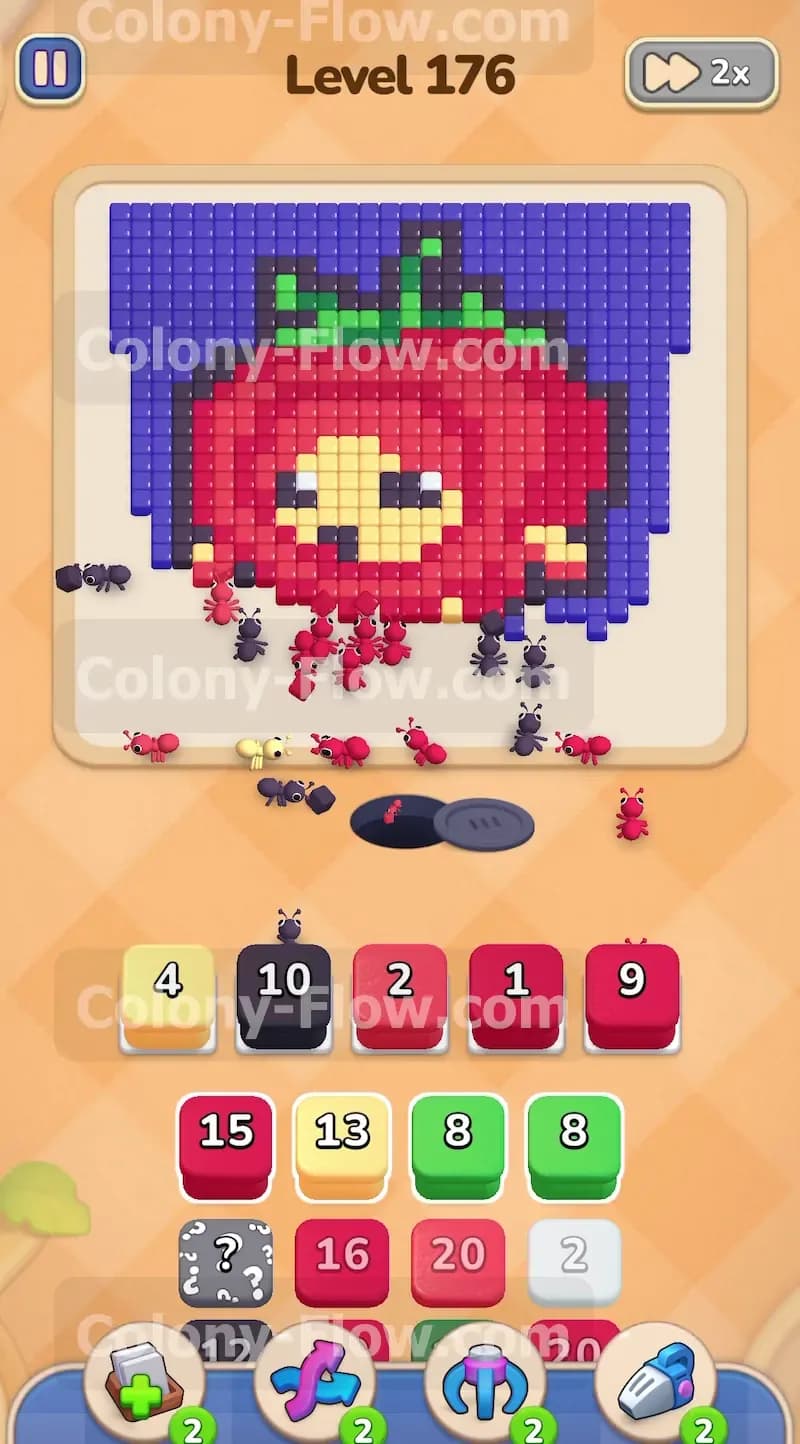
Once the dark blue ants reduce the chocolate number all the way to zero, the block shatters beautifully. This action reveals a bright red berry character featuring a yellow face right in the middle of your board. Now you have brand new paths available for your ants. Look at your tray and pull the yellow blocks alongside the red blocks. The yellow ants will rush out to eat the yellow face tiles located at the bottom of the character. Meanwhile the red ants will start clearing the large red sections forming the berry body. Always make sure the red or yellow paths actually connect to the ant spawn hole before pulling too many blocks at once. You want to maintain a steady flow of ants without backing up your five slots.
Step 3: Manage the tricky hidden boxes carefully
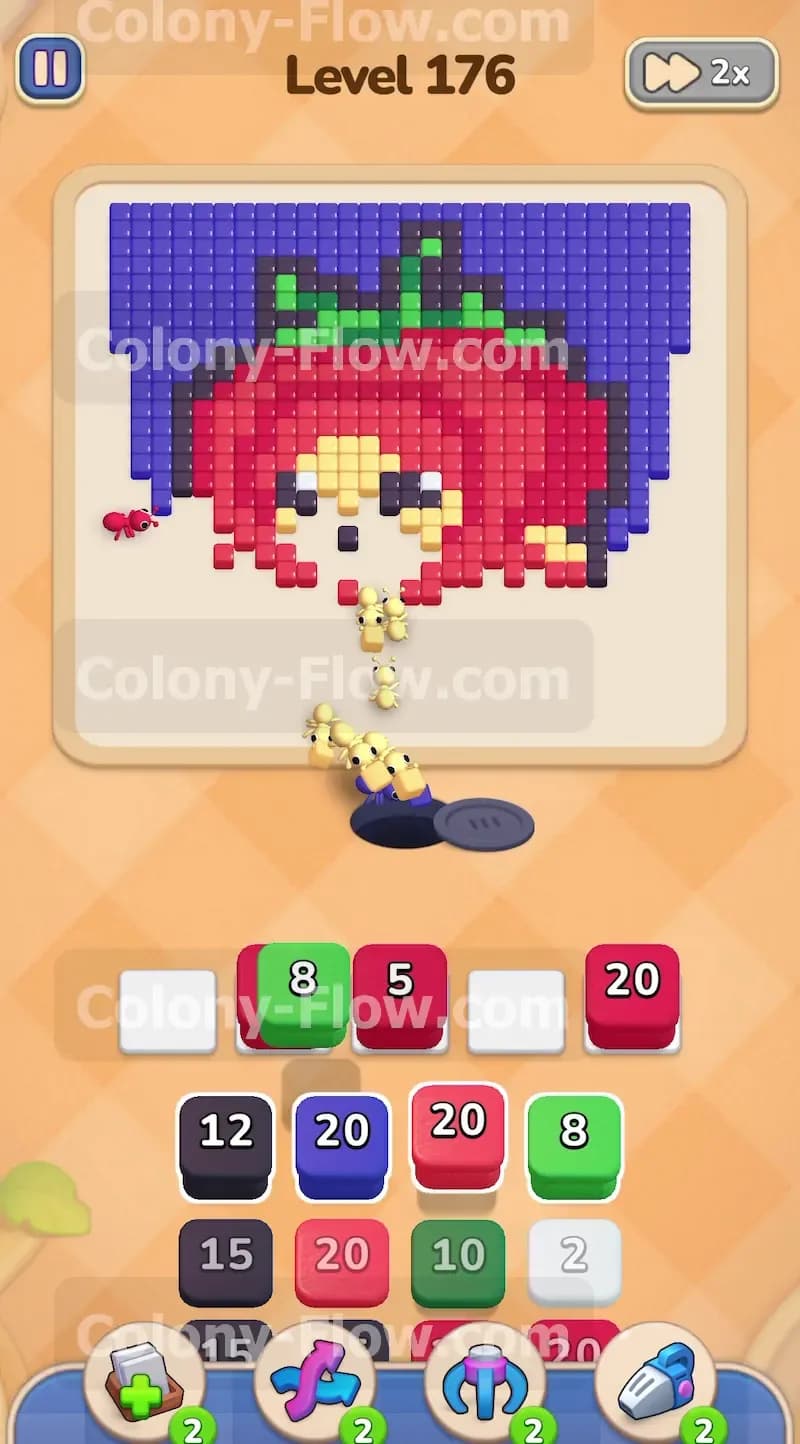
As you dig deeper into your tray you will spot blocks displaying question marks on them. These are hidden boxes and they require extra caution. A hidden box will not reveal its true color until a valid path for that color opens up somewhere on the board. Do not pull a hidden box into your waiting slots too early. If you pull it before its path is completely ready, it will just sit there taking up a highly valuable slot. Wait until your red and yellow ants clear enough space on the board. Once you see a clear path forming, you can safely pull a hidden box. It will reveal its color instantly and send its ants out. This patience directly prevents you from failing the level due to a slot jam.
Step 4: Send black ants to clear the facial features
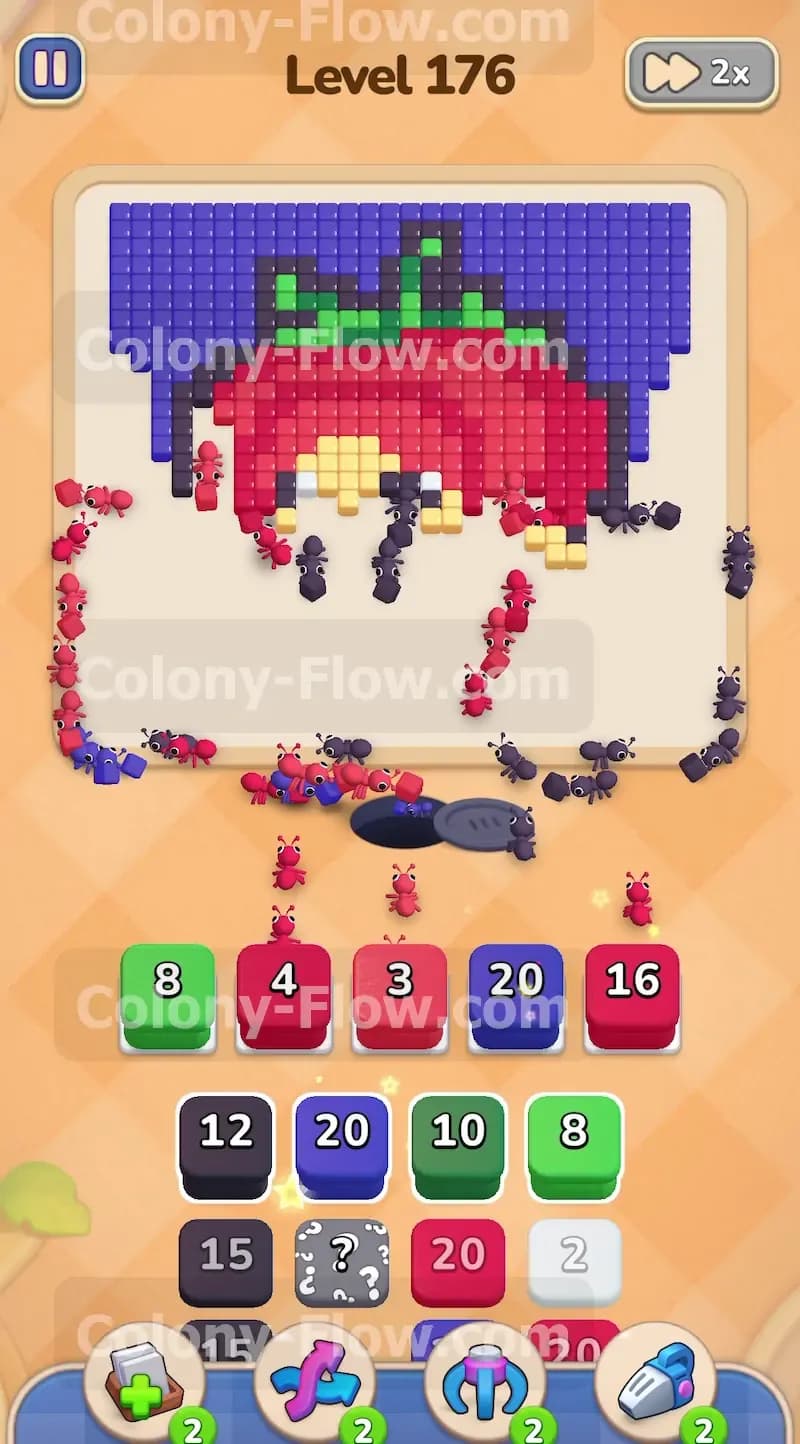
The yellow face of the berry character has black eyes and a small black mouth. You will see black blocks carrying numbers like 10 or 15 appear in your tray. Pull these black blocks into your slots once the yellow ants clear the surrounding face tiles. The black ants will march directly up and eat the eyes and mouth pieces. Clearing these small details early is extremely smart because it opens up the center of the board even more. This creates a much wider avenue for your other ants to travel through. A wider avenue means your ants reach their targets faster and your slots free up quicker.
Step 5: Utilize pink blocks for the smaller detail sections
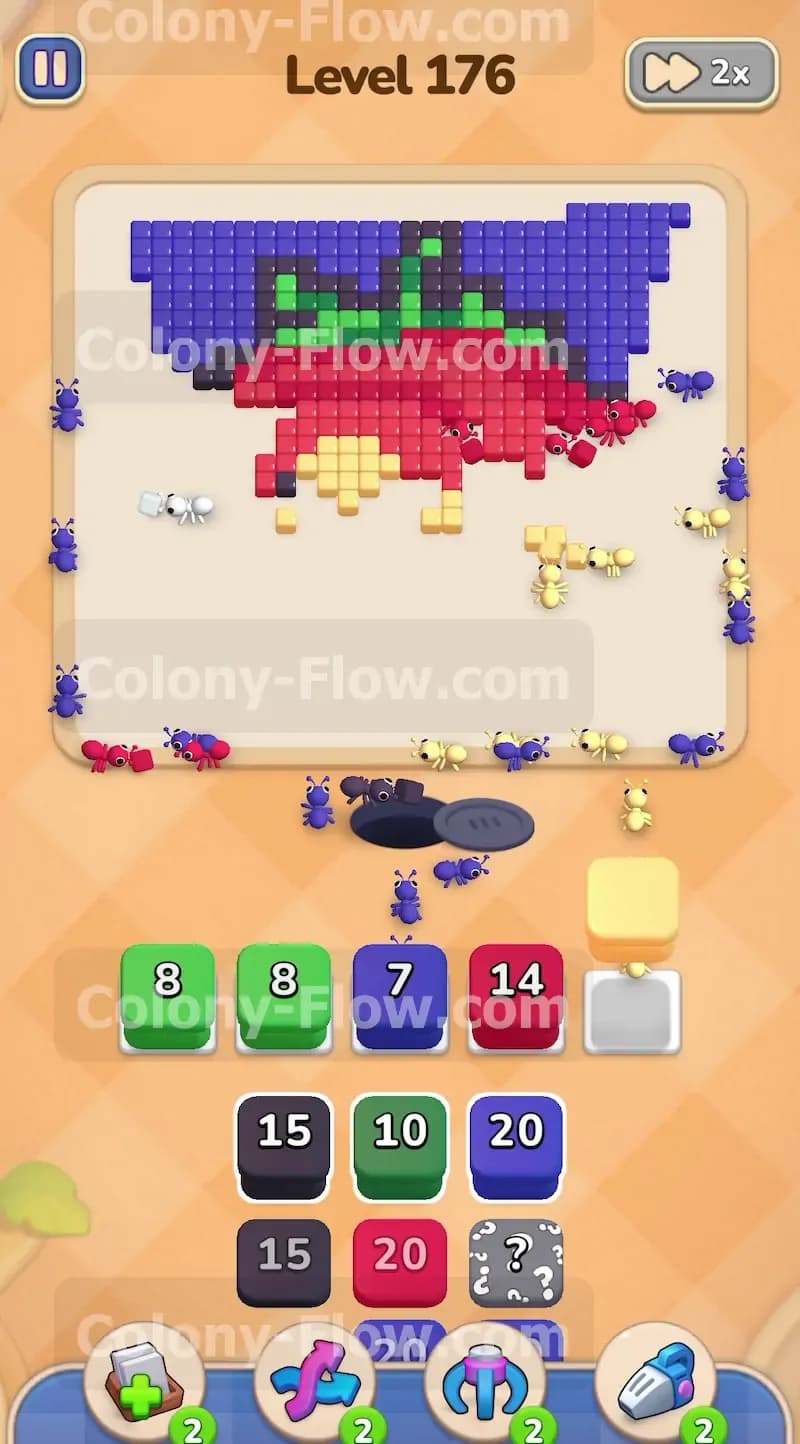
Along with the primary colors, you will notice pink blocks showing up in your tray. These blocks handle specific detail tiles on the board. Pull the pink blocks when you see their corresponding path open up. The pink ants will rush out to handle these minor sections. Always keep one eye on your waiting slots when pulling these smaller numbers. You want the pink ants to finish their job fast so the slot opens up for the heavier blocks remaining in the tray.
Step 6: Focus on the outer red sections of the berry body
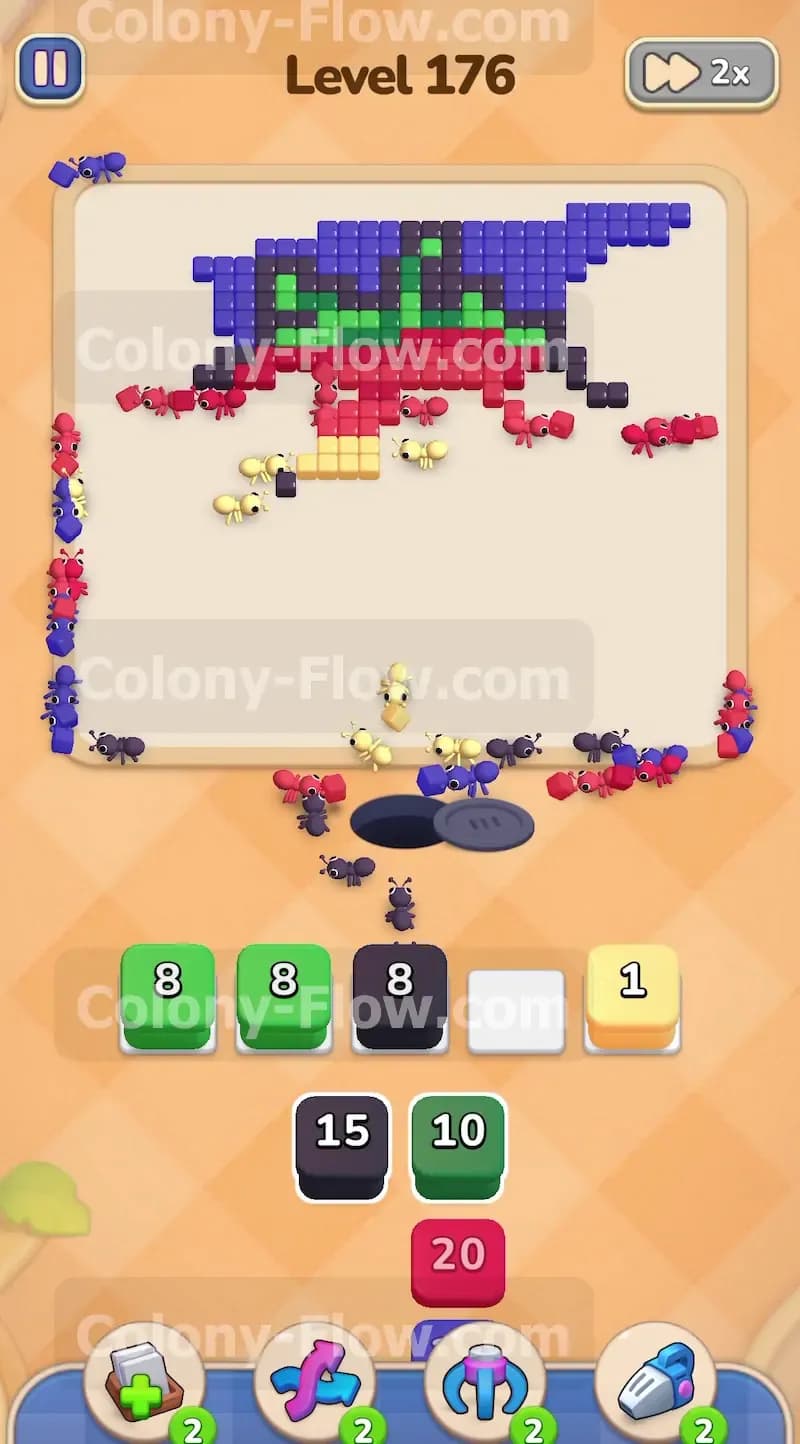
The red berry body takes up a very large amount of space. You will need several red blocks to completely clear it from the board. Keep pulling the red blocks carrying high numbers to feed the swarm. The red ants will divide and conquer the left and right sides of the berry shape. Watch the numbers on your tray blocks drop as the ants do their heavy lifting. If you ever notice a red block sitting in your slot and not counting down, it means the red path is temporarily blocked by another color. Pull a different color block to clear the blockage and get your red ants moving again.
Step 7: Attack the green stem located at the top
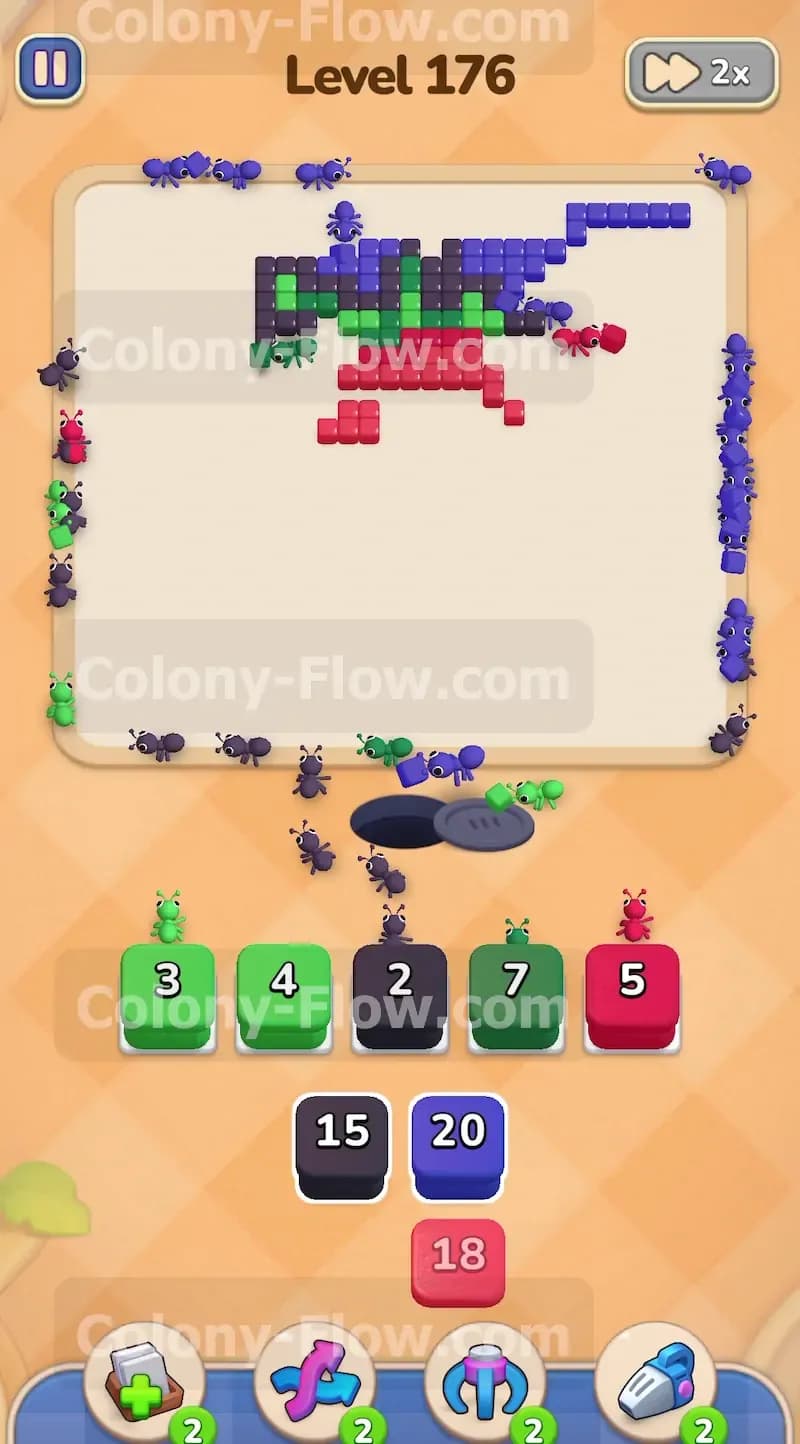
As the red body slowly disappears, the green stem of the berry becomes fully accessible. The stem sits near the top edge of the board. Start pulling the green blocks from your tray. You will see green blocks holding numbers like 8 or 10. The green ants will stream all the way up the board to eat the top stem tiles. Because the stem is far away from the spawn hole, the ants naturally take longer to reach their target. Do not panic and pull too many green blocks at the exact same time. Give your ants time to travel and eat. Keep at least one slot open for another color just in case you need to clear a sudden blockage.
Step 8: Clean up the remaining top background tiles
You will notice some dark blue background tiles still lingering around the top corners of your screen. Your tray will offer a few more dark blue blocks to handle these stubborn stragglers. Pull these blue blocks and watch your ants march to the top edges. At this point your board is mostly empty and very clean. The ants have plenty of room to maneuver around each other. Just keep a close watch on your remaining tray blocks and do not rush your pulls.
Step 9: Empty the final tray blocks to finish the level
The very end of the level simply requires you to pull the last few green, black, and blue blocks. The remaining tiles are scattered small pieces of the green stem and the dark blue background. Pull the last green blocks to finish the top leaves. Pull the final black block to clear any leftover outline details. Match the remaining blue blocks to the last tiny pieces of the background. The ants will eat the final tiles and happily walk off the board. The screen will clear completely and you will win the stage.
Final Thought
Colony Flow Level 176 is a fantastic test of tray management and patience. That central chocolate block looks intimidating but breaks down easily if you stick to the plan. If any of these written steps feel hard to picture, I highly encourage you to watch the video above this article to see exactly how I executed the moves.