Colony Flow Level 544 Walkthrough Solution & Guides | How to solve Colony Flow 544

Guide By Liam Stone
Updated on July 30, 2026
The article below goes step by step through Level 544, but the video above shows the same thing faster.
Video doesn't match your screen?
Game updates frequently scramble layouts! Try our AI Screenshot Solver first to find your exact board instantly, or report broken guides to our team.
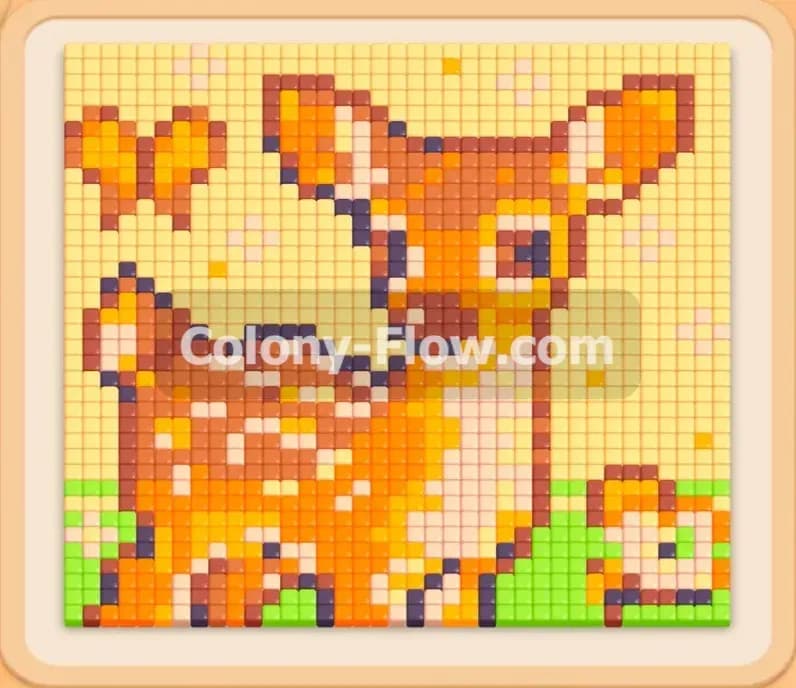
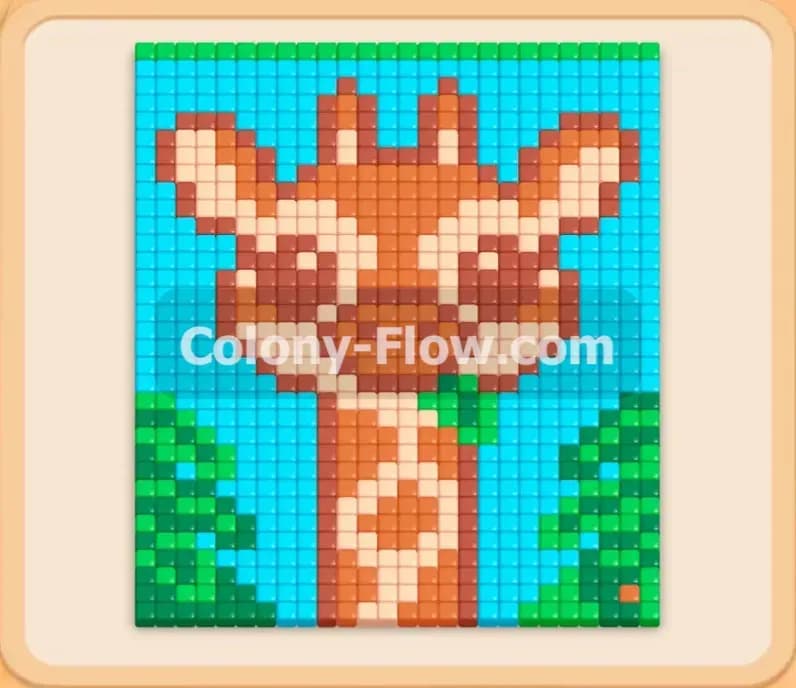
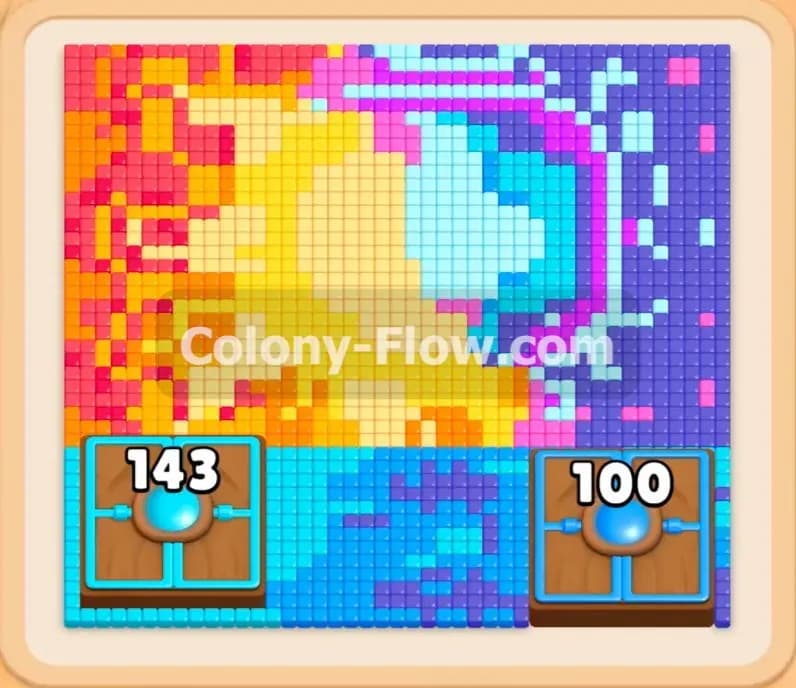
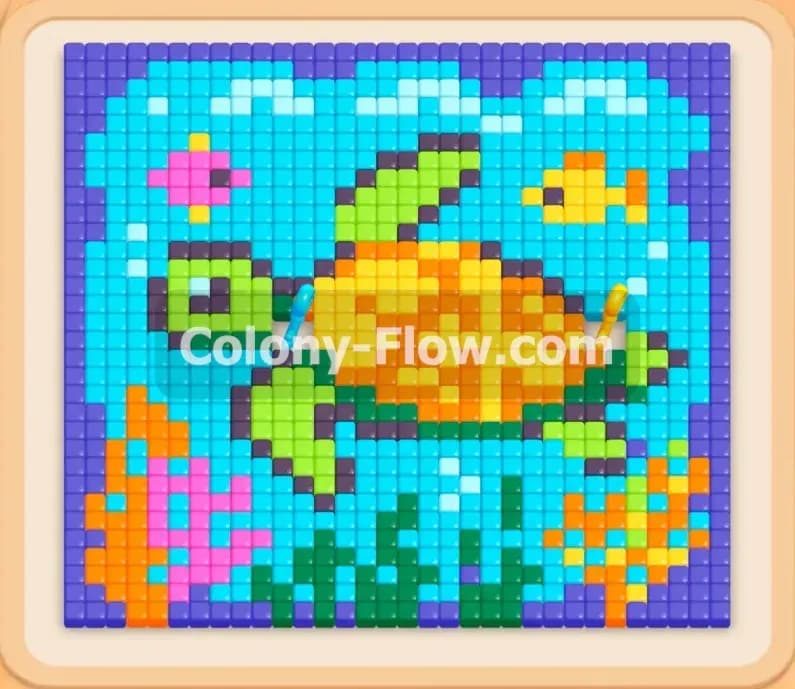
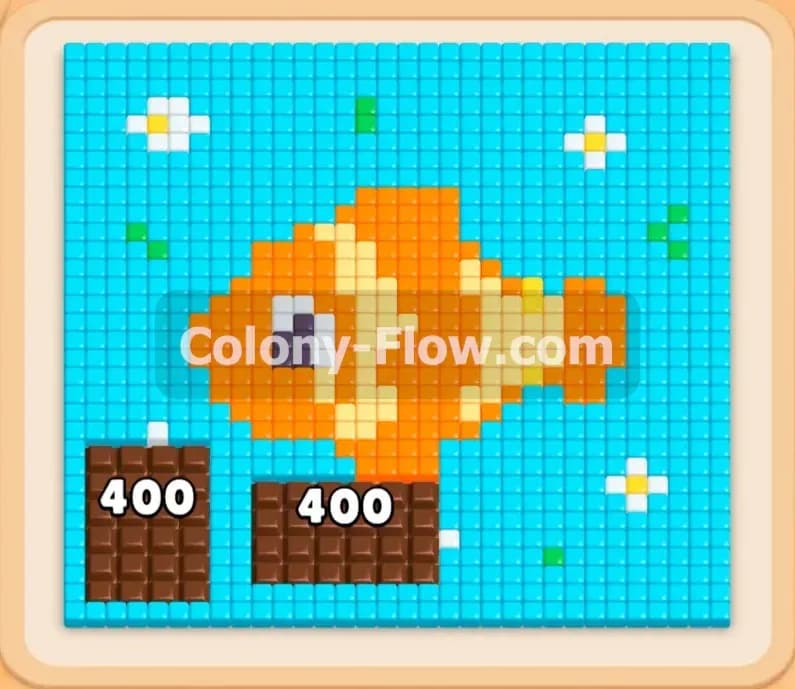
Welcome to Colony Flow Level 544. This level features a beautiful pixel art portrait with vibrant greens, deep purples, and striking orange highlights. You will need careful planning to manage your waiting slots and clear the board safely. Let me walk you through exactly how to feed your colony and beat this puzzle from start to finish.
Colony Flow Level 544 Overview
What You Are Working With
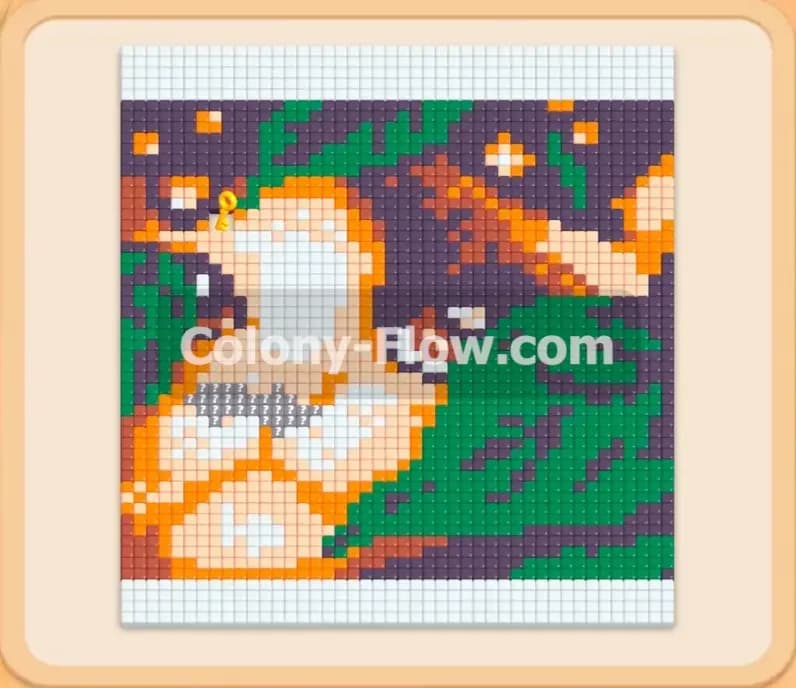
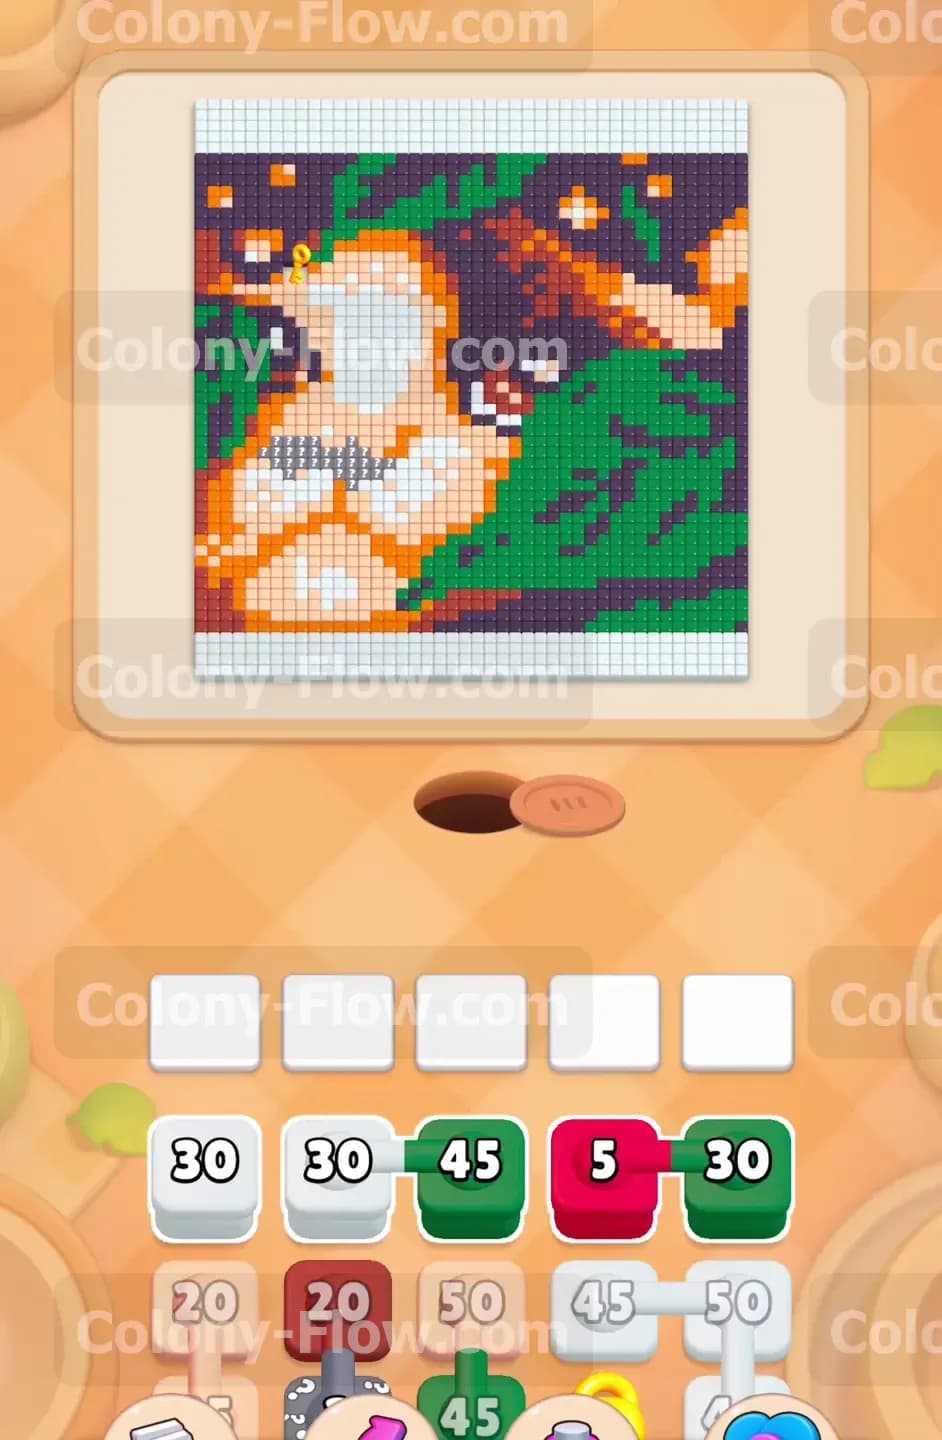
The picture is a detailed character portrait surrounded by a white border. You start with tray blocks in white, green, and red. This level introduces a few unique mechanics to keep you on your toes. You will encounter Connected Boxes that move together in pairs. You will also see a yellow Lock and Key system and a Hidden Box sitting at the bottom of the tray with a large question mark. The paths are quite restricted at the beginning so you must choose your opening moves wisely to avoid getting stuck.
What It Takes to Clear Level 544 Board
You must clear all food tiles by matching colored blocks from the tray to the exposed parts of the picture. The core challenge is managing your five waiting slots. You lose if you fill all five slots and the ants have no open path to reach the matching food tiles. You must always prioritize keeping at least one path open so your colony keeps moving and your slots never jam completely. Once the picture is fully eaten the board flashes and you win.
Colony Flow Level 544 Step by Step Solution
Step 1: Open the initial paths with green and red blocks
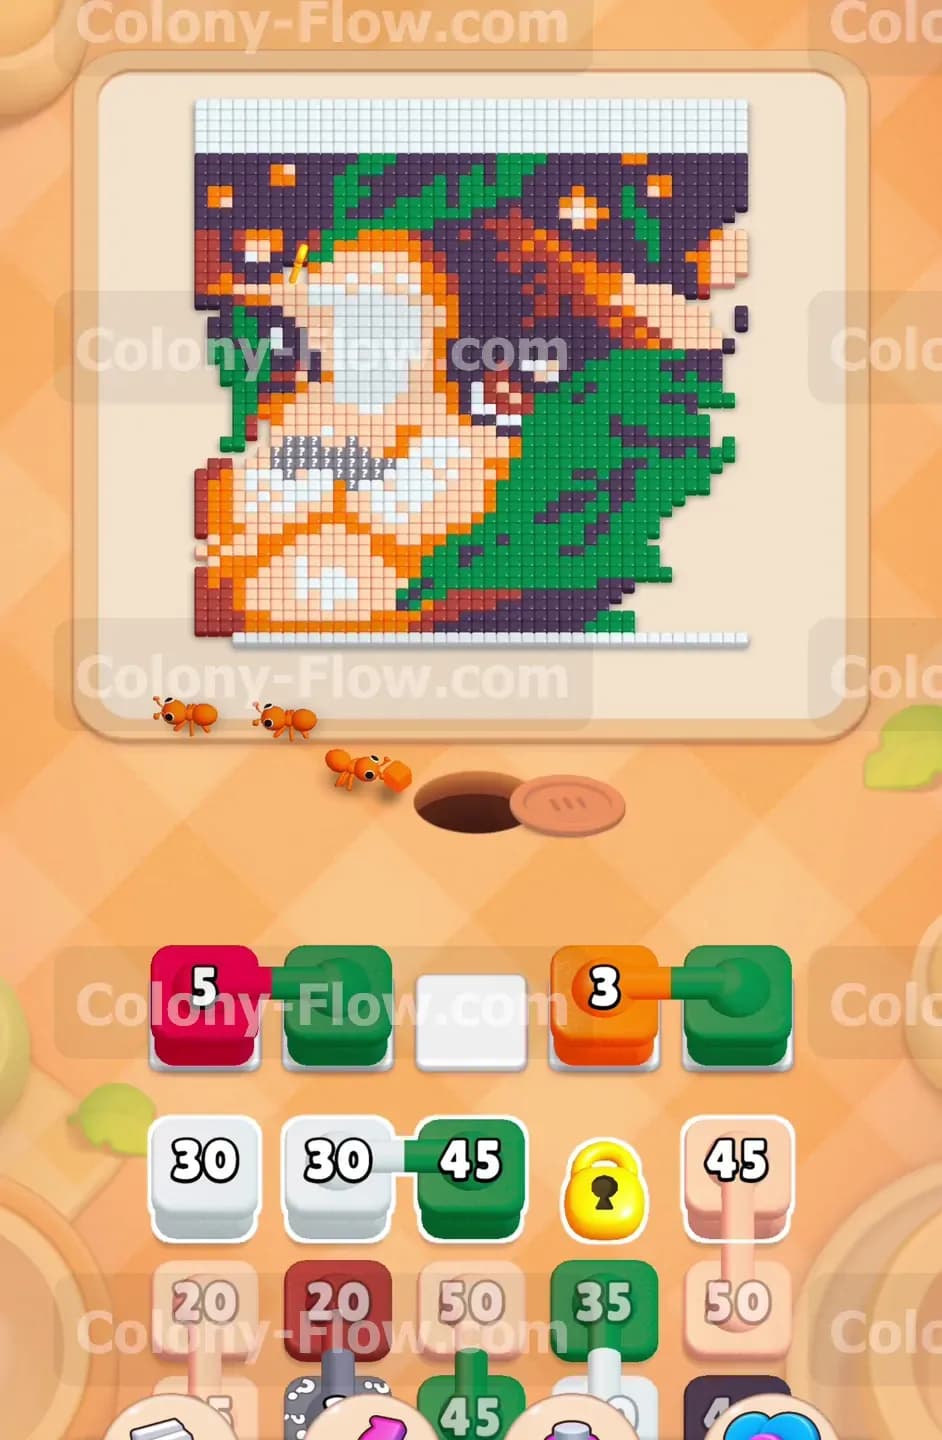
Look at the lower edges of the portrait to find your first accessible tiles. You need to pull a red block and a green block into your waiting slots to initiate the movement. The colony streams out of the nest hole and immediately branches out. They head left for the red tiles and right for the green tiles. This initial move is perfectly safe because both colors have immediate exposure on the outer edge of the design. The numbers on the blocks count down quickly as the ants grab the food. This action clears the bottom corners and creates fresh exposed edges for your next wave of blocks.
Step 2: Deploy connected boxes to clear the lower orange sections
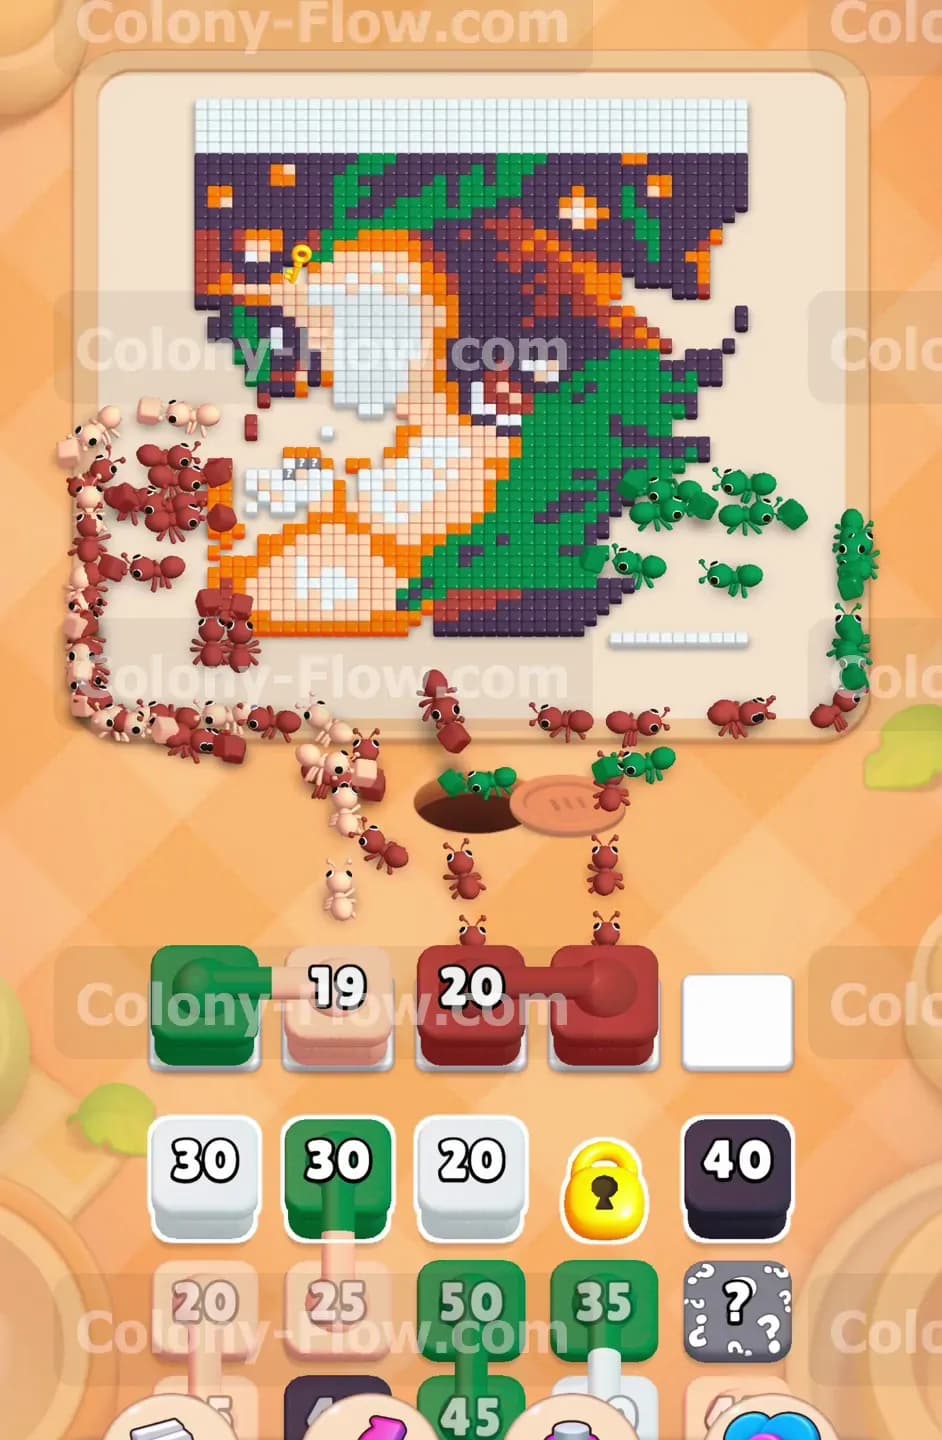
Next you will see blocks in the tray that are physically bound together. When you tap one part of the Connected Boxes both parts move into your waiting slots automatically. This takes up two of your five available spaces instantly so you must ensure the board has open paths for at least one of these colors. Pull up the connected green and orange pair. The ants immediately find a path to the orange tiles on the lower right side. The orange number counts down rapidly. The green block waits a moment until the orange clears enough space for the green tiles to become accessible. This sequence prevents your slots from jamming and keeps the ants productive.
Step 3: Activate the light pink blocks for the central face area
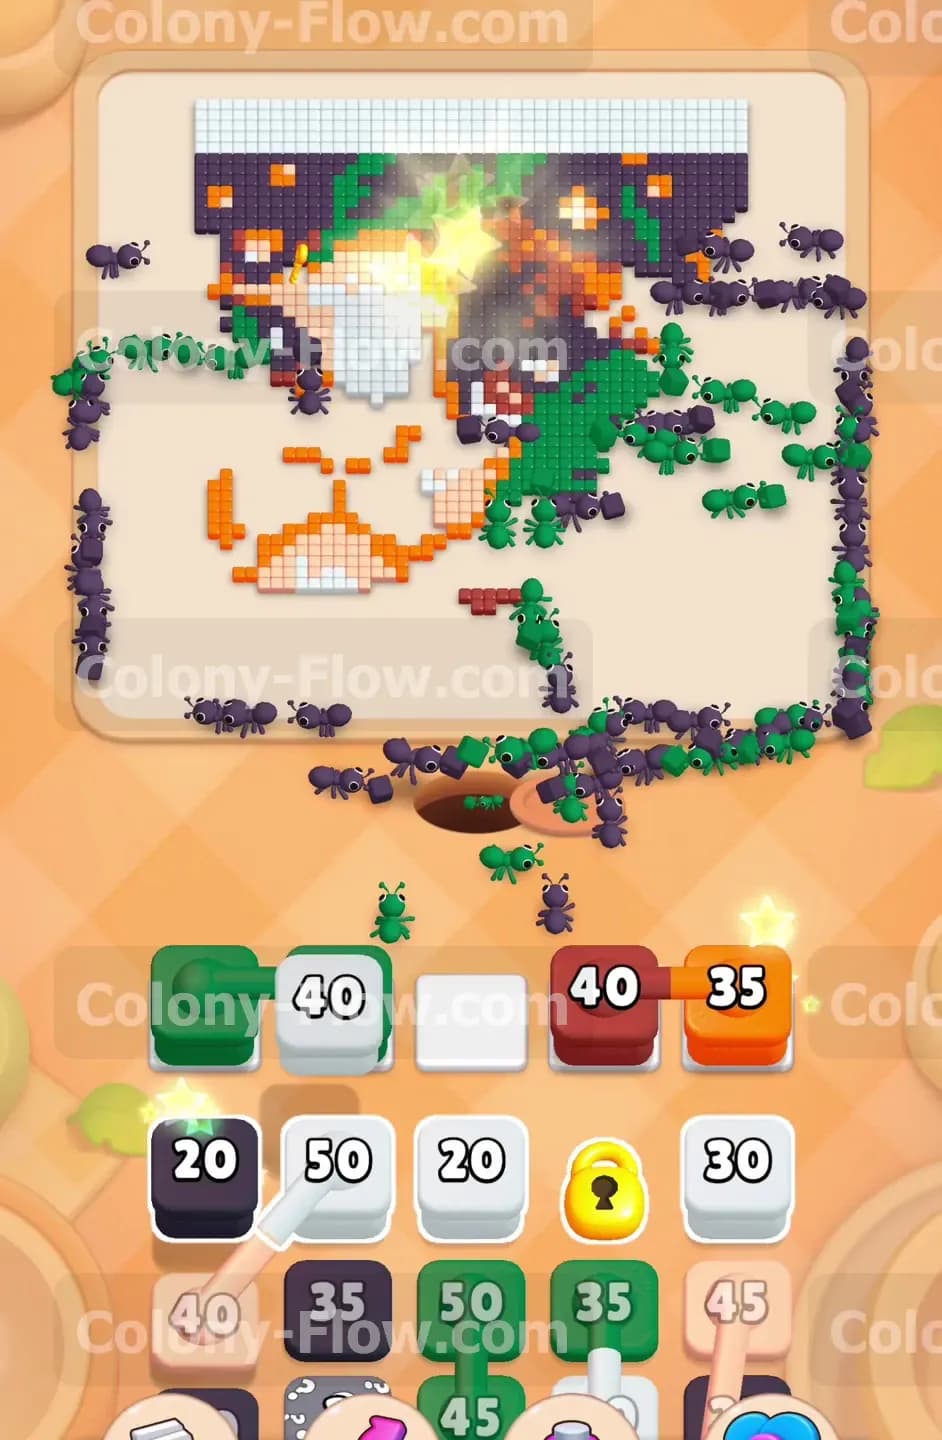
The character face in the middle requires light pink blocks and dark red blocks. Pull a nineteen light pink block and a twenty dark red block from the tray. The ants pour into the middle of the board in a massive stream. They eat away the shading around the face first. The dark red tiles disappear completely. Then the ants transition to the lighter pink skin tiles. Watching the center open up gives you a massive advantage because it exposes many new interior edges. Always prioritize moves that expose multiple new colors at once to maximize your options later.
Step 4: Reveal the hidden box and collect the key
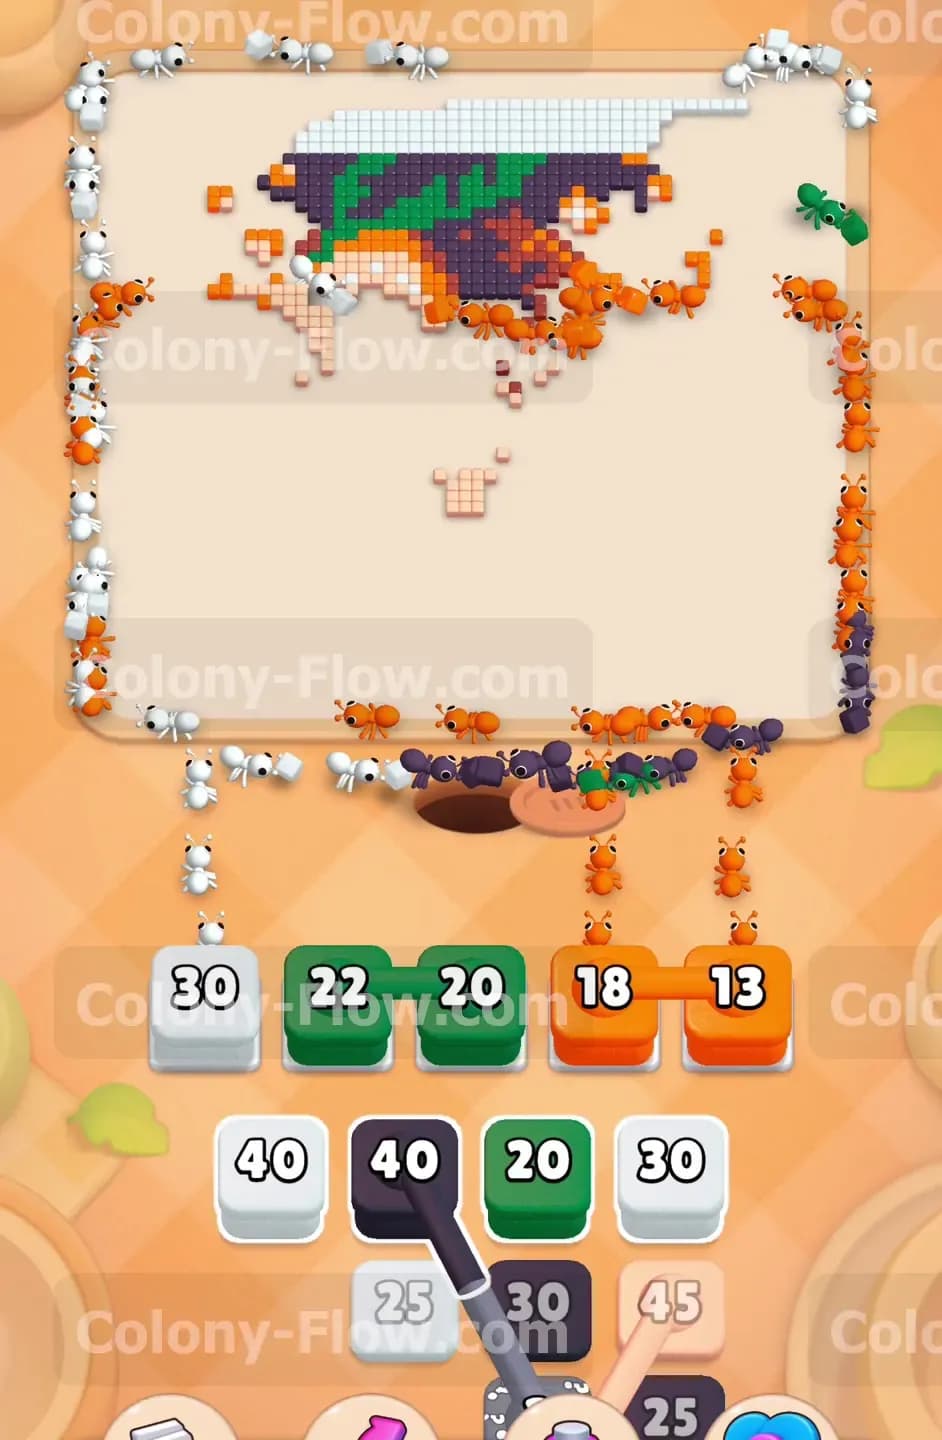
A yellow lock block sits in the tray and you cannot use it until you collect the corresponding key on the board. At the same time a hidden box sits in the bottom corner of the tray with a question mark on it. You have to clear the blocks above it to reveal its true color. Pull a thirty green block to keep the colony busy. The ants clear more of the leafy green section on the right. This action shifts the tray and finally reveals the hidden box color. We also uncover the key on the board. The ants collect the key automatically when they eat the adjacent tiles which unlocks the yellow lock block for future use.
Step 5: Clear the massive dark purple hair sections
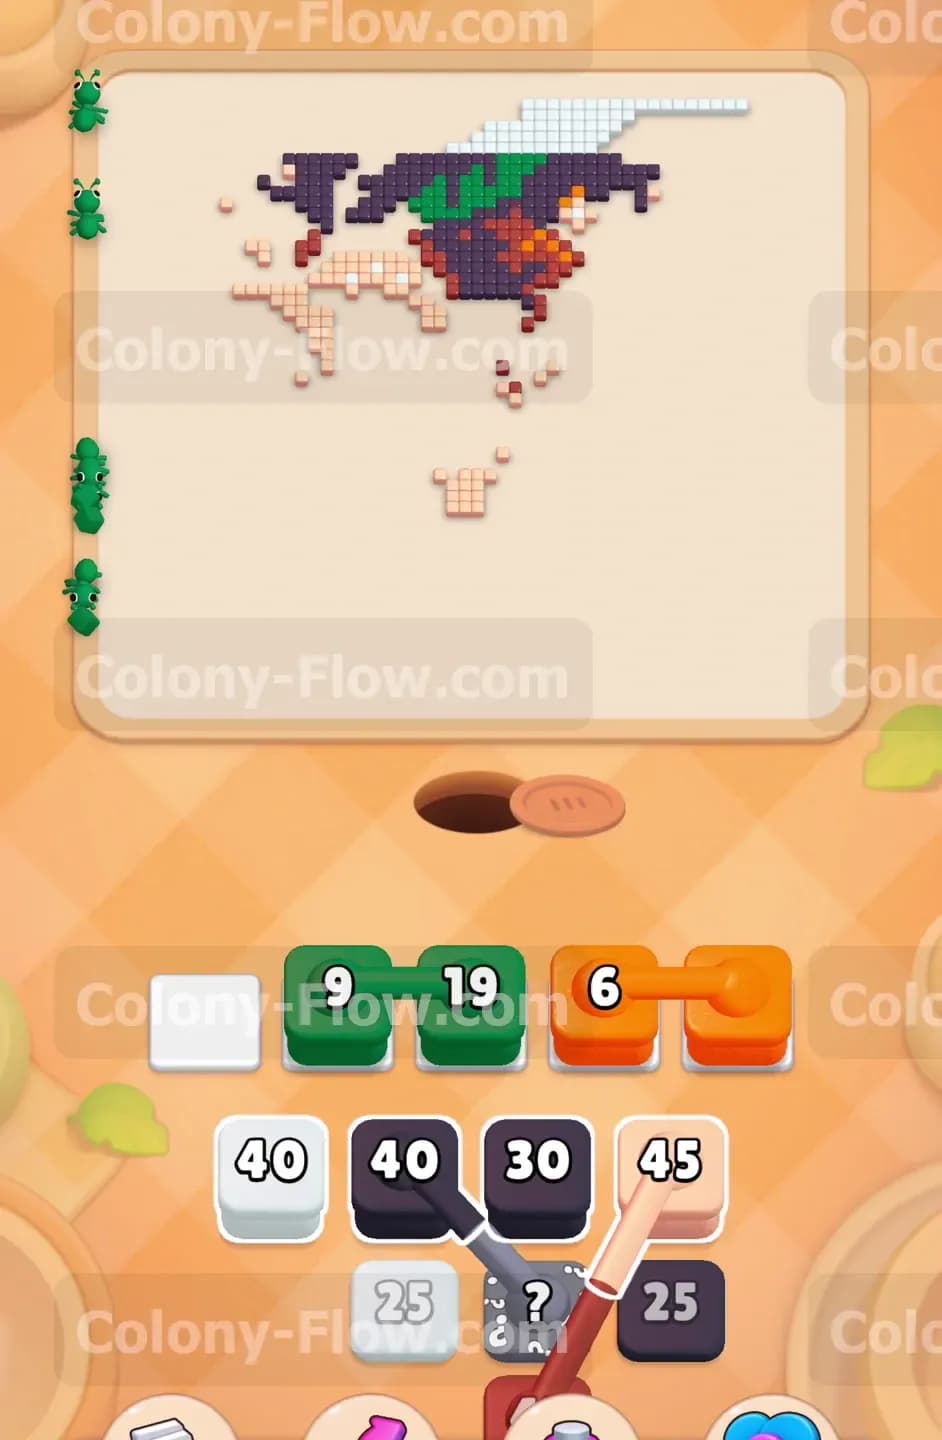
The top half of the picture is dominated by dark purple tiles forming the hair. Pull a forty dark purple block into the slots. A massive swarm of ants marches straight up the middle of the board. They hit the dark purple section and spread out quickly. The number forty counts down as they consume the tiles. You should also pull a thirty five orange block to clear the remaining bright accents on the right side. Keeping two active paths ensures maximum efficiency and prevents your ants from bottlenecking in one area. The board starts to look very sparse at this stage.
Step 6: Manage the long white border around the picture
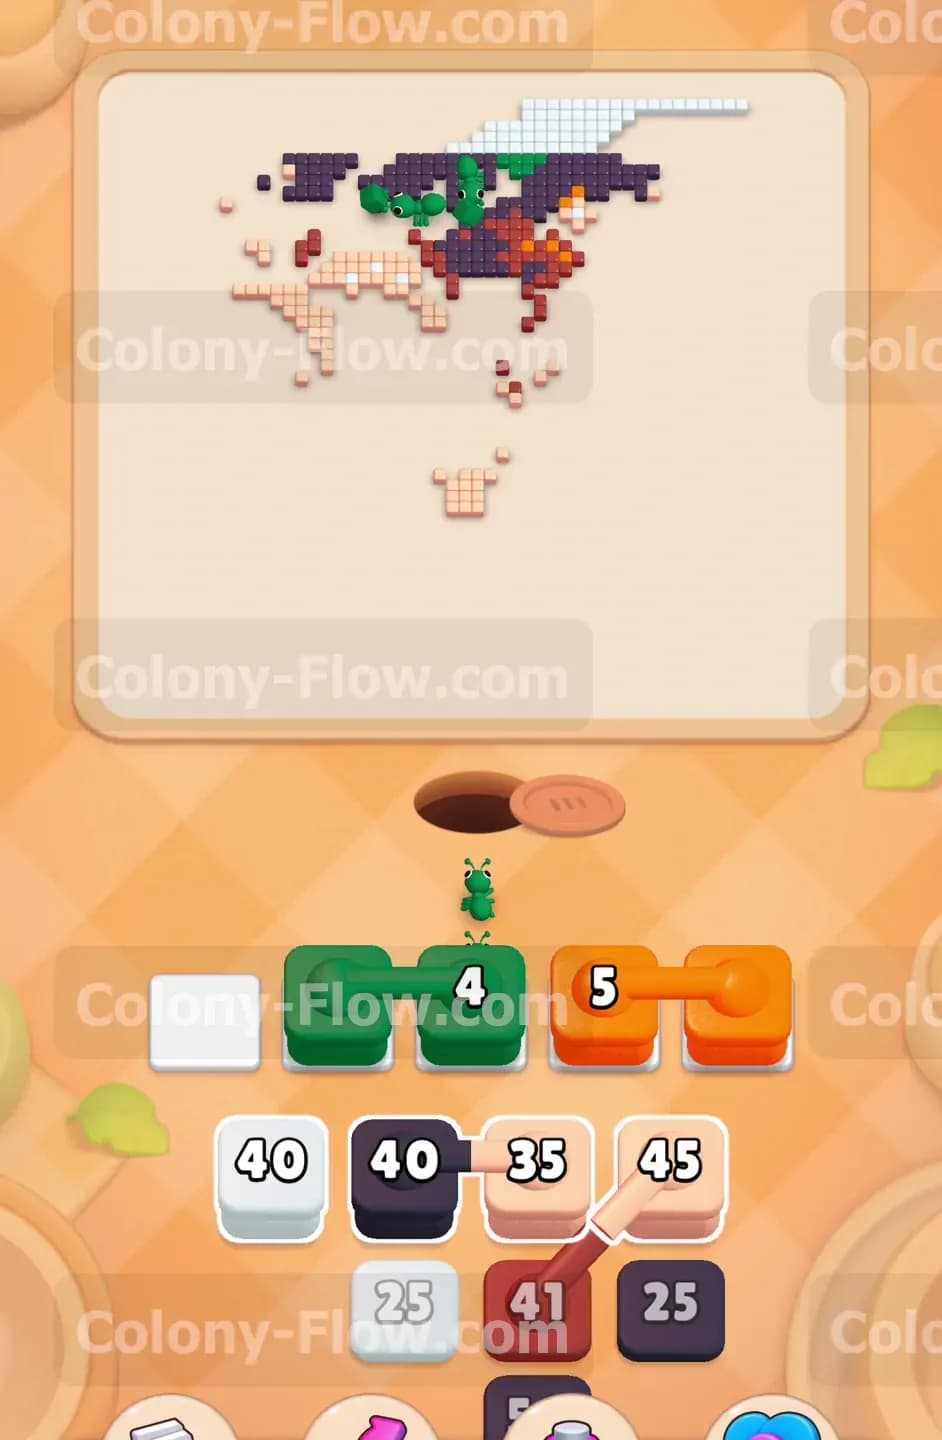
The entire picture is framed by a solid white border. You have multiple white blocks in the tray including a fifty and a thirty. Pull the thirty white block first. The ants travel all the way to the top left and top right corners to start eating the border. This takes a bit of time because the travel distance is quite long. You must be patient and avoid filling your remaining slots with unusable colors while the ants work on the white border. Let the white block finish completely before crowding the tray with other colors. Proper timing here saves your board from a sudden game over.
Step 7: Use the second set of connected boxes for cleanup
The tray provides another linked pair of green and orange blocks. Tap them into the slots now. The green blocks drop down to nine and then nineteen. The orange block drops to six. The ants quickly clean up the final scattered green leaves and orange highlights near the top center of the board. Because these are small numbers they clear out of your waiting slots very fast. This rapid clearing process is exactly what you want when dealing with linked boxes. This opens your slots back up for the final sequence of moves.
Step 8: Push through the final dark purple and light pink tiles
The tray shows a forty dark purple block and a forty five light pink block. Move them both up into your waiting slots. The ants target the last few facial features and the top left shading. The pink block clears out the very last of the skin tones in the center. The dark purple block significantly reduces the remaining hair section on the upper left. You only have a tiny cluster of tiles left at the very top of the board right now. The finish line is completely visible and your slots are safe.
Step 9: Clean up the last remaining white and purple pixels
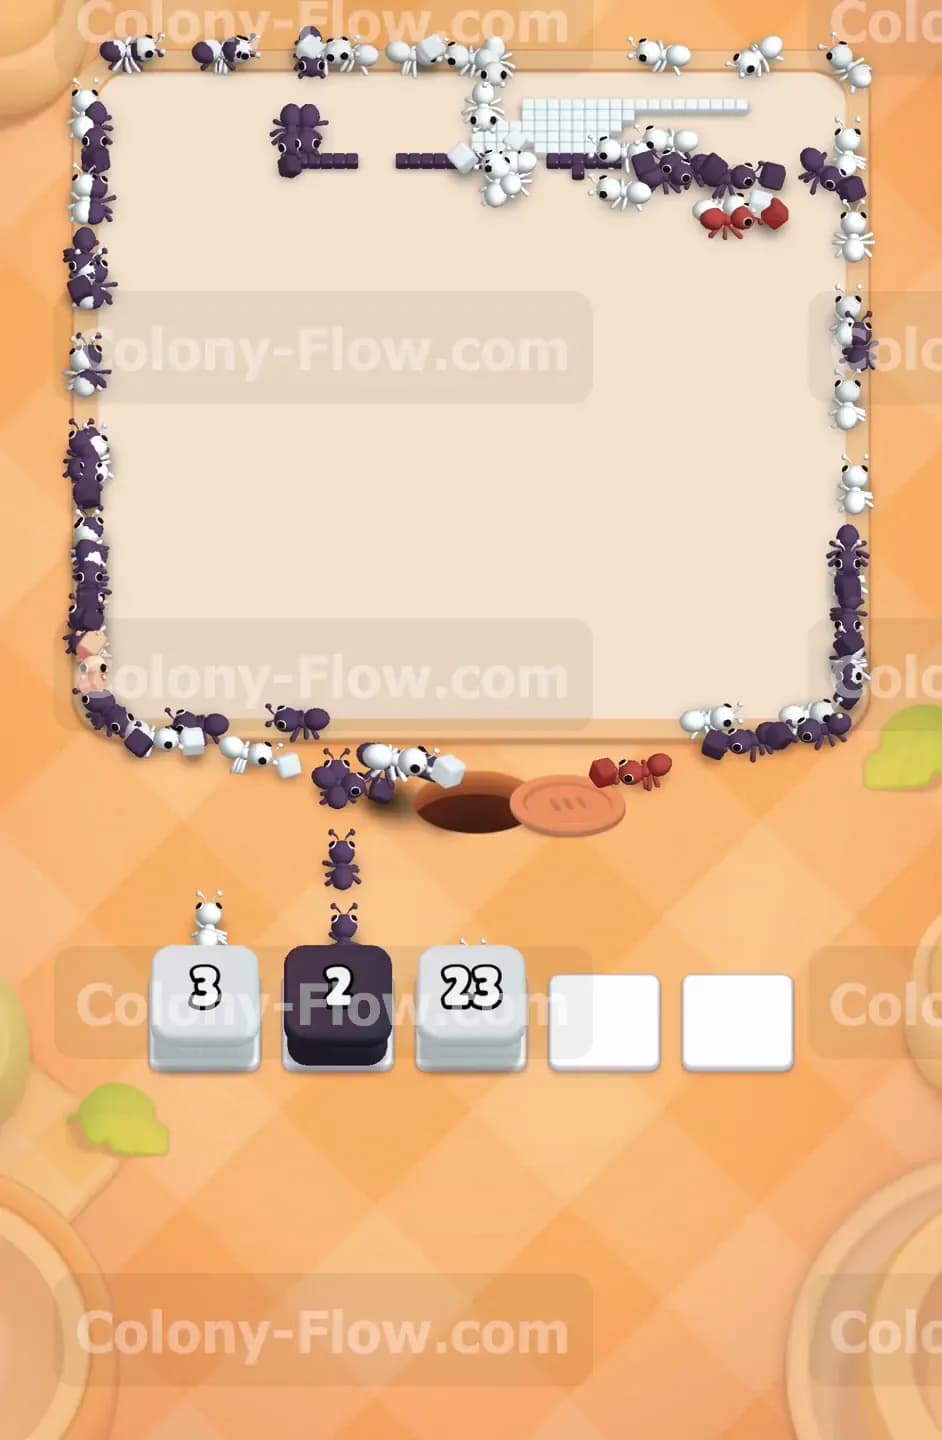
You are left with a white three block, a dark purple two block, and a white twenty three block. Pull all three into the slots without worrying about jamming. The ants make one final trip to the top edge of the board. They consume the last two dark purple tiles instantly. Then they sweep across the remaining white border tiles along the very top row. The board flashes brightly once the final pixel is eaten. The picture is fully cleared and you win the level.
Final Thought
Level 544 tests your patience with connected boxes and long travel times for the ants. Always keep an eye on your available slots before pulling a connected pair into play. If any step is hard to follow in text I highly encourage you to watch the video above this article to see the exact timing of each move.