Colony Flow Level 313 Walkthrough Solution & Guides | How to solve Colony Flow 313

Guide By Liam Stone
Updated on July 17, 2026
Some players prefer video. The one above covers the entire Level 313 walkthrough.
Video doesn't match your screen?
Game updates frequently scramble layouts! Try our AI Screenshot Solver first to find your exact board instantly, or report broken guides to our team.
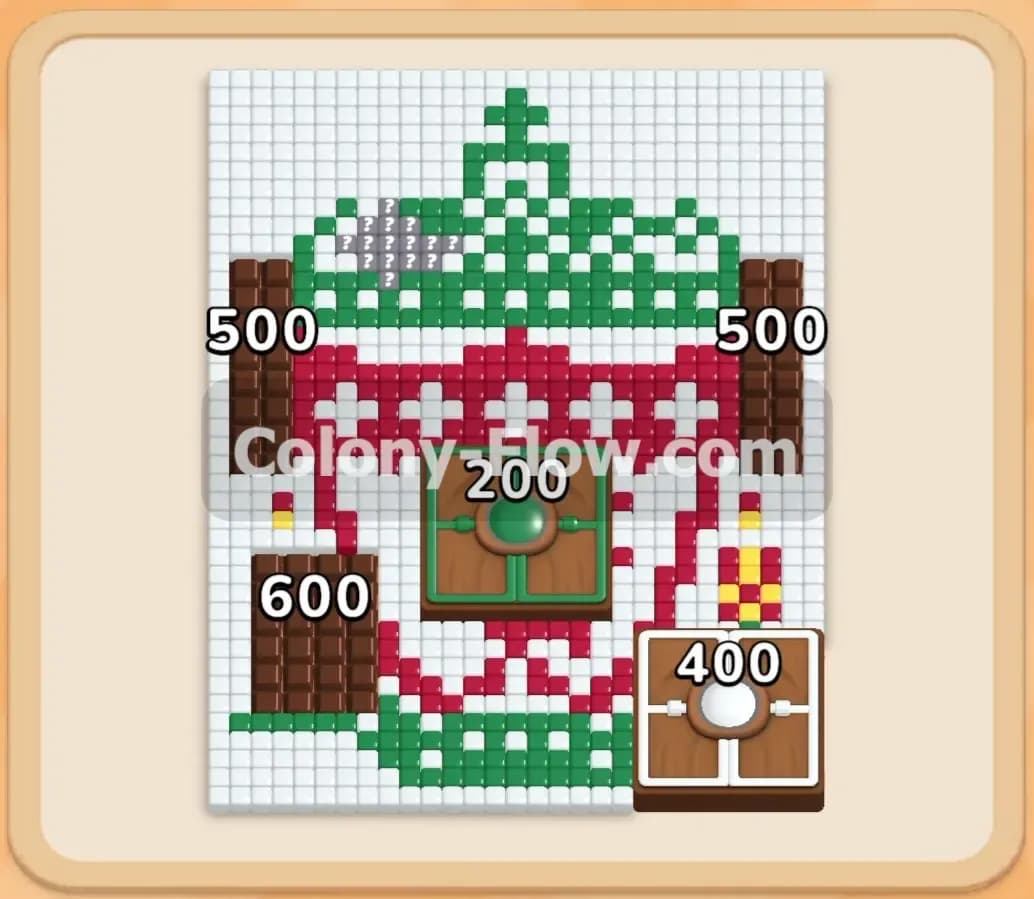
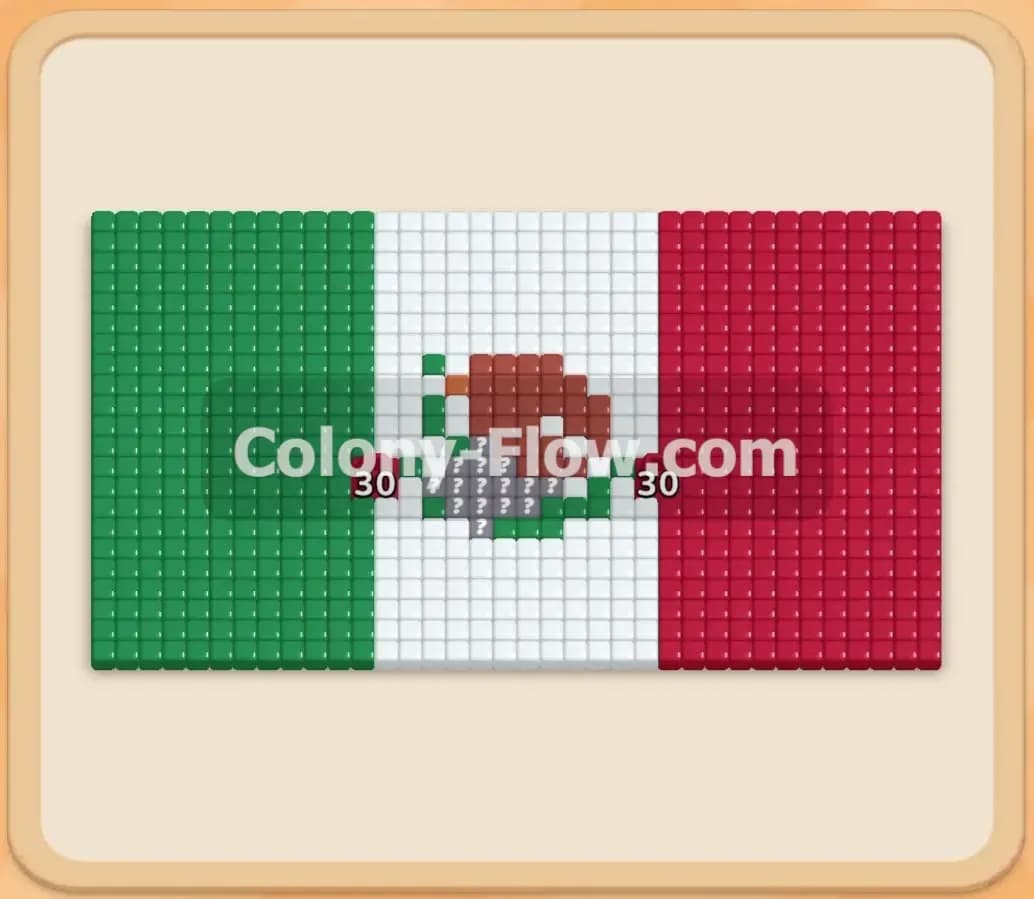
Colony Flow Level 313 presents a massive puzzle board that looks just like a national flag complete with a detailed crest offset to the left side. You face a giant wall of solid color tiles that you must break down methodically to avoid jamming your tray. I will guide you through the exact sequence of moves to unlock the tray and feed your colony without getting stuck. This guide will help you manage your waiting slots perfectly from the first move to the very last tile.
Colony Flow Level 313 Overview
What You Are Working With
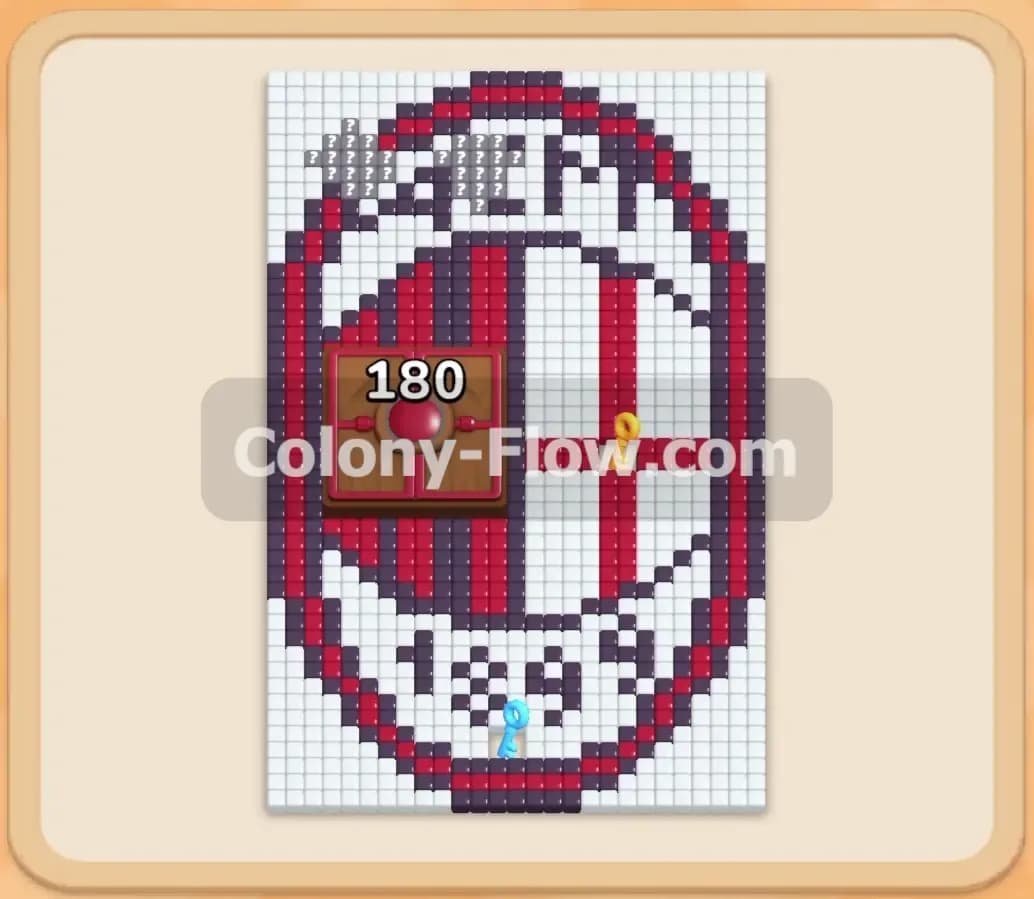
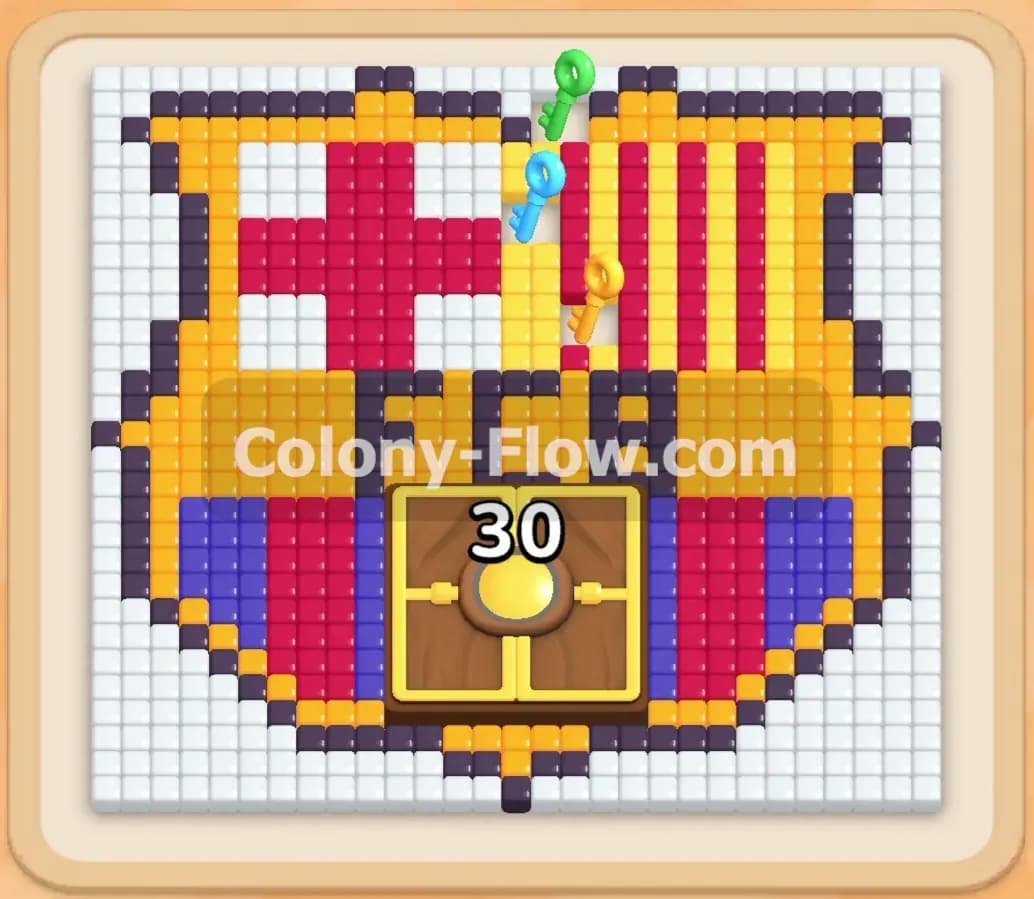
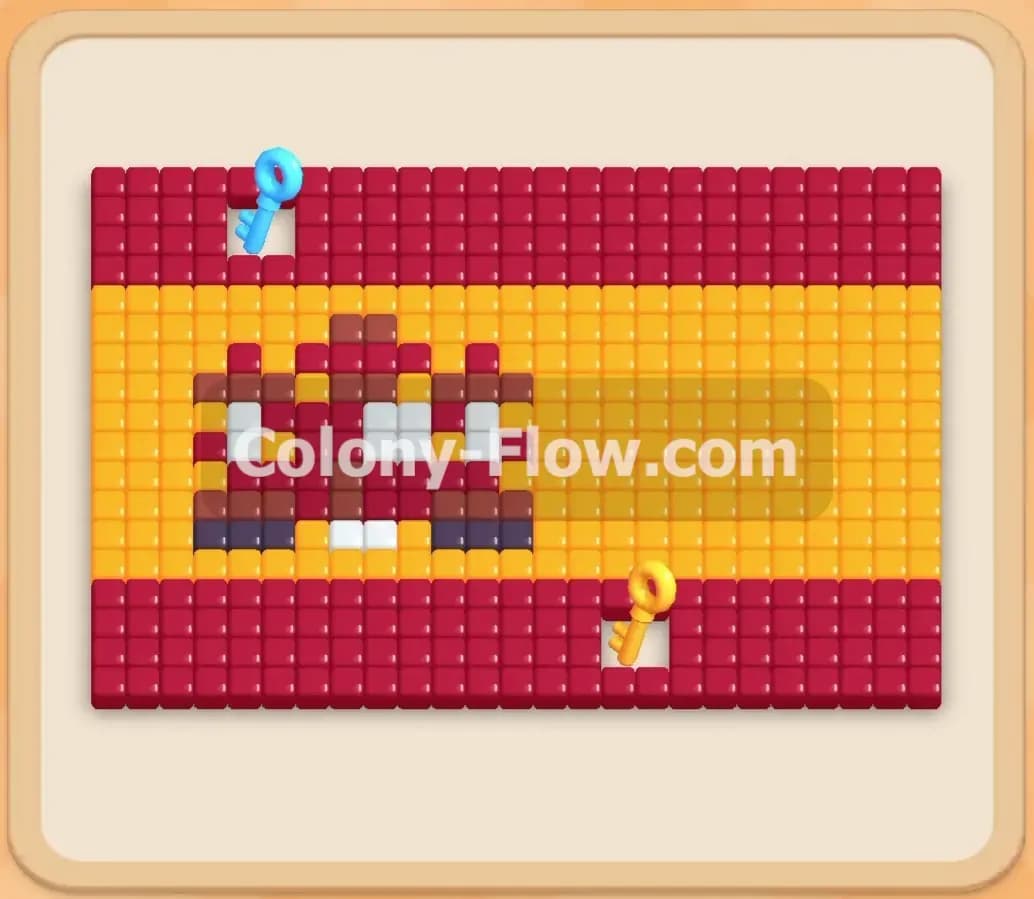
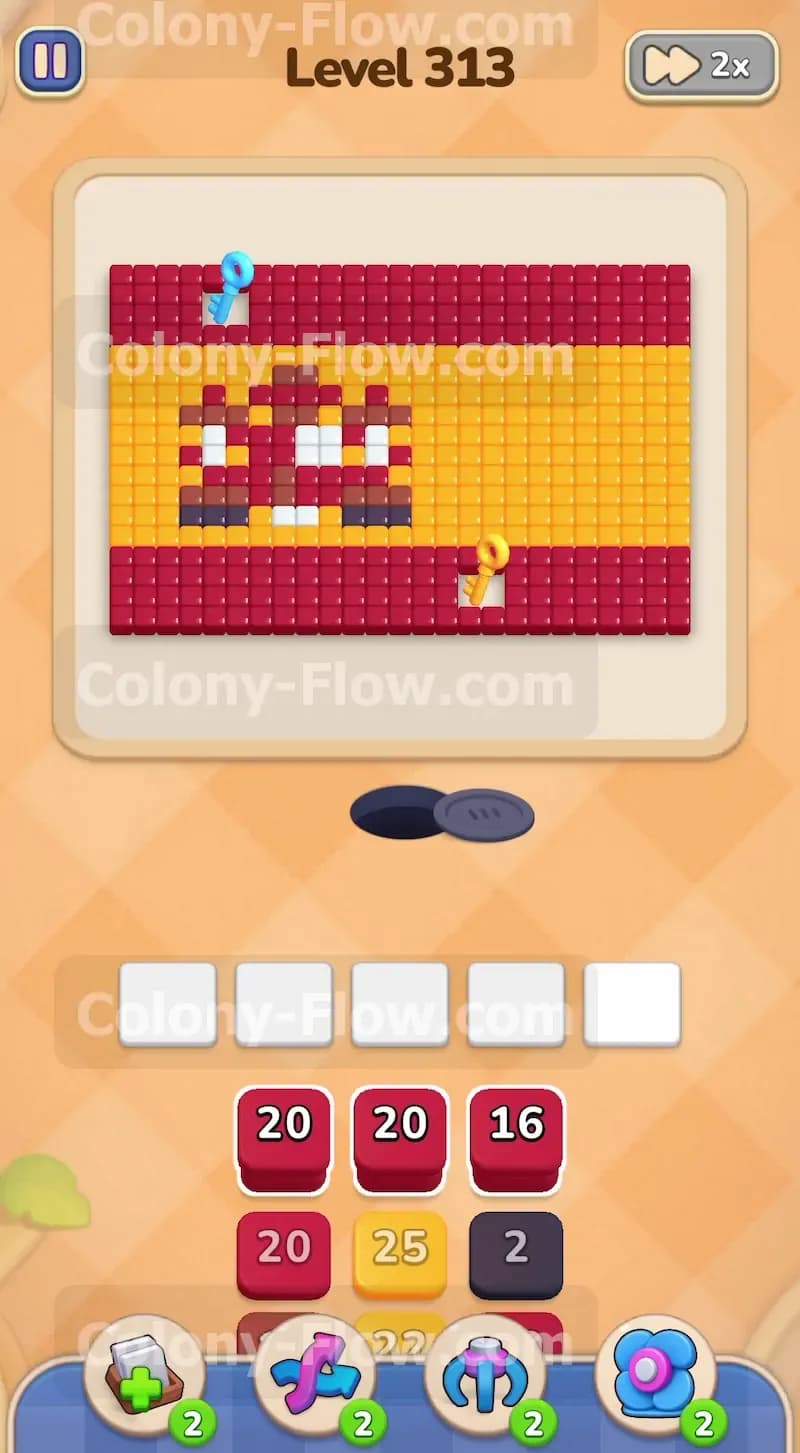
The board features a large rectangular shape made of three main horizontal sections. The top and bottom sections consist of solid red tiles. The thick middle section consists of yellow tiles. Overlapping the left side of the yellow and red sections is a crest made of dark brown and white tiles. You will find two special Lock and Key tiles on this board. A light blue key rests on the top red section. A yellow key sits on the bottom red section. Down in your tray you start with access to several red and yellow blocks with high numbers. Two locks block the rest of your tray. A yellow lock hides a massive yellow block. A light blue lock hides the dark brown and white blocks you need to clear the crest.
What It Takes to Clear Level 313 Board
Clearing this level requires you to dismantle the flag shape from the outside edges inward while collecting the keys to unlock your tray. You must match the colored numbered blocks from your tray to the corresponding colored tiles on the board. The numbers on the blocks dictate how many ants will spawn to eat the tiles. The core challenge is managing your five waiting slots at the bottom of the screen. If you pull a block from the tray and the ants have no open path to reach matching tiles on the board, that block gets stuck in a waiting slot. If all five slots fill up with stuck blocks you instantly lose the level. You win by clearing every single tile without ever dead ending your board.
Colony Flow Level 313 Step by Step Solution
Step 1: Clear the bottom red tiles to secure the yellow key
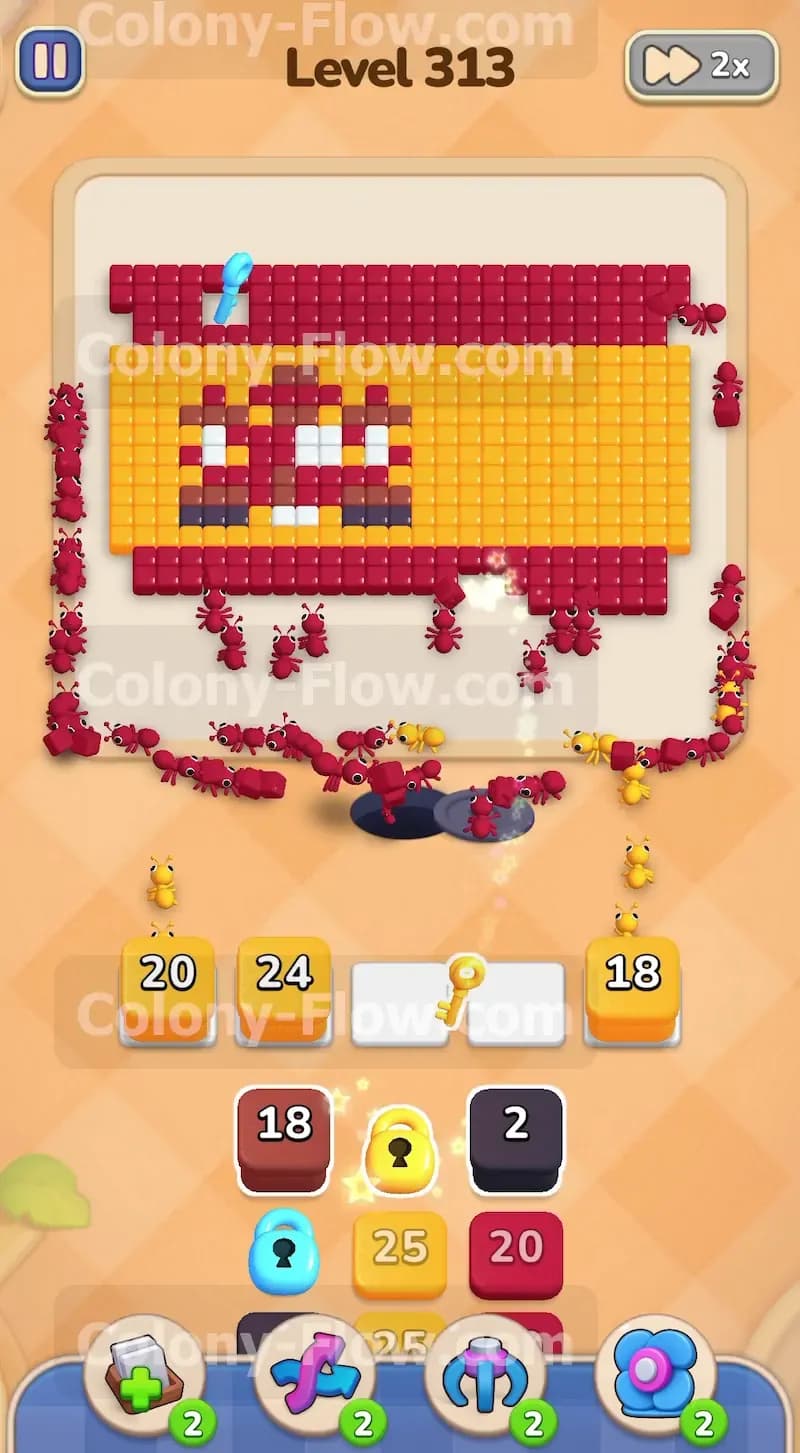
You must open the level by focusing your attention entirely on the bottom red section to retrieve the first key. Pull a high numbered red block from your starting tray. The red ants will stream out of the central nest hole and immediately target the exposed bottom right edge of the red tiles. The path is completely open so this is a perfectly safe move that will not jam your waiting slots. Pull another red block as the first one counts down. The ants will chew their way from the right side toward the left side along the bottom edge. Keep feeding the board red blocks until the ants reach and consume the yellow key resting on the bottom row.
Step 2: Eat away the right side of the yellow section
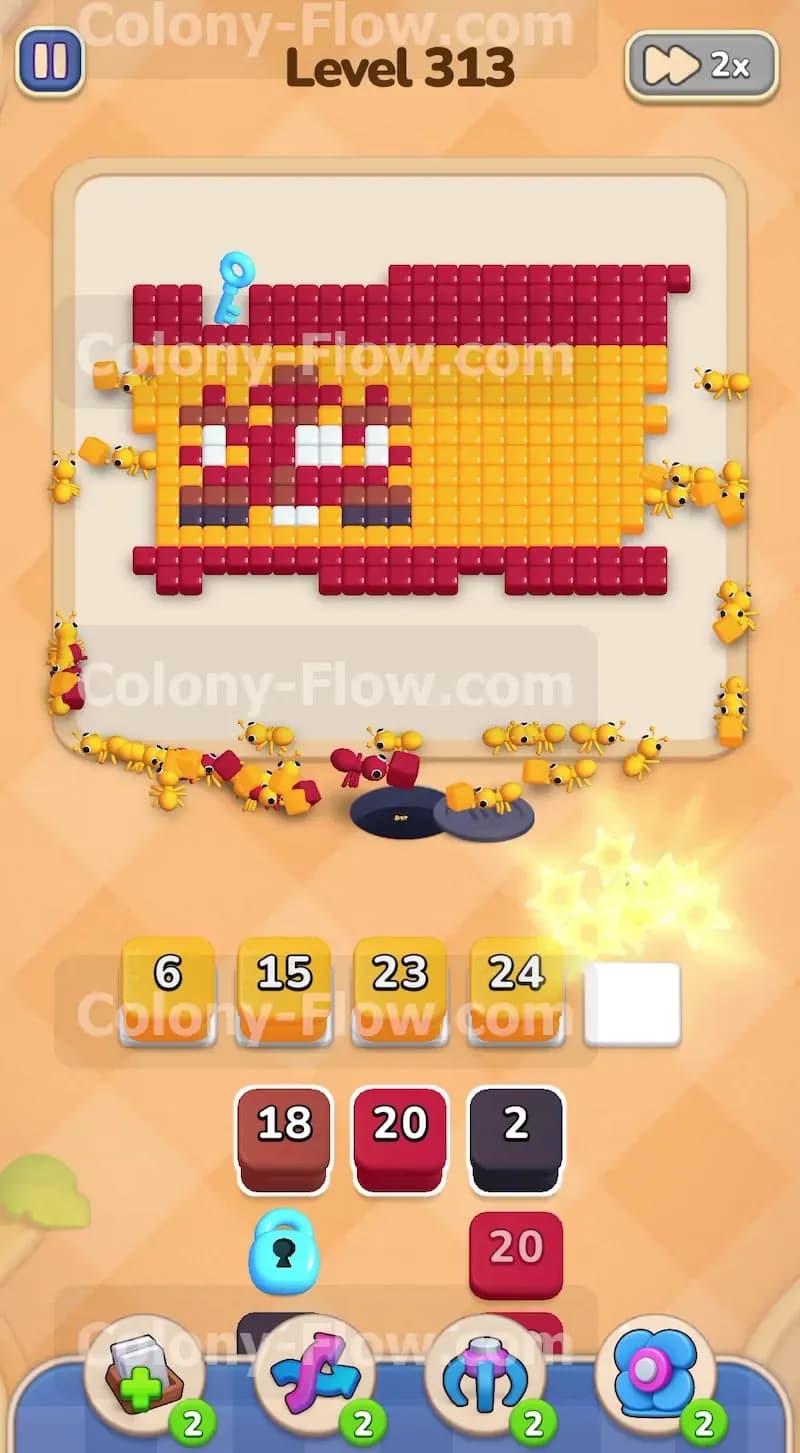
Once you secure the first key you need to create upward vertical space on the right side of the board. Pull a yellow block from the tray. The yellow ants will exit the nest and travel to the exposed right edge of the large yellow middle section. The board is very dense here so the ants have plenty of target tiles to eat. Watch the numbers on your yellow blocks count down to zero as the tiles disappear. Pulling yellow blocks right now keeps the waiting slots completely clear because the path is wide open. You are actively shrinking the right side of the flag shape to create a walking path toward the top.
Step 3: Utilize the newly unlocked yellow tray blocks
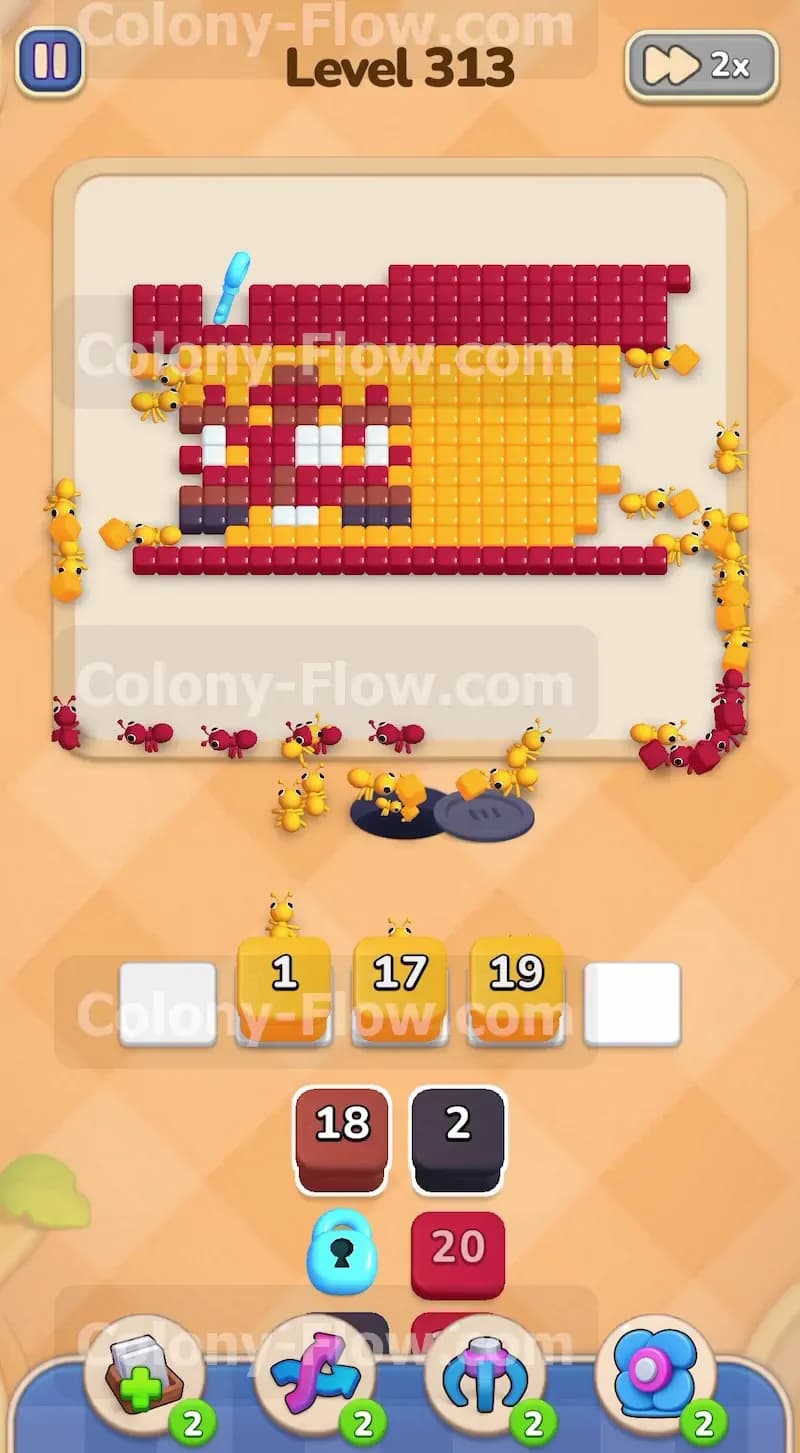
Collecting the yellow key earlier triggered the yellow lock in your tray to break open. This action reveals a massive yellow block with a value of twenty five. Pull this newly unlocked yellow block into a waiting slot. The ants will surge out and consume a huge chunk of the yellow section. You need to clear this bulk out of the way to give the red ants room to maneuver later. Managing this large number block is easy because you opened the right side of the yellow section in the previous step. The ants will efficiently clear the tiles without leaving the block stranded in your tray.
Step 4: Forge a path up the entire right edge
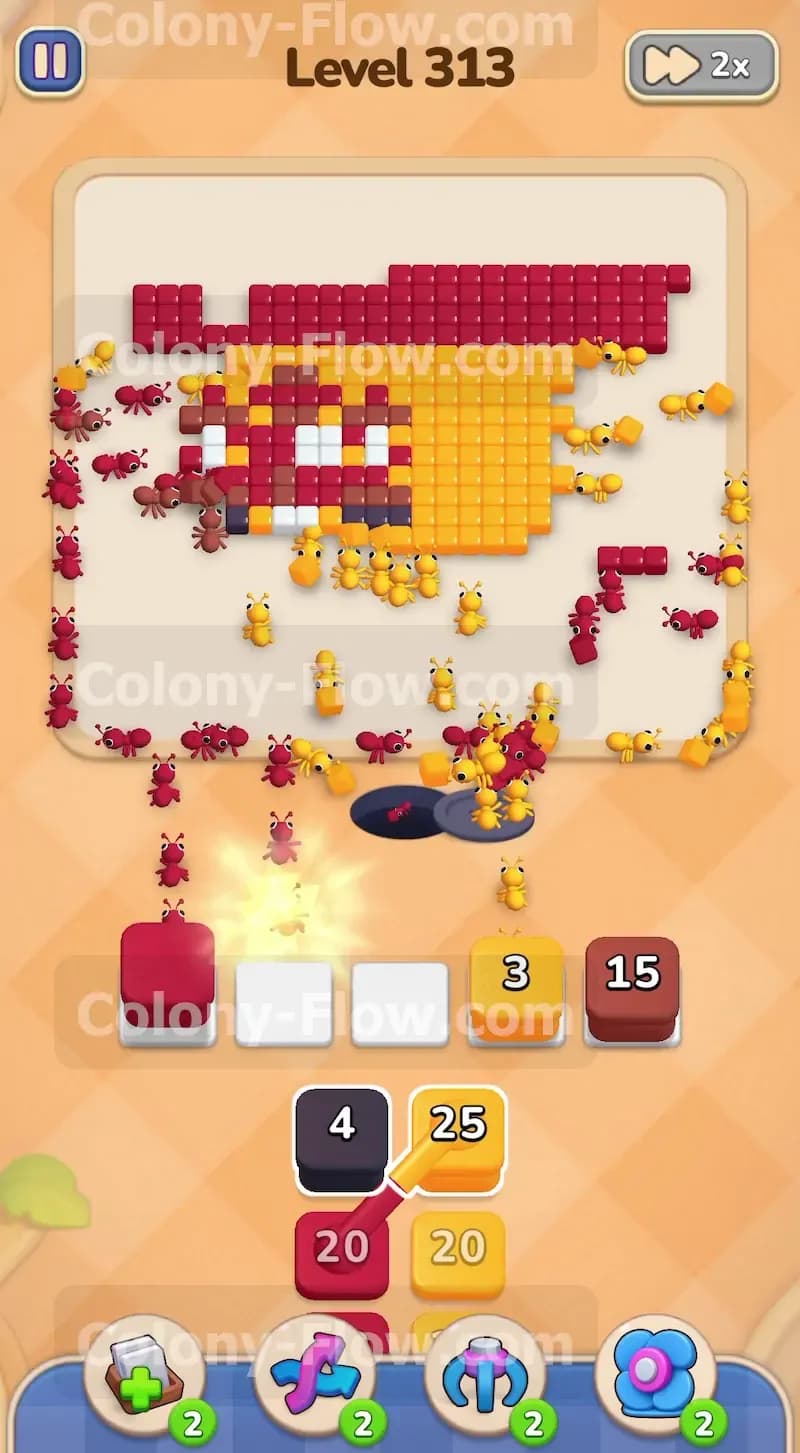
Your next major goal is reaching the top red section but the remaining yellow and red tiles block the way. You must alternate pulling red and yellow blocks to completely chew away the right side of the flag shape. Pull a red block to clear the remaining bottom right corner pieces. Then pull a yellow block to clear the middle right pieces. This systematic approach ensures every color block you pull has an immediate valid target. The ants will march further and further out from the nest and wrap around the right side of the remaining tiles. You are building a highway to the top of the board.
Step 5: March across the top to grab the light blue key
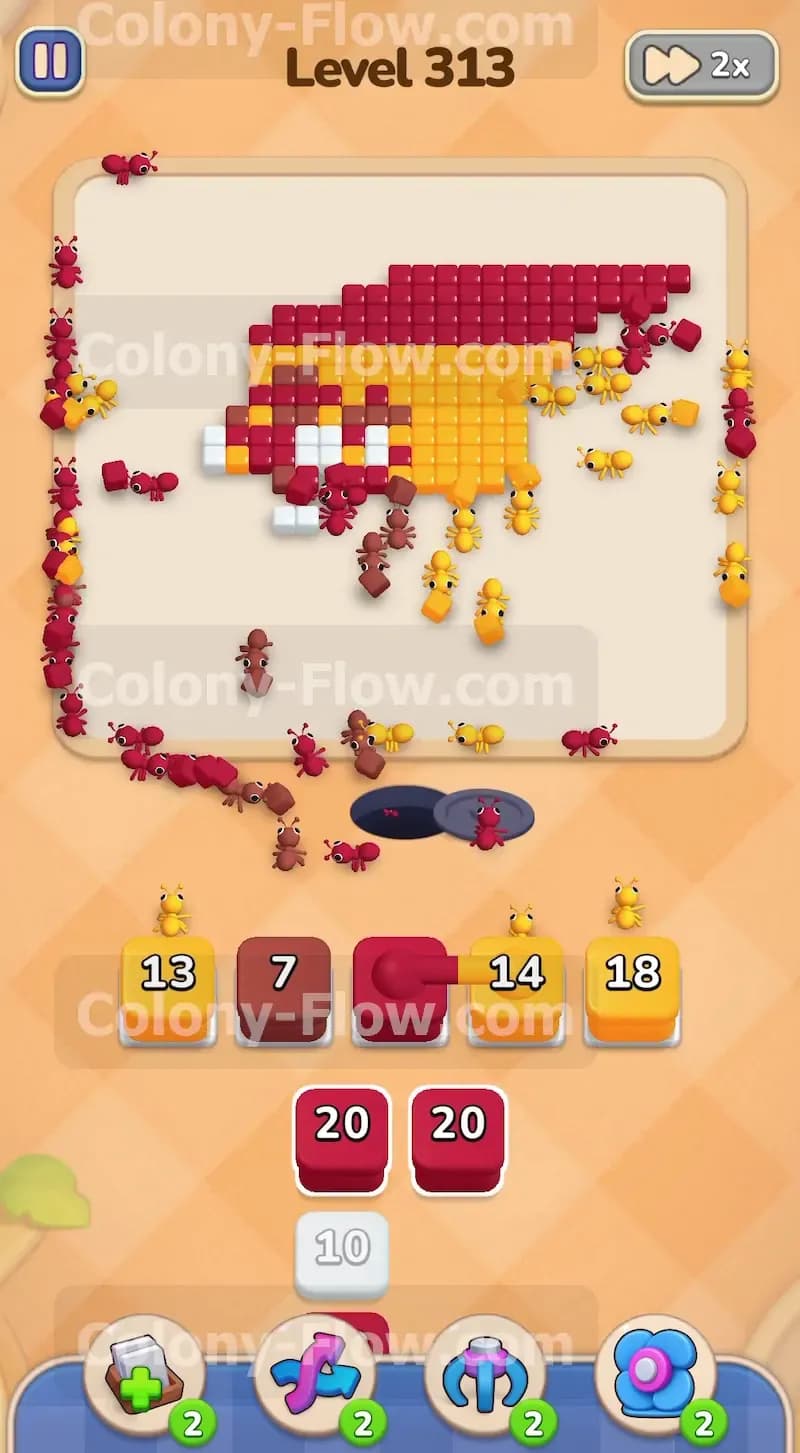
With the right side completely gone your red ants finally have a clear walking path to the top red section. Pull a red block from the tray. You will see the red ants travel all the way up the right side and begin eating the top red tiles starting from the right edge and moving left. The light blue key sits near the middle of this top red section. Keep pulling red blocks to feed the ants. They will chew their way straight across the top row until they collect the light blue key. This is a critical move and you must not pull any other colors until this key is secured.
Step 6: Unlock the final tray section for the crest
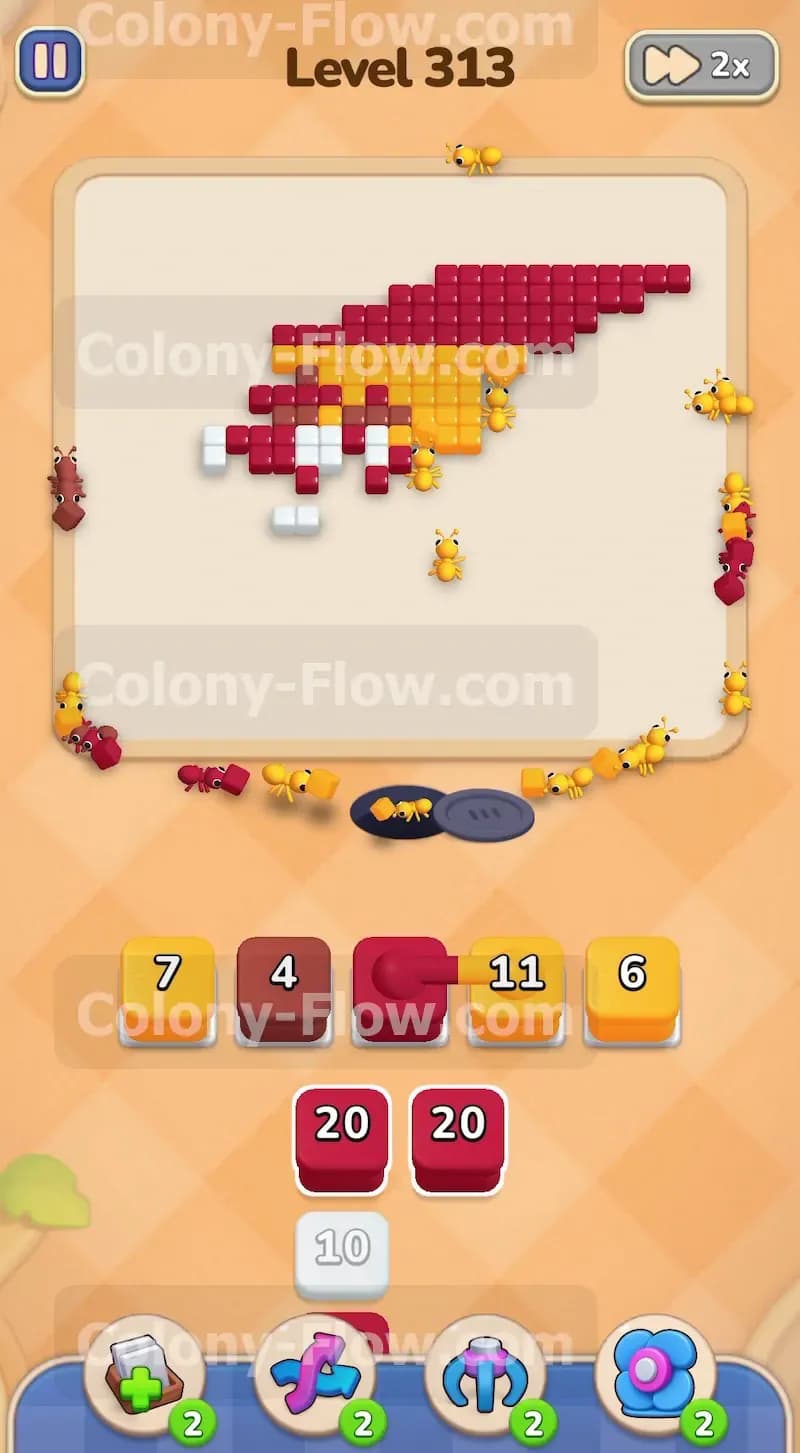
Collecting the light blue key breaks the final lock in your tray. This reveals the dark brown and white blocks that you absolutely need to dismantle the intricate crest on the left side of the board. Take a moment to look at the new blocks available to you. You now have the tools to finish the level but you must be careful. The crest is a complex mix of colors packed tightly together. If you pull a white block now it might get stuck in your waiting slot because the dark brown tiles are physically blocking the ants from reaching the white tiles. You must plan your extraction carefully.
Step 7: Dismantle the outer layers of the central crest
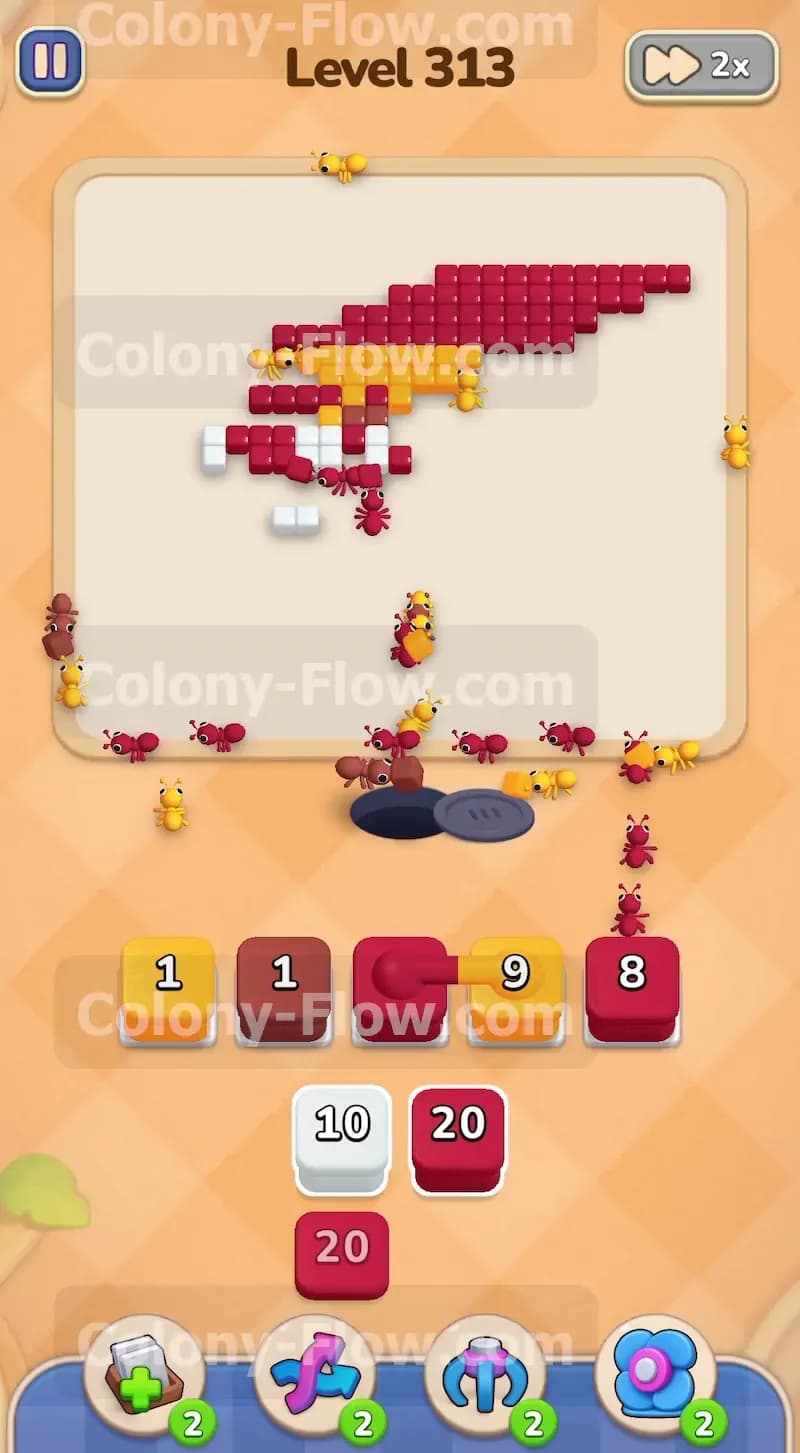
Now you must carefully alternate colors to break down the crest without filling your waiting slots. Look at the exposed edges of the crest. Pull a dark brown block first because those tiles sit on the outer layer. The brown ants will clear the brown tiles and expose the white tiles underneath. Once the white tiles have an open path you can safely pull a white block. The white ants will clear their tiles and likely expose more yellow or red tiles behind them. You must constantly check which color tile is currently accessible on the outside edge of the remaining shape before you pull a block from the tray.
Step 8: Clear the remaining yellow and red bulk on the left
As the crest breaks apart it exposes the thick remaining chunks of the left side of the flag. You now have a very clear path to finish the job. Pull your remaining yellow blocks to clear out the middle left section. The yellow ants will quickly consume the exposed tiles. Next pull the remaining red blocks to clear out the top left and bottom left corners. Because the board is mostly empty now the ants will travel very fast and clear the tiles rapidly. Just make sure you do not pull a block if its matching color is still trapped behind another color.
Step 9: Mop up the final pieces to finish the board
Only a few scattered tiles remain on the far left side of the screen. Look at your tray and find the small numbered blocks that match the remaining colors. Pull a white block if a white tile is exposed. Pull a dark brown block if a brown tile remains. The exact order depends on which tile is blocking the others but the logic remains identical to the previous steps. Keep your waiting slots clear by only pulling blocks that can immediately send ants to a valid target. Clean up the final red and yellow edge pieces to completely empty the board and secure your victory.
Final Thought
Beating this board requires patience and a strict adherence to opening paths before pulling blocks. You simply cannot rush the crest section without risking a jammed tray. Take your time and make sure you completely clear the right side to gain access to the top key. If any part of this text guide feels tricky to visualize you should definitely watch the video above this article to see the exact ant pathing and tray management in action.