Colony Flow Level 1041 Walkthrough Solution & Guides | How to solve Colony Flow 1041

Guide By Liam Stone
Updated on August 12, 2026
If skimming isn't enough, watch the video above for the full Level 1041 walkthrough.
Video doesn't match your screen?
Game updates frequently scramble layouts! Try our AI Screenshot Solver first to find your exact board instantly, or report broken guides to our team.
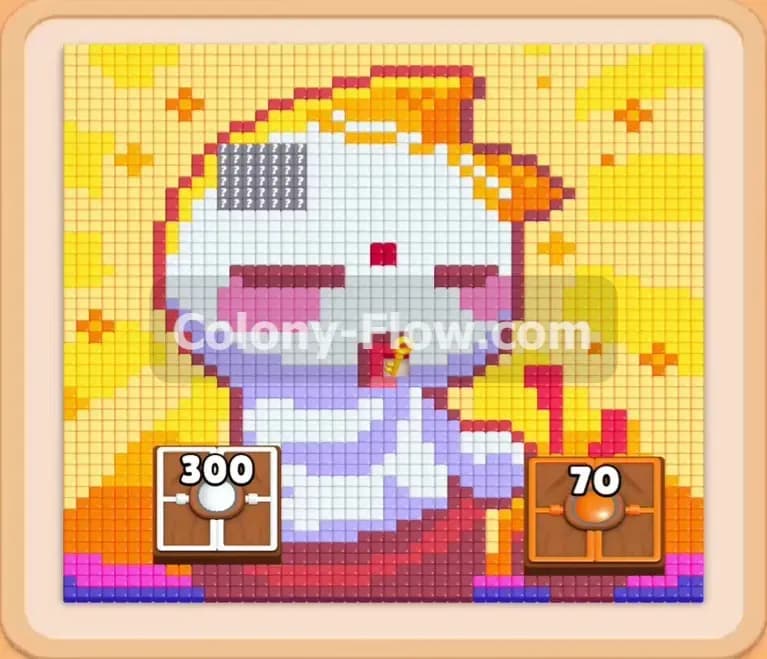
Colony Flow Level 1041 presents a fun pixel art challenge featuring a white cat with a yellow fin on its head. You face a board dominated by colorful borders and two massive numbered blocks embedded directly into the lower half of the character. I found that managing the five waiting slots is the real test here. You have to feed the ants steadily without letting the tray back up.
Colony Flow Level 1041 Overview
What You Are Working With
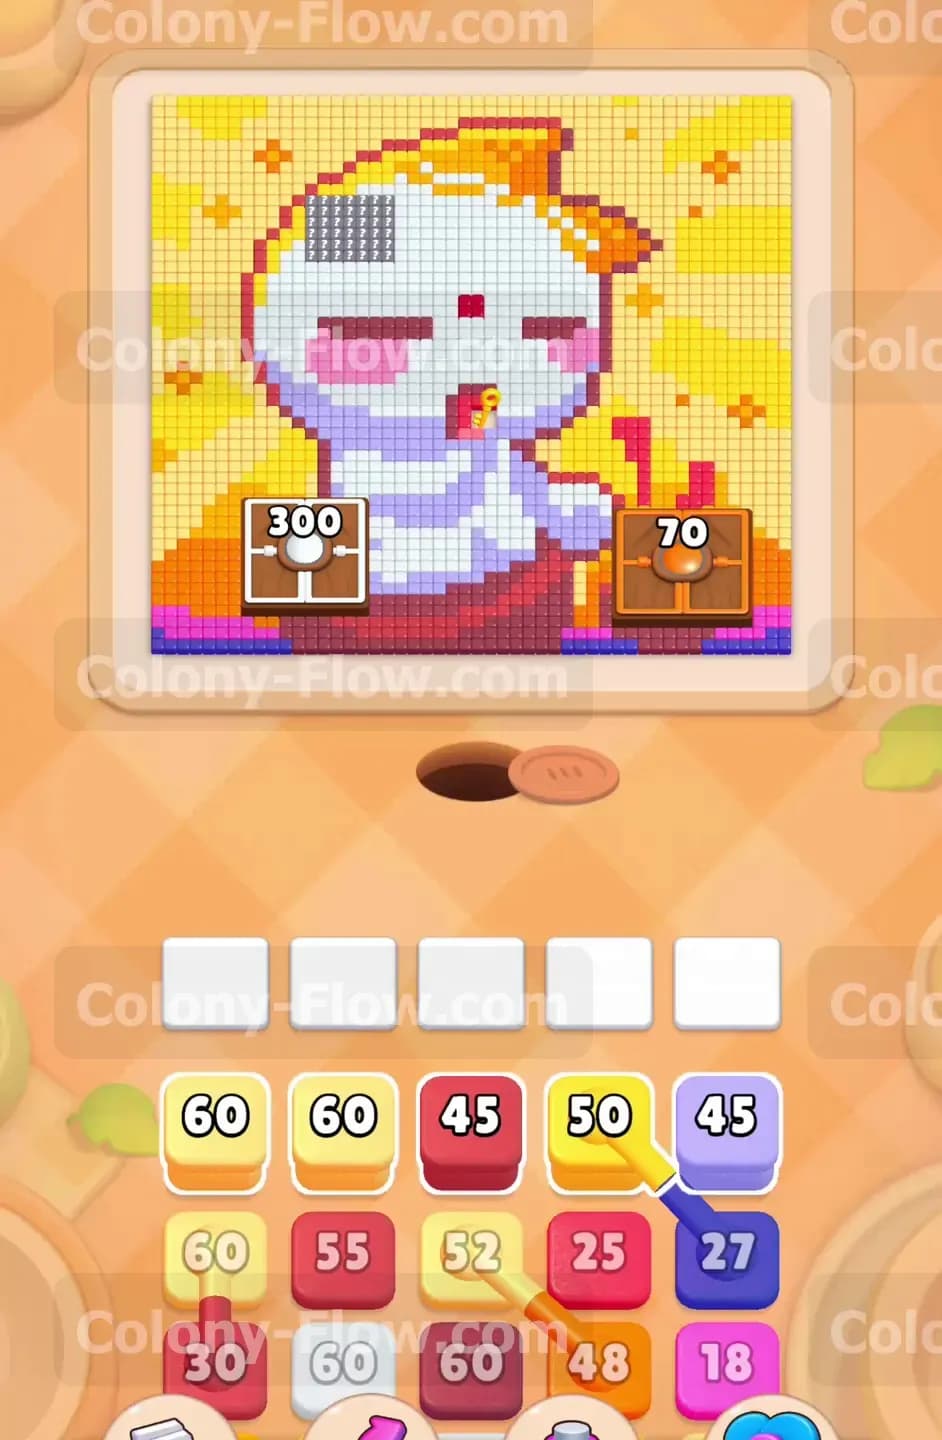
The board displays a cute white cat design resting on a base of dark red, purple, and orange tiles. The cat has pink cheeks and bright yellow accents on its head. Two enormous numbered blocks act as heavy obstacles in the lower section. The left block demands three hundred ants to clear. The right block requires seventy ants. You will pull colored blocks from the bottom tray to direct your colony. This level also features Connected Boxes in the tray. These linked blocks pull two colors at once and require you to have open paths for both colors simultaneously.
What It Takes to Clear Level 1041 Board
Winning means entirely dissolving the cat pixel art and breaking down both massive blocks before the waiting slots fill up. The ants start by chewing through the colorful bottom border to expose the inner layers. You must sequence your pulls so that one color always finds an open path. If you pull a color and the ants have no way to reach those specific tiles on the board, that color sits stuck in one of your five slots. Filling all five slots ends your run immediately. You win when the final pieces of the cat vanish and the ants return to their nest.
Colony Flow Level 1041 Step by Step Solution
Step 1: Target the bottom border colors first to open the board
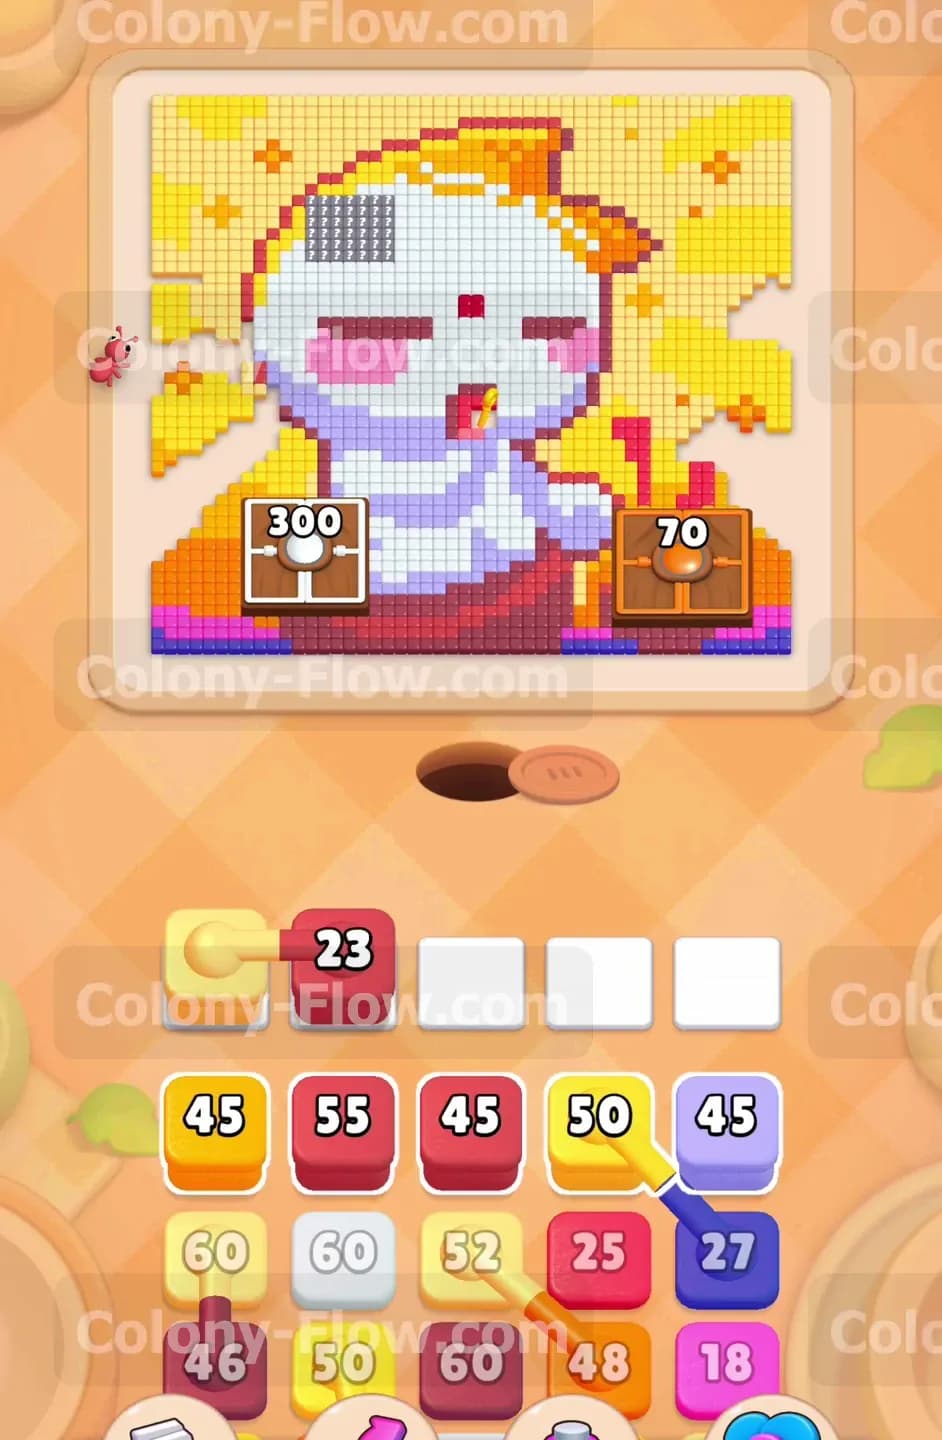
You begin with a fresh board and a tray full of high number choices. Your first goal is to peel away the bottom base layer of the pixel art. The top row of your tray holds a yellow sixty block, a pale yellow sixty block, a dark red forty five block, a yellow fifty block, and a purple forty five block. I suggest pulling the dark red forty five block first. The dark red tiles sit at the very bottom edge of the board. The ants will pour out of the nest hole and immediately start clearing that bottom boundary. Next you should pull the purple forty five block. The purple tiles are clustered near the bottom right section just below the smaller seventy block. Sending ants to this specific area begins the process of opening a direct route to the right side of the cat body. You must wait a moment before pulling the yellow blocks. The yellow tiles are located higher up on the character and the background. If you pull the yellow blocks too early the ants will have a long travel time. Long travel times mean the colors sit in your five waiting slots longer. You absolutely need to keep those slots clear to avoid losing the level early.
Step 2: Deploy your first set of Connected Boxes to hit two areas at once
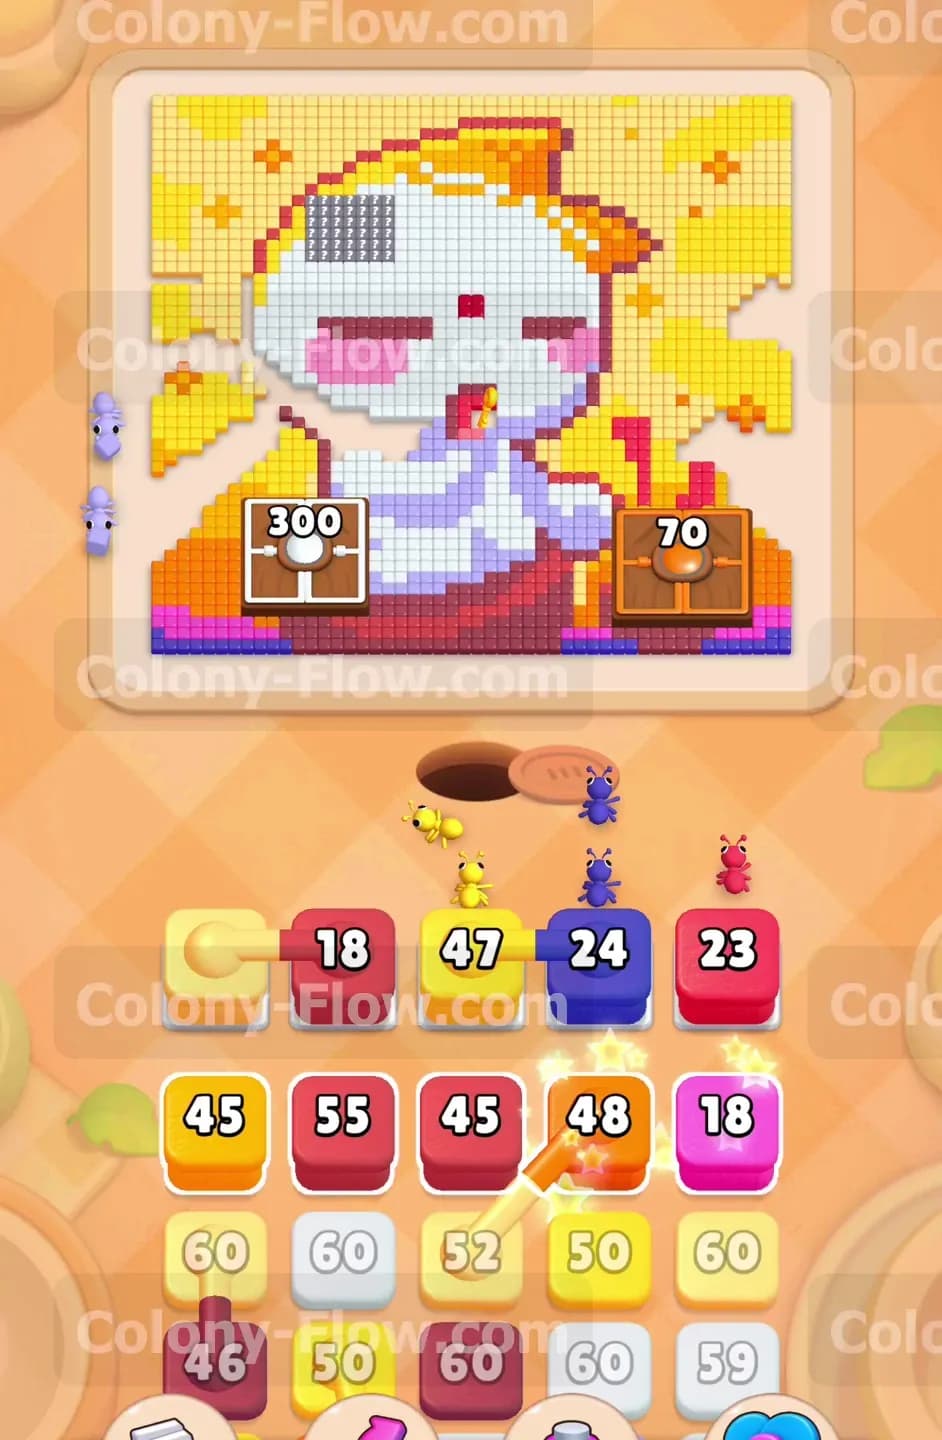
Very soon you will encounter your first set of Connected Boxes in the tray. You will see a pale yellow block attached directly to a dark red twenty three block. Connected Boxes are tricky because they require you to have open paths for both colors at the exact same time. If one color is blocked by another tile the entire connected pair will jam up your waiting slots. Before you pull this linked pair look at the board. You have pale yellow background tiles exposed on the upper left and dark red tiles exposed on the bottom left. Pull the connected pair into your tray. The colony will instantly split into two massive groups. One swarm of ants will march up the left wall to eat the pale yellow sun rays. The second swarm will stay low and finish off the remaining dark red base tiles. This simultaneous drain is incredibly efficient but it demands perfect timing. Let both colors drain down to zero before you touch the next choice in the tray.
Step 3: Break the smaller numbered block on the right side of the board
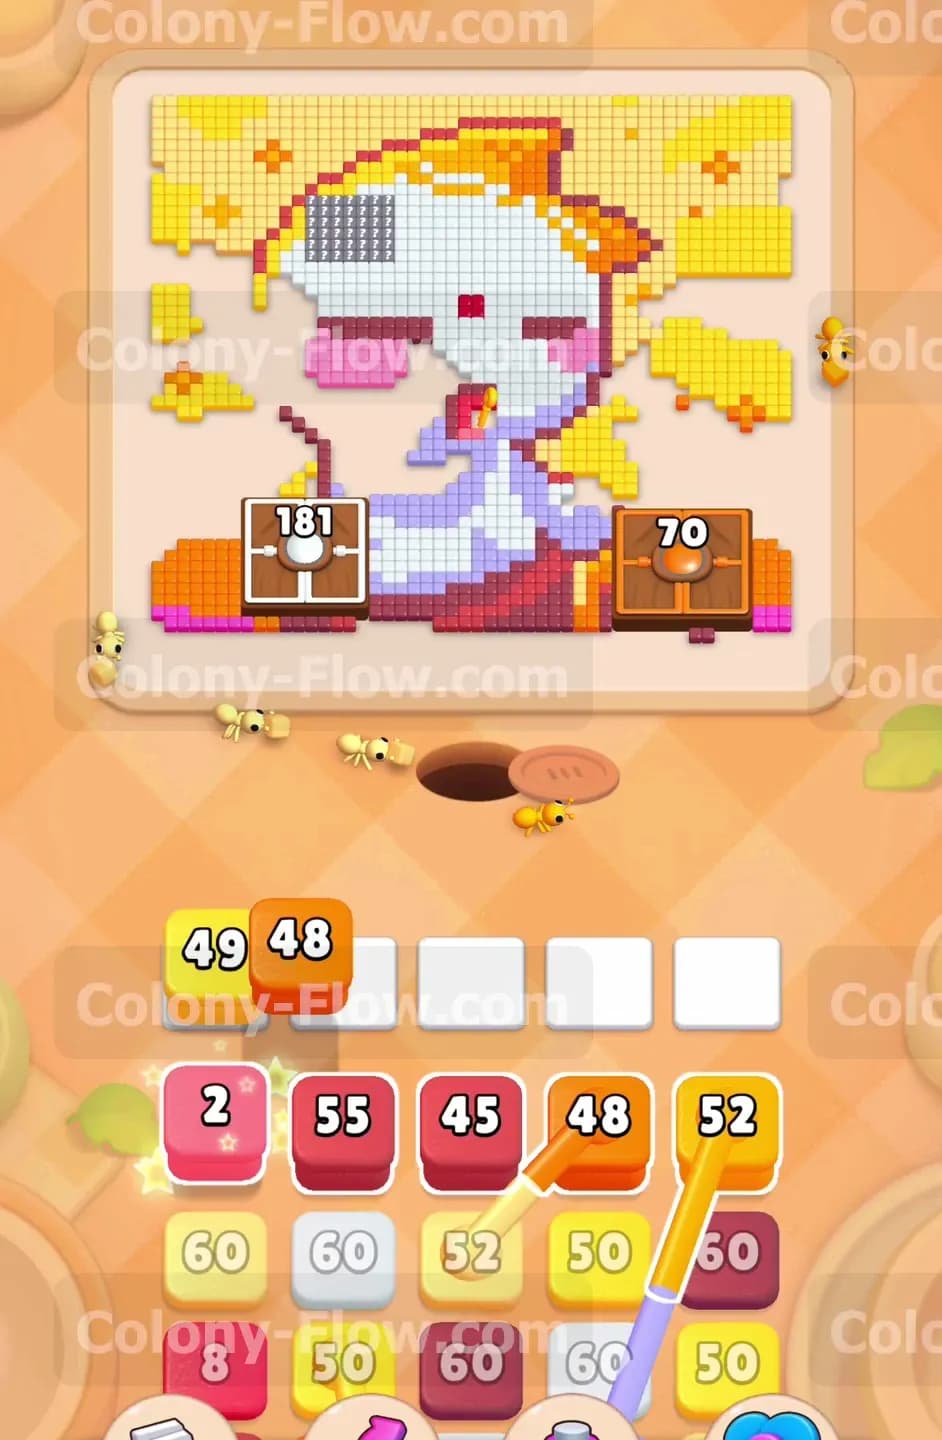
Now your focus shifts entirely to the right side of the board where the seventy block sits. This heavy obstacle blocks the entire lower right section of the cat. You cannot clear the white body until this obstacle is gone. The tray will present a dark red eighteen block, a yellow forty seven block, a dark blue twenty four block, and a pink twenty three block. Pull the pink and dark blue choices into the active slots. The pink tiles form the cheek of the cat directly adjacent to the obstacle. The dark blue tiles form the outline. As your ants march in to eat the pink and blue tiles they will collide with the seventy block. Every ant that paths through that space chips away at the number. You will watch the number drop rapidly from seventy down to zero. Breaking this block completely opens the right flank of the board. You now have a wide open path to reach the upper sections of the picture without any major detours.
Step 4: Use the yellow and orange Connected Boxes to reach the main body
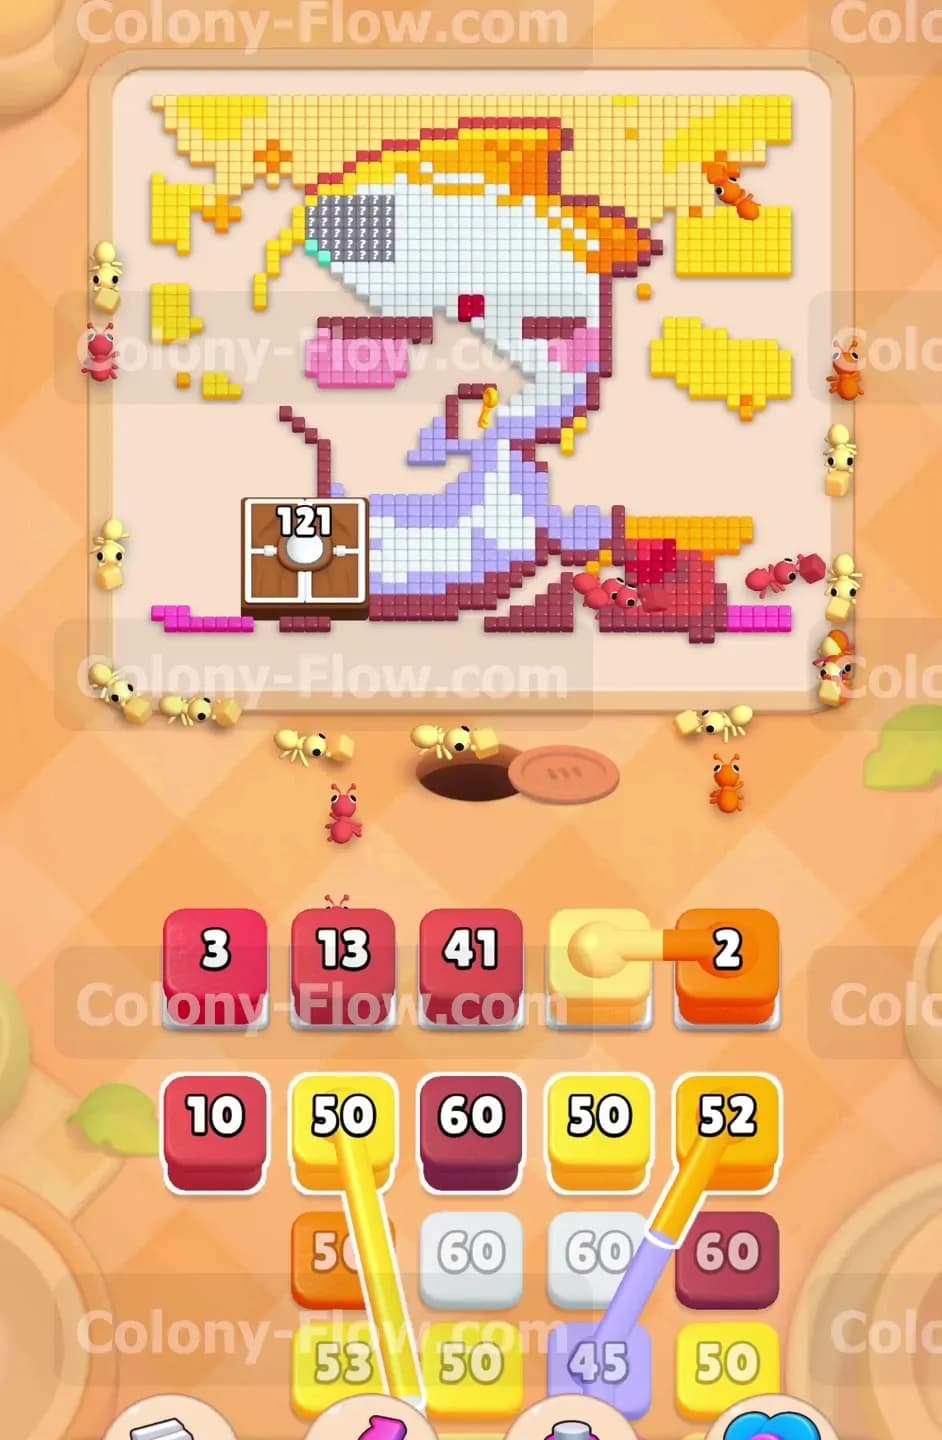
With the right side open you will find another pair of Connected Boxes waiting in the tray. This new linked set features a yellow forty nine block and an orange forty eight block. Both of these colors are abundant on the board right now. The yellow tiles make up the large fin on the head of the cat and the orange tiles fill in the background details. Pull this connected pair and watch the swarm go to work. Because you cleared the seventy block earlier the ants have a super fast route up the right side. They will flood the top right corner and chew through the yellow fin rapidly. While this is happening on the right your left swarm is finally making contact with the massive left block. This obstacle started with an intimidating three hundred requirement. As the ants move around the left side they will bump into it and start wearing it down. You will see the number drop into the one hundred eighty range during this step.
Step 5: Focus all ant traffic on the massive left obstacle
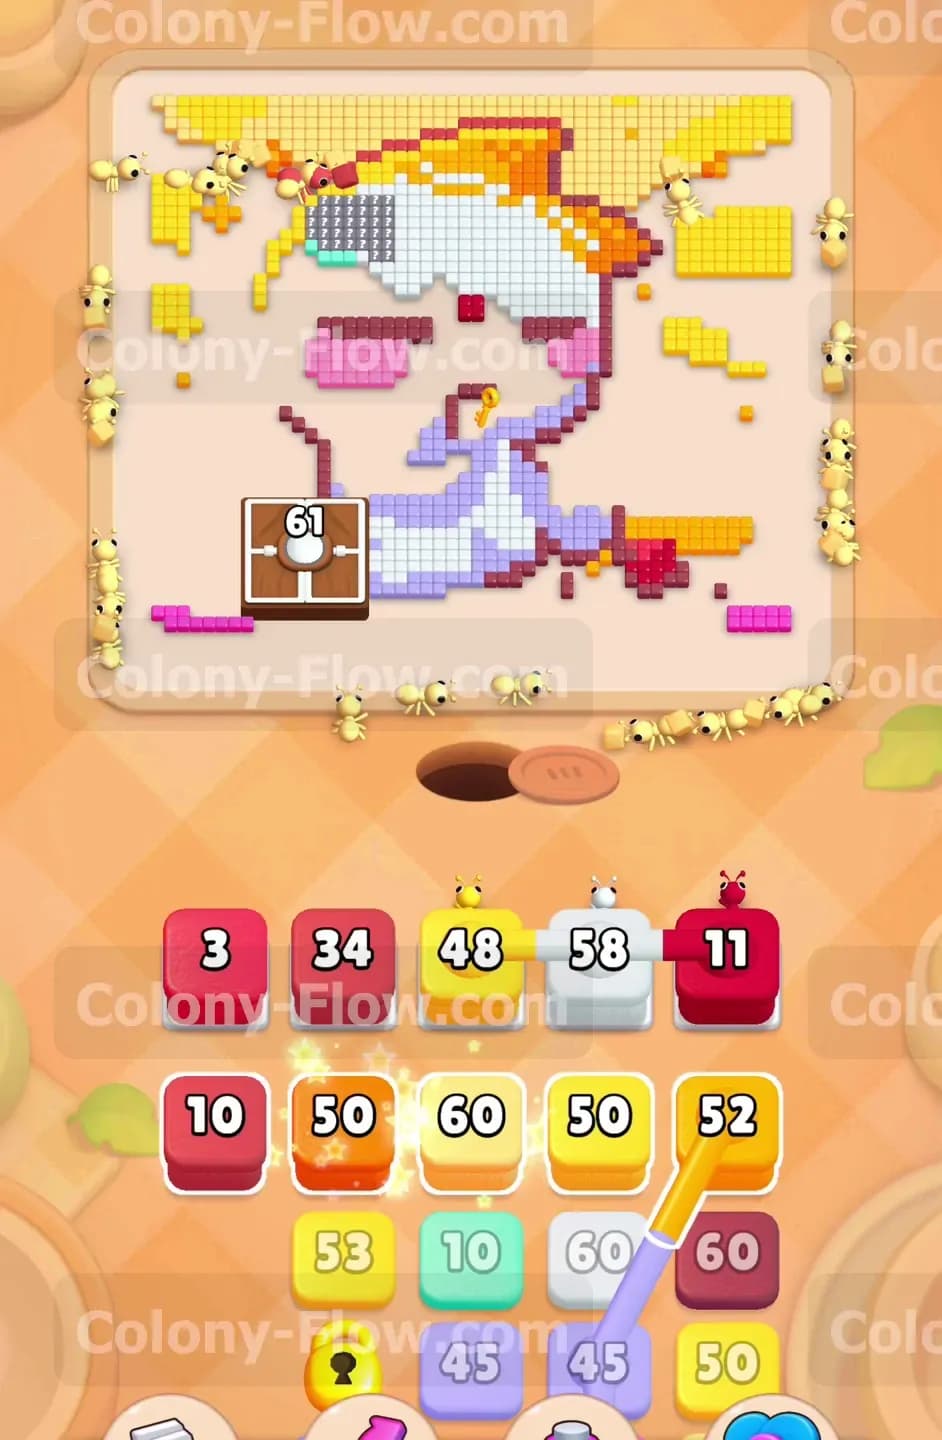
You must now direct all your attention to the massive left block. It is currently sitting at one hundred twenty one hits remaining. The tray provides a pink three block, a dark red thirteen block, a red forty one block, and a new connected set linking a pale yellow block to an orange two block. Pull the red forty one choice first. The red tiles are packed tightly around the bottom of the left obstacle. Sending forty one ants directly into this pocket will severely damage the block. Follow this by pulling the dark red thirteen choice and the pink three choice. Every single ant heading for these colors will brush against the obstacle and lower its number. You will see the count drop to sixty one hits remaining. Do not pull the connected pale yellow and orange pair just yet. Wait until the red numbers completely empty out of your waiting slots. You are managing a very tight traffic jam right here. Once the slots clear you can pull the linked pair to finish grinding down the block until it shatters completely.
Step 6: Release the large white blocks to consume the cat body
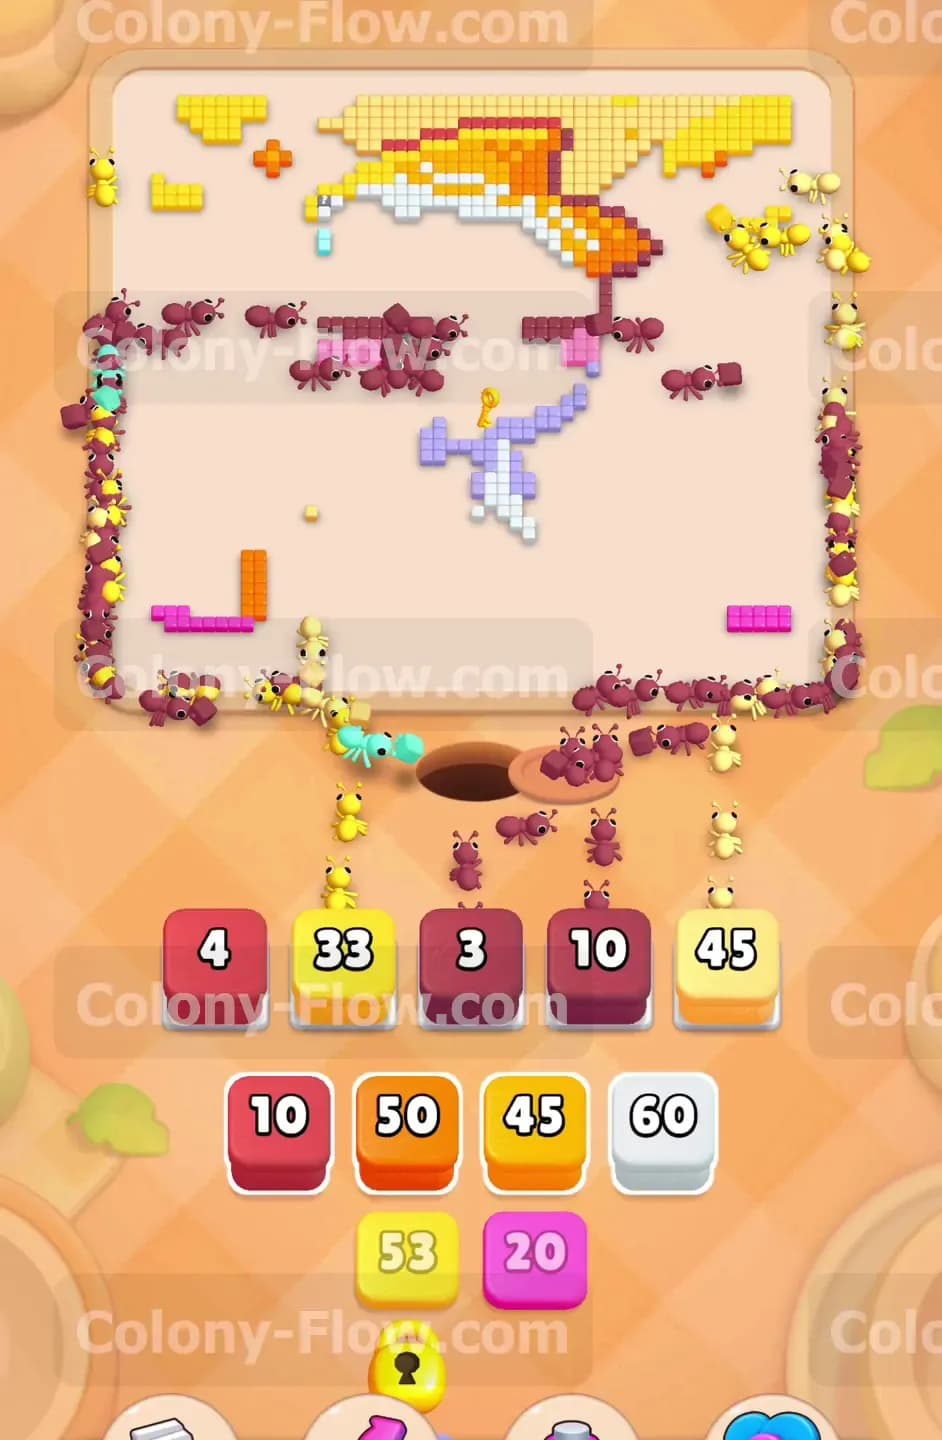
The destruction of the left block leaves the main white body of the cat completely exposed and ready to clear. Look at your tray to find a massive white fifty eight block. Pull this white choice into your waiting slots immediately. The white tiles represent the largest solid area left on the board. A huge wave of ants will erupt from the nest and march straight up the middle of the screen. They will consume the entire face and belly of the cat in one continuous motion. The board transforms dramatically during this step and suddenly feels very empty. Your tray will also show a red three block, a pink thirty four block, a yellow forty eight block, and a dark red eleven block. Resist the urge to pull them all at once. The white ants are traveling far up the board and taking up a slot the entire time. Let the white block finish its countdown. Once the white color disappears you can safely pull the pink and yellow choices to start clearing the remaining disconnected shapes on the left side.
Step 7: Clean up the scattered fragments and final background tiles
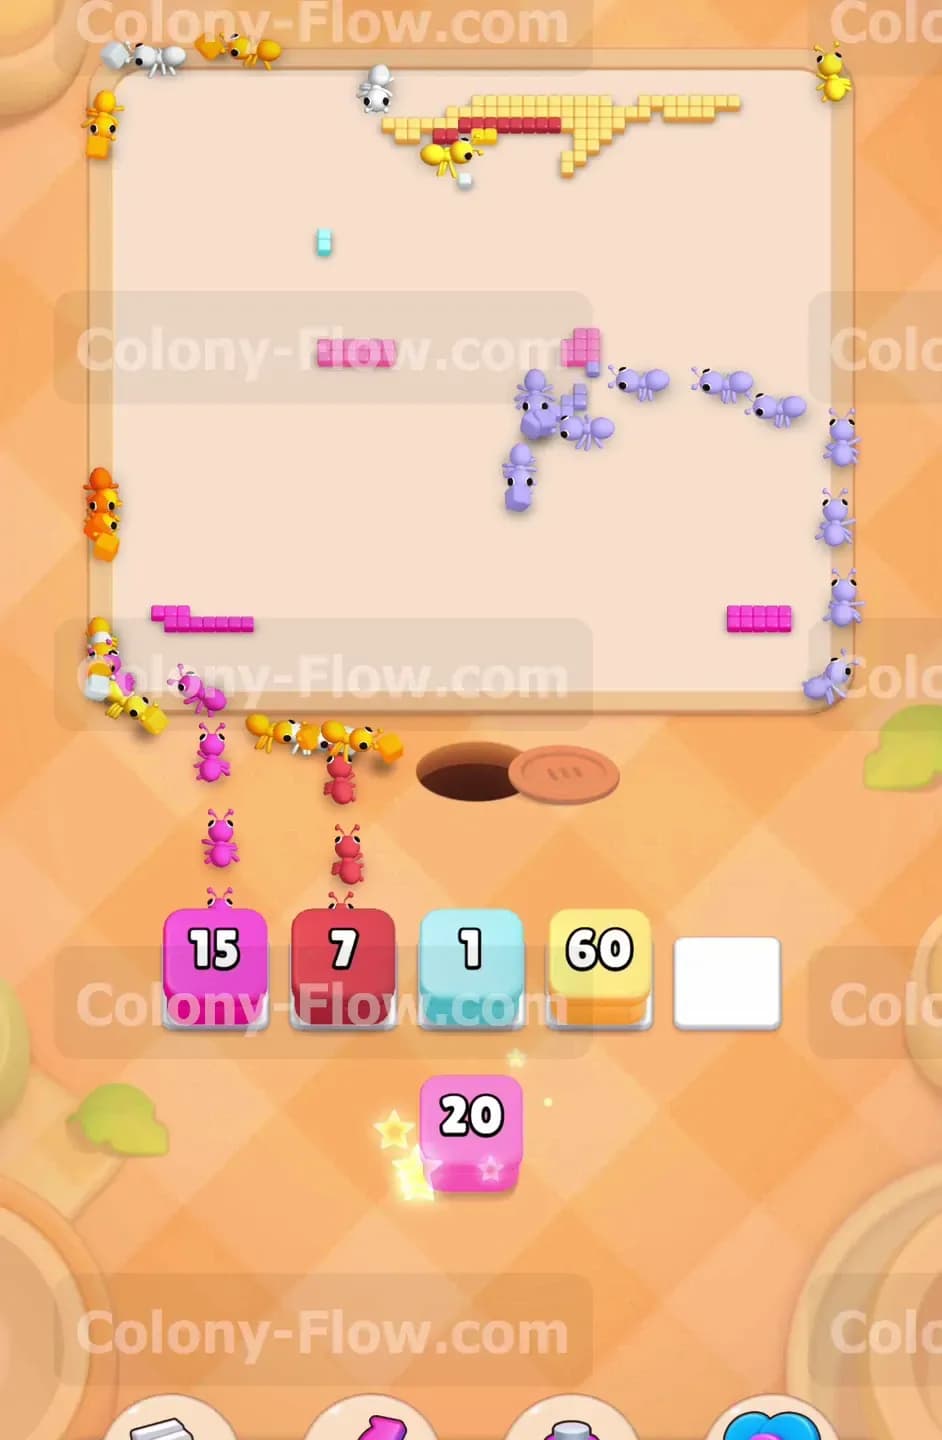
You have reached the final cleanup phase. The main picture is totally gone and only scattered fragments remain along the outer edges. You will spot tiny clusters of dark red, yellow, purple, brown, and pale yellow tiles. Your tray will give you exact matches for these leftovers including a dark red four block, a yellow thirty three block, a purple three block, and a brown ten block. Pulling these choices sends thin lines of ants on very long journeys across the empty board. Because the travel distance is so great these colors will sit in your active slots for a surprisingly long time. You must be extremely careful not to pull too many colors at once during this phase. If you pull five colors that are all located at the top of the board your slots will jam up and you will lose at the very last second. Pull two colors at a time. Let the ants reach their targets and clear the numbers from your tray. Finally you will pull the last pink fifteen block and pale blue one block to wipe the board completely clean and claim your victory.
Final Thought
Level 1041 requires excellent timing with the Connected Boxes and a lot of patience when grinding down those massive numbered blocks. Keeping your waiting slots open by feeding the colony only what they can immediately reach is the true key to winning. Check the video above this article if you struggle with the exact order of the linked pairs or need a visual reference for breaking the heavy obstacles.