Colony Flow Level 251 Walkthrough Solution & Guides | How to solve Colony Flow 251

Guide By Liam Stone
Updated on July 14, 2026
The Level 251 solution is right there in the video above, so read on only if you want the extra detail.
Video doesn't match your screen?
Game updates frequently scramble layouts! Try our AI Screenshot Solver first to find your exact board instantly, or report broken guides to our team.
Welcome to Colony Flow Level 251. This board challenges you with a solid layout and a tricky locked tray. You will guide your colony through a colorful pixel art rabbit face surrounded by a thick red background. I will teach you the exact order of moves to keep your waiting area clear and beat the board.
Colony Flow Level 251 Overview
What You Are Working With
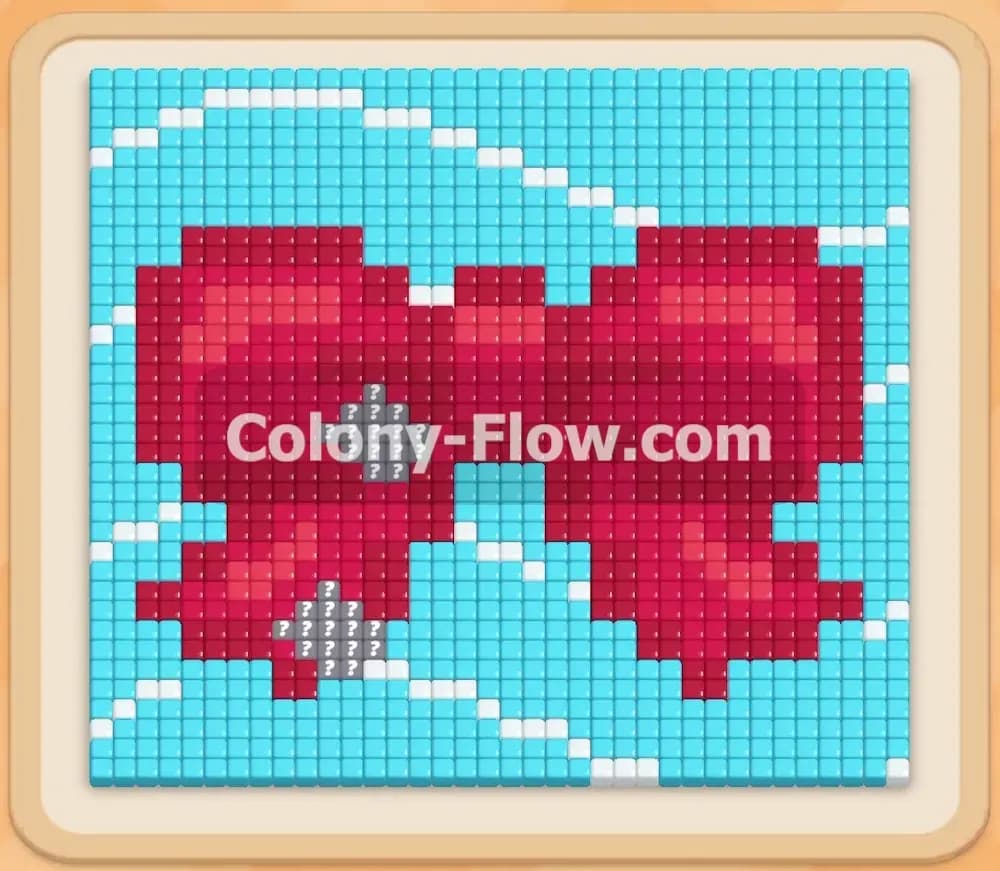
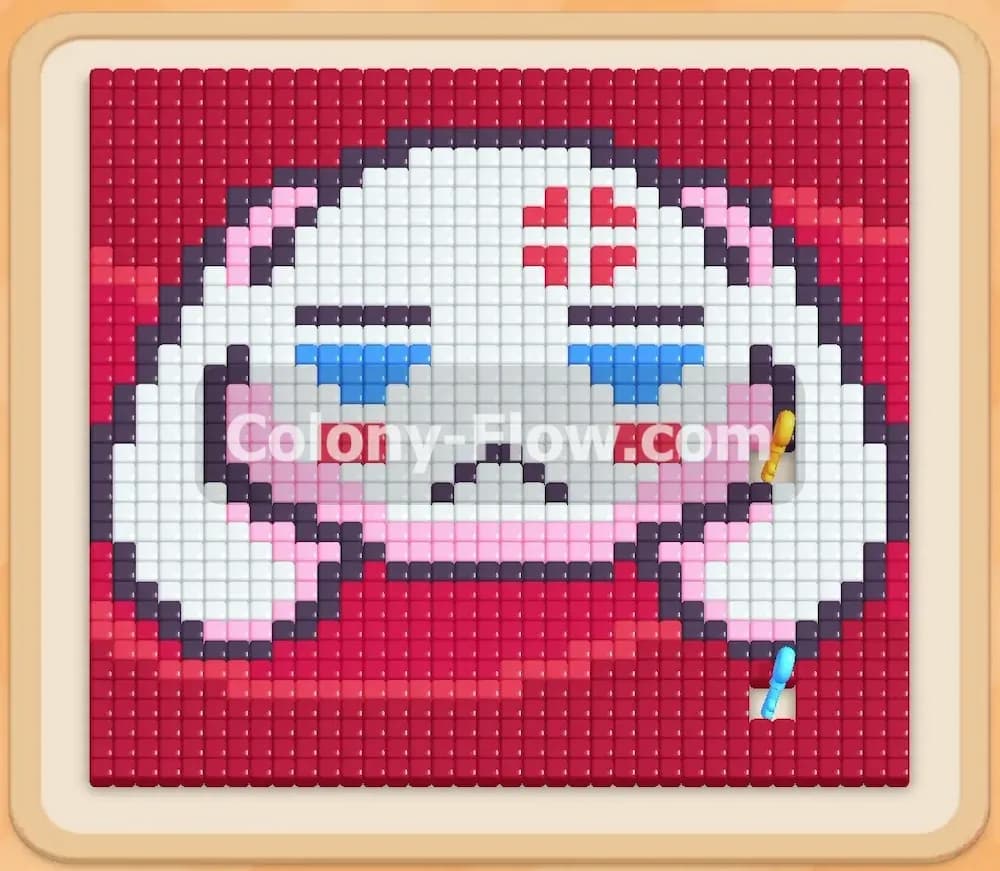
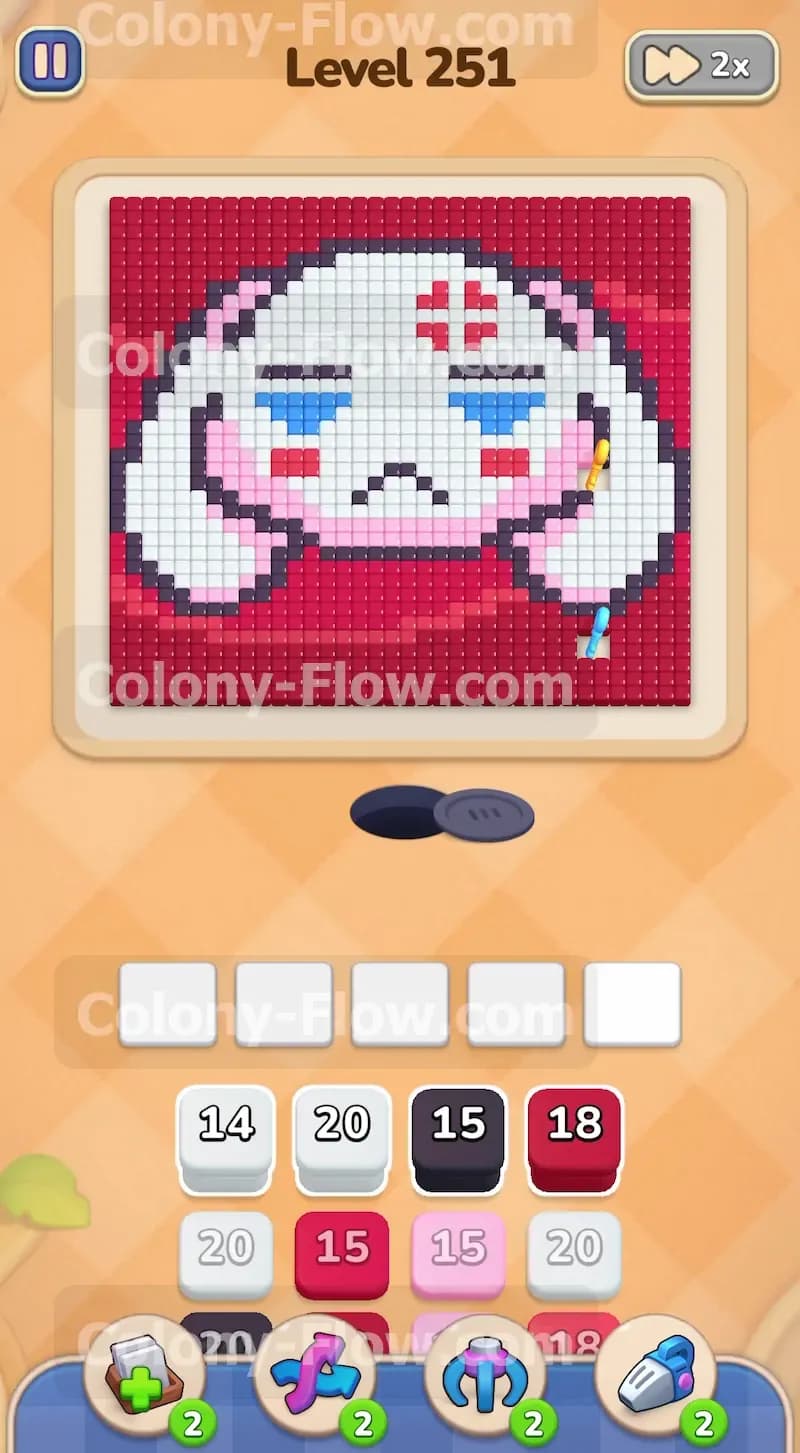
The top half of your screen displays a large pixel art face made primarily of white tiles. The creature has pink cheeks on either side and bright blue eyes in the center. Black tiles form the outlines of the face and draw the facial expression. A prominent red cross shape sits squarely on the forehead. A massive border of red tiles acts as a background wrapping around the entire character. Your tray at the bottom holds the numbered colored blocks you need to feed your colony. You will see white, black, red, and pink blocks sitting on the top layers. Deeper down in the tray sits a light blue block covered by a large black padlock. This introduces a lock and key mechanic to the board. Two yellow keys exist on the board to open this lock. You will find the first key resting on the right pink cheek. The second key sits in the bottom right corner of the red background. You must grab both of these keys before you can pull the blue block.
What It Takes to Clear Level 251 Board
You clear this board by matching every single colored block from your tray to the corresponding tiles on the picture above. The core challenge comes from managing your five waiting slots at the very bottom edge of the screen. You lose the game instantly if you fill all five slots with blocks that have no open path to their matching tiles. Your ants stream out from a black hole above the slots and need clear empty space to walk toward their food. You must carve paths from the outside edges inward. You will strip away the lower white sections first to open up the cheeks. Then you will sweep away the red background to reach the keys. Collecting the keys breaks the padlock on your blue block so you can clear the eyes. Clearing the eyes opens the black outlines. You must follow this exact sequence to ensure your slots never jam and your ants always have a target.
Colony Flow Level 251 Step by Step Solution
Step 1: Pull white blocks to clear the bottom edges and the left ear.
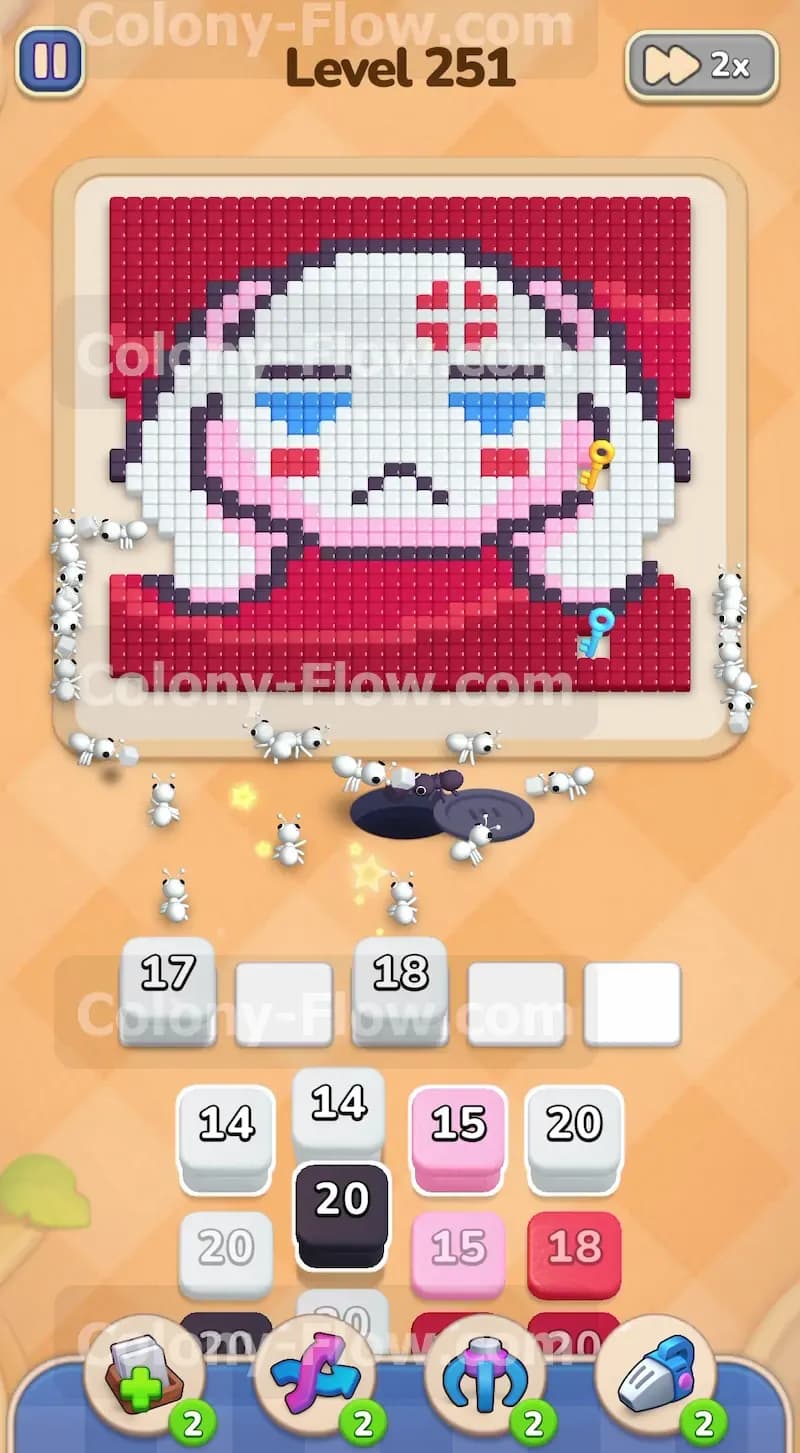
Your first goal is to open up the bottom boundary of the picture. The board starts fully solid with no deep paths available. Look at your tray and pull the white blocks showing the numbers fourteen and twenty. These blocks drop into your waiting slots and activate the white ants. The colony streams out of the nest hole and travels straight up to the bottom edge of the white face. They will quickly eat the white tiles forming the lower left side of the jaw and the long left ear. You will see the numbers on your tray blocks count down with every bite the ants take. Do not touch the red or black blocks yet. The red background and the black outlines sit completely blocked behind other colors. Pulling them now will force them into your slots with nowhere to go. Wait patiently for the white numbers to hit zero and the blocks to vanish from your tray. This clears a large pocket of space on the left side of the board and prepares you for the next color.
Step 2: Release pink blocks to consume the cheeks and grab the first key.
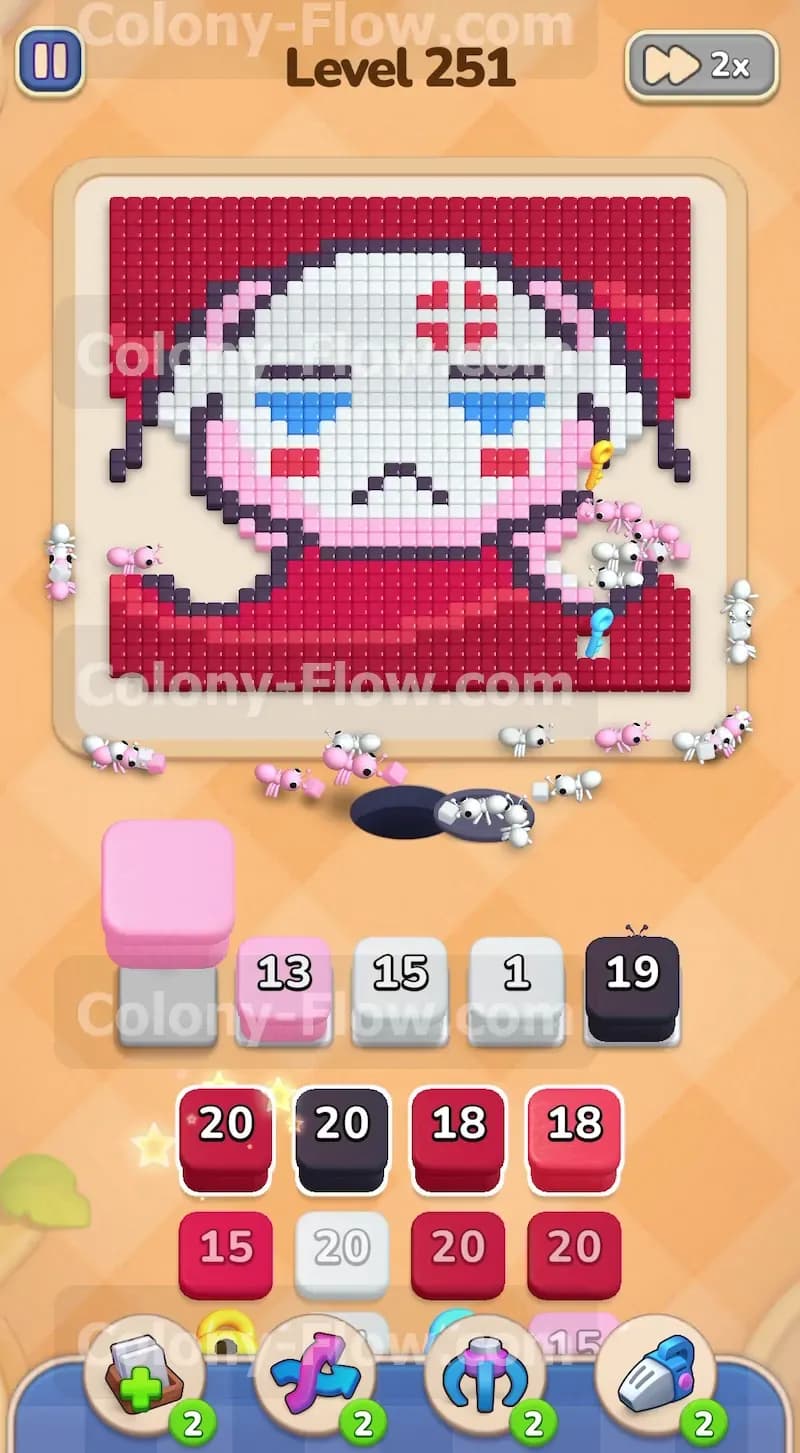
With the left side open, you now have a direct path to the pink tiles. Pull the pink blocks showing the numbers fifteen and thirteen into your empty slots. The pink ants will rush out and target the large pink cheek on the left side of the face. As they clear those tiles, the space opens up further across the bottom. You must now clear the right pink cheek. This right cheek holds the first yellow key you need to beat the level. Pull another pink block to send your colony over to the right side. The ants will eat the pink tiles and automatically grab the yellow key resting on top of them. Collecting this key is mandatory to free your blue block later. Keep your attention on the waiting slots. Always make sure the previous blocks finish their countdown and disappear before you load the next set. Leaving a pink block stuck in the slots will severely limit your moving room for the rest of the game.
Step 3: Deploy red blocks to remove the thick red background layer.
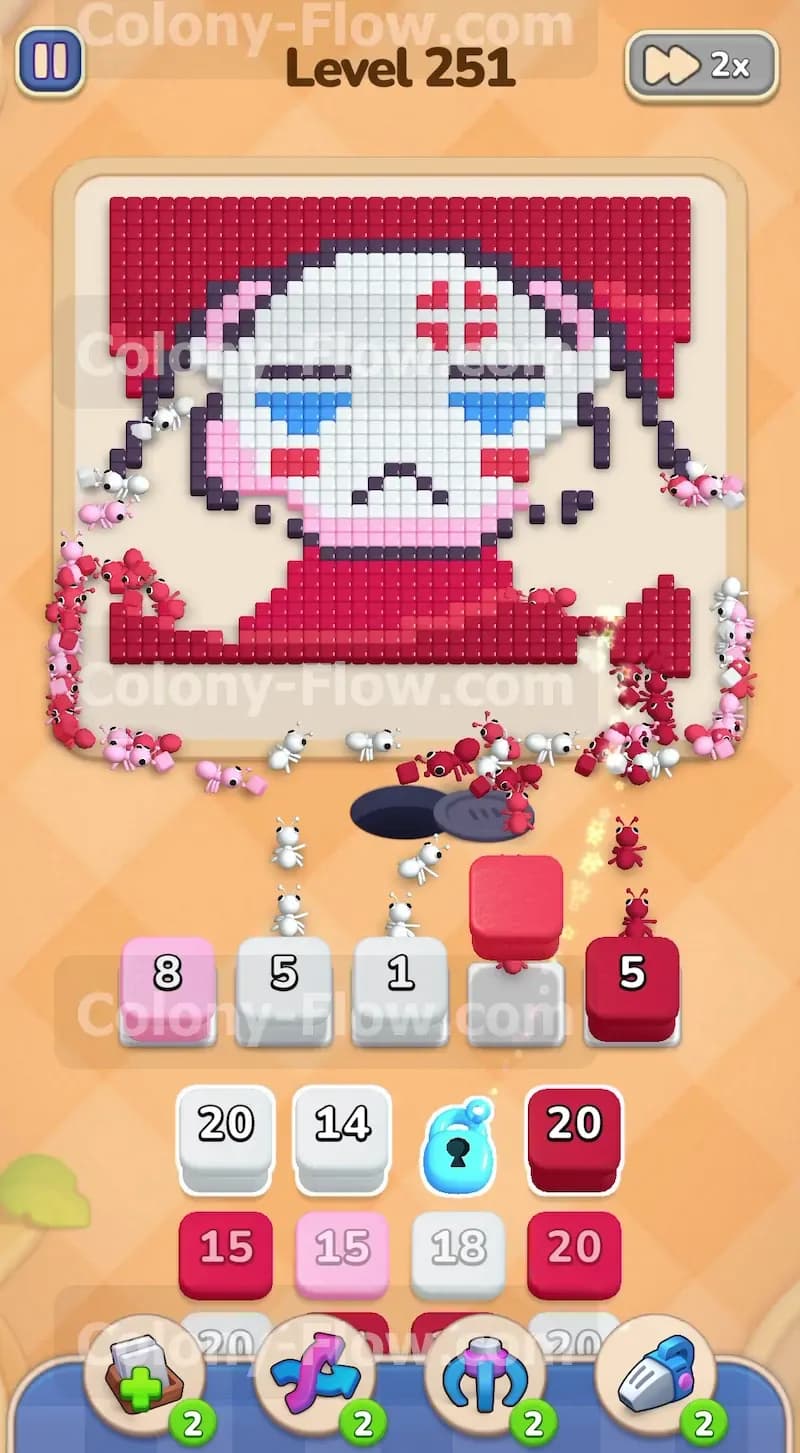
You now have a wide open channel stretching across the entire bottom of the picture. The massive red background prevents you from reaching the top of the head and hides the second yellow key. Pull the red eighteen and red twenty blocks from your tray into your waiting area. A huge wave of red ants will pour out of the nest and swarm the red tiles. They will chew through the lower border and start climbing up the left and right sides of the background. Let the red ants work through their large numbers. As they clear the bottom right corner of the red background, they will uncover and collect the second yellow key. You will hear the collection sound and the padlock on your blue block will shatter. Your path to victory is now completely open. You must allow the red blocks to fully count down to zero before you move to the next phase. Jamming your tray with other colors while the red ants are busy will cause a fatal dead end.
Step 4: Send blue ants to eliminate the eyes and open the inner face.
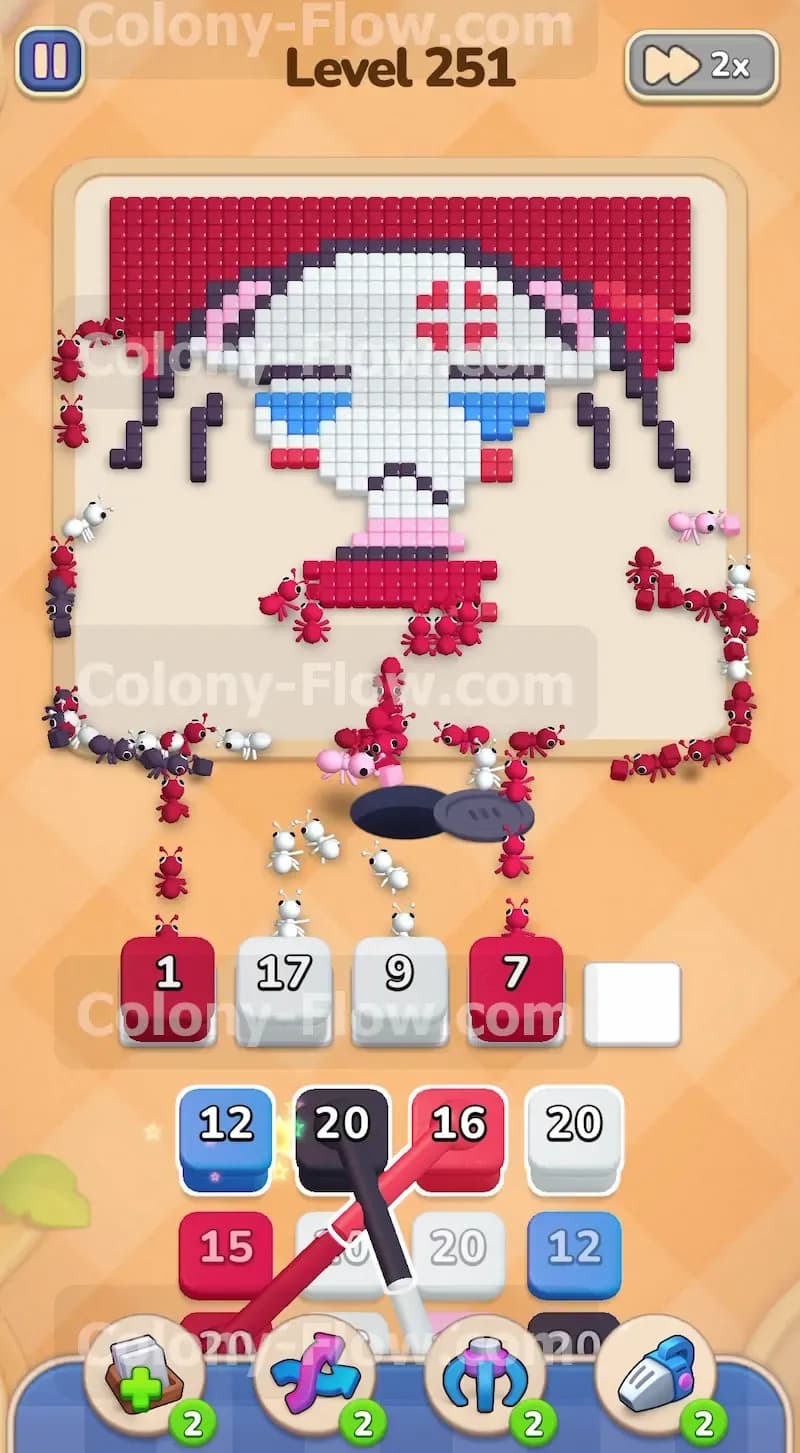
You collected both yellow keys from the board so the blue twelve block in your tray is finally unlocked. Pull this blue block down into your waiting slots. The blue ants will exit the nest and march straight up the open center path toward the face. They will eat the bright blue tiles that form the two eyes. This step handles a very small number of tiles but it serves as the most critical action in the entire level. The blue eyes sit directly adjacent to the black facial outlines. While the eyes remain on the board, the black lines are blocked from access. If you pull a black block before the blue ants finish, the black block will sit in your tray and slowly ruin your game. Let the blue twelve block drop to zero and vanish. The center of the face is now entirely empty and the black lines are completely exposed.
Step 5: Pull black blocks to dismantle the facial outlines and expression.
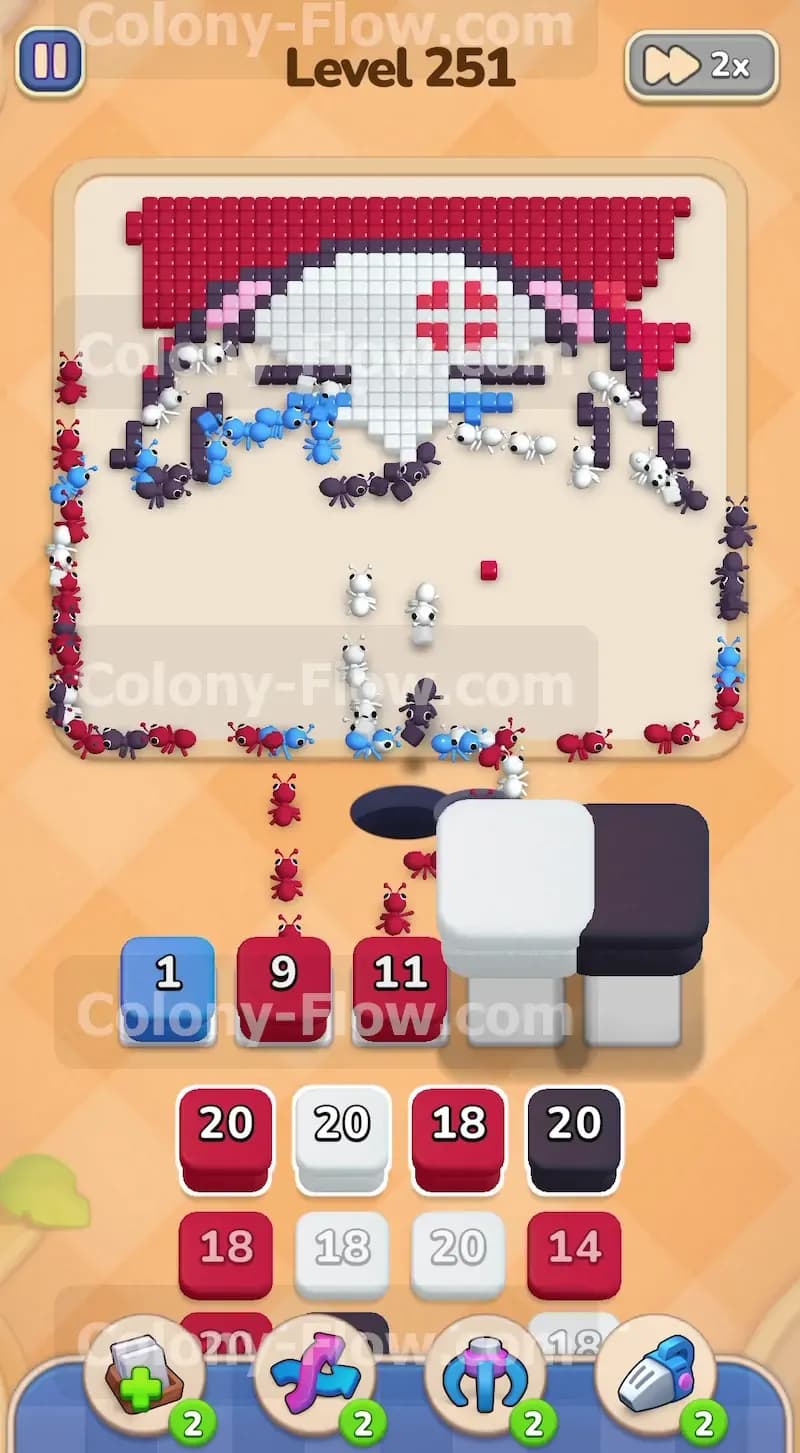
The blue eyes are gone and the paths to the black tiles are wide open. Pull the black twenty block from the middle of your tray. The black ants will follow the empty space straight up into the center of the face. They will immediately begin eating the black outline tiles. These black tiles separate the top half of the white head from the empty bottom space. As the black ants chew through the lines, the board opens up dramatically. The thick borders around the cheeks and the top of the head will disappear. The numbers on your black block will drop rapidly as the ants find plenty of valid targets. Keep your hands off the remaining white and red blocks in the lower levels of your tray. You need the black ants to finish their entire meal so you do not crowd the limited waiting space at the bottom of your screen. Wait until the black block vanishes entirely.
Step 6: Clear the upper white face tiles and the red forehead mark.
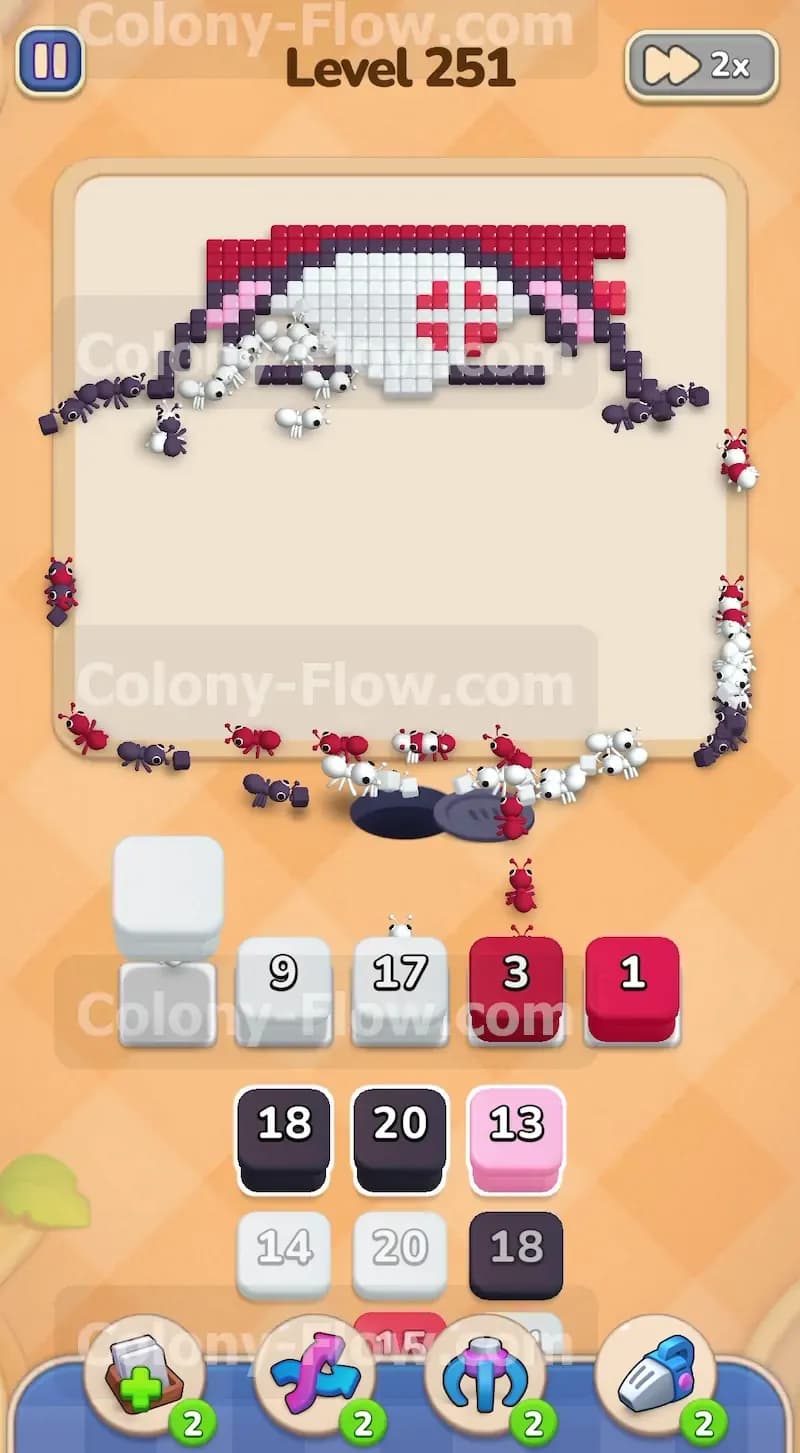
Only the very top section of the rabbit head remains on the board. Pull the white seventeen and white nine blocks into your empty slots. The white ants will flood the top half of the screen. They will rapidly consume the large curved section of white tiles forming the top of the head. As this massive white area shrinks, the distinctive red cross mark on the forehead becomes fully exposed to your colony. Pull a red block from the tray to send red ants after that cross. The board will look incredibly bare at this stage. You have successfully navigated the most dangerous parts of the tray. Your waiting slots remain perfectly clear because you managed the flow of ants correctly. Allow these white and red blocks to count down and disappear.
Step 7: Finish the top edge with the final red and black blocks.
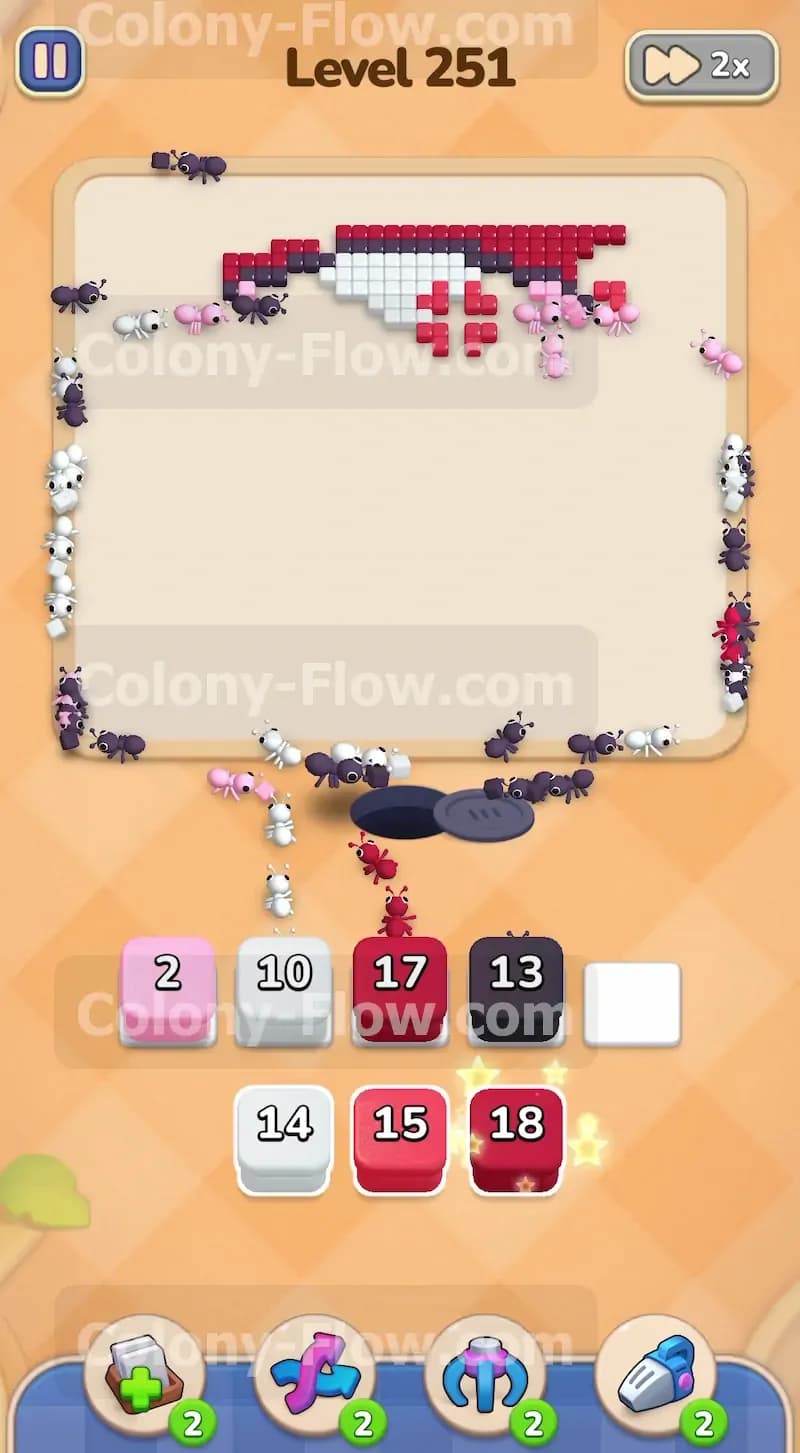
You have reached the very end of the puzzle. Only a thin strip of red background tiles and a few scattered black outline pieces remain at the extreme top edge of the board. Look at the very bottom of your tray and pull the final red and black blocks into your waiting area. The red ants will climb all the way to the top and eat the last boundary of the red background. The black ants will finish the uppermost outline tiles near the ears. Watch the numbers on your final blocks drop smoothly to zero. The ants will chew the very last pieces of the picture and clear the screen completely. You have cleared the entire board without ever jamming your waiting slots and without making a single mistake.
Final Thought
This board demands patience and strict attention to the order of your colors. Collecting the keys at the right time ensures you never trap yourself with a locked tray. If you struggle with the timing of the pink cheeks or the blue eyes, watch the video provided above this article. The video shows the exact sequence of moves in real time so you can match the rhythm and secure your win.